
Want to remove ads? Become a MK3OC Club Member today!
You are using an out of date browser. It may not display this or other websites correctly.
You should upgrade or use an alternative browser.
You should upgrade or use an alternative browser.
Dave b's VXR Powered Gsi Diary
- Thread starter DavebGsi
- Start date
Update time ")
So I got the first bit of the headling back.... about bloody time
Tastey, look how smooth it is! so I carefully fitted it and still managed to get finger dents in the material lol
Luckily I returned the next day and dents had worked their way out basically so that's good to know, although i'll have to be super careful with the head lining when I get that back some time in 2025
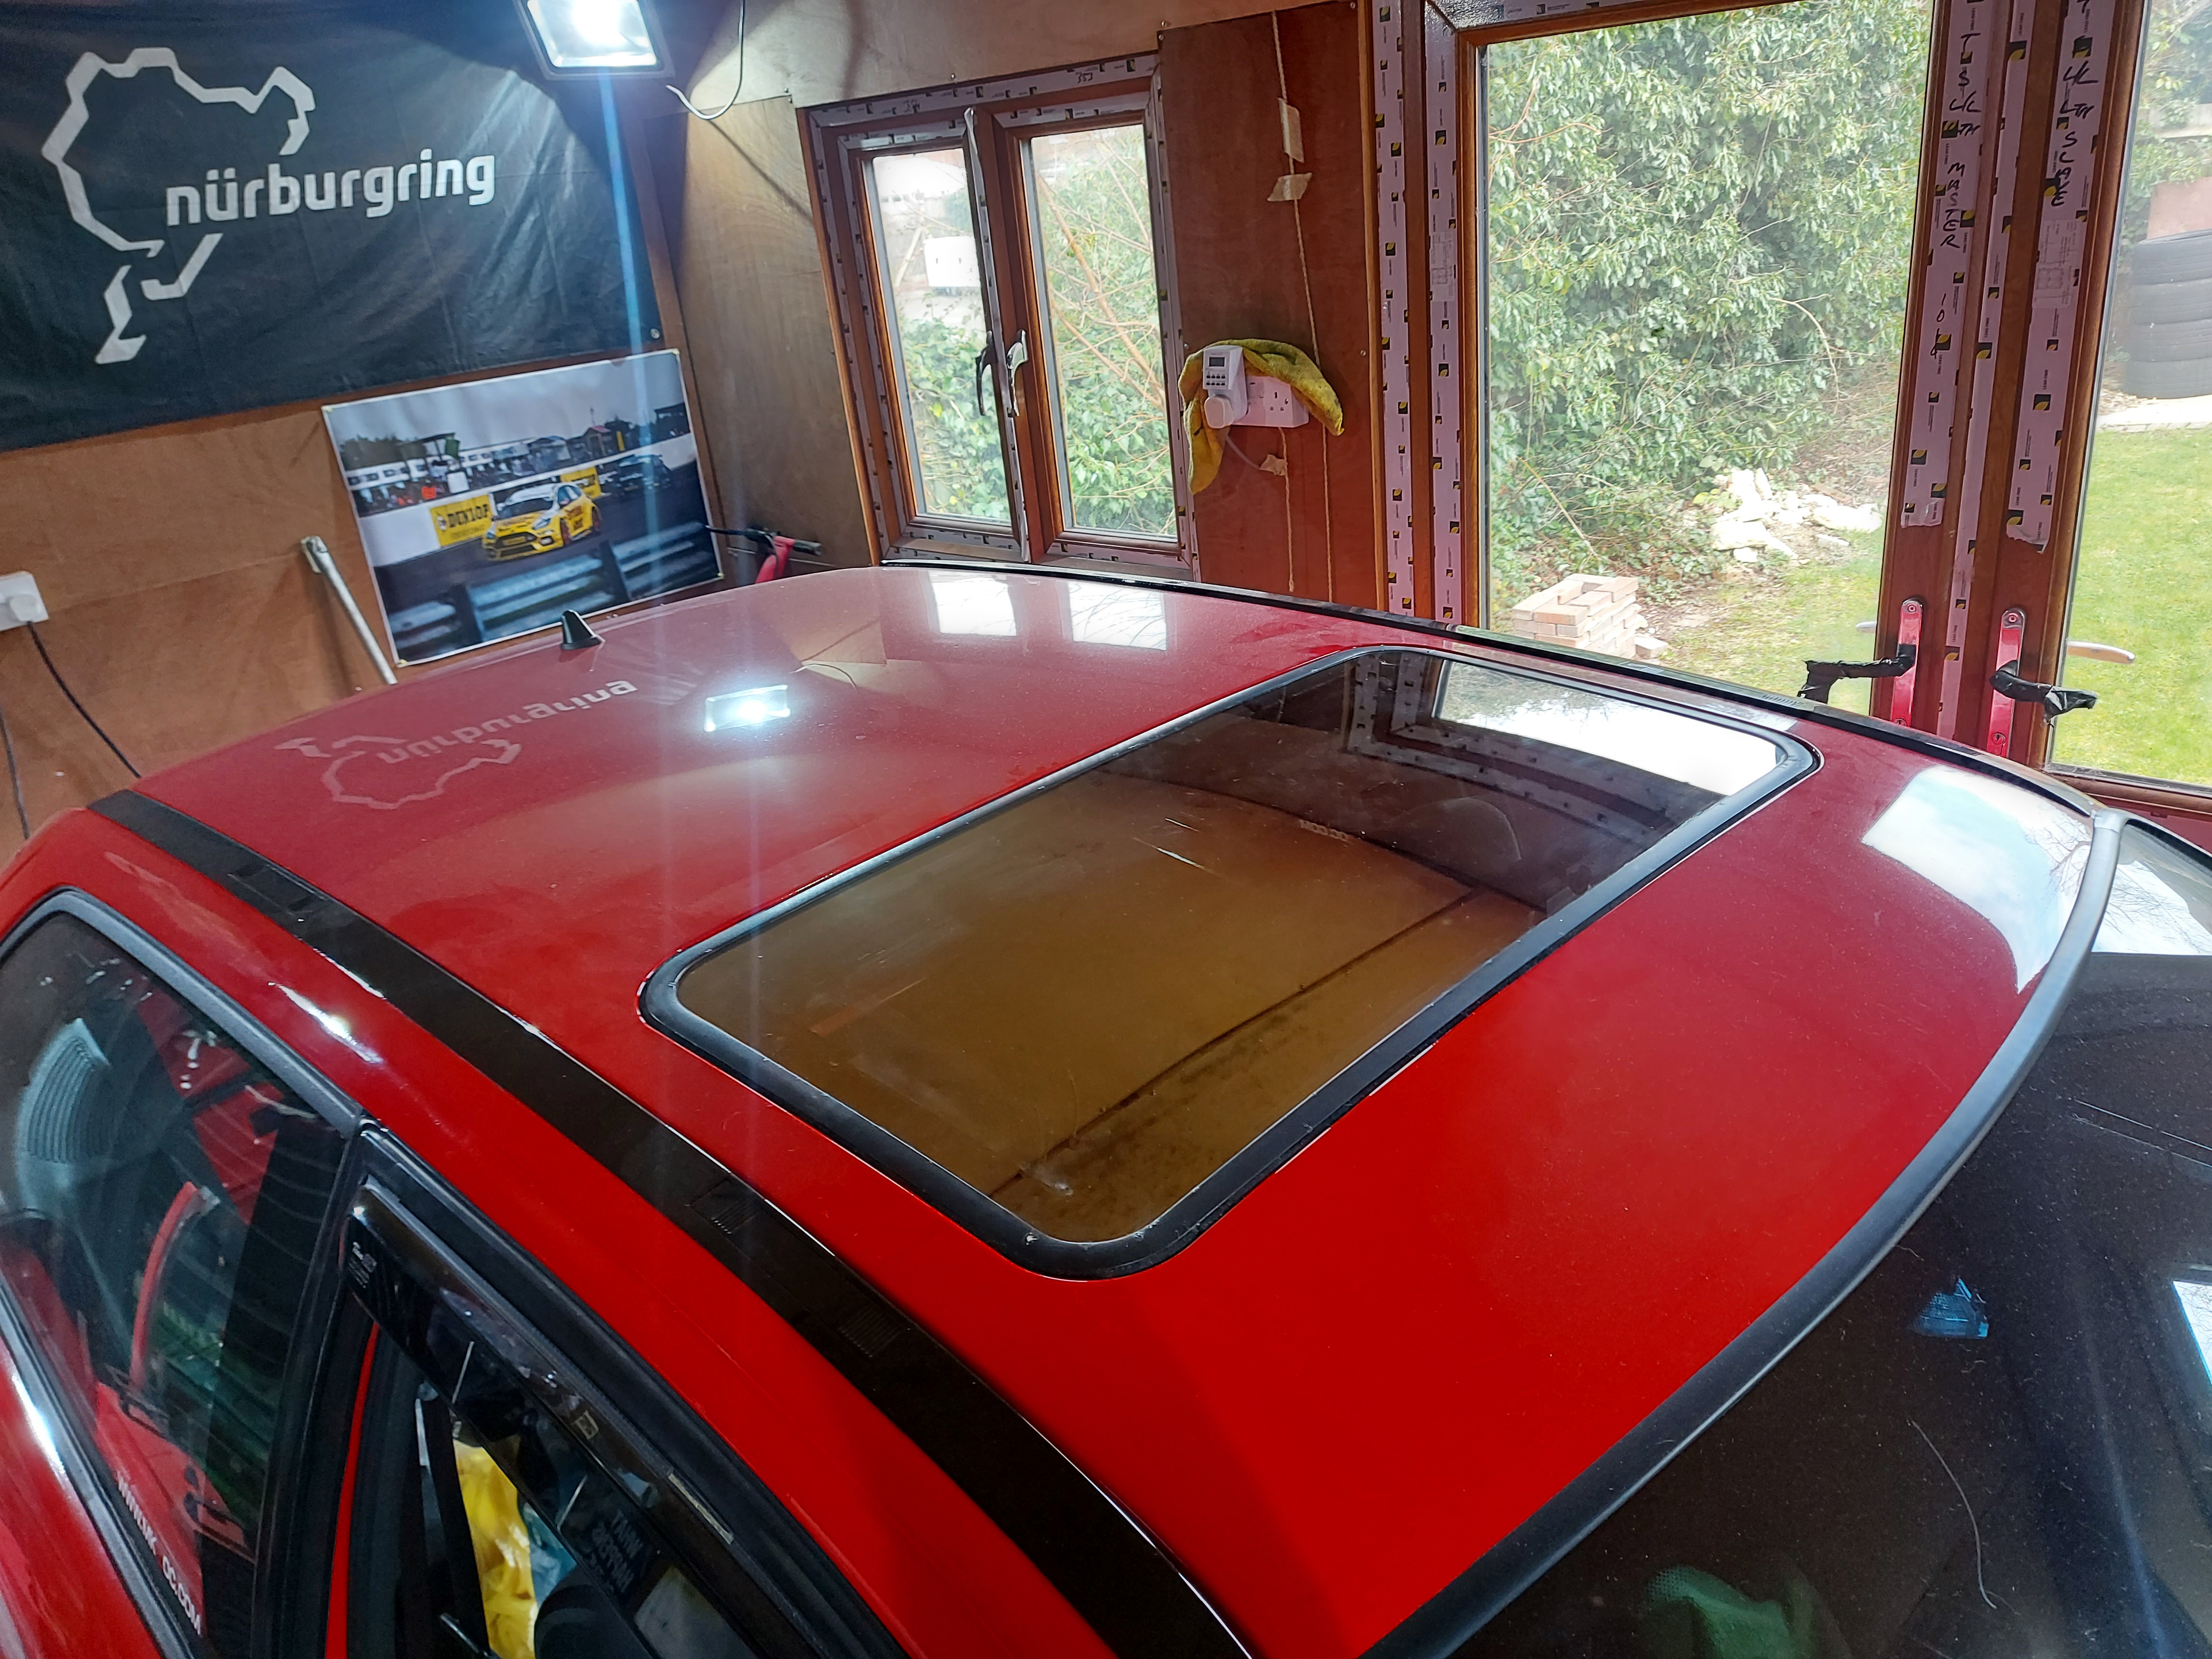
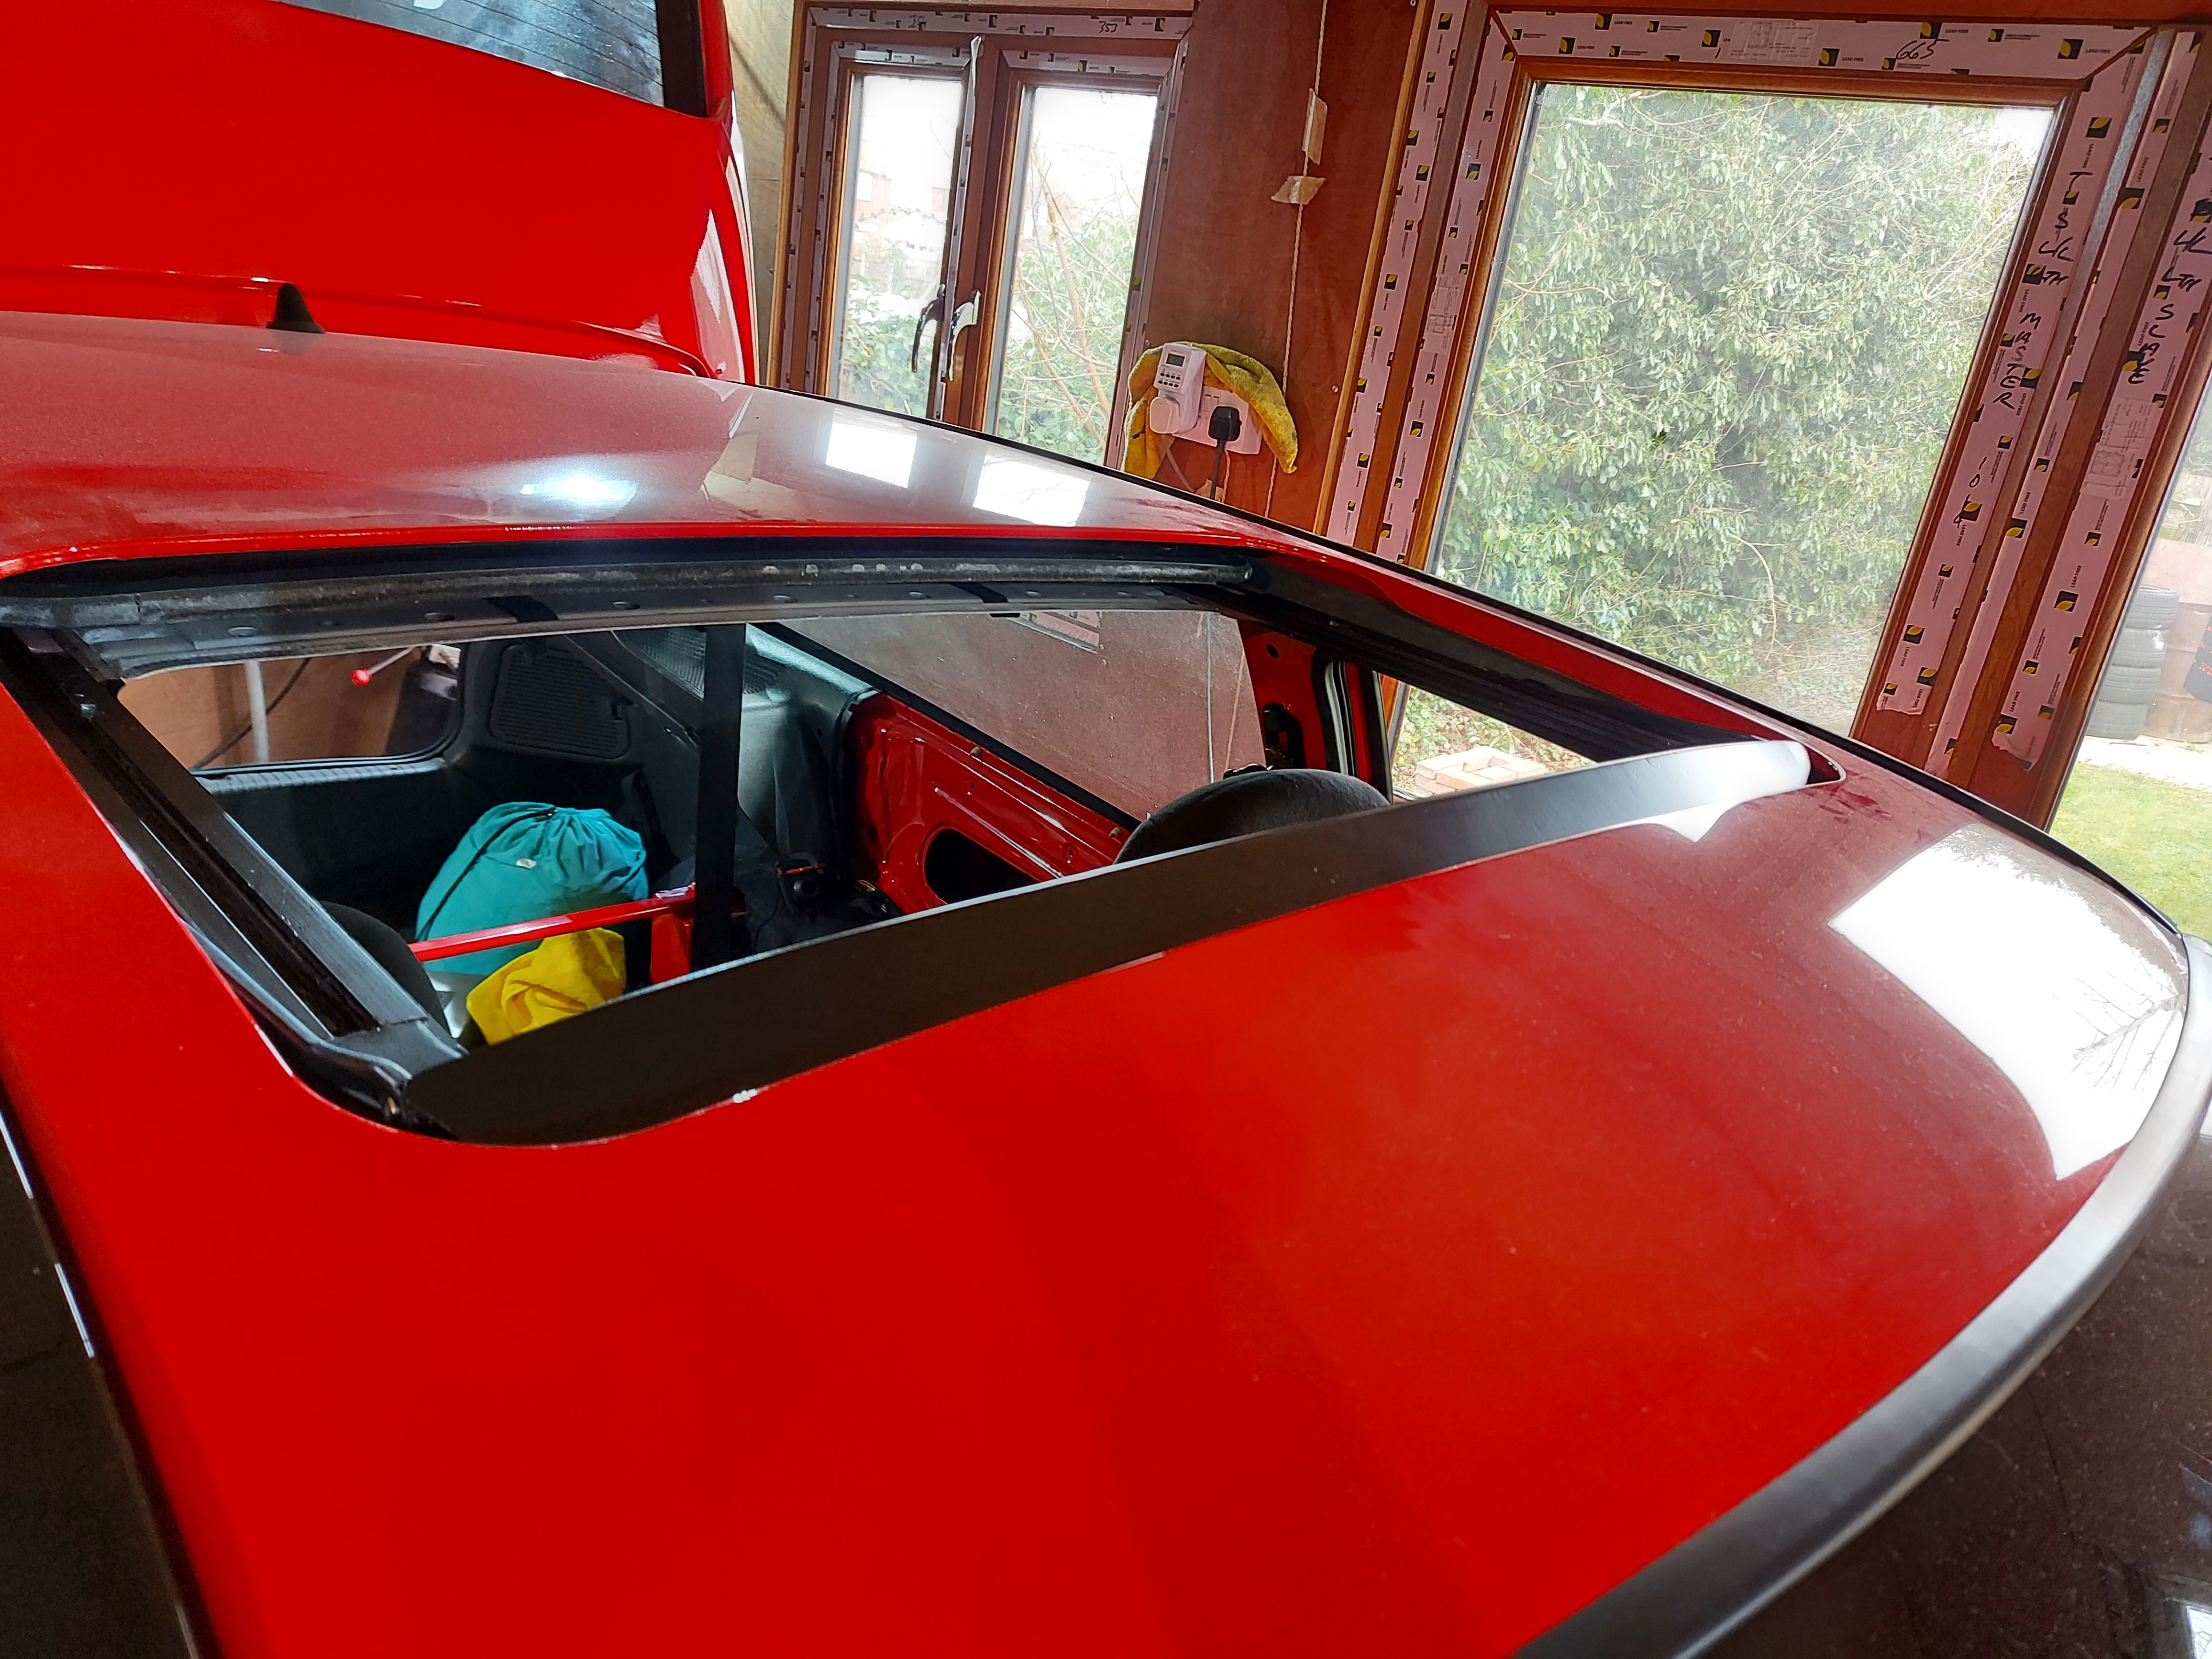
Sunroof glass cleaned up and refitted. Really wish there was a way of getting new seals and refurbing the glass, the seals are all cracked but luckily if they don't seal completely the water runs down the channels!

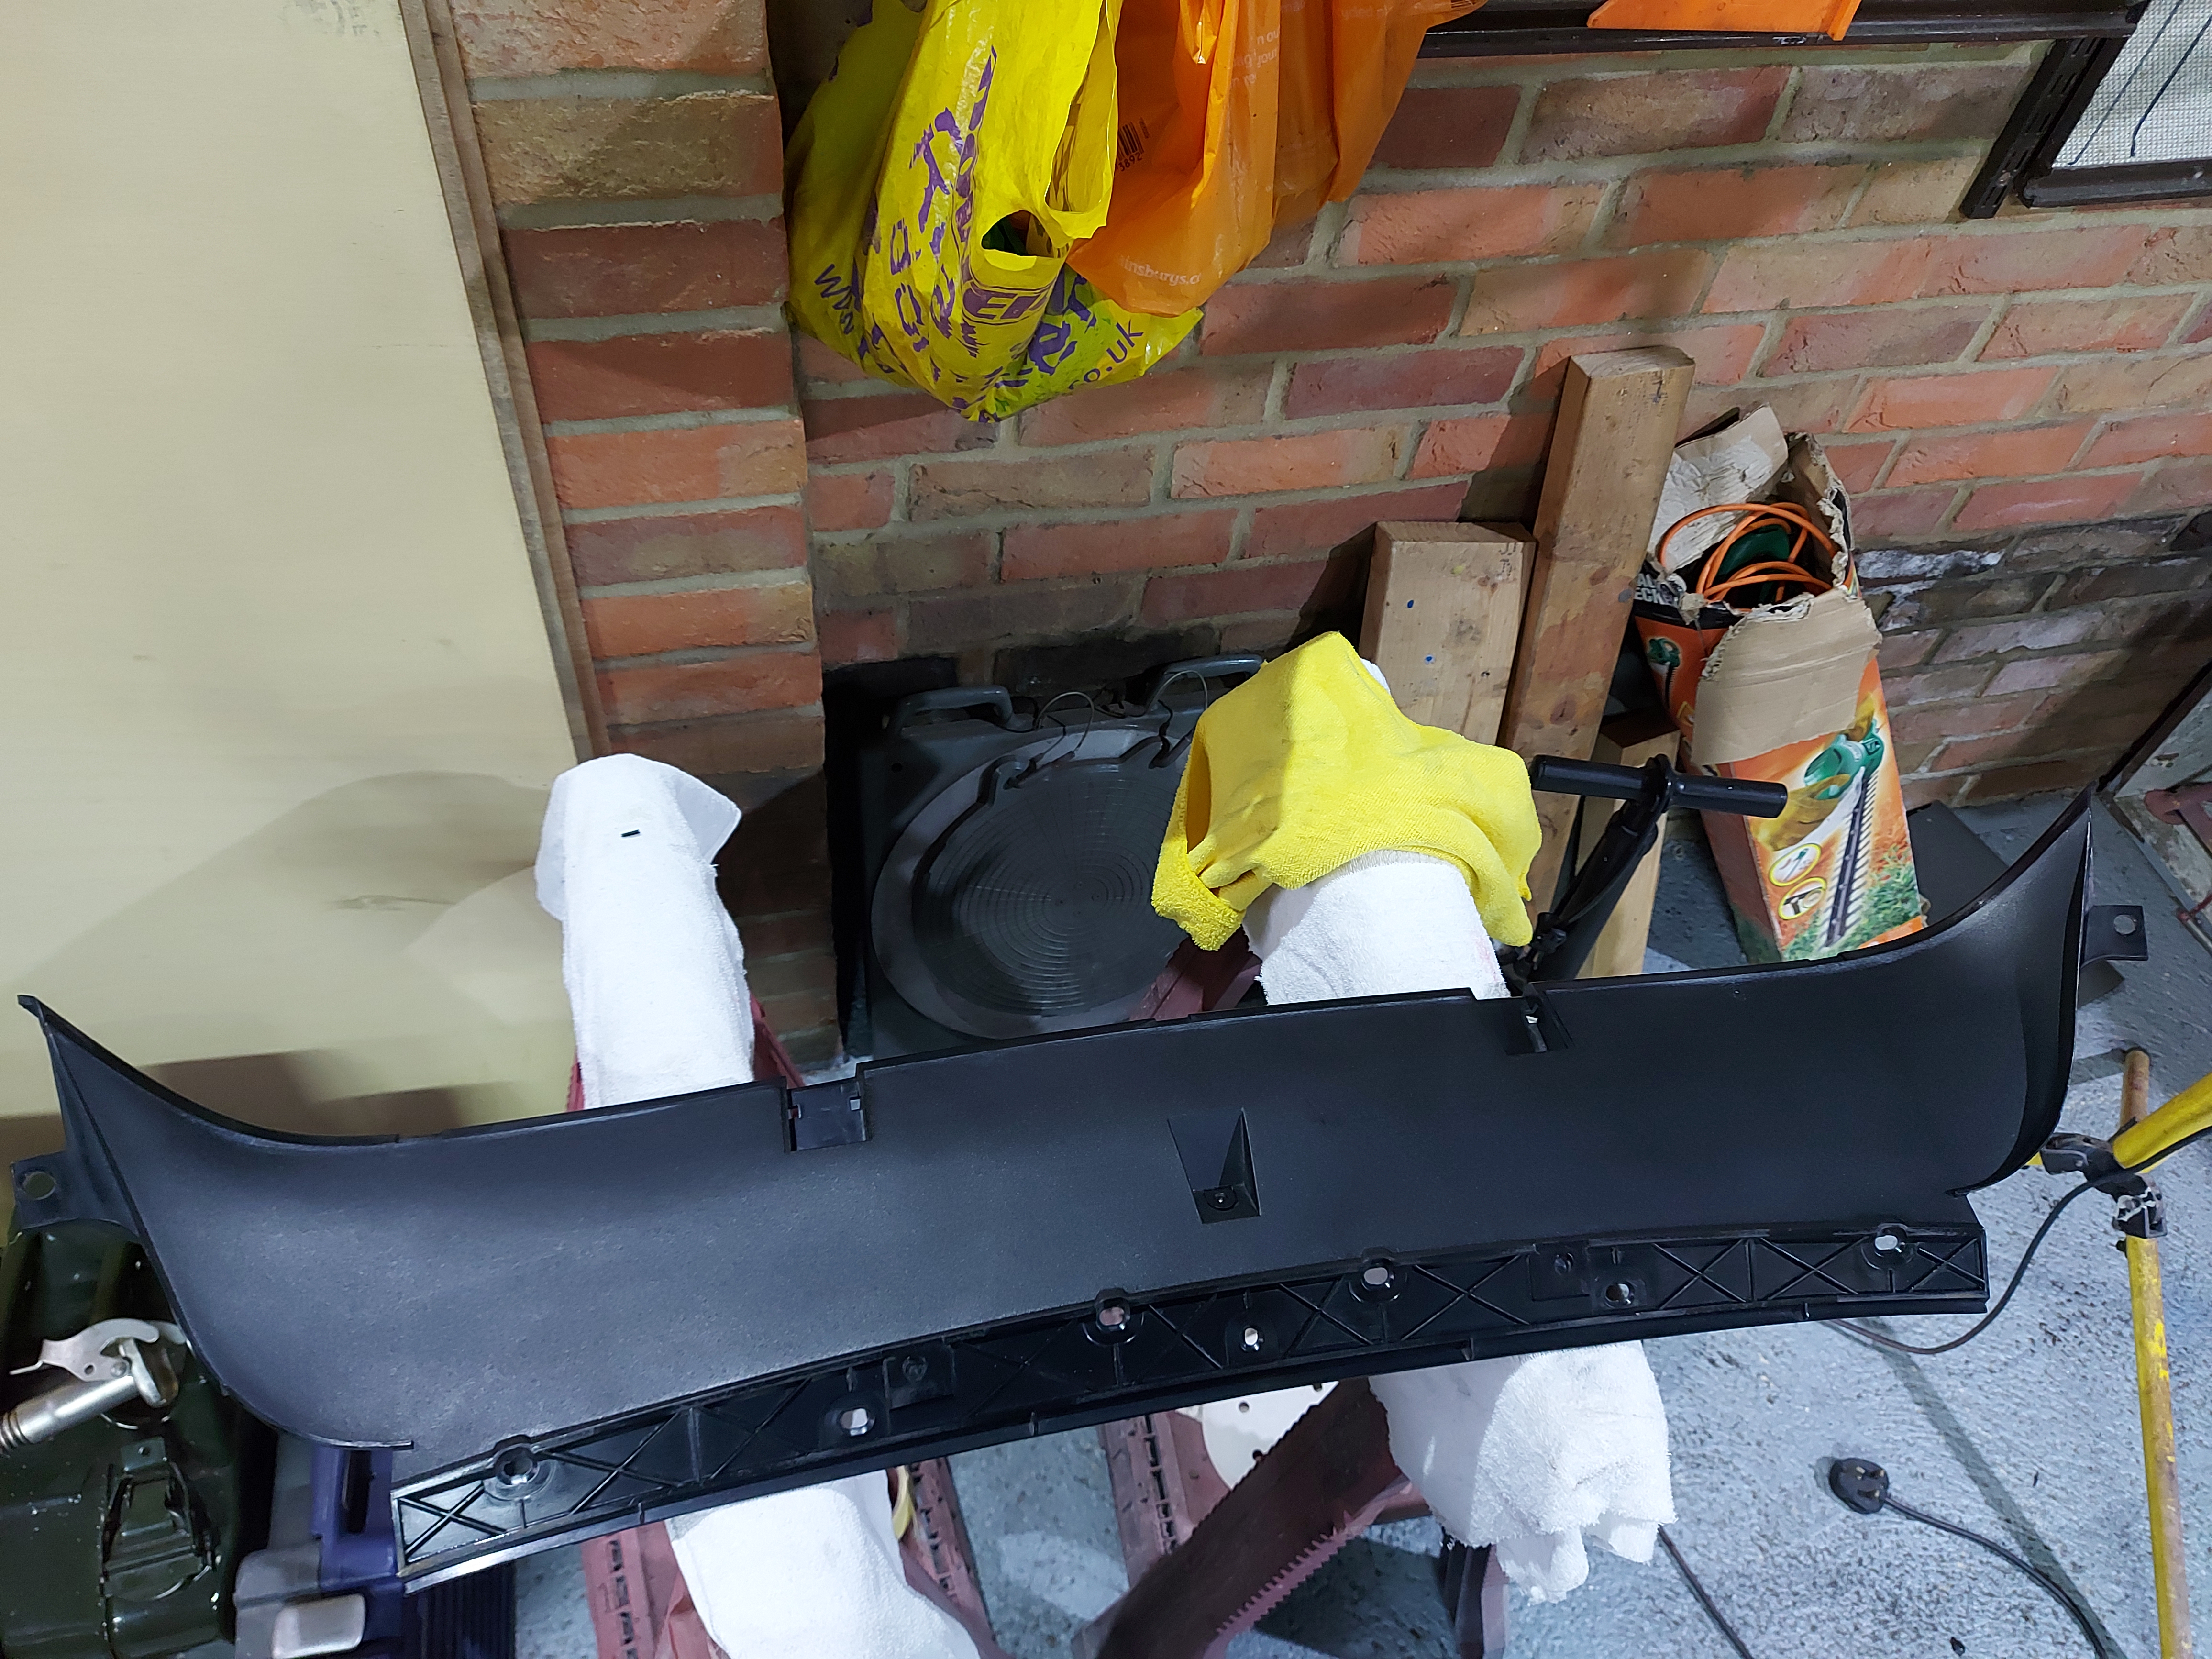
Next up, the rusty sunroof wind deflector, used a flappy wheel to take this back to metal

primed
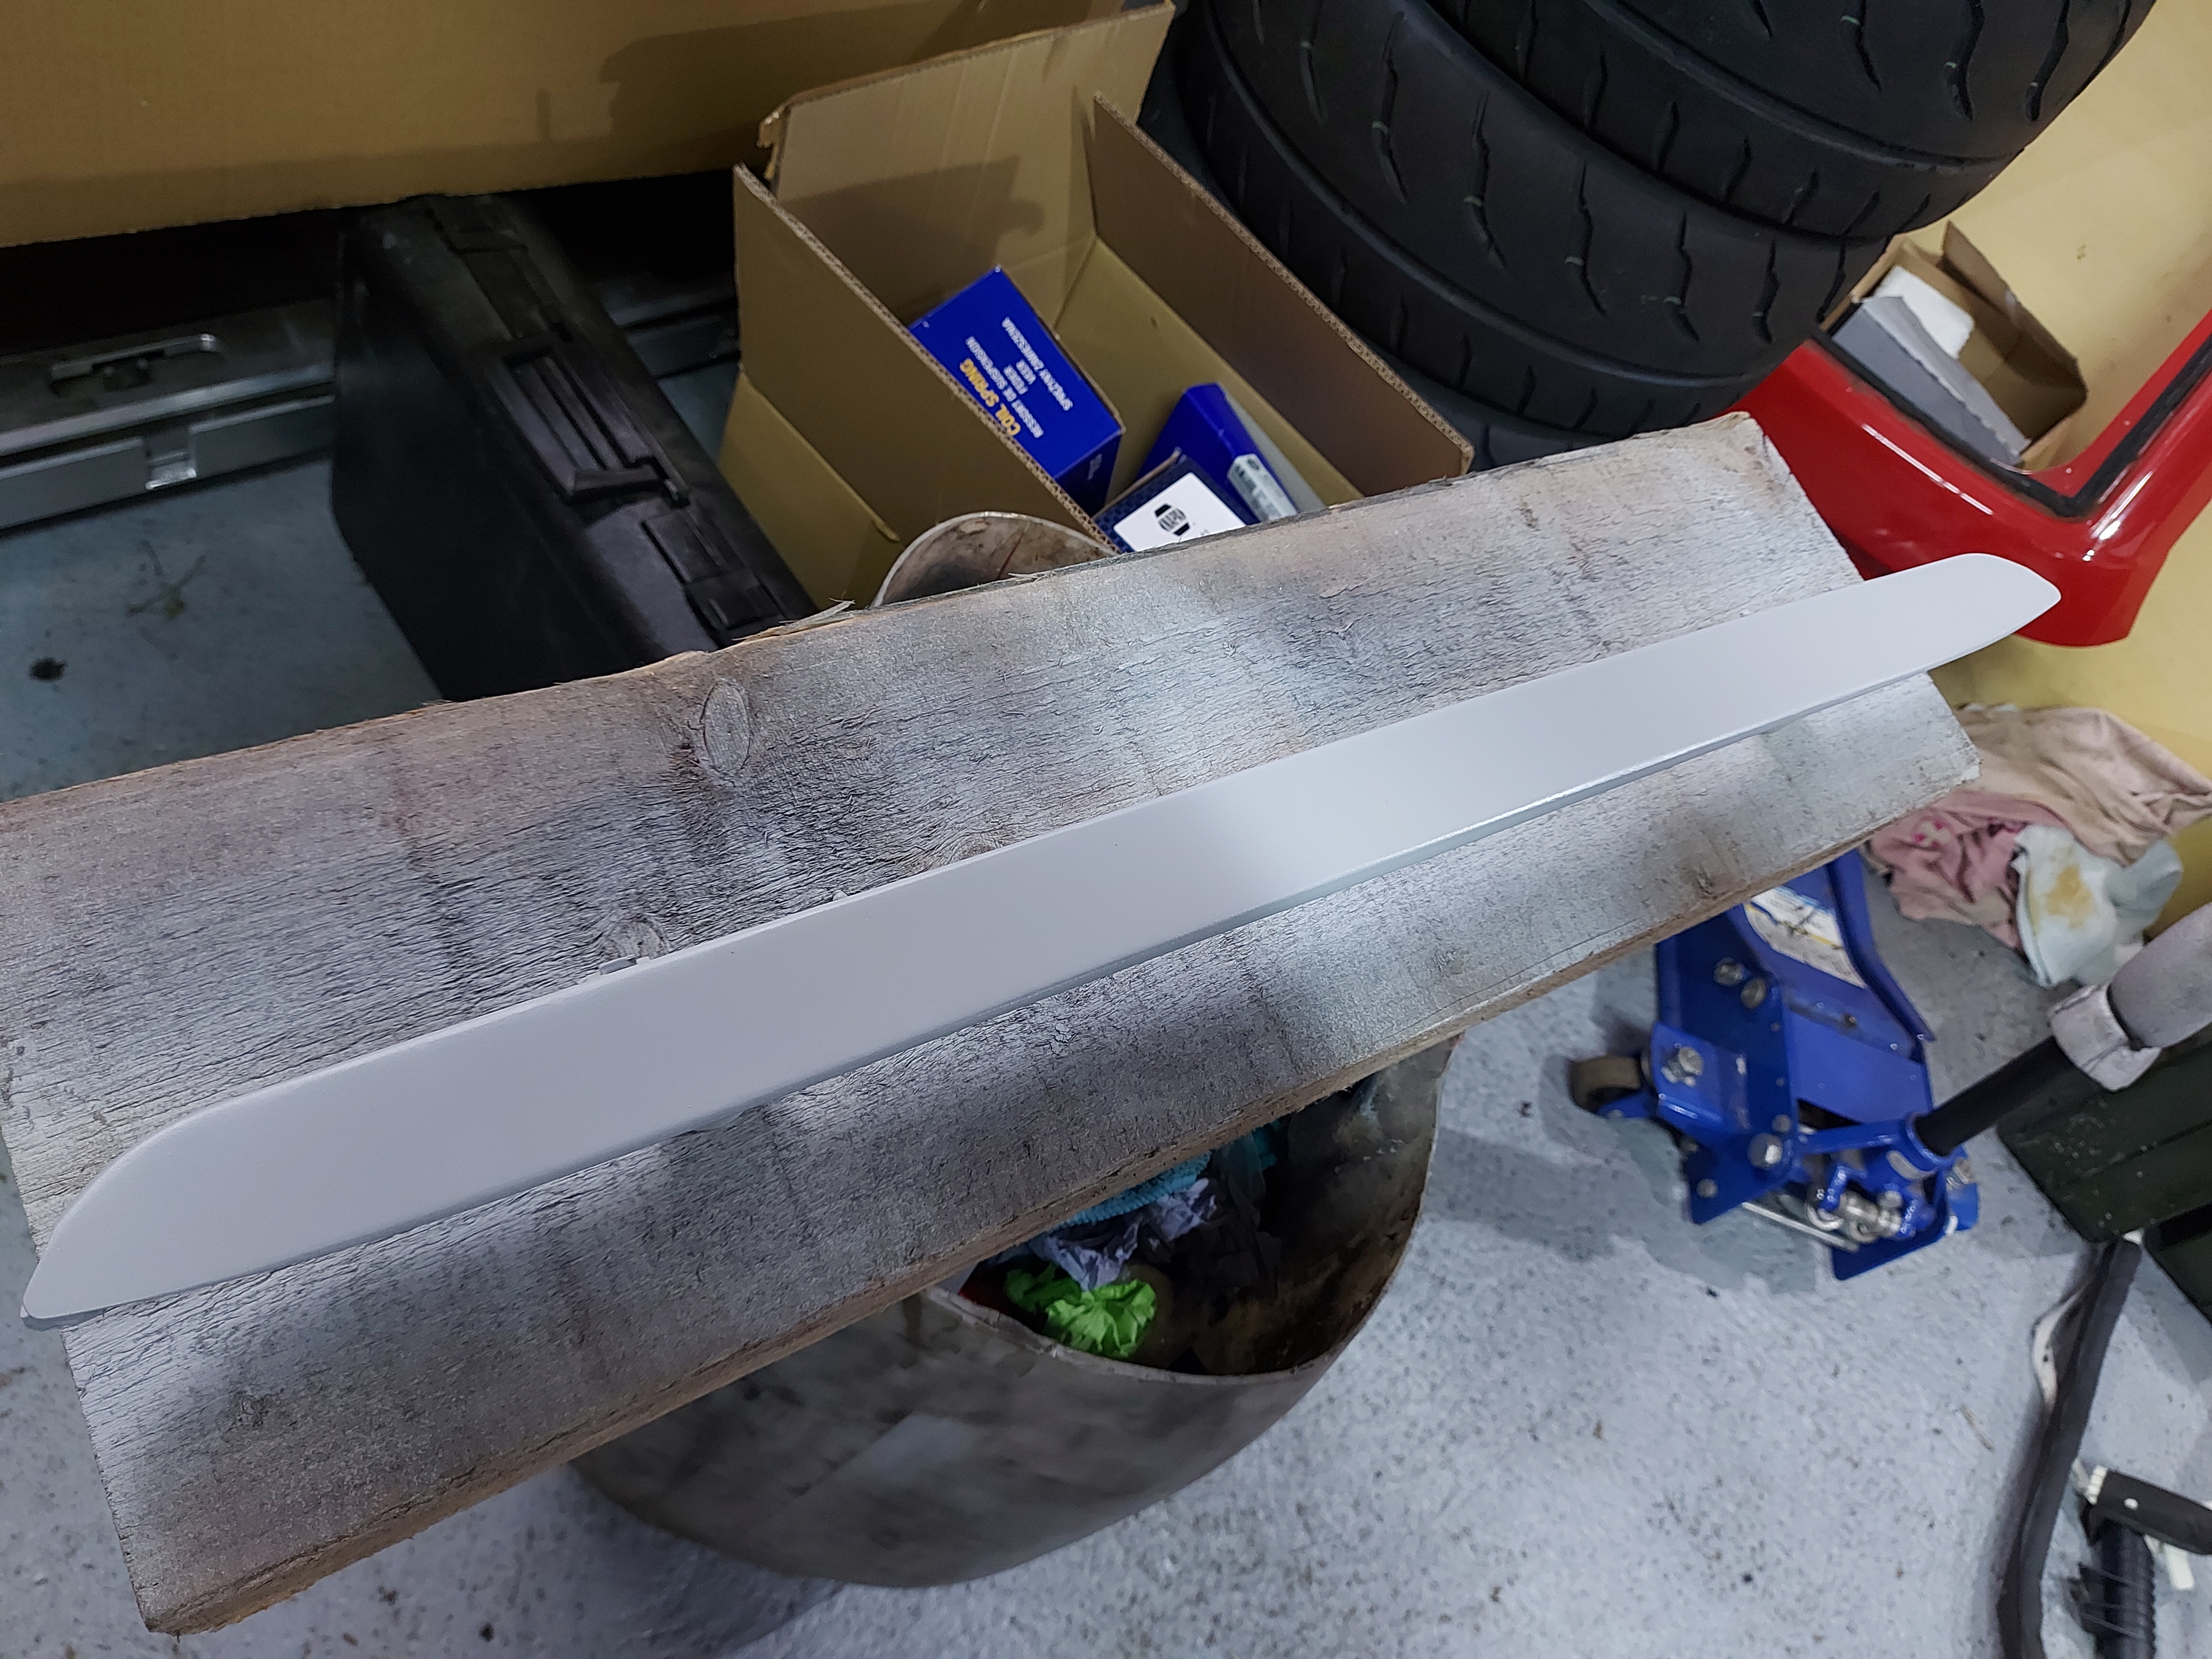
and satin black and fitted
 .
.
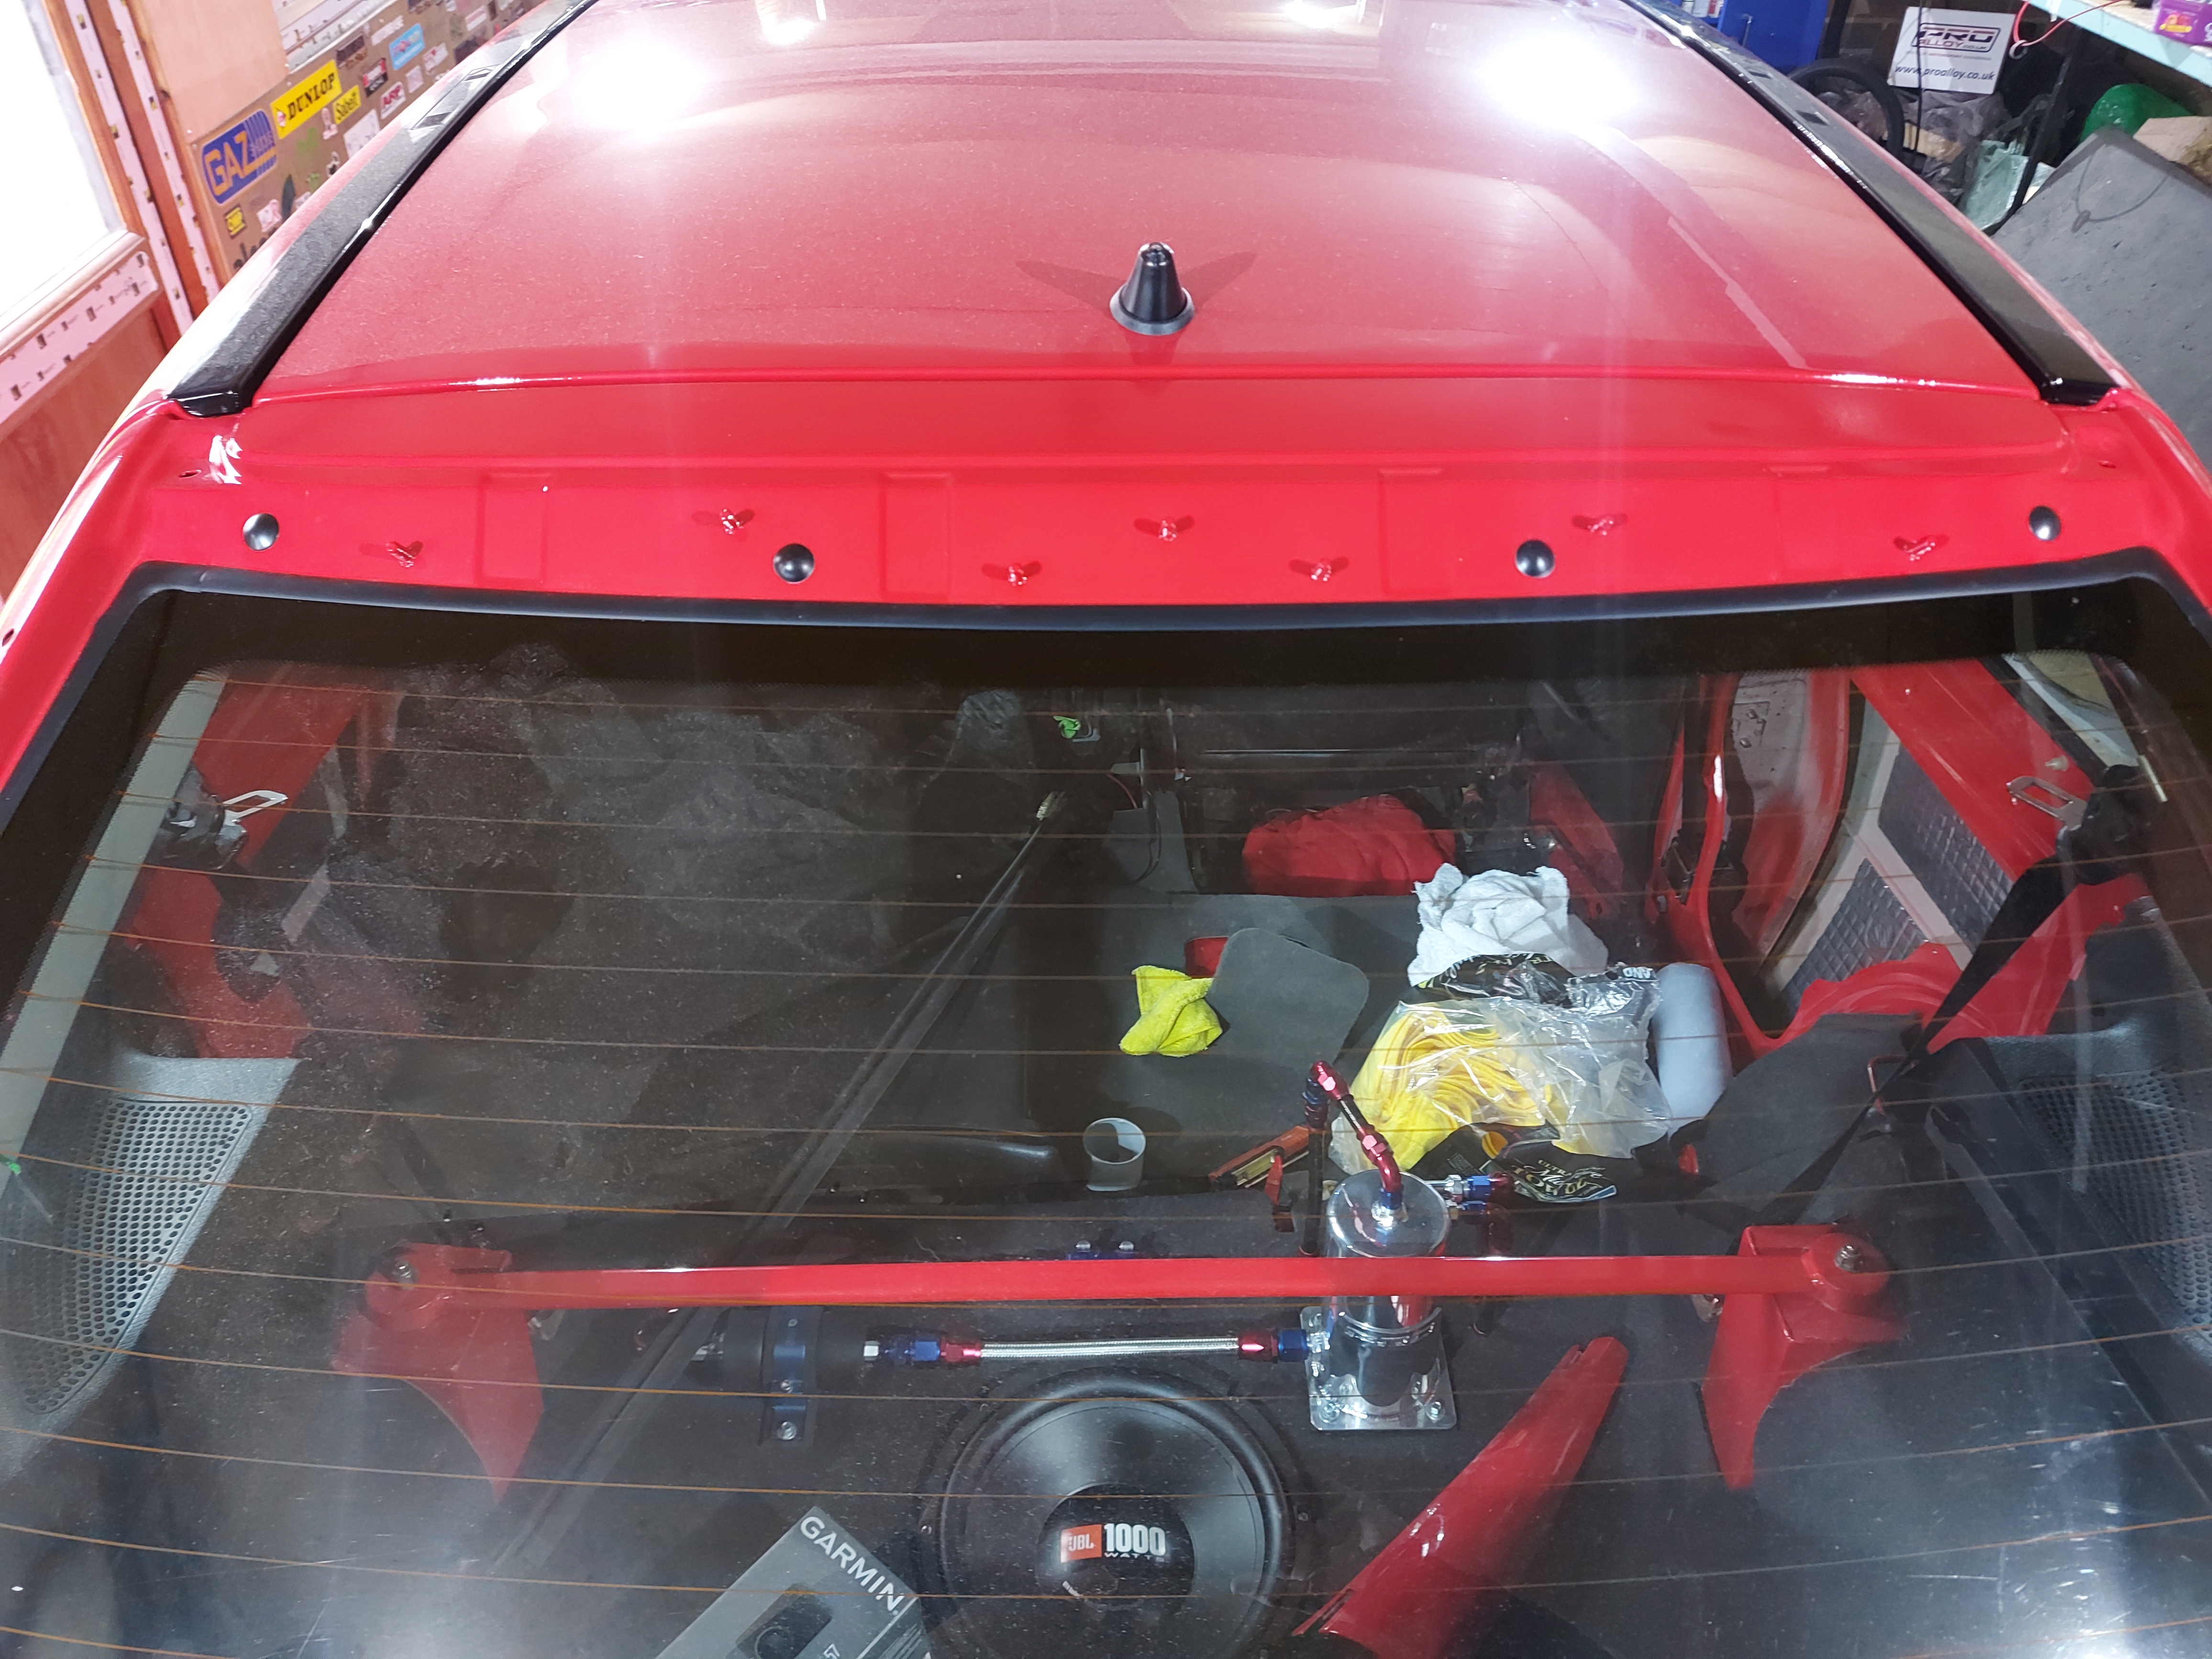
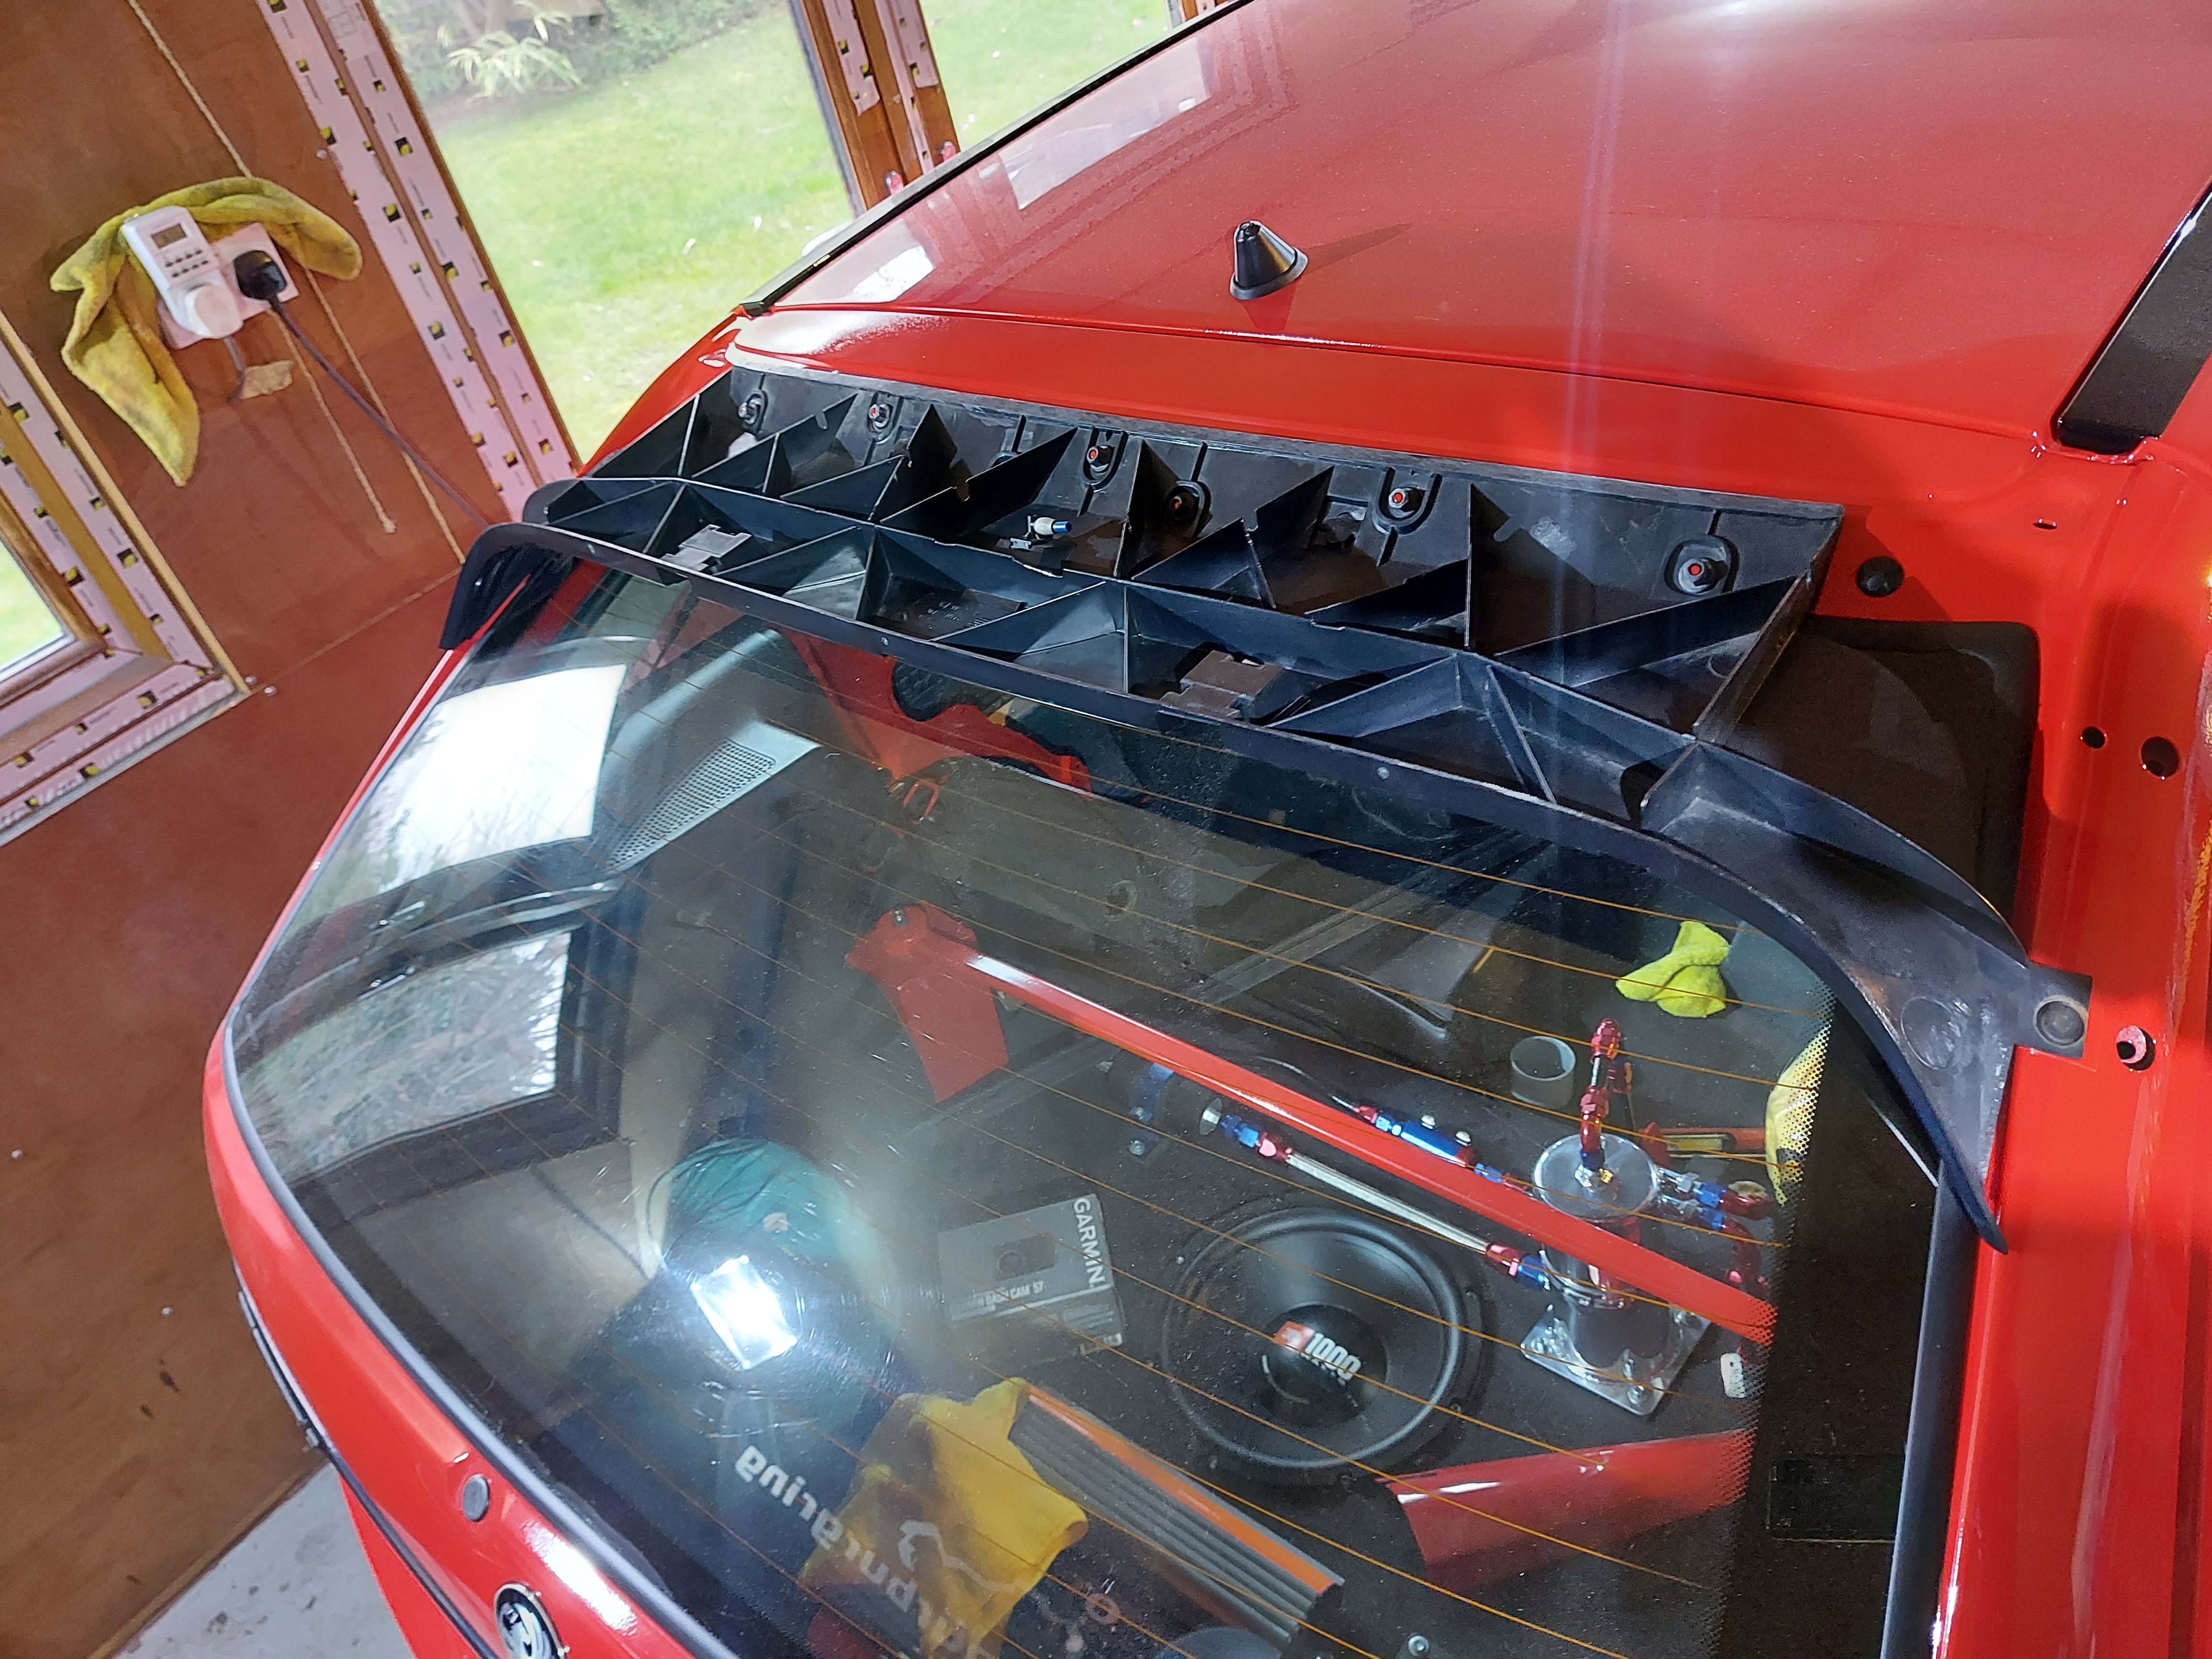
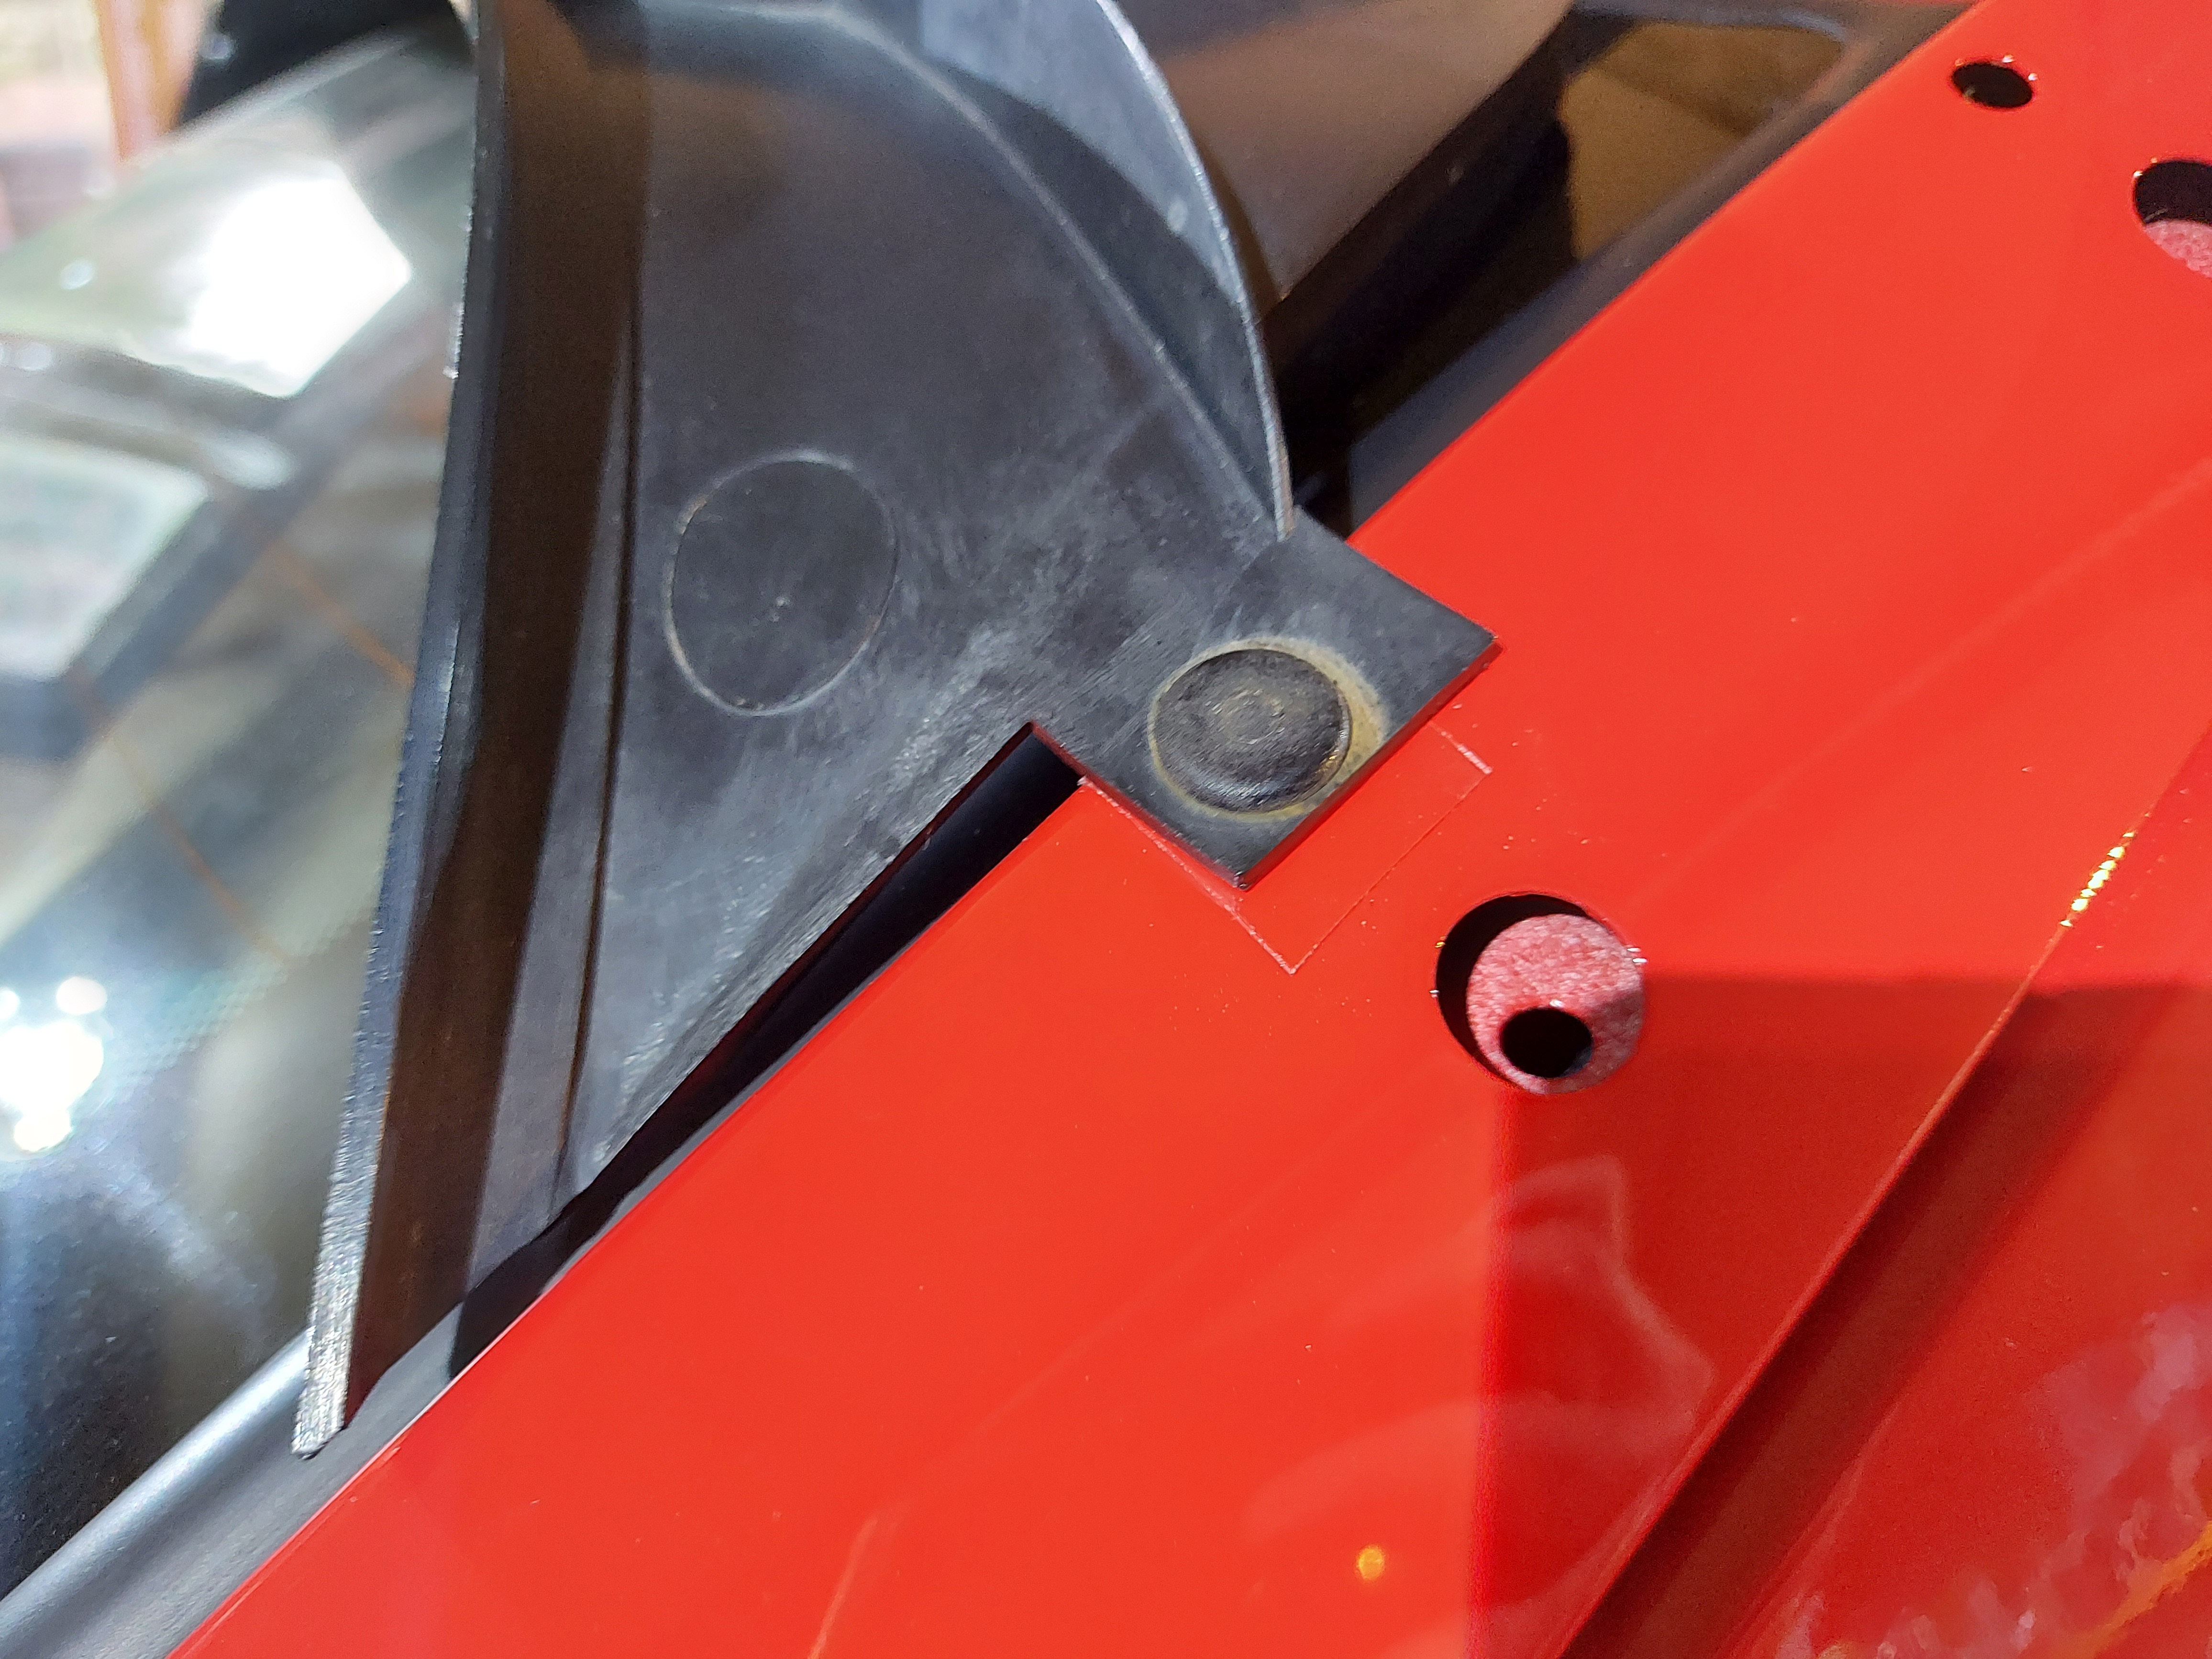
next up, time to fit the spoiler, Started by fitting bungs to all the unused holes in the tailgate, fitted the mounting frame to the tailgate, protecting the tailgate with helicopter tape and bolting it up.

Next up, time to quick polish the spoiler. It's at this point I found out that the spoiler is still the original paint!
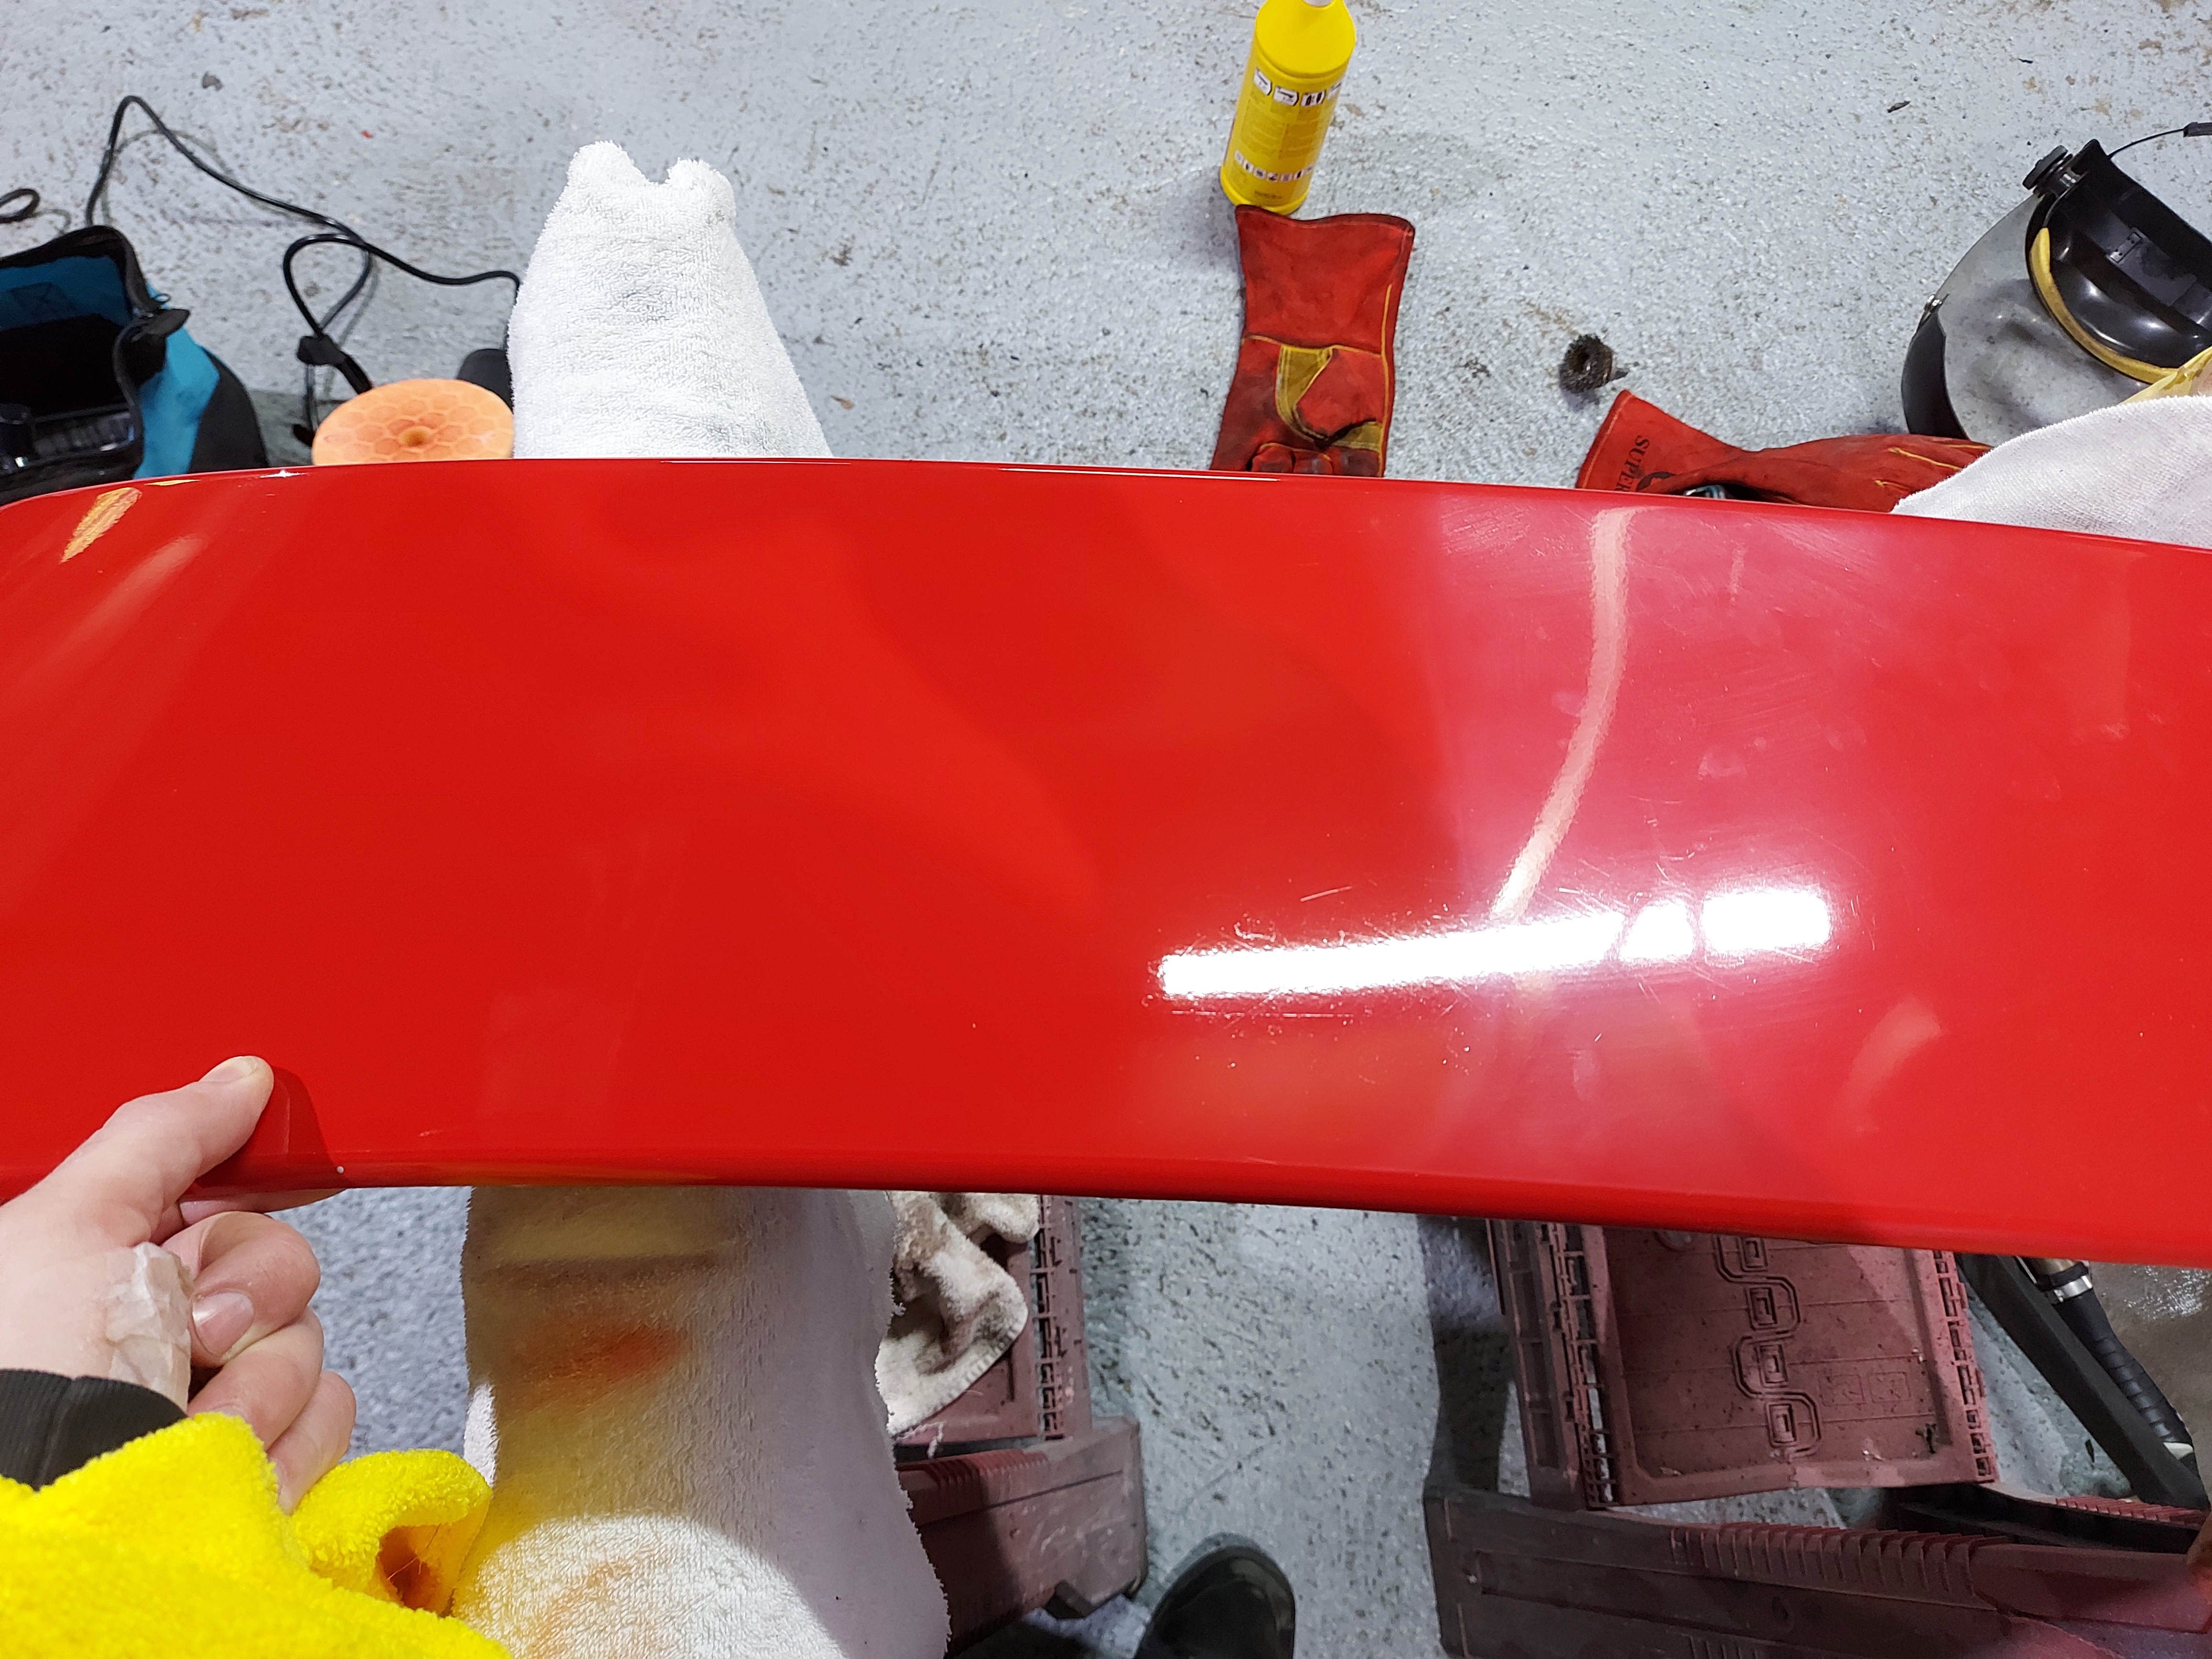
Can't believe it, It does have a tiny chip in the paint i'll probably give it a spray this winter or something.... or more than likely not. It shines up ok albeit, you can see it is duller cause of the lack of clear coat.
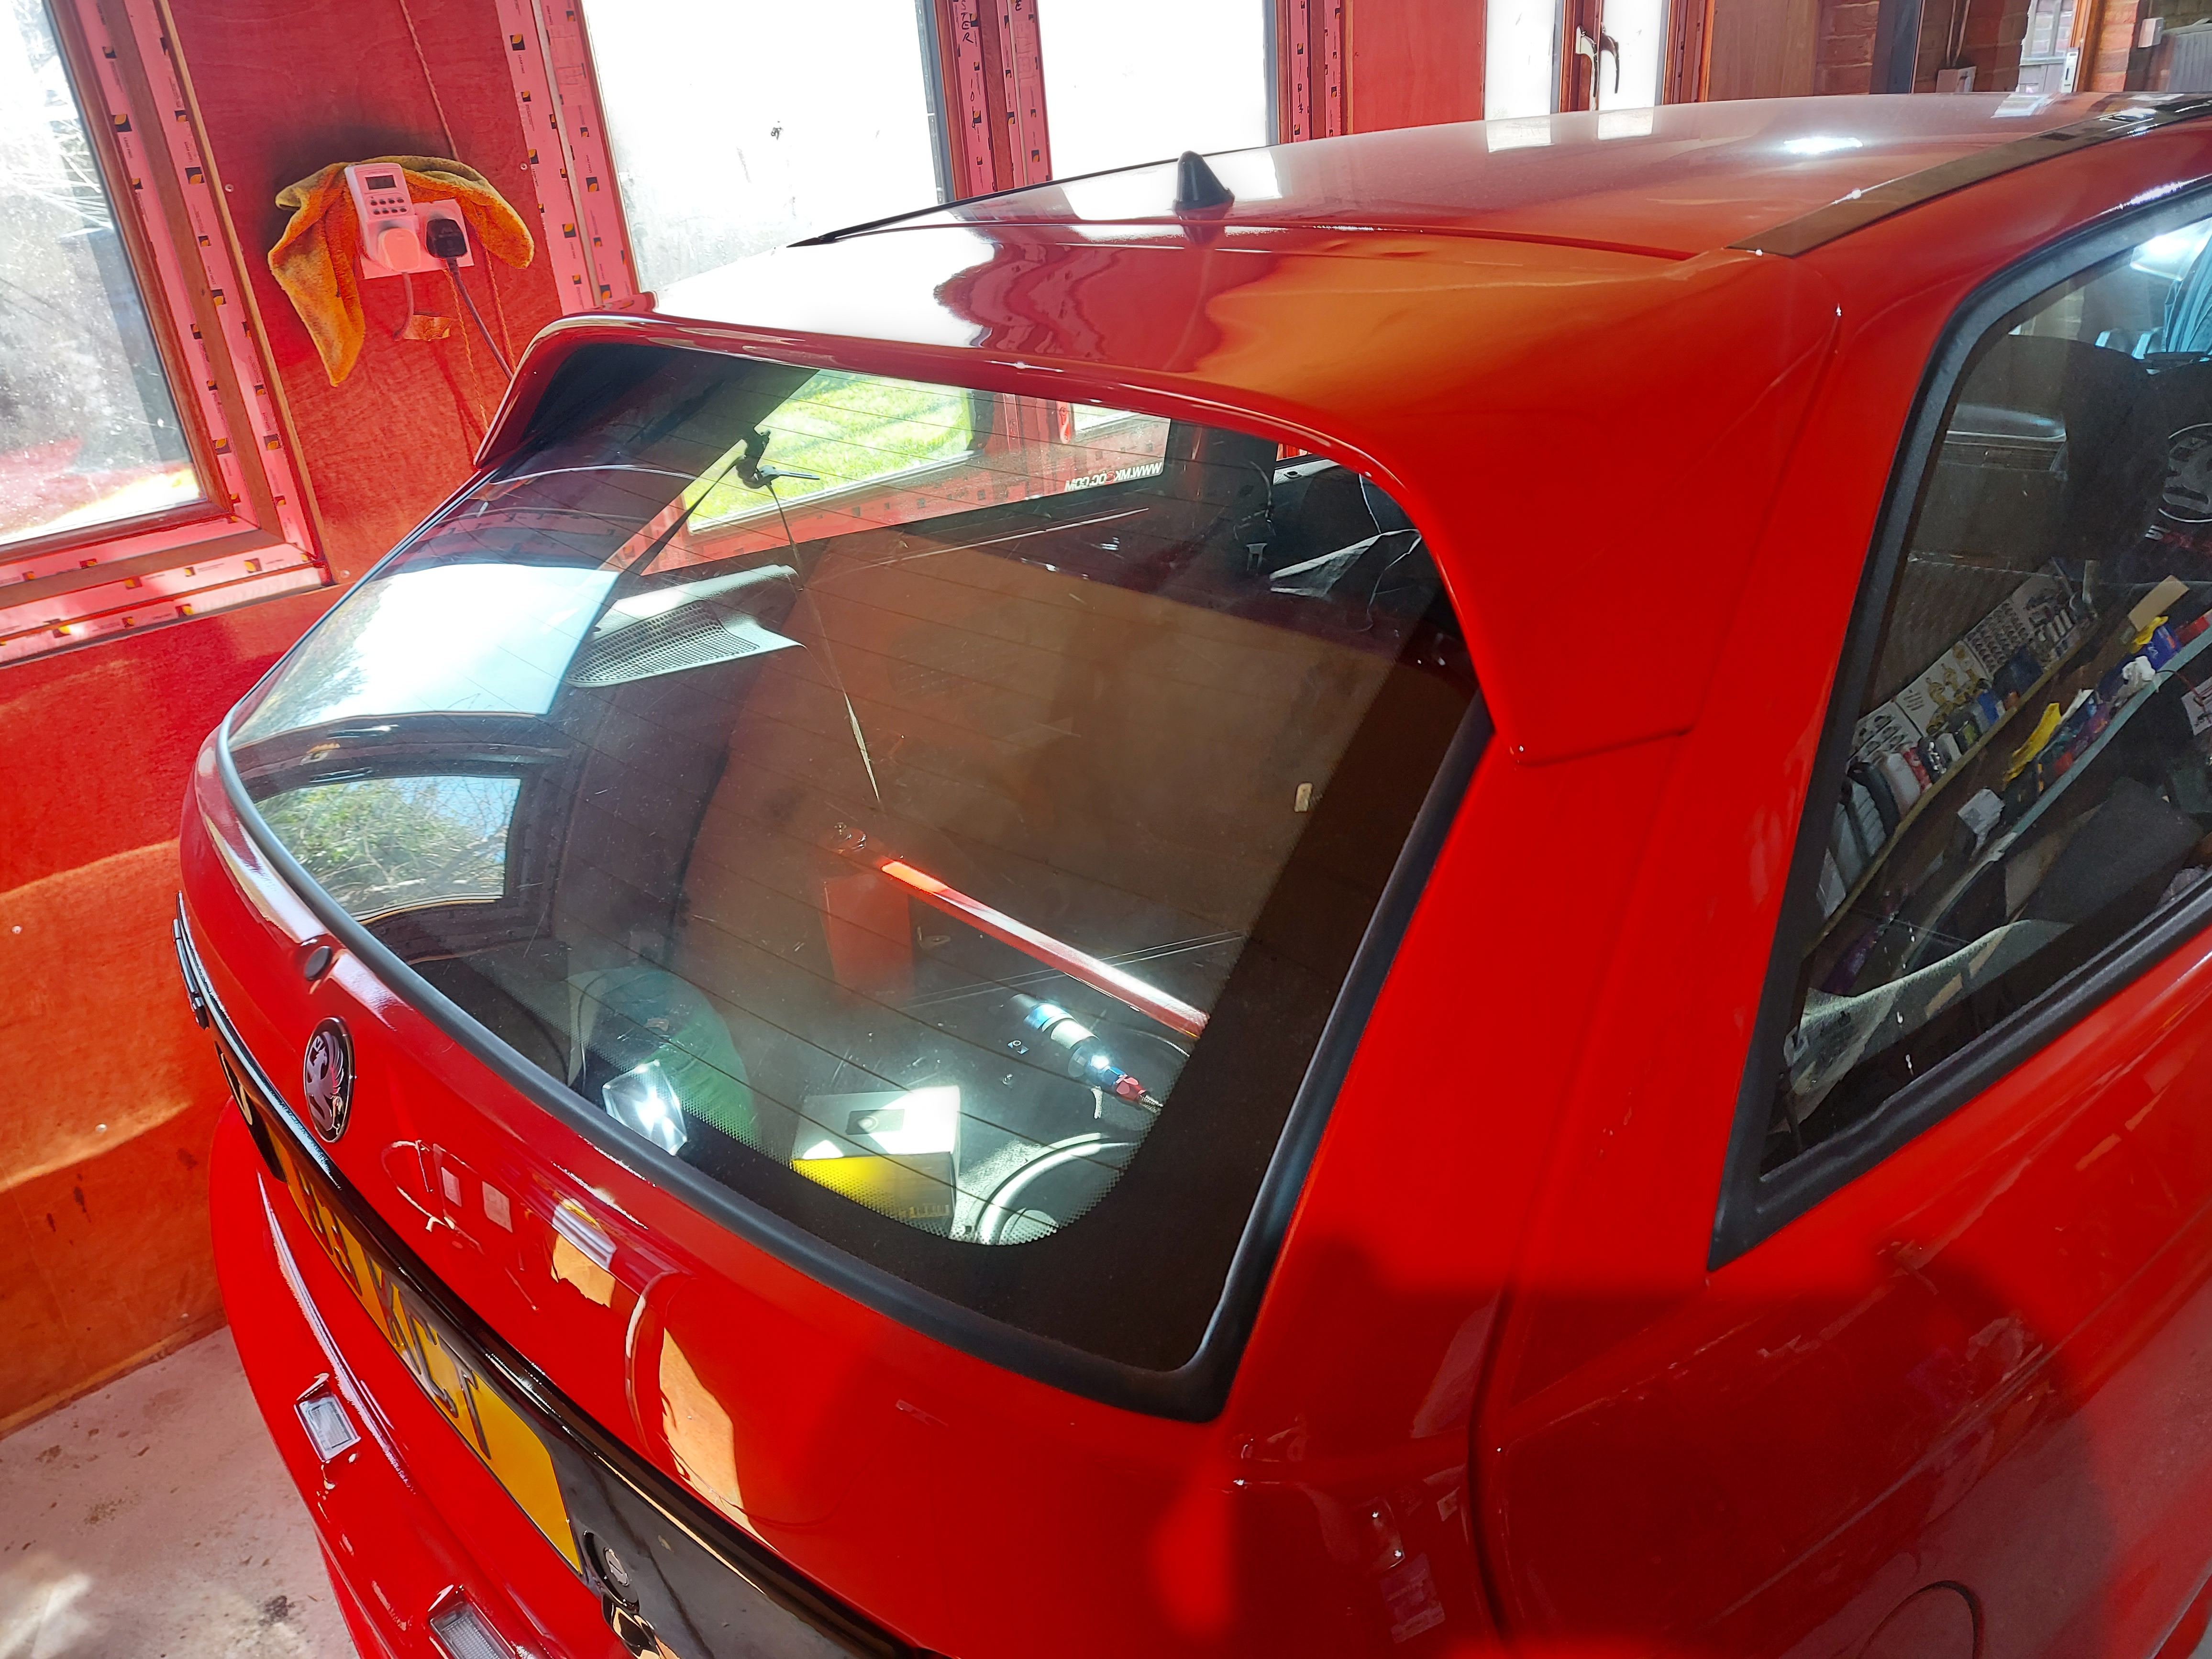
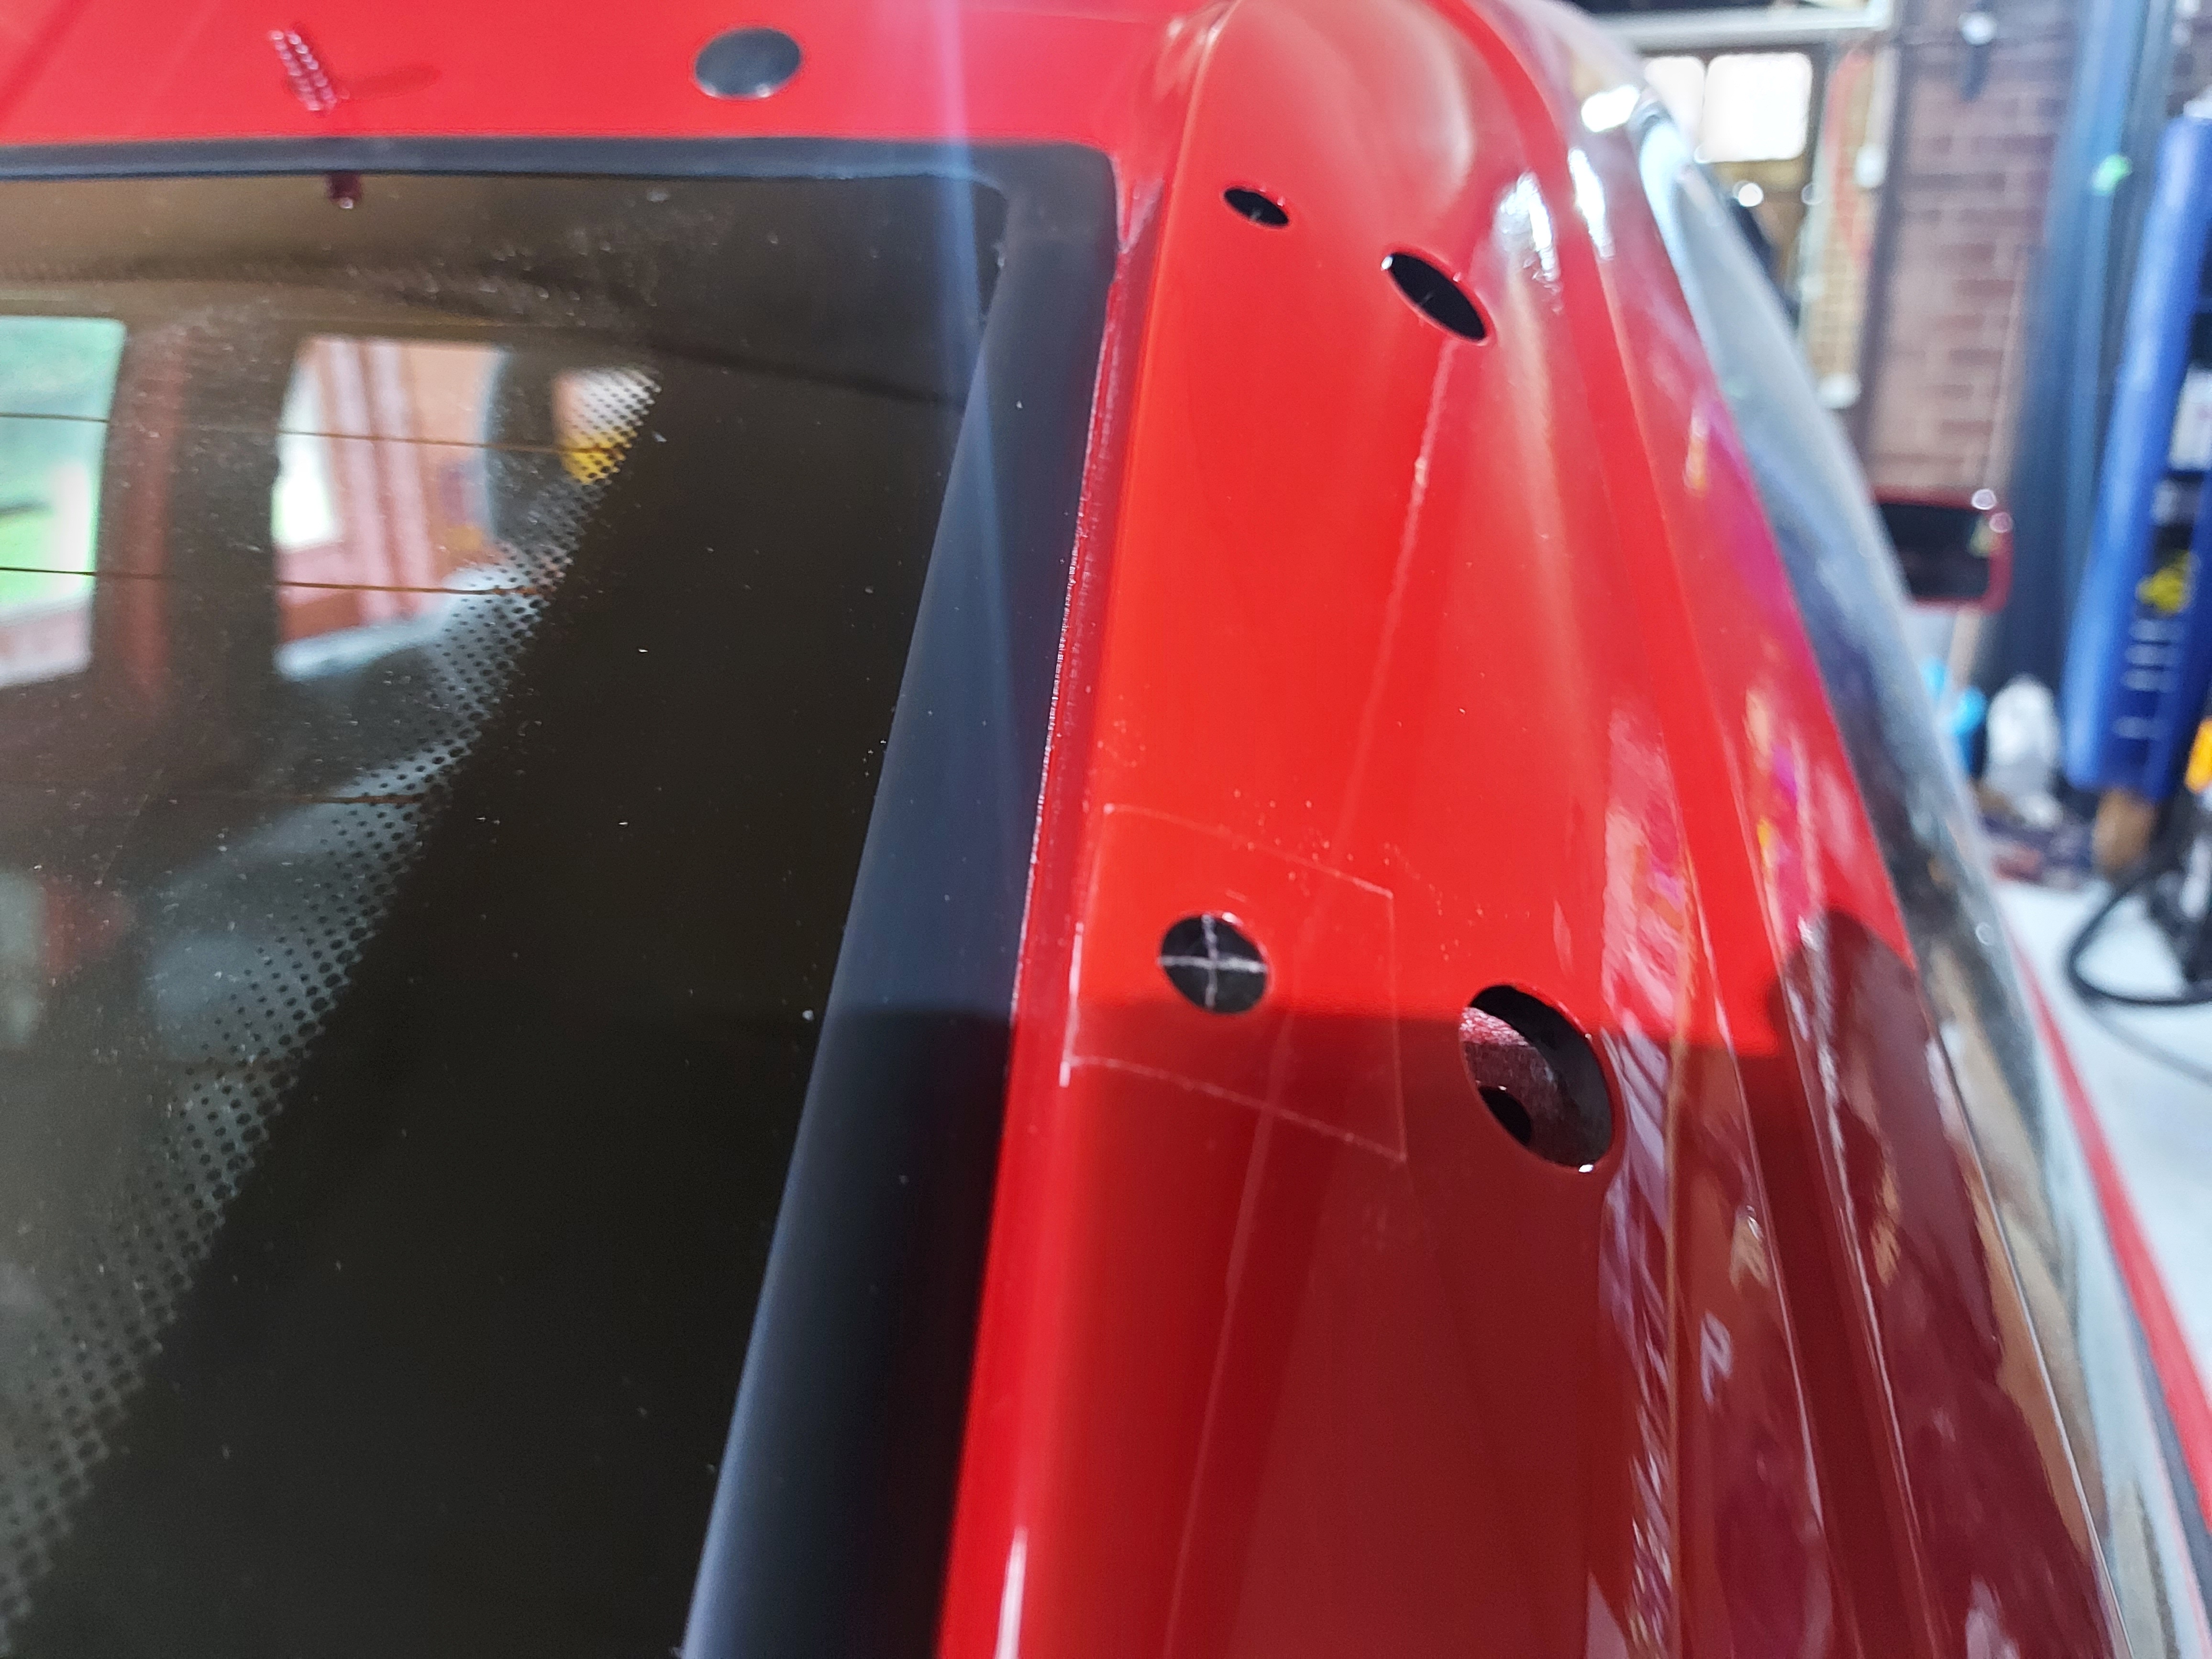
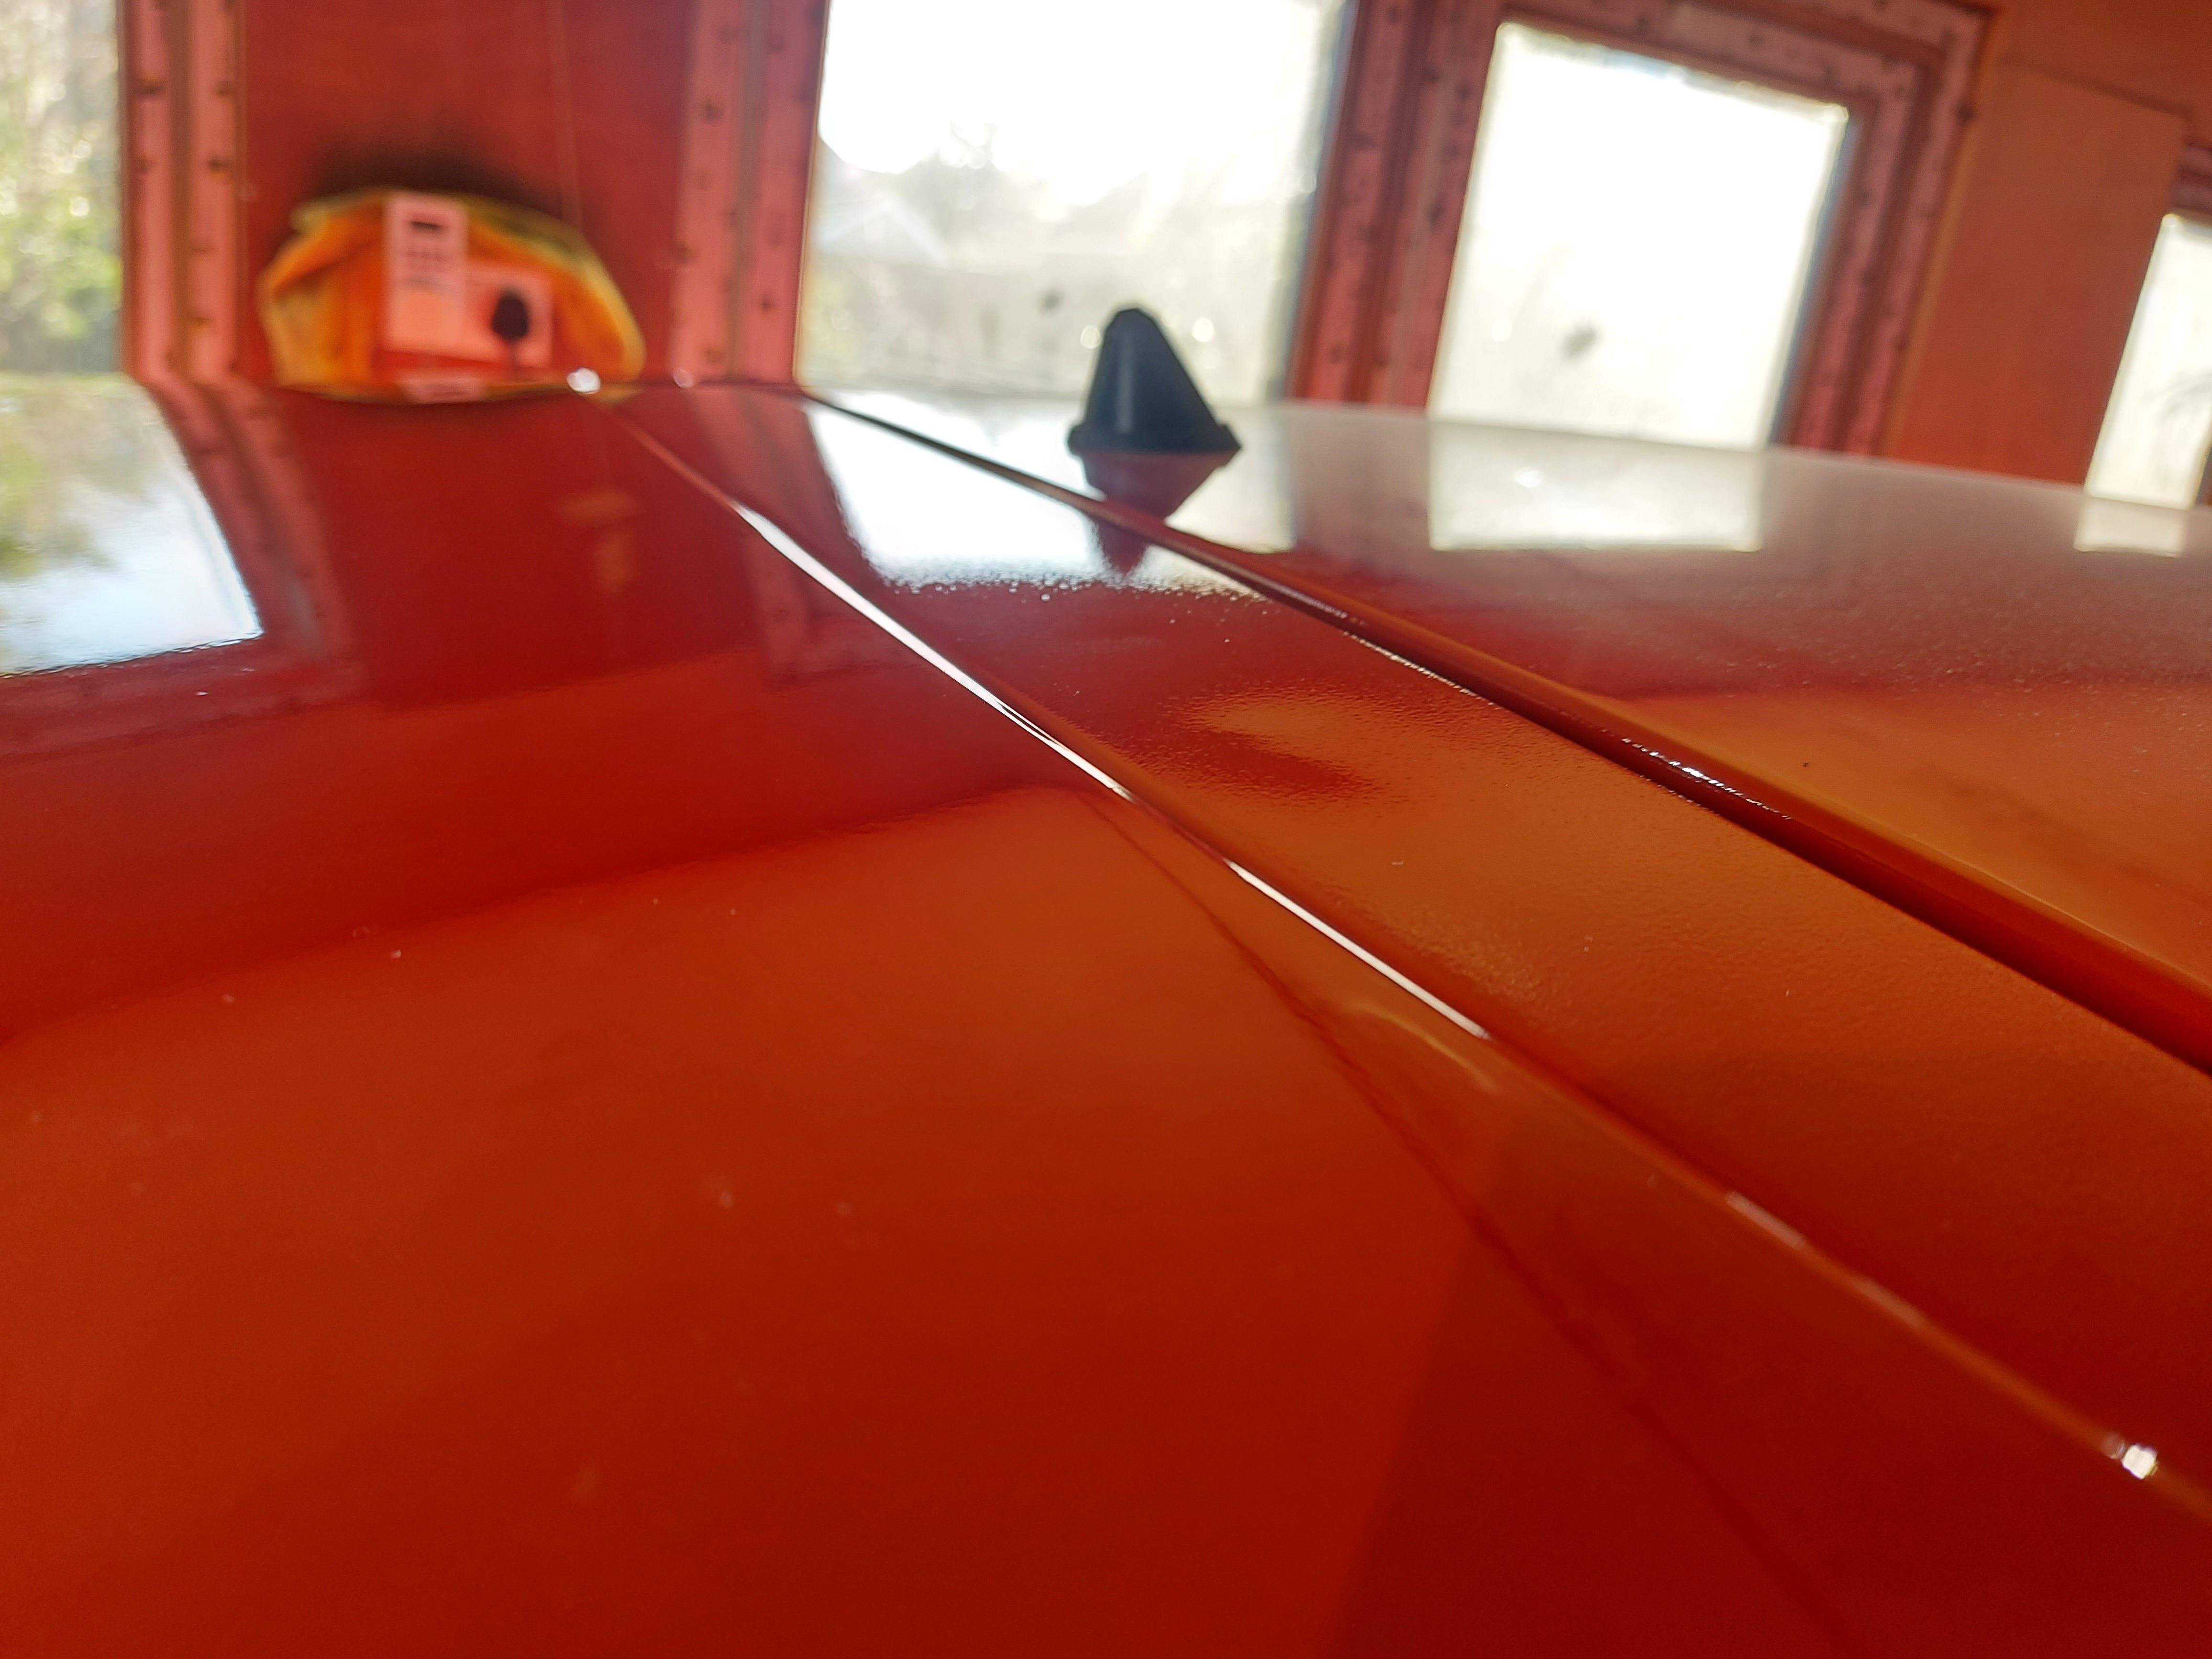
Now it's time to show you guys something a bit annoying. My brand new tailgate has 2 dents in the top I couldn't even see them until the clear coat was on, or wasn't looking for them in a brand new panel. Annoying, very annoying but there isn't alot I can do about it now. There is no access from the inside for a dent man or anything. I could potentially just spray that section in the future as the blend line would be under the spoiler but I don't know. i'll see how much it annoys me later. It very orange peely for now as I didn't want to try and wet flat a panel with dents in it.
I would of ended up with a panel with a shiny gloss finish and 2 orange peely circles.
Hey ho!
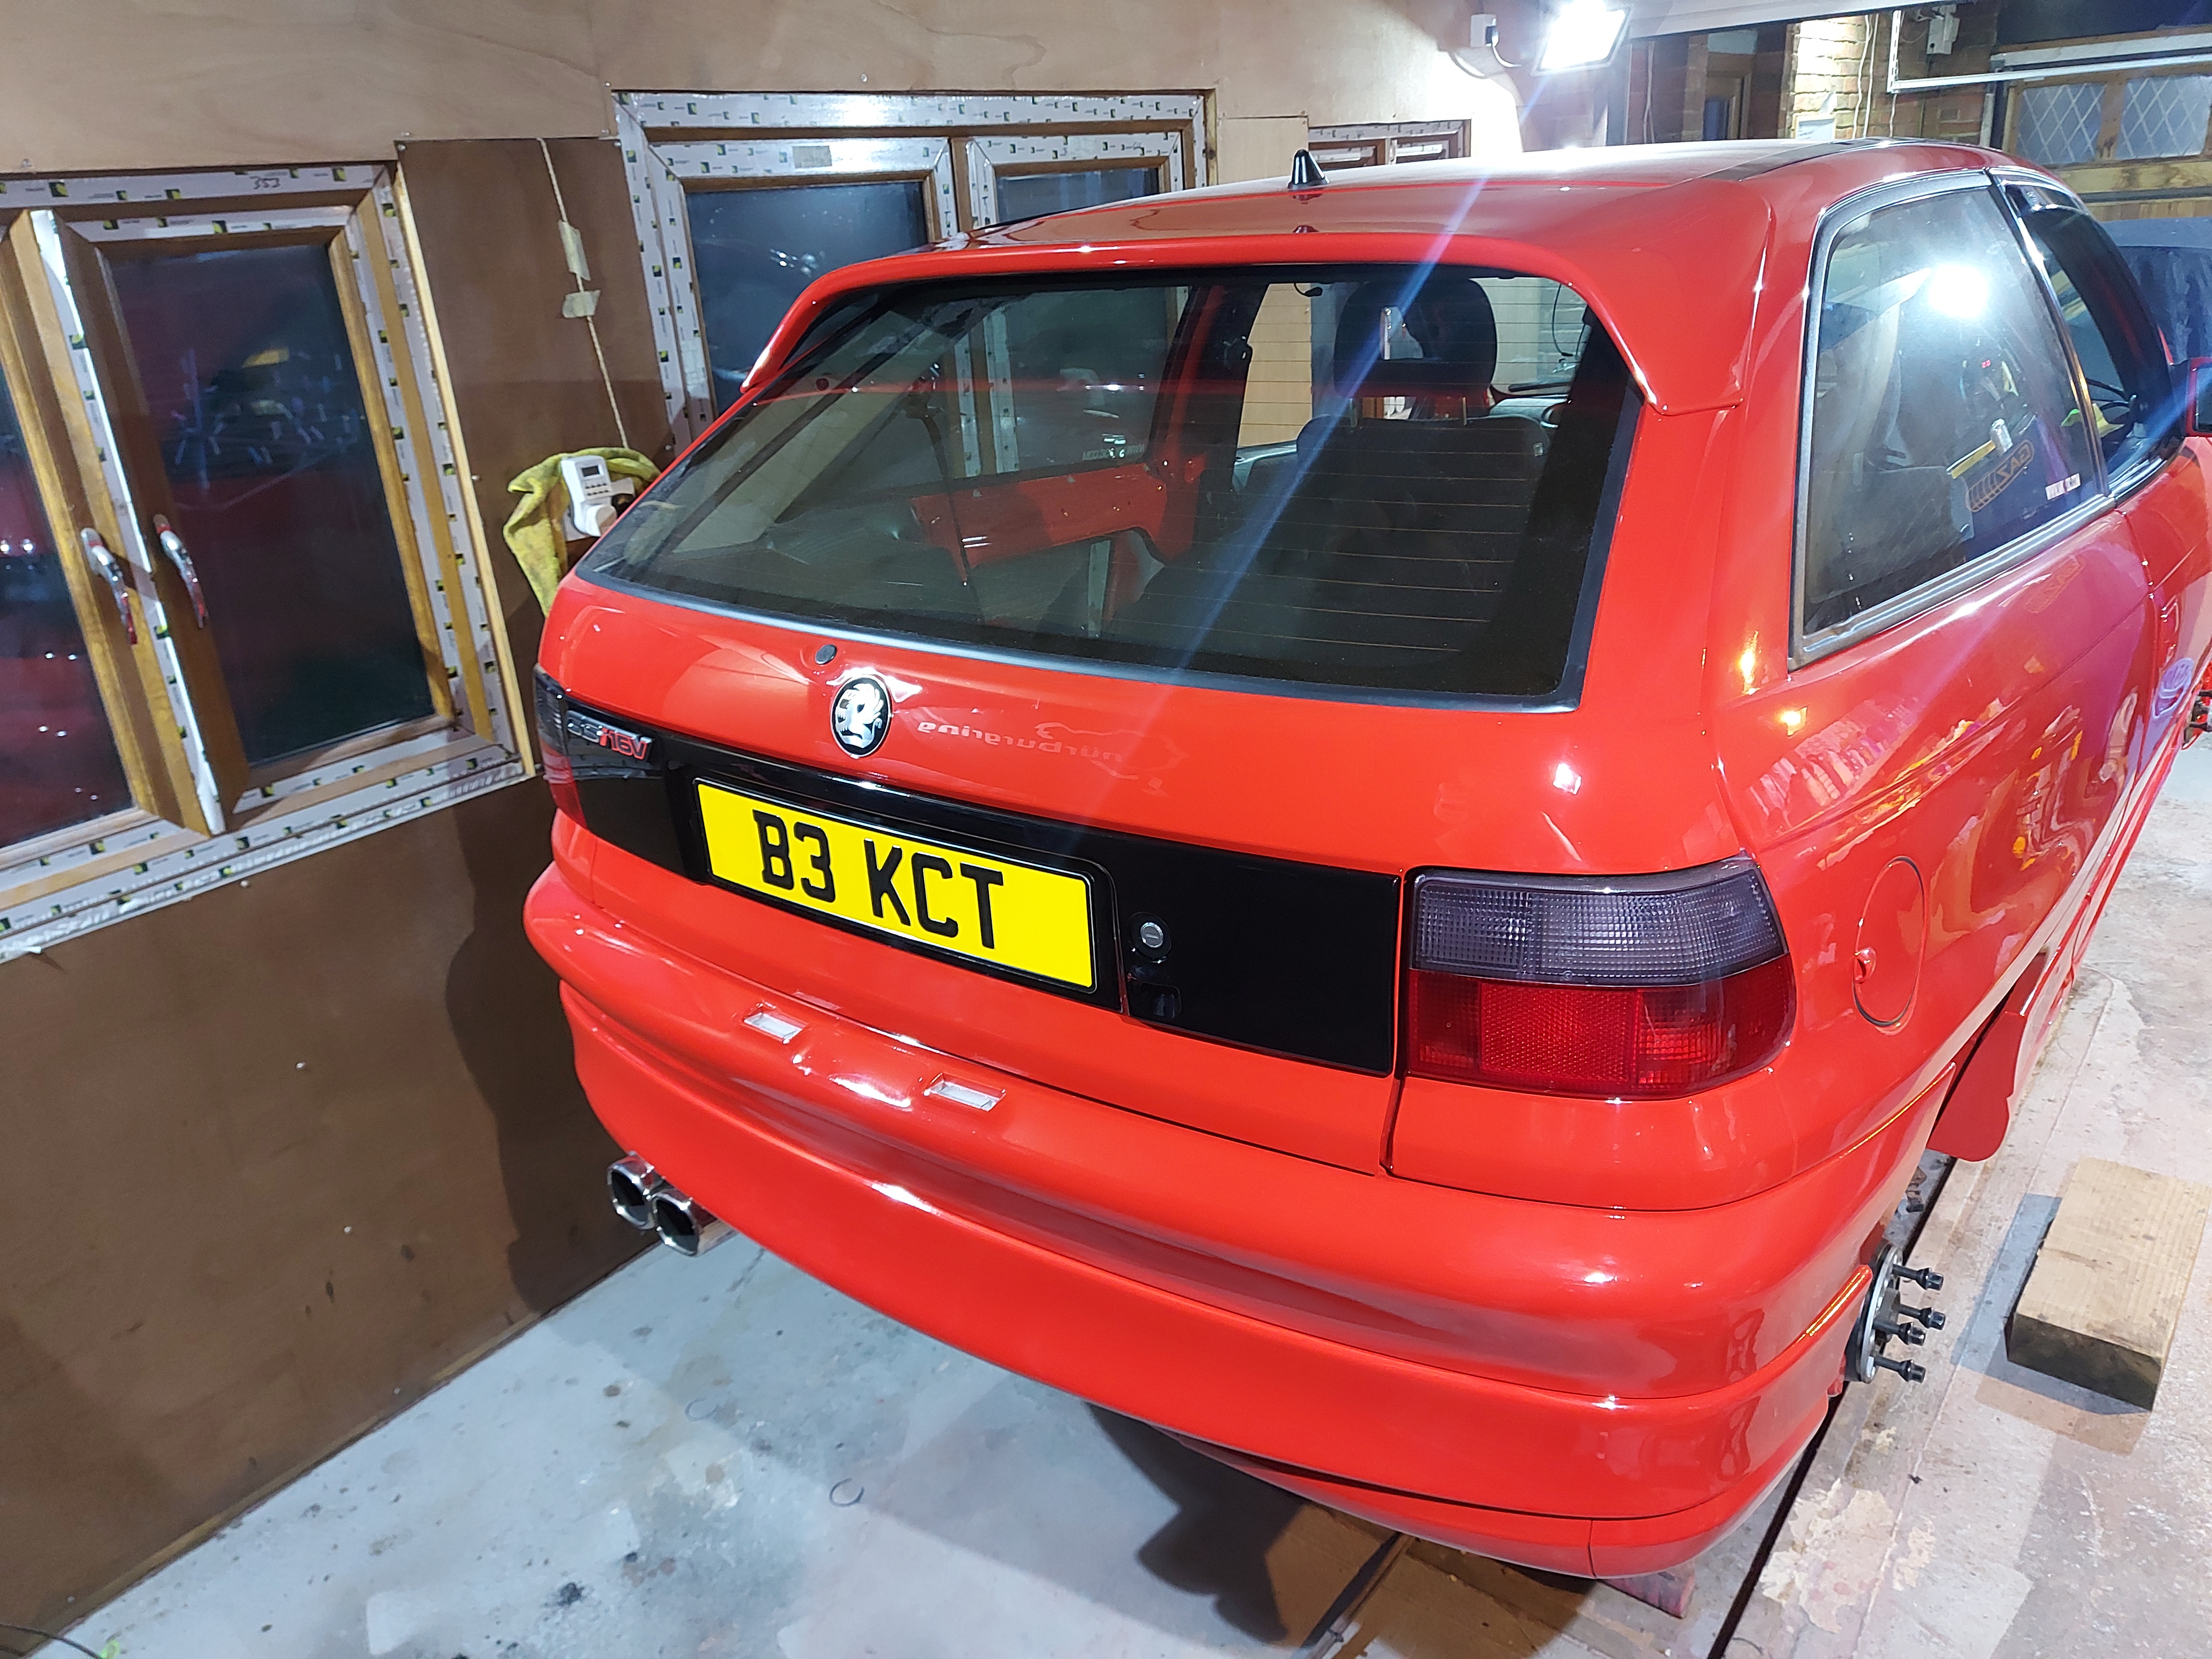
All trims on
Really taking shape
Clean up the door sealing strips and popped them on
So I got the first bit of the headling back.... about bloody time
Tastey, look how smooth it is! so I carefully fitted it and still managed to get finger dents in the material lol
Luckily I returned the next day and dents had worked their way out basically so that's good to know, although i'll have to be super careful with the head lining when I get that back some time in 2025
Sunroof glass cleaned up and refitted. Really wish there was a way of getting new seals and refurbing the glass, the seals are all cracked but luckily if they don't seal completely the water runs down the channels!
Next up, the rusty sunroof wind deflector, used a flappy wheel to take this back to metal
primed
and satin black and fitted
next up, time to fit the spoiler, Started by fitting bungs to all the unused holes in the tailgate, fitted the mounting frame to the tailgate, protecting the tailgate with helicopter tape and bolting it up.
Next up, time to quick polish the spoiler. It's at this point I found out that the spoiler is still the original paint!
Can't believe it, It does have a tiny chip in the paint i'll probably give it a spray this winter or something.... or more than likely not. It shines up ok albeit, you can see it is duller cause of the lack of clear coat.
Now it's time to show you guys something a bit annoying. My brand new tailgate has 2 dents in the top
I couldn't even see them until the clear coat was on, or wasn't looking for them in a brand new panel. Annoying, very annoying but there isn't alot I can do about it now. There is no access from the inside for a dent man or anything. I could potentially just spray that section in the future as the blend line would be under the spoiler but I don't know. i'll see how much it annoys me later. It very orange peely for now as I didn't want to try and wet flat a panel with dents in it.I would of ended up with a panel with a shiny gloss finish and 2 orange peely circles.
Hey ho!
All trims on
Really taking shape
Clean up the door sealing strips and popped them on
Lastly Polished the bumper toe eye cover, which I forgot to spray but in reality, didn't need doing as it's mint
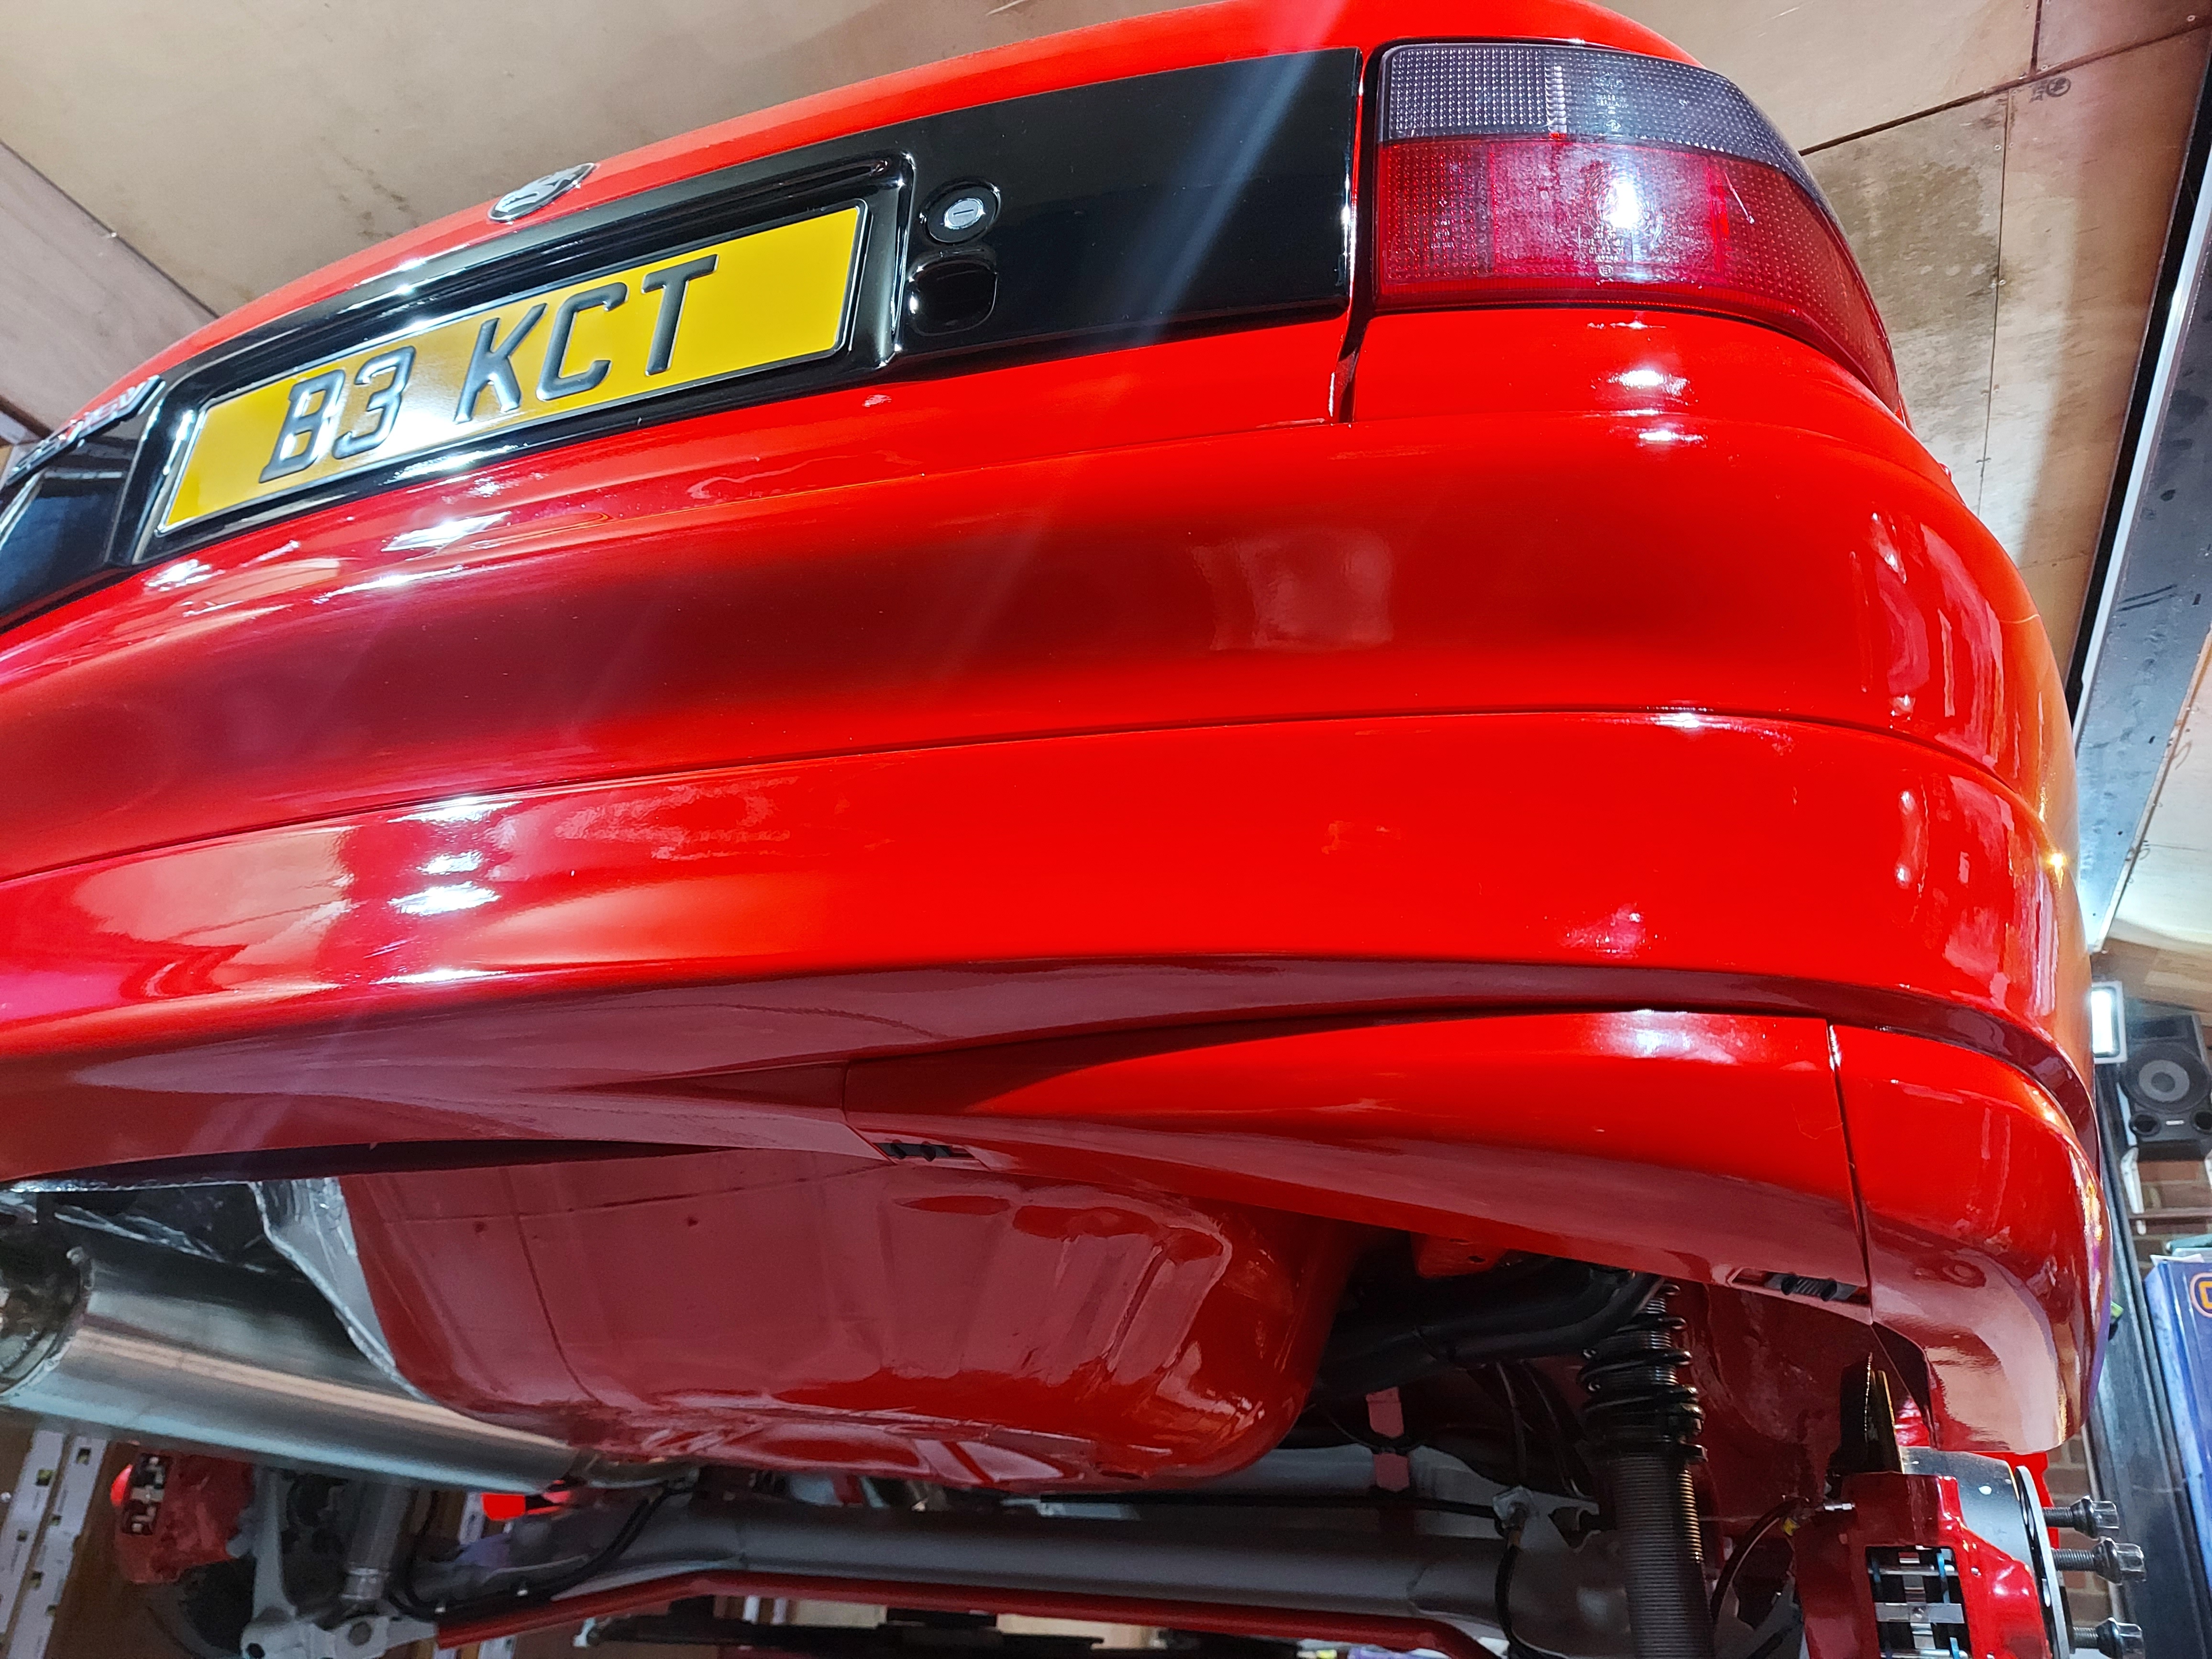
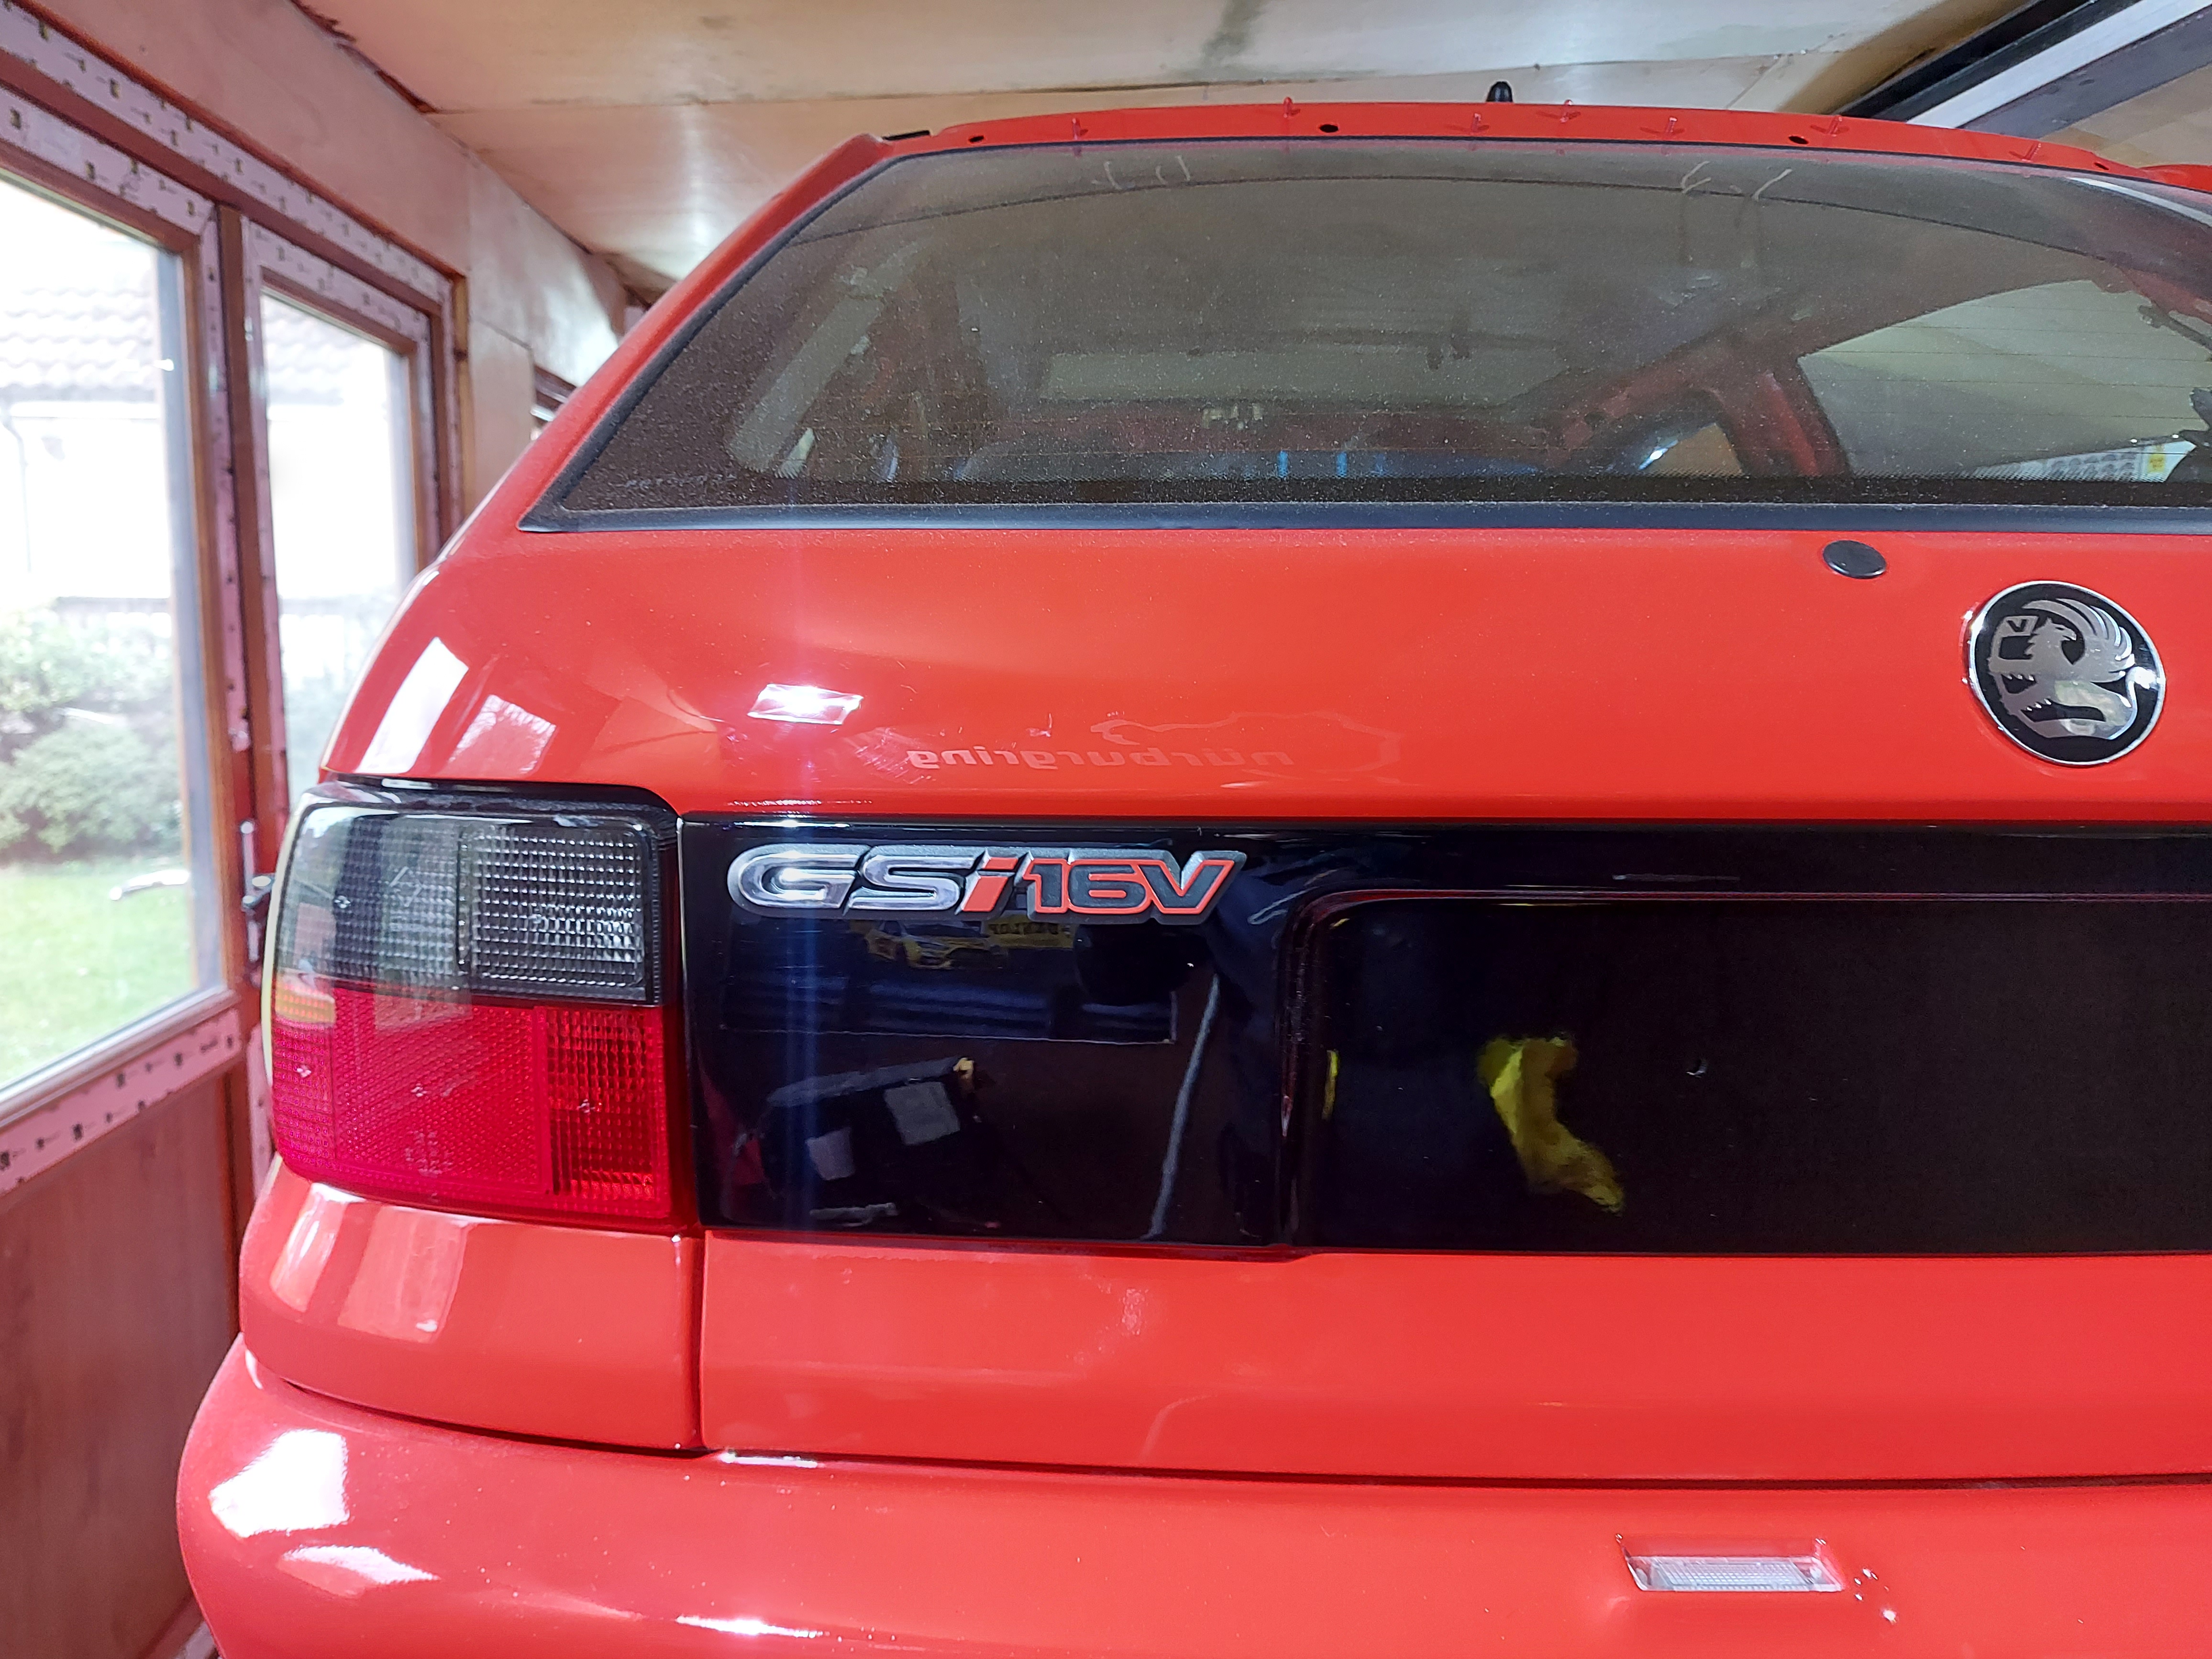
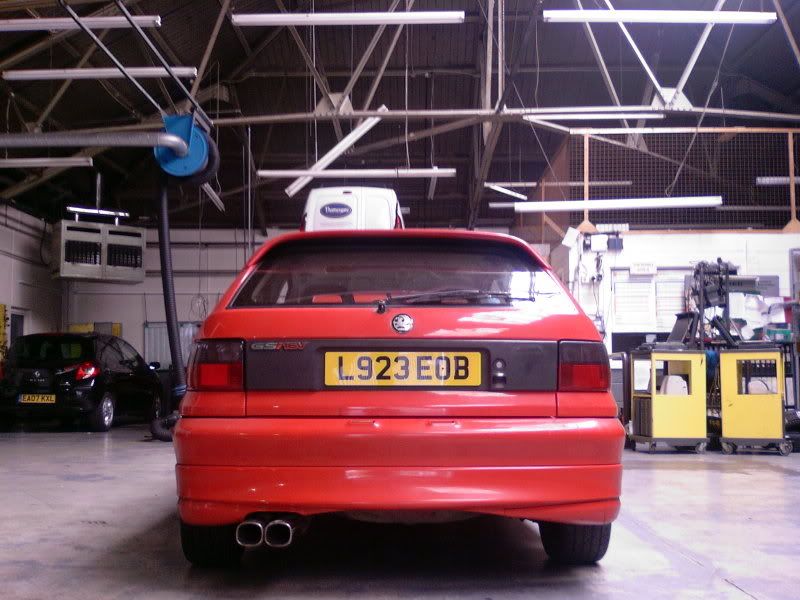
Back end all together, brand new OE GSI16v badge fitted.
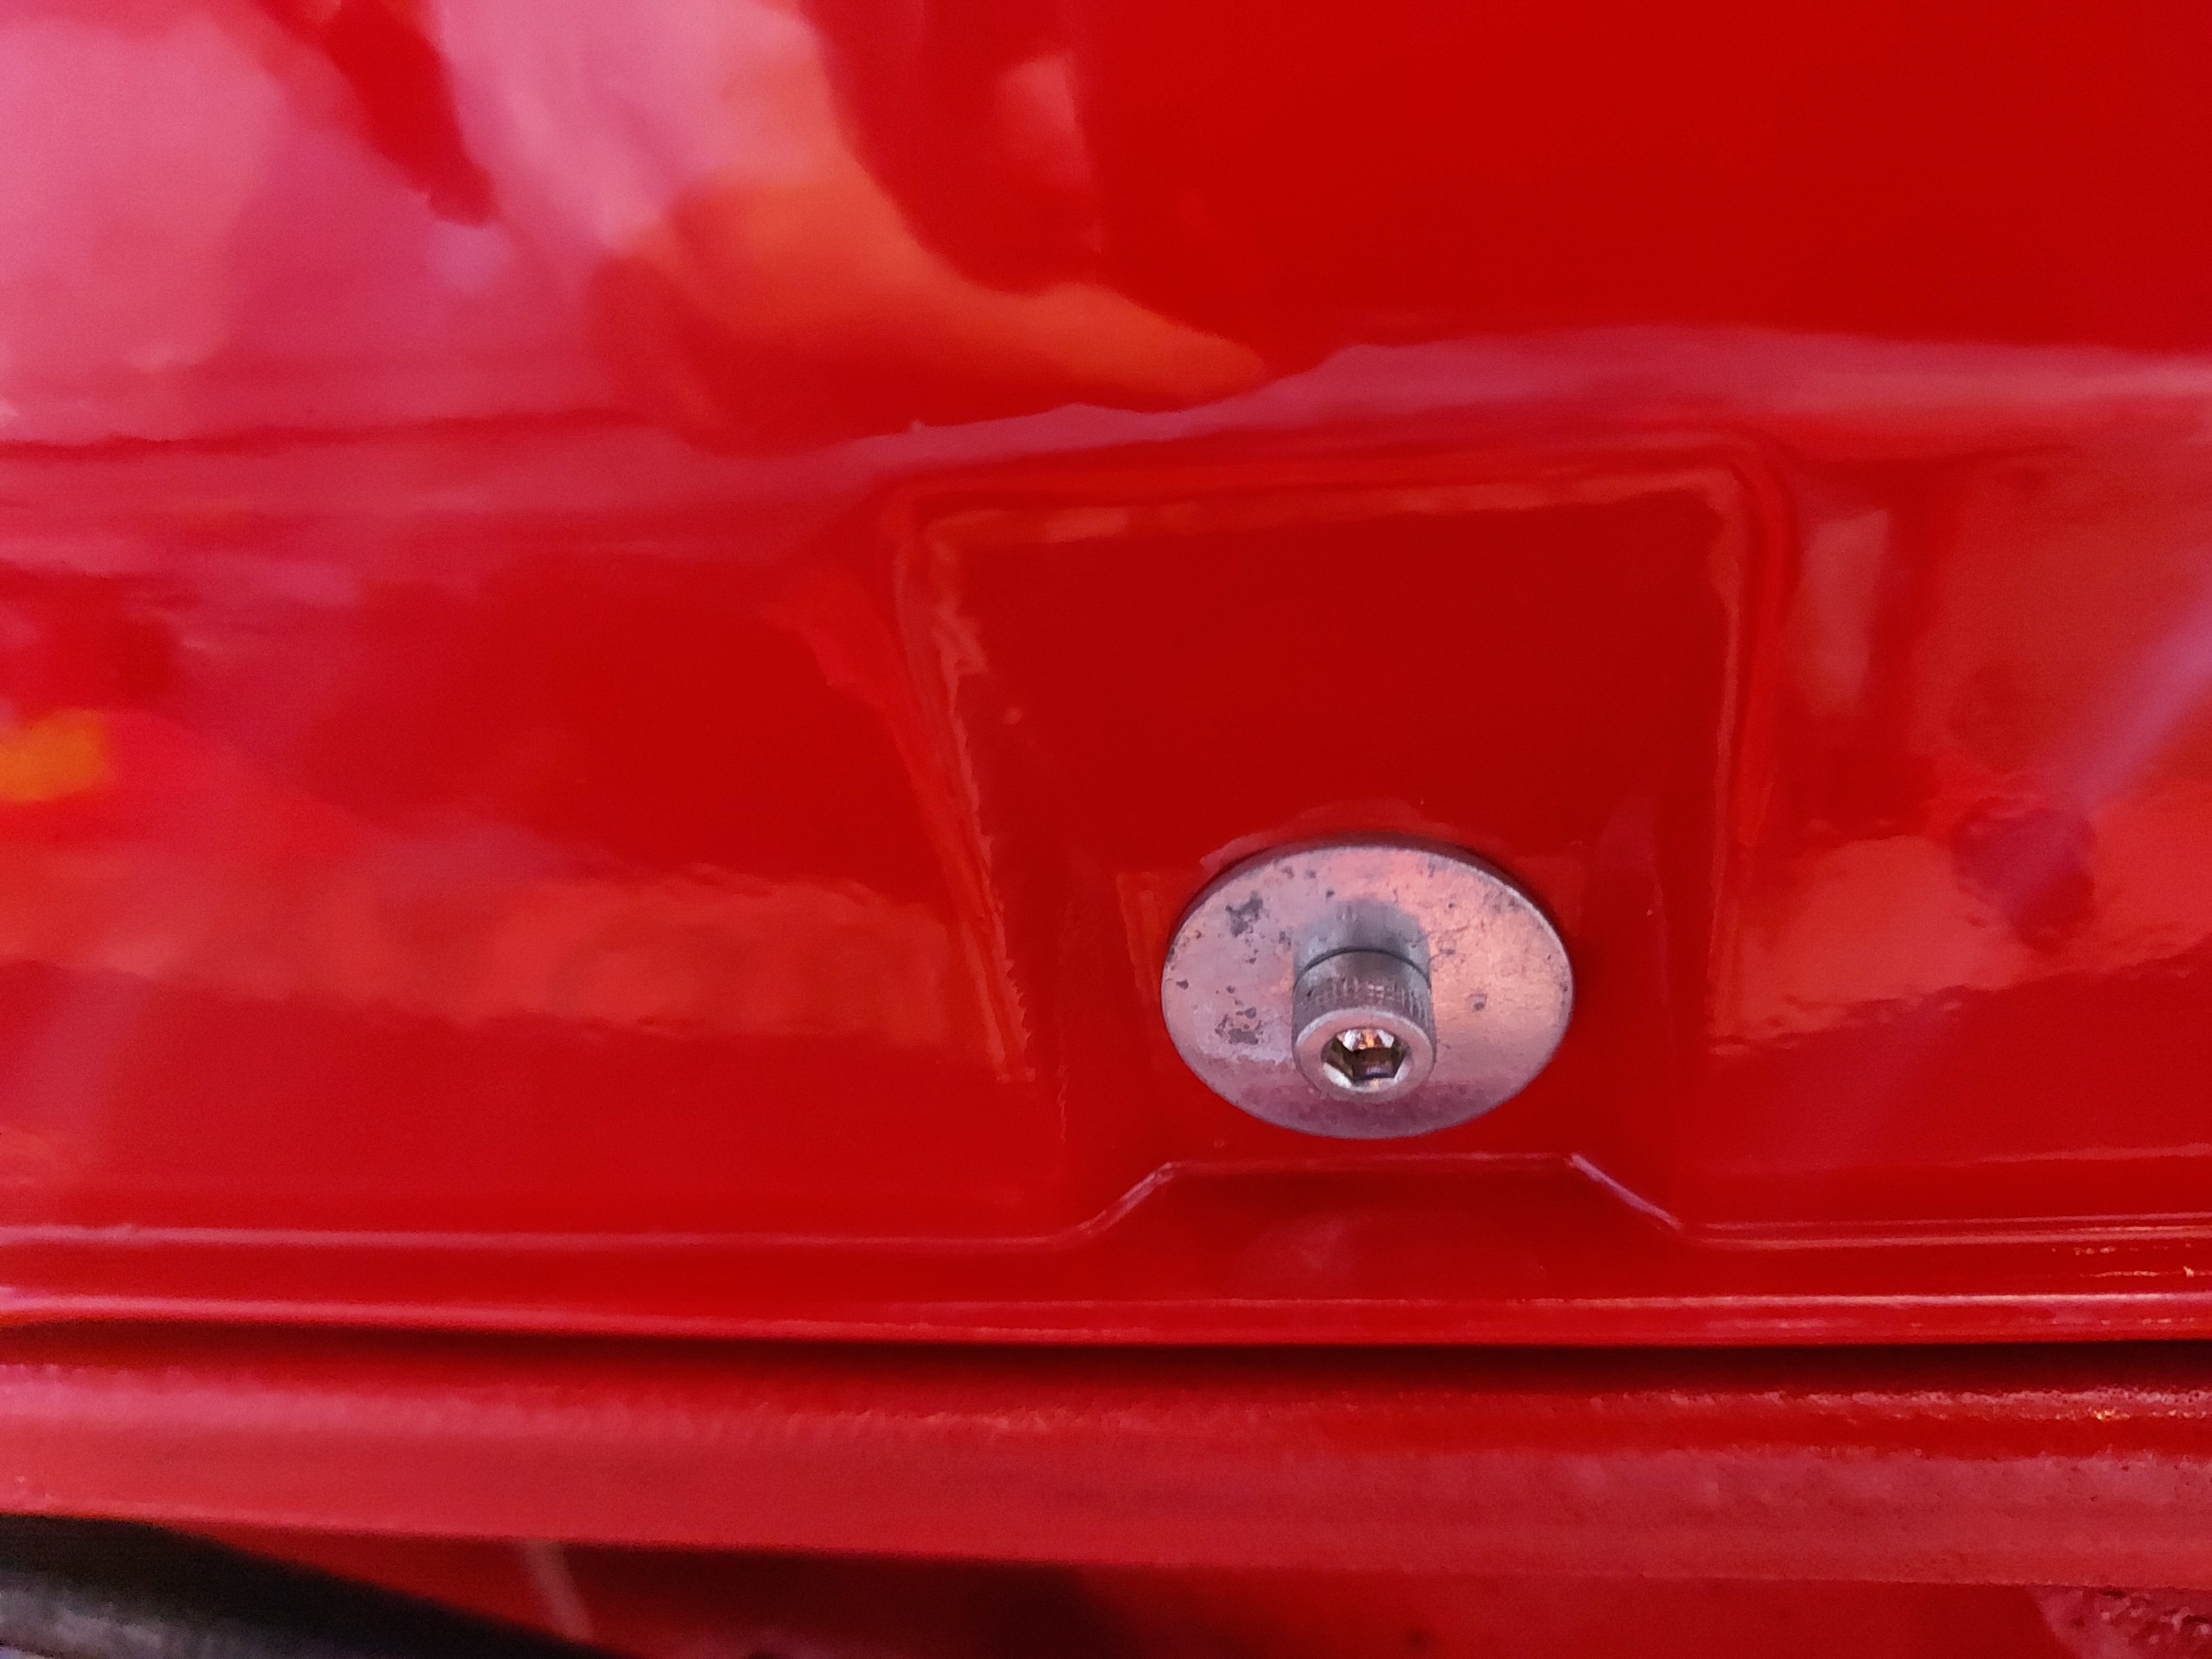
Last but not least, Spotted some corrosion already on the washers for the side skirts. This was stainless bolt, stainless rivnut, Normal washer.
So now all the washers have been changed out stainless washers lol. Bloody car is trying to corrode and hasn't left the workshop
That's all folks!
Back end all together, brand new OE GSI16v badge fitted.
Last but not least, Spotted some corrosion already on the washers for the side skirts. This was stainless bolt, stainless rivnut, Normal washer.
So now all the washers have been changed out stainless washers lol. Bloody car is trying to corrode and hasn't left the workshop
That's all folks!
M9KDS
Club Member
wow looks amazing real hard work been put in there, being 285 pages long anyone point me in the direction of mounting and gearbox used etc, i have my MK3 with a poorly red top now I have a VXR donor car complete, so feel it would be fun to use the vxr heart to good use. also the mk3 is still striped as a track car so could use VXR clocks etc if needed and can get past the immobiliser with abs etc?
Kieren
Kieren
wow looks amazing real hard work been put in there, being 285 pages long anyone point me in the direction of mounting and gearbox used etc, i have my MK3 with a poorly red top now I have a VXR donor car complete, so feel it would be fun to use the vxr heart to good use. also the mk3 is still striped as a track car so could use VXR clocks etc if needed and can get past the immobiliser with abs etc?
Kieren
Hello mate, thanks for the comment. The vxr stuff is complex because of the canbus system it uses. The best setup in my opinion would be the mk4 management, then u can use the clocks, all the engine ecu and wiring, people do looms to go from mk3 to mk4. Then use the LEH engine for the under piston squirters and all the power!
John459
Club Member
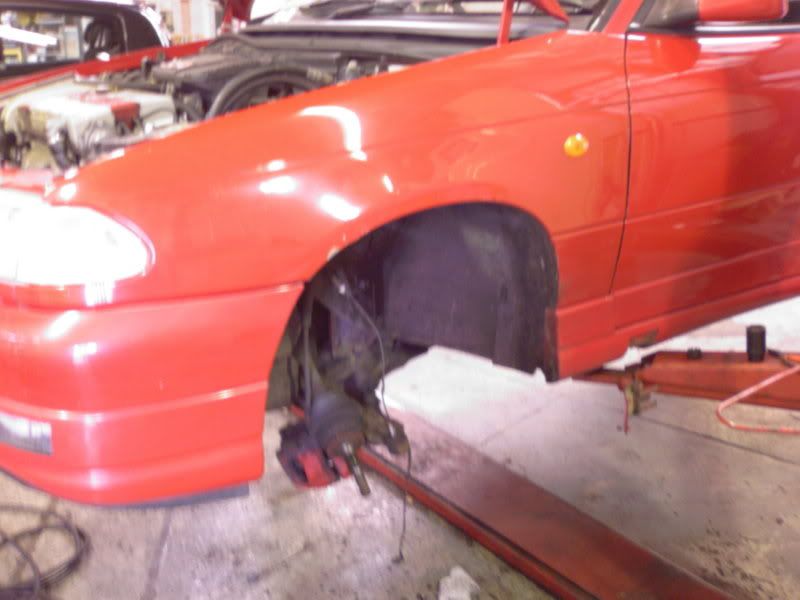
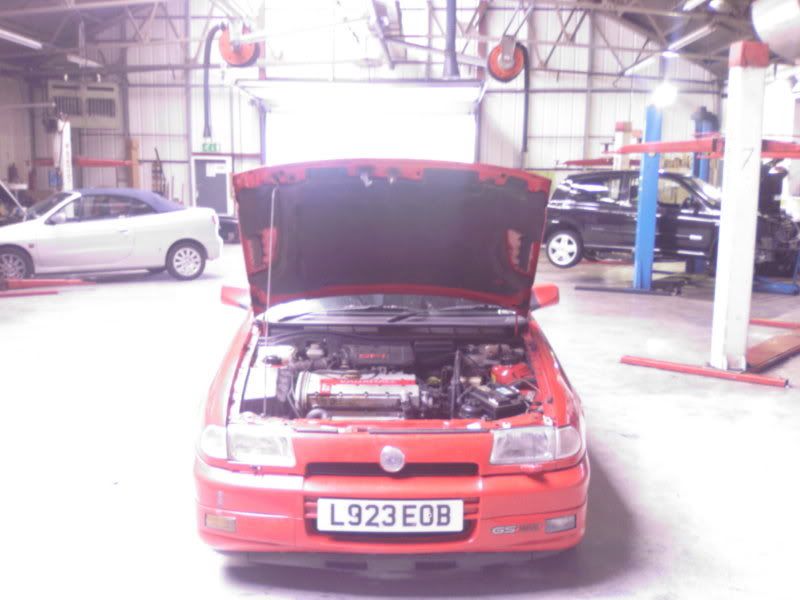
Congratulations it looks like you have got yourself a cracking car there I have had my Astra atlas for 18 years, but she has been in storage for 8 months and I do miss her, but my red LS hi-torq which I purchased 11 months ago is a good substitute, as I absolutely love mark 3 Astra's!well i have decided to make a new thread in order to make a fresh start for this car,
also this thread now counts as a restoration because the gsi i bought is in such a bad state
so you may of read this first bit before so here it goes...
but its ok cause that was on the friday and sat morn at 5 am i set of to get my new gsi!!
pretty train pictures

7 n half hours by train n 90 quid later i picked her up after having a test drive and a good look round it, the guy was well alright about it was more like a sale then an ebay job as he let me look rund it b4 i decided to have it which was cool
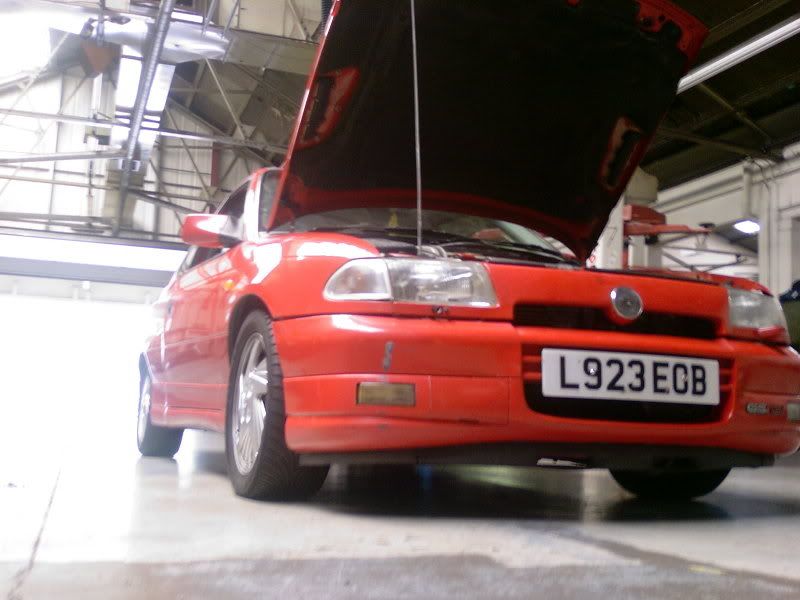
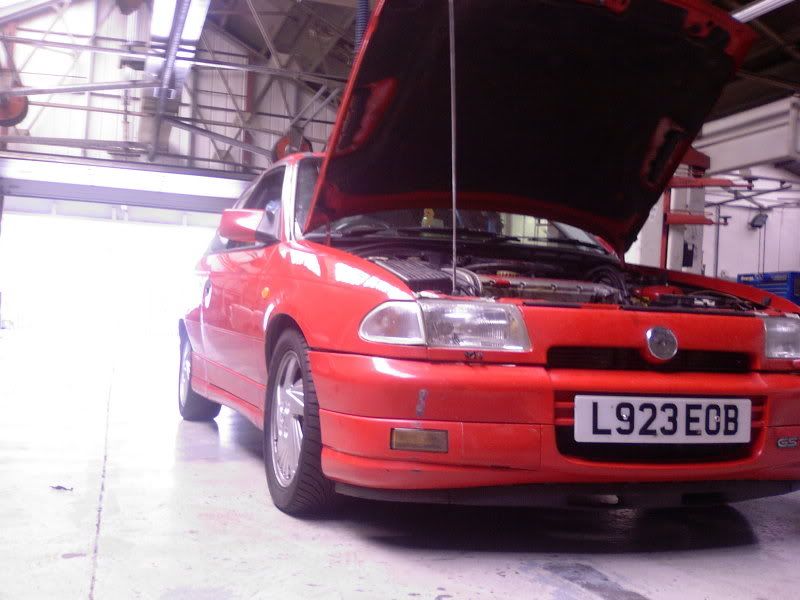
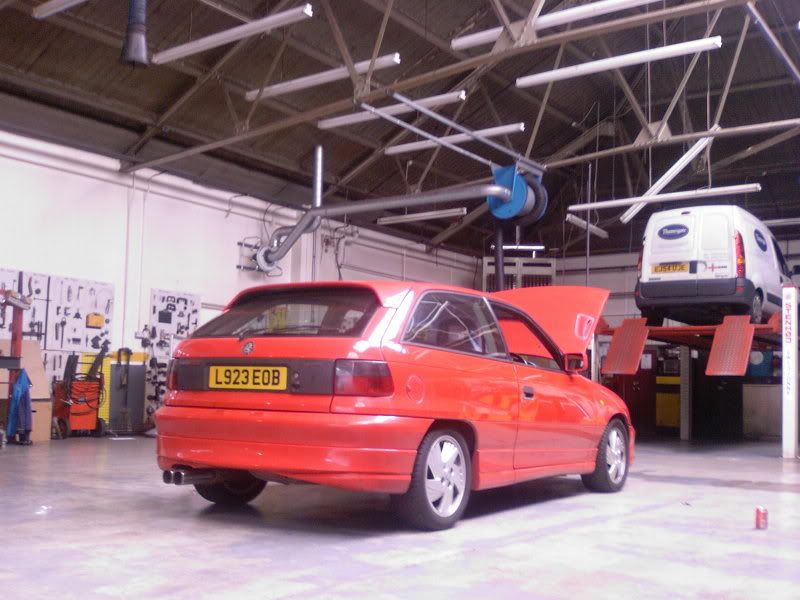
here she is on my drive
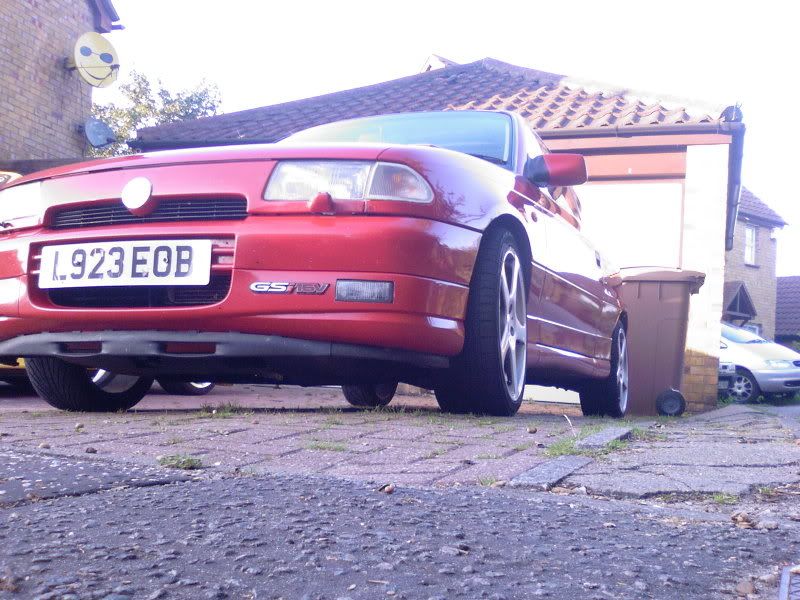
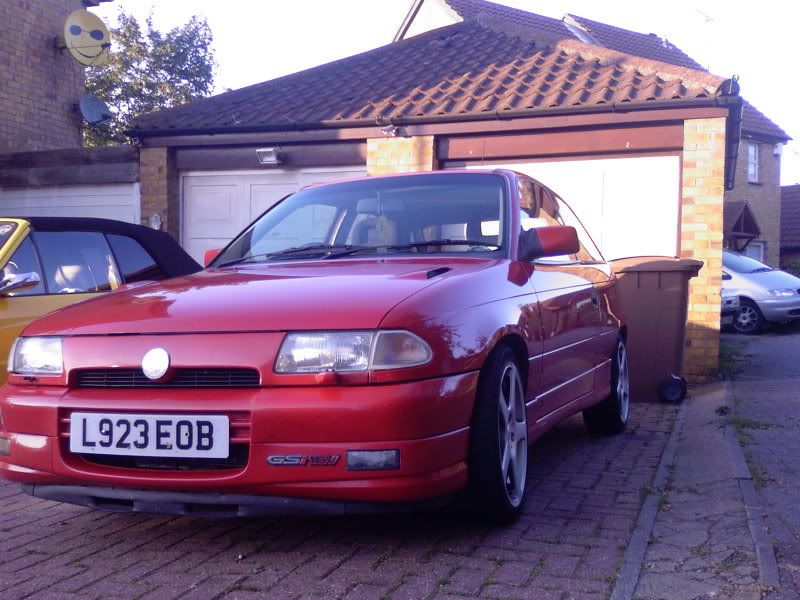
well pleased with her
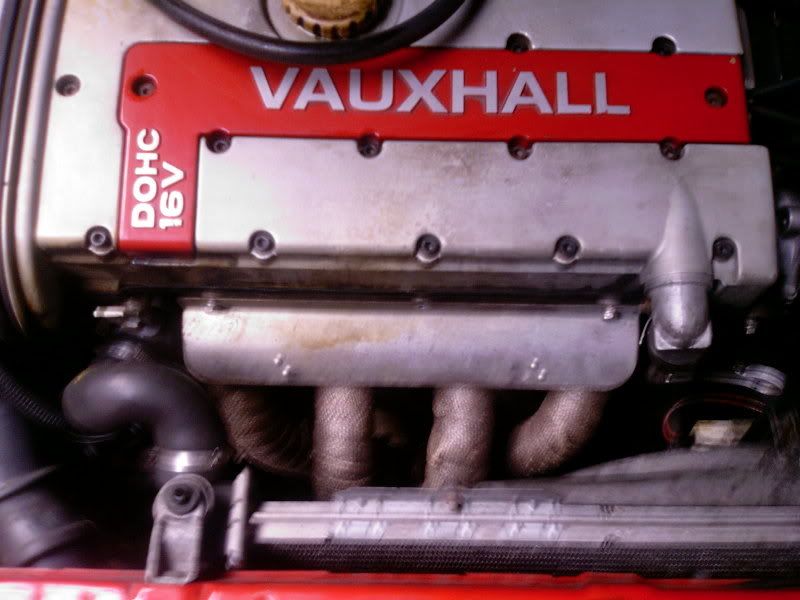
totally standard spec apart form alloys, stainless 4 branch and sports cat
which is a result
bad points...
-typical rust-archs.wiper motor,rear lights n slite on front arch but nothin major
-looks like someone has tried breaking into it as it has a dent like a screw driver under the drivers door handle
-need serious tlc n some sprayin done but family friends has a spray shop n he is **** hot so all in good time
apart from that nothin my thousands of pound worth of parts n my garage won't solve
will be proper mint mechanical wise in couple of months then will just need to go in the body shop wen i got the money
other thing to ad white haven has some seriously nice mountainous roads...

and 135mph on the m6 toll road with a cat on it
that will be comin straight off on tue at work lol
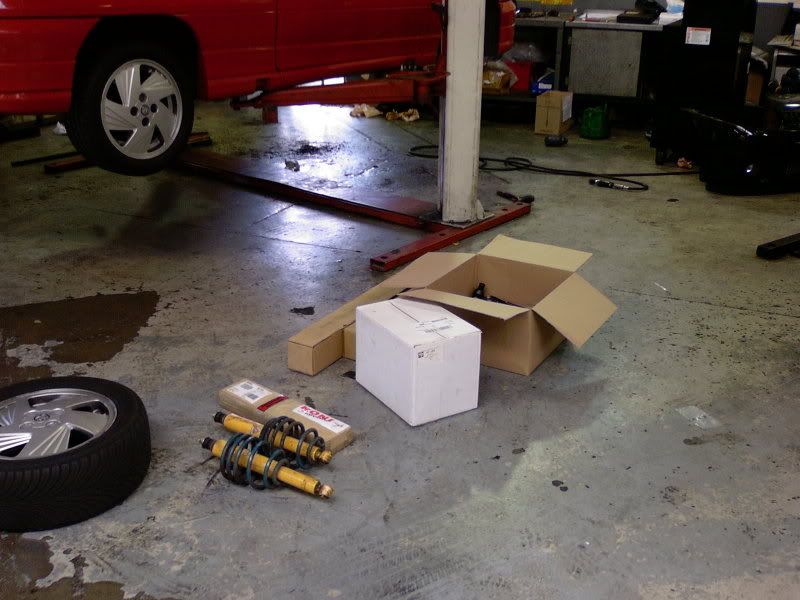
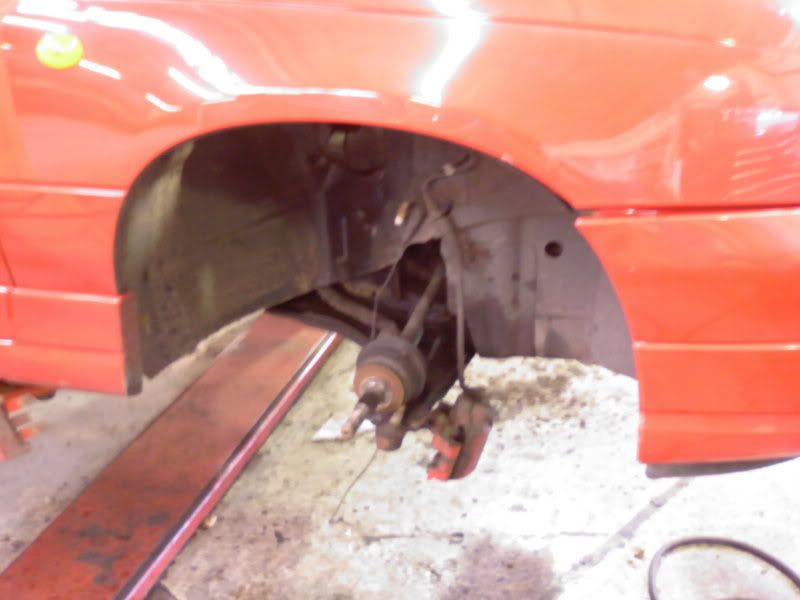
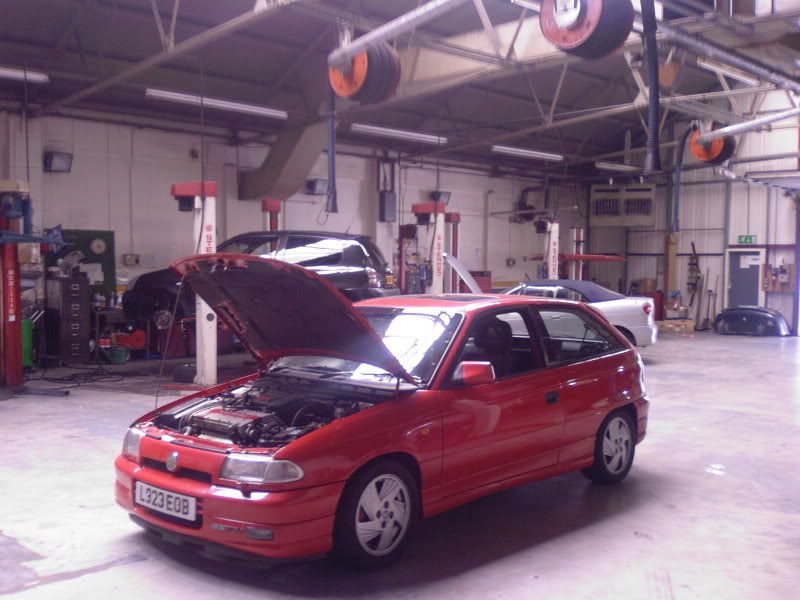
well i ahev had very non stop weekend at work, been at the garage all weekend fitting loads of stuff...
heat wrapped 4 branch manifold
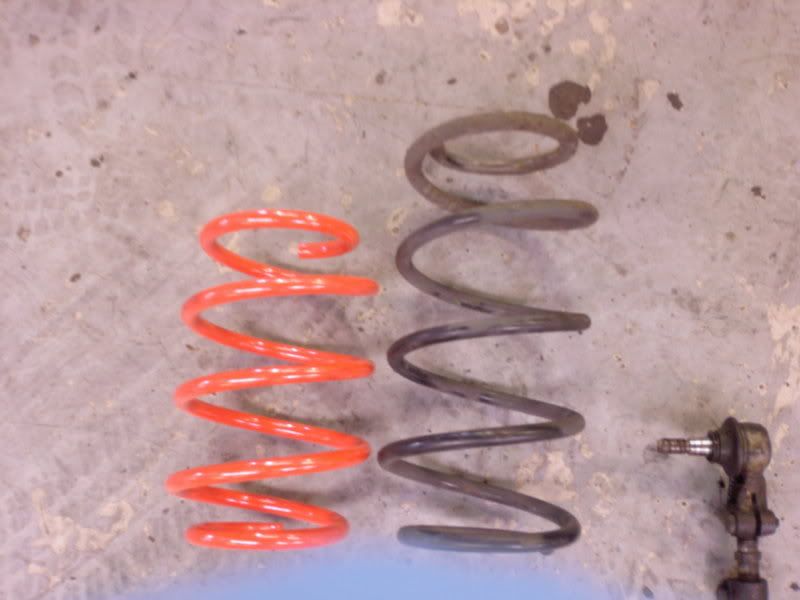
koni adjustables with 40mm drop all round
wishbones
driveshaftes
track rod end
top mounts
anti roll bar links
was a complete mission in all taking me about 11 hours lol god i hate rust
but its a beauty now and rides real nice
here some sneaky pics


the car is now not goin to be touch untill after rr day as i now i will just break it! after that will be...
drilled n groved n ebc pads all round n braided hoses
all fun!

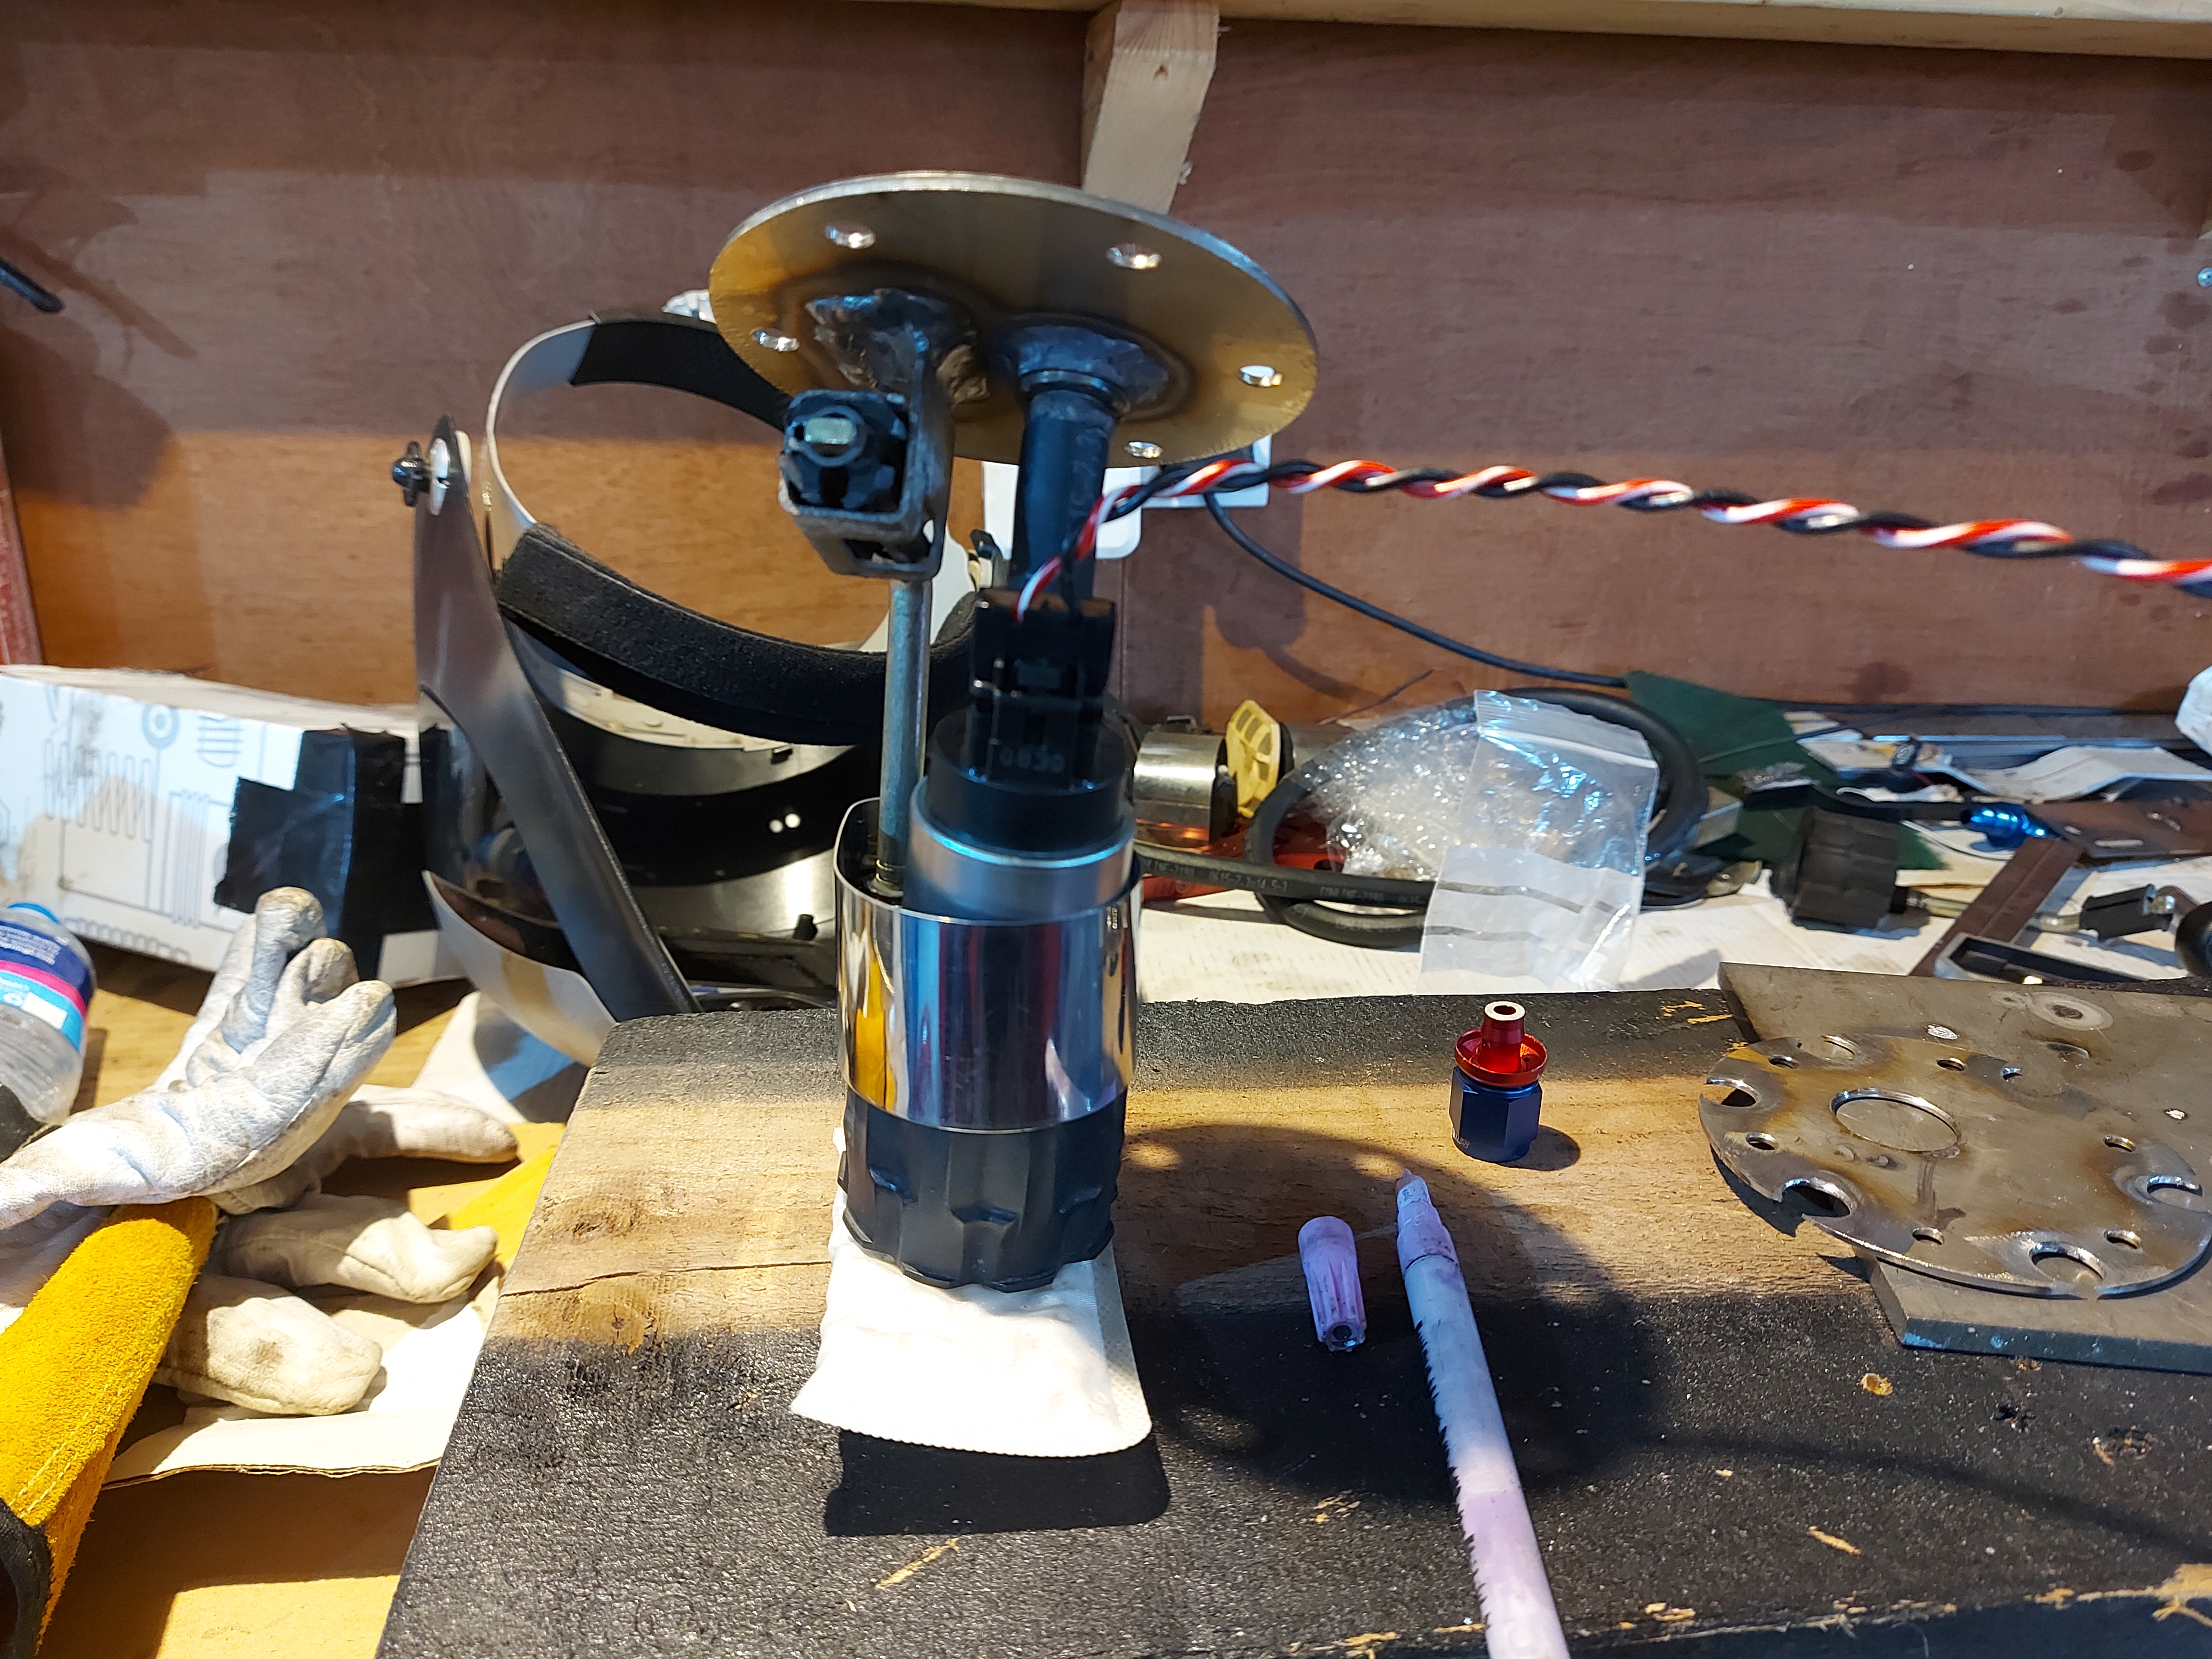
So we are back onto the fuel pump SAGA!!!
So if you can remember, i adapted the standard in tank fuel pump cradle like this
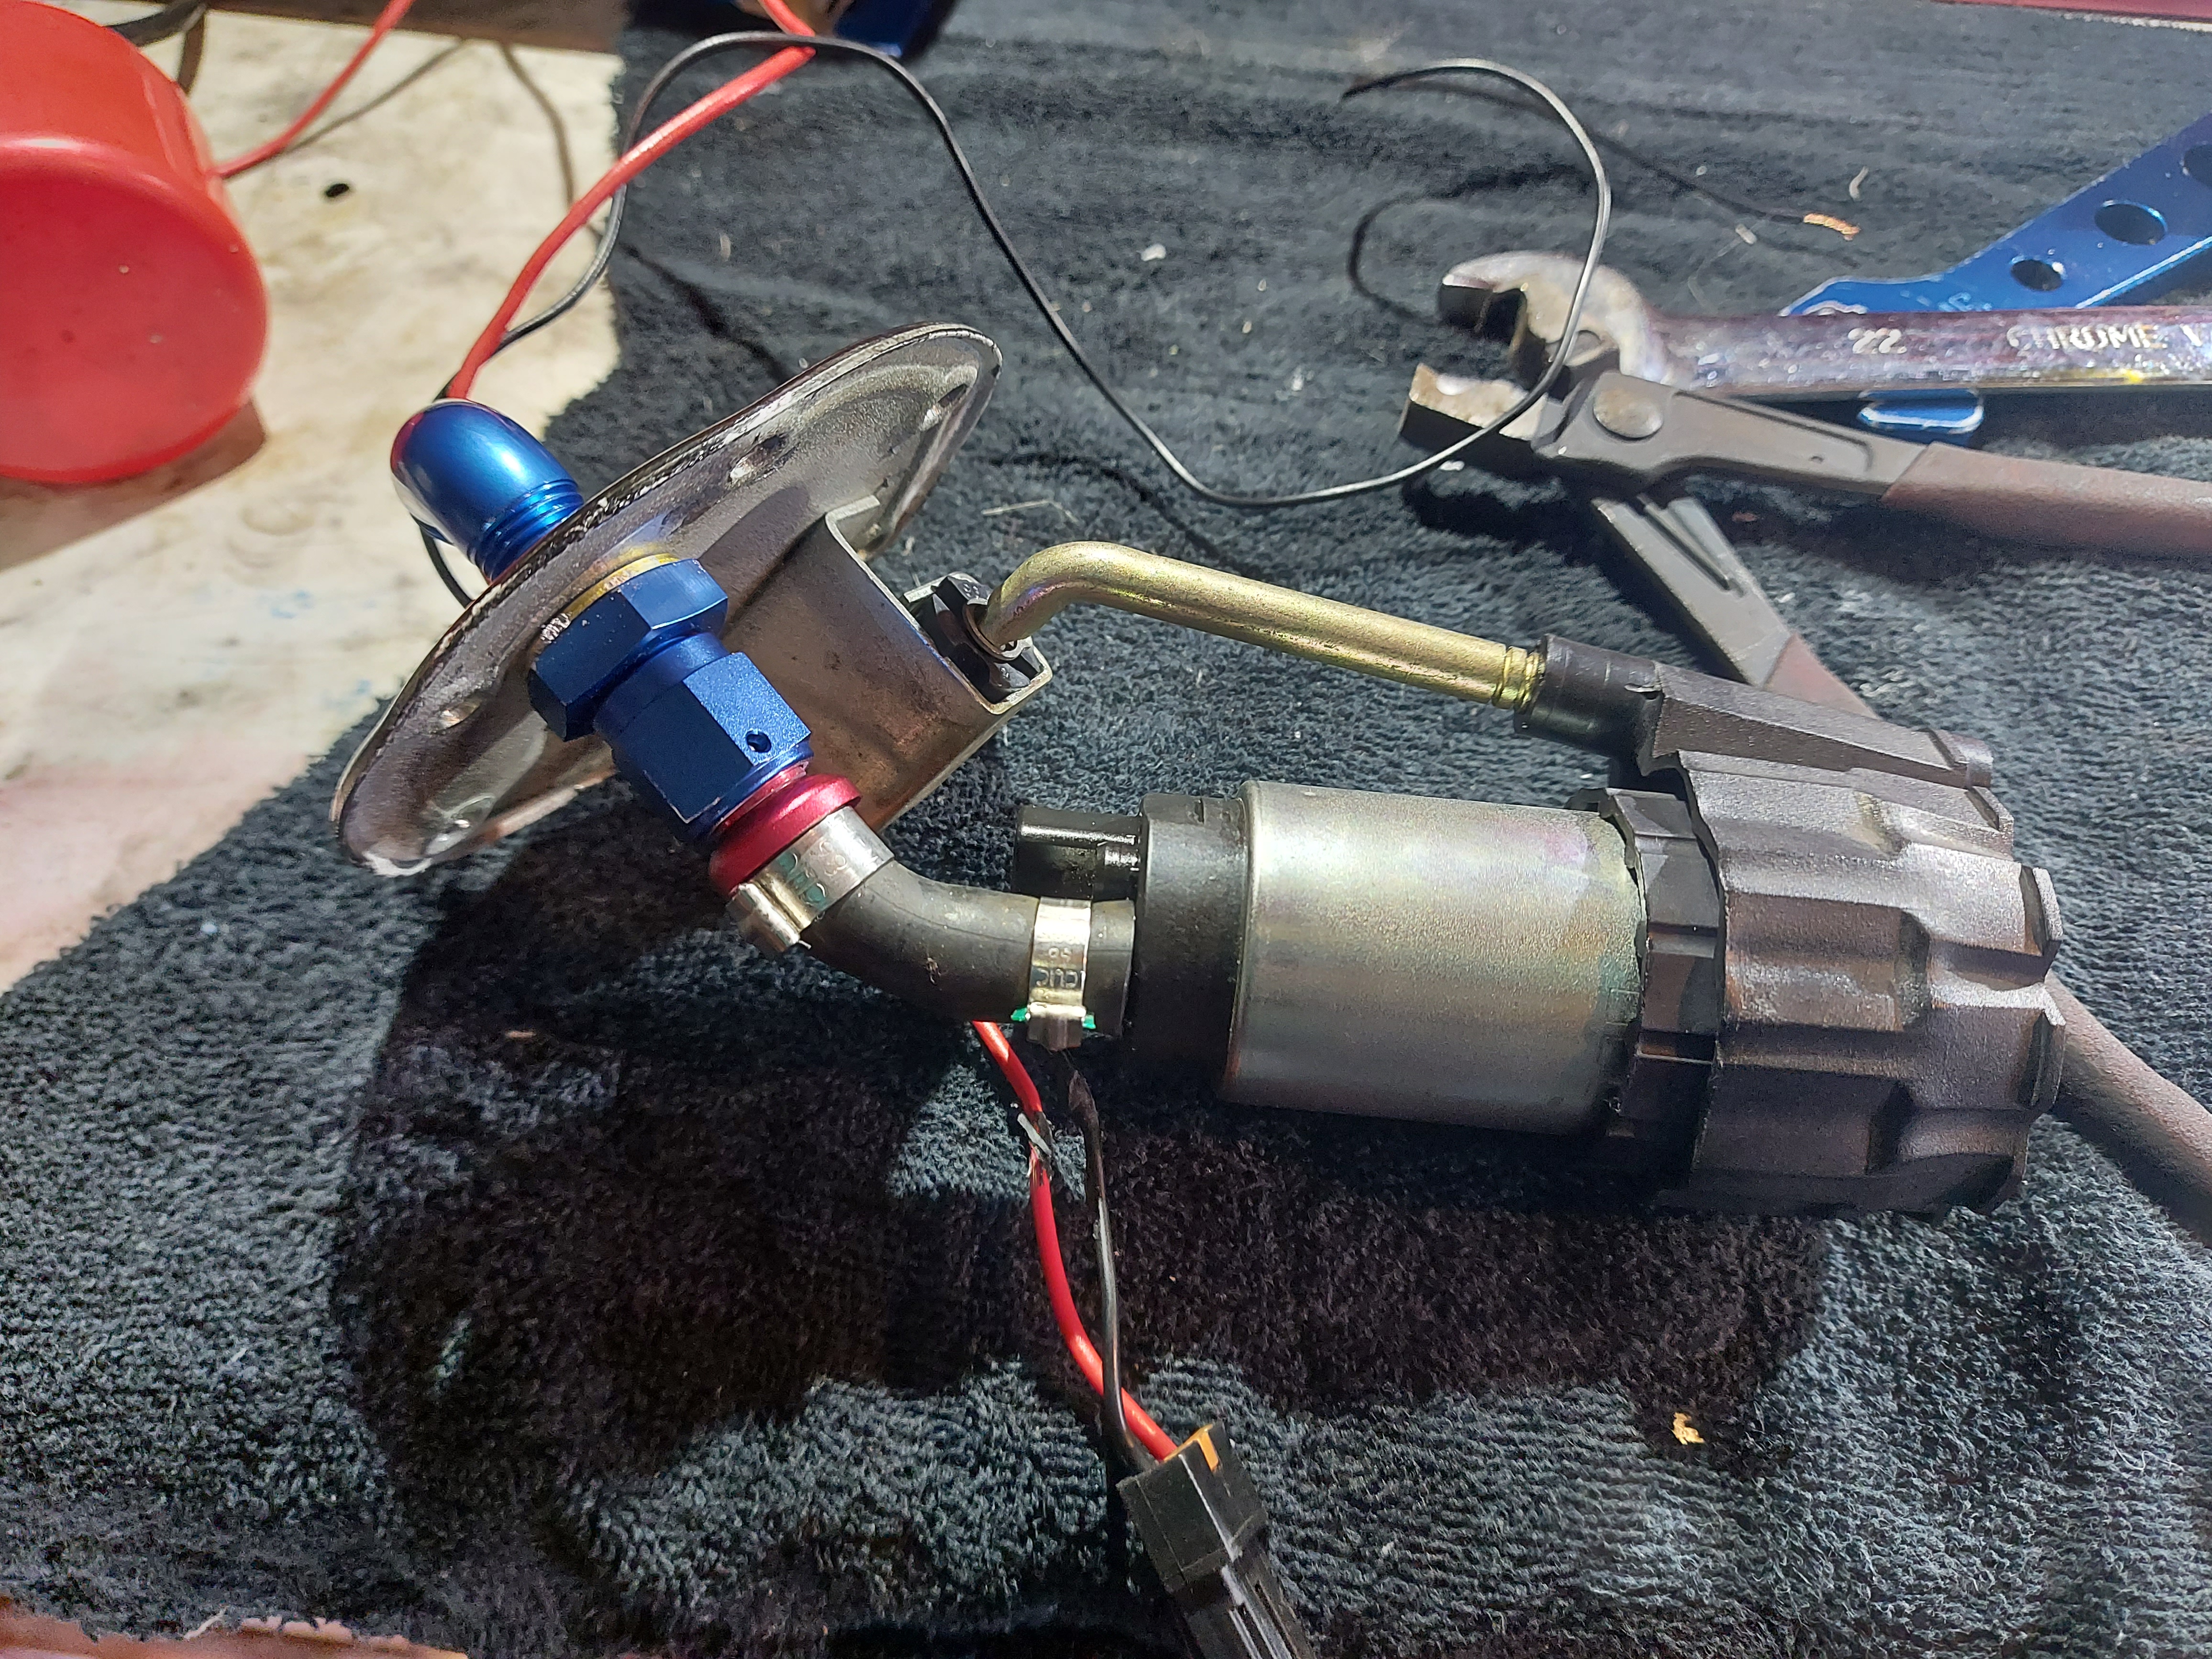


so now the wiring comes through where the fuel used to go, but the gromit hasn't lasted, and the fuel now goes through an AN fitting bulk head style union.
However the union sits too high and the rear seat would crush it! Not cool.
So back to the drawing board and I have decided to make my own fuel pump cradle.
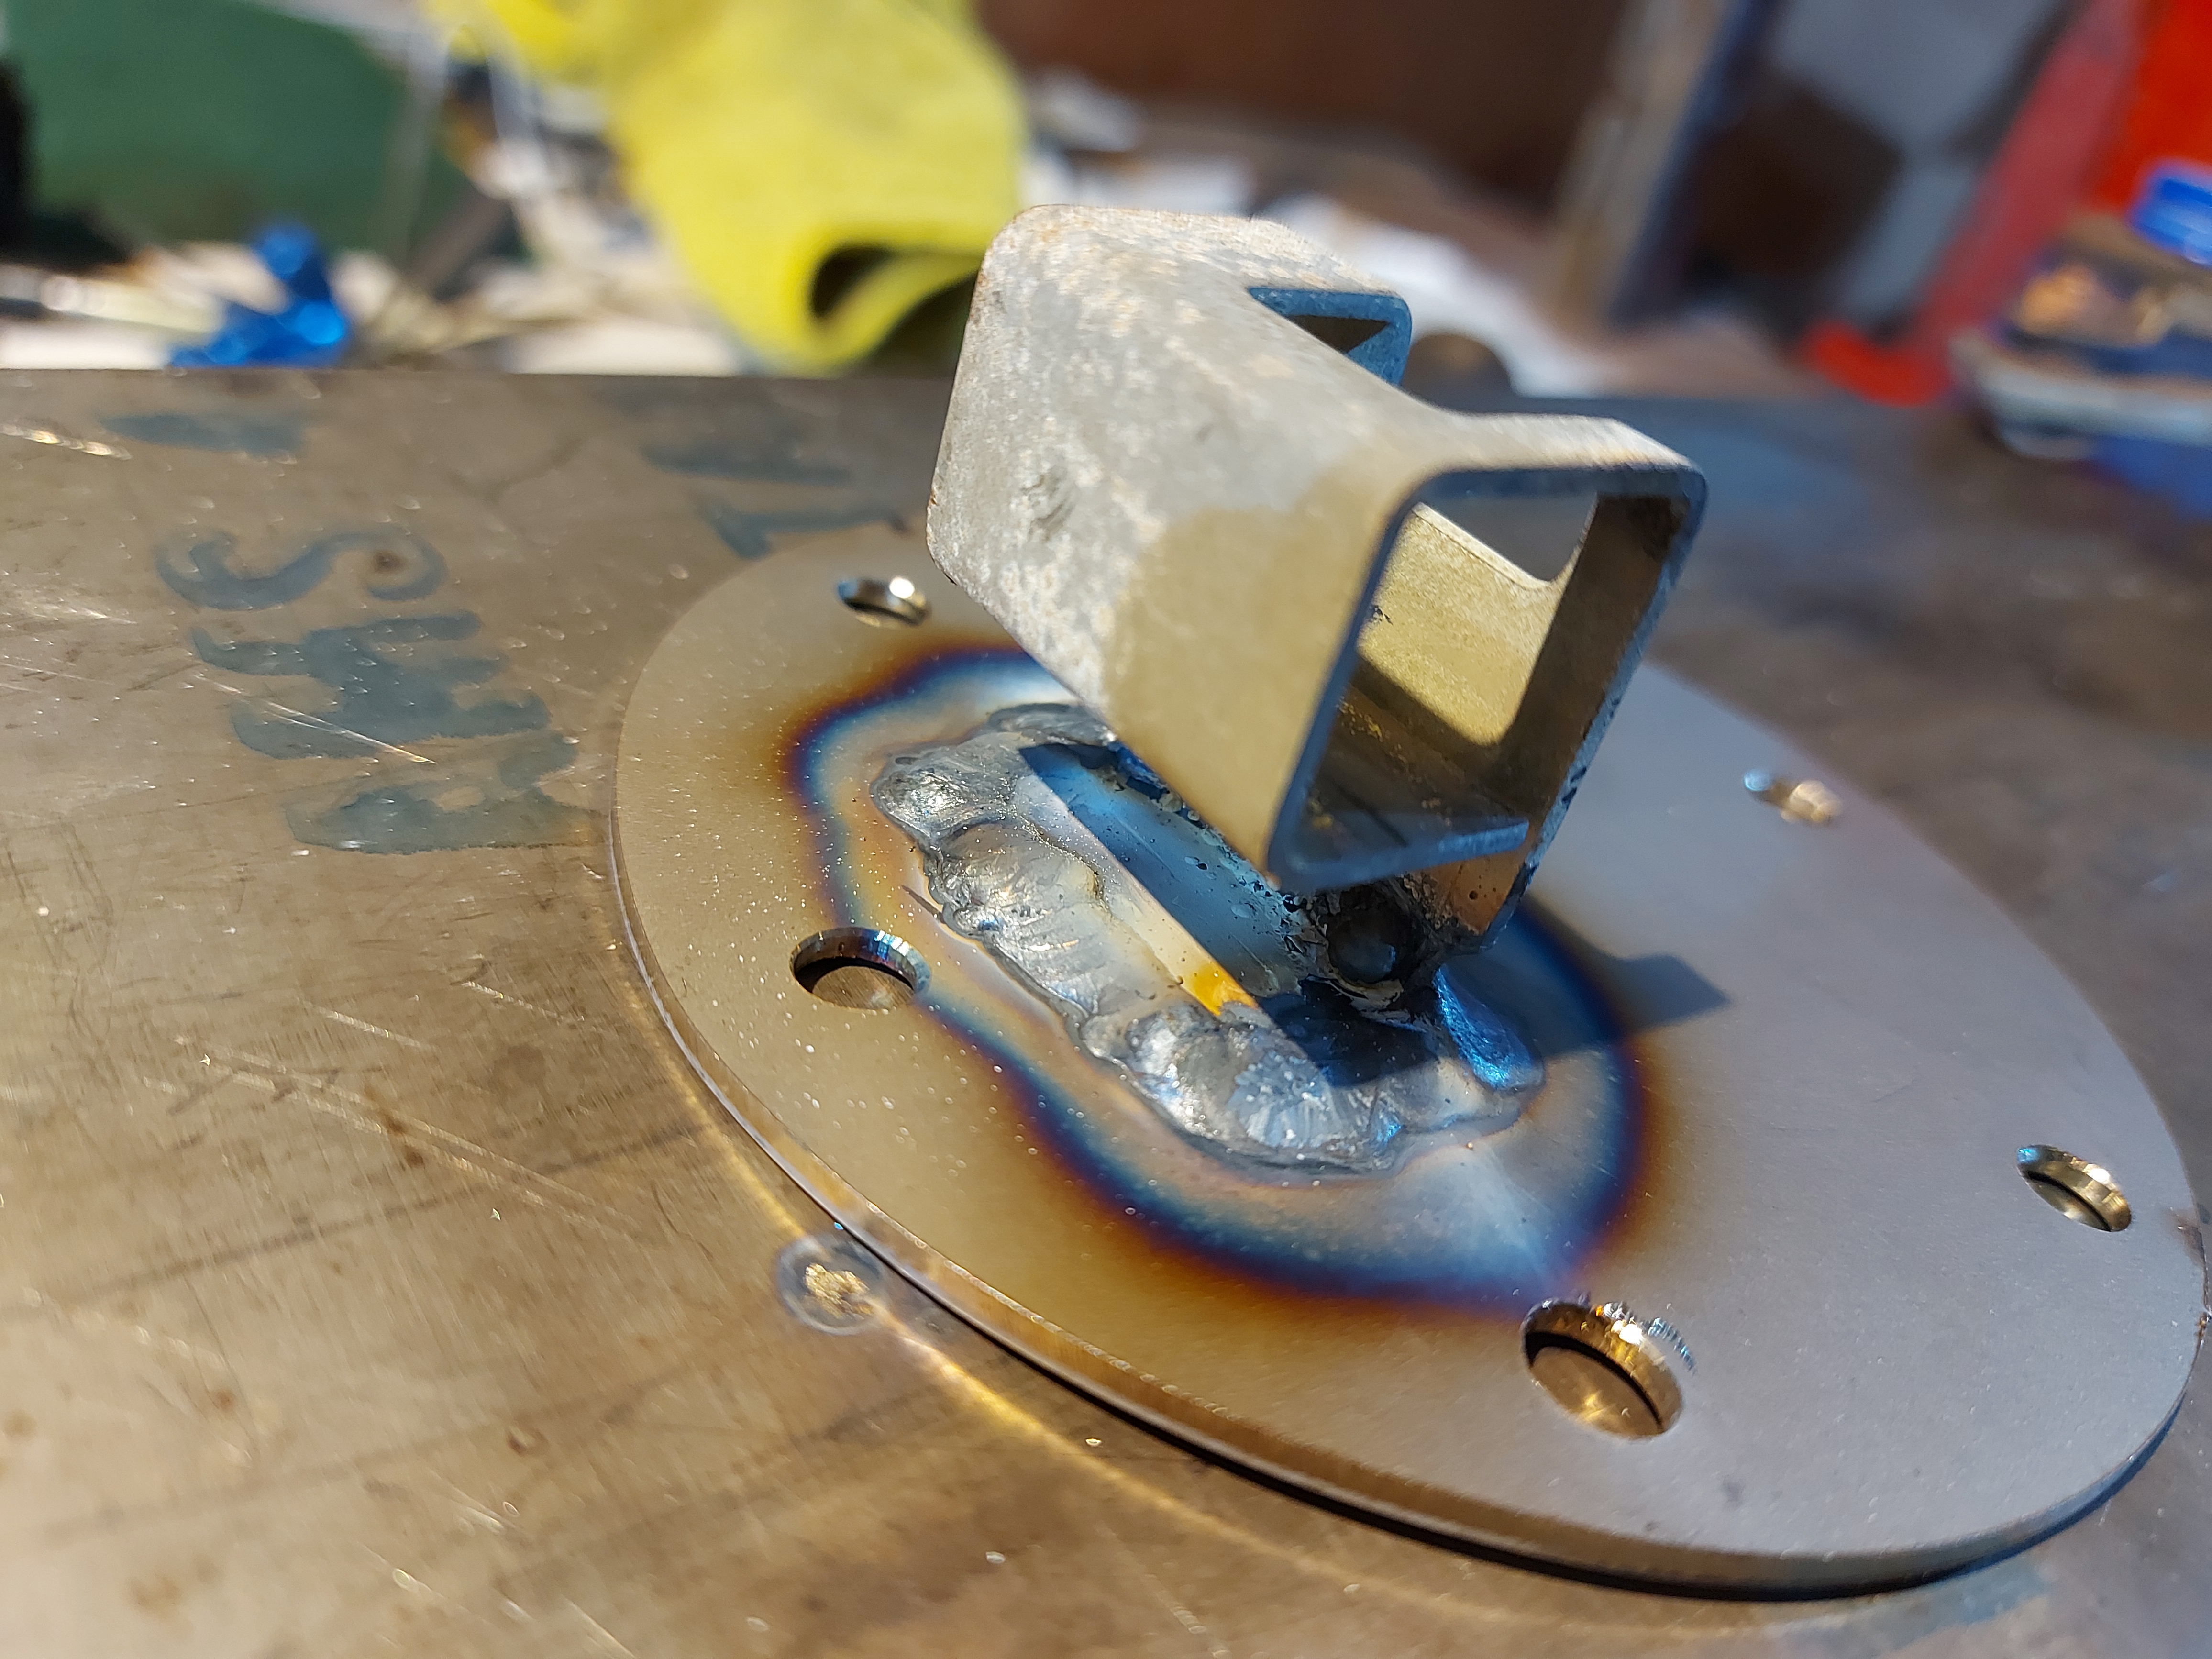
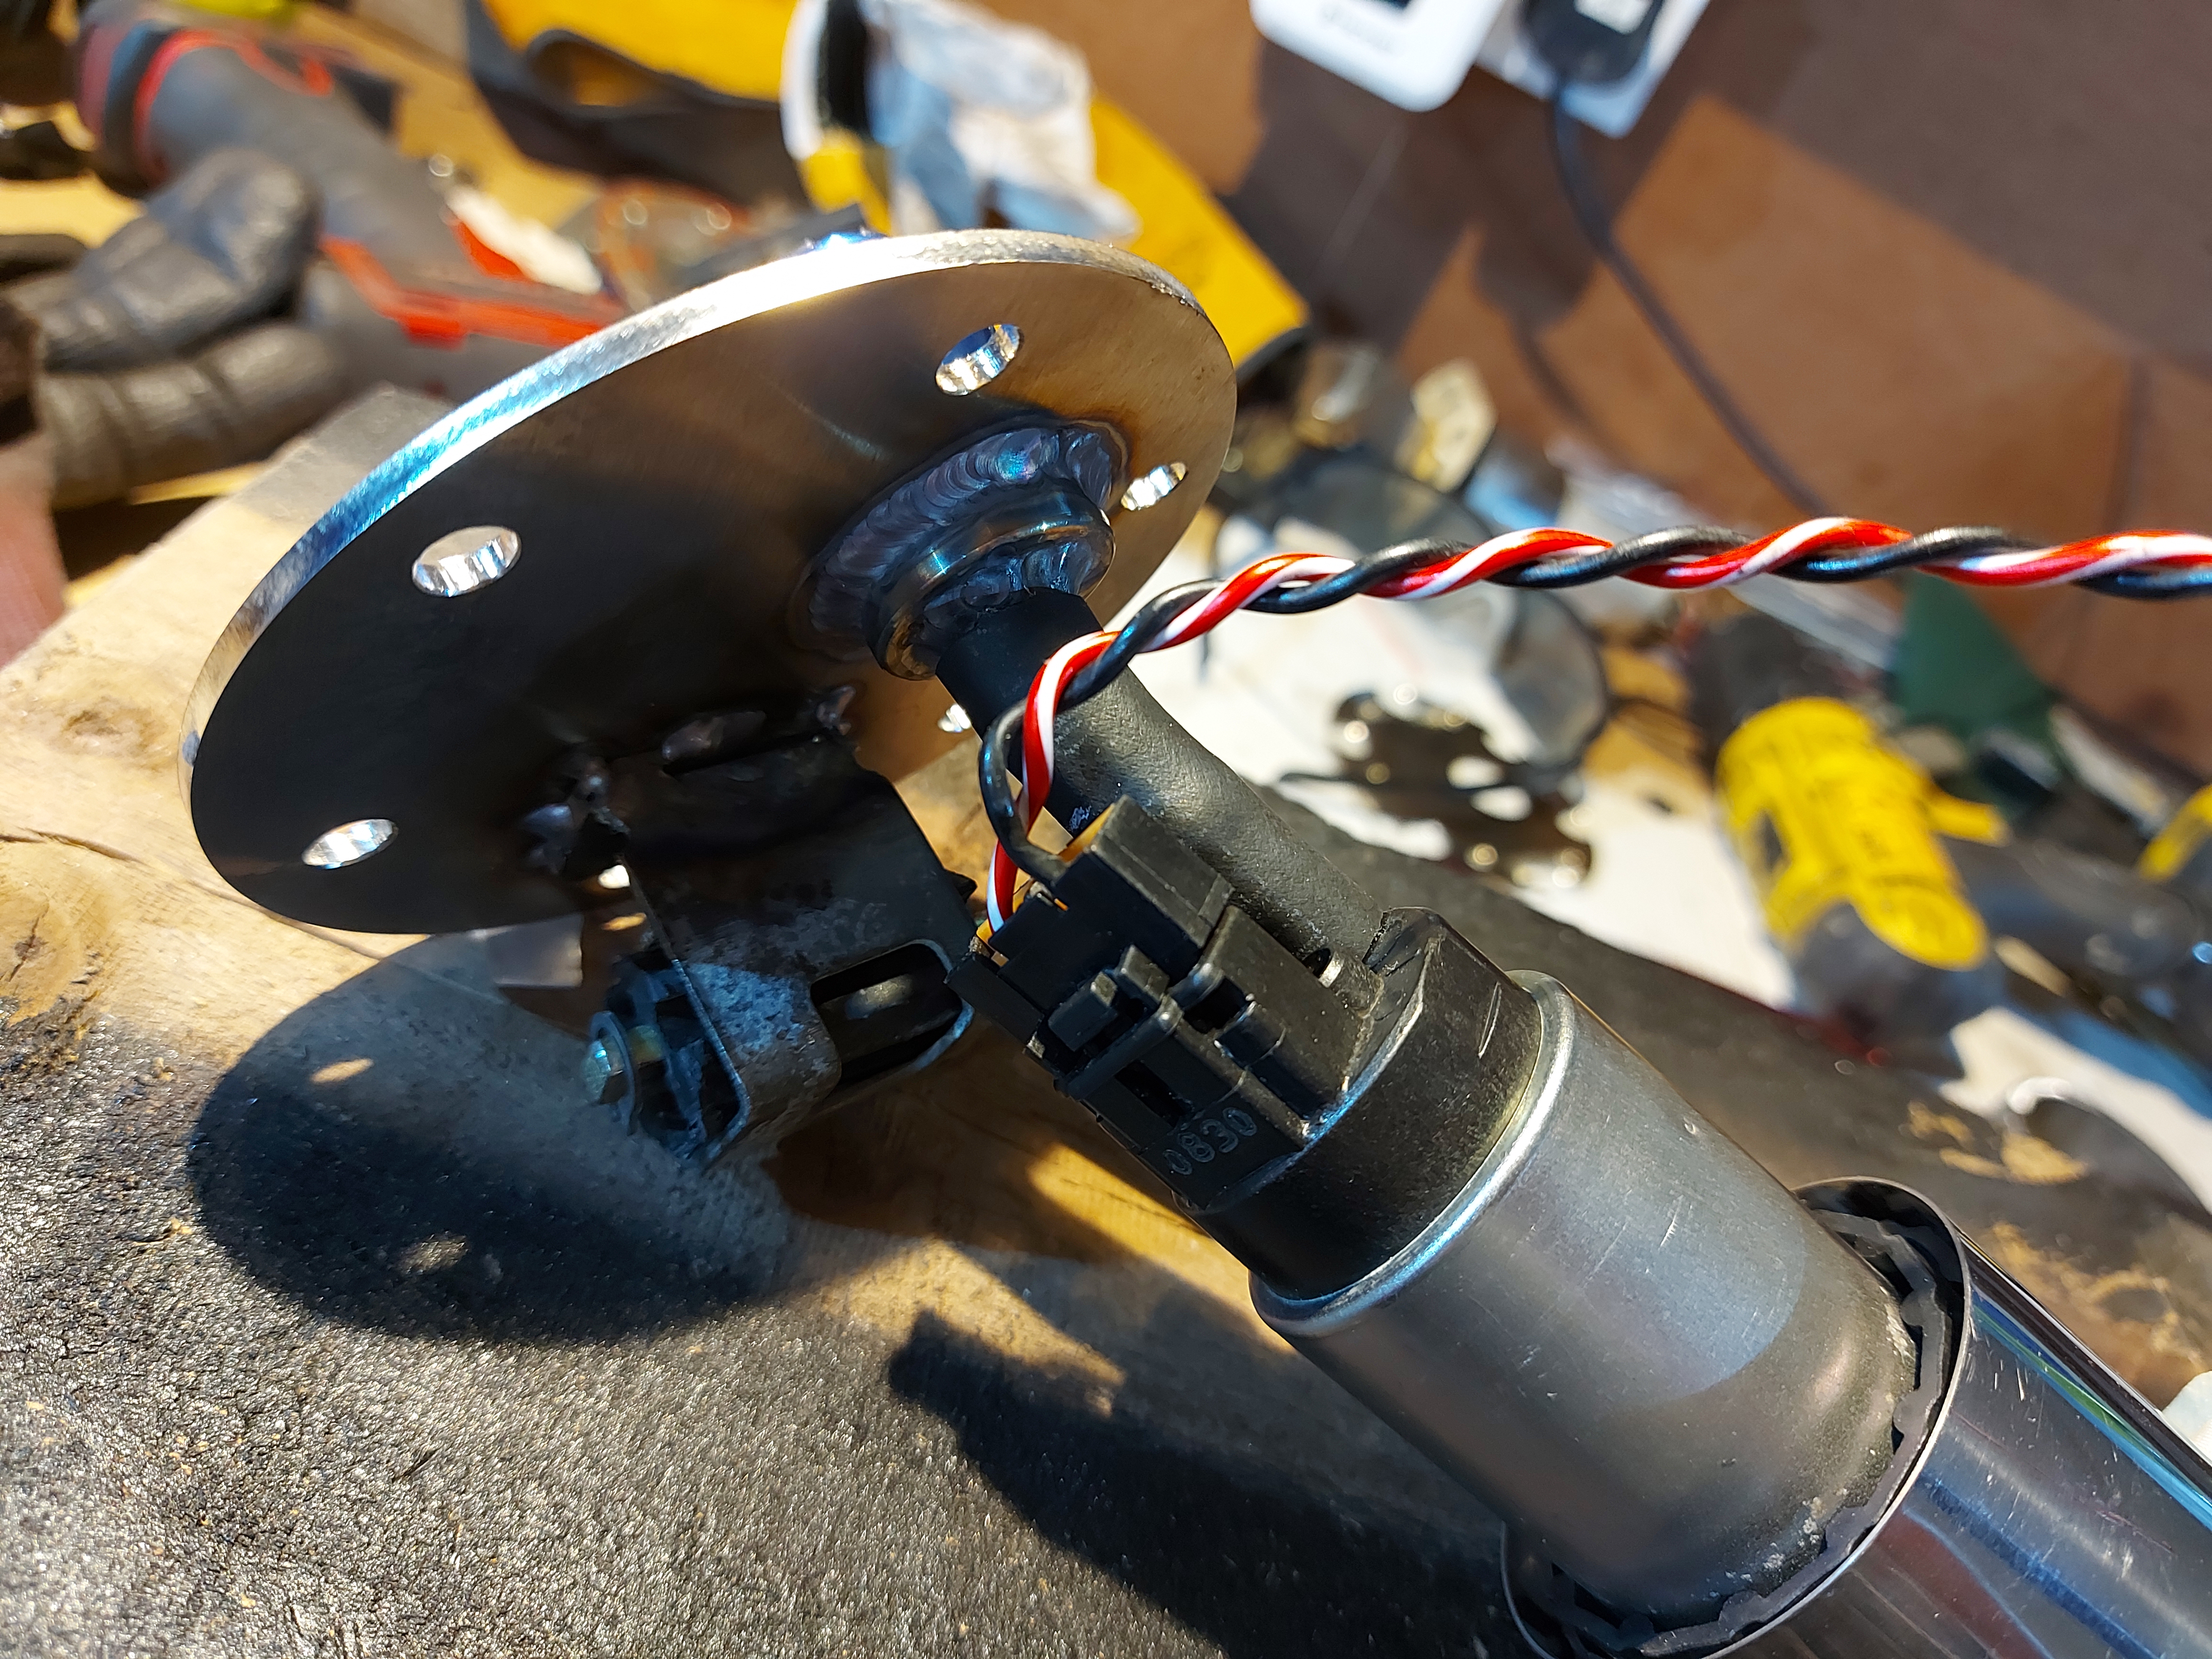
So I started with a round piece of Stainless, drilled whole to fit

So I welded the standard pump bracket onto a piece of stainless
Then I got a hose tail and an AN fitting and welded them together
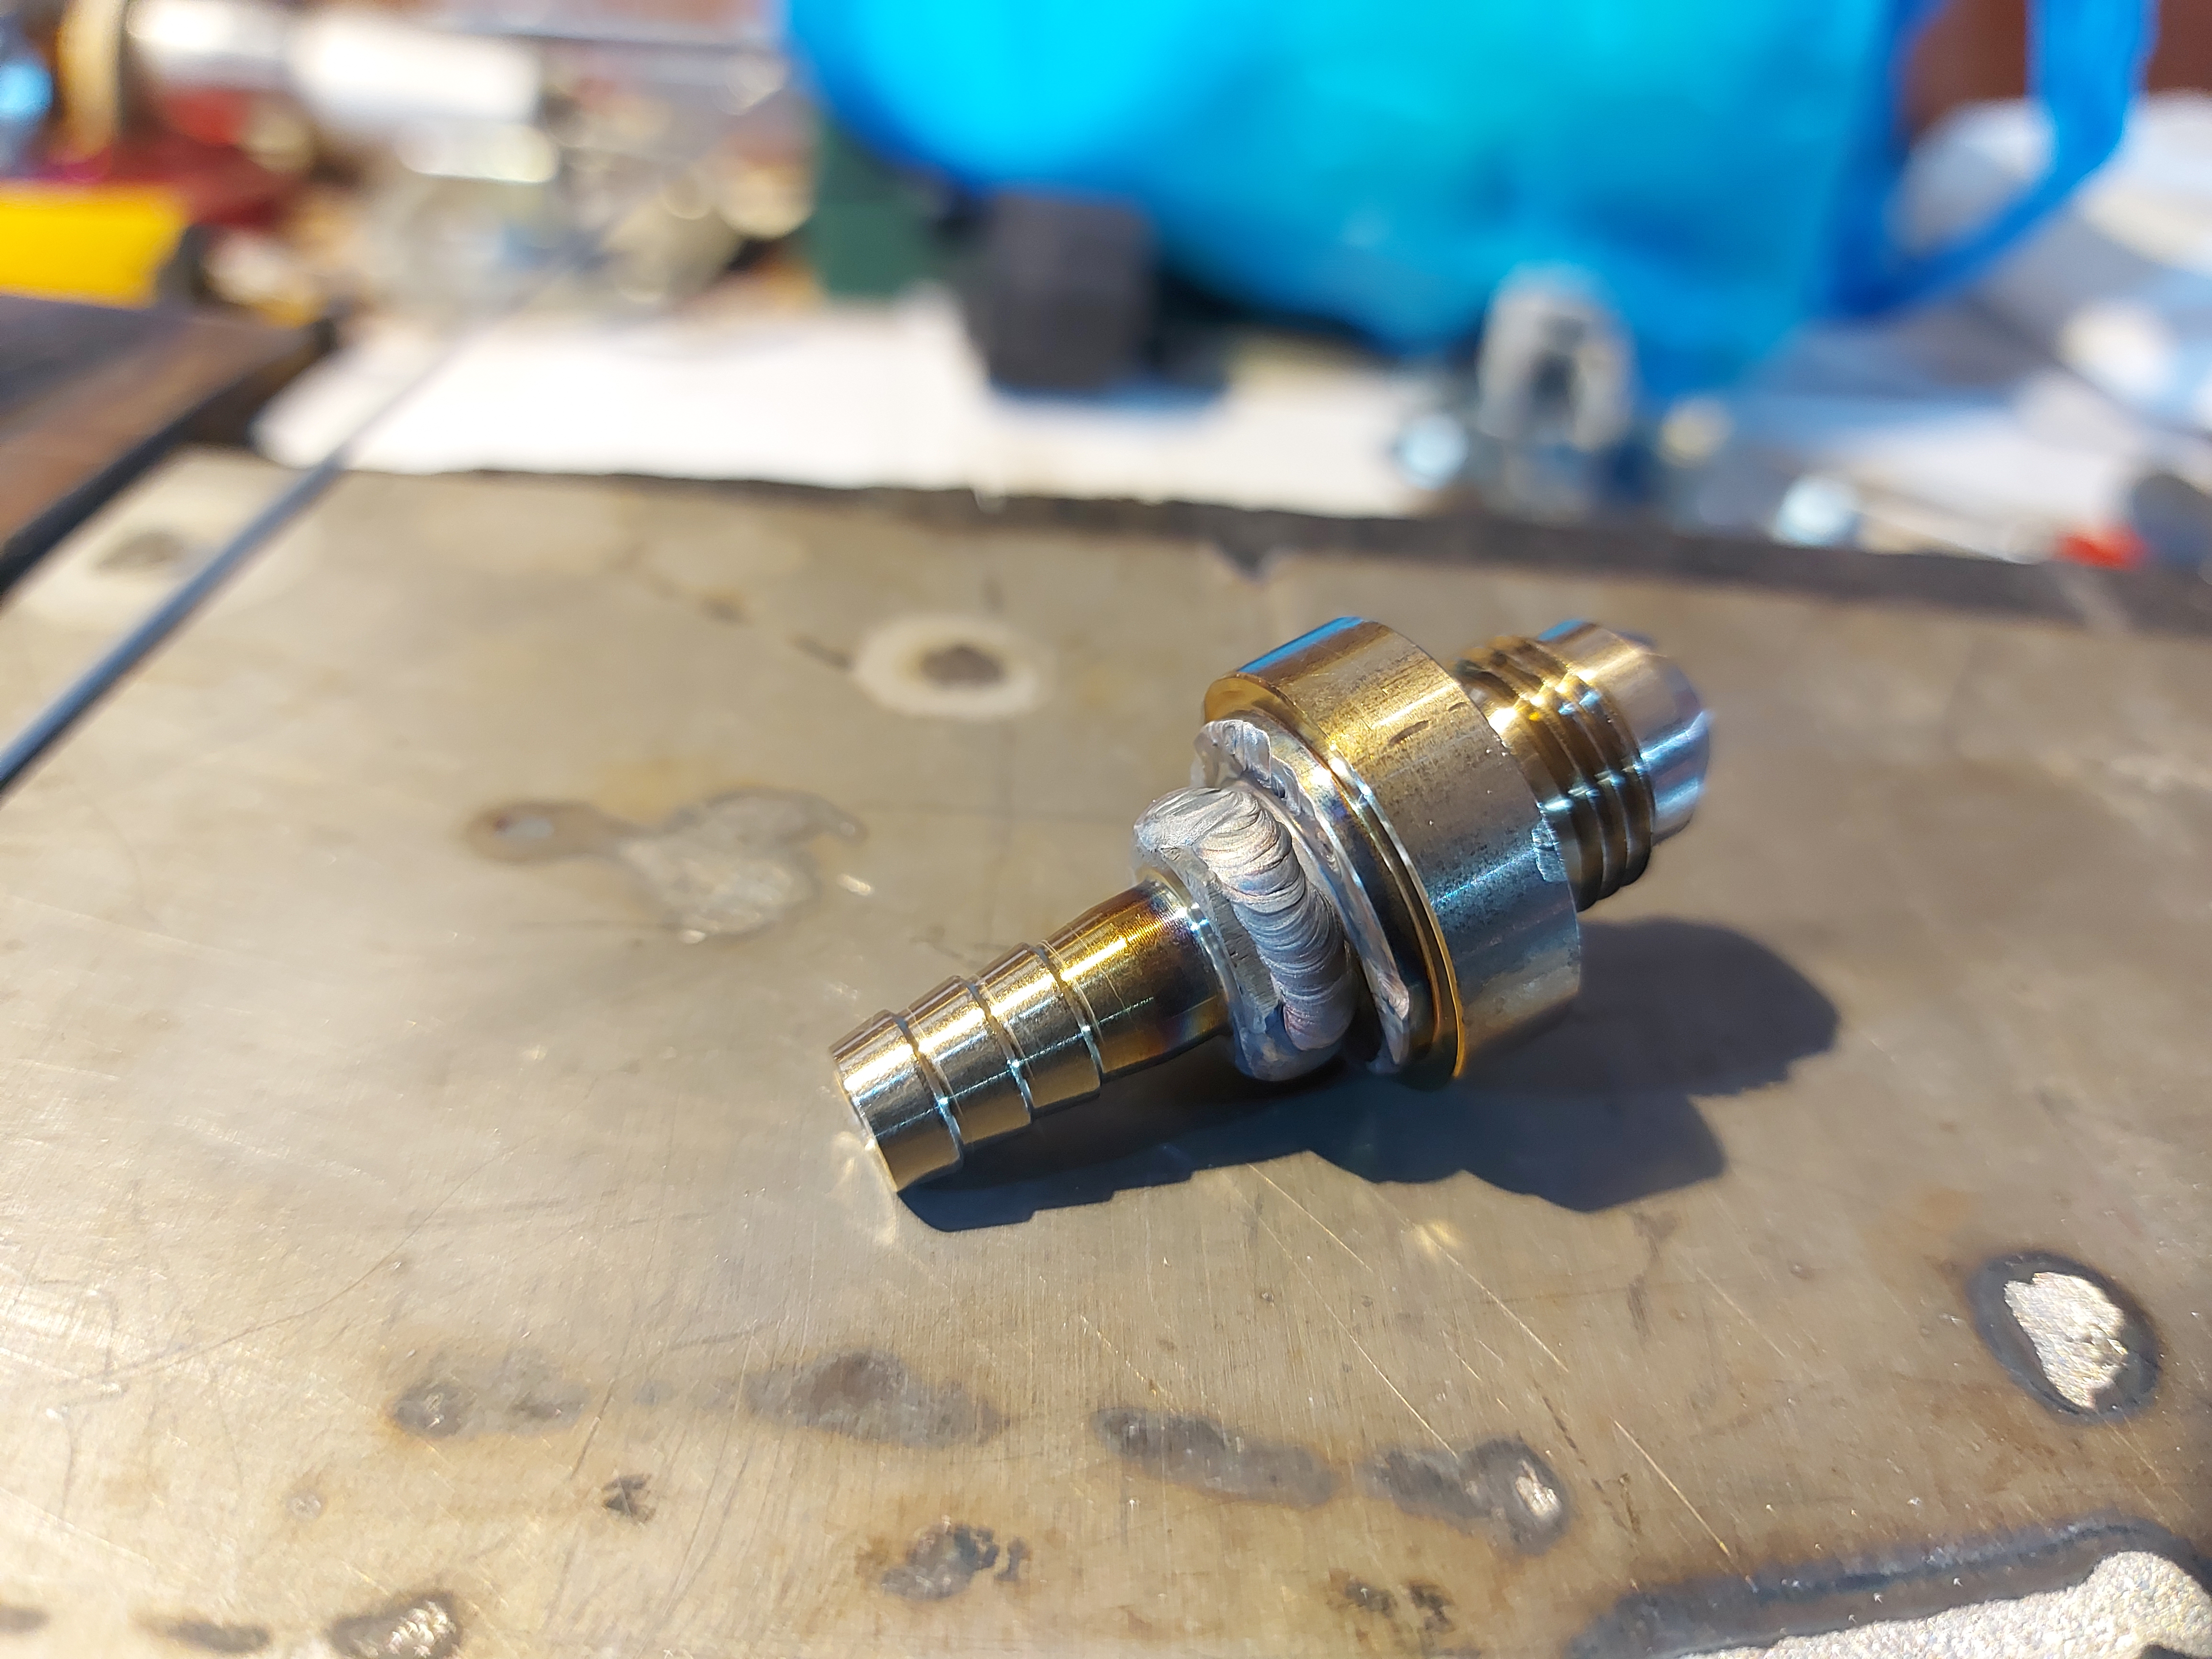
Put this in the plate and welded it in
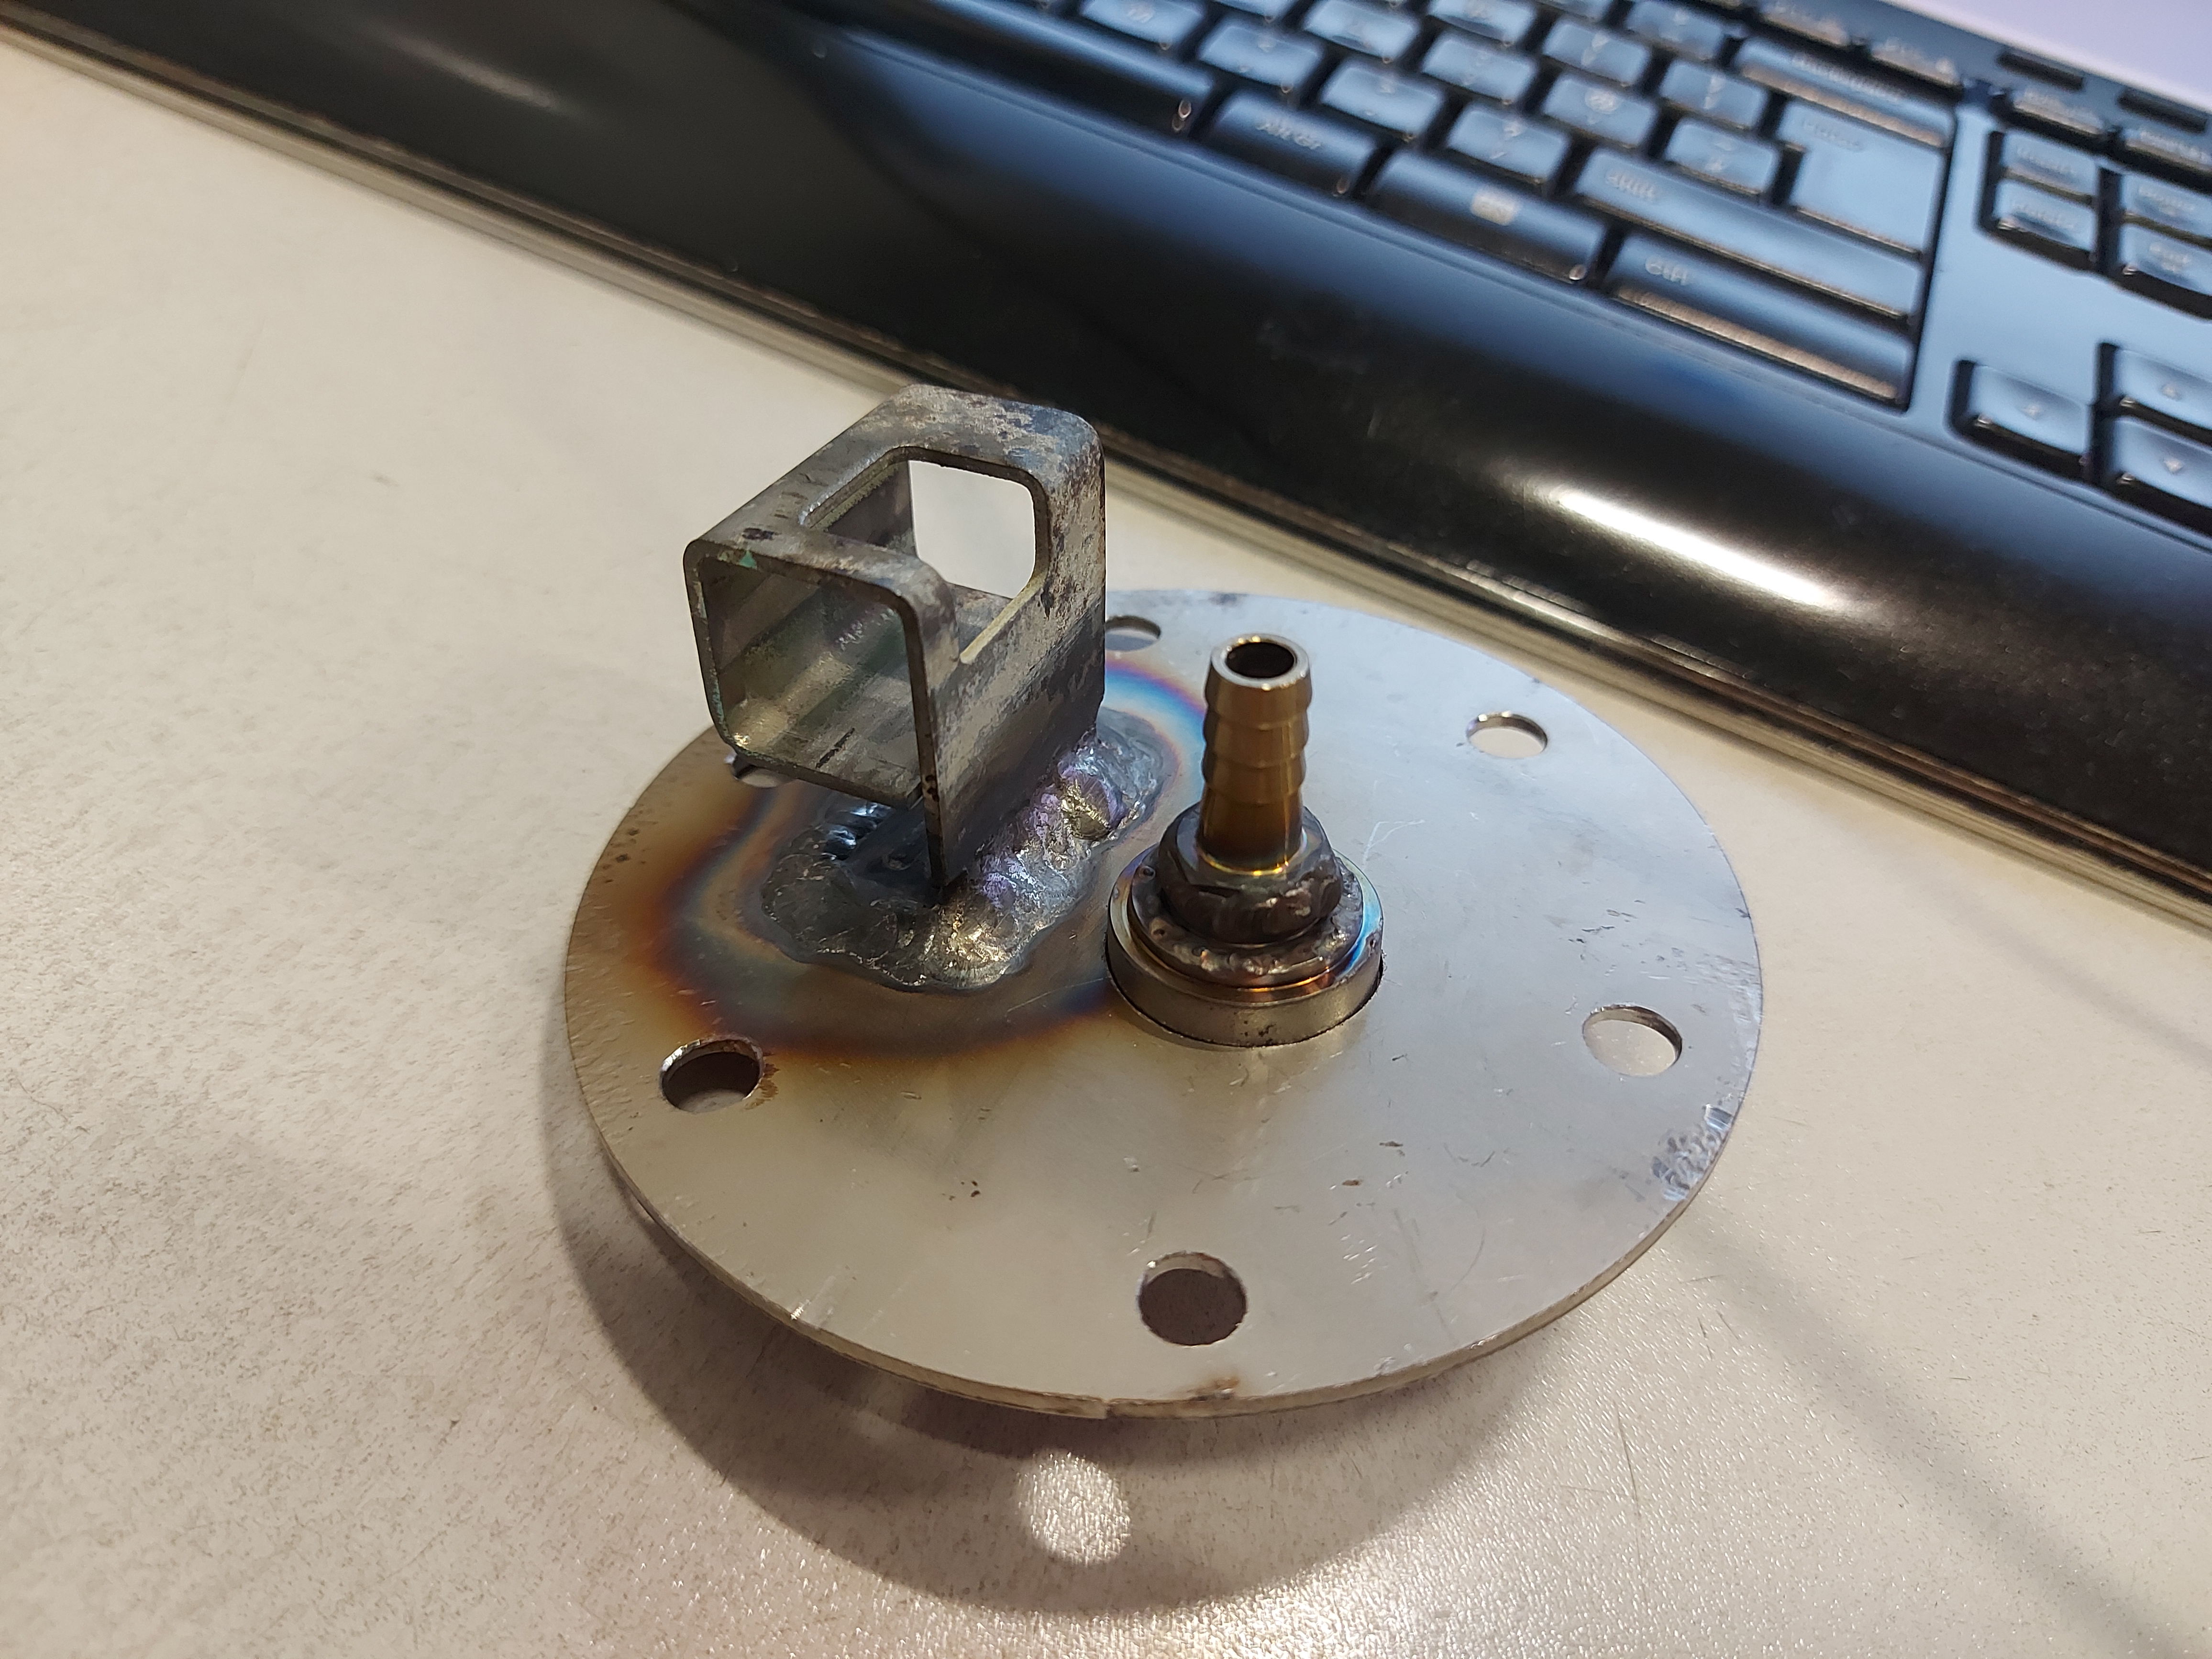
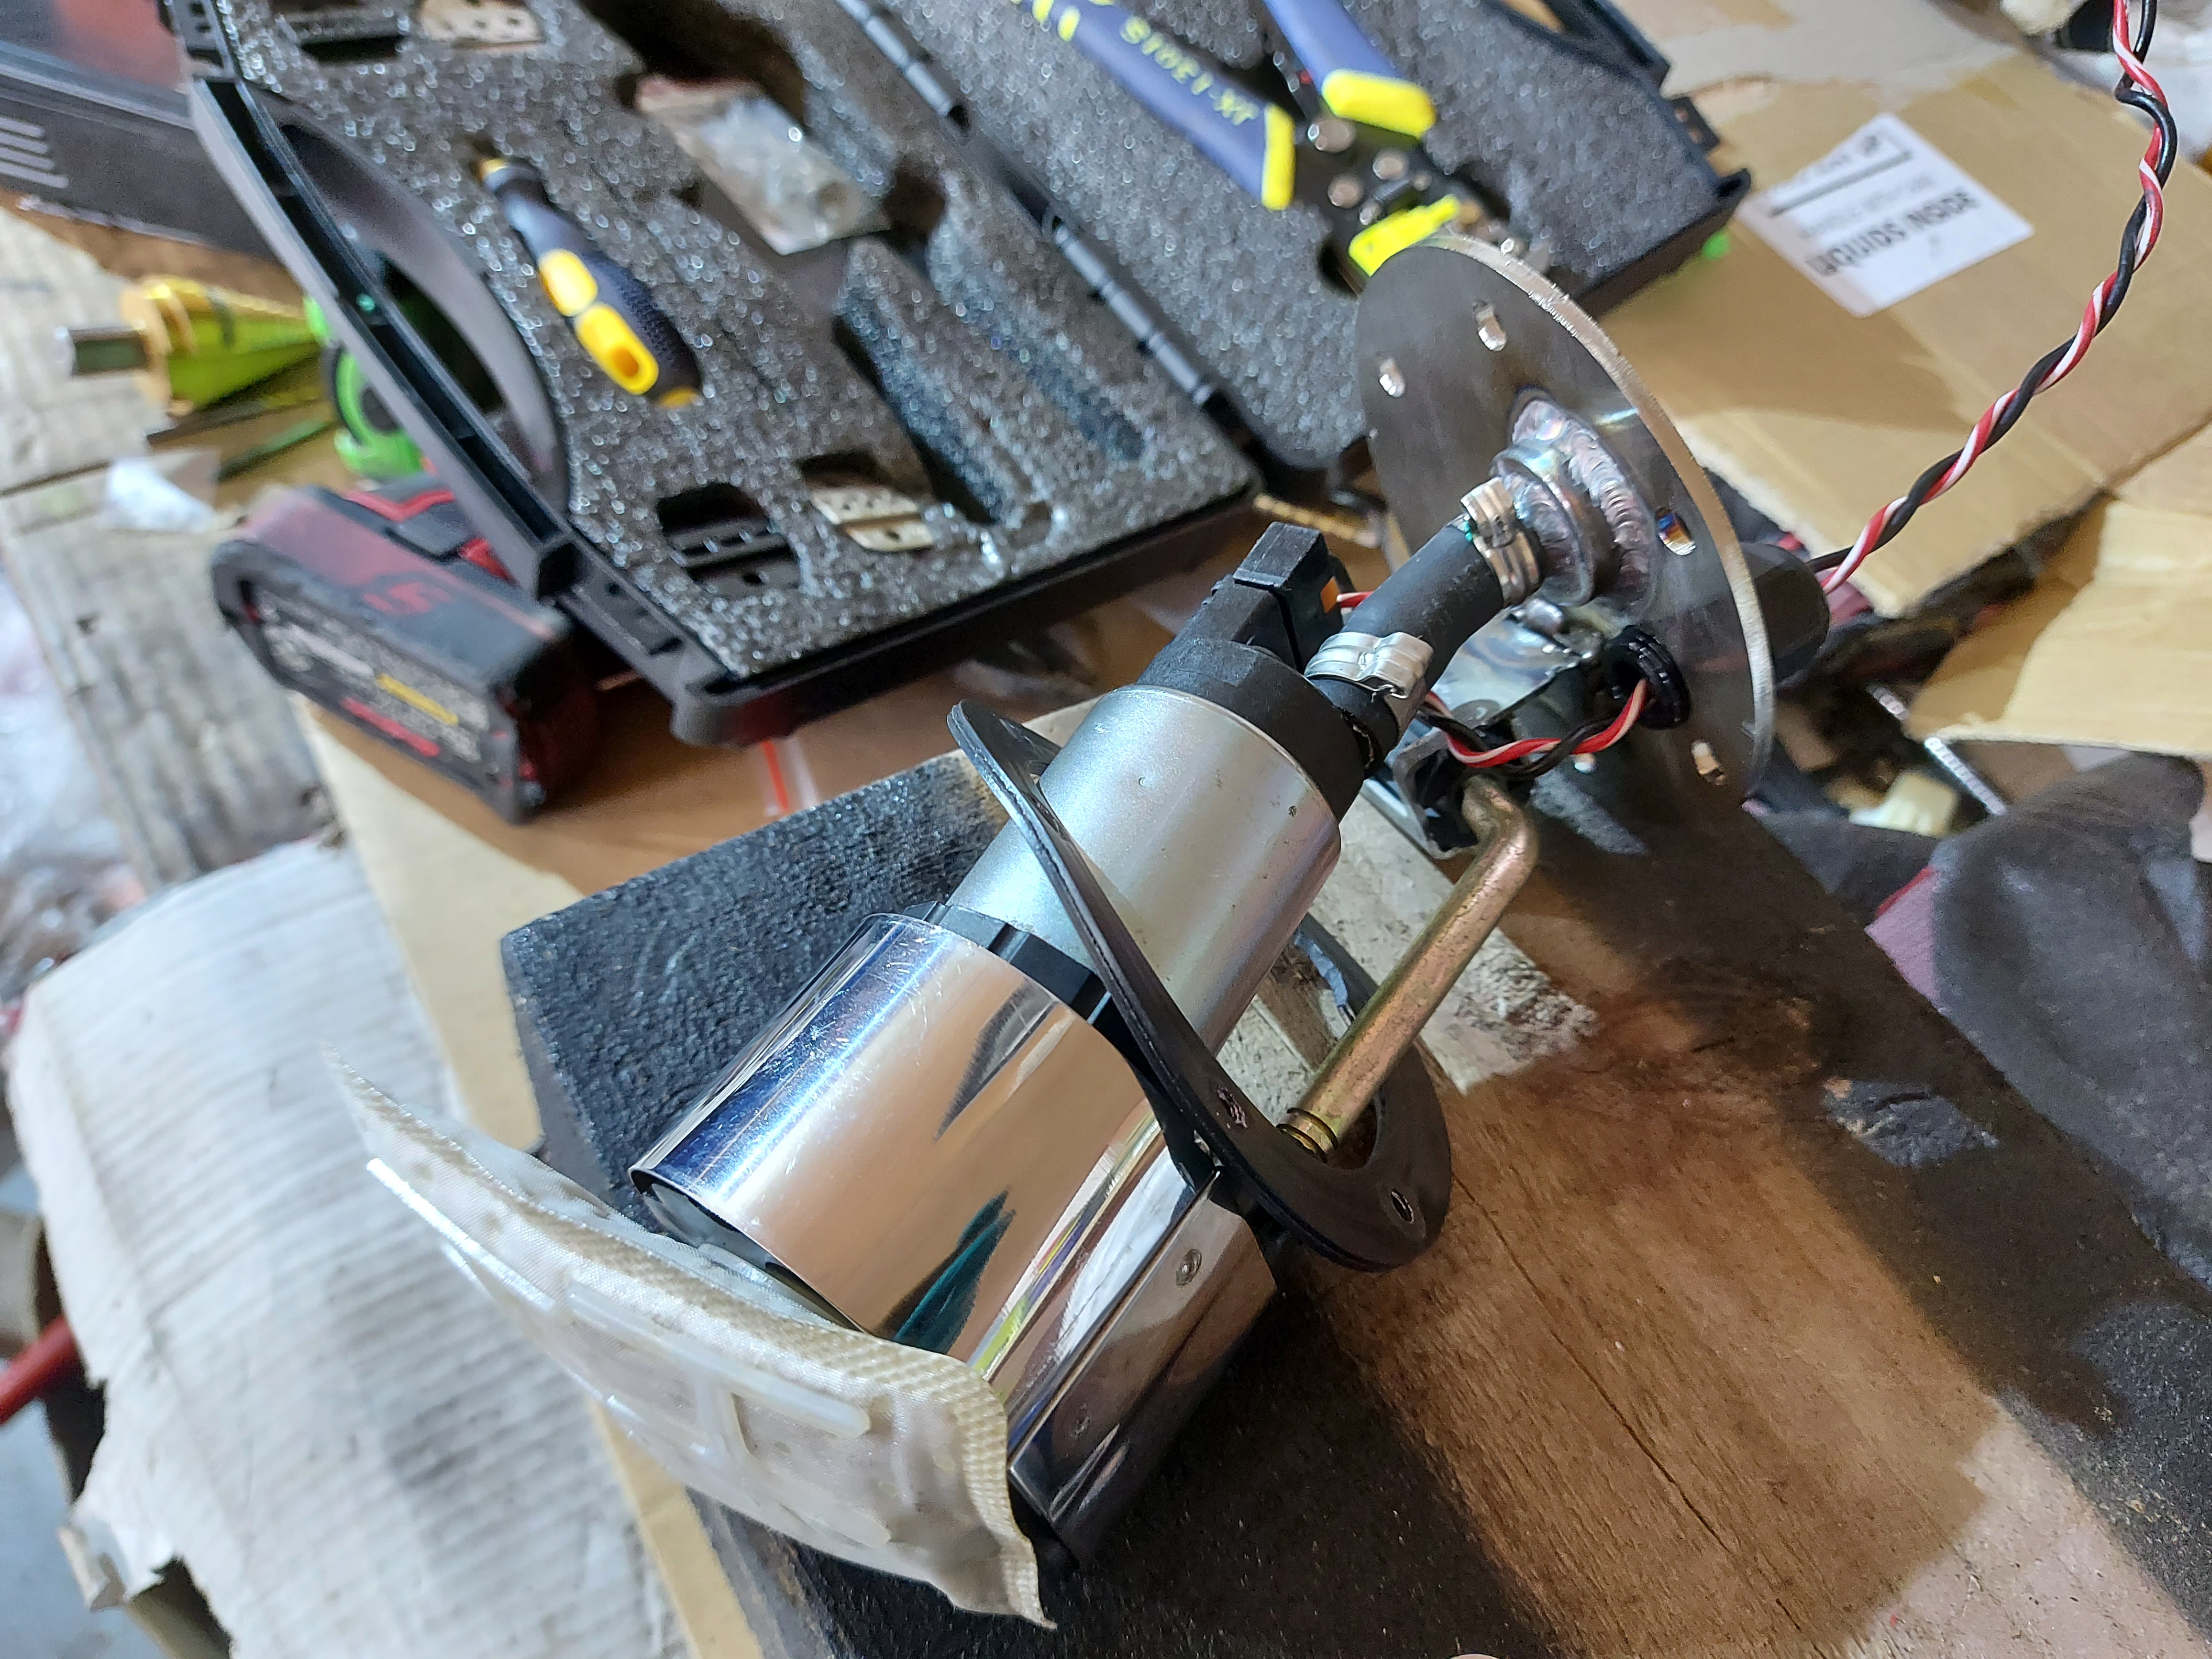
Everything lines up a lot better

But alas..... no good! the union is still too high, not as high as it was, but still nowhere near where it needs to be
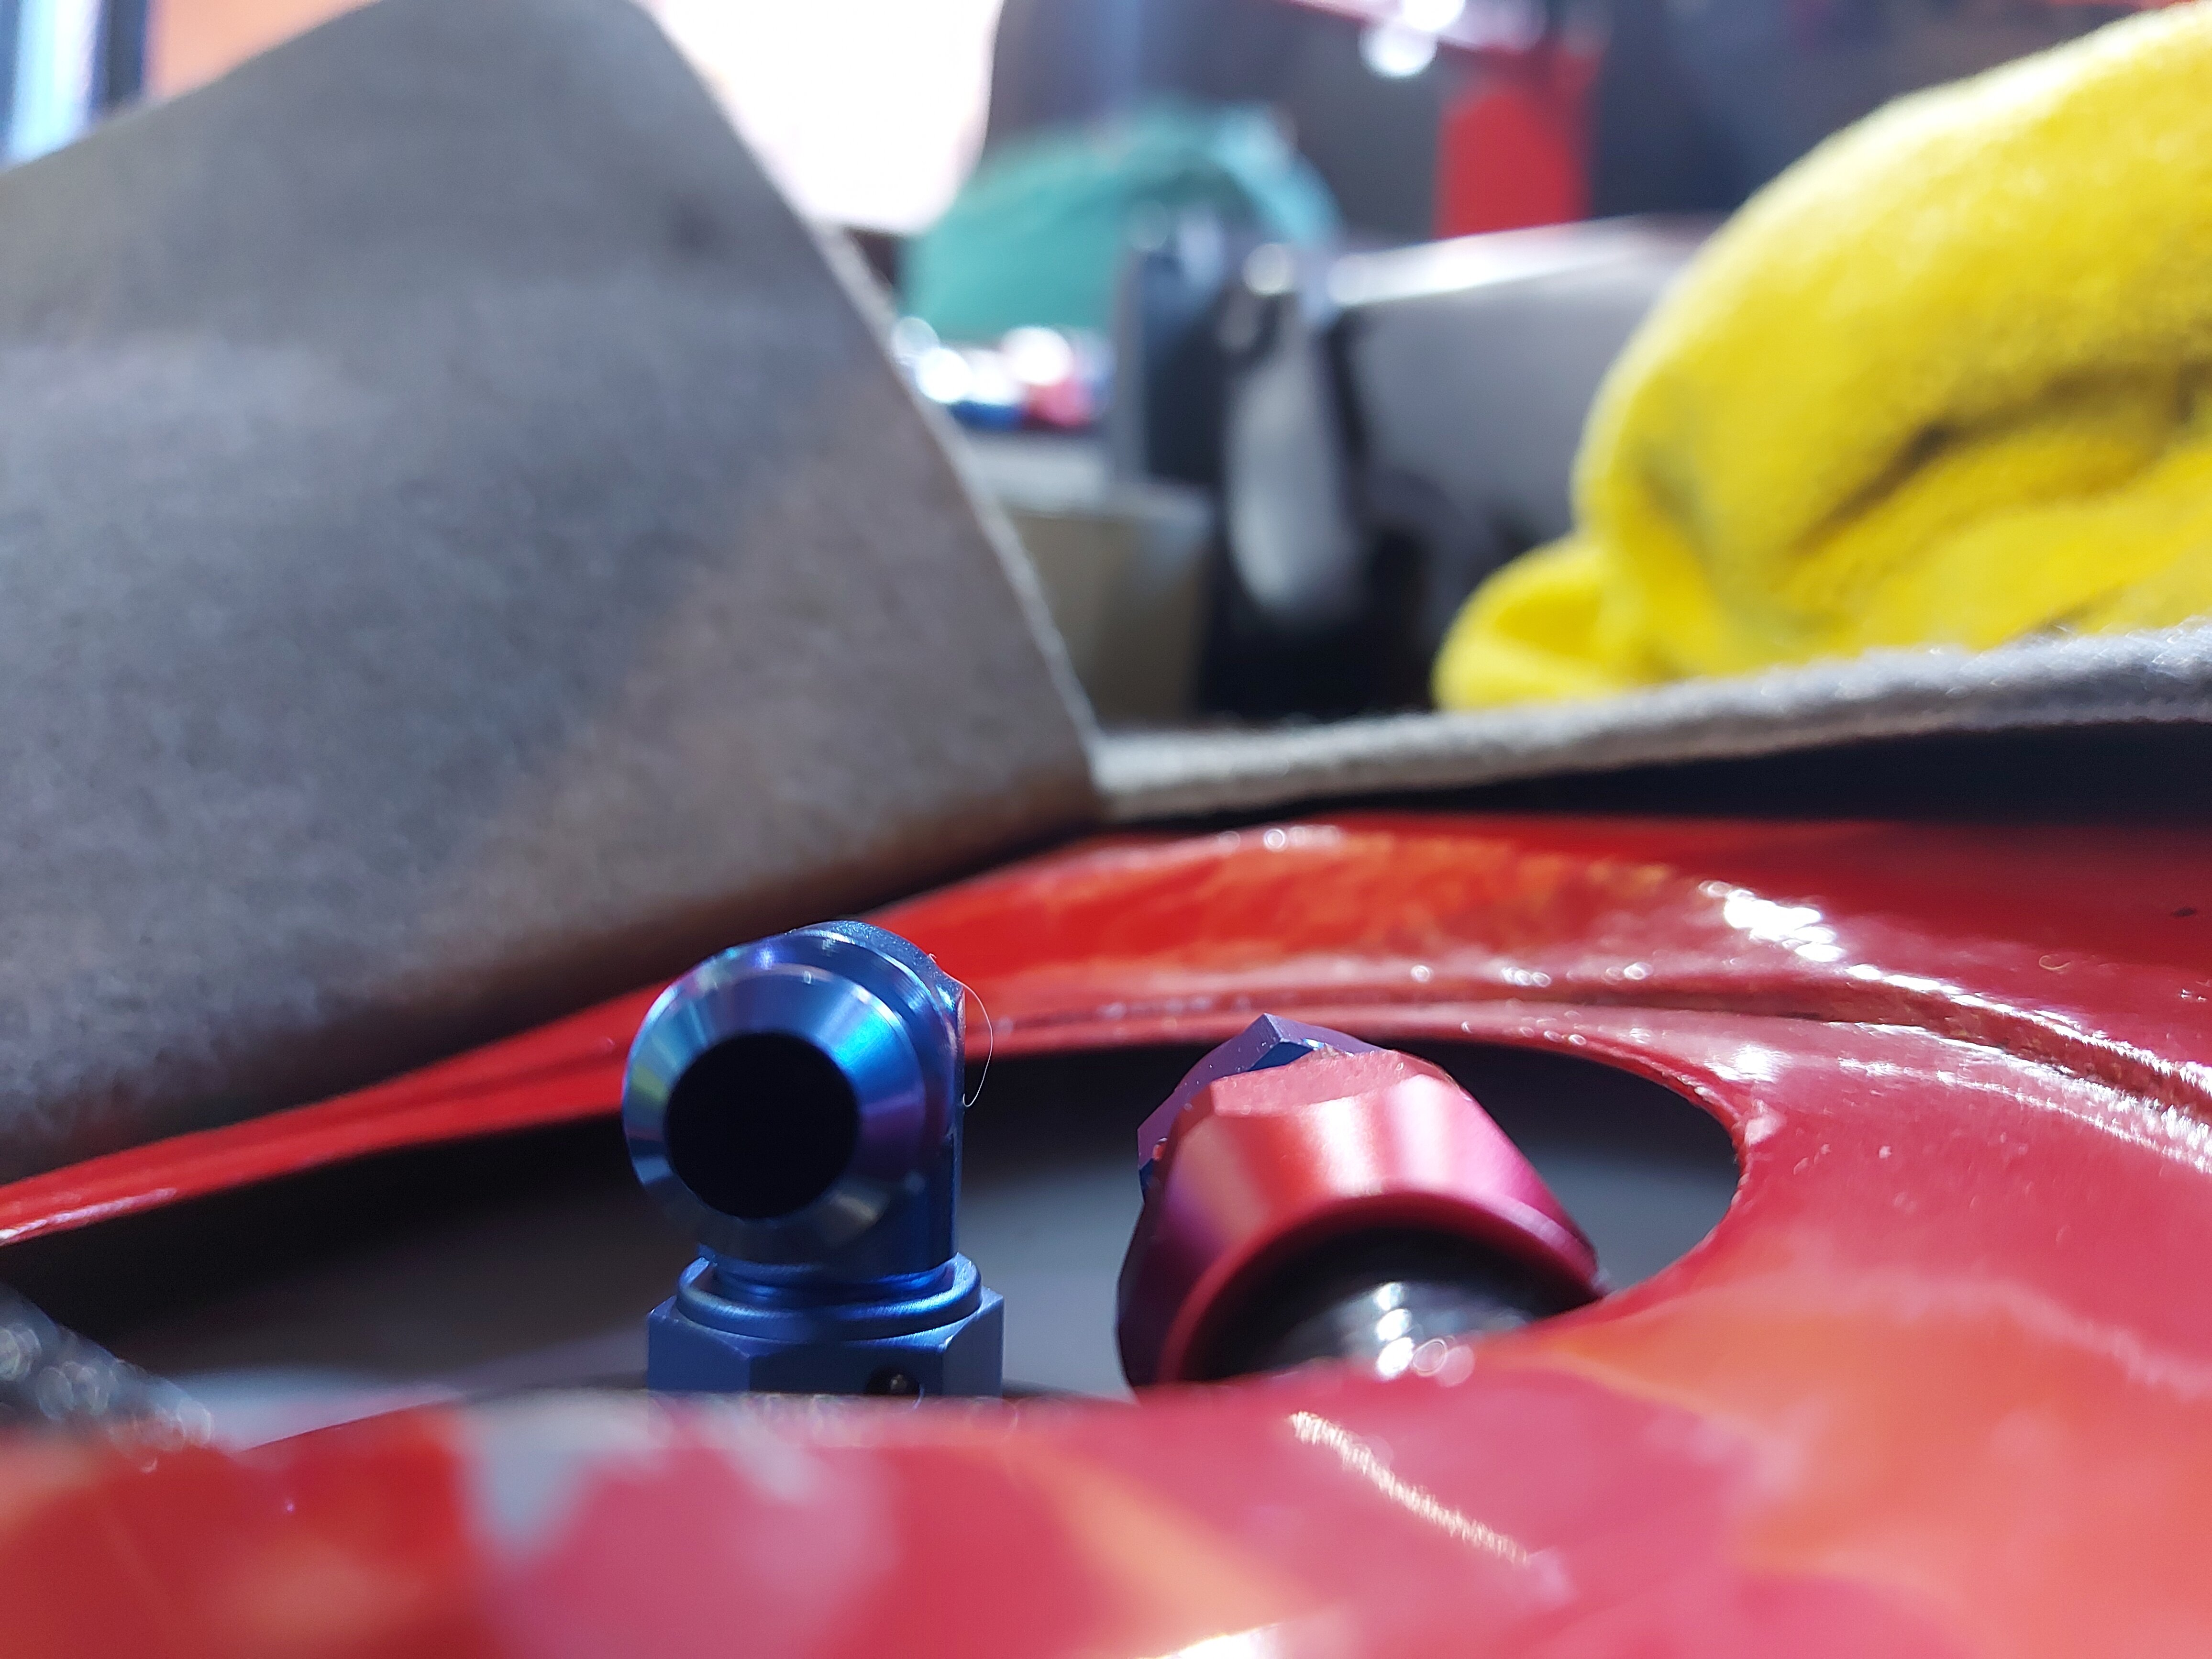
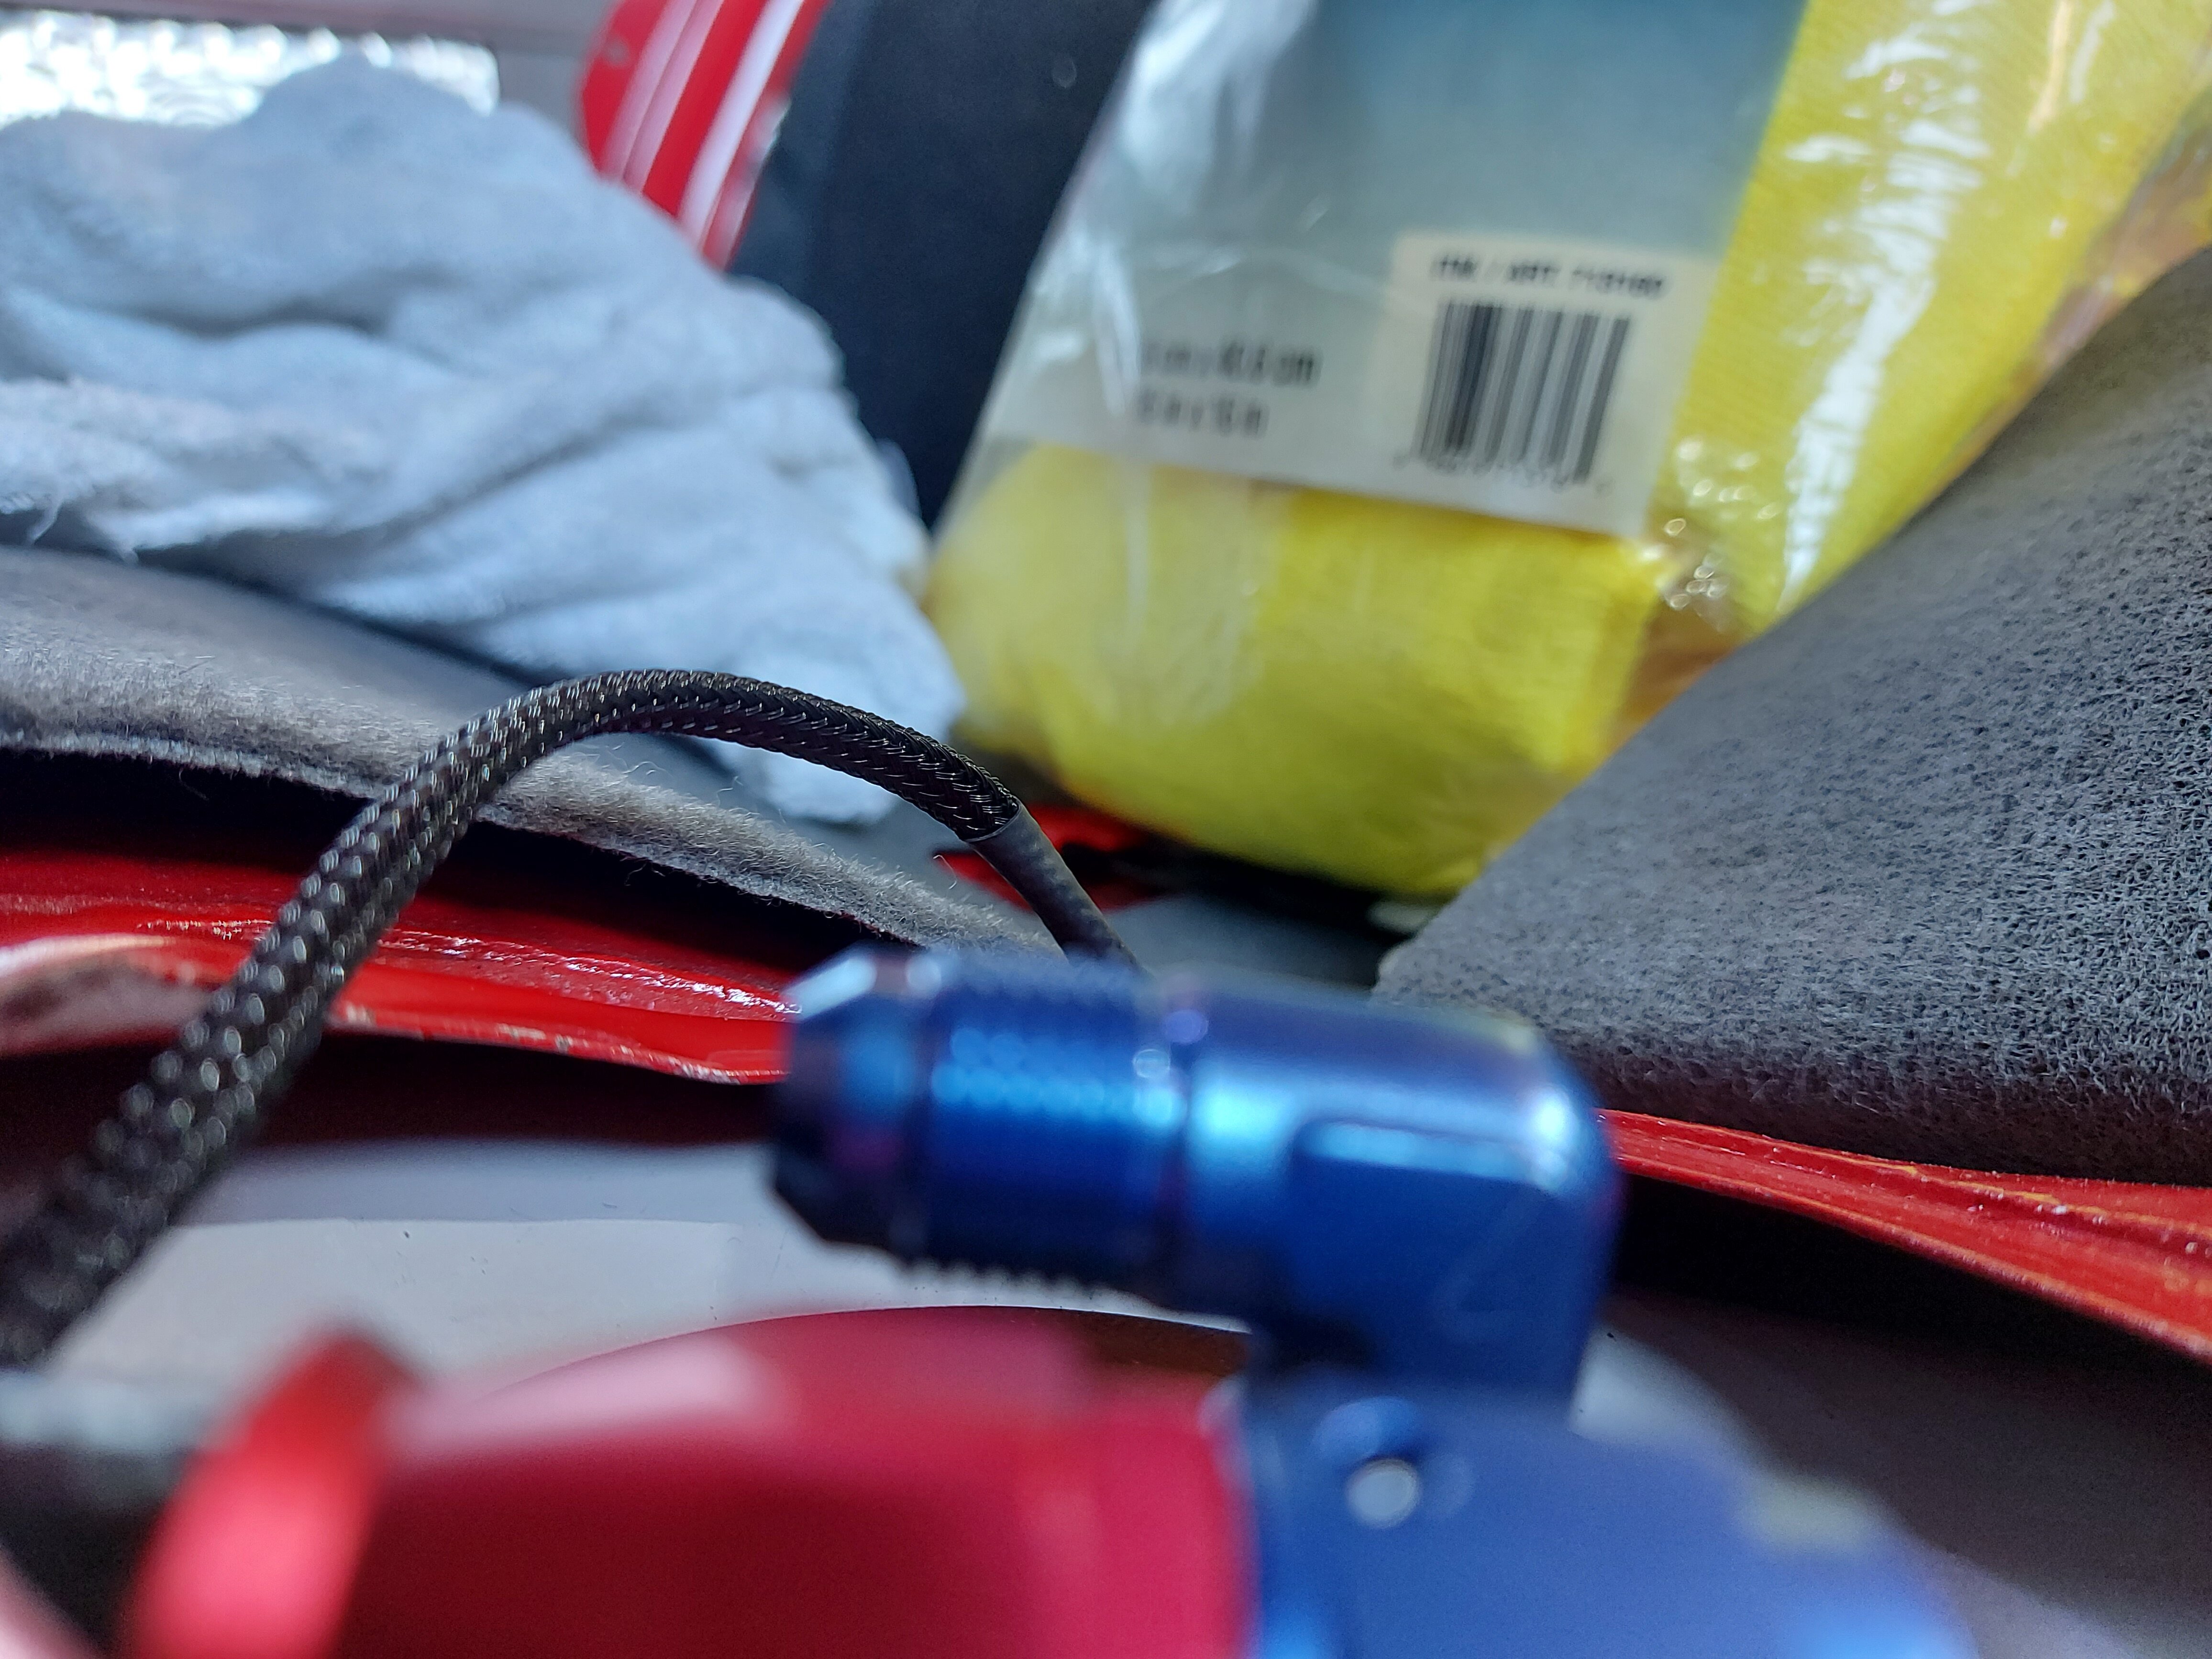

But now I have a new plan, and this one WILL work
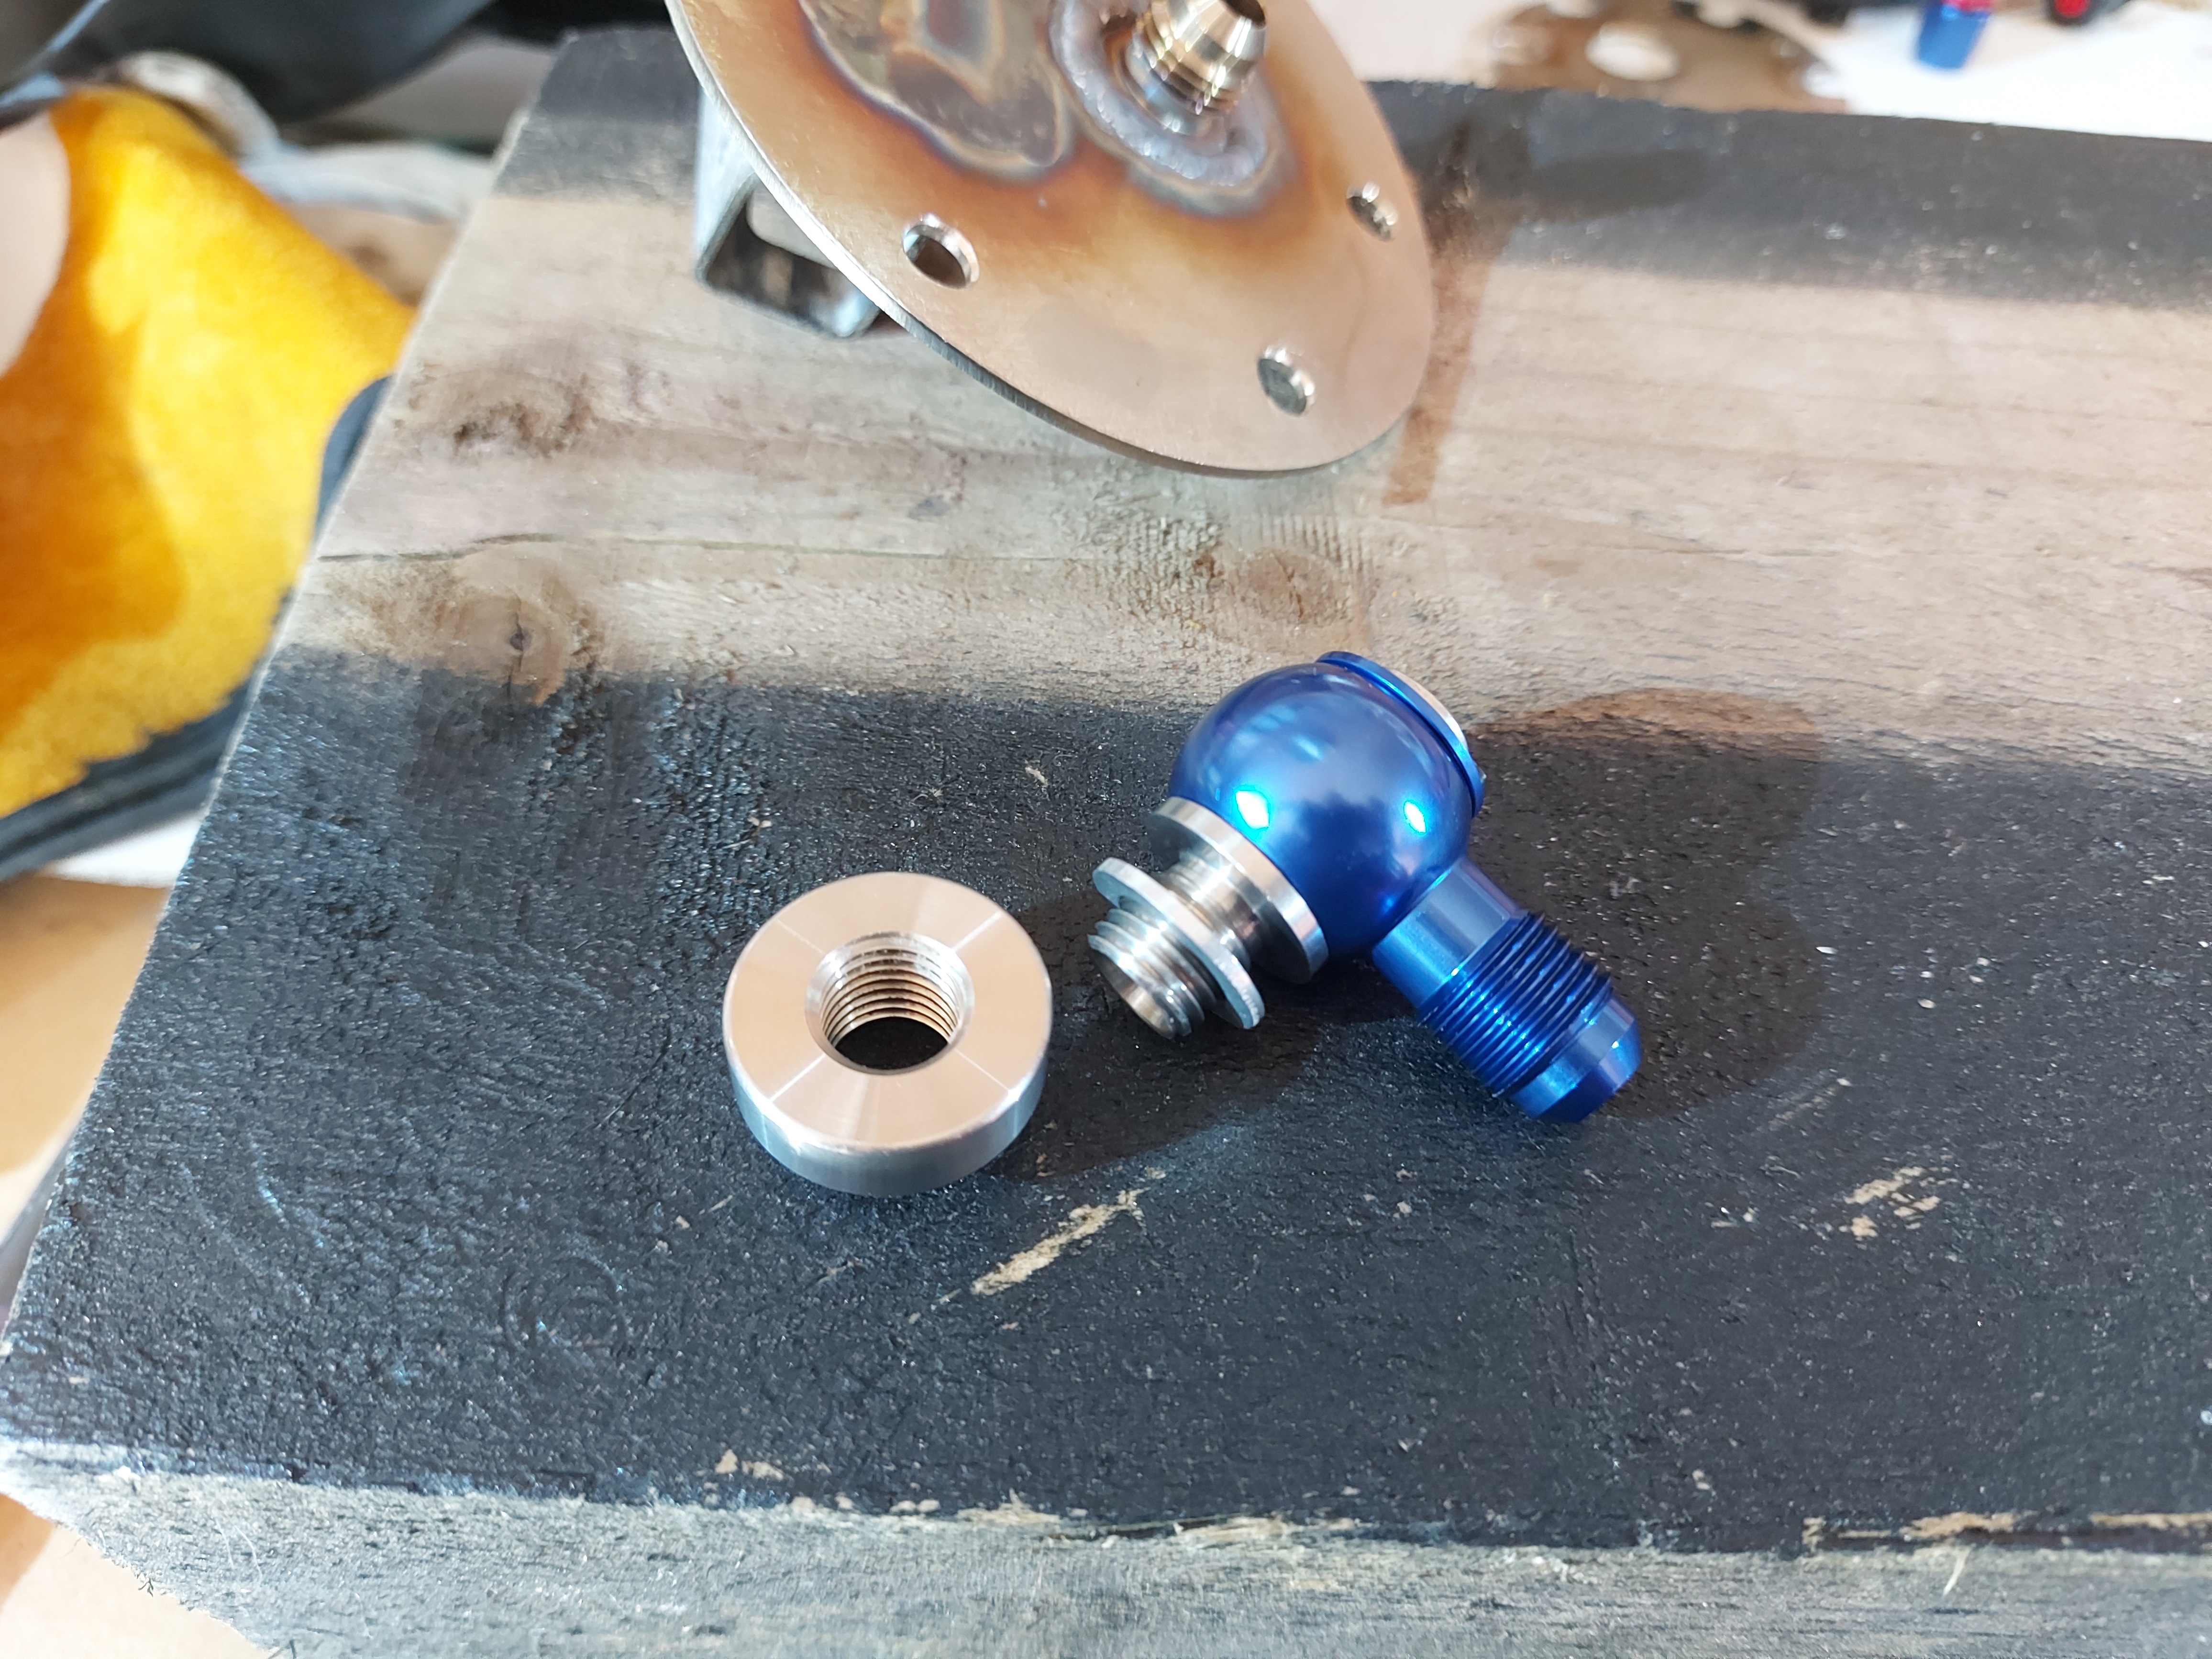
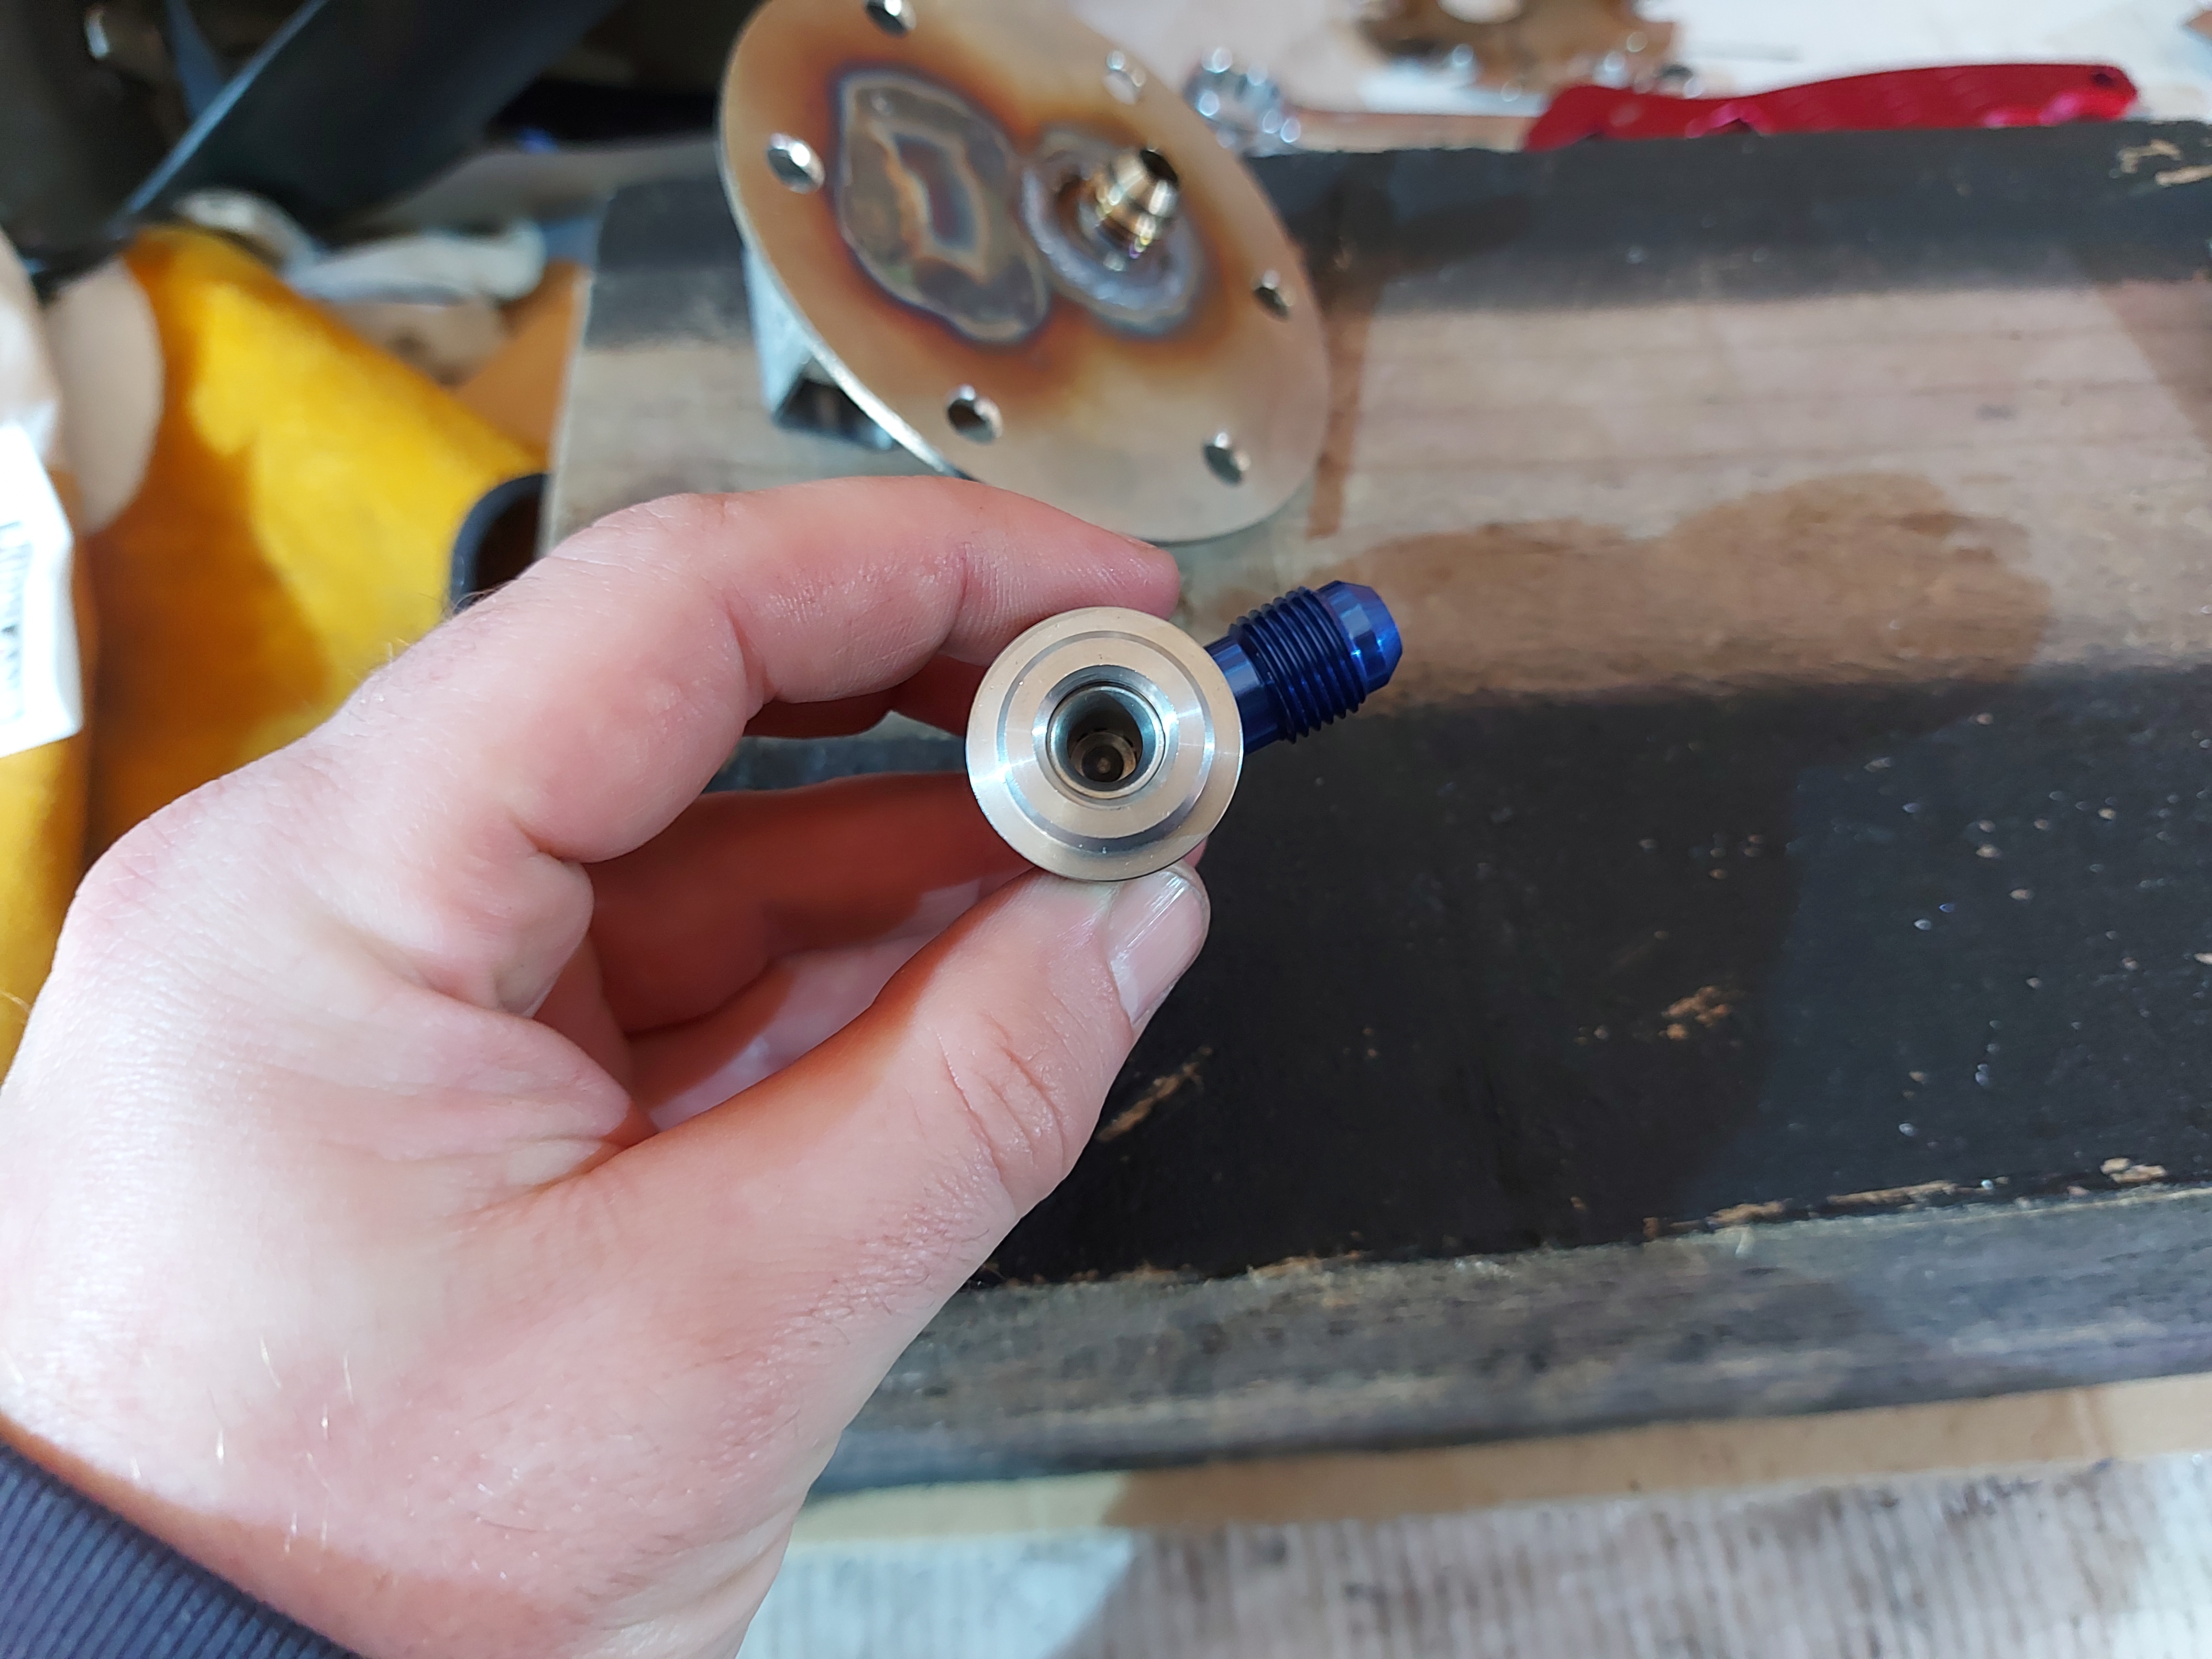
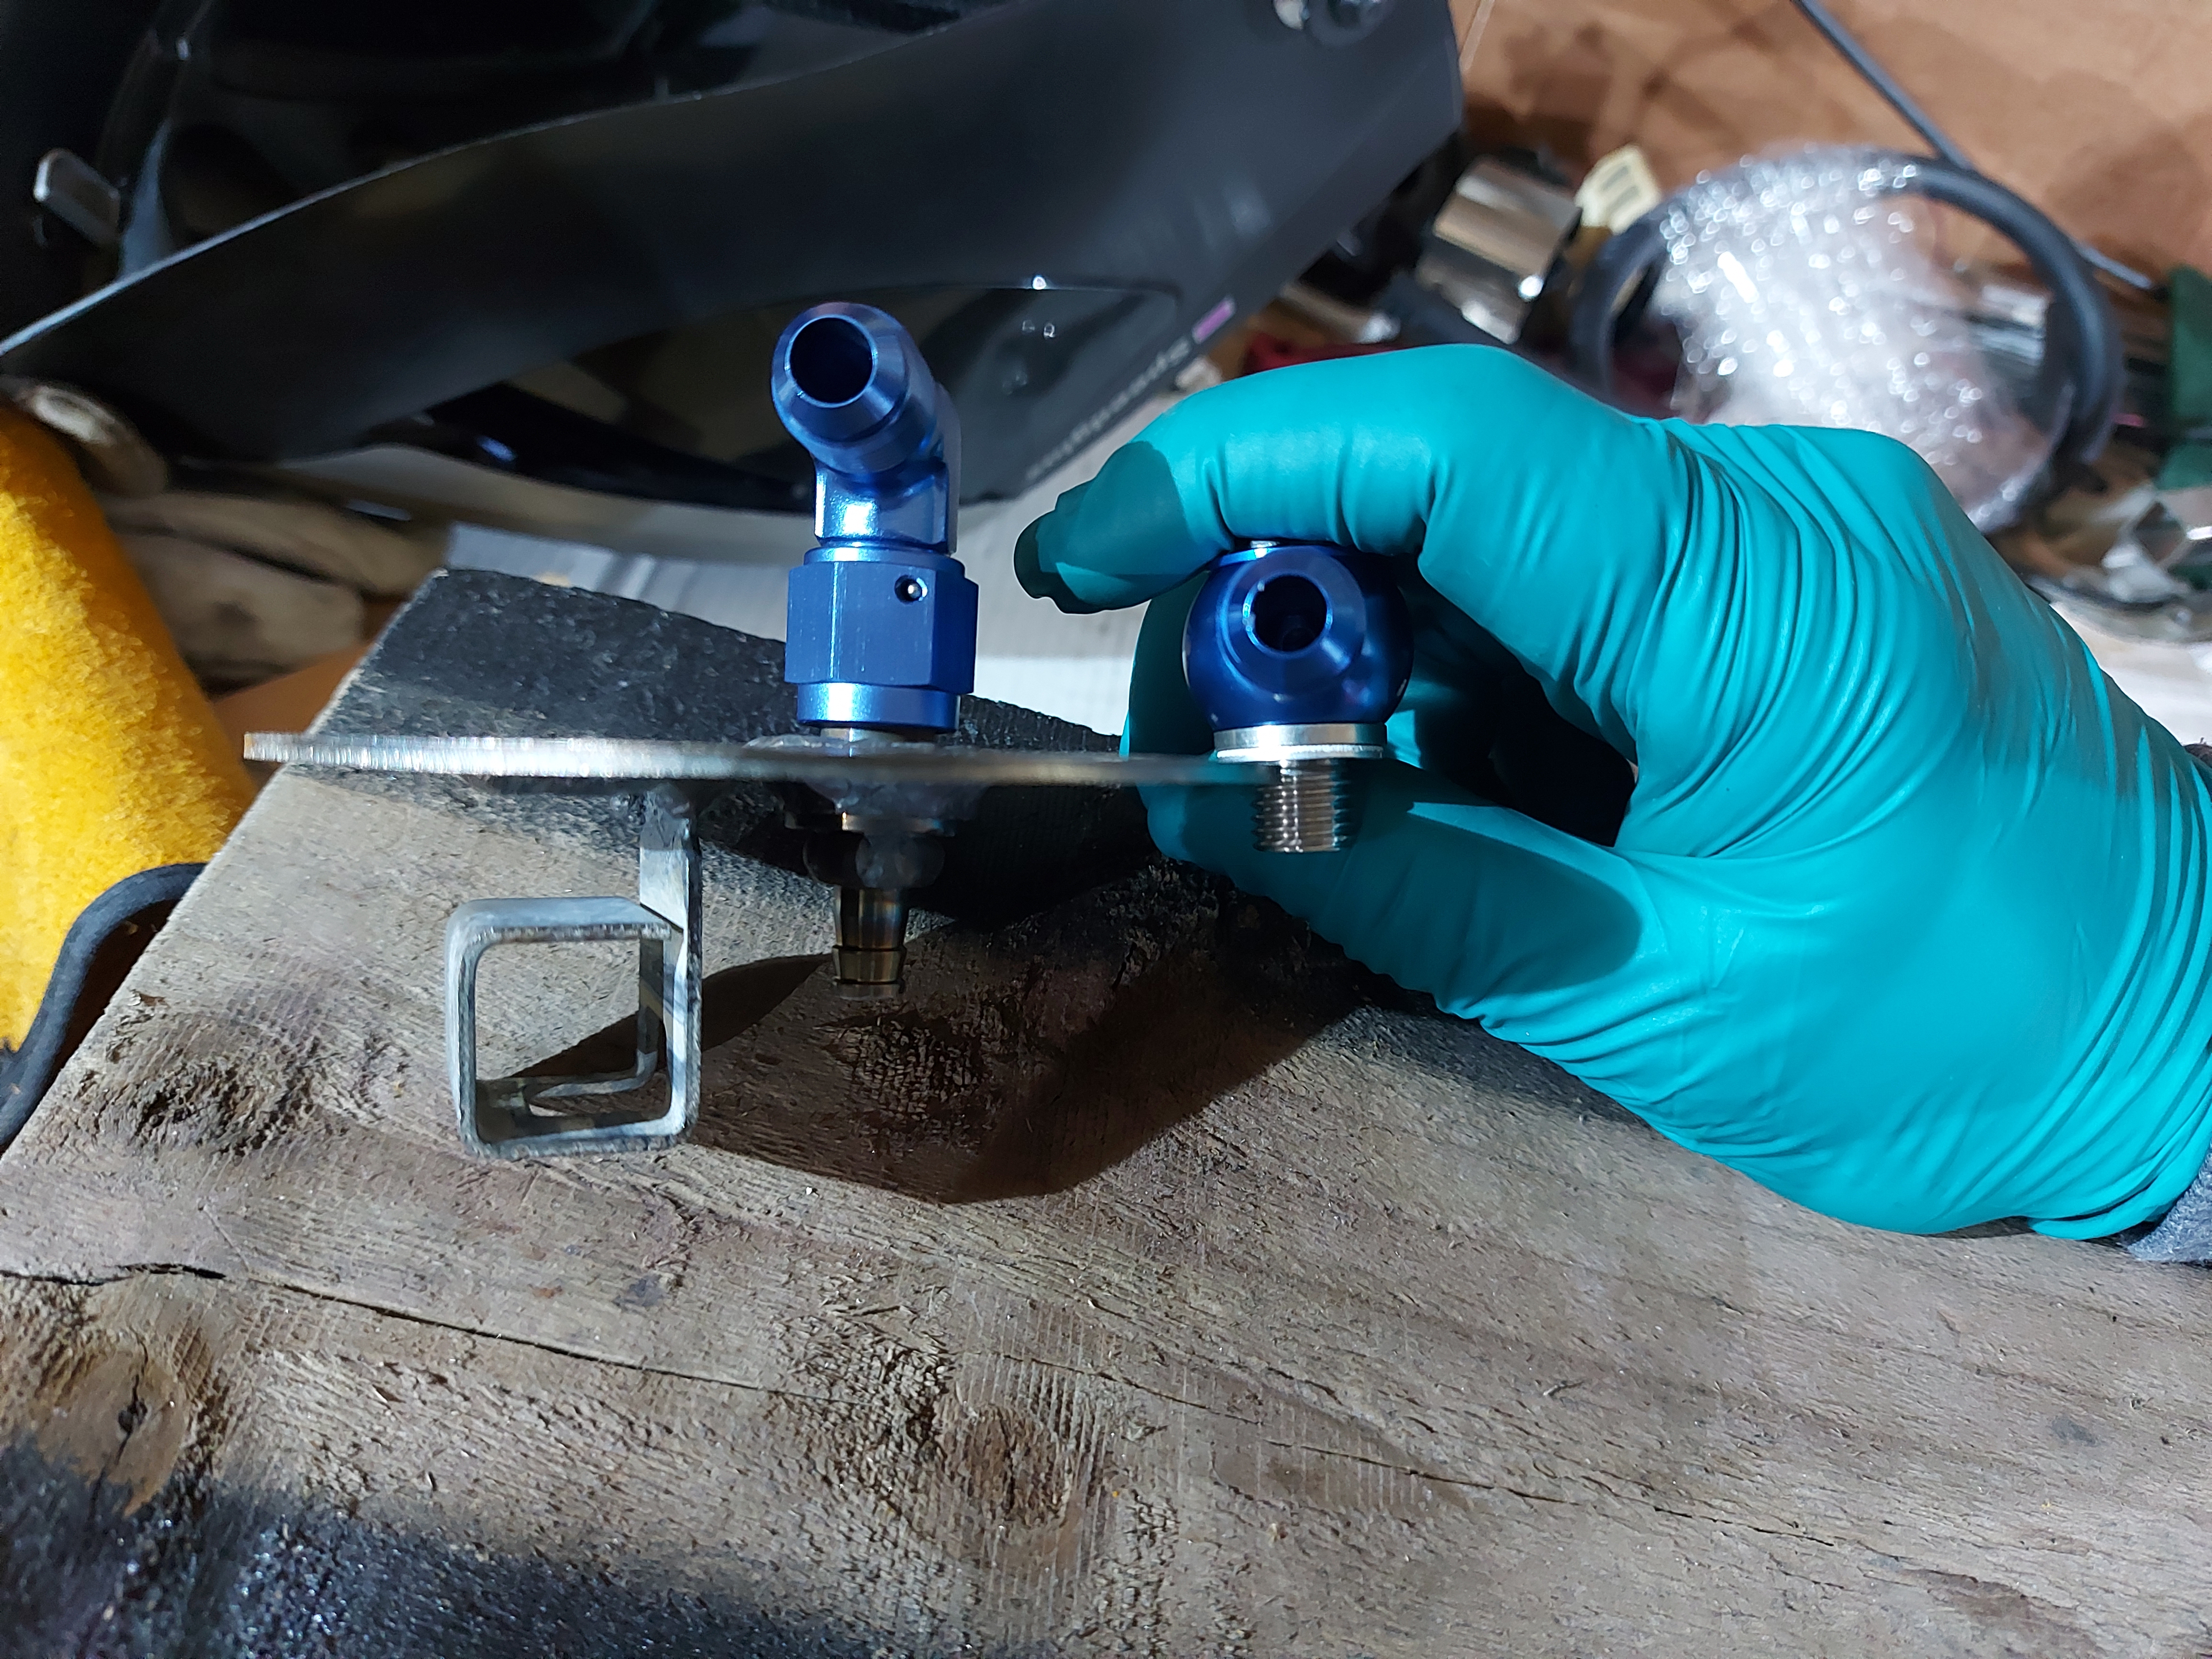
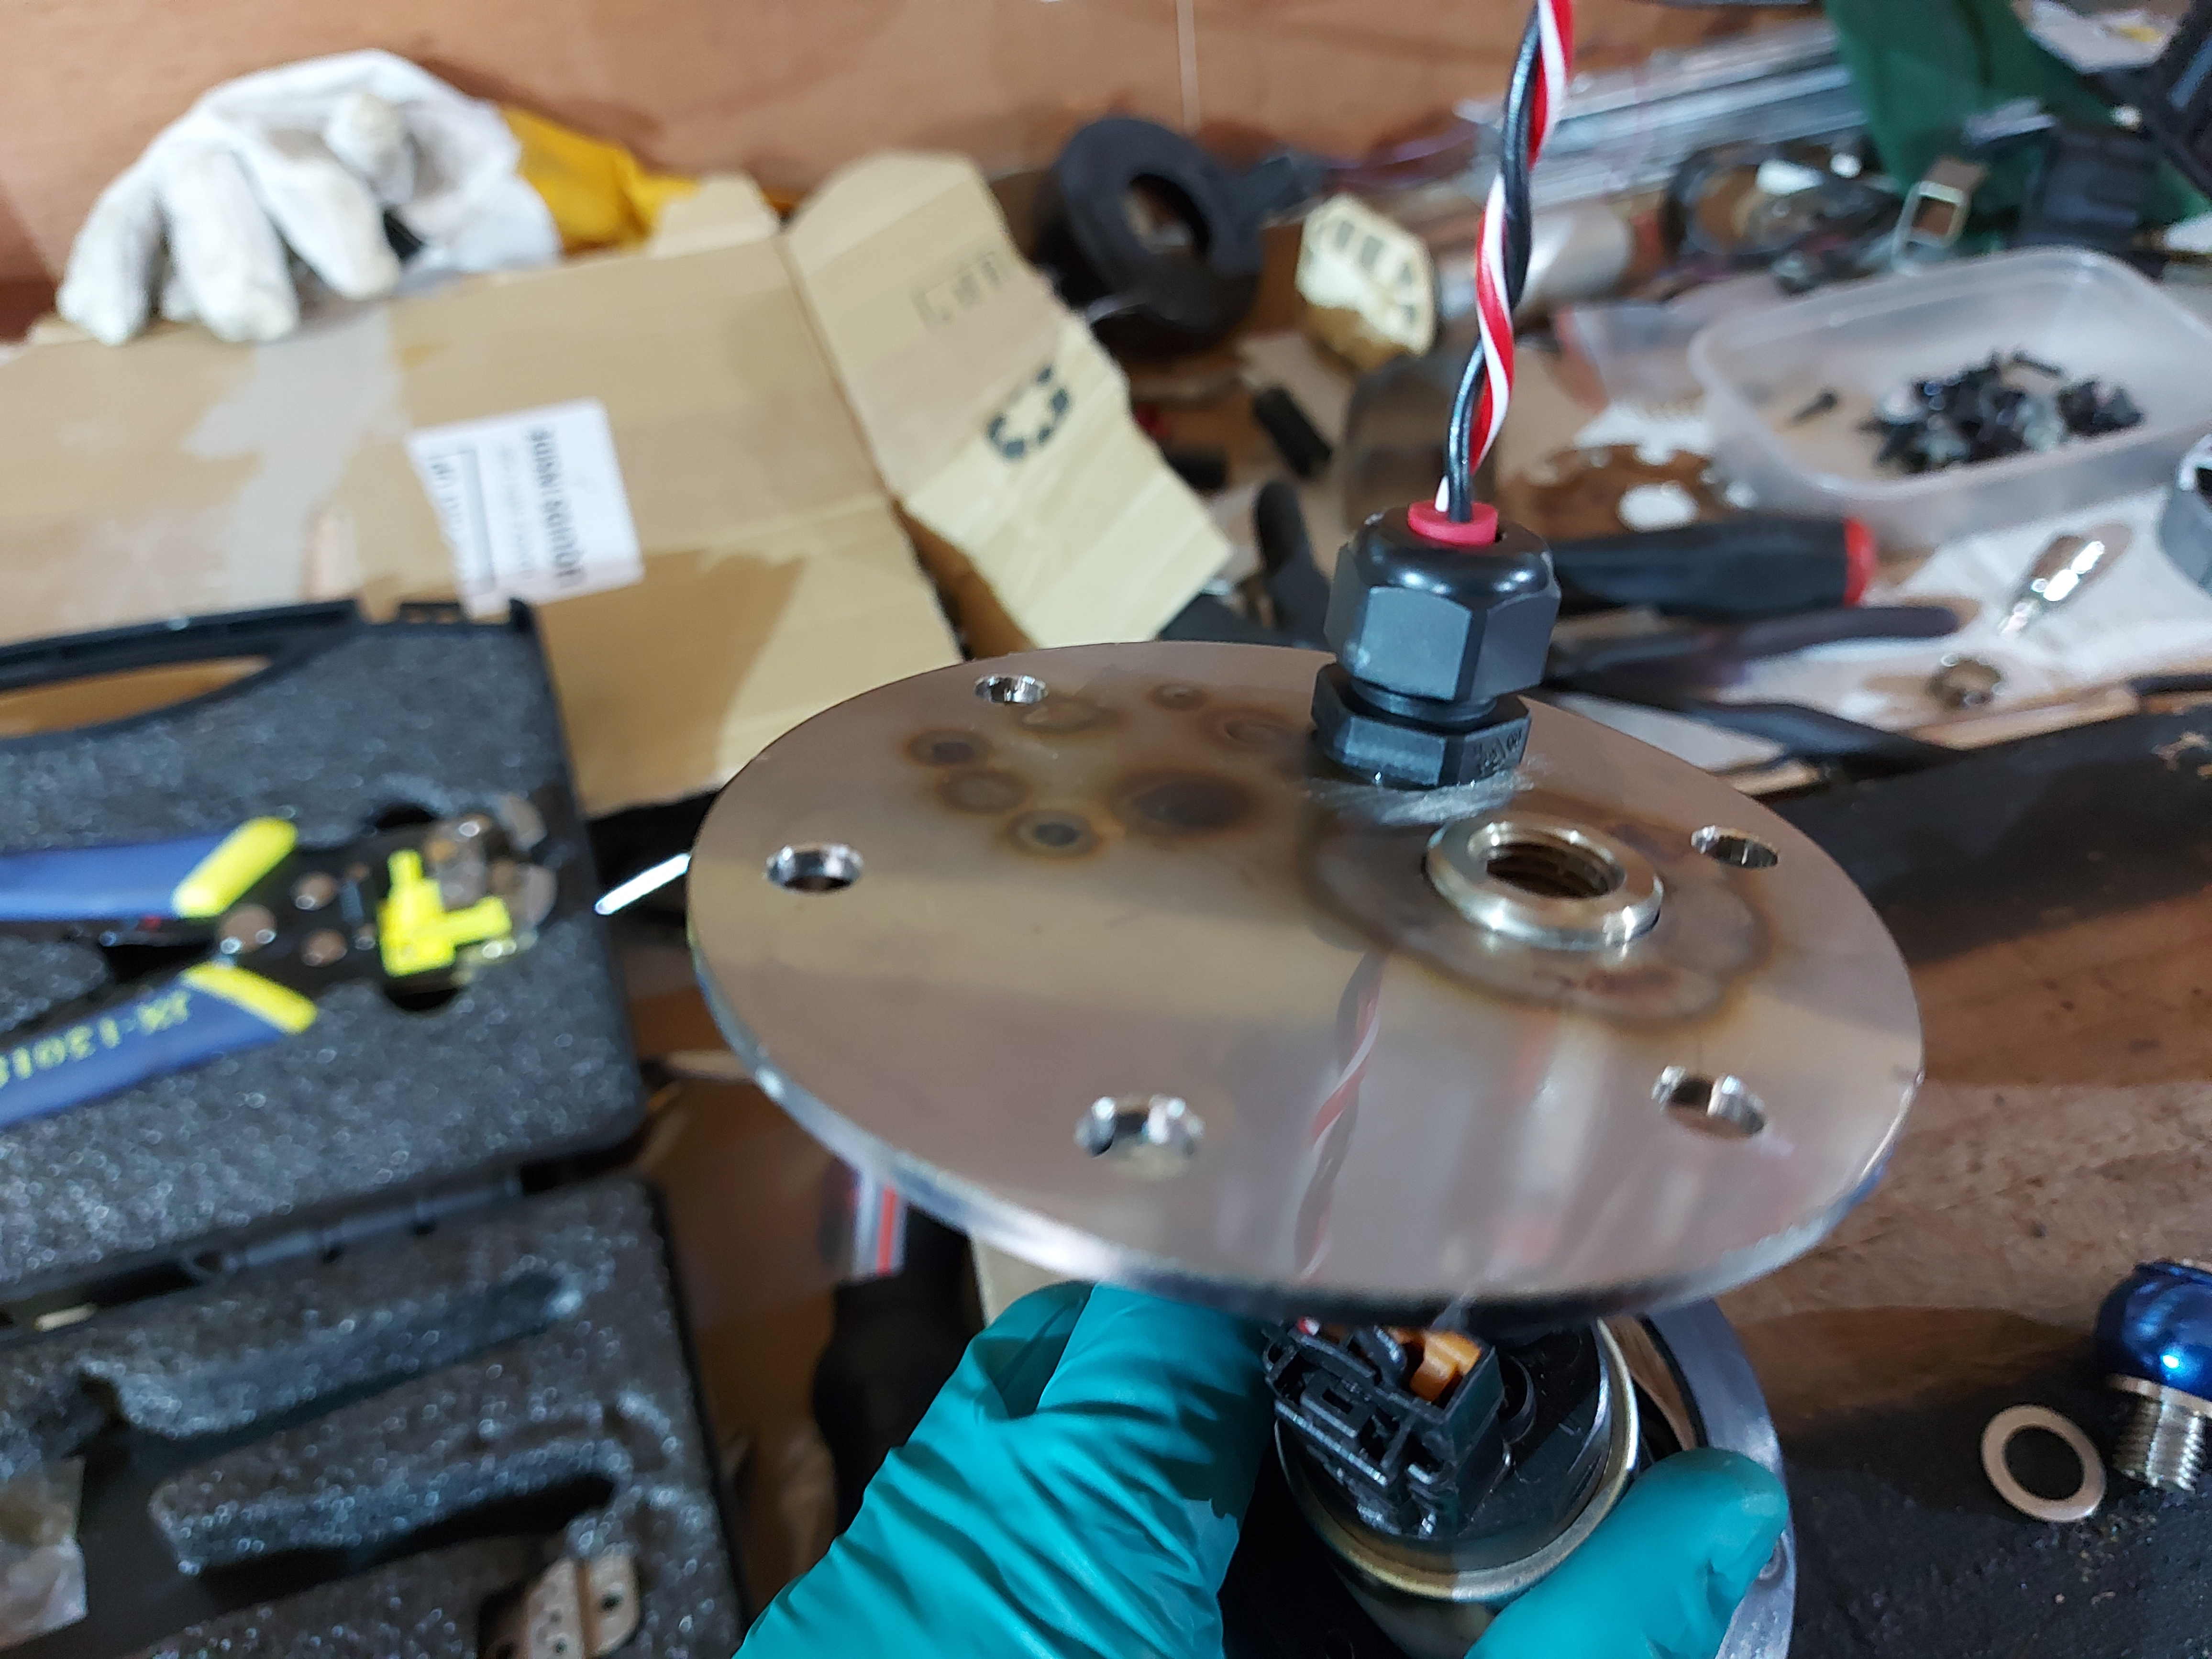
AN6 banjo fitting. The hole in the fitting is the same as the outlet, so no restrictions to fuel flow. An m12 boss to weld into the plate, weld a new hose tail onto the bottom of that boss and job done.
I am also steeping the stainless plate up from 2mm to 3mm cause I was having serious problems with the plate warping while being welded. I am going to make a heat sync of some sort aswell though to stop this happening too. More to come!
So if you can remember, i adapted the standard in tank fuel pump cradle like this
so now the wiring comes through where the fuel used to go, but the gromit hasn't lasted, and the fuel now goes through an AN fitting bulk head style union.
However the union sits too high and the rear seat would crush it! Not cool.
So back to the drawing board and I have decided to make my own fuel pump cradle.
So I started with a round piece of Stainless, drilled whole to fit
So I welded the standard pump bracket onto a piece of stainless
Then I got a hose tail and an AN fitting and welded them together
Put this in the plate and welded it in
Everything lines up a lot better
But alas..... no good! the union is still too high, not as high as it was, but still nowhere near where it needs to be
But now I have a new plan, and this one WILL work
AN6 banjo fitting. The hole in the fitting is the same as the outlet, so no restrictions to fuel flow. An m12 boss to weld into the plate, weld a new hose tail onto the bottom of that boss and job done.
I am also steeping the stainless plate up from 2mm to 3mm cause I was having serious problems with the plate warping while being welded. I am going to make a heat sync of some sort aswell though to stop this happening too. More to come!

Nah, unfortunately not cause I used Teflon fuel hose and u can't crush the hose with a jubilee. I would have to change the hose to rubber again and I didn't want to run rubber anymore for future proofing!
Also I would have to drop the tank, which means taking the exhaust and handbrake cables off. No effin way i'm doing that
Also I would have to drop the tank, which means taking the exhaust and handbrake cables off. No effin way i'm doing that
Last edited:
M9KDS
Club Member
Thank you for the info, just had a look and there is not much about for Mk4’s now, what gear box and shafts etc did you use, or point me around the right pages and I will have a good read.
intrested in the mk3 to mk4 looms, are they on the Mk3oc?
yours is looking so clean, you won’t want to use it
Brilliant work
Kieren
intrested in the mk3 to mk4 looms, are they on the Mk3oc?
yours is looking so clean, you won’t want to use it
Brilliant work
Kieren
Hello mate, thanks for the comment. The vxr stuff is complex because of the canbus system it uses. The best setup in my opinion would be the mk4 management, then u can use the clocks, all the engine ecu and wiring, people do looms to go from mk3 to mk4. Then use the LEH engine for the under piston squirters and all the powe
Thank you for the info, just had a look and there is not much about for Mk4’s now, what gear box and shafts etc did you use, or point me around the right pages and I will have a good read.
intrested in the mk3 to mk4 looms, are they on the Mk3oc?
yours is looking so clean, you won’t want to use it
Brilliant work
Kieren
Thanks mate, it is just the right amount of clean, but I definatly am going to use it. I didn't bother spraying the front bumper, grill and bonnet because they are in good nick and only stone chipped etc. I don't want the 'mintness' of the car to stop me chasing down someone who wants a race
box and shafts wise, I used the f28 so could use normal shafts etc from an astra or calibra, kept things simple. I think zlets are pretty easy to get hold of now as the mk4 is the lowest price it will ever be now really I should think. You could buy an LEH and get the better engine for a bit more money. Depends how far u want to go.
F28 gearbox are rare and mega money now days though, but if you buy one it's yours for life as they indistructable
John459
Club Member
She is going to look absolutely amazing when she is finished!Lastly Polished the bumper toe eye cover, which I forgot to spray but in reality, didn't need doing as it's mint
Back end all together, brand new OE GSI16v badge fitted.
Last but not least, Spotted some corrosion already on the washers for the side skirts. This was stainless bolt, stainless rivnut, Normal washer.
So now all the washers have been changed out stainless washers lol. Bloody car is trying to corrode and hasn't left the workshop
That's all folks!
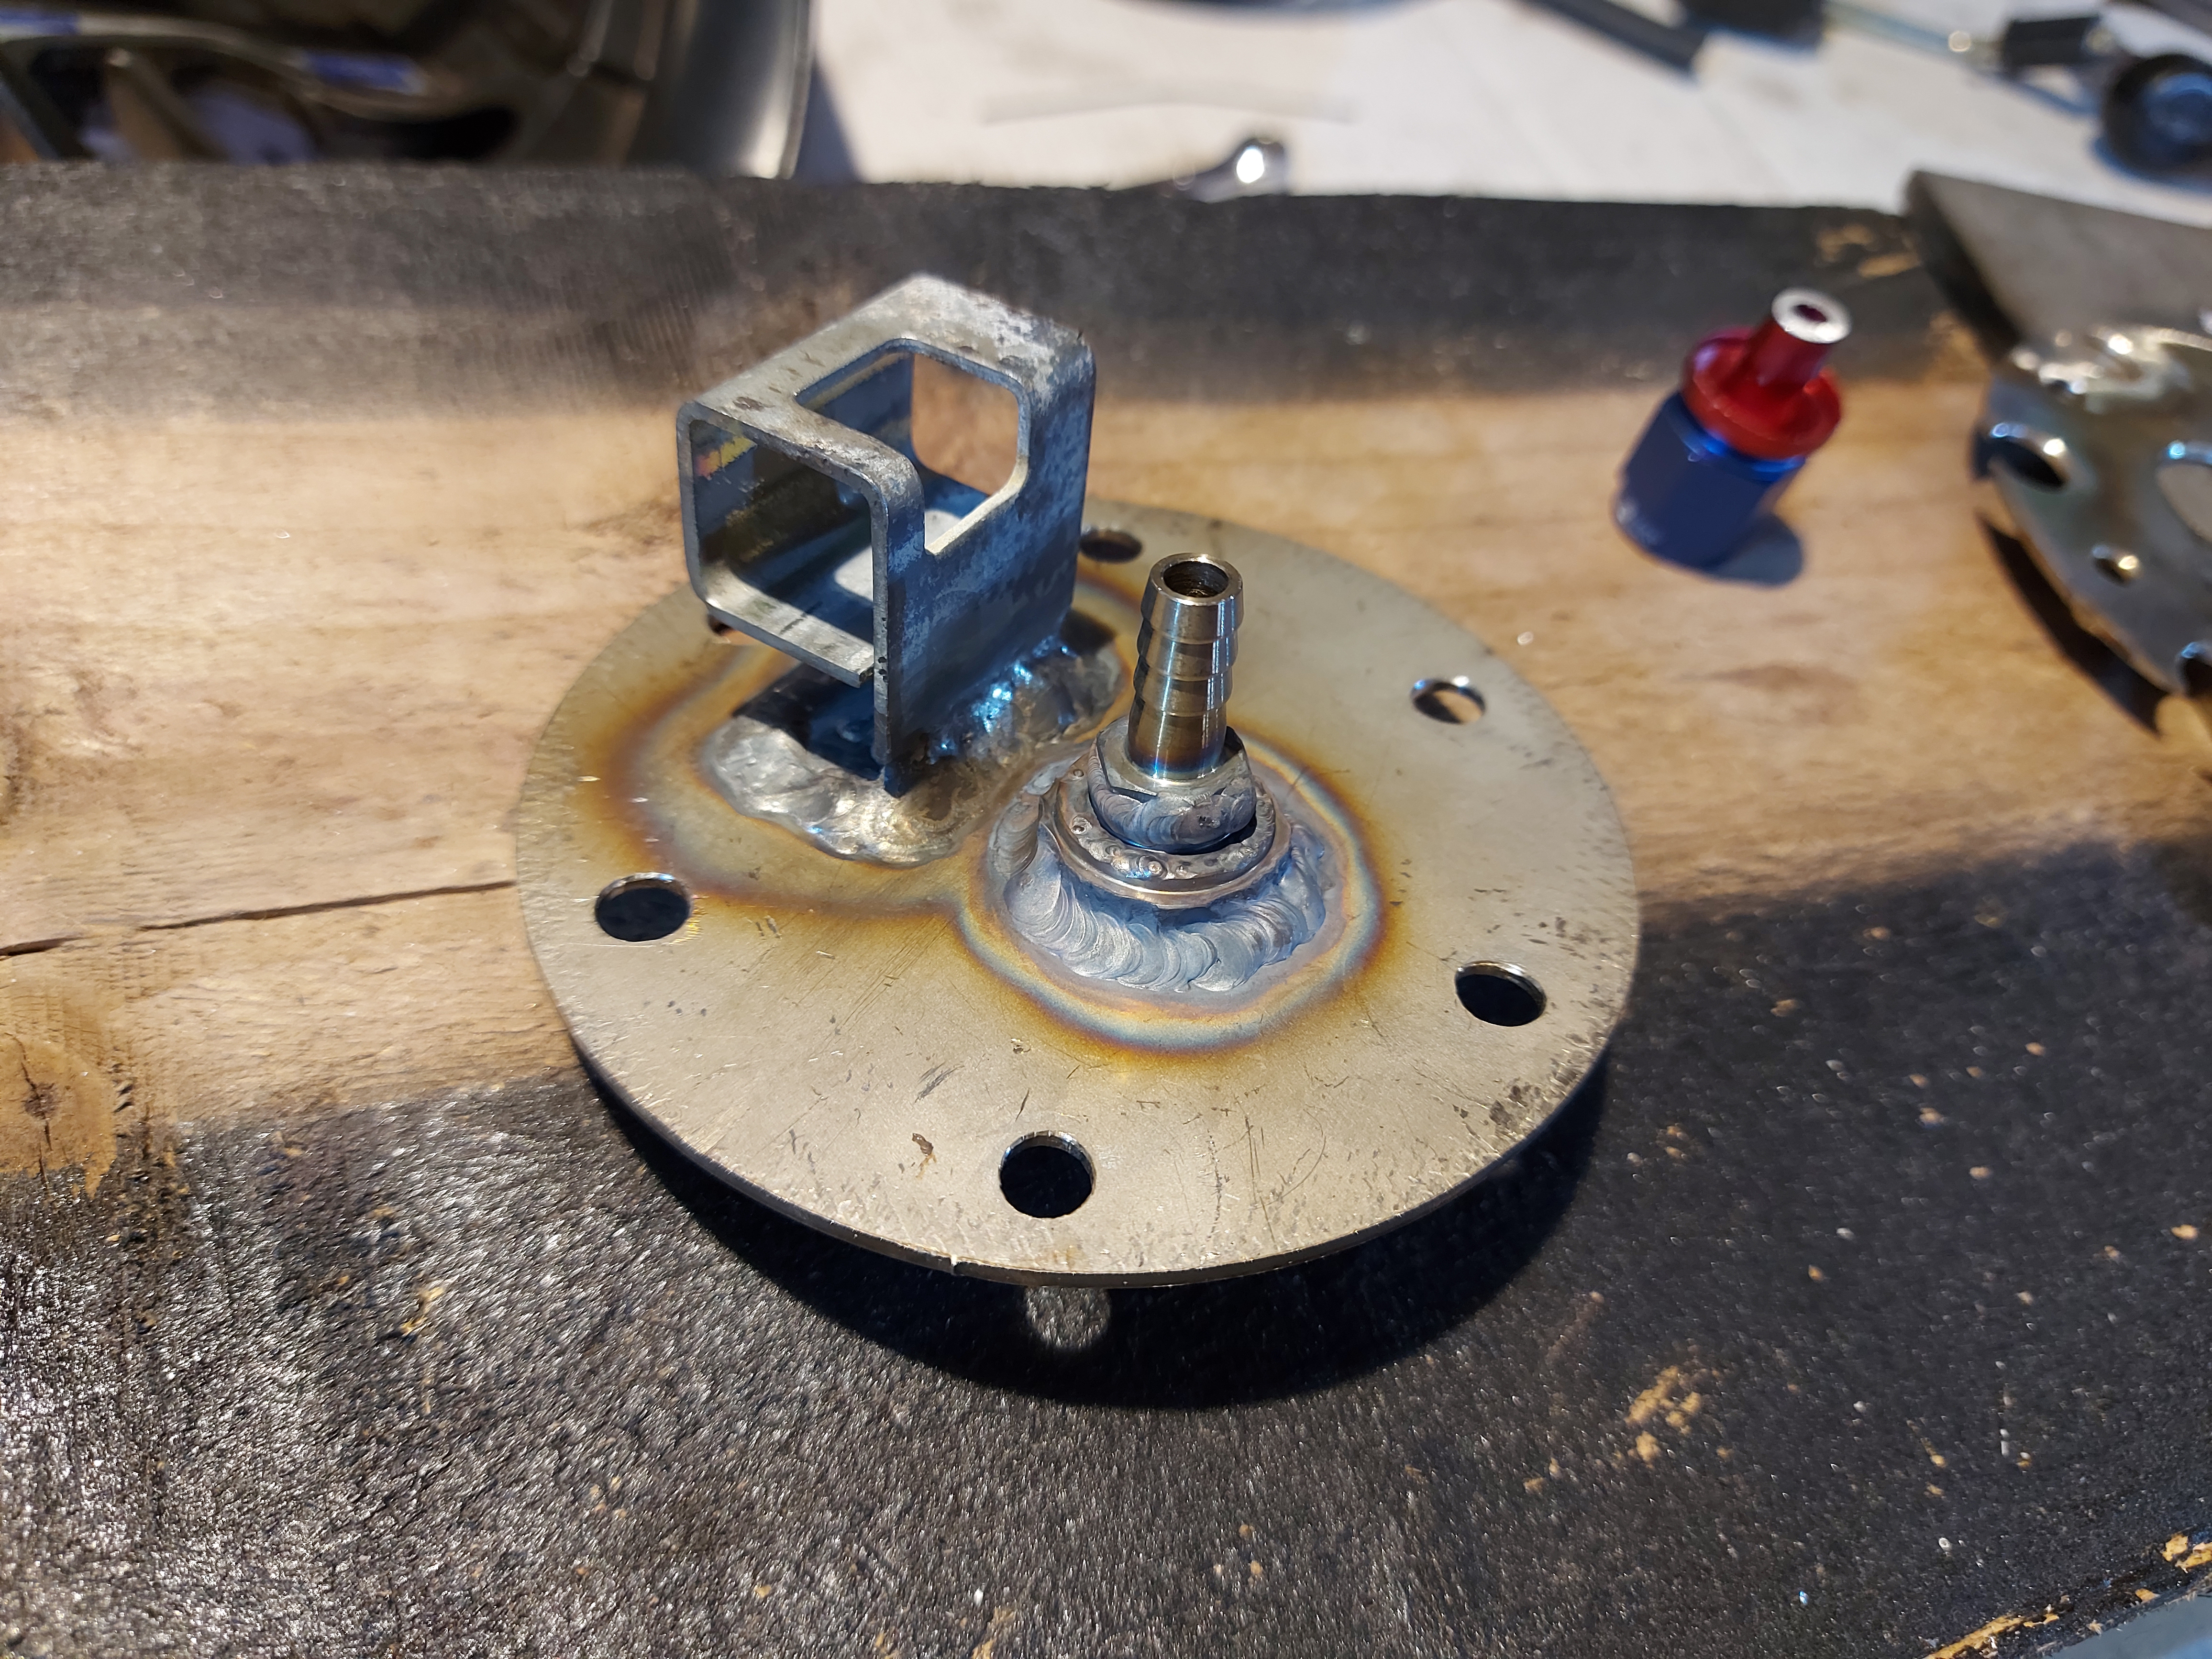
I finally Cracked the fuel pump
Banjo fitting

I went 3mm Stainless this time so there was less chance of the plate warping and the bracket for the pump, i just did a few small tac's to keep the heat low.
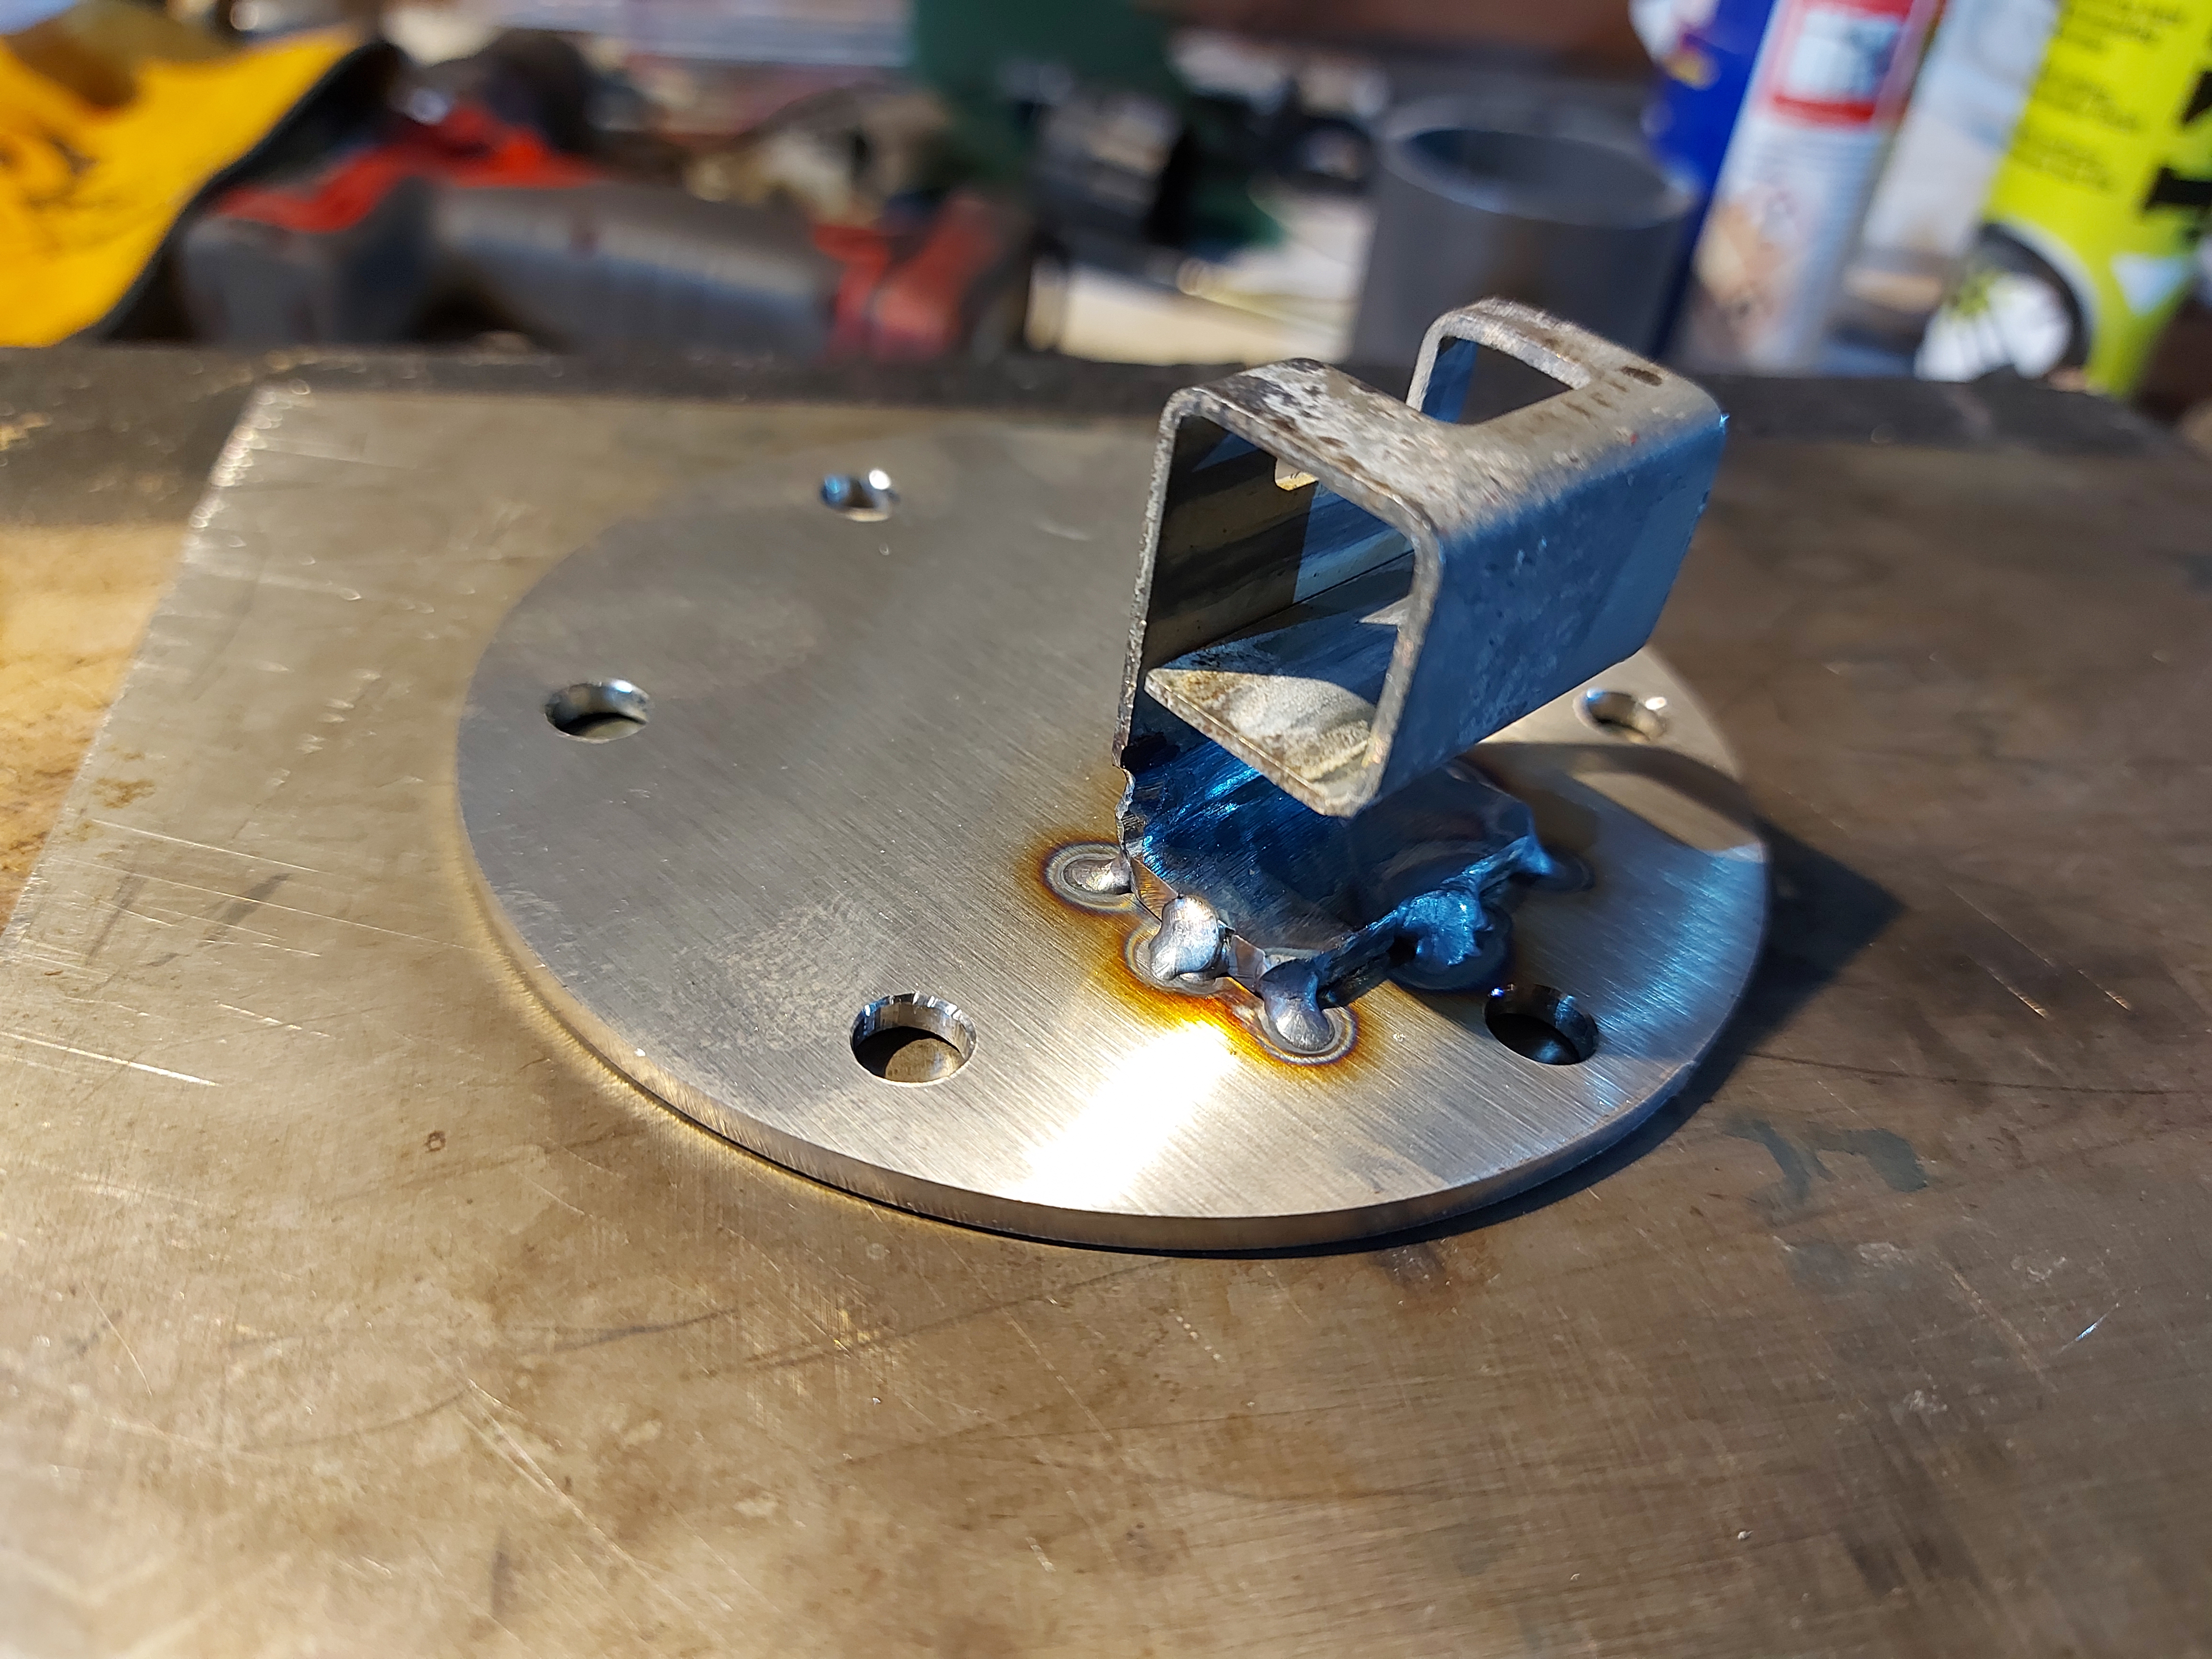
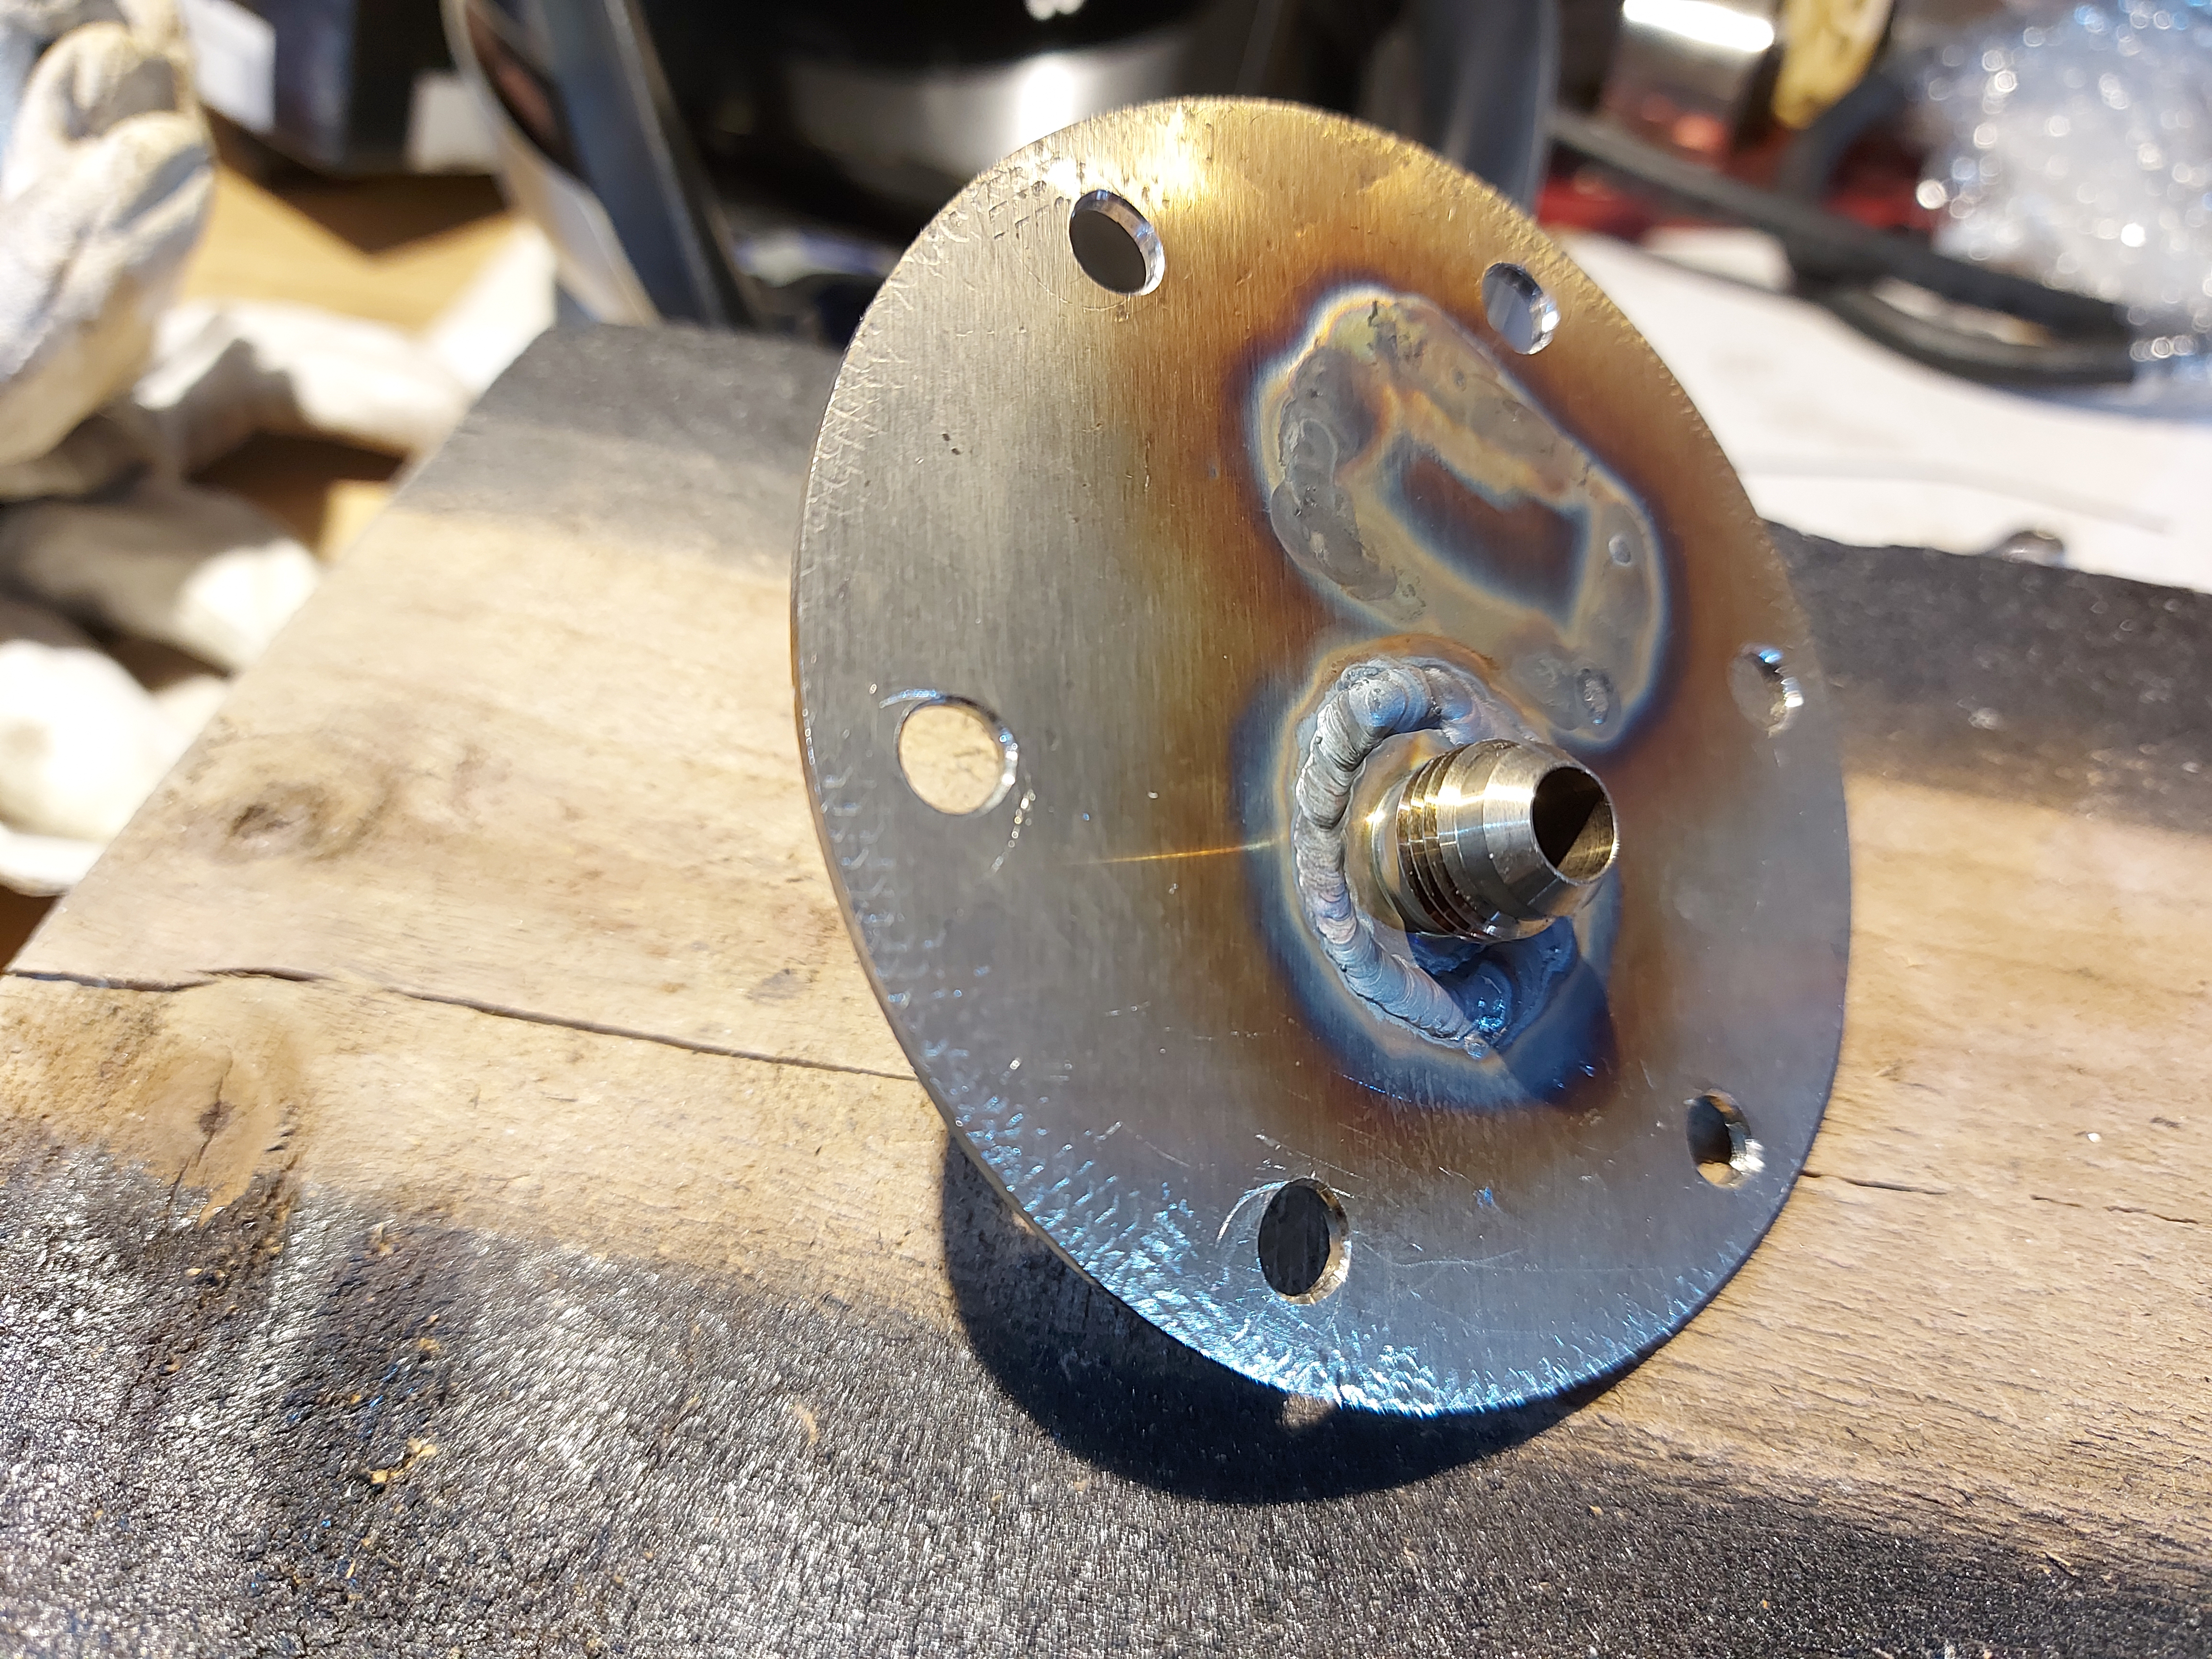
I then tac'd the boss for the banjo in and then when I welded it, I layed 6 or so dabs at a time, and then set a 5 min timer between, really going above and beyond to keep the heat out of it!
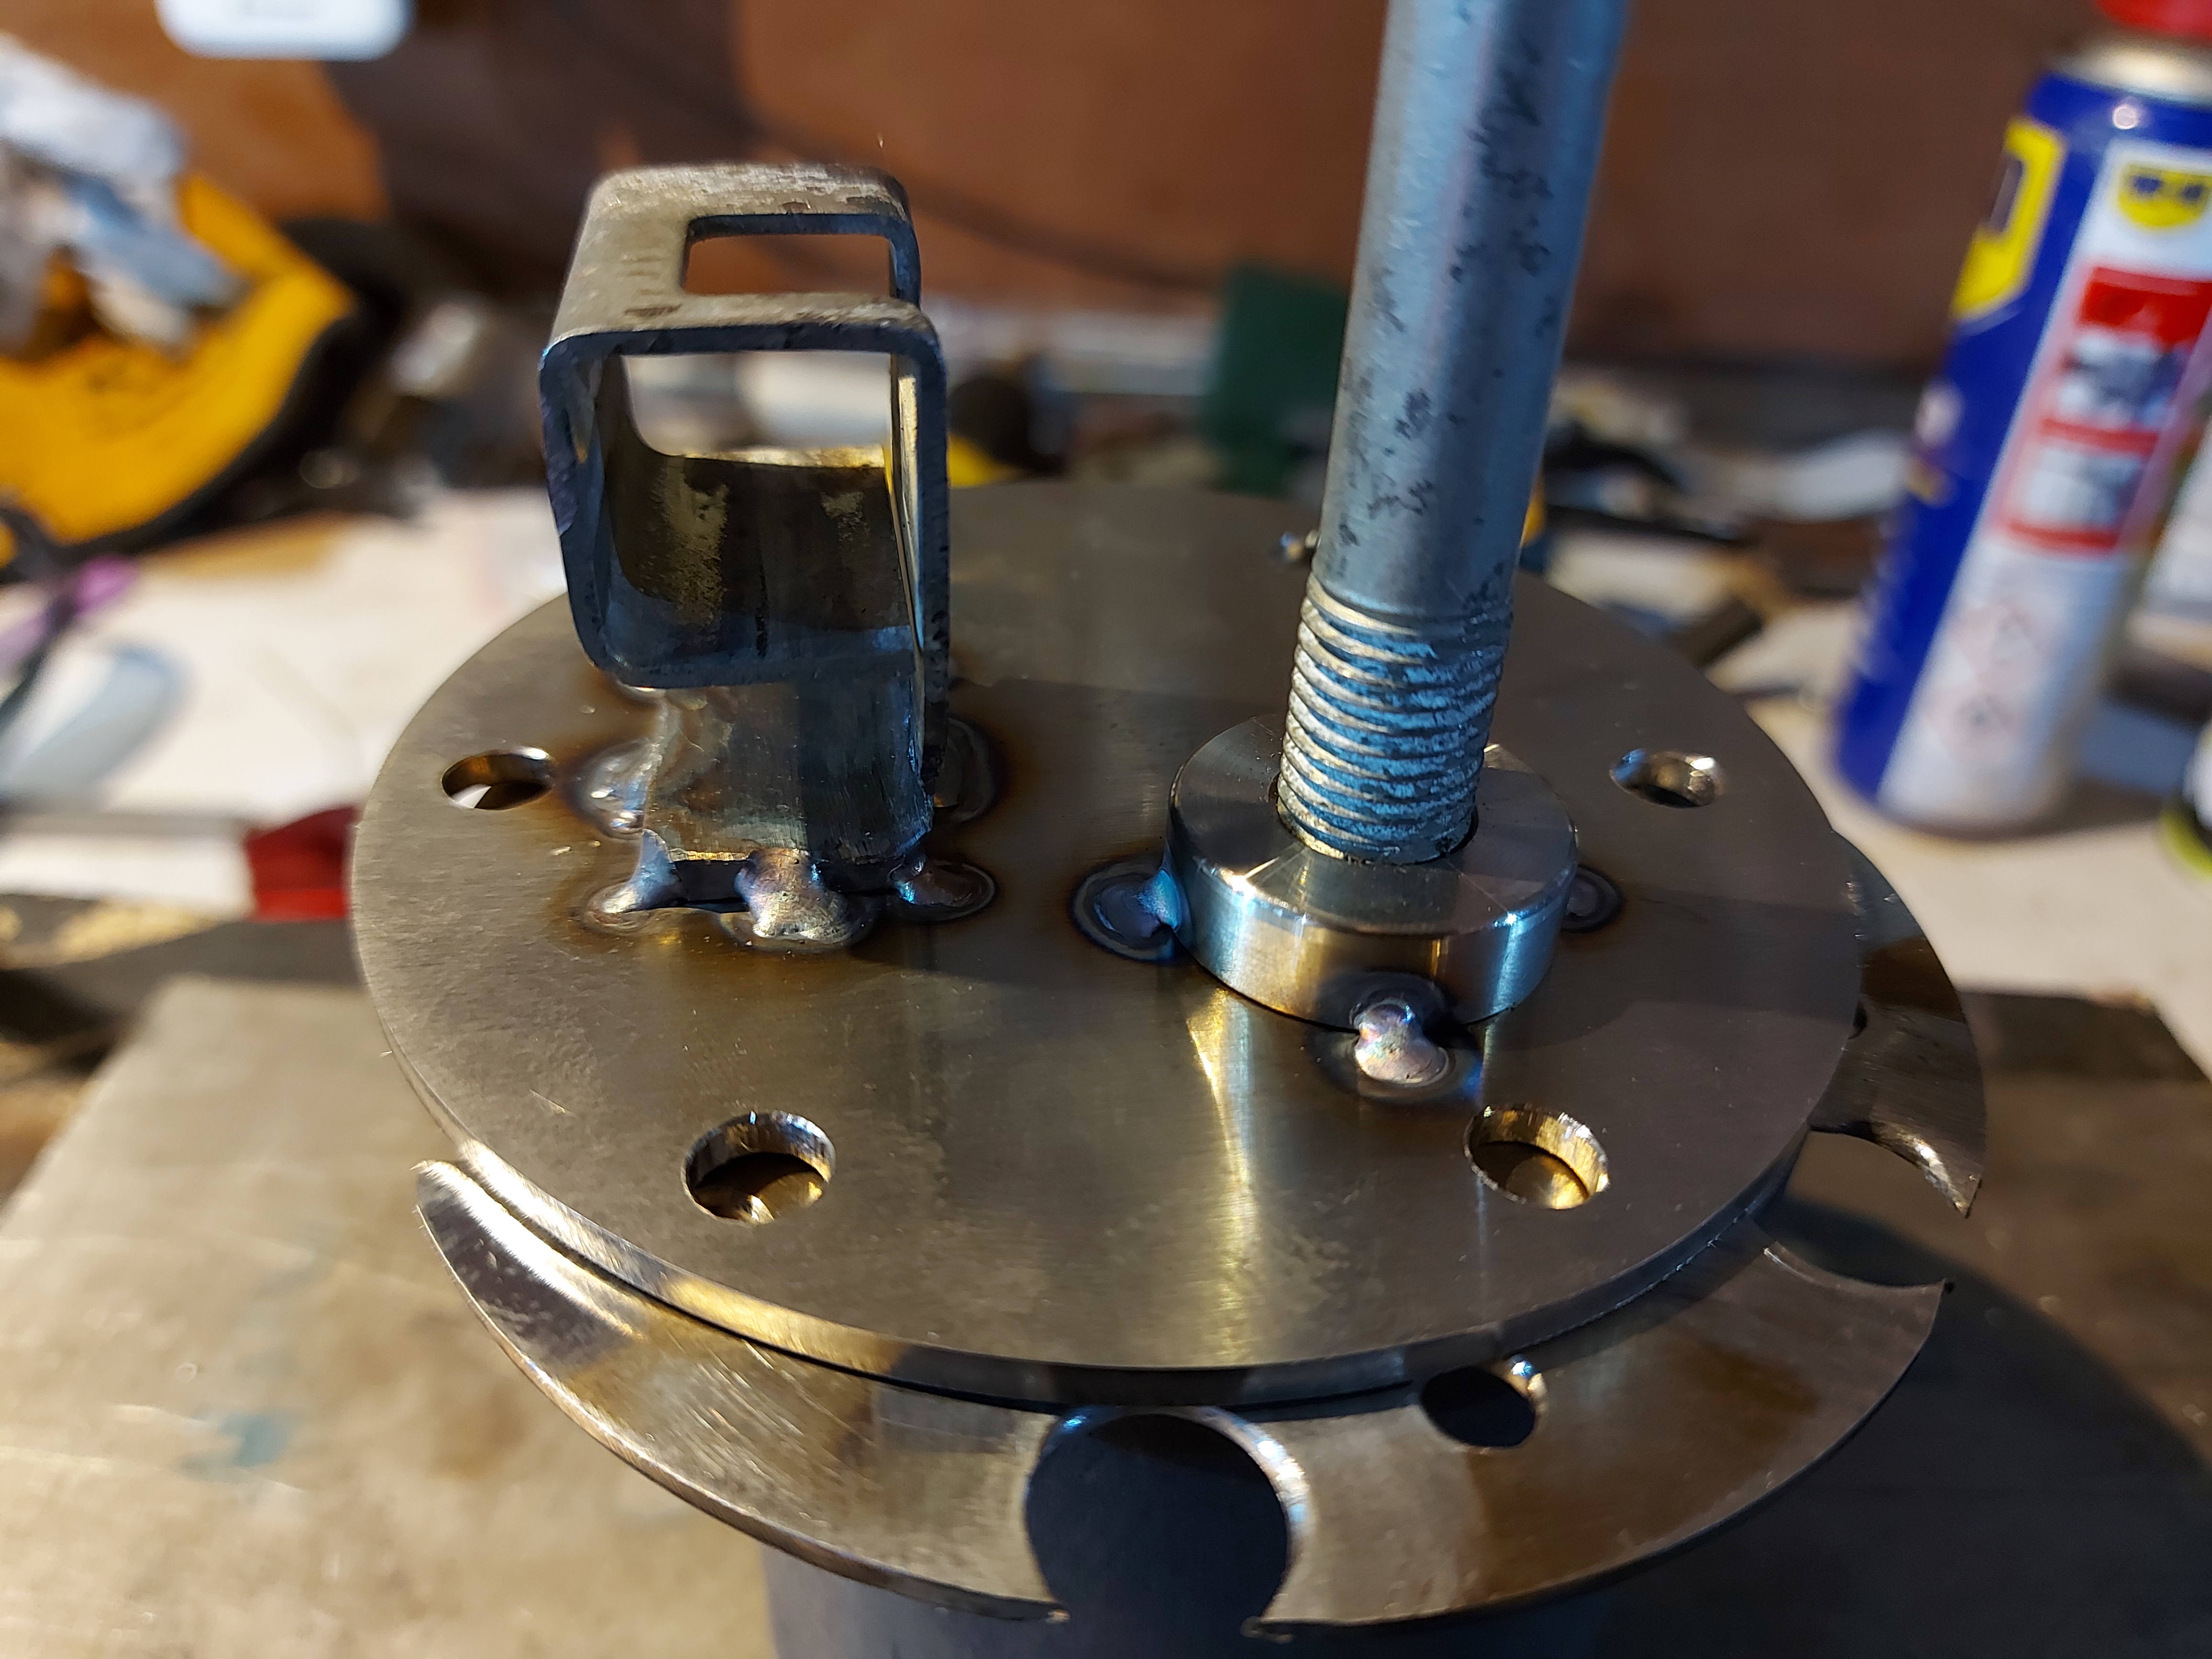
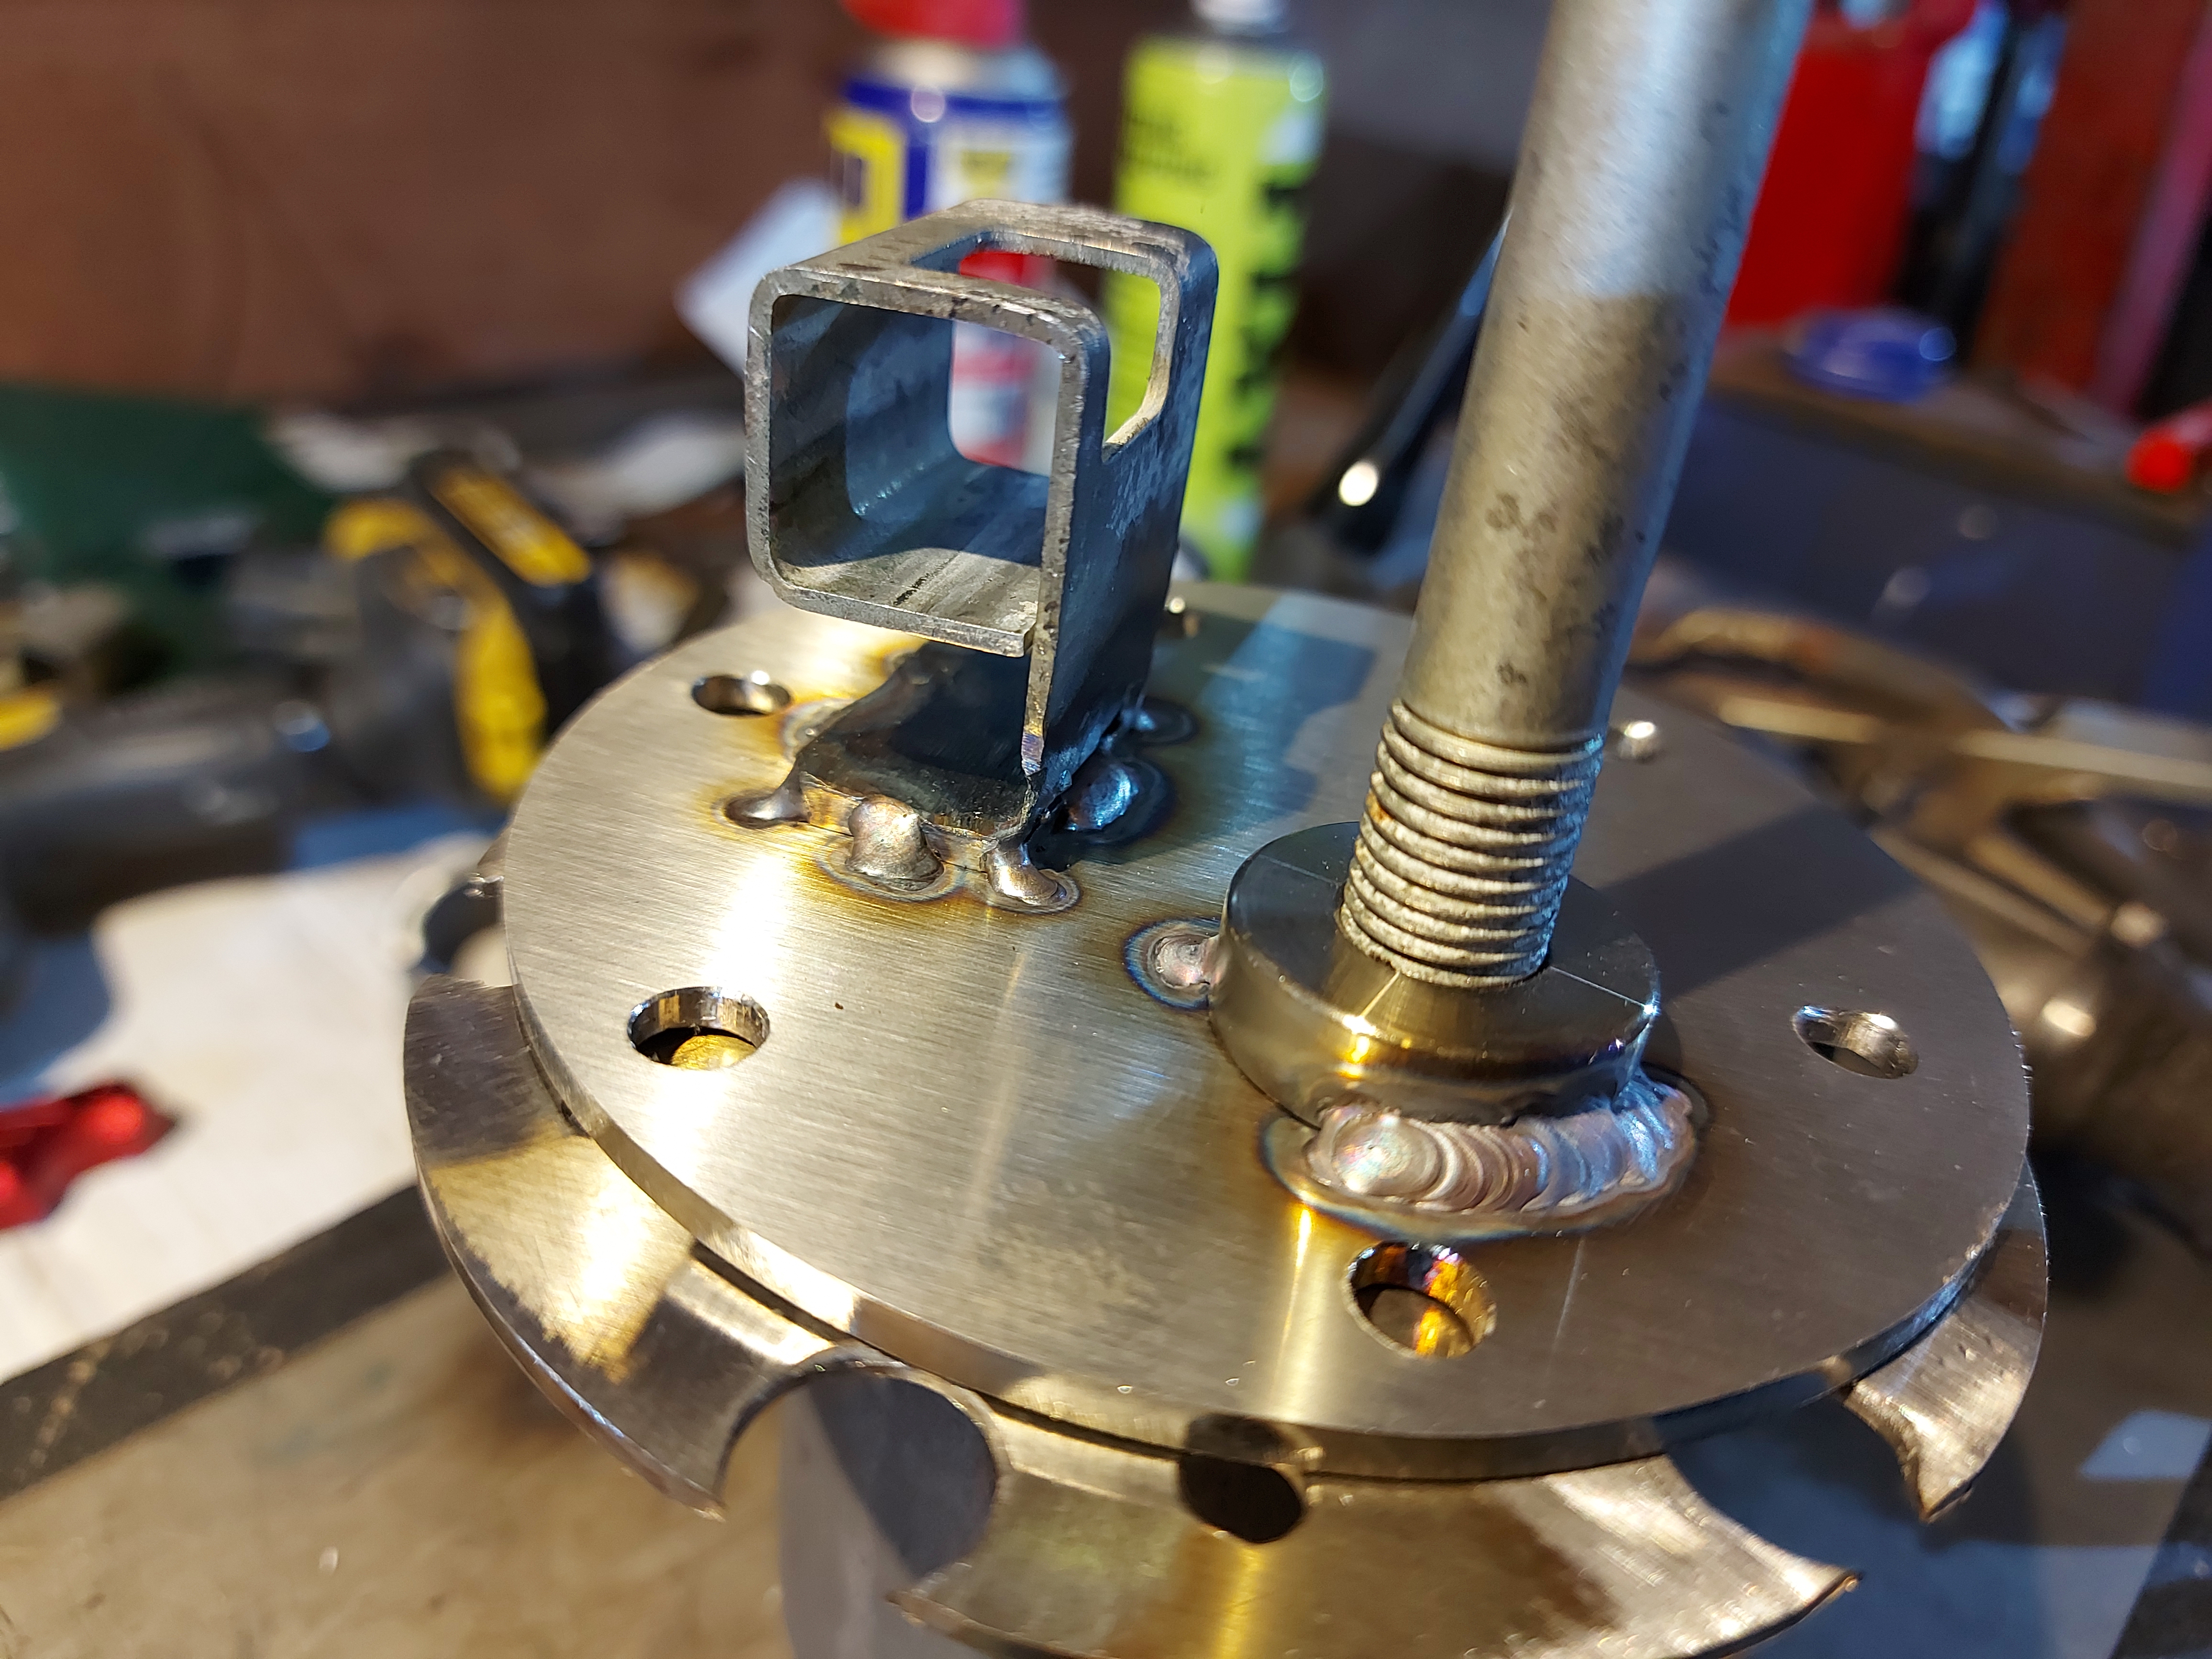
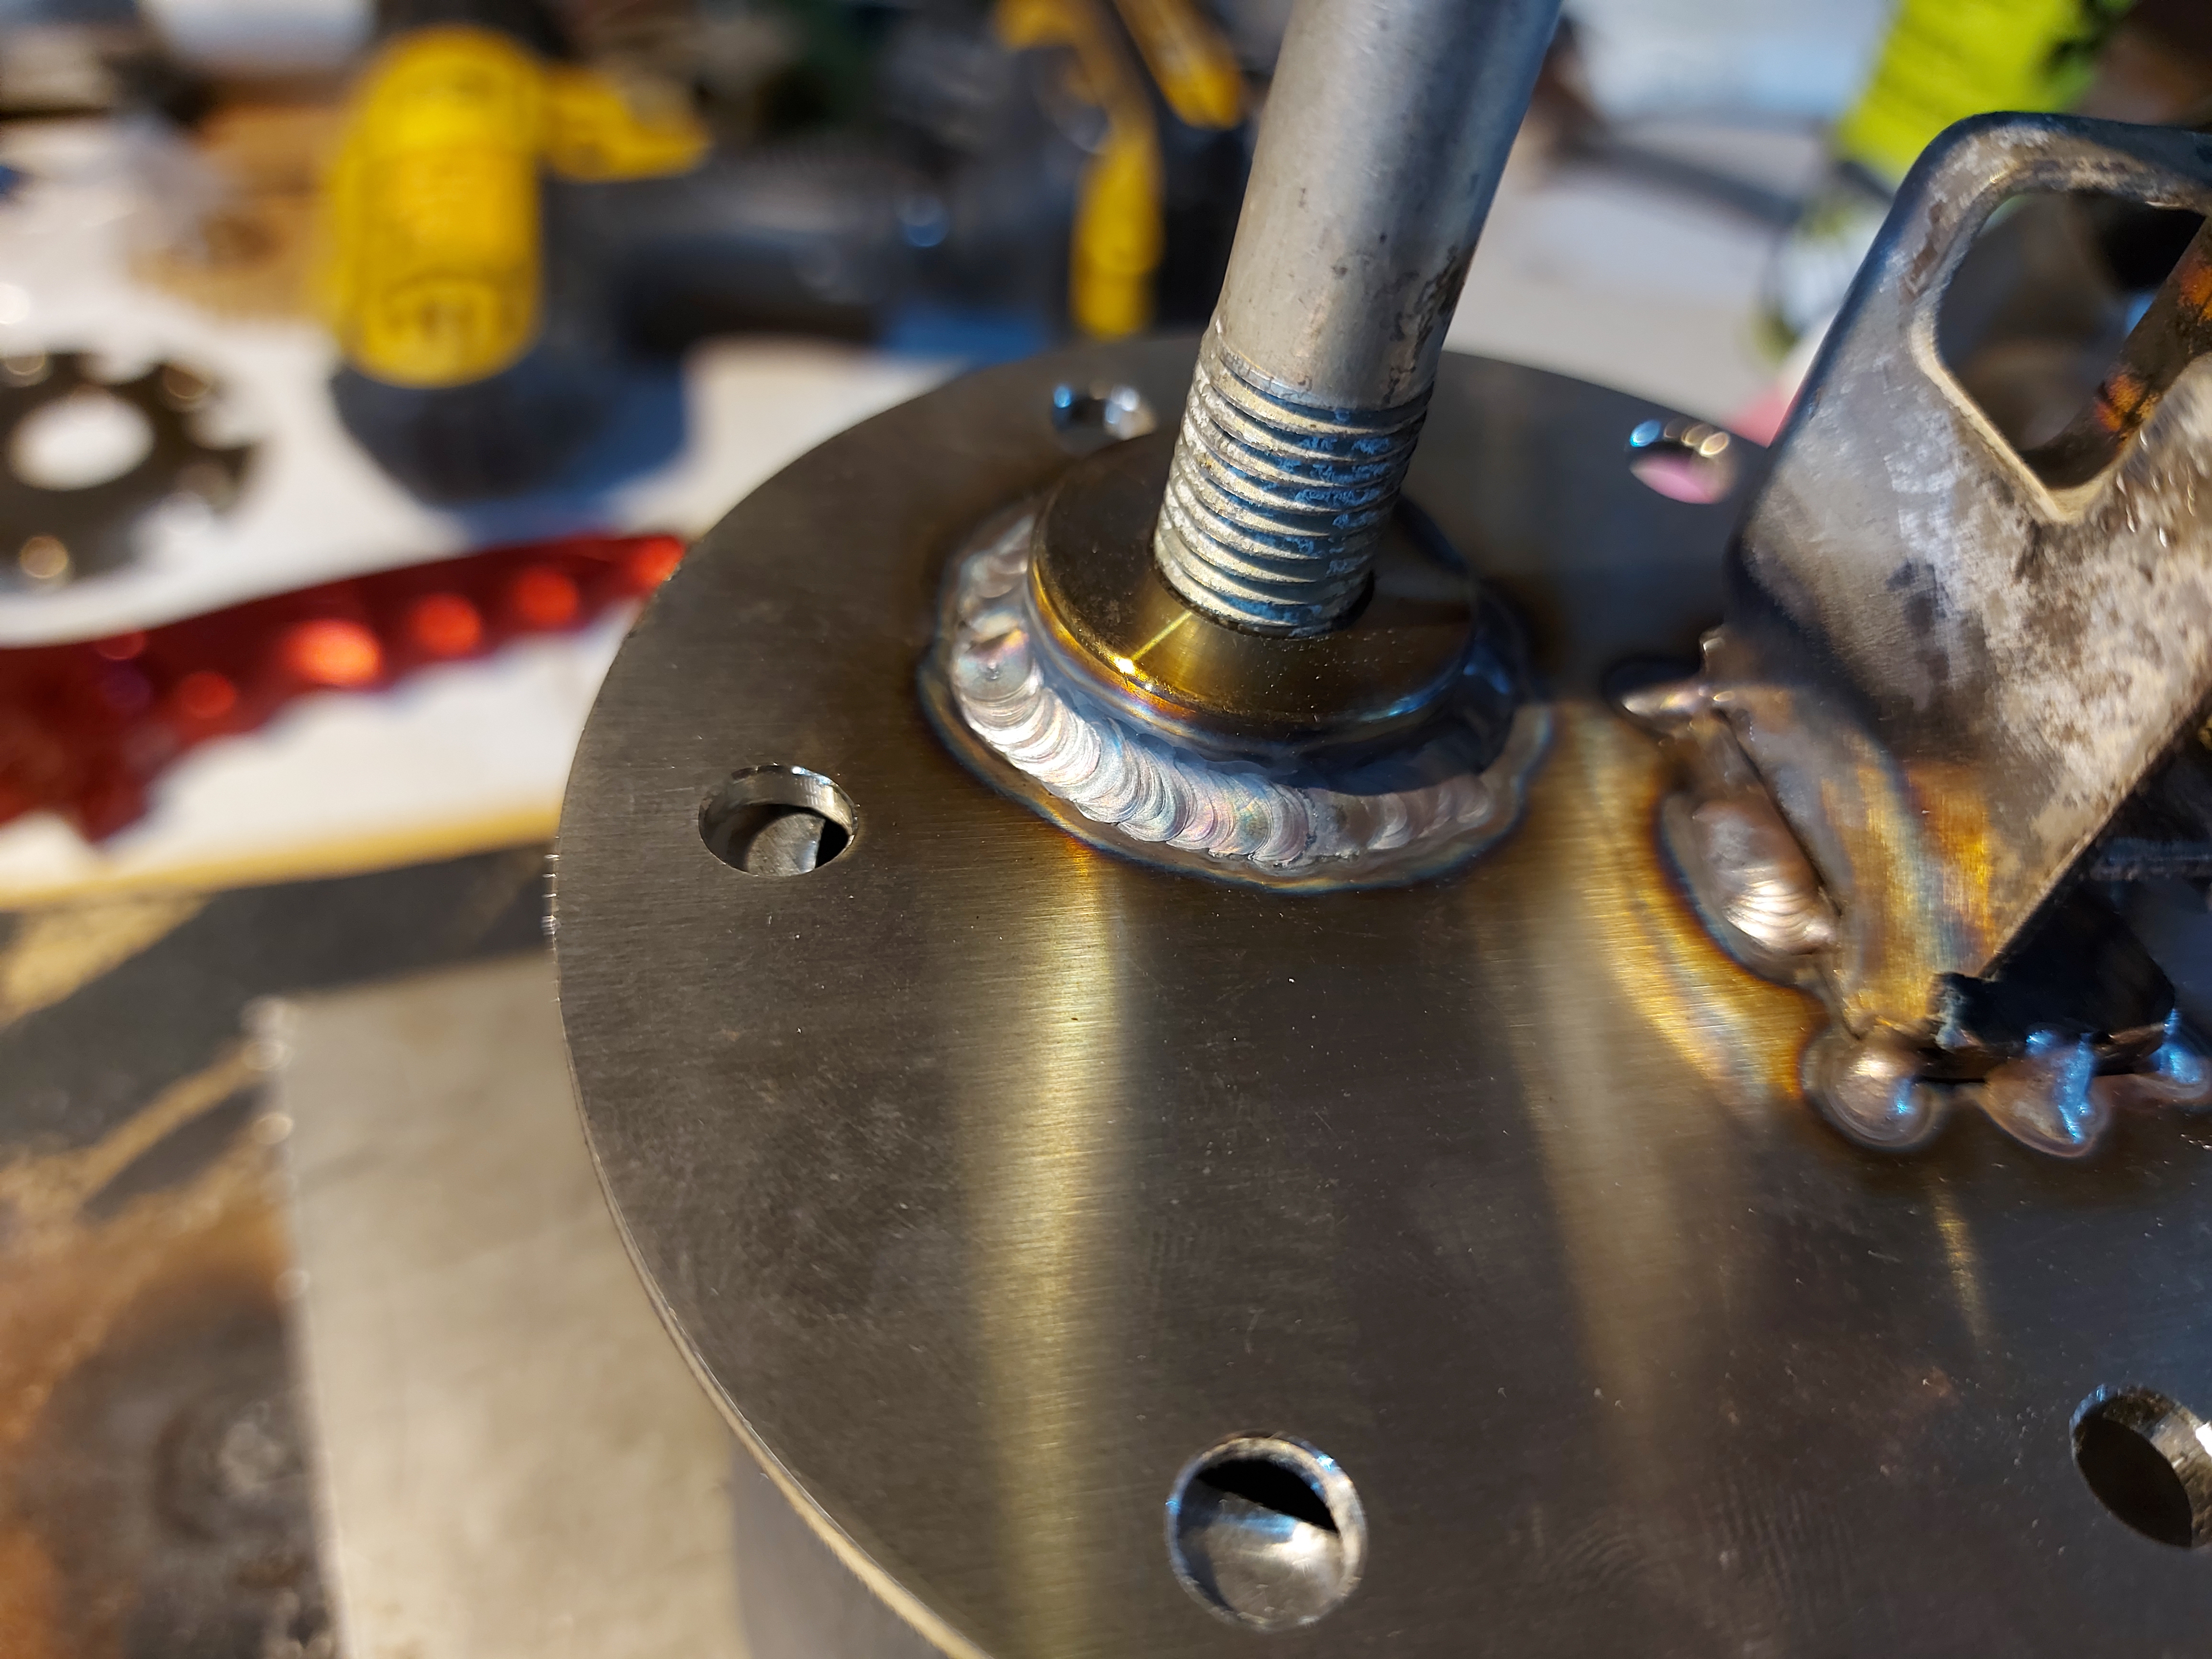
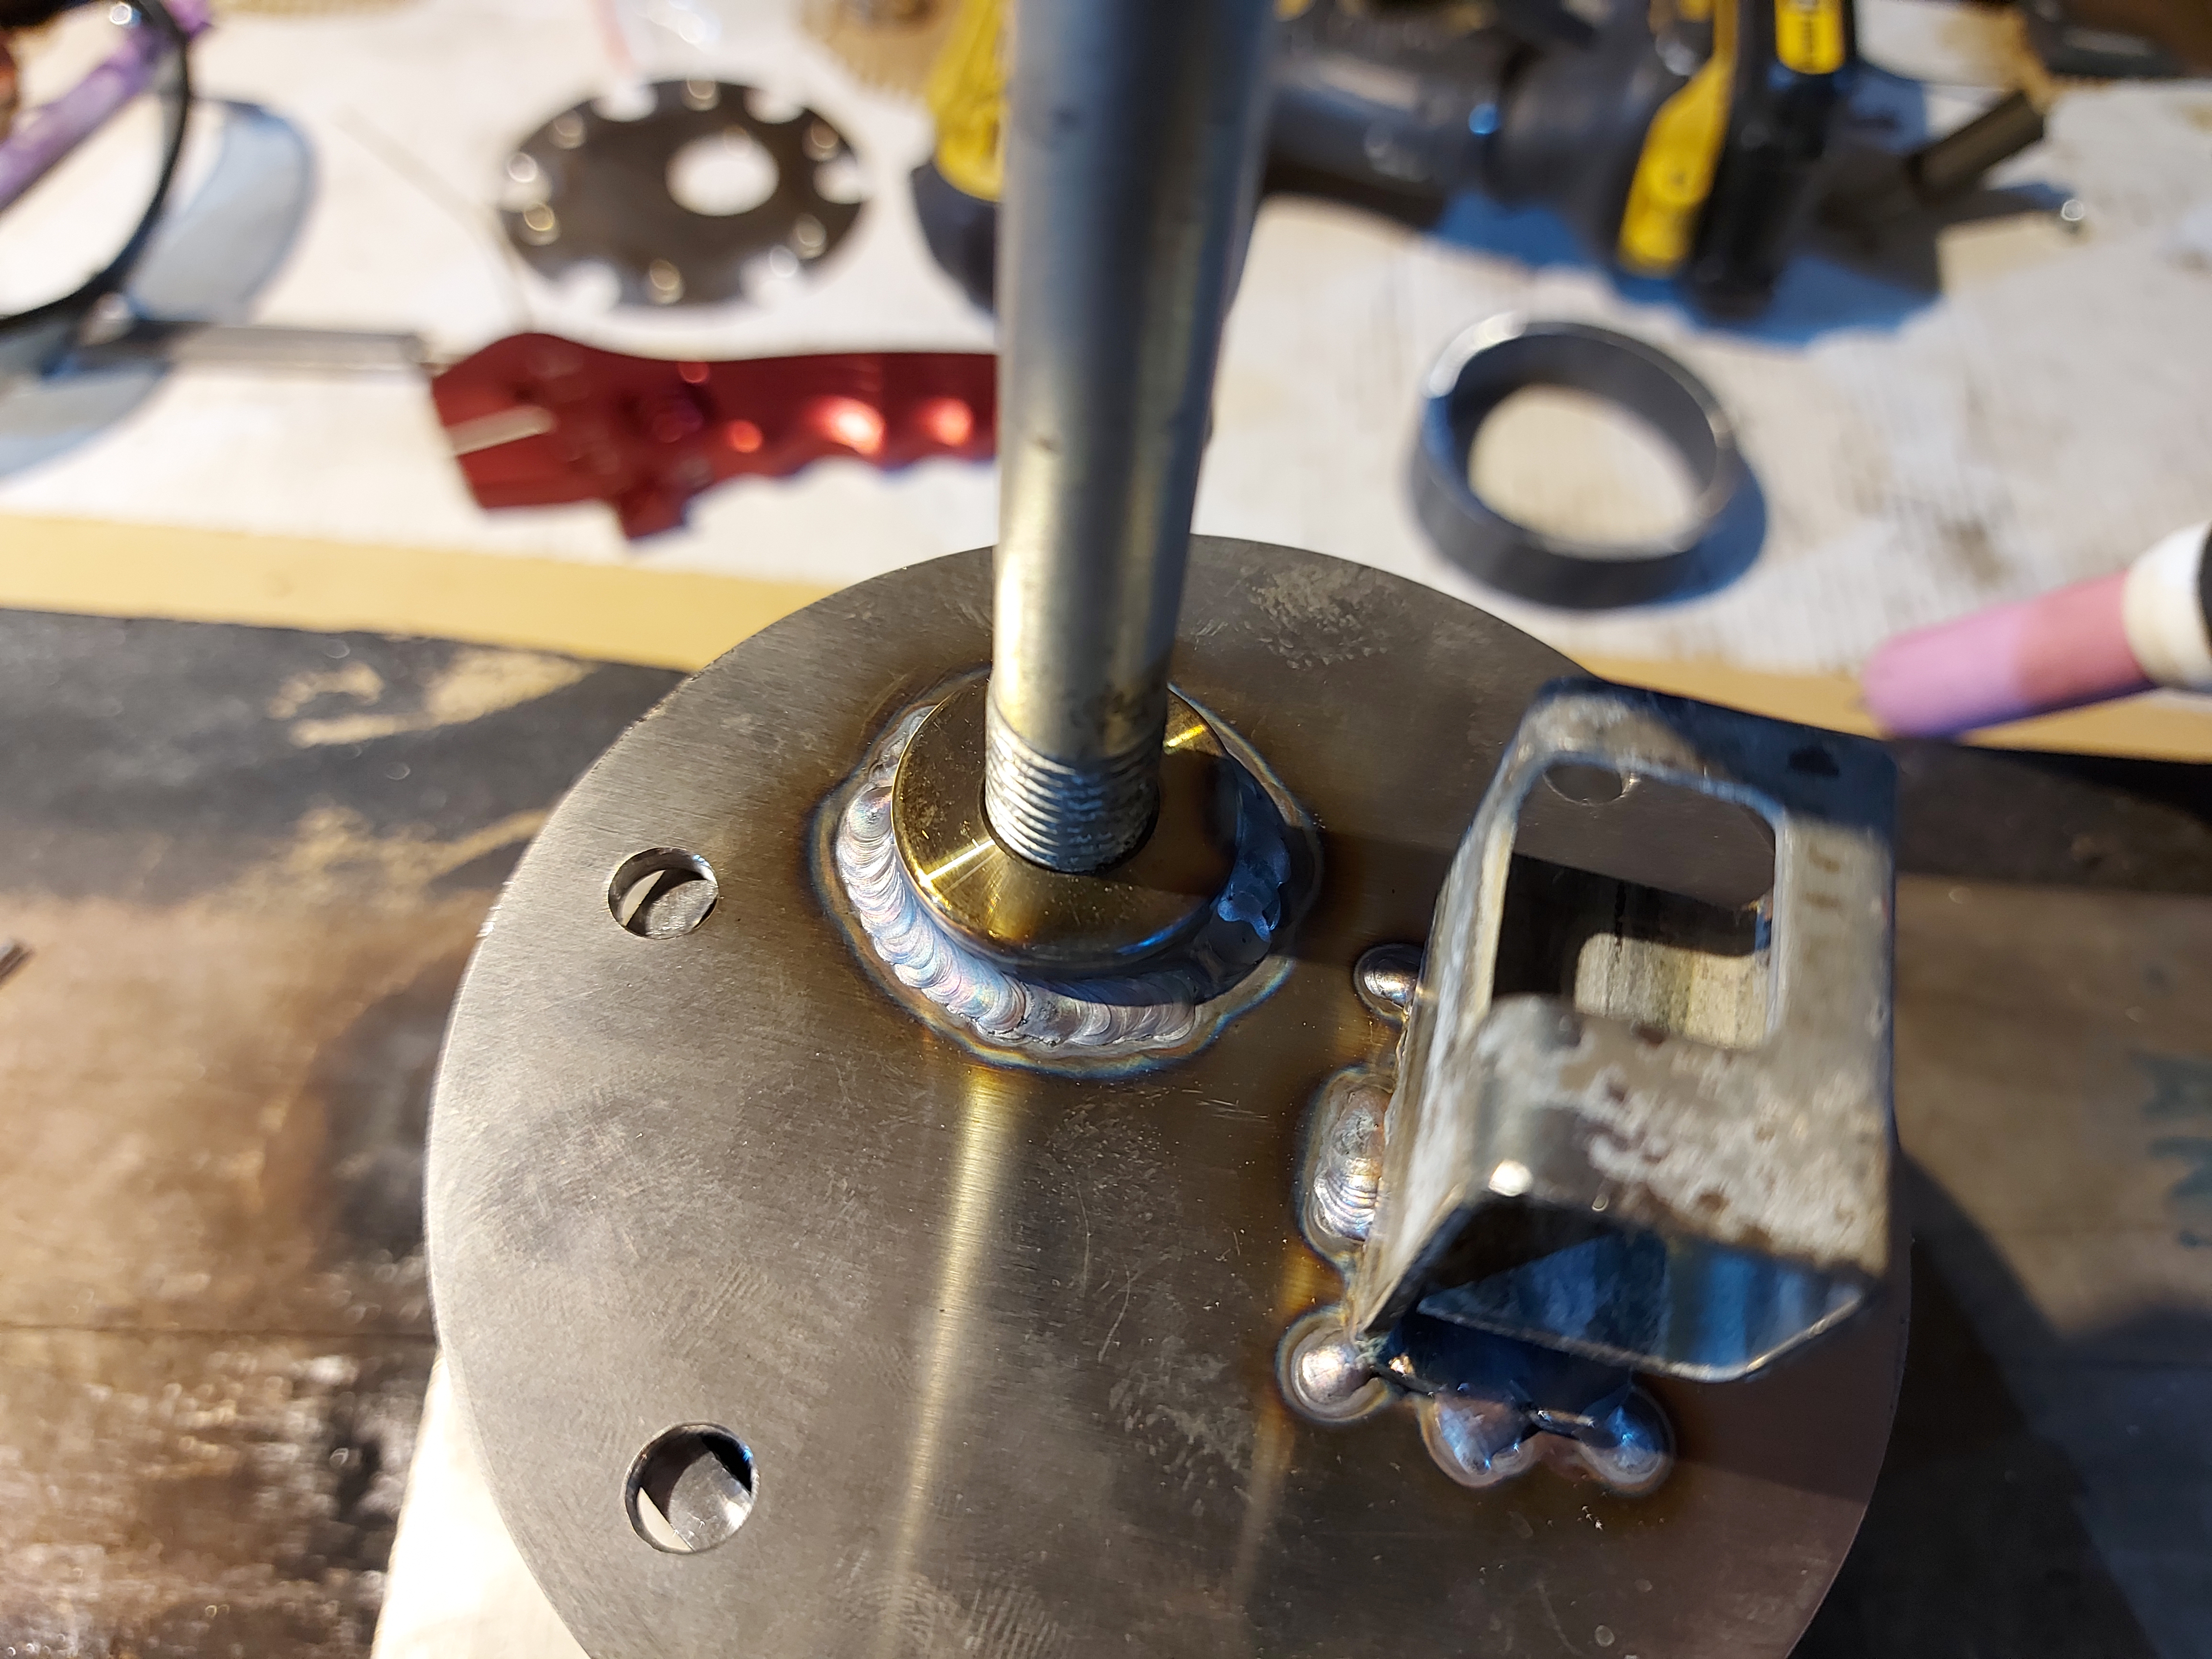
Really happy with my welds, a test fit shows it clears and will work!
Forgot to take a photo, but I then welded a hose tail onto the boss, new type of rubber hose that is designed to be inside a fuel tank, should stop it melting lol
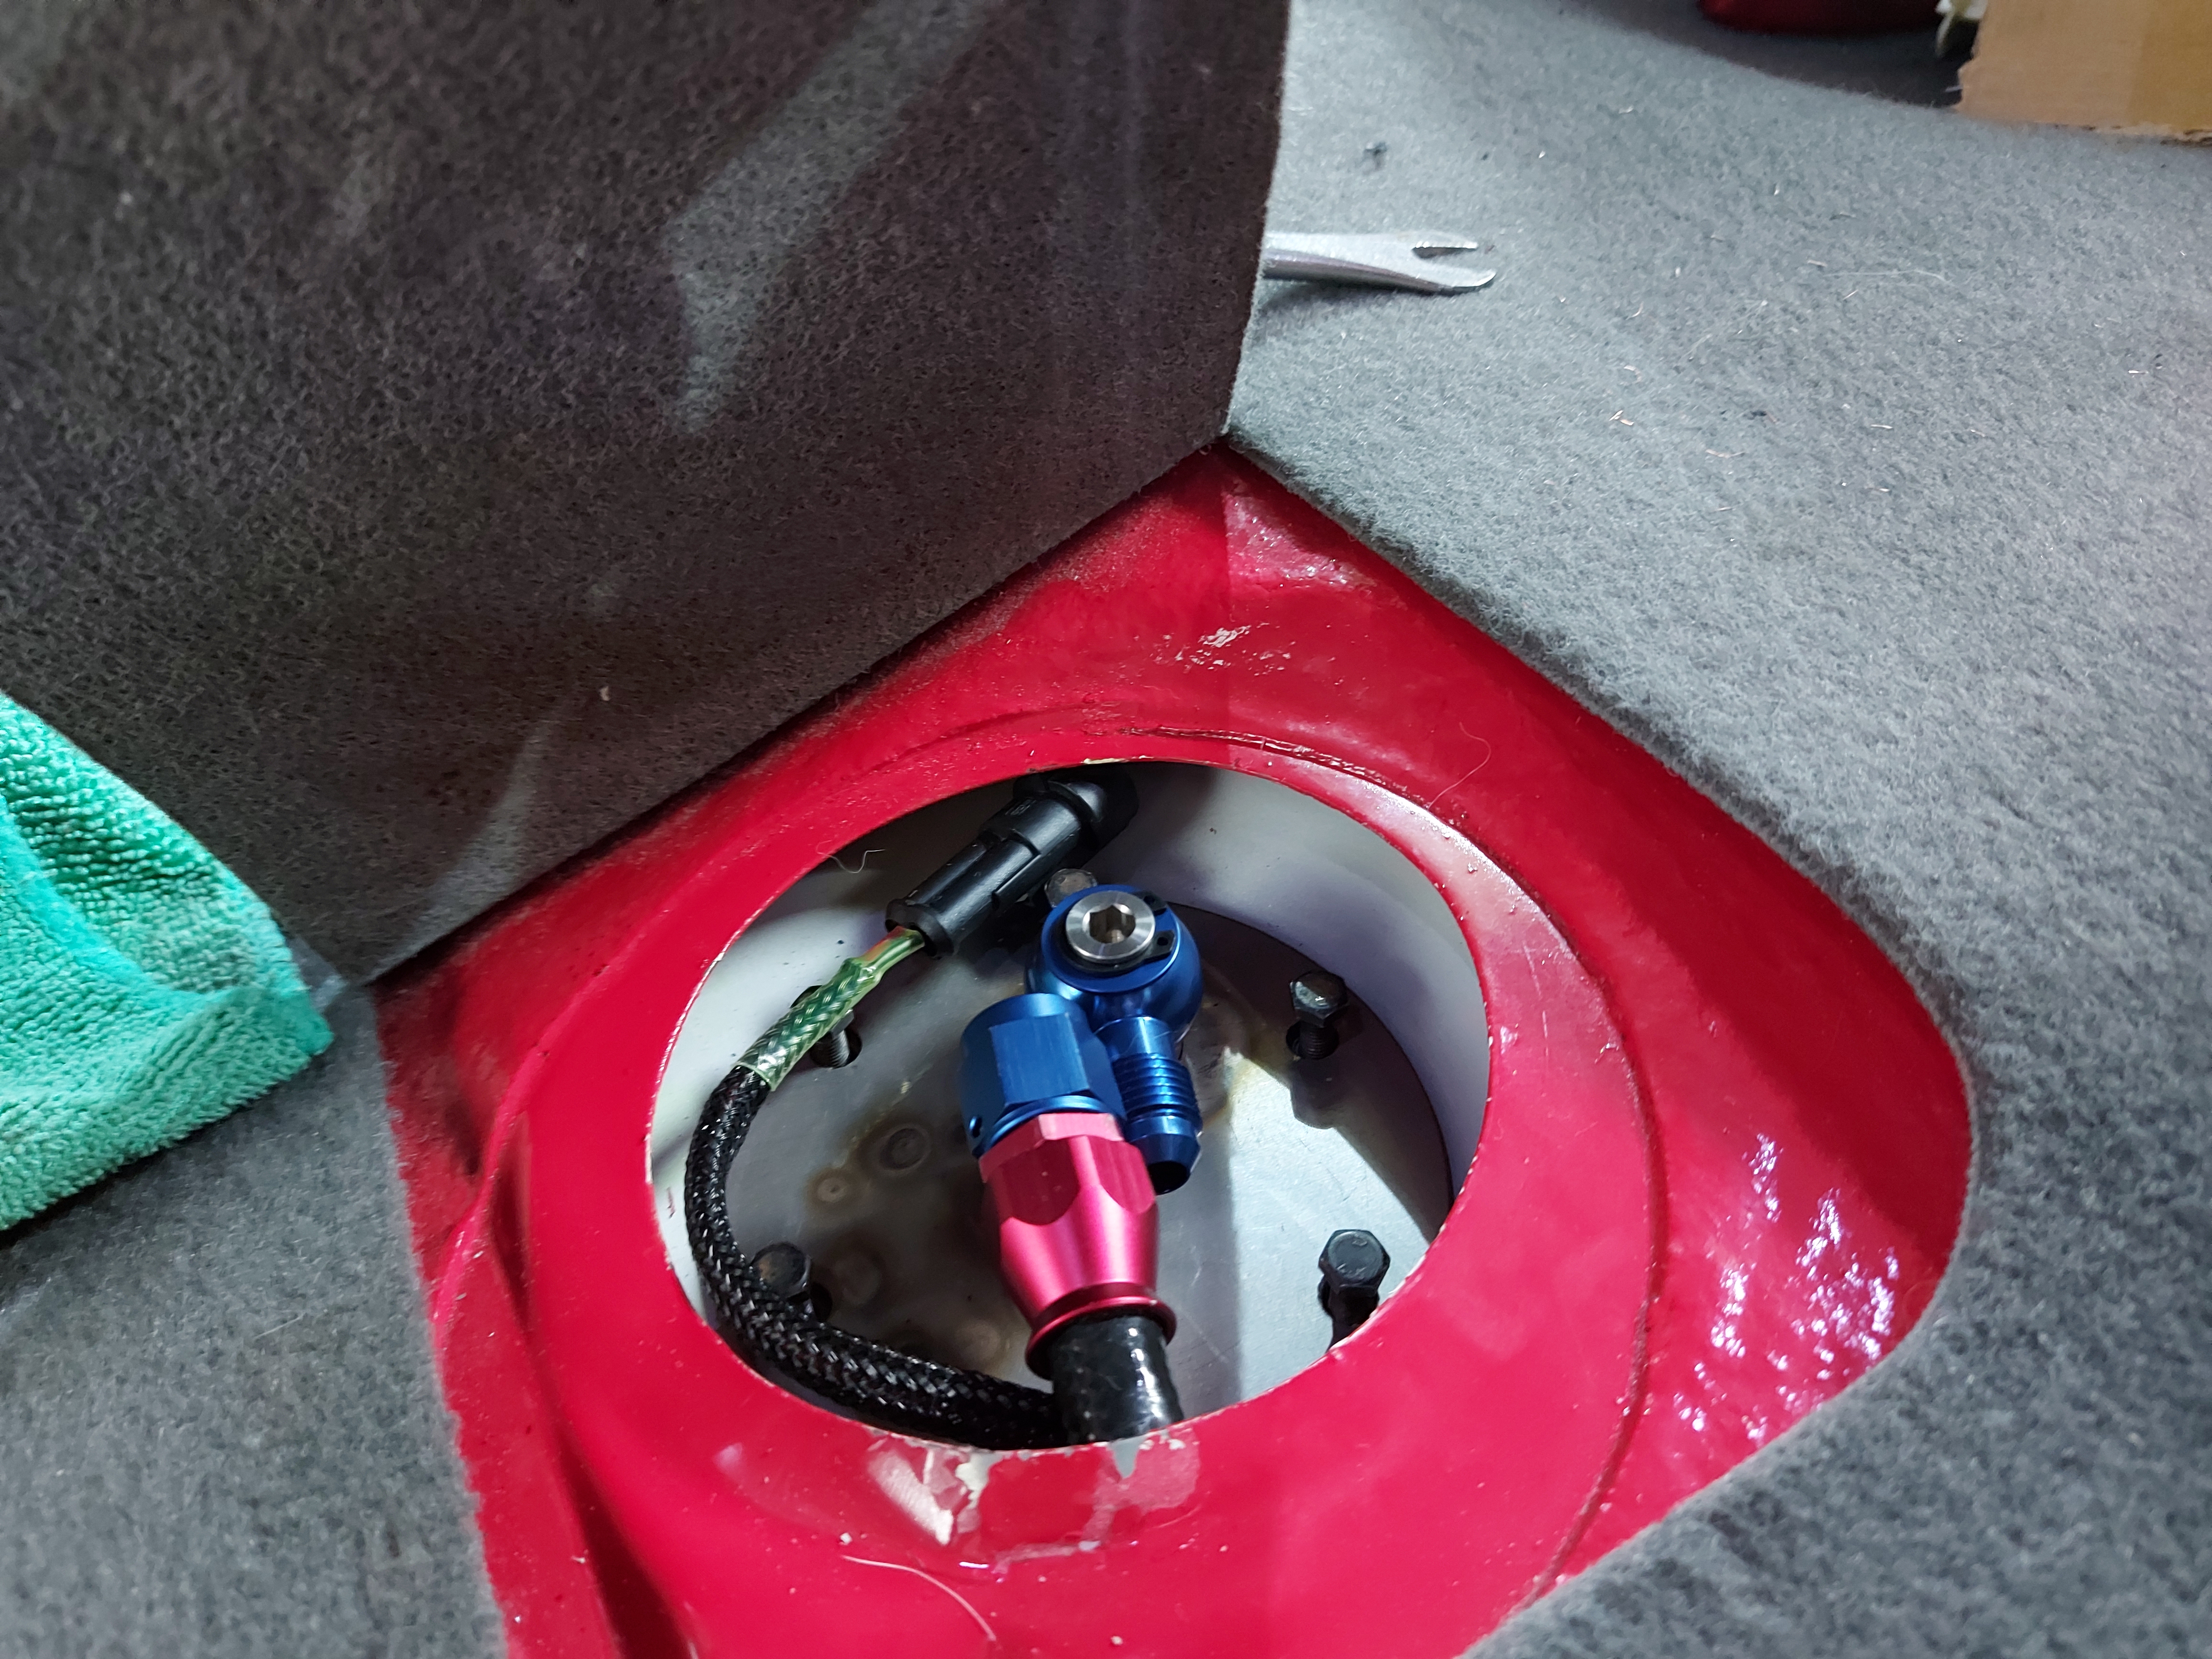
Then waited for my bulkhead wiring gromit to turn up, again like the hose, ordered from demon tweeks this time so definatly ligit lol. The seal in the wiring gromit is designed for a fuel tank, I think it is a viton seal or something. Either way will do deffo do the job.
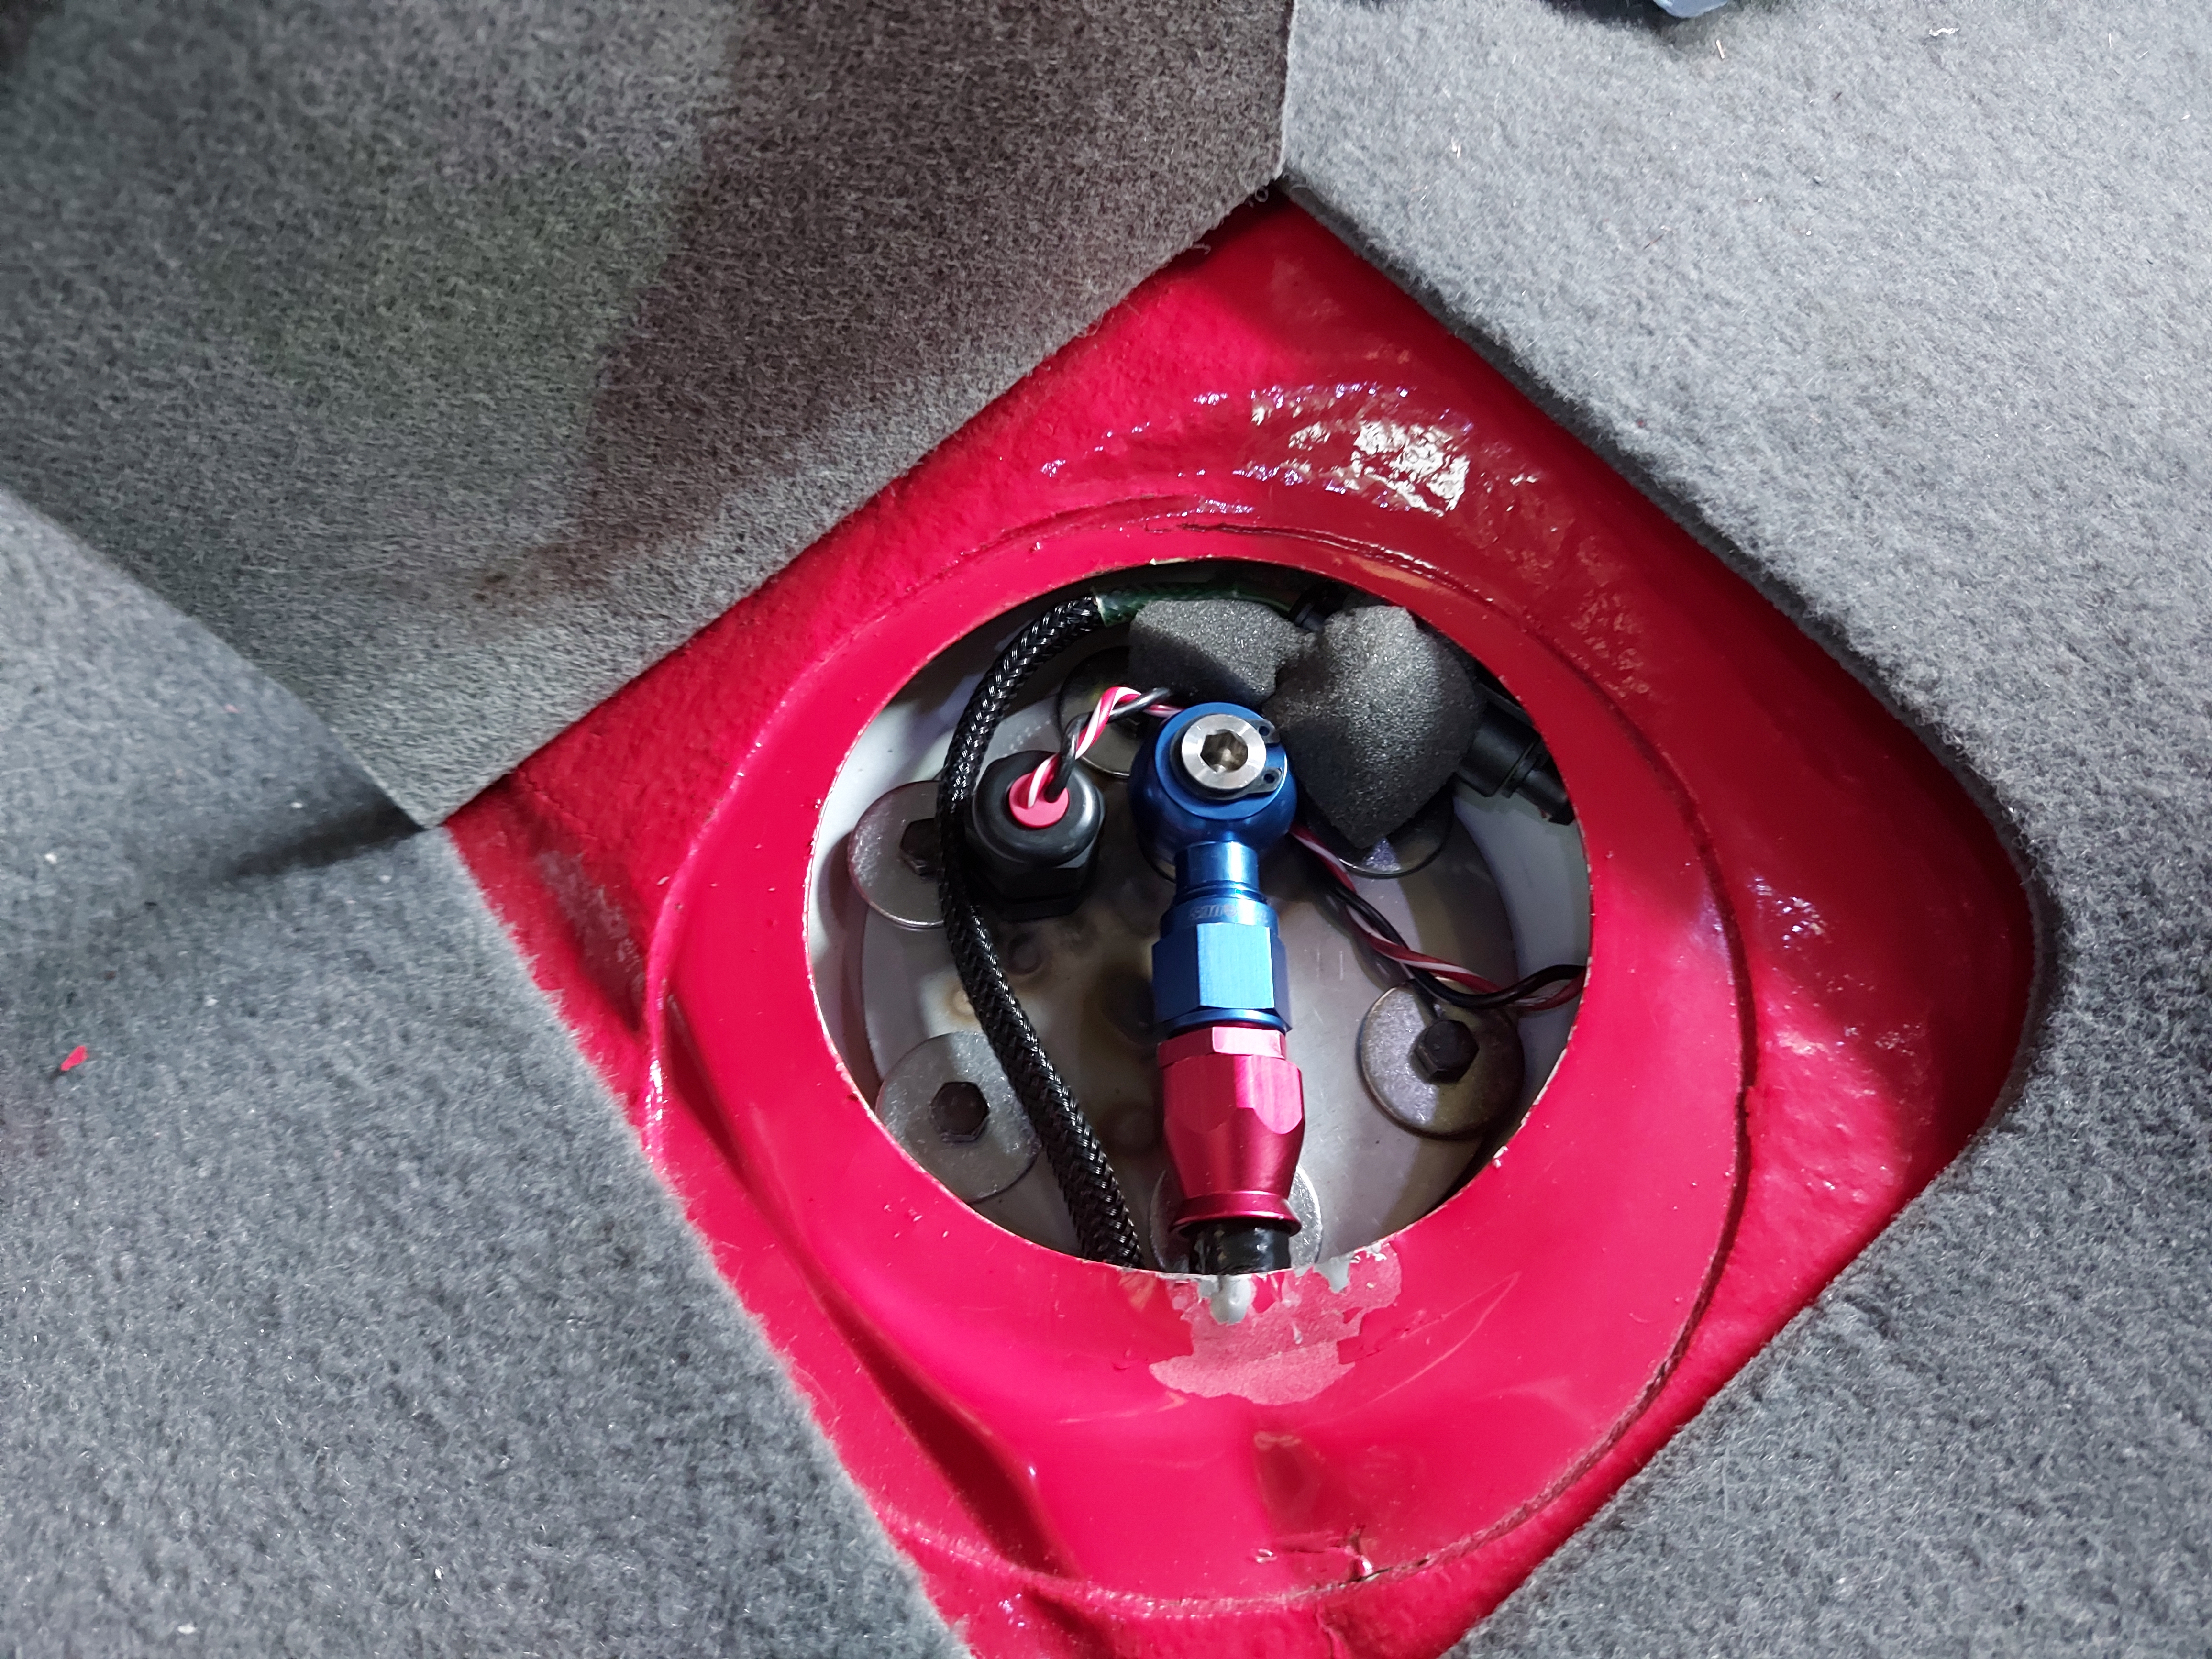
And that's it, all in a sorted. Had a slight weep when I first brimmed the tank, but I just had nip the 8mm's and it was all good!
Banjo fitting
I went 3mm Stainless this time so there was less chance of the plate warping and the bracket for the pump, i just did a few small tac's to keep the heat low.
I then tac'd the boss for the banjo in and then when I welded it, I layed 6 or so dabs at a time, and then set a 5 min timer between, really going above and beyond to keep the heat out of it!
Really happy with my welds, a test fit shows it clears and will work!
Forgot to take a photo, but I then welded a hose tail onto the boss, new type of rubber hose that is designed to be inside a fuel tank, should stop it melting lol
Then waited for my bulkhead wiring gromit to turn up, again like the hose, ordered from demon tweeks this time so definatly ligit lol. The seal in the wiring gromit is designed for a fuel tank, I think it is a viton seal or something. Either way will do deffo do the job.
And that's it, all in a sorted. Had a slight weep when I first brimmed the tank, but I just had nip the 8mm's and it was all good!
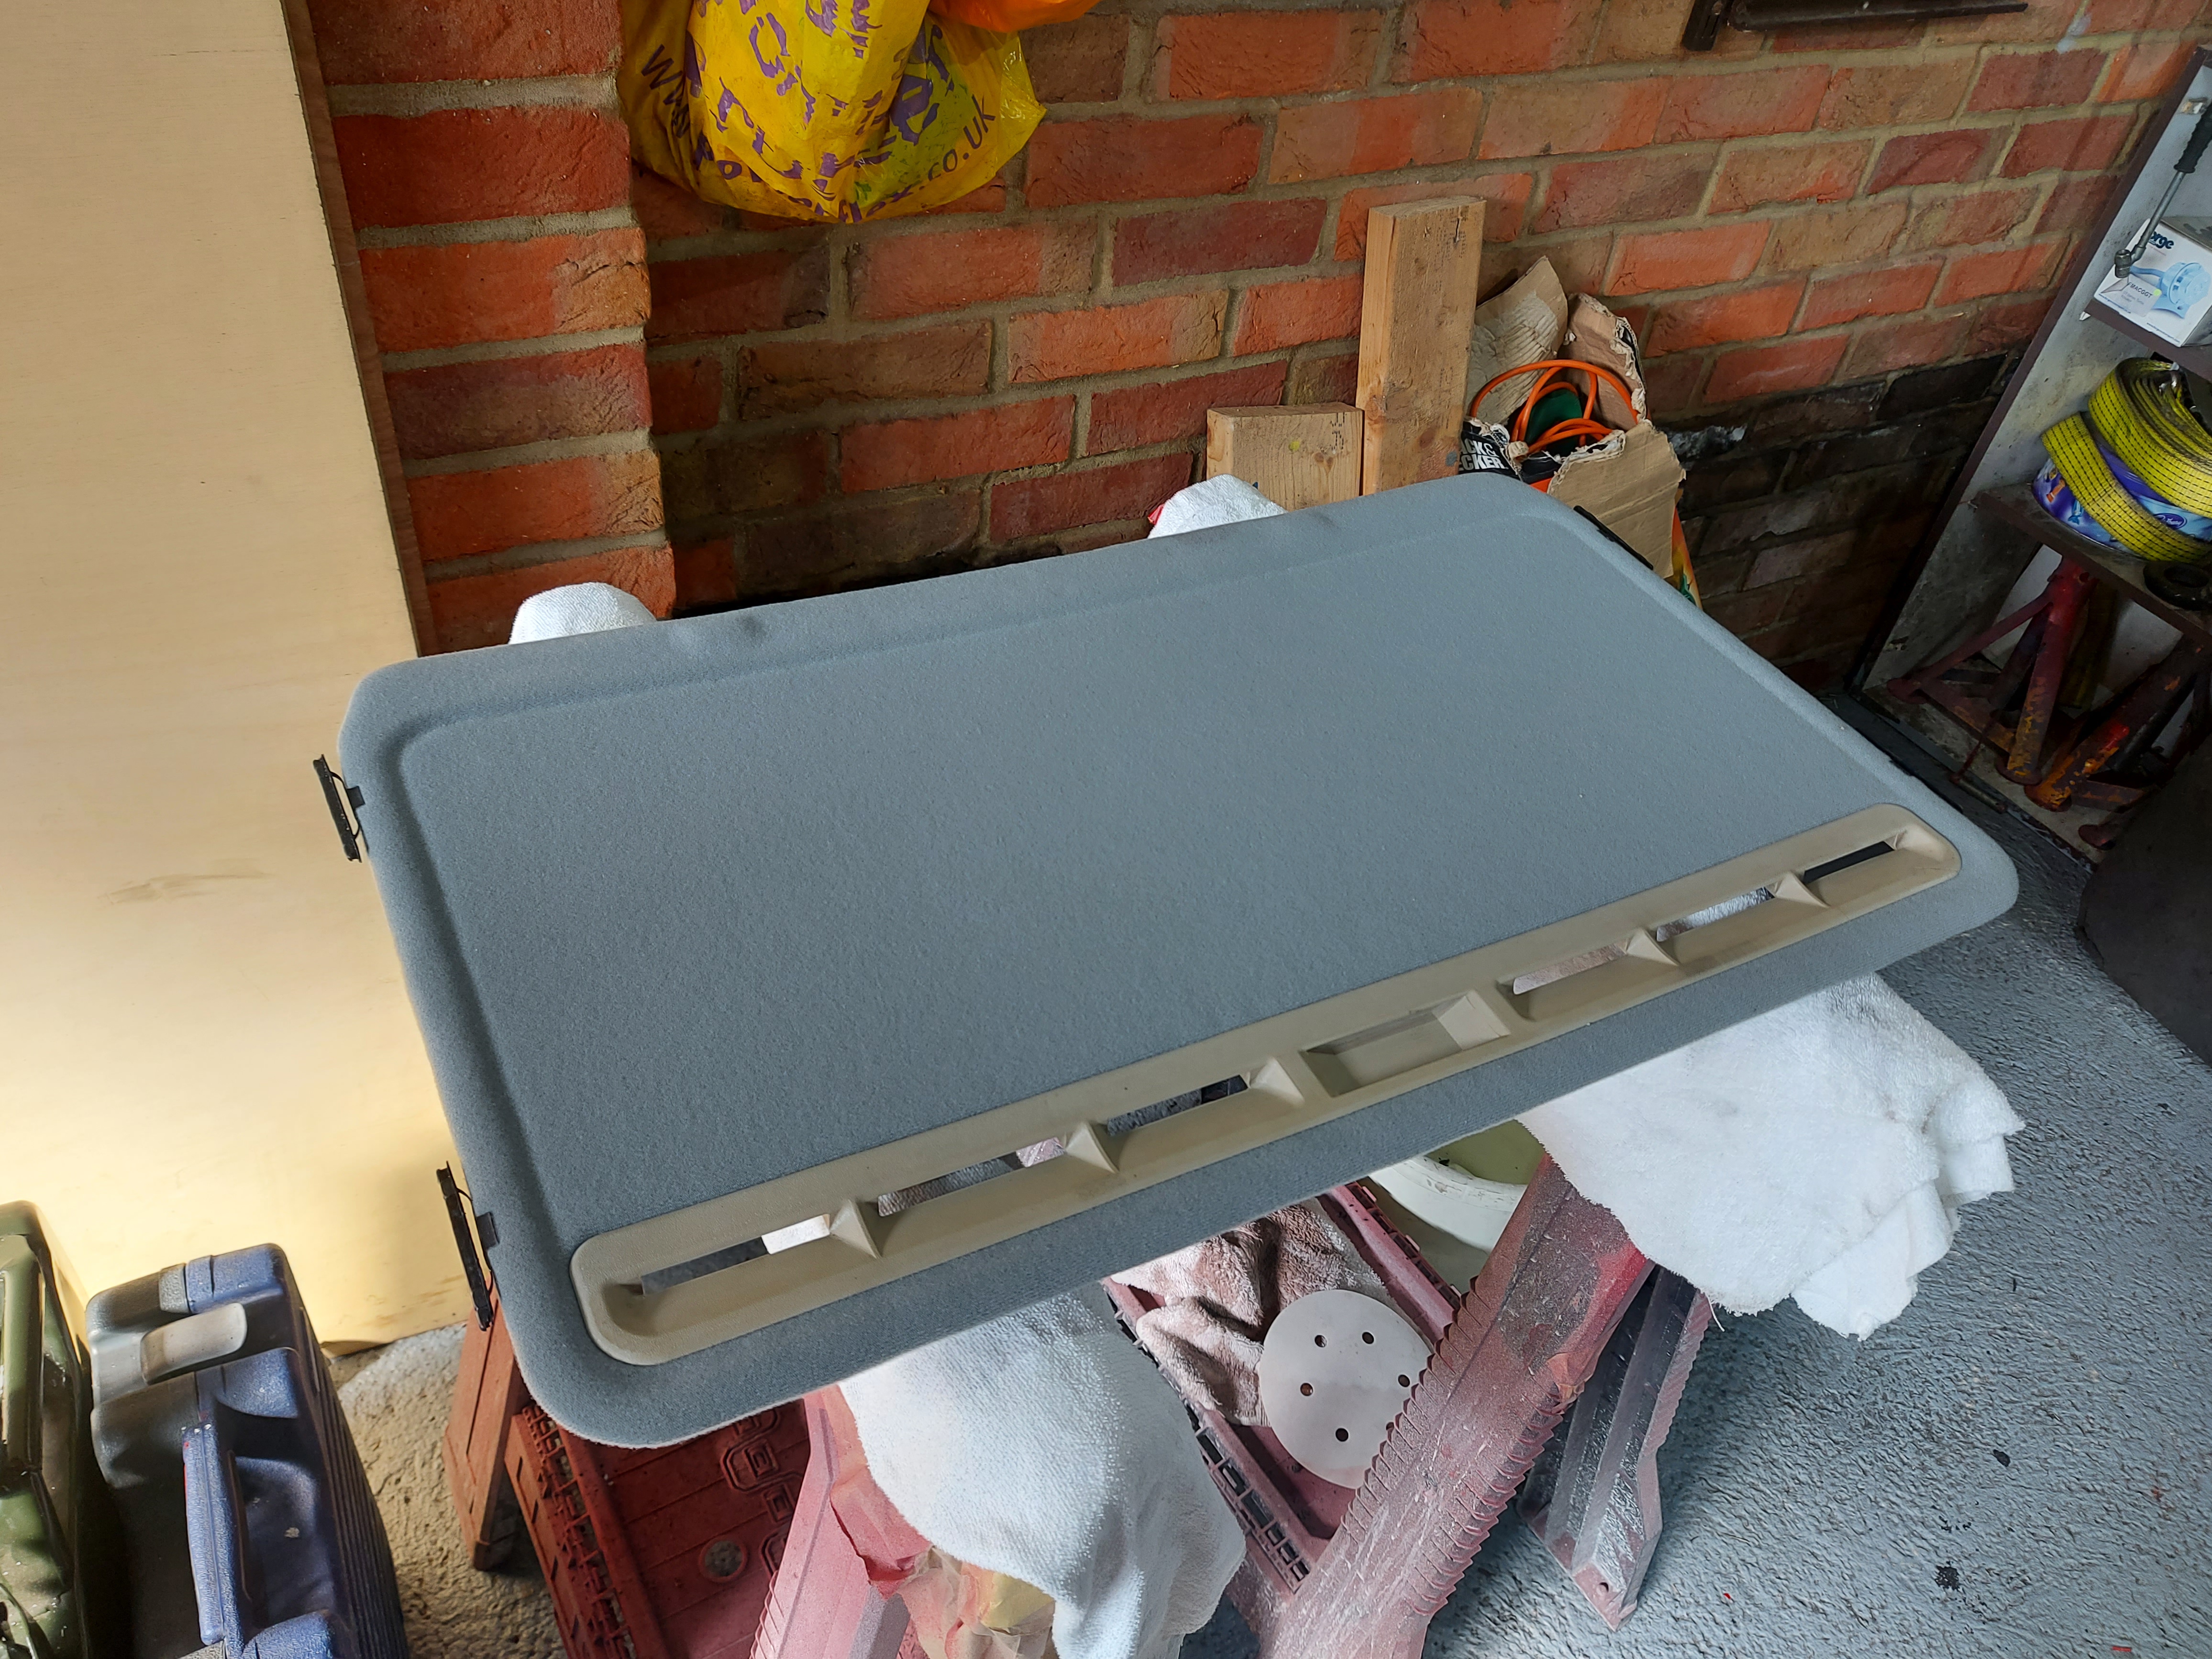
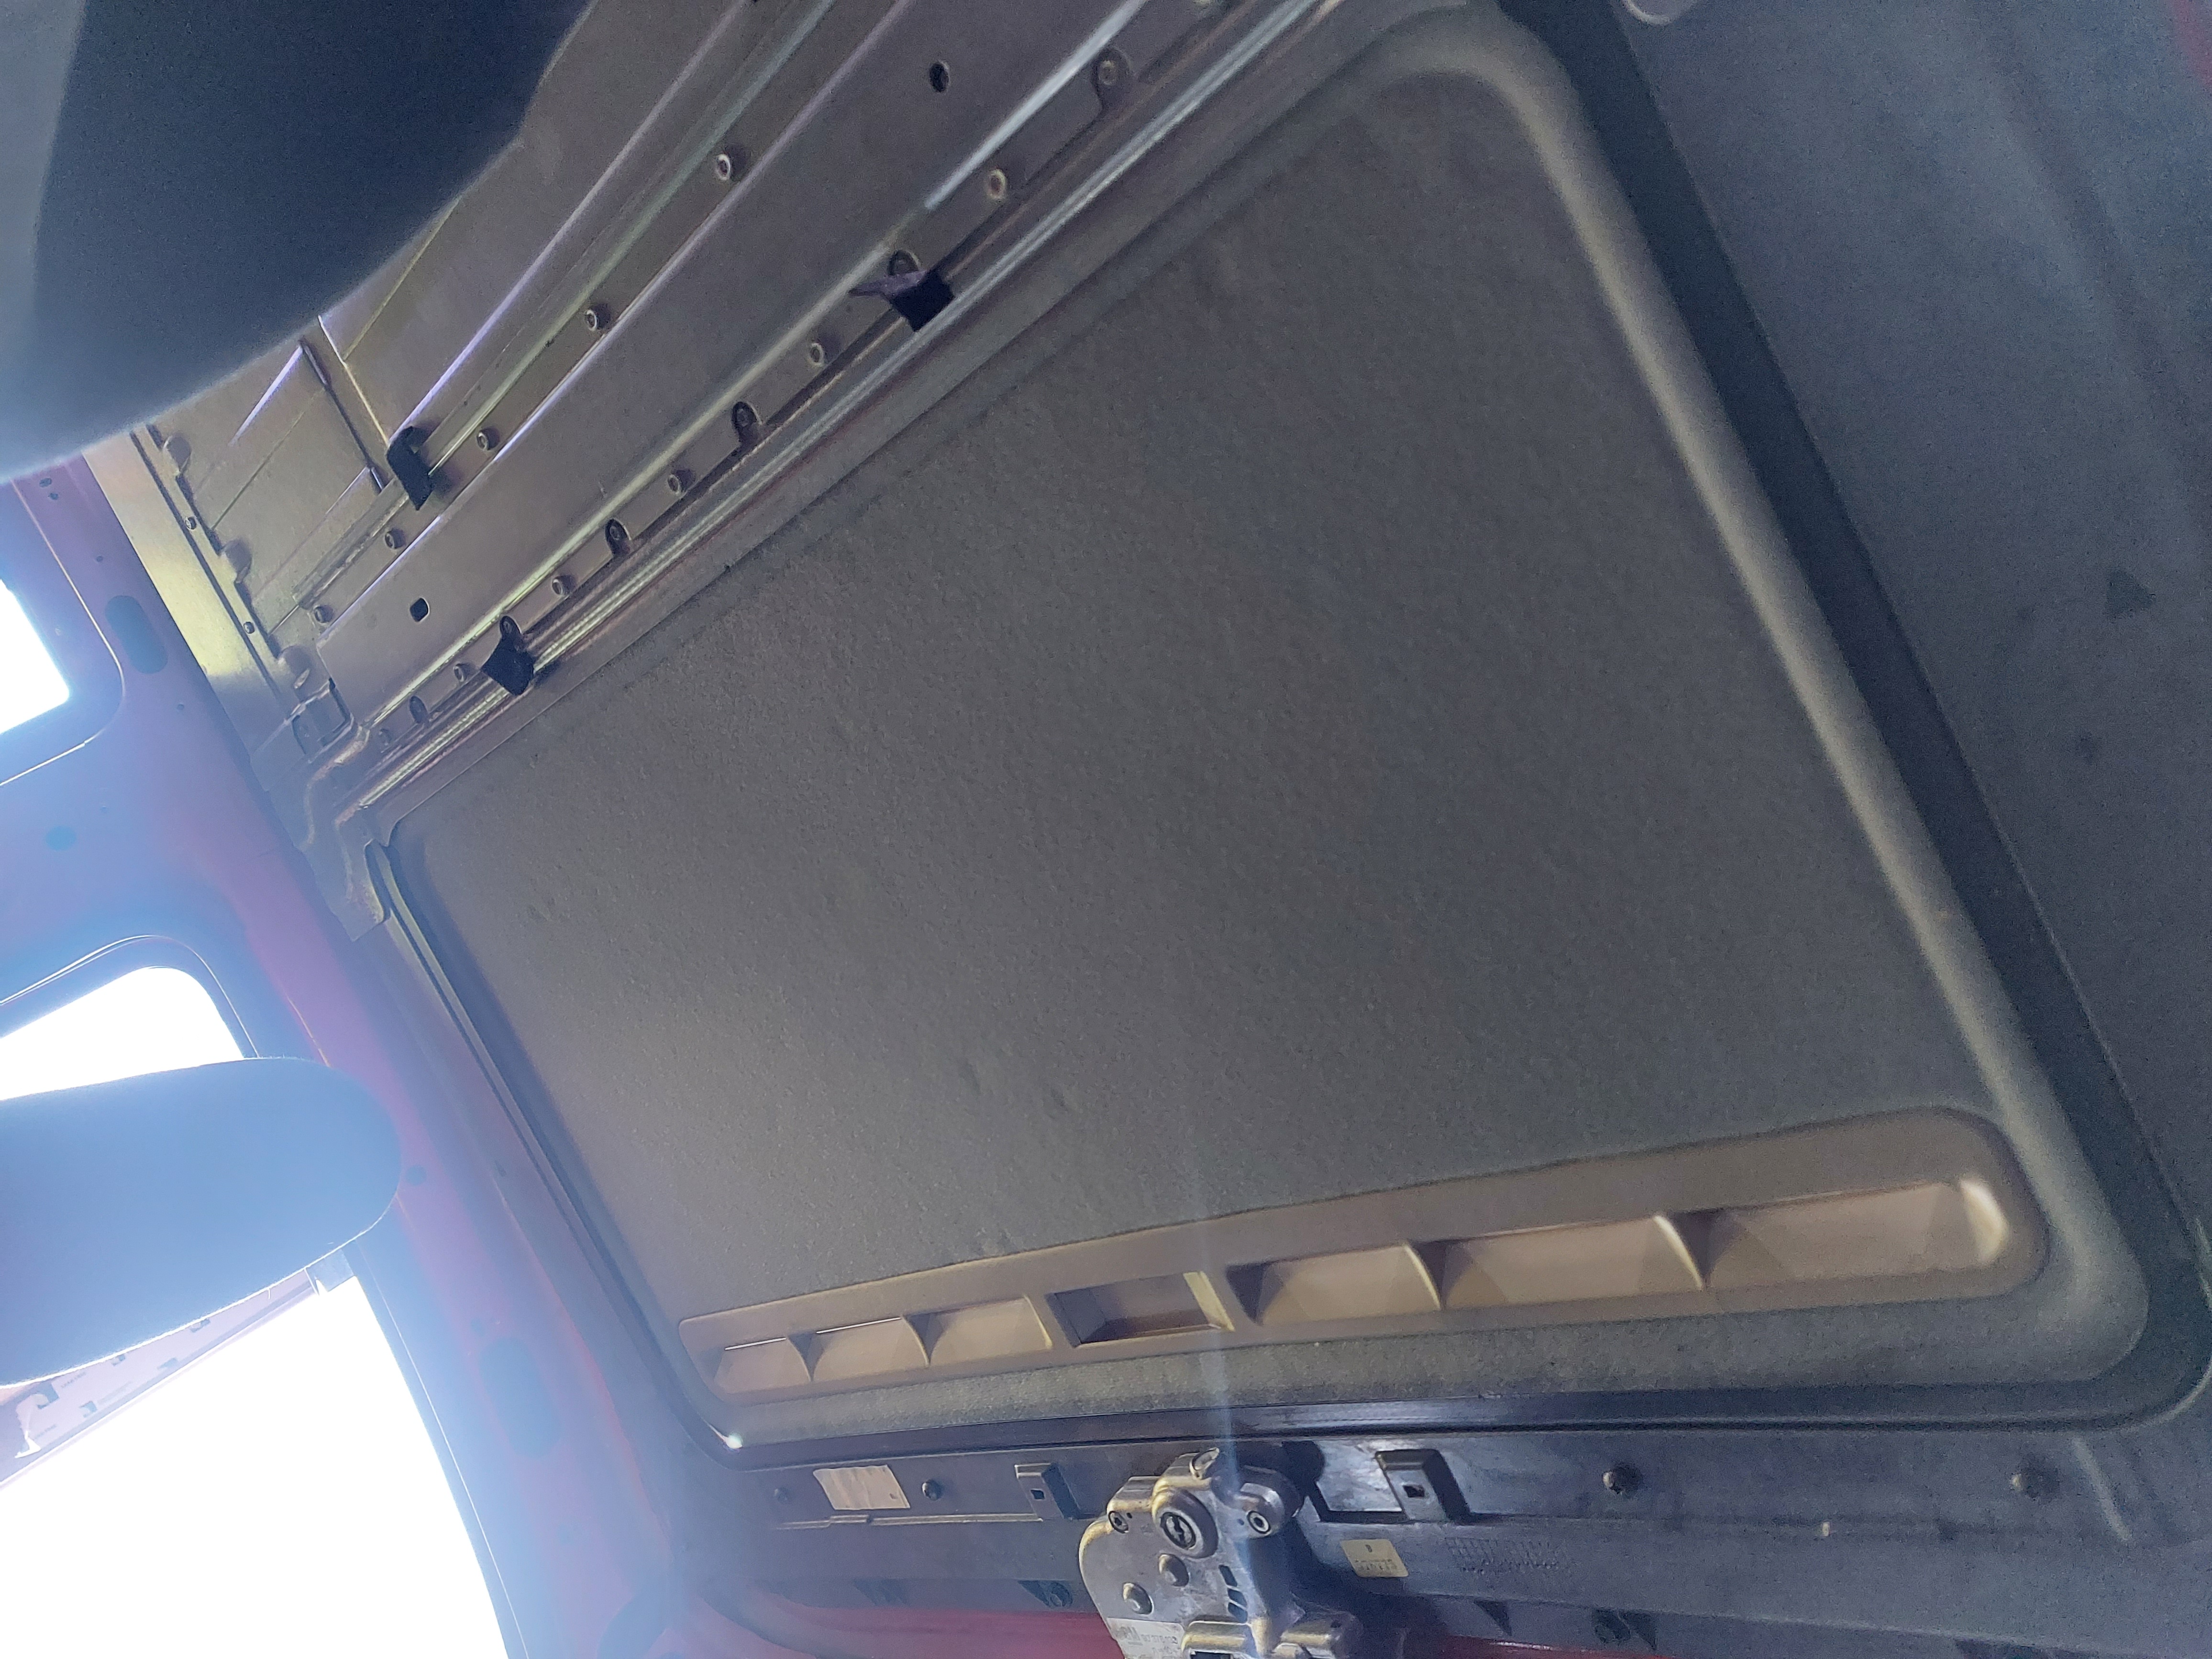
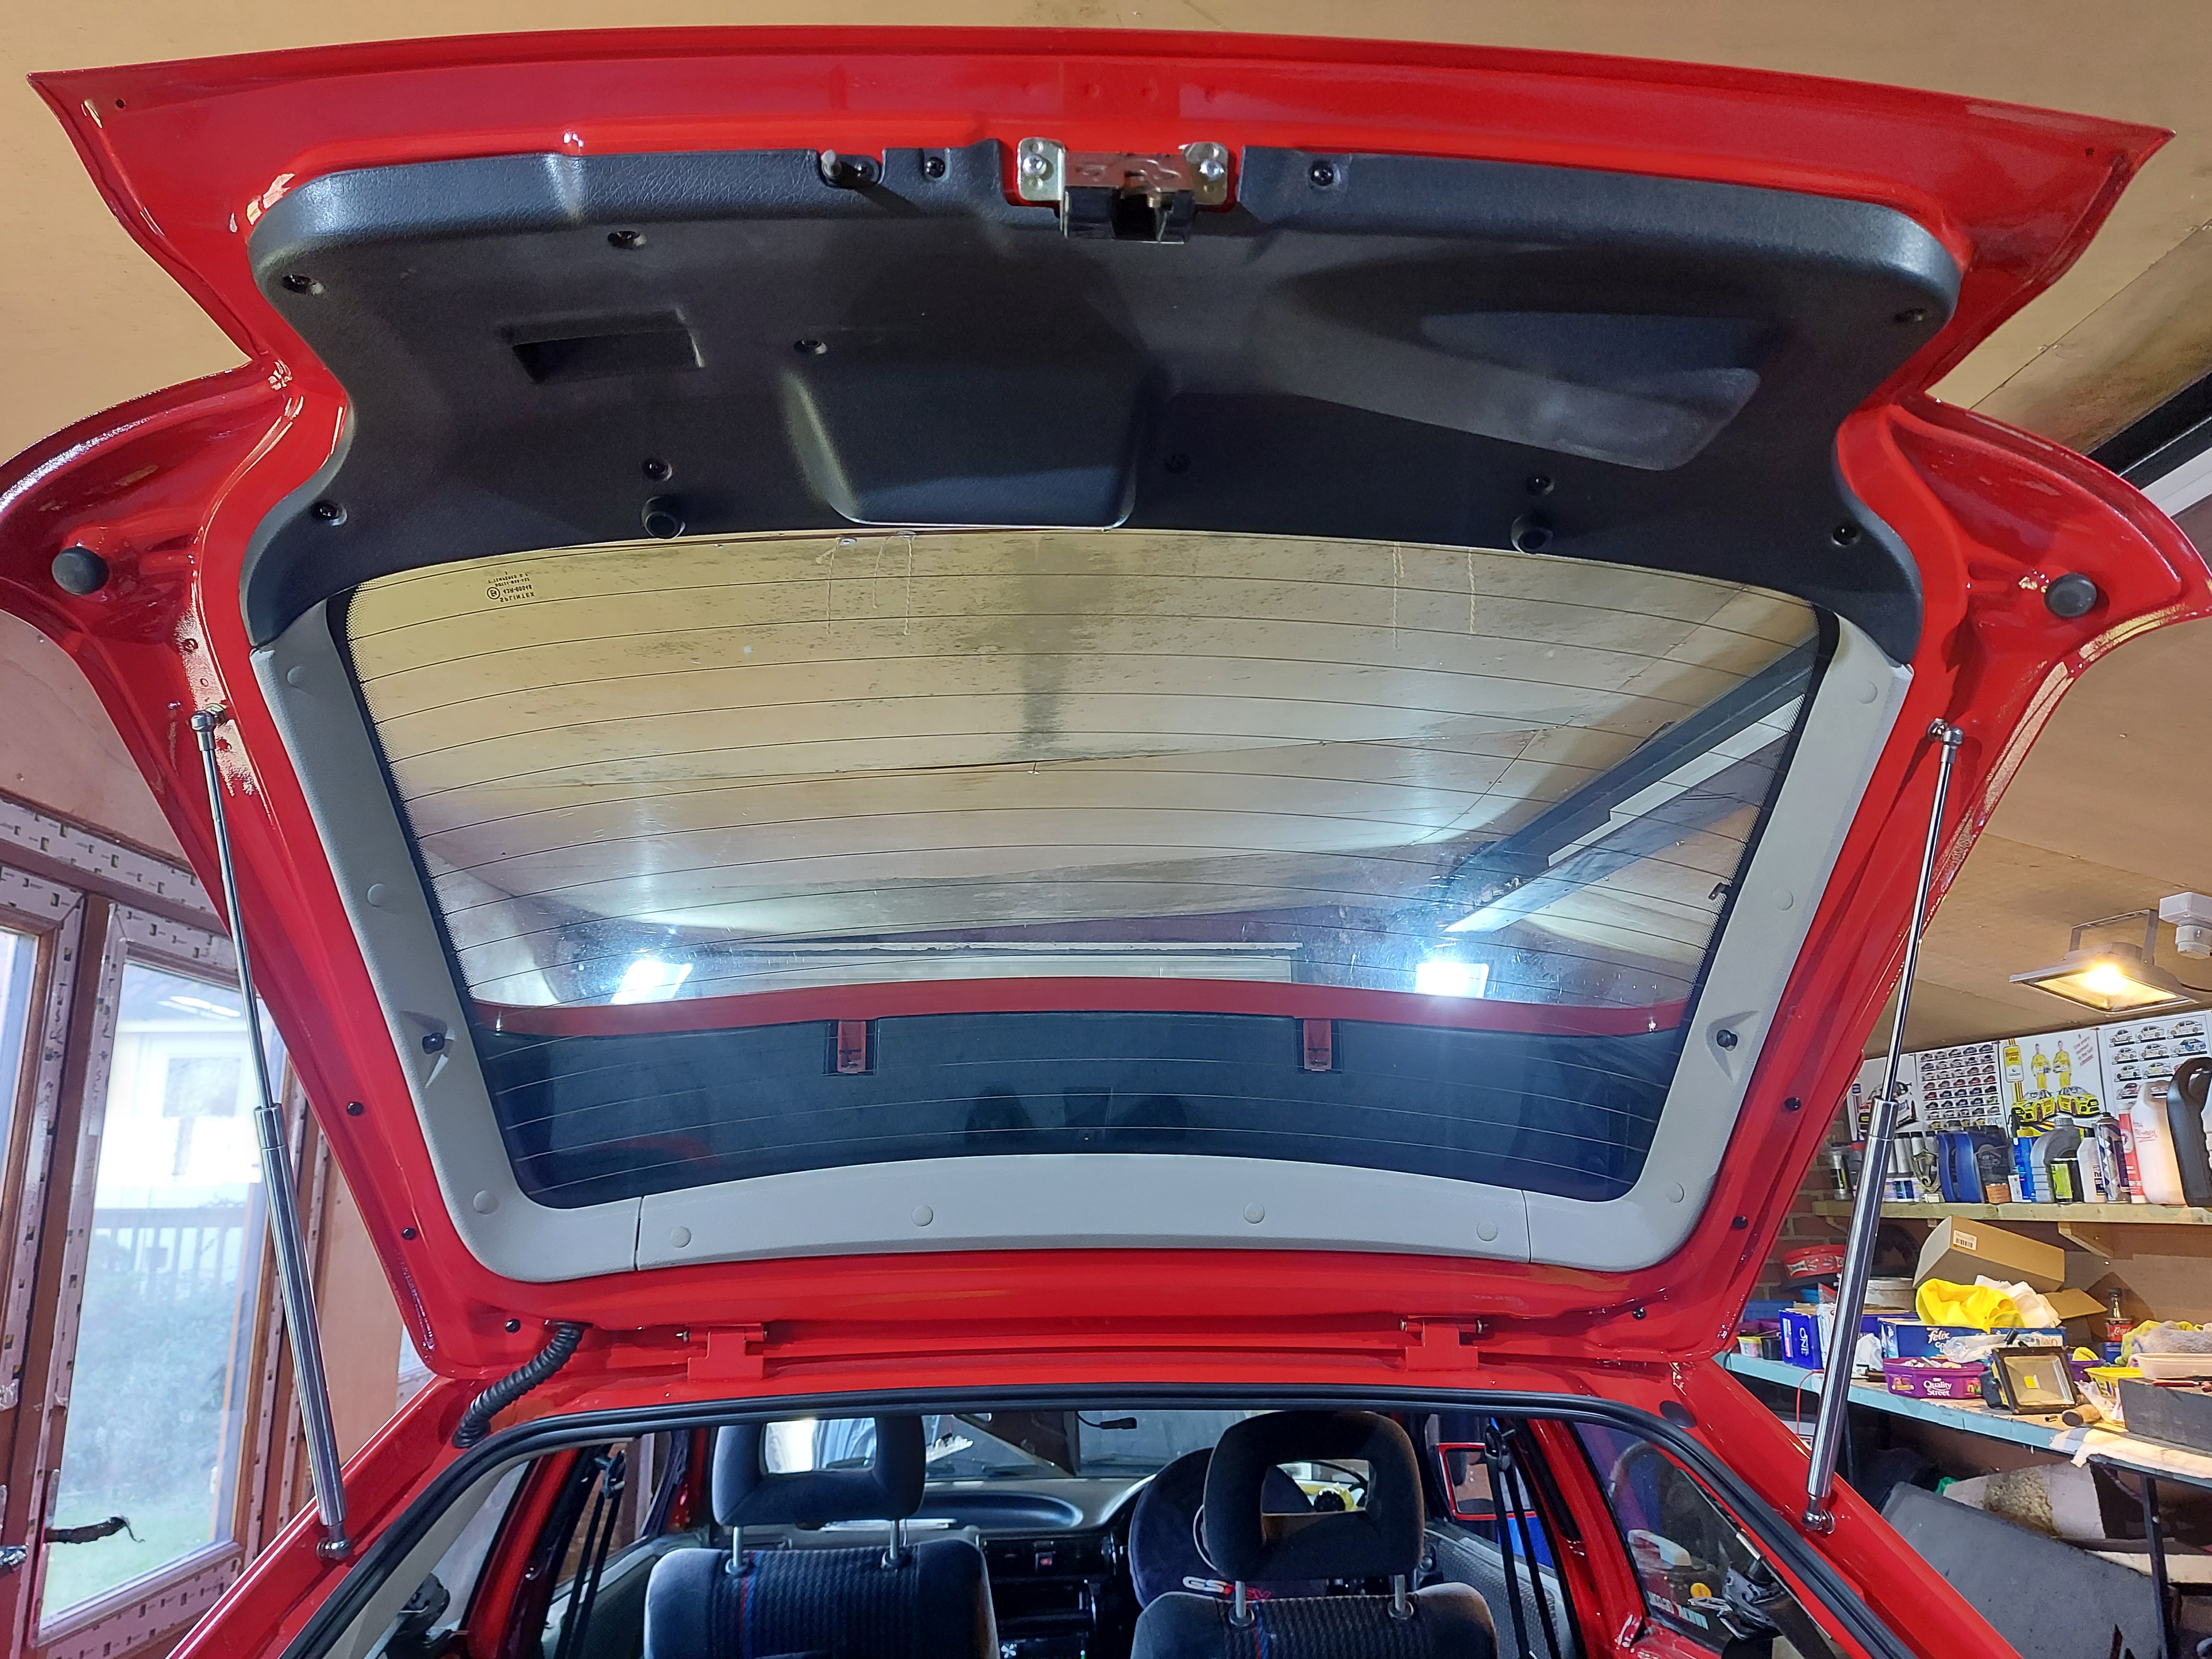
Next up, I finally got my headlining back!
Got it straight in the car
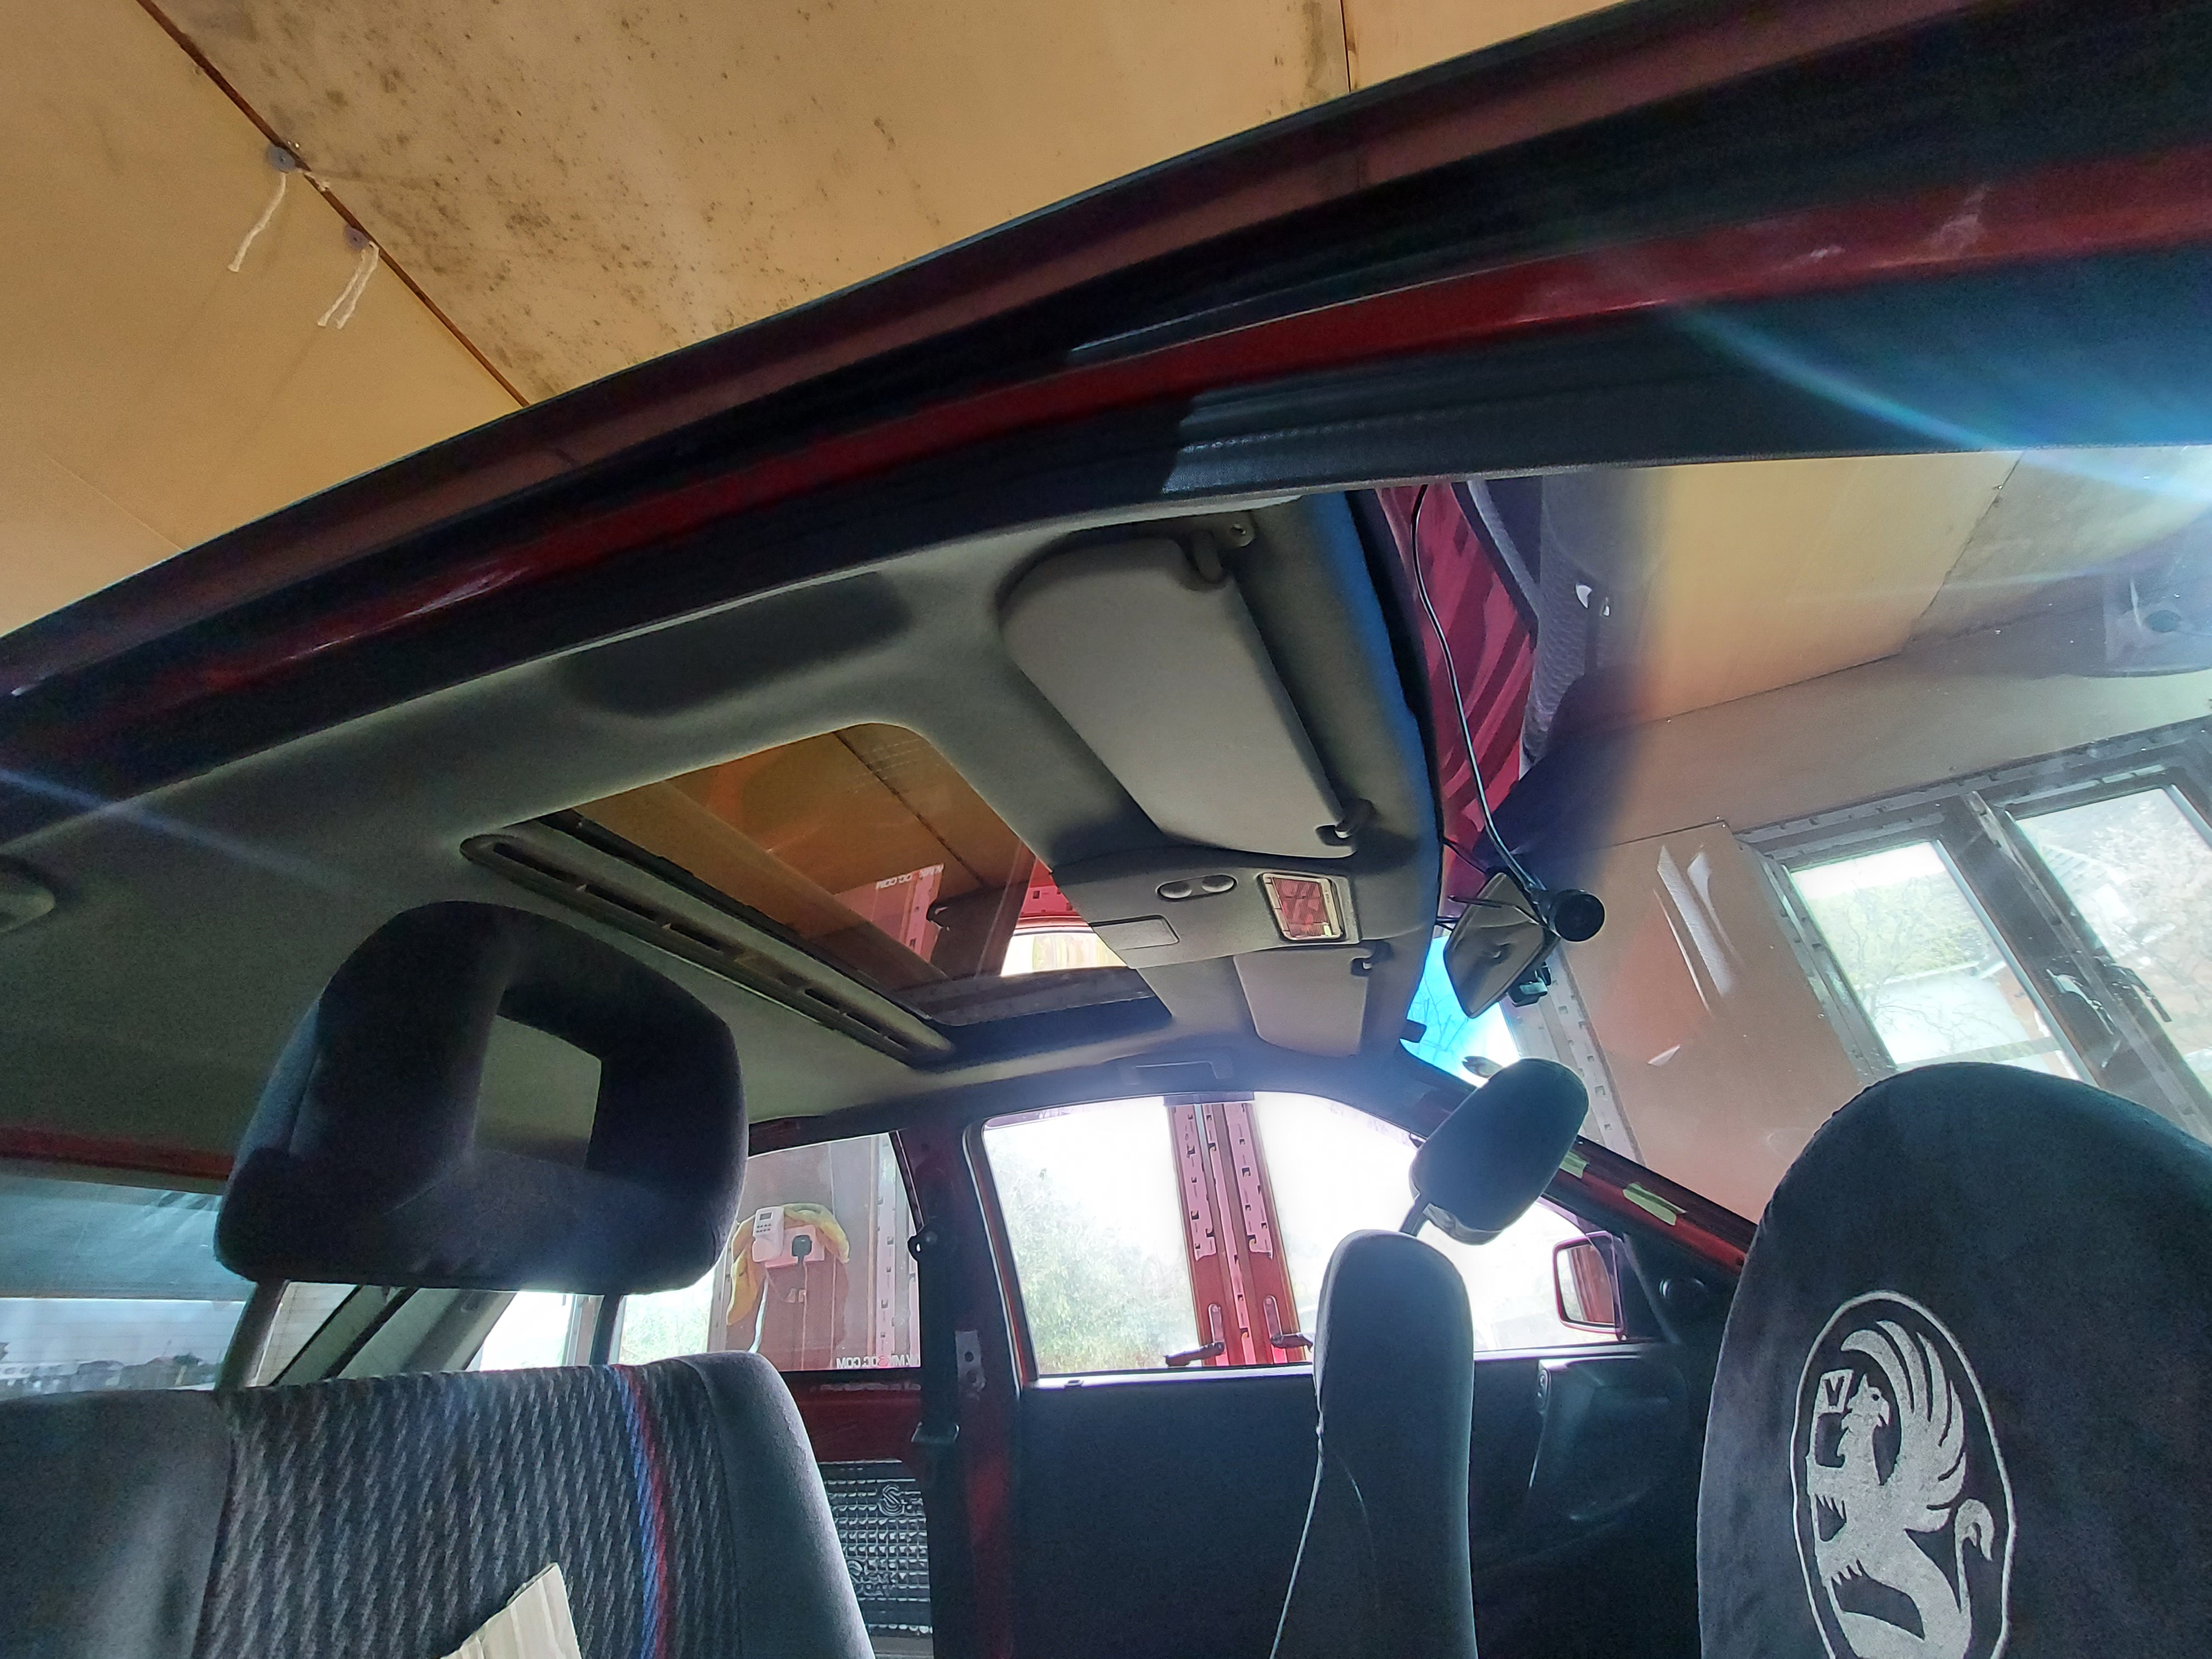
Had to cut the middle of the 'c pillar' trim out so the grab handle light can shine through.
And got it all fitted, This picture shows how easy it is to leave finger dents in the foam, which luckily work their way out again eventually,
but it looks scary crap with all the dents in it lol. All of those dents were from having a complete fight with the rubber seal surround , She was a fighter!
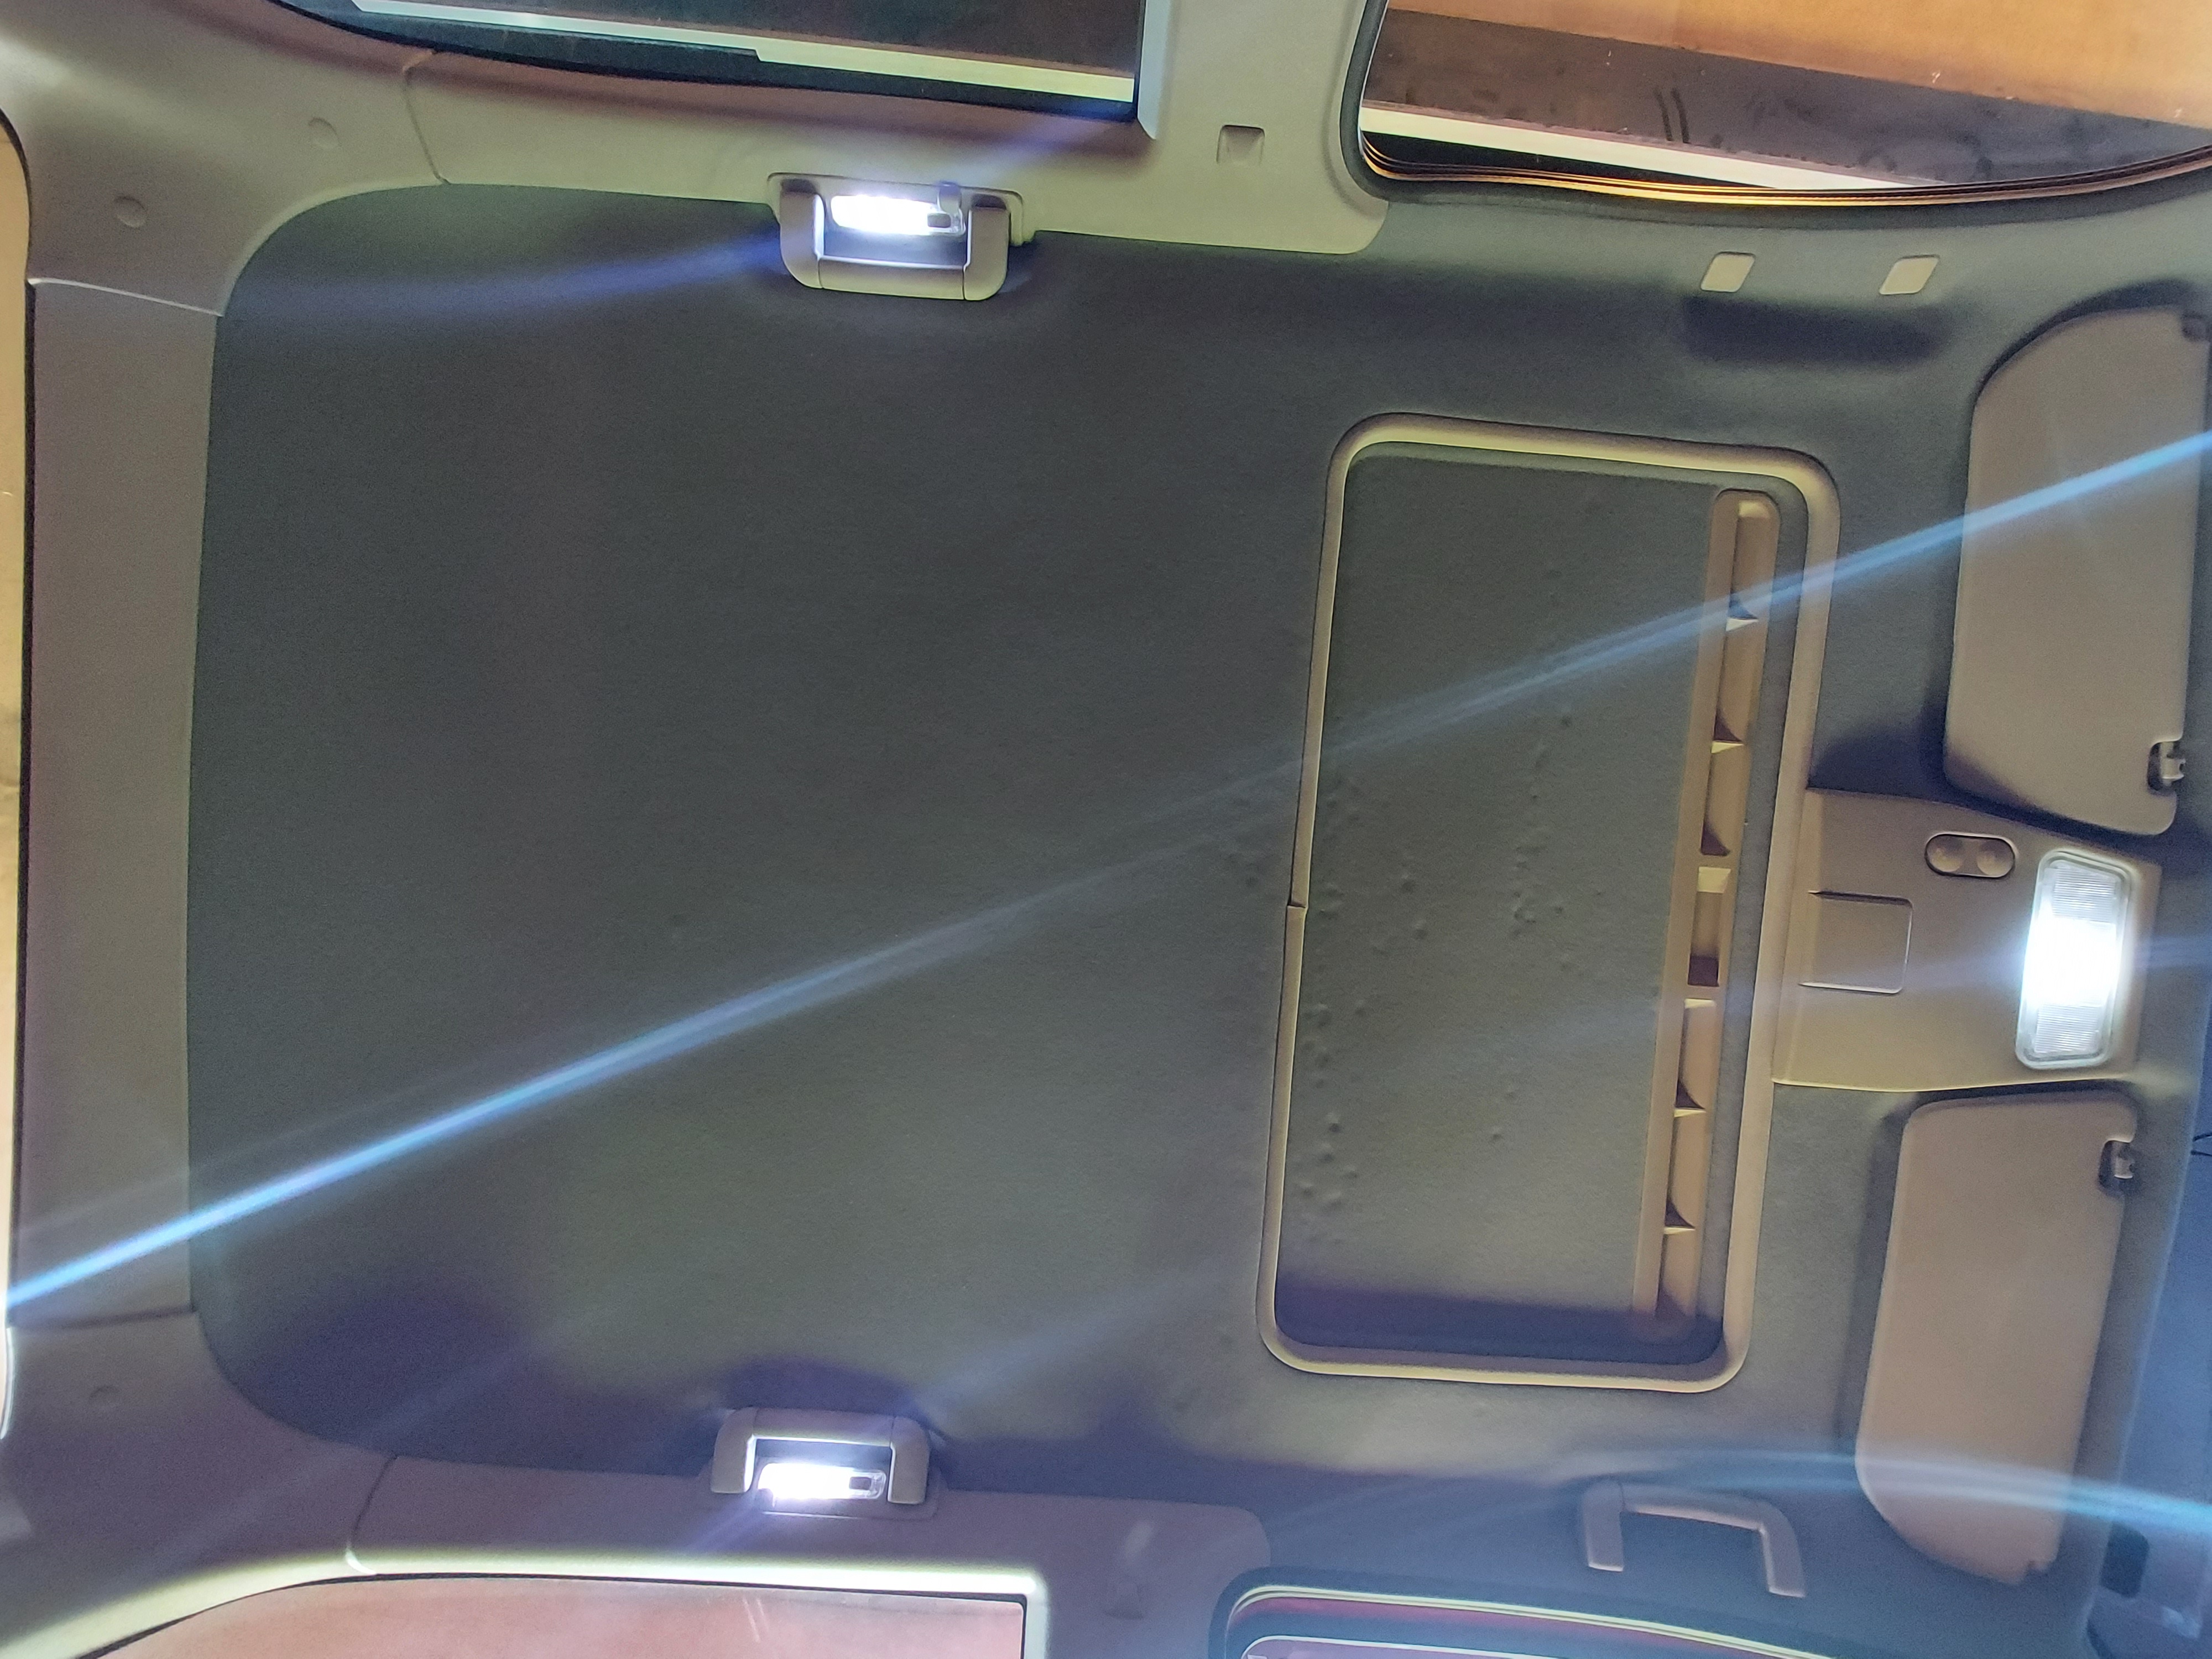
We can look at this picture instead lol
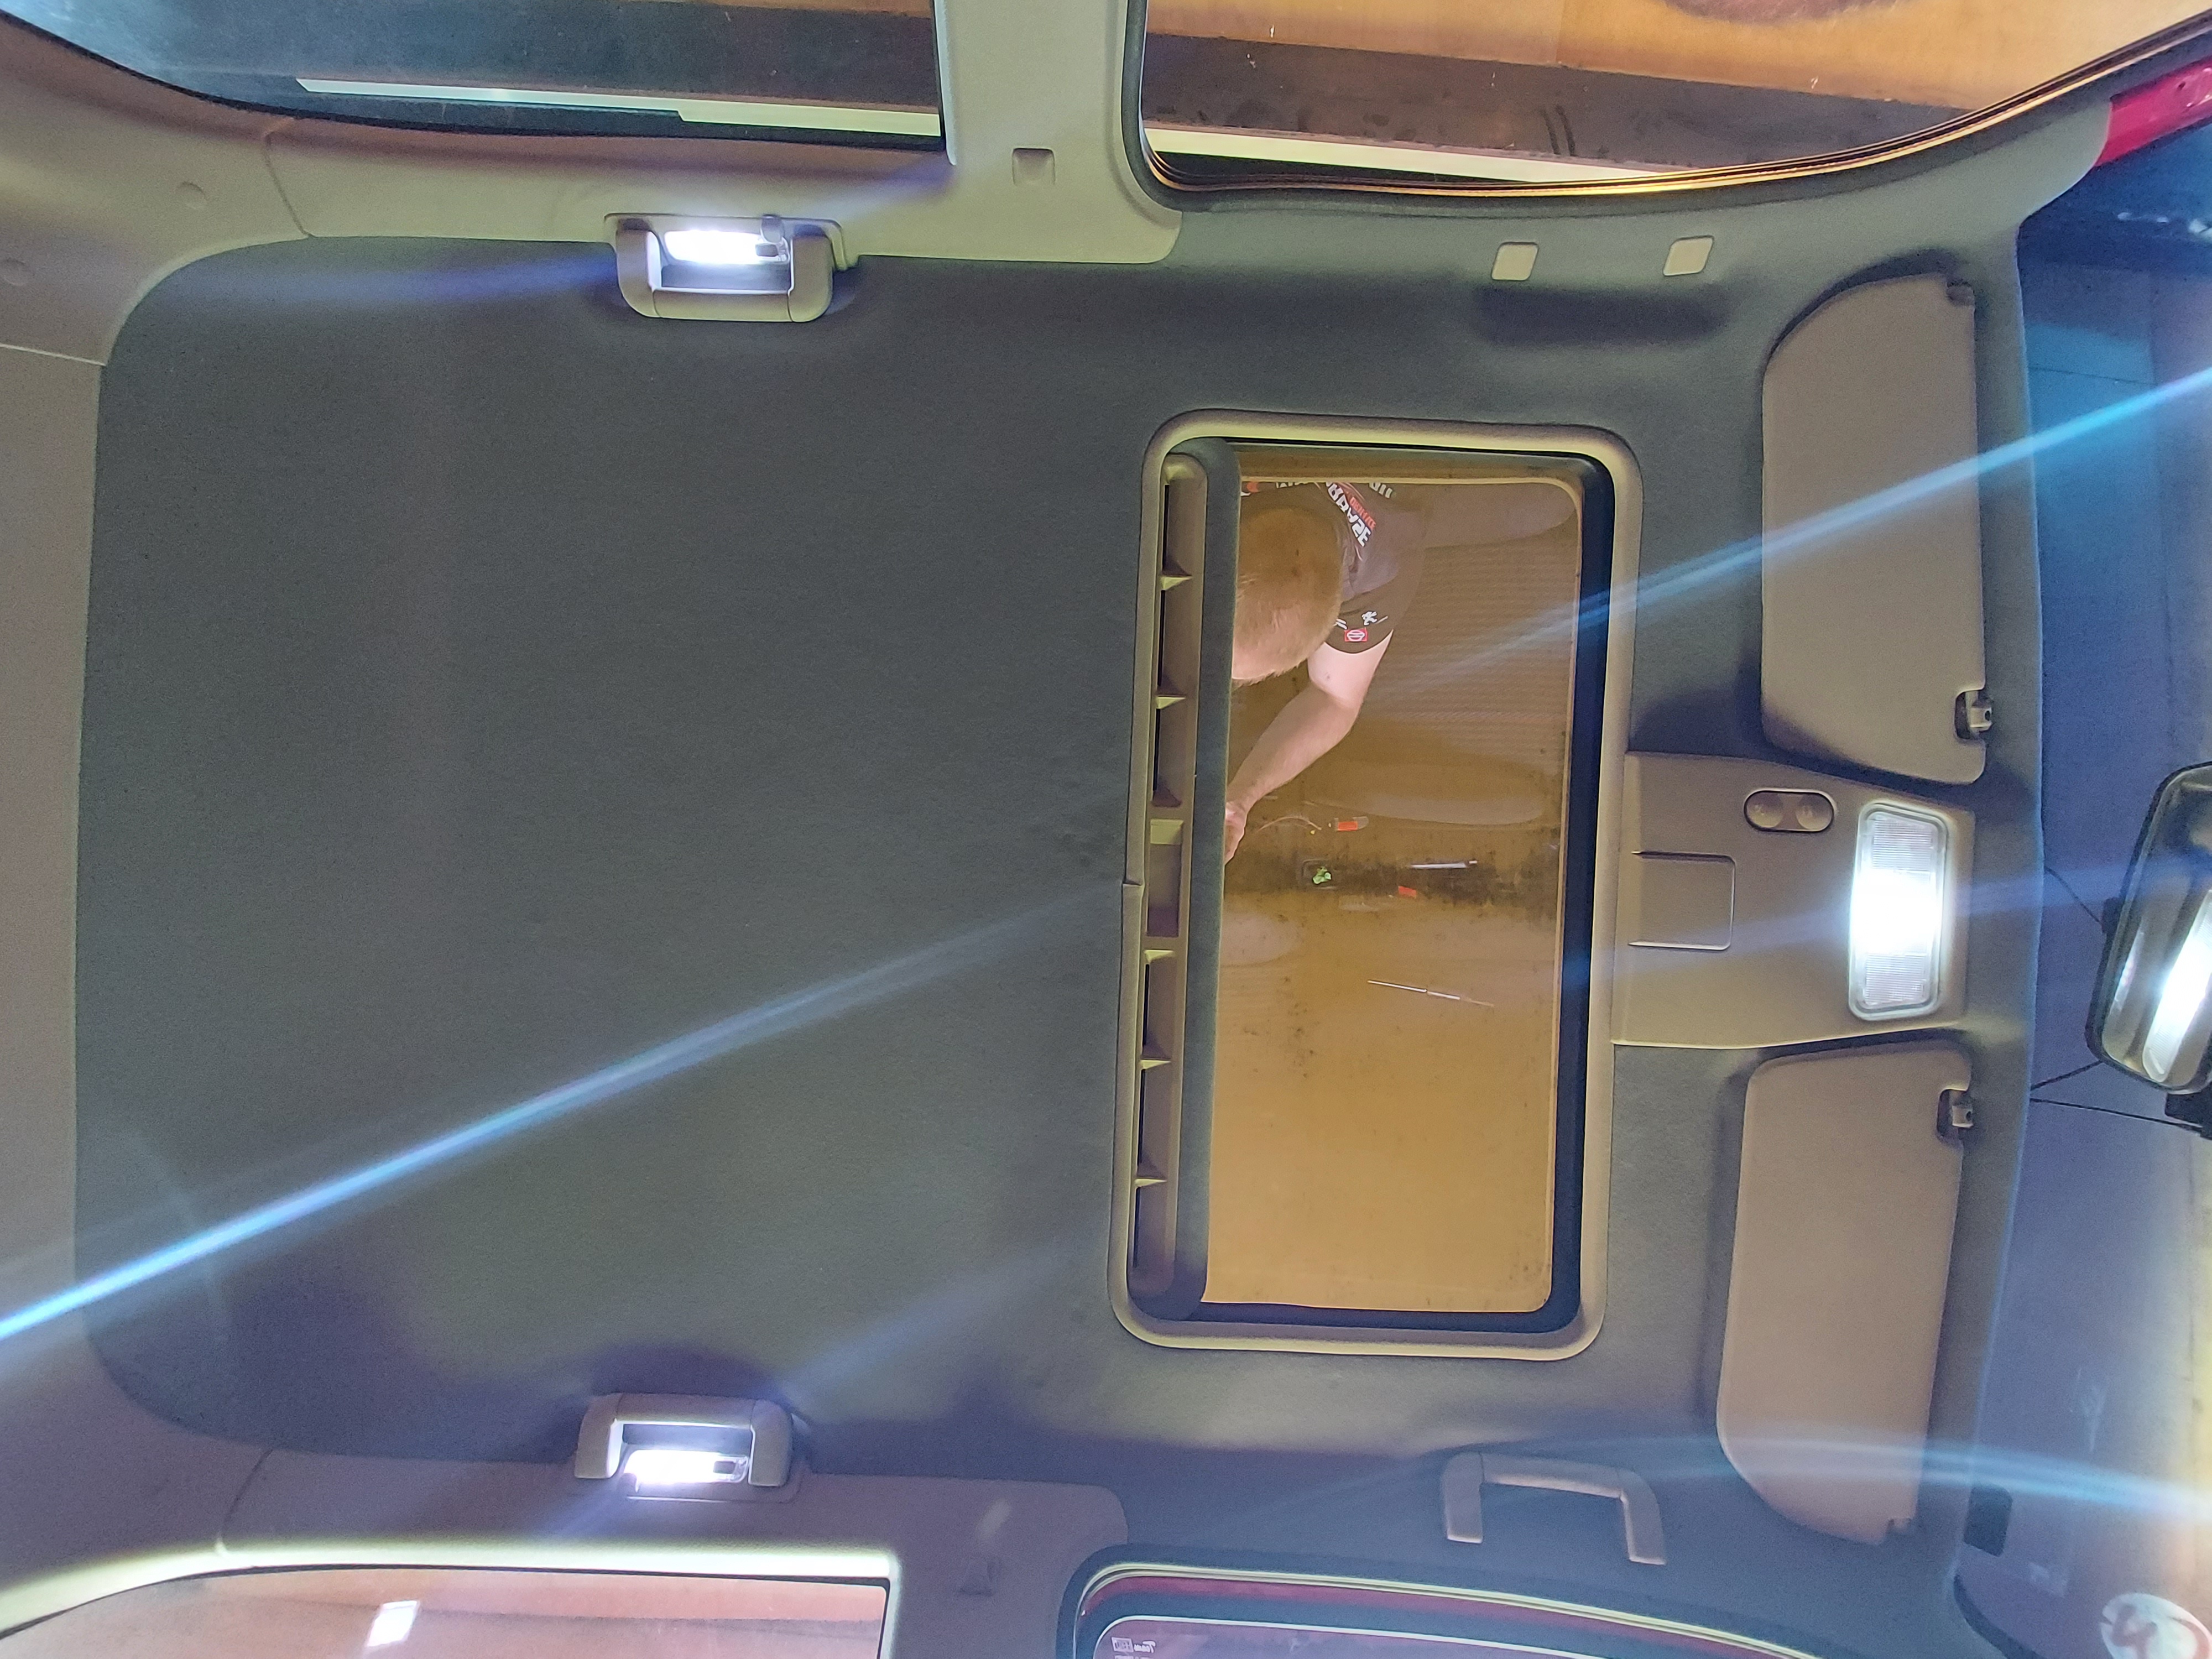
You can see that the headlining is slightly darker, but i decided against spraying handles and trims etc hoping I would end up with a good contradiction in colours and I think I have. I'm really pleased with it
Got it straight in the car
Had to cut the middle of the 'c pillar' trim out so the grab handle light can shine through.
And got it all fitted, This picture shows how easy it is to leave finger dents in the foam, which luckily work their way out again eventually,
but it looks scary crap with all the dents in it lol. All of those dents were from having a complete fight with the rubber seal surround , She was a fighter!
We can look at this picture instead lol
You can see that the headlining is slightly darker, but i decided against spraying handles and trims etc hoping I would end up with a good contradiction in colours and I think I have. I'm really pleased with it
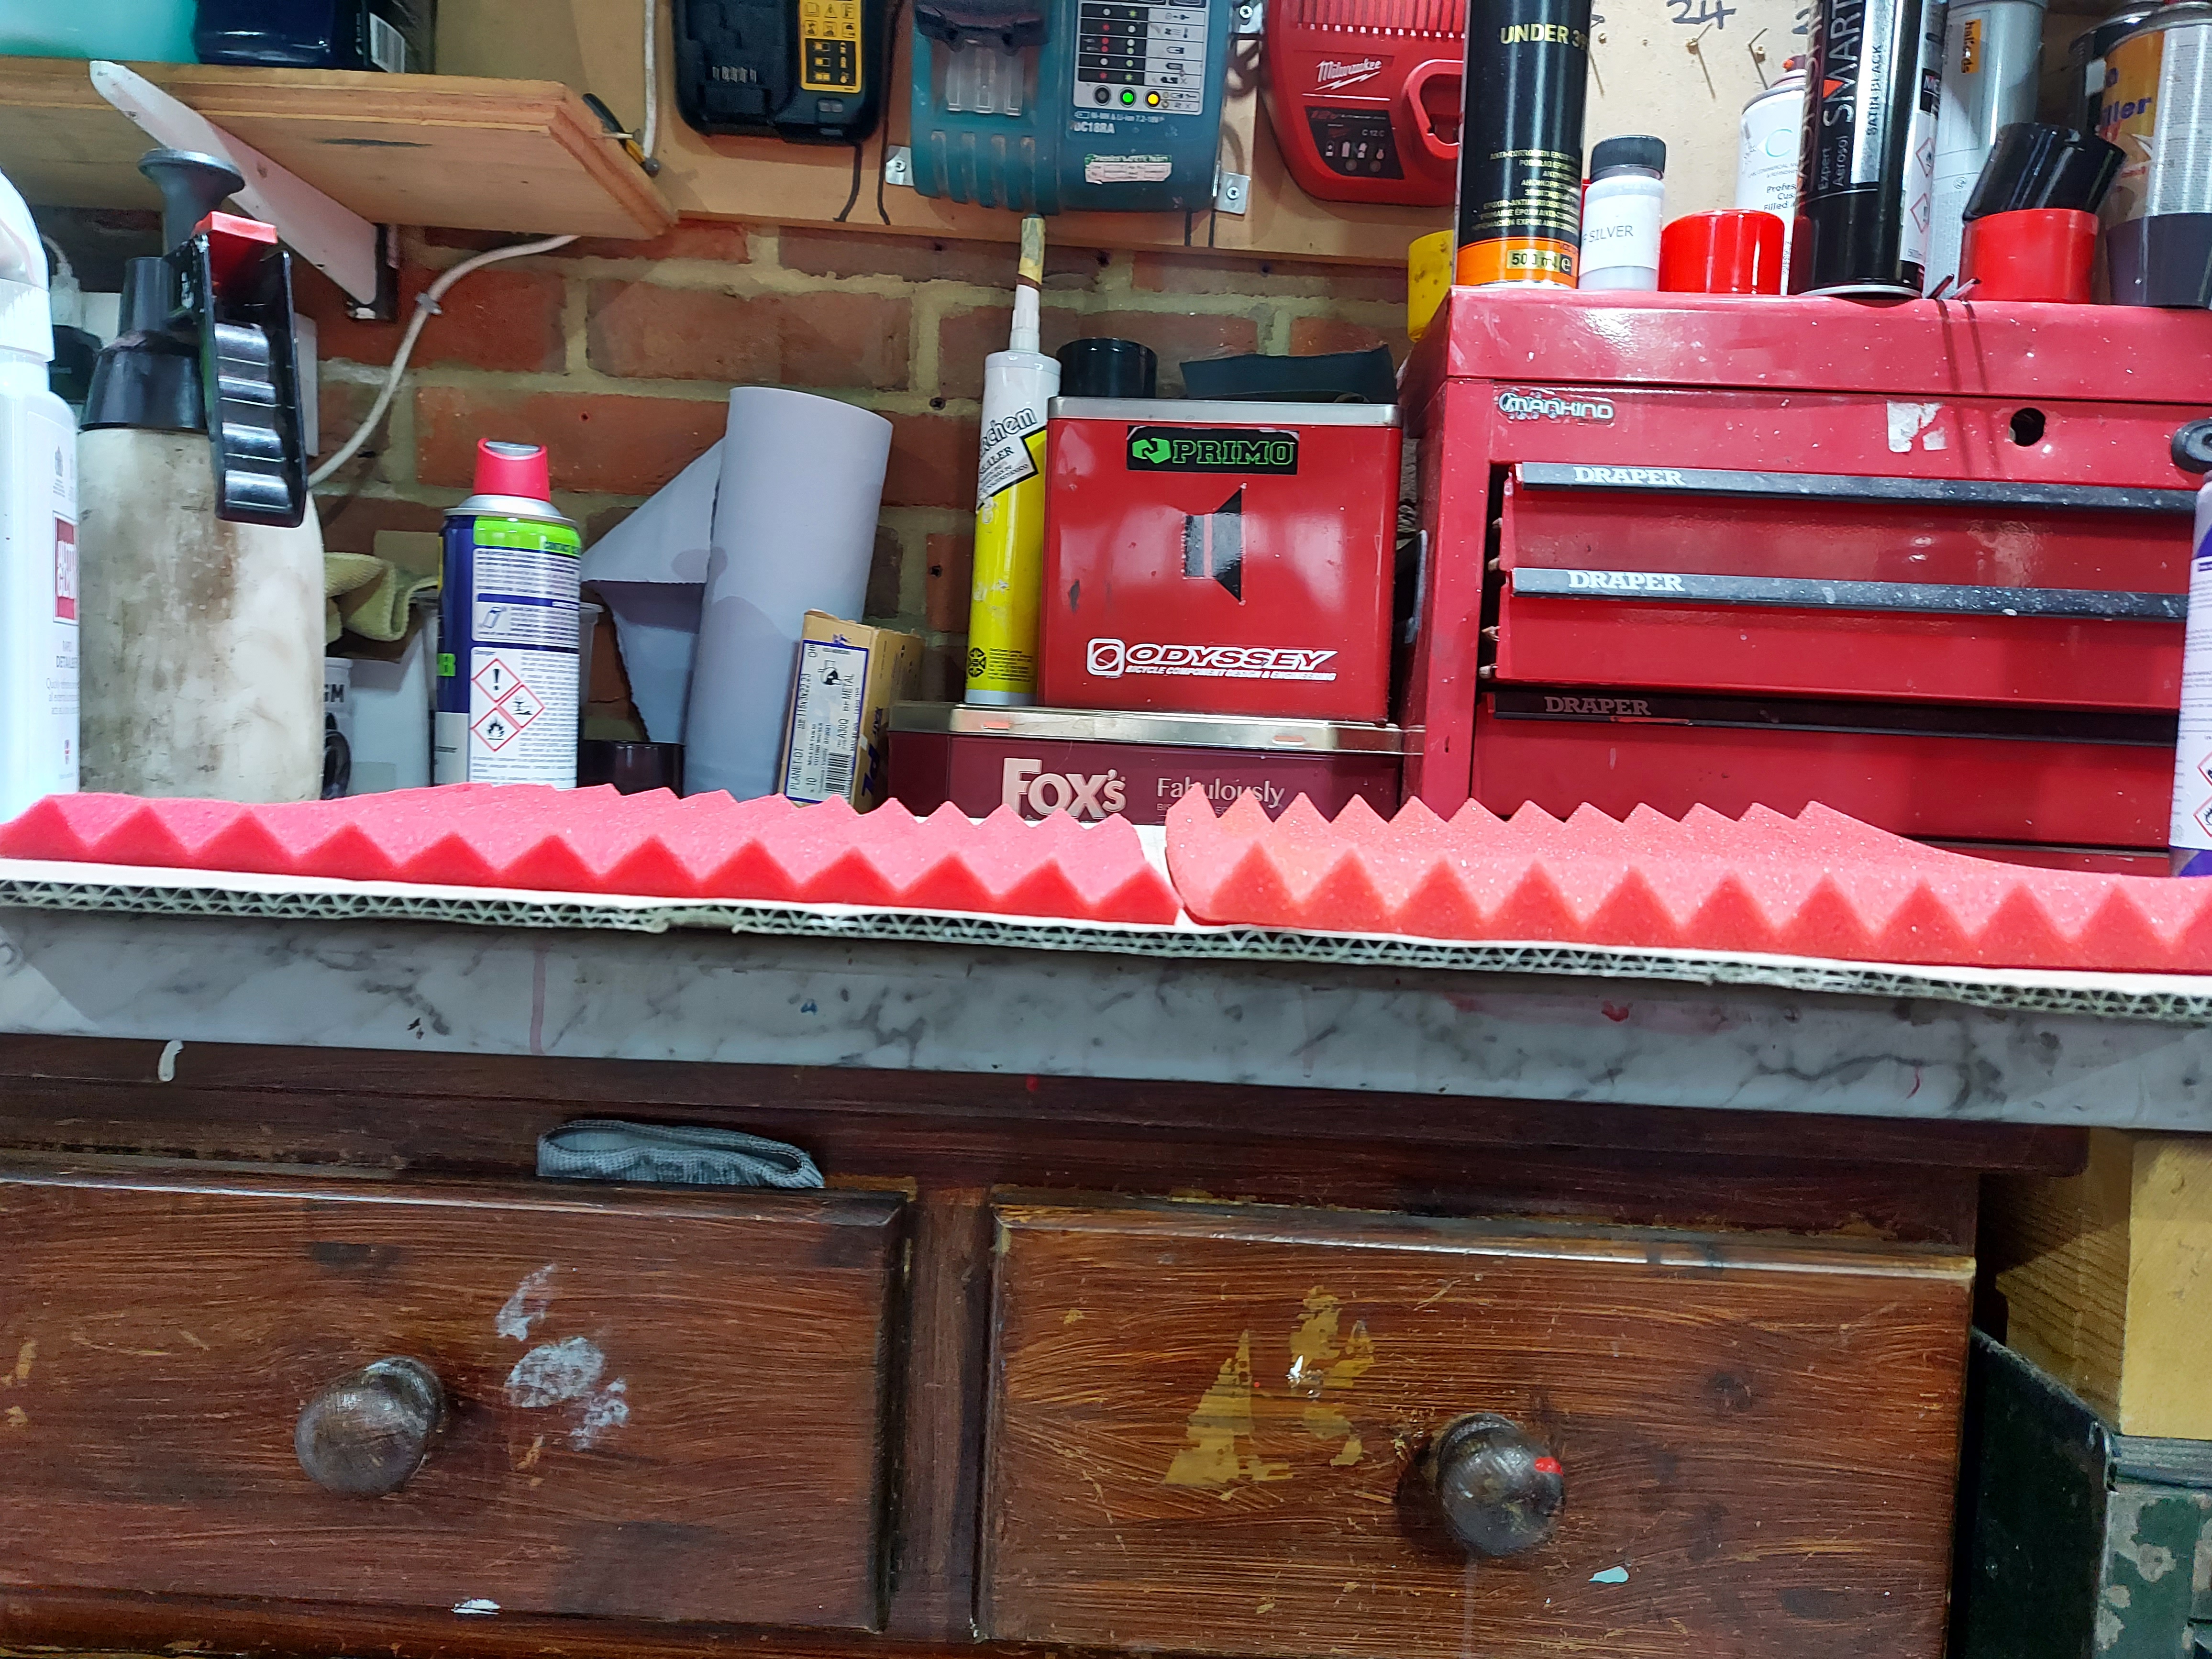
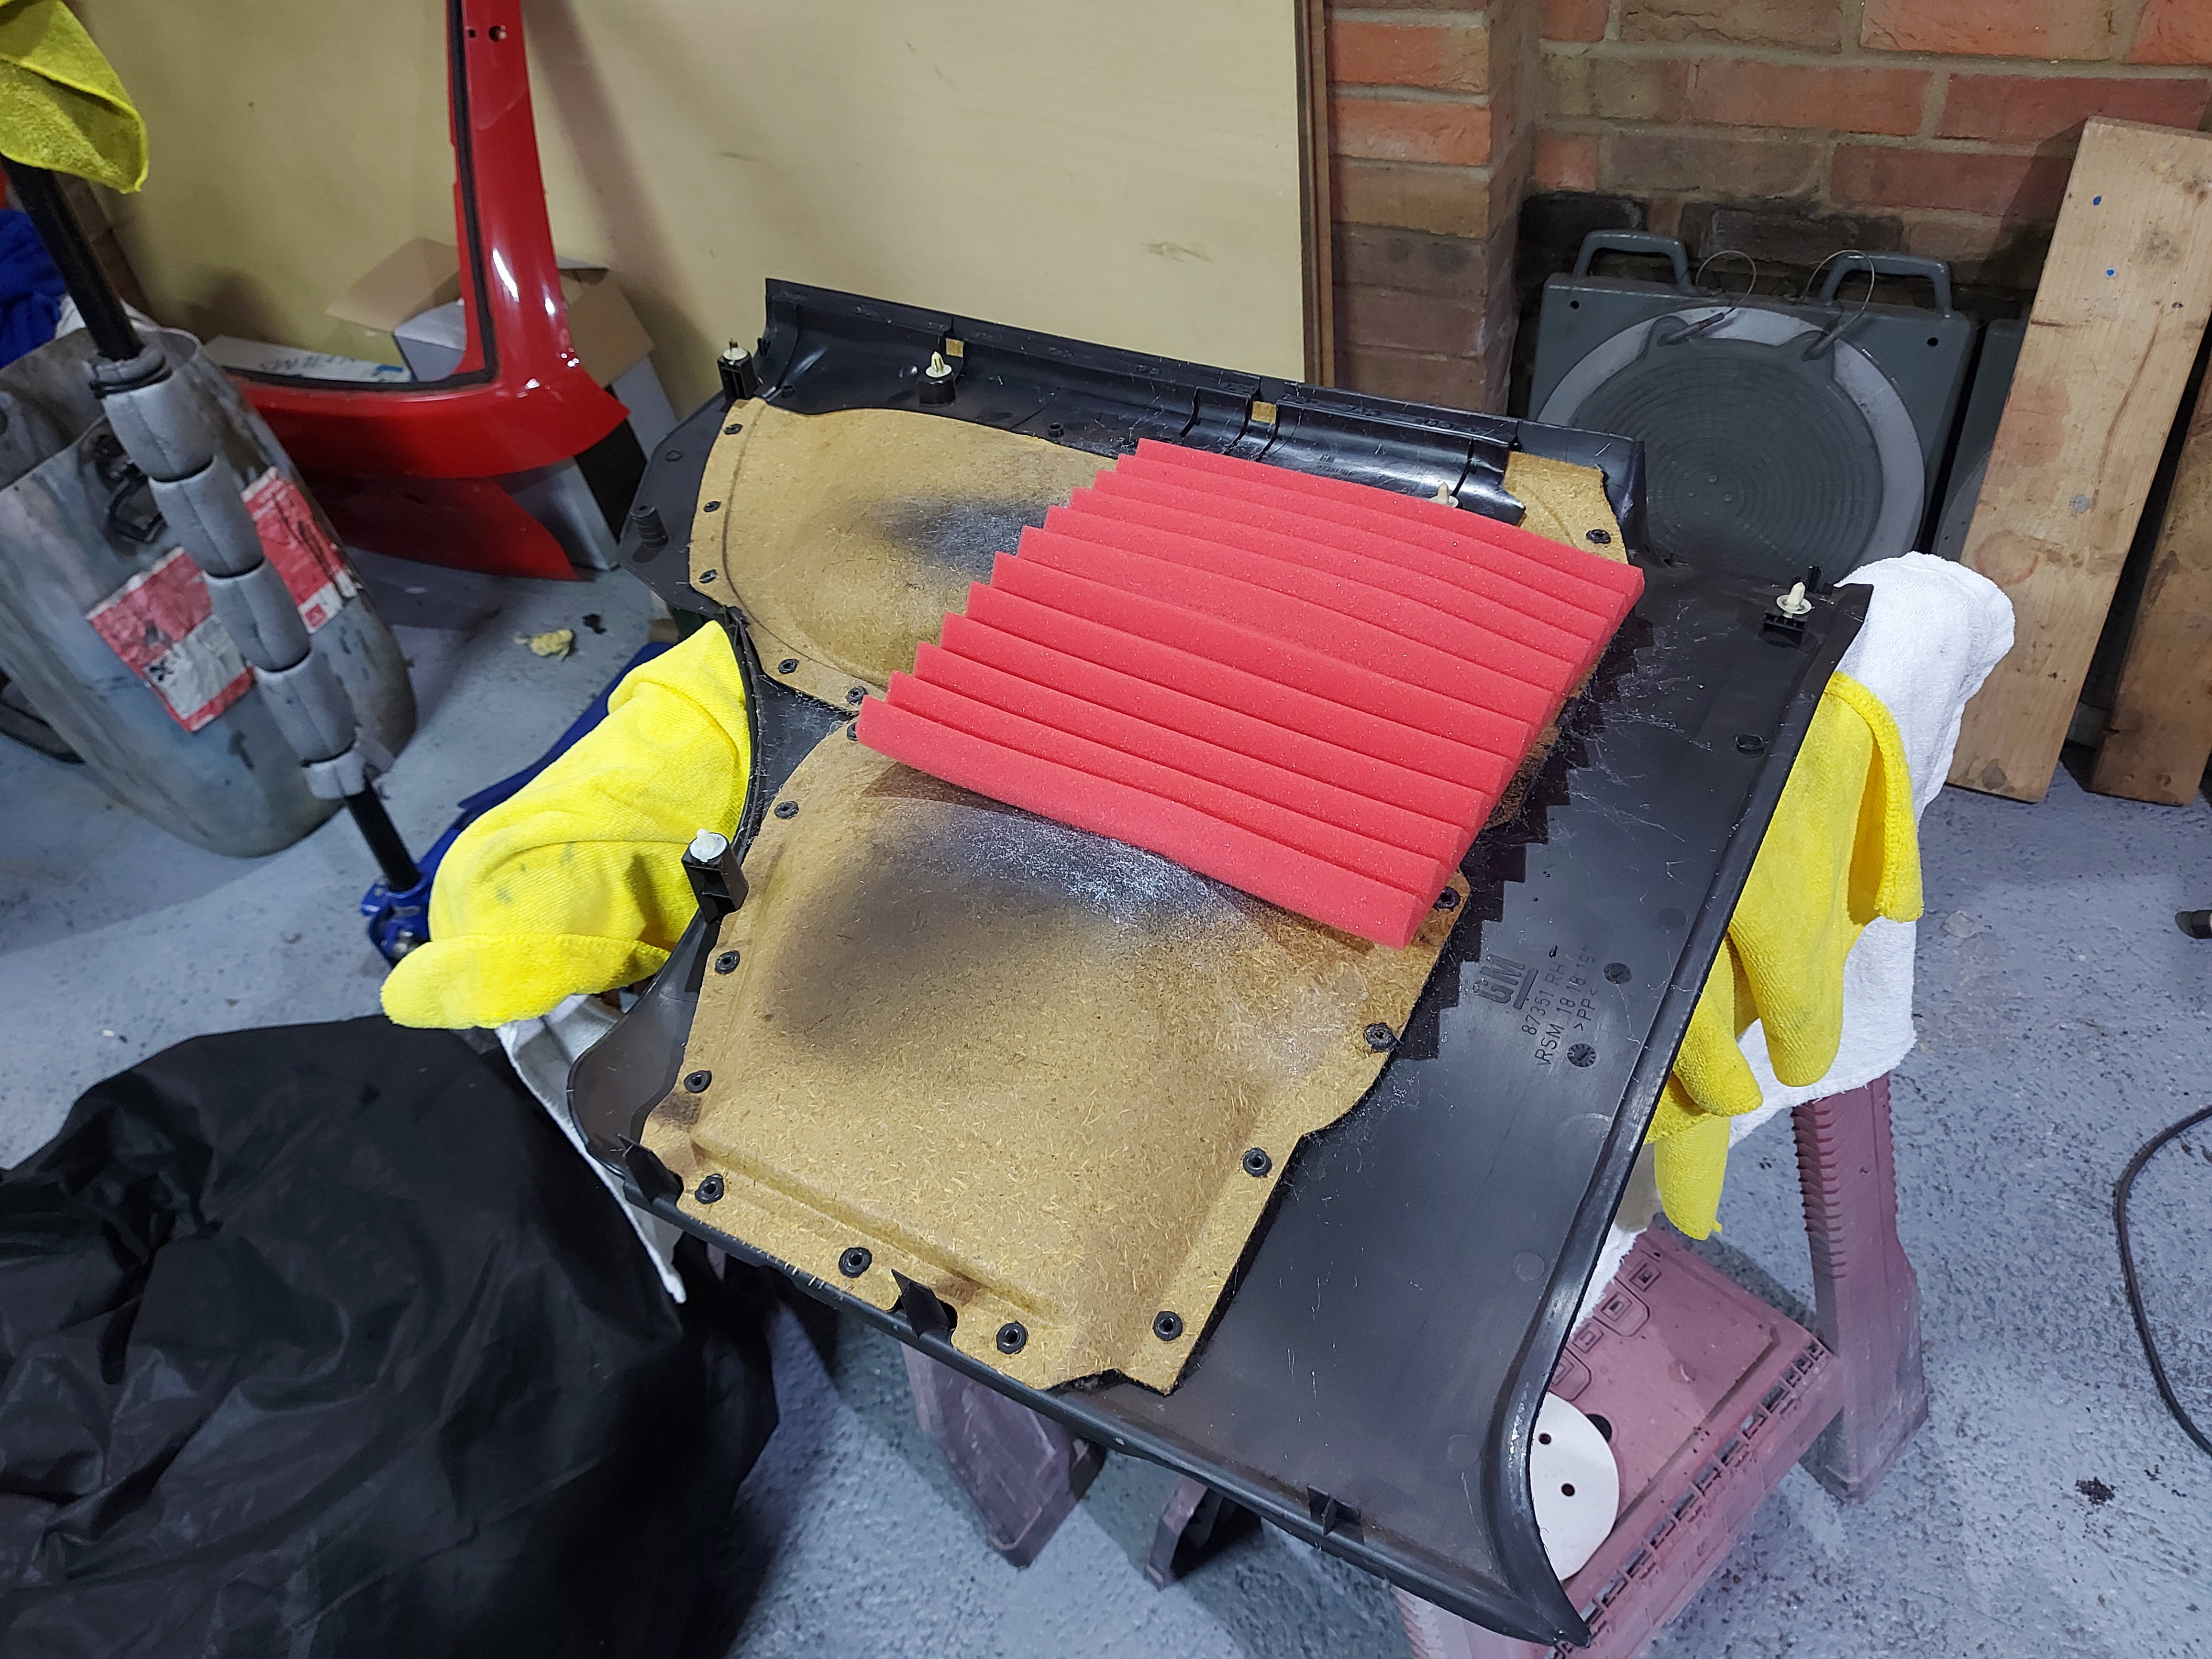
decided to put some more sound proofing in while I could, every little helps on these old cars lol.
Got myself some sponge sound proofing, which turned up really flat, as you can see on the left, having studied the advert, it turns out you needed to heat it up with a hot air gun and it would grow back to its normal size, on the right...
well I never!
Stuck it on the rear door cards.
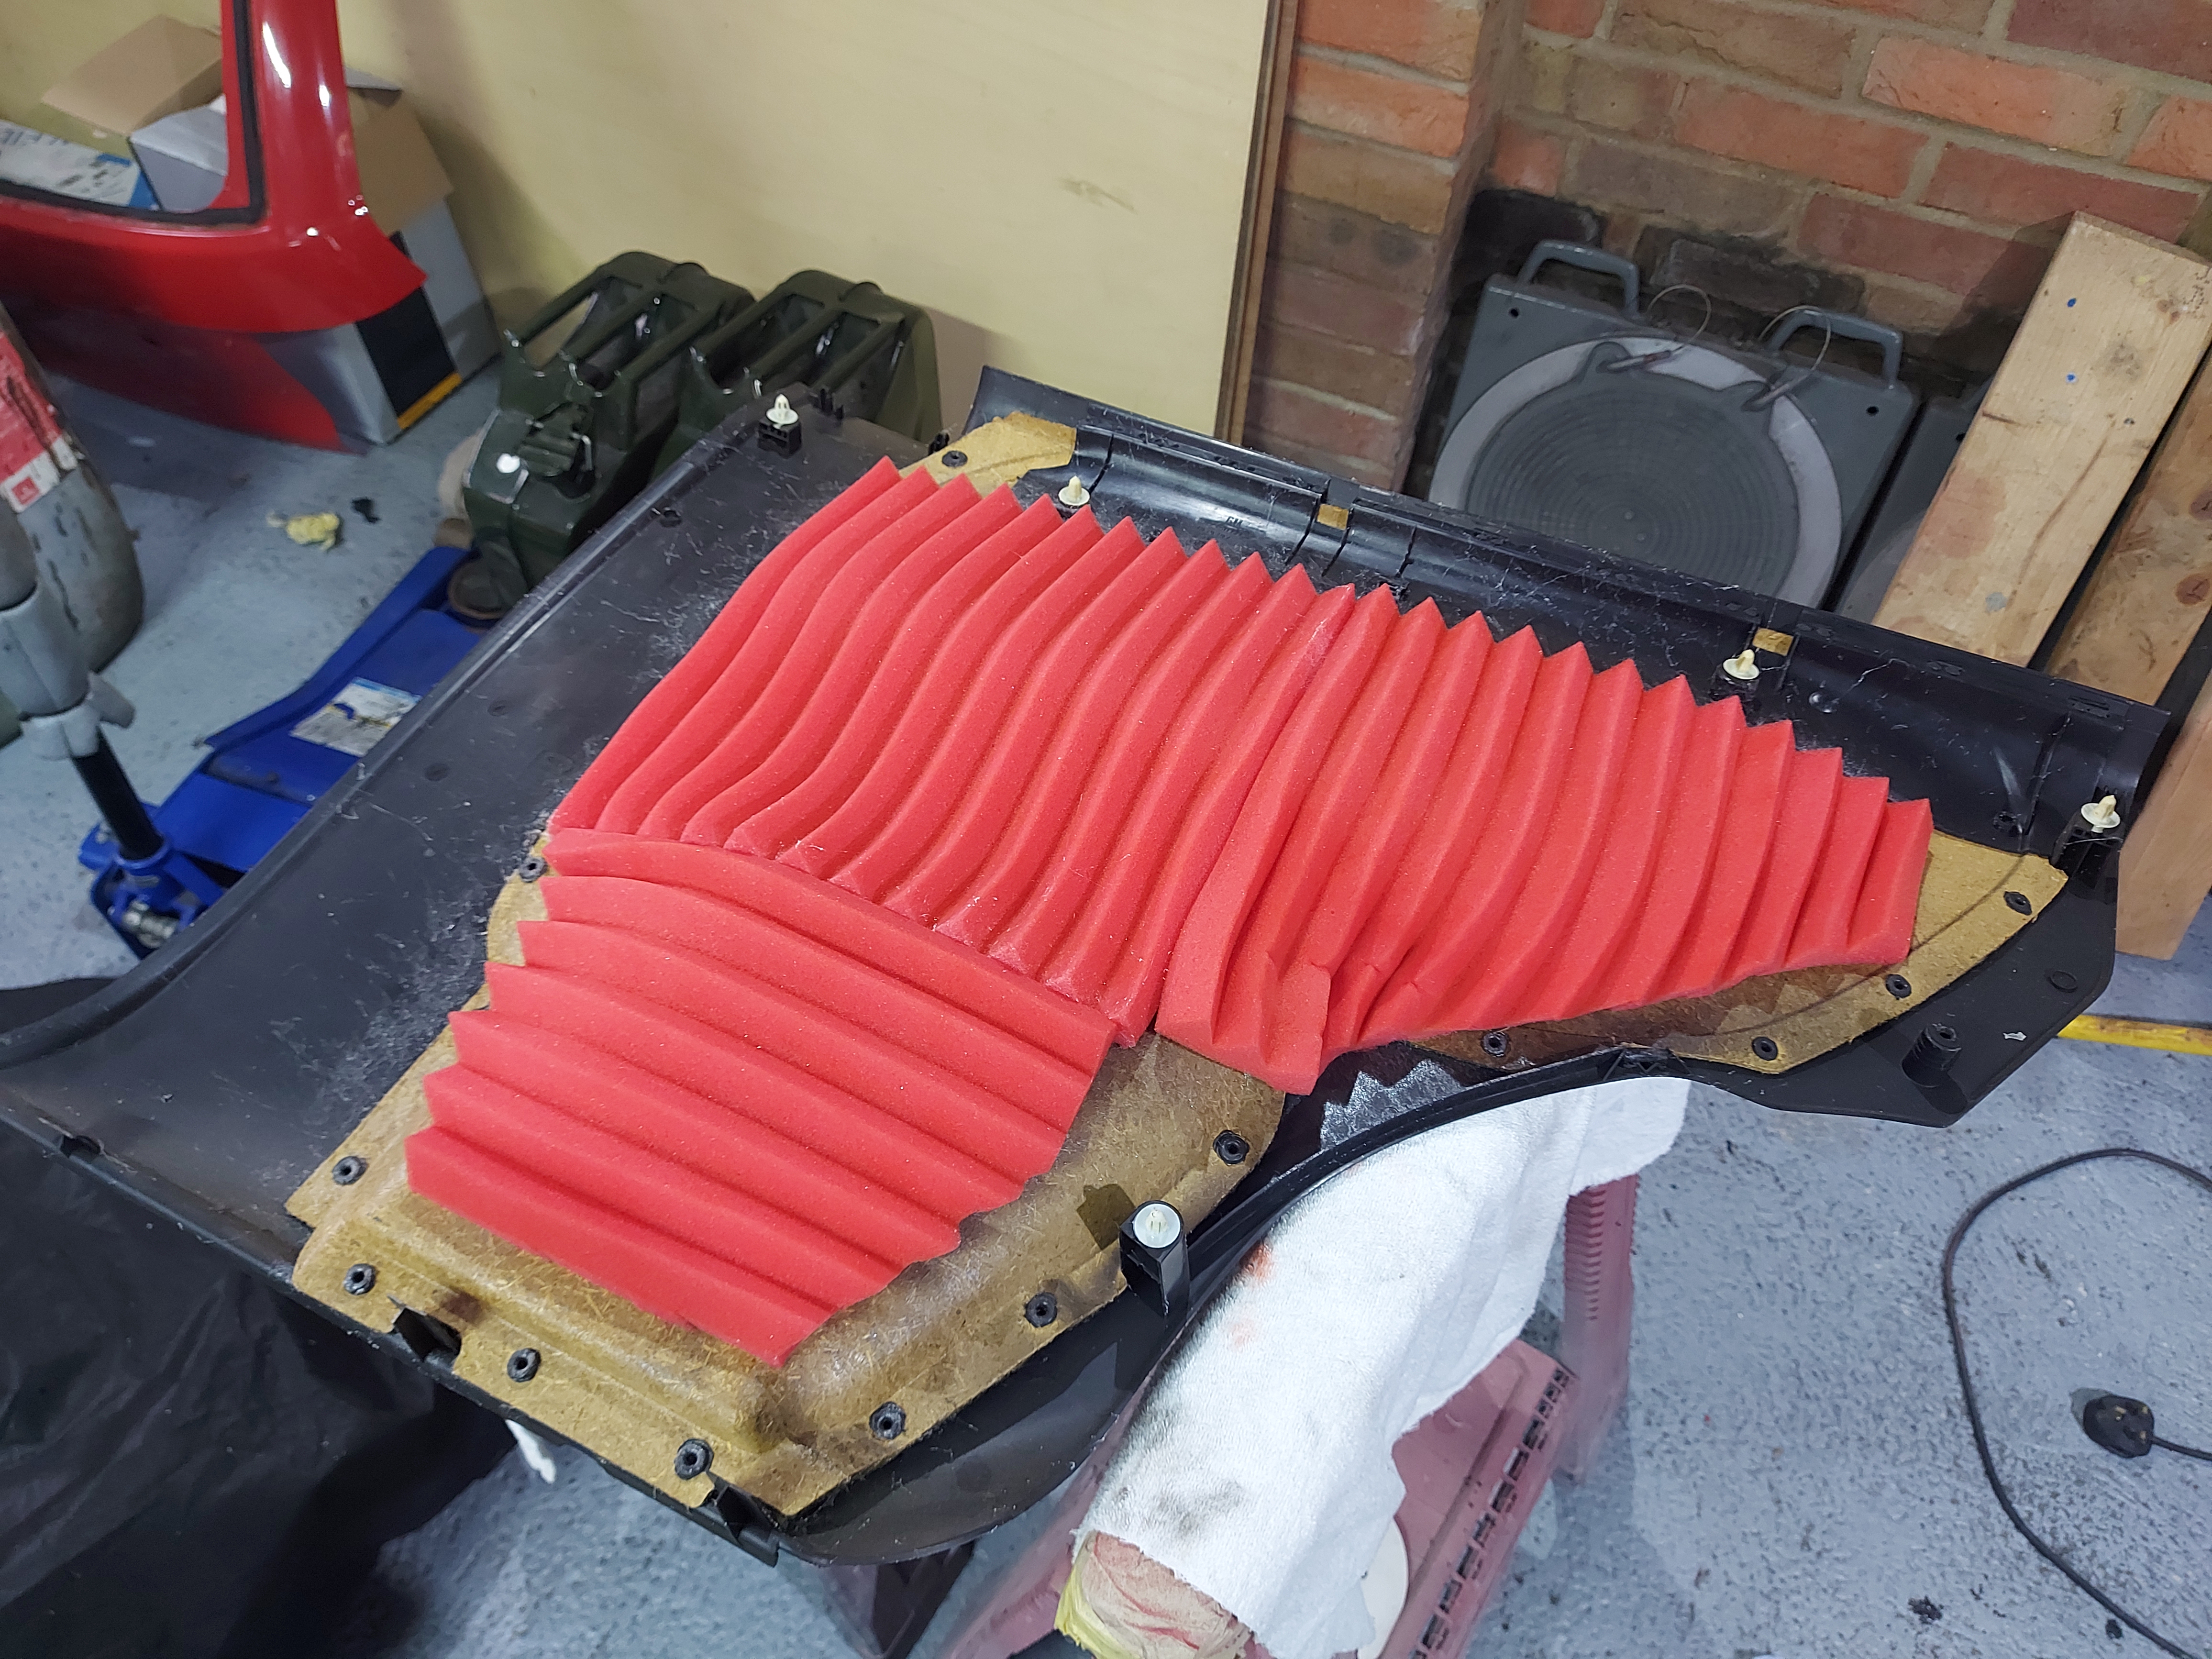
This was the maximum you could do as the rest of the door card is actually flush to the metal work!
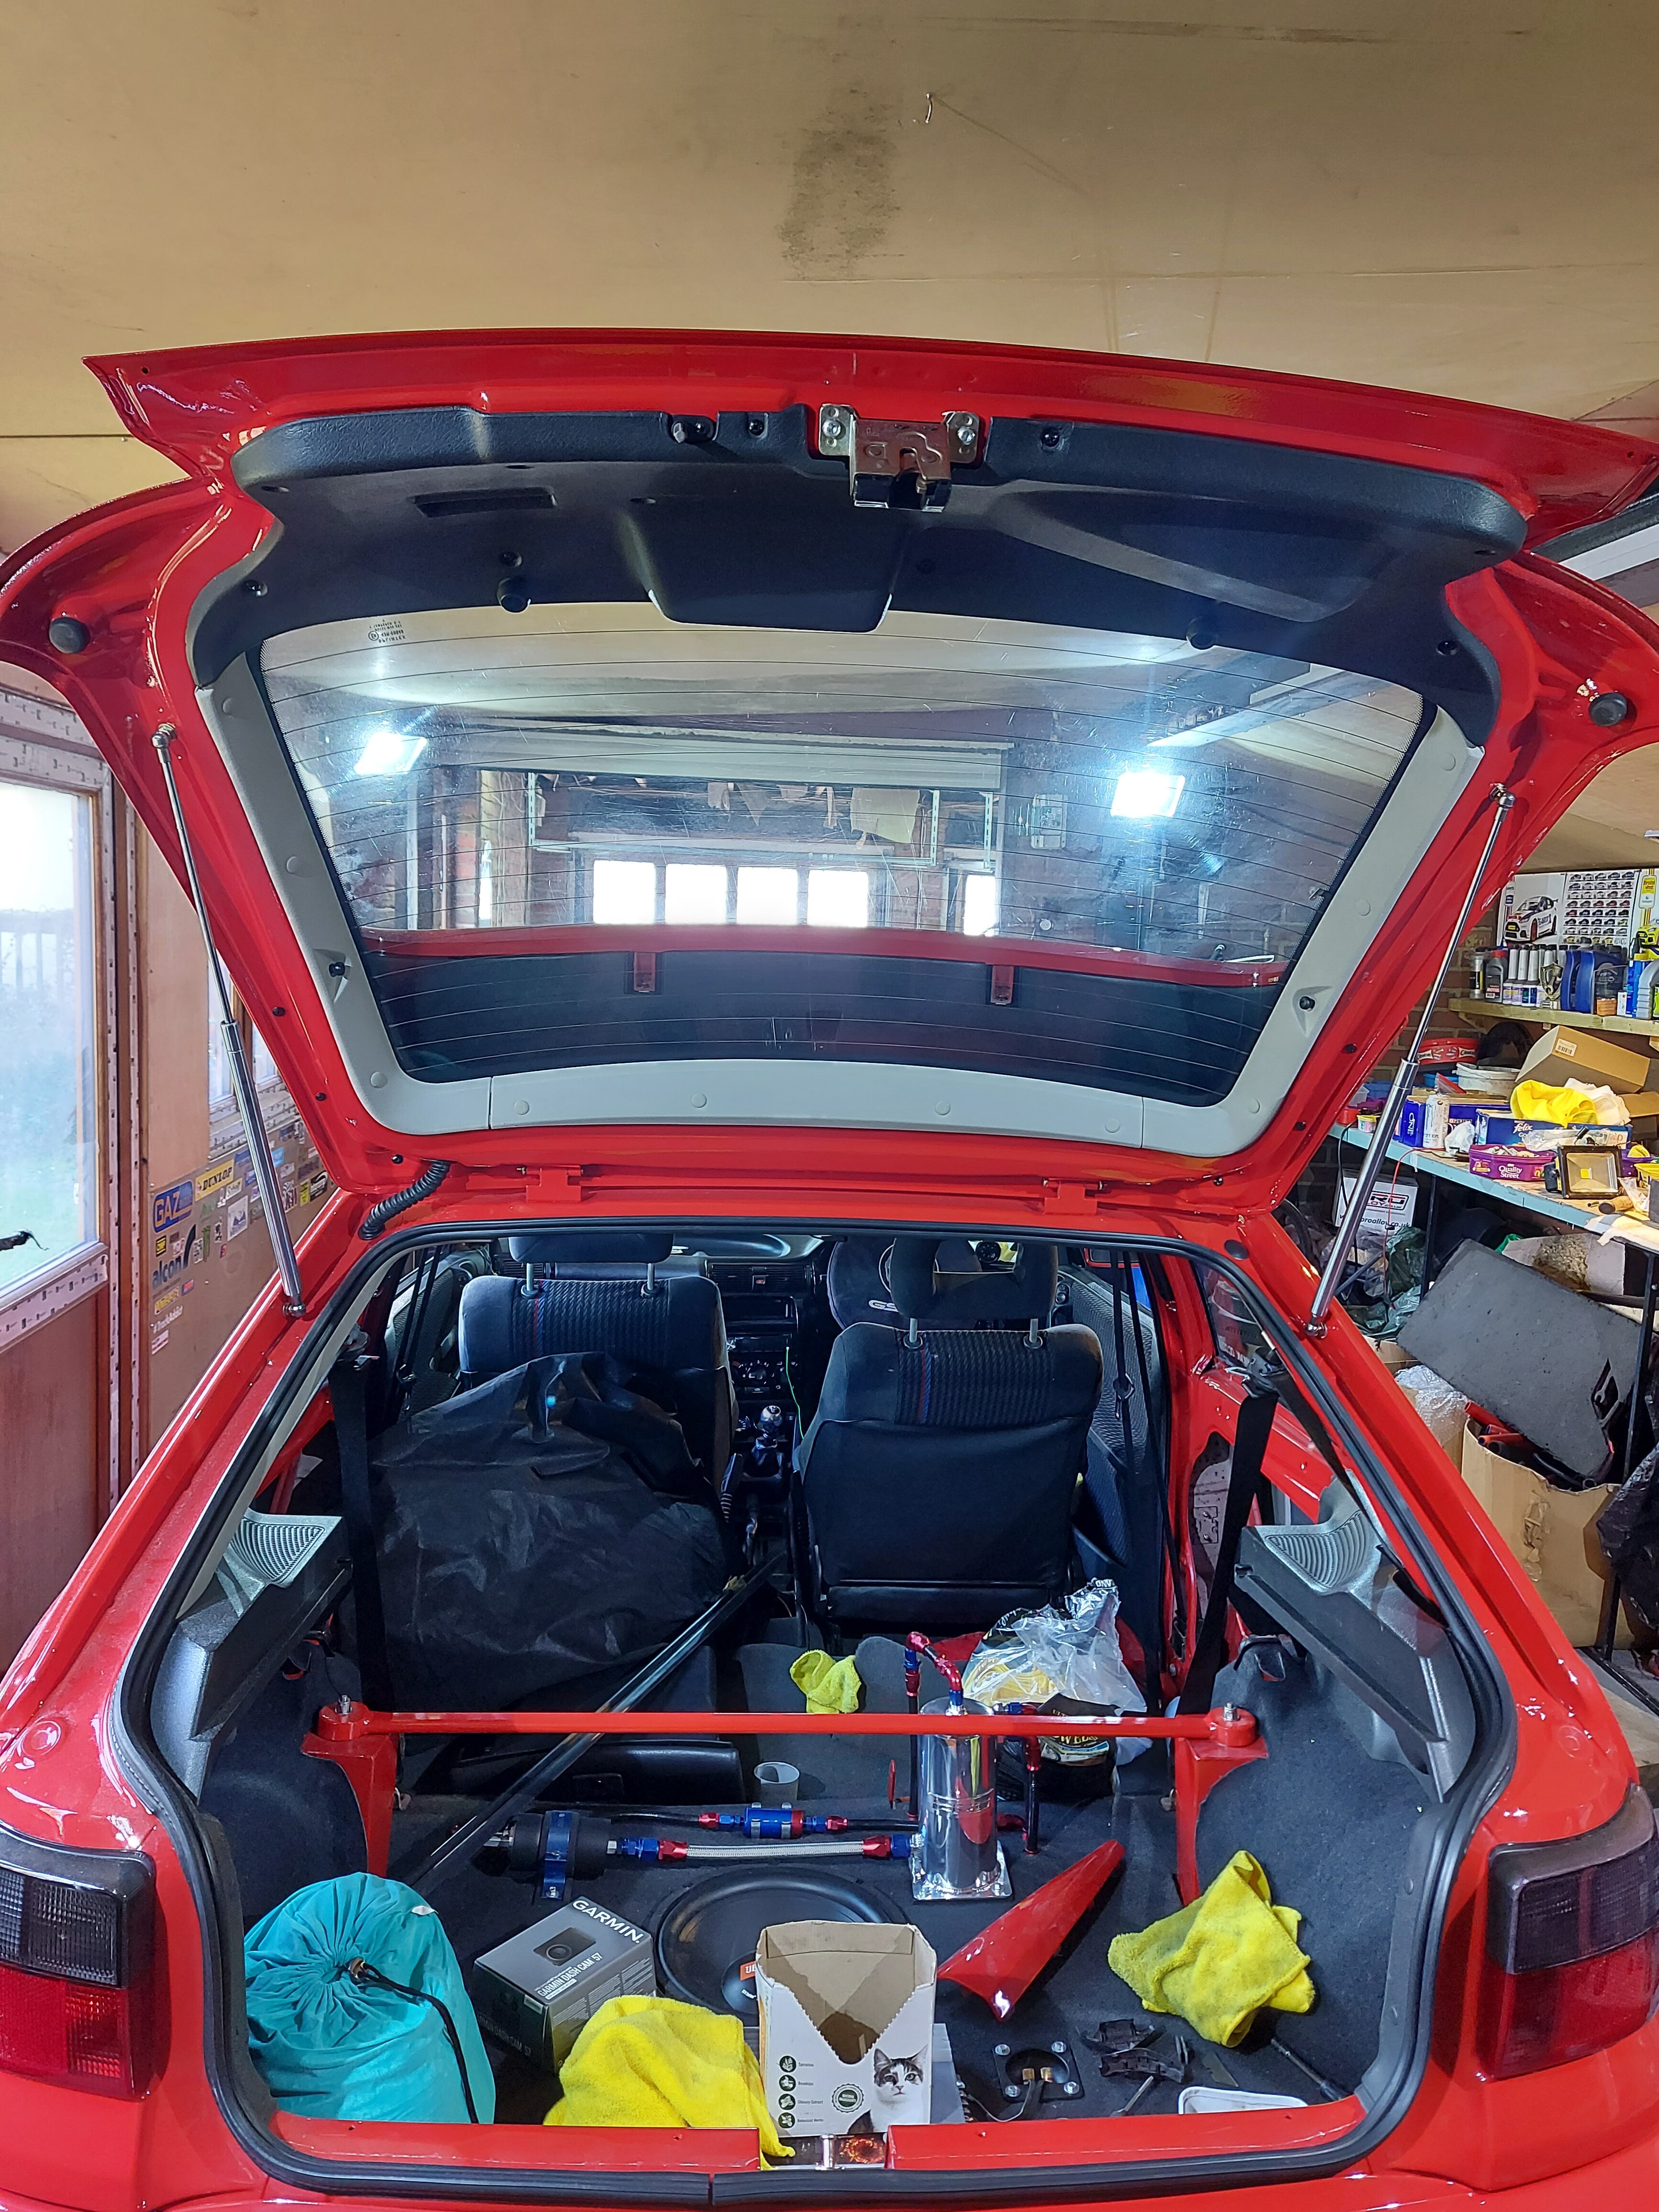
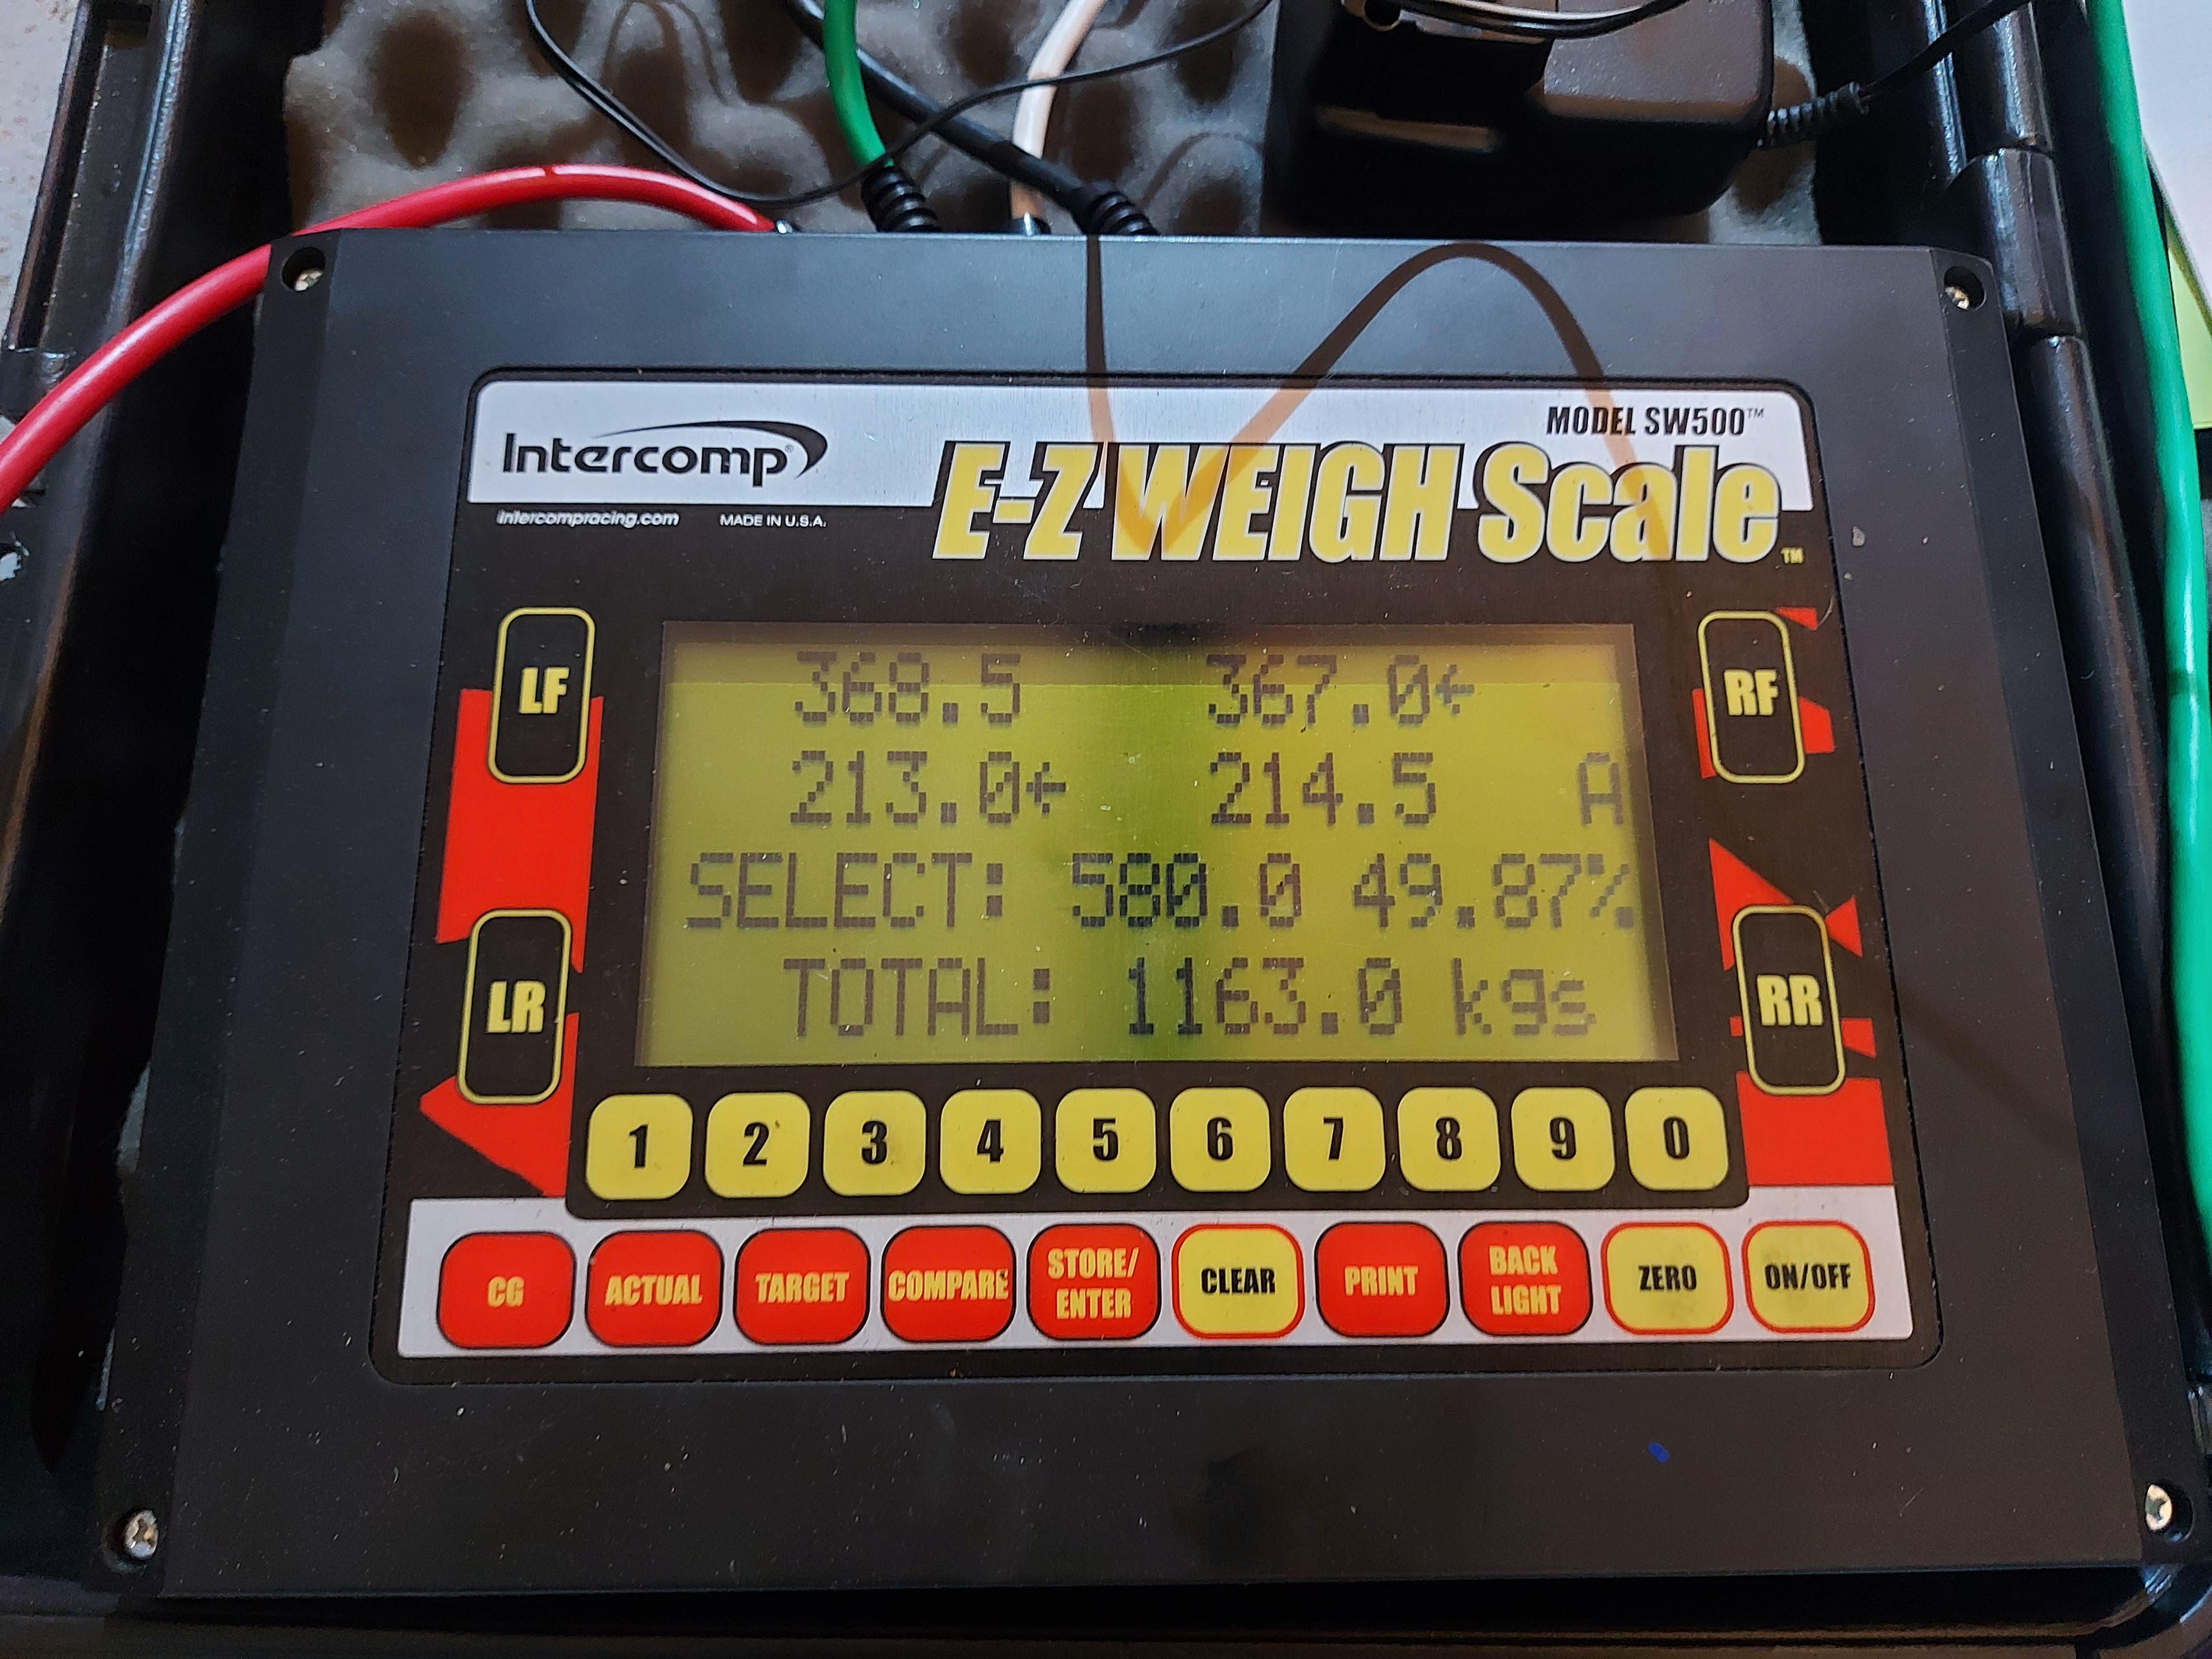
Finally with nearly everything sorted, I finished refitting the rear seats so the car was in it's finished trim and weight, got the gym weights in the drivers seat ( to simulate me driving weight wise ) and put the car on the scales!
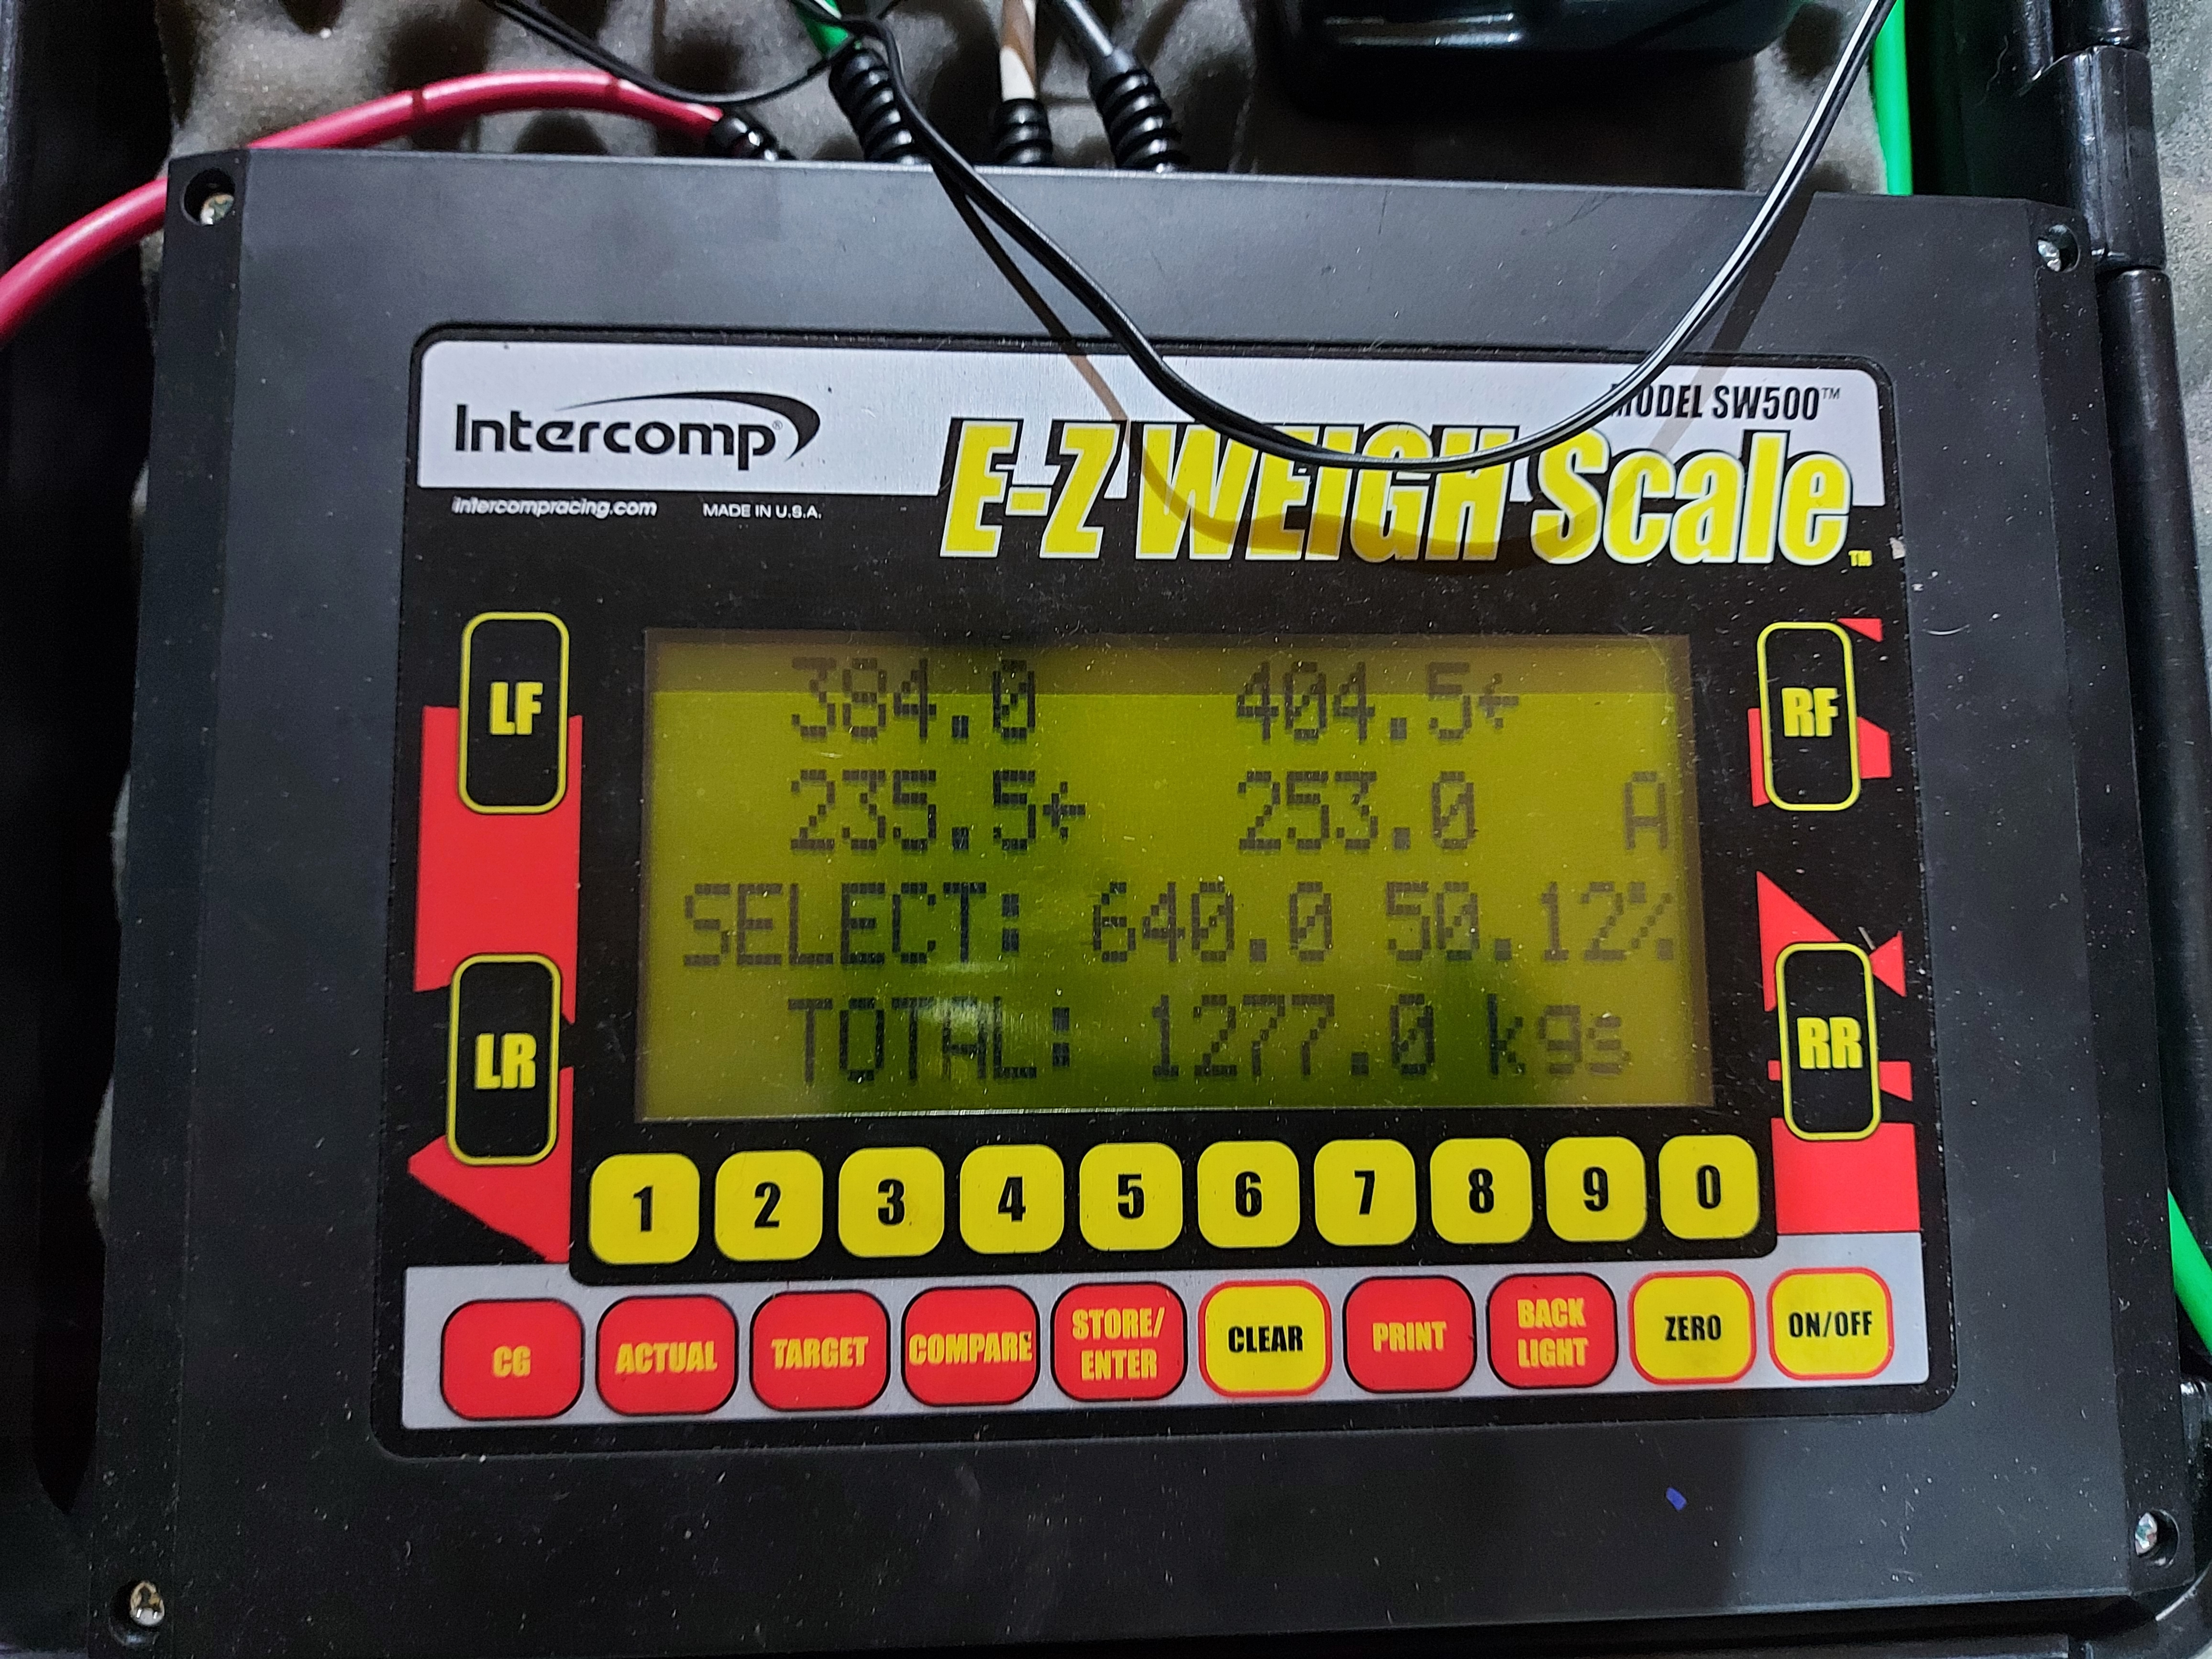
Couldn't believe it to be honest, My old 90's hatch, heavily messed with and modified had a cross weight of near bang on 50%! This means that the diagonal wheels add up to the same weight as their opposites, giving you good equal straight line braking and balance. I was so chuffed.
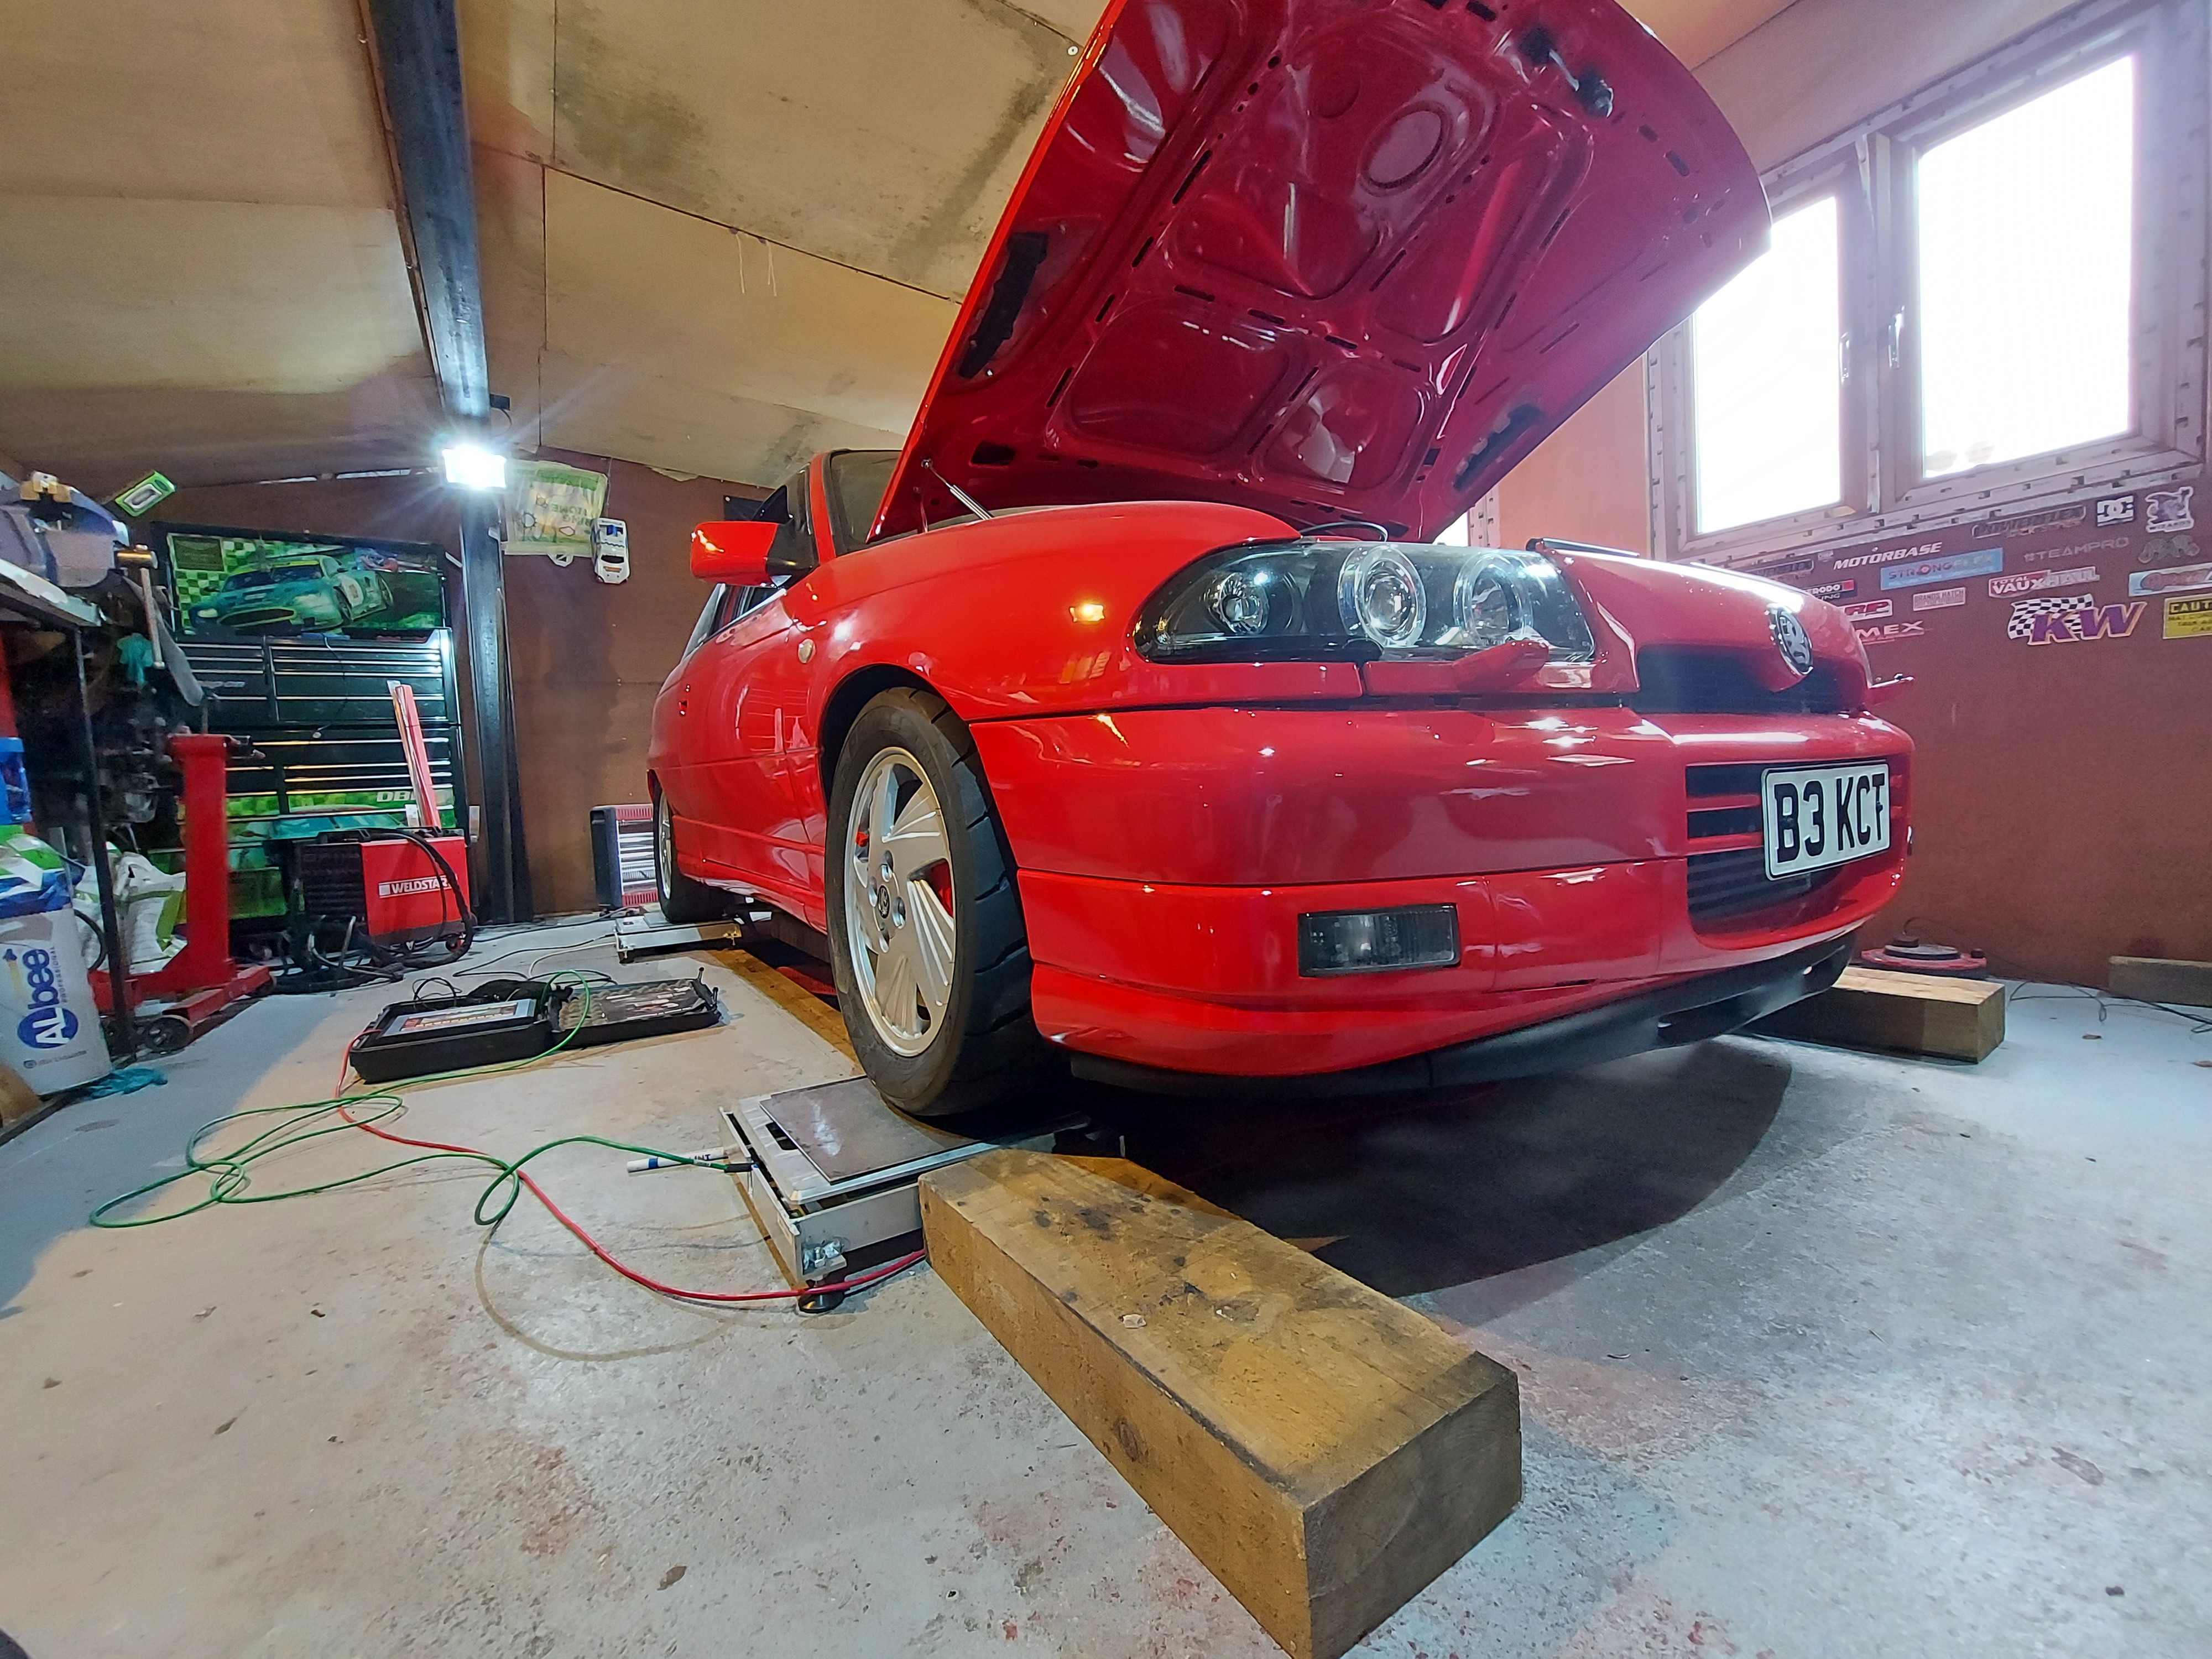
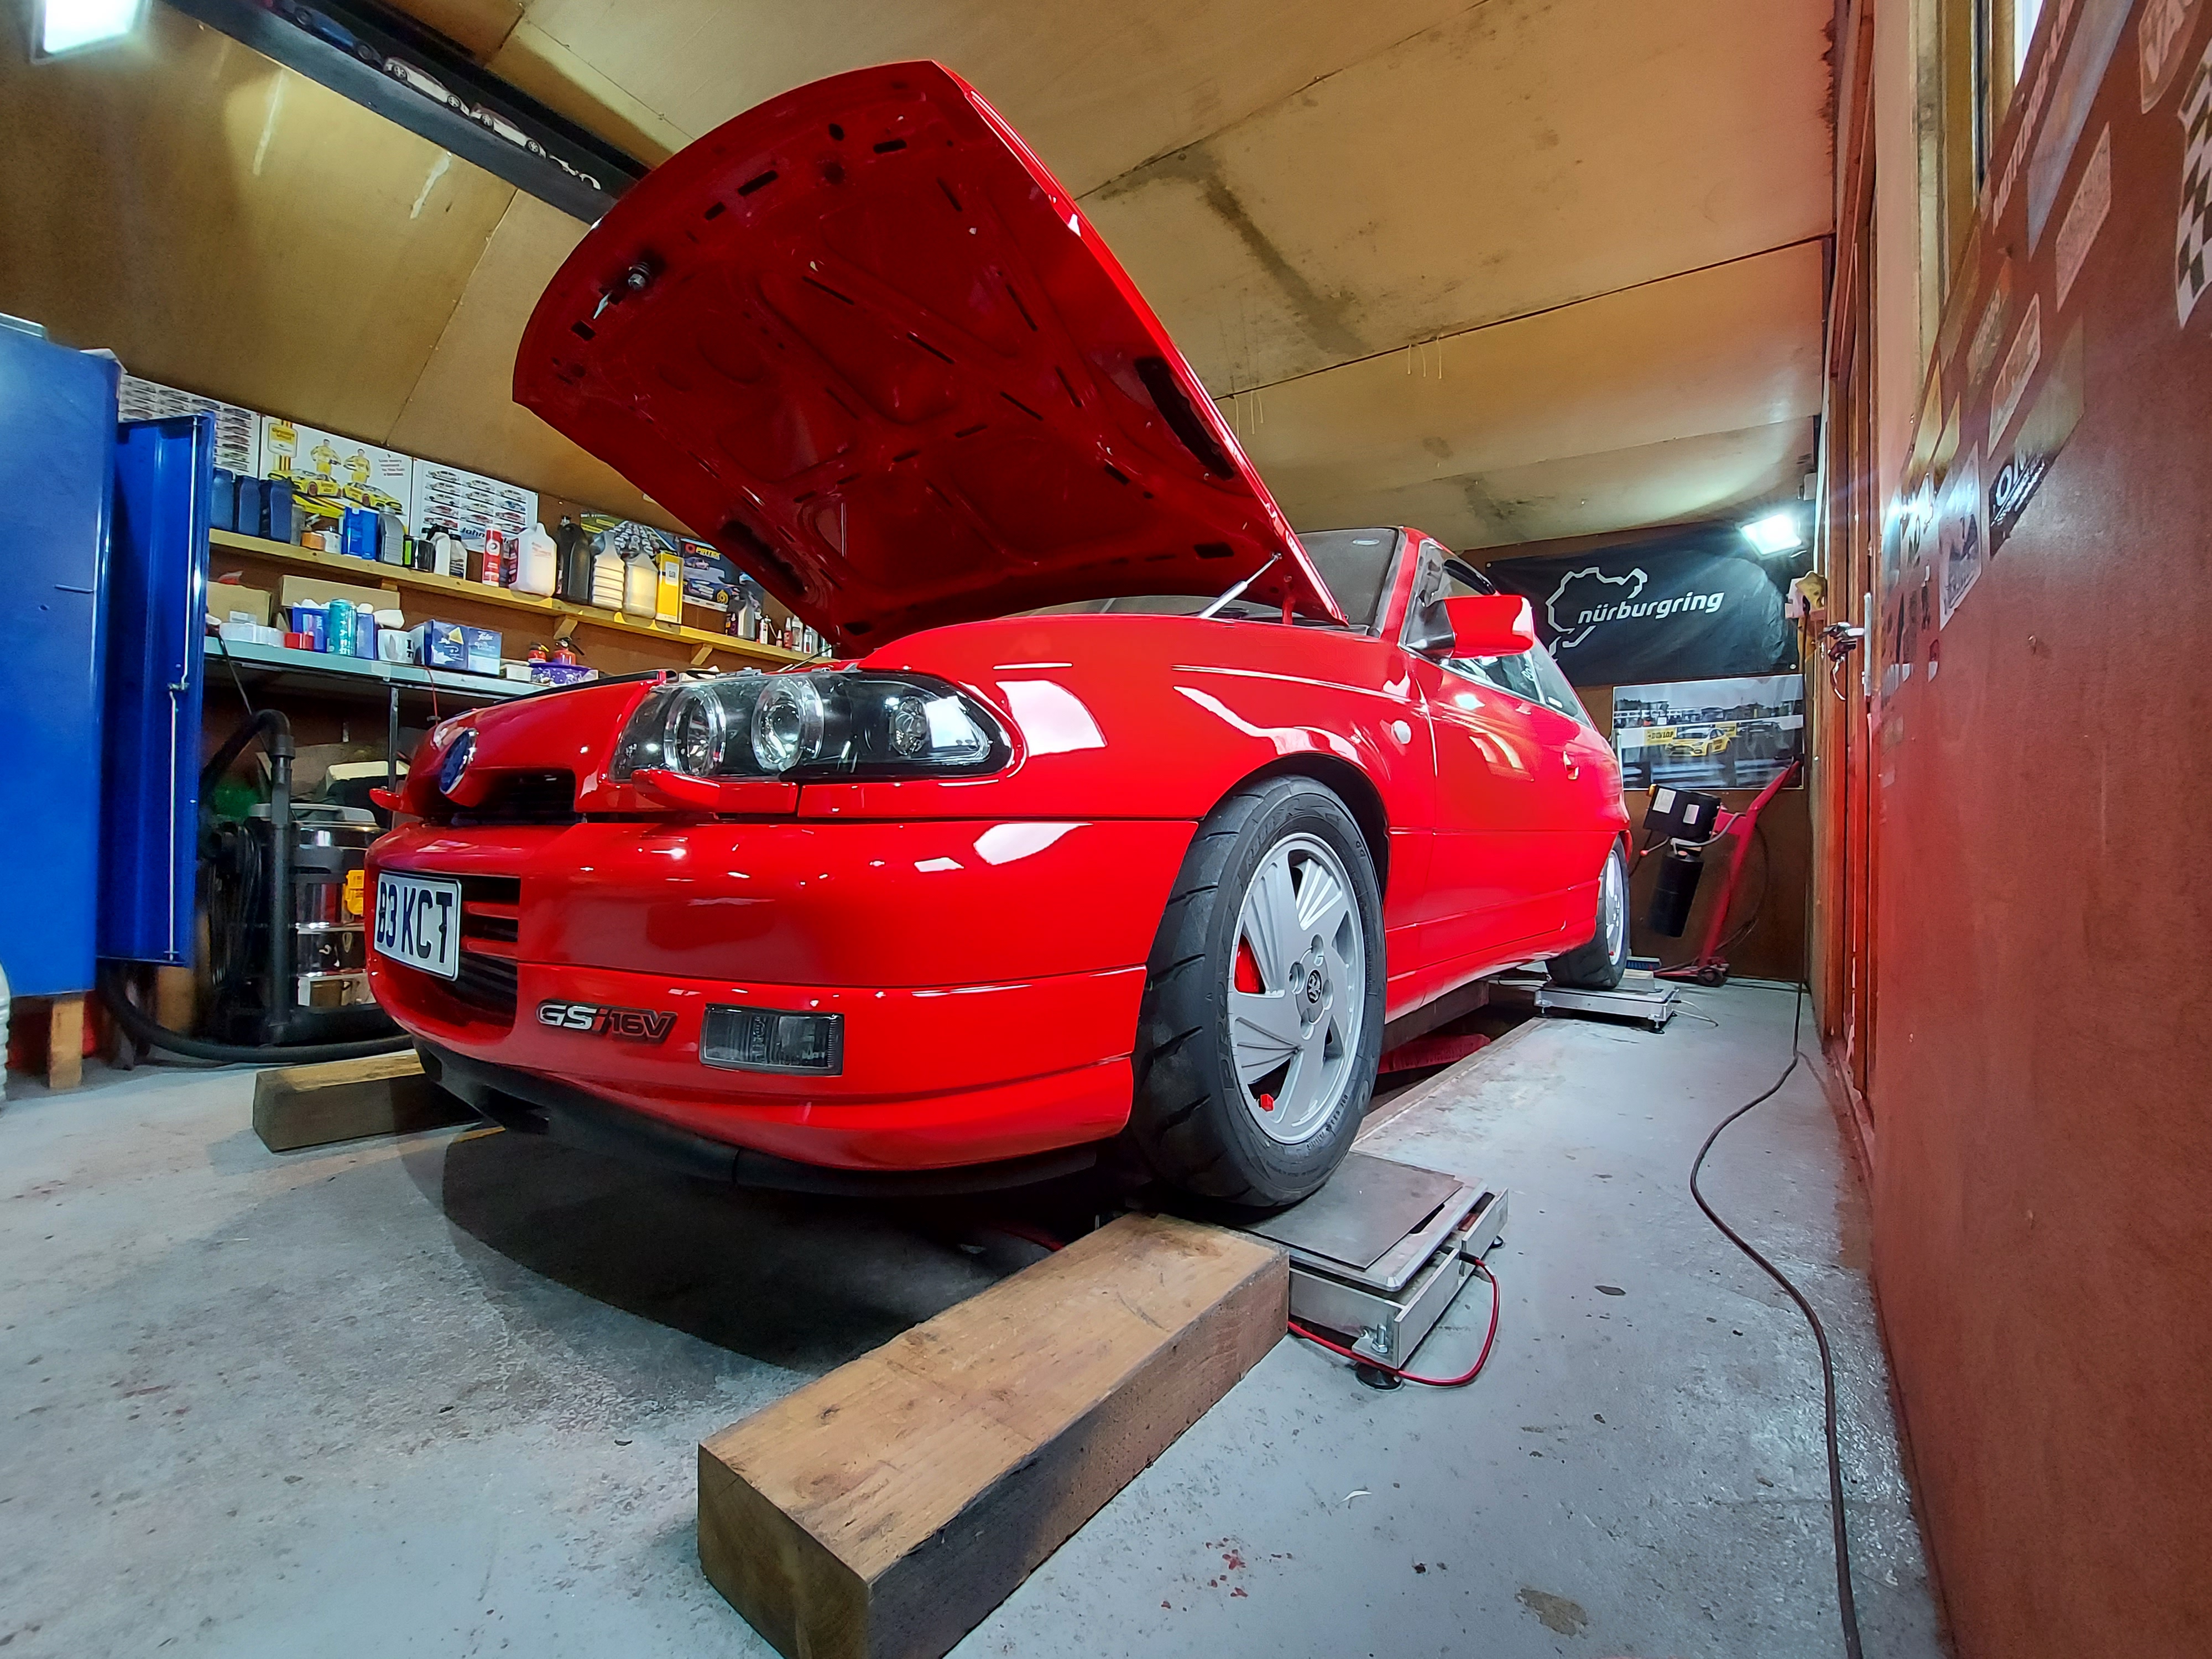
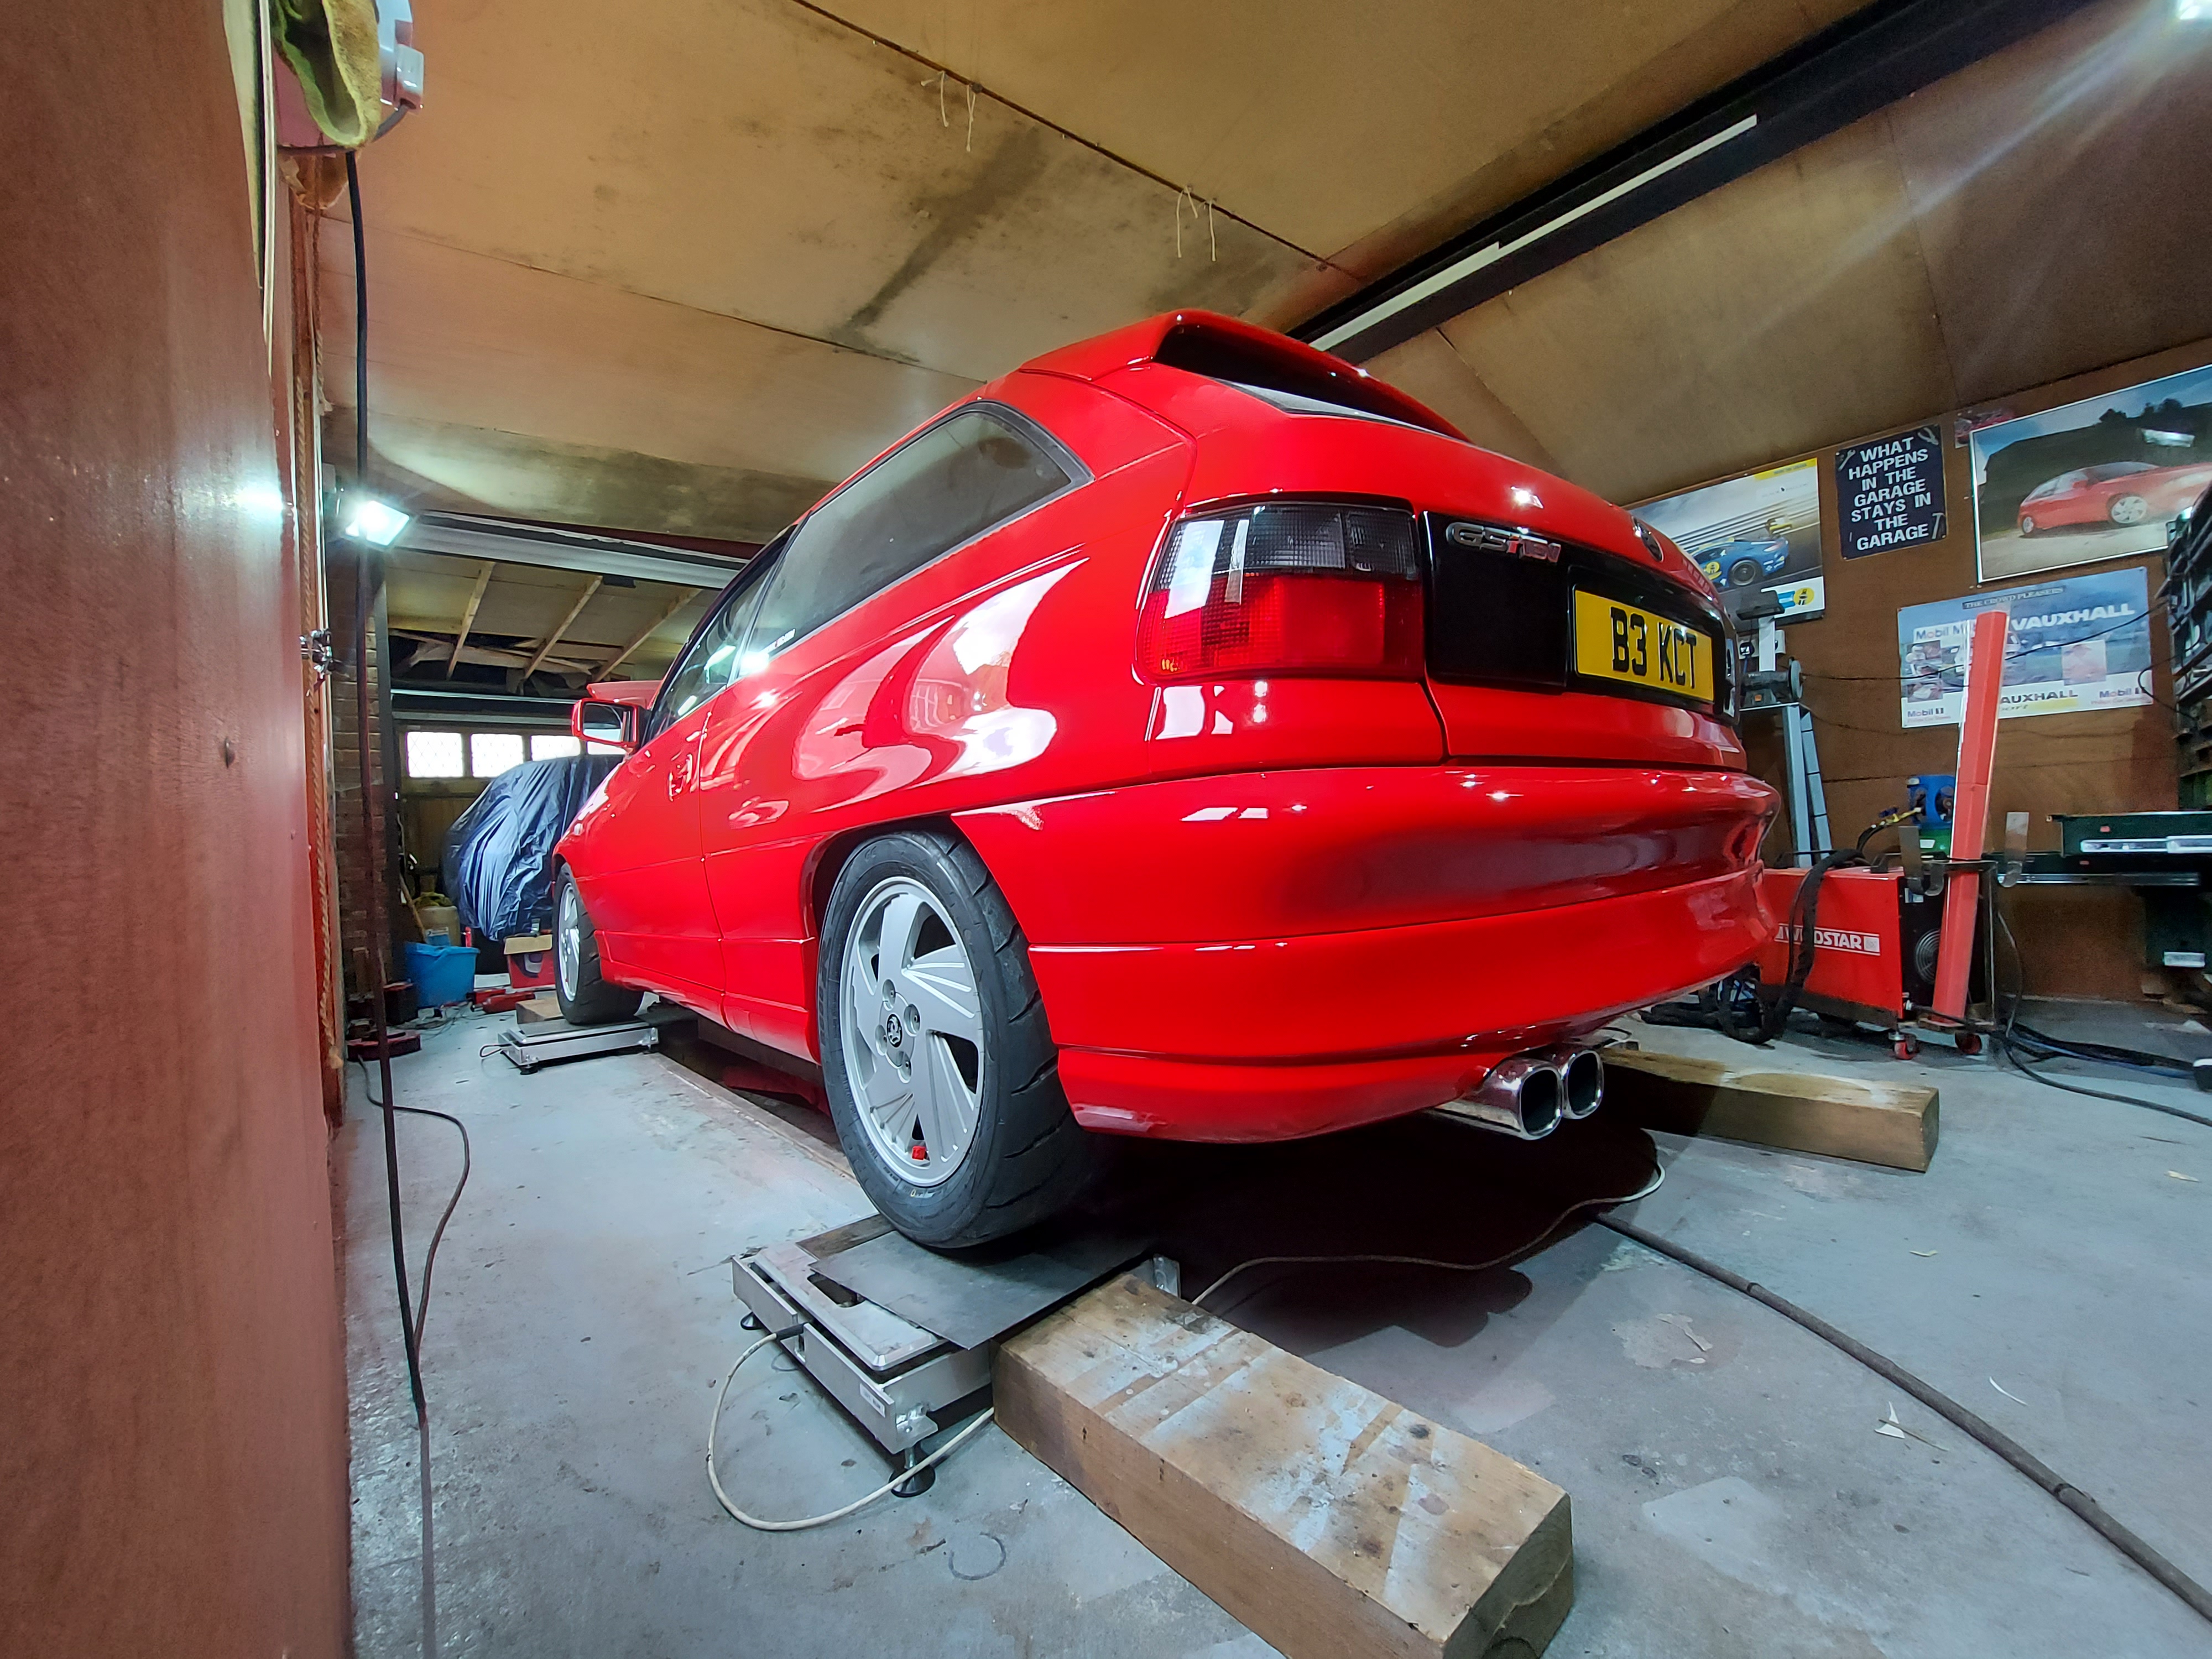
So with 3/4 of a tank of fuel, my weight in the drivers seat I set the ride heights so they were all the same side to side and at the height I wanted the car
Then I set the cambers, front are 2.1 degrees and the rear was 1.8. I was so happy the rear was dead on he same side to side!
Then I set the toe to 1mm toe out, a bit risky for straight line stability but awesome for handling! We shall see. Again, the rear was completly bang on side to side, Toeing in both side 4mm which is bang on spec. Really chuffed
Turned the scales on and dropped the car down and it had moved further away from the 50%, but barely so in the end all I had to do was come up 2 turns on the left rear coilover and boom
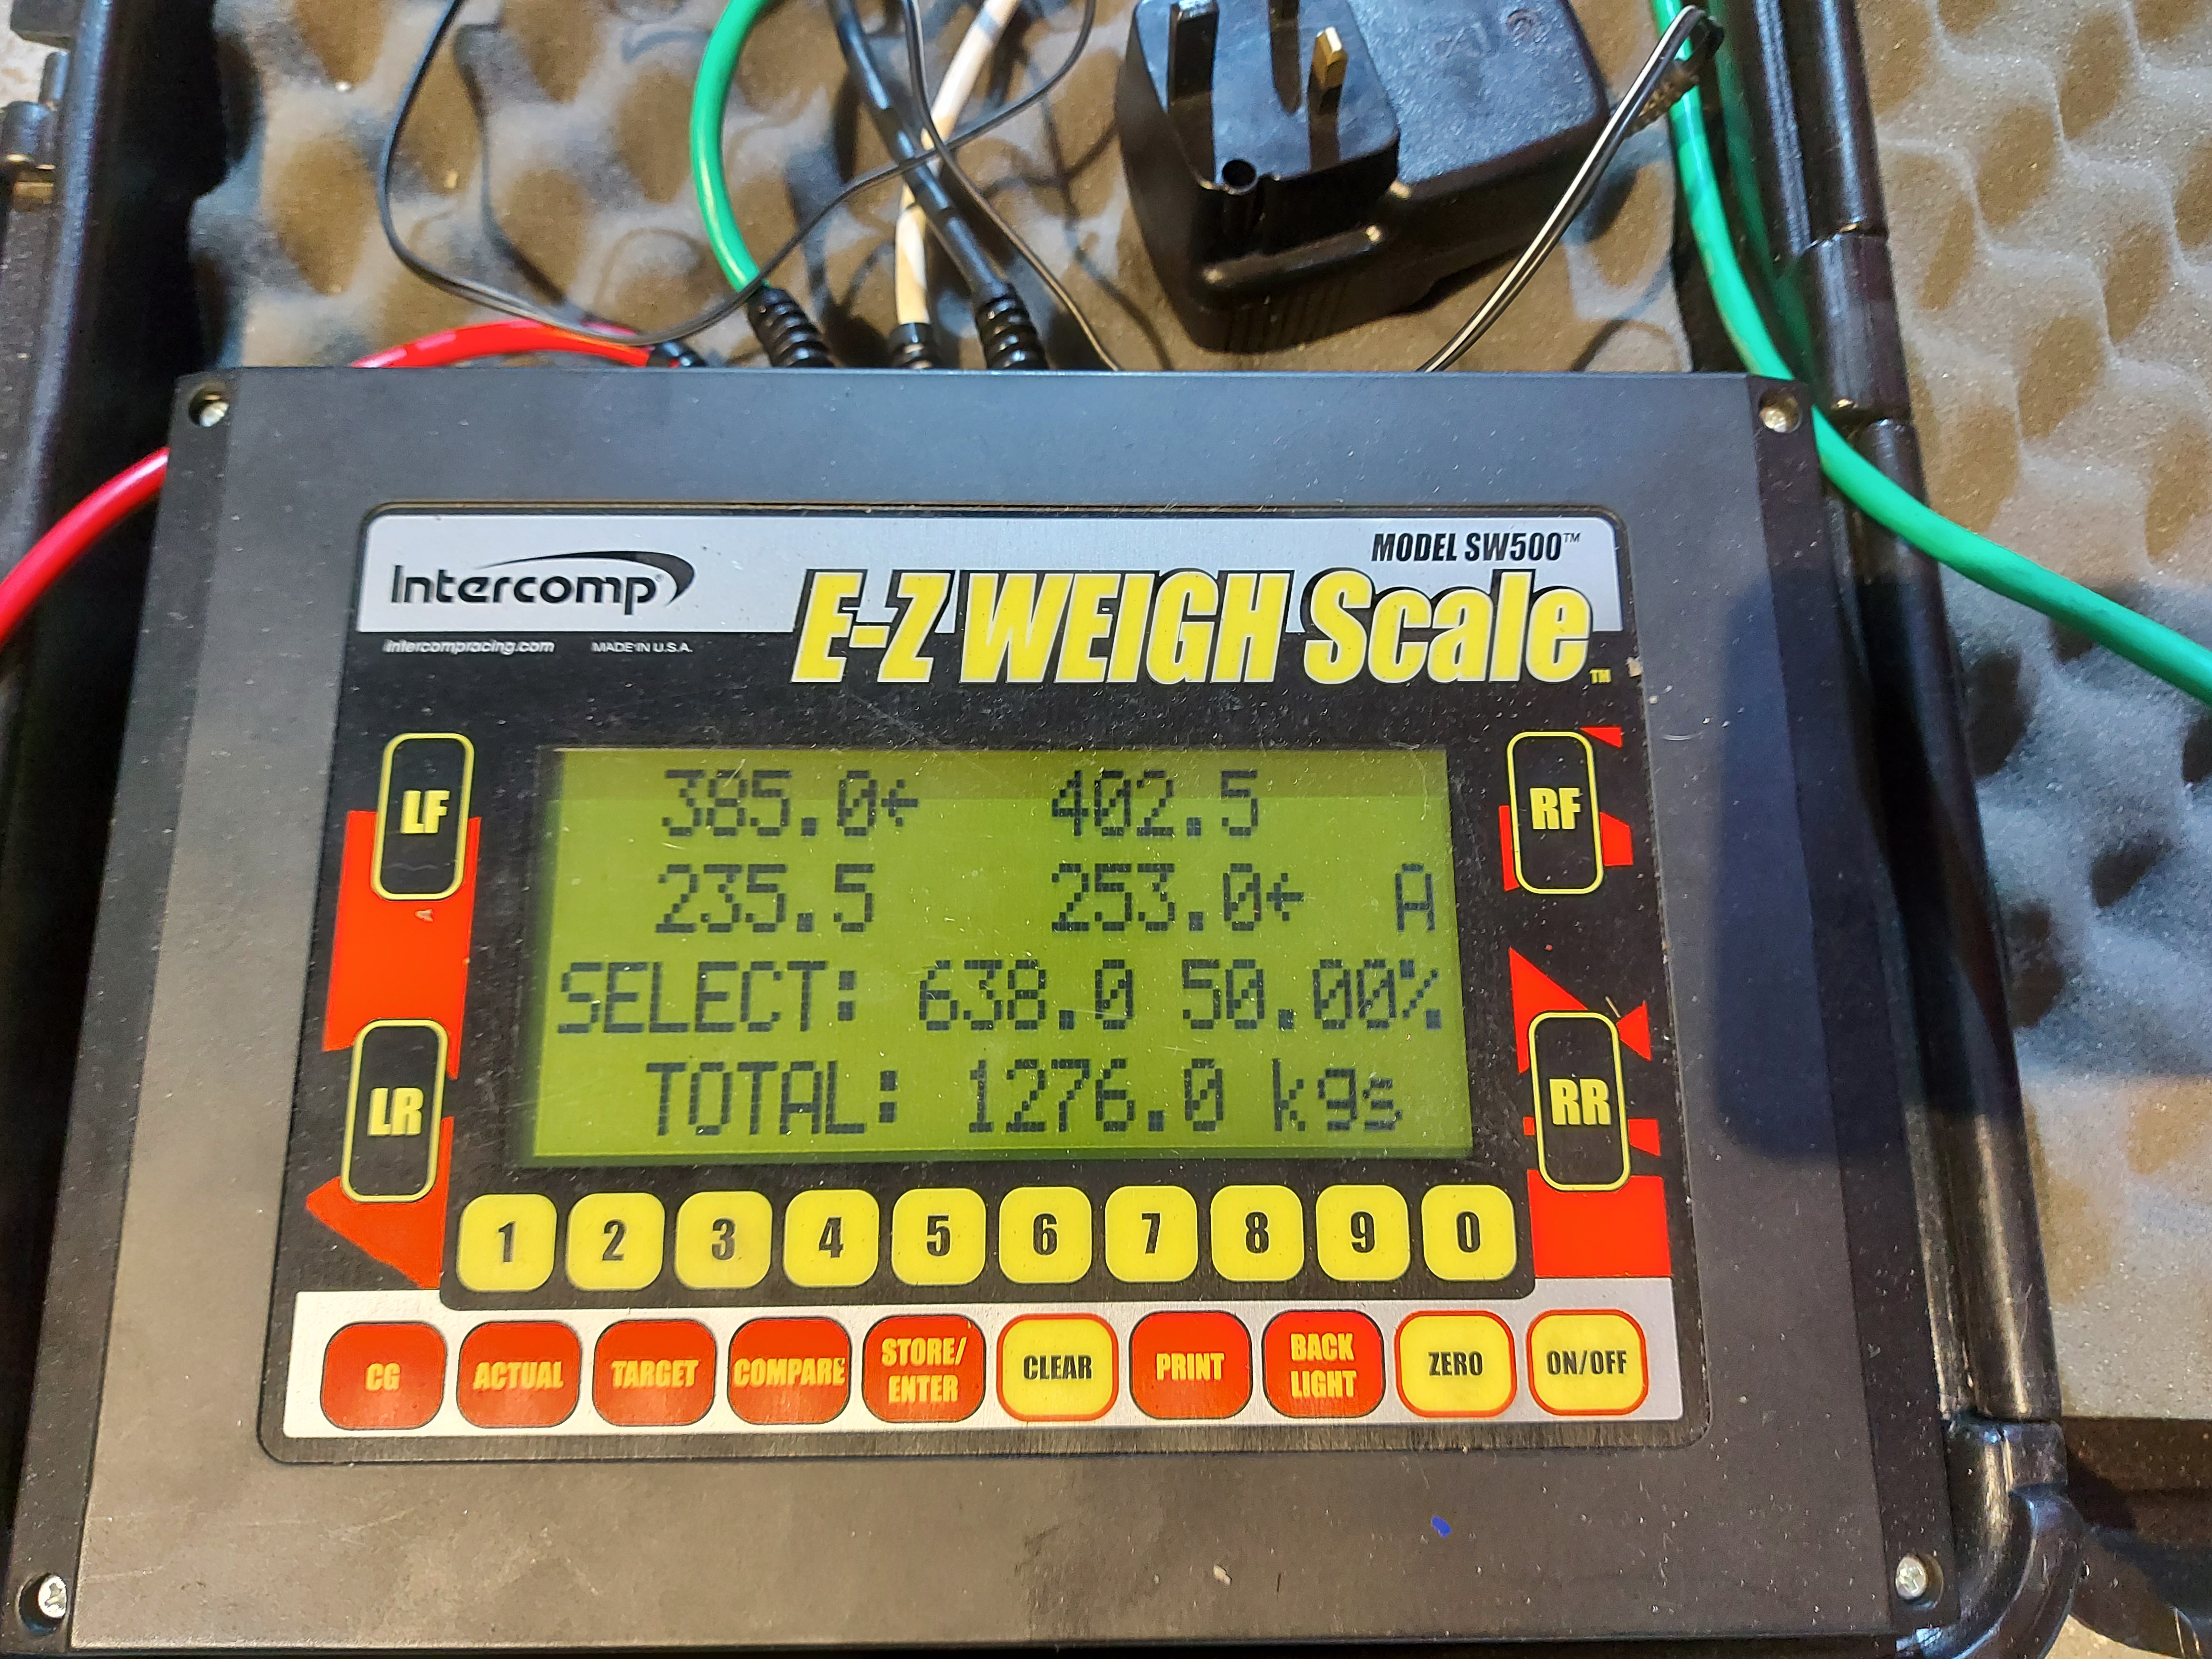
Bang on 50%
This put the rear ride height 2mm different from side to side..... if you can spot that by eye you go do one
Got myself some sponge sound proofing, which turned up really flat, as you can see on the left, having studied the advert, it turns out you needed to heat it up with a hot air gun and it would grow back to its normal size, on the right...
well I never!
Stuck it on the rear door cards.
This was the maximum you could do as the rest of the door card is actually flush to the metal work!
Finally with nearly everything sorted, I finished refitting the rear seats so the car was in it's finished trim and weight, got the gym weights in the drivers seat ( to simulate me driving weight wise ) and put the car on the scales!
Couldn't believe it to be honest, My old 90's hatch, heavily messed with and modified had a cross weight of near bang on 50%! This means that the diagonal wheels add up to the same weight as their opposites, giving you good equal straight line braking and balance. I was so chuffed.
So with 3/4 of a tank of fuel, my weight in the drivers seat I set the ride heights so they were all the same side to side and at the height I wanted the car
Then I set the cambers, front are 2.1 degrees and the rear was 1.8. I was so happy the rear was dead on he same side to side!
Then I set the toe to 1mm toe out, a bit risky for straight line stability but awesome for handling! We shall see. Again, the rear was completly bang on side to side, Toeing in both side 4mm which is bang on spec. Really chuffed
Turned the scales on and dropped the car down and it had moved further away from the 50%, but barely so in the end all I had to do was come up 2 turns on the left rear coilover and boom
Bang on 50%
This put the rear ride height 2mm different from side to side..... if you can spot that by eye you go do one
joycey
South Central Co-Ordinator
Looking mint! 
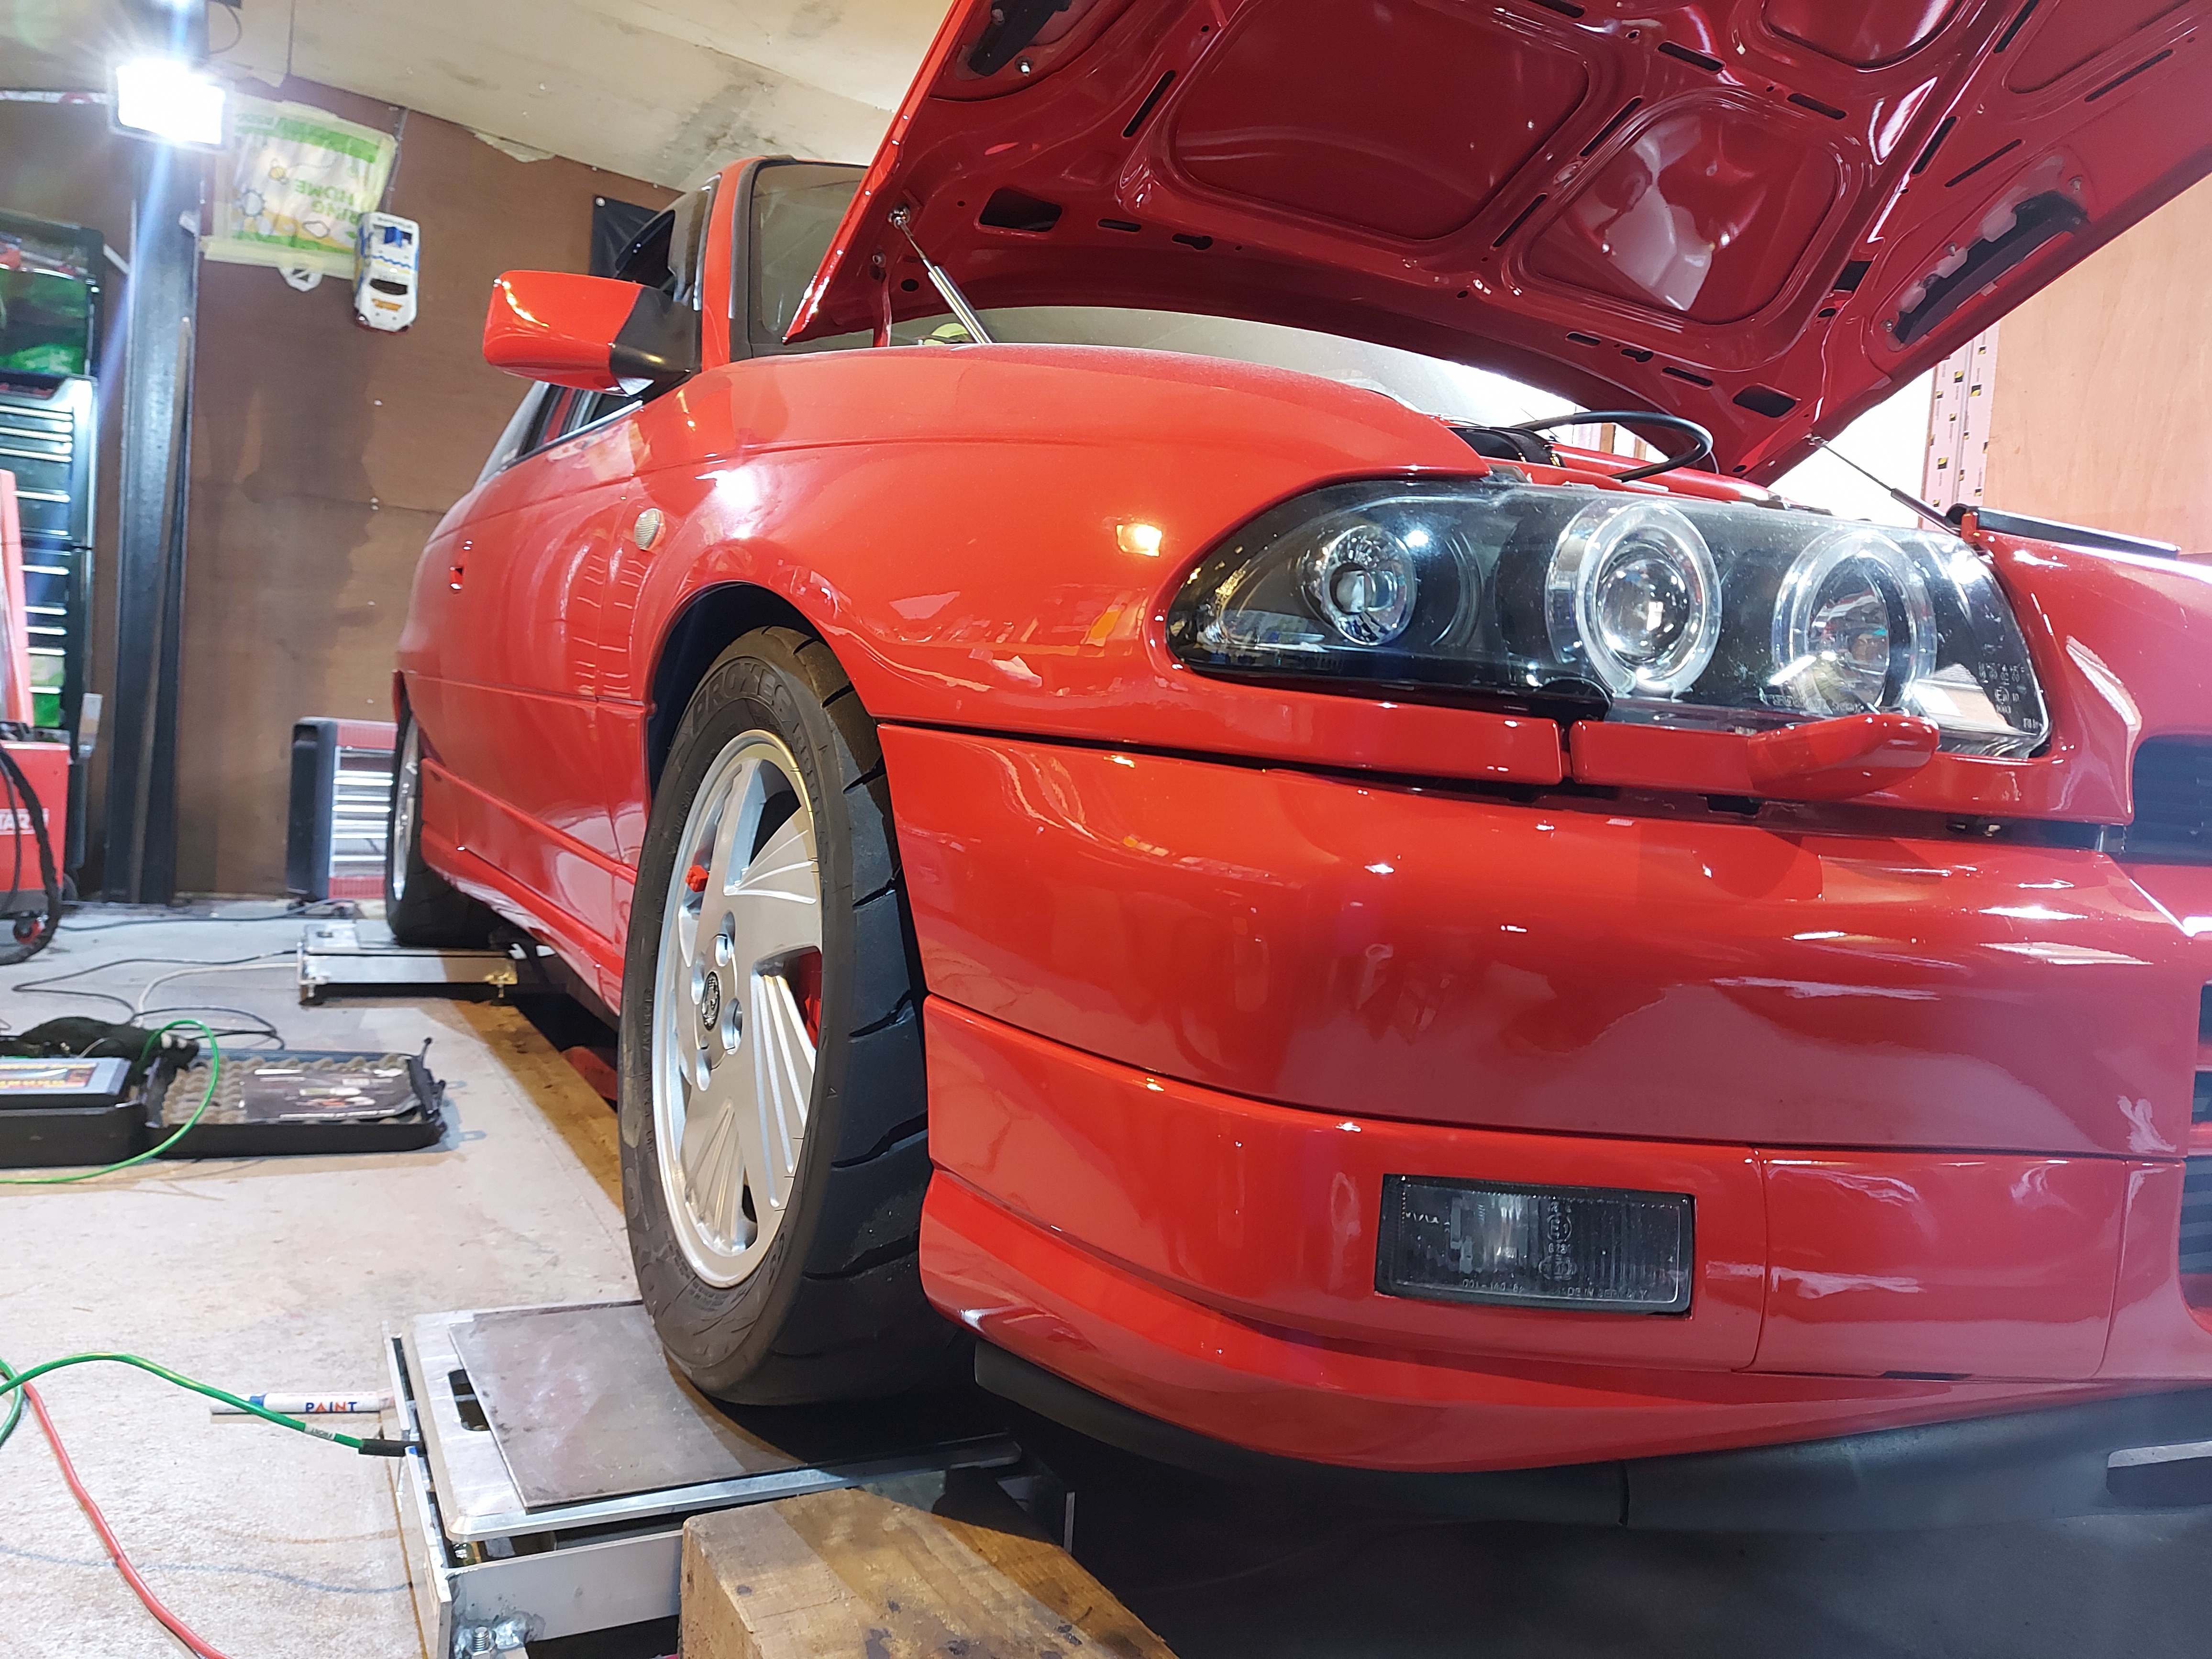
So off the scales and started driving her! I'm not gonna lie this update is a little late. too busy enjoying myself lol.
First drive didn't go that great... I managed 2 miles lol
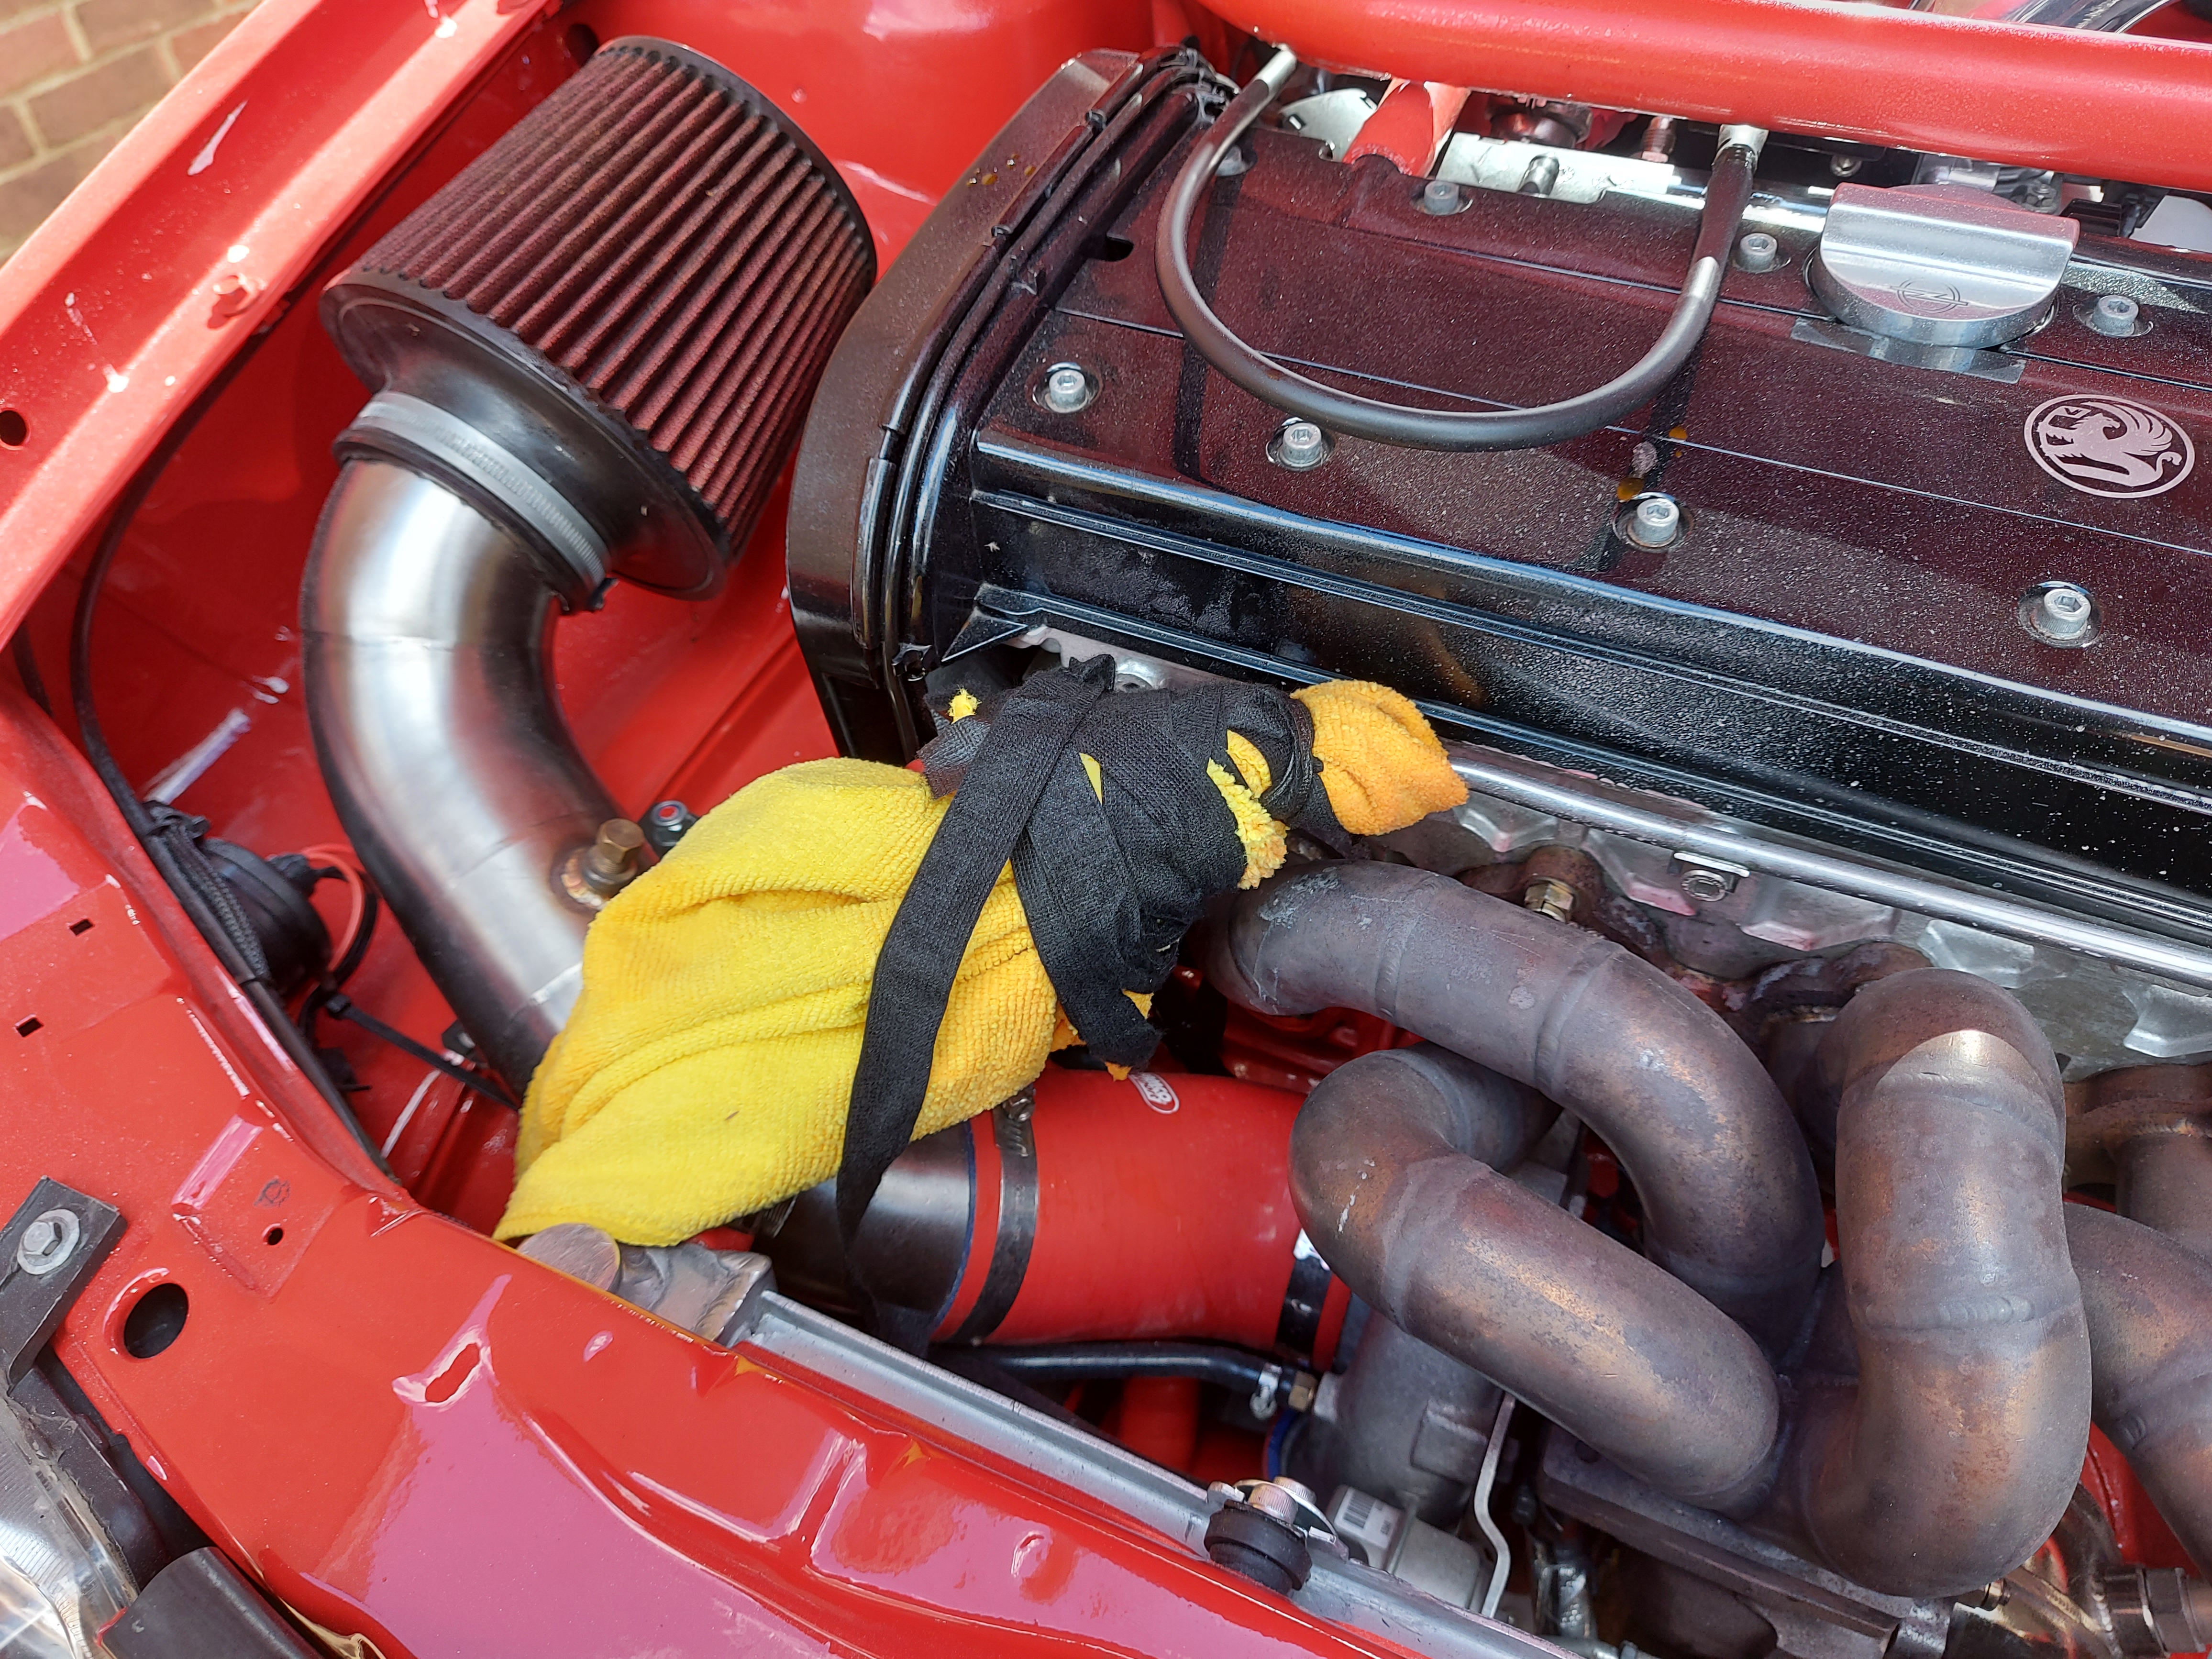
Turns out the small coolant hose from the thermostat housing to the pipe along the rocker cover didn't want to be reused and split. Lucky I was only 2 miles from home and managed to limp it back with a microfibre cloth wrapped around the hose and the lid off the expansion tank to keep the system not pressurised. Go home with coolant still in the tank so all good.
I replaced that with some new black pipe I had laying around and gave it another go. This time all good.
Nice drive out, did 150 miles that Sunday.
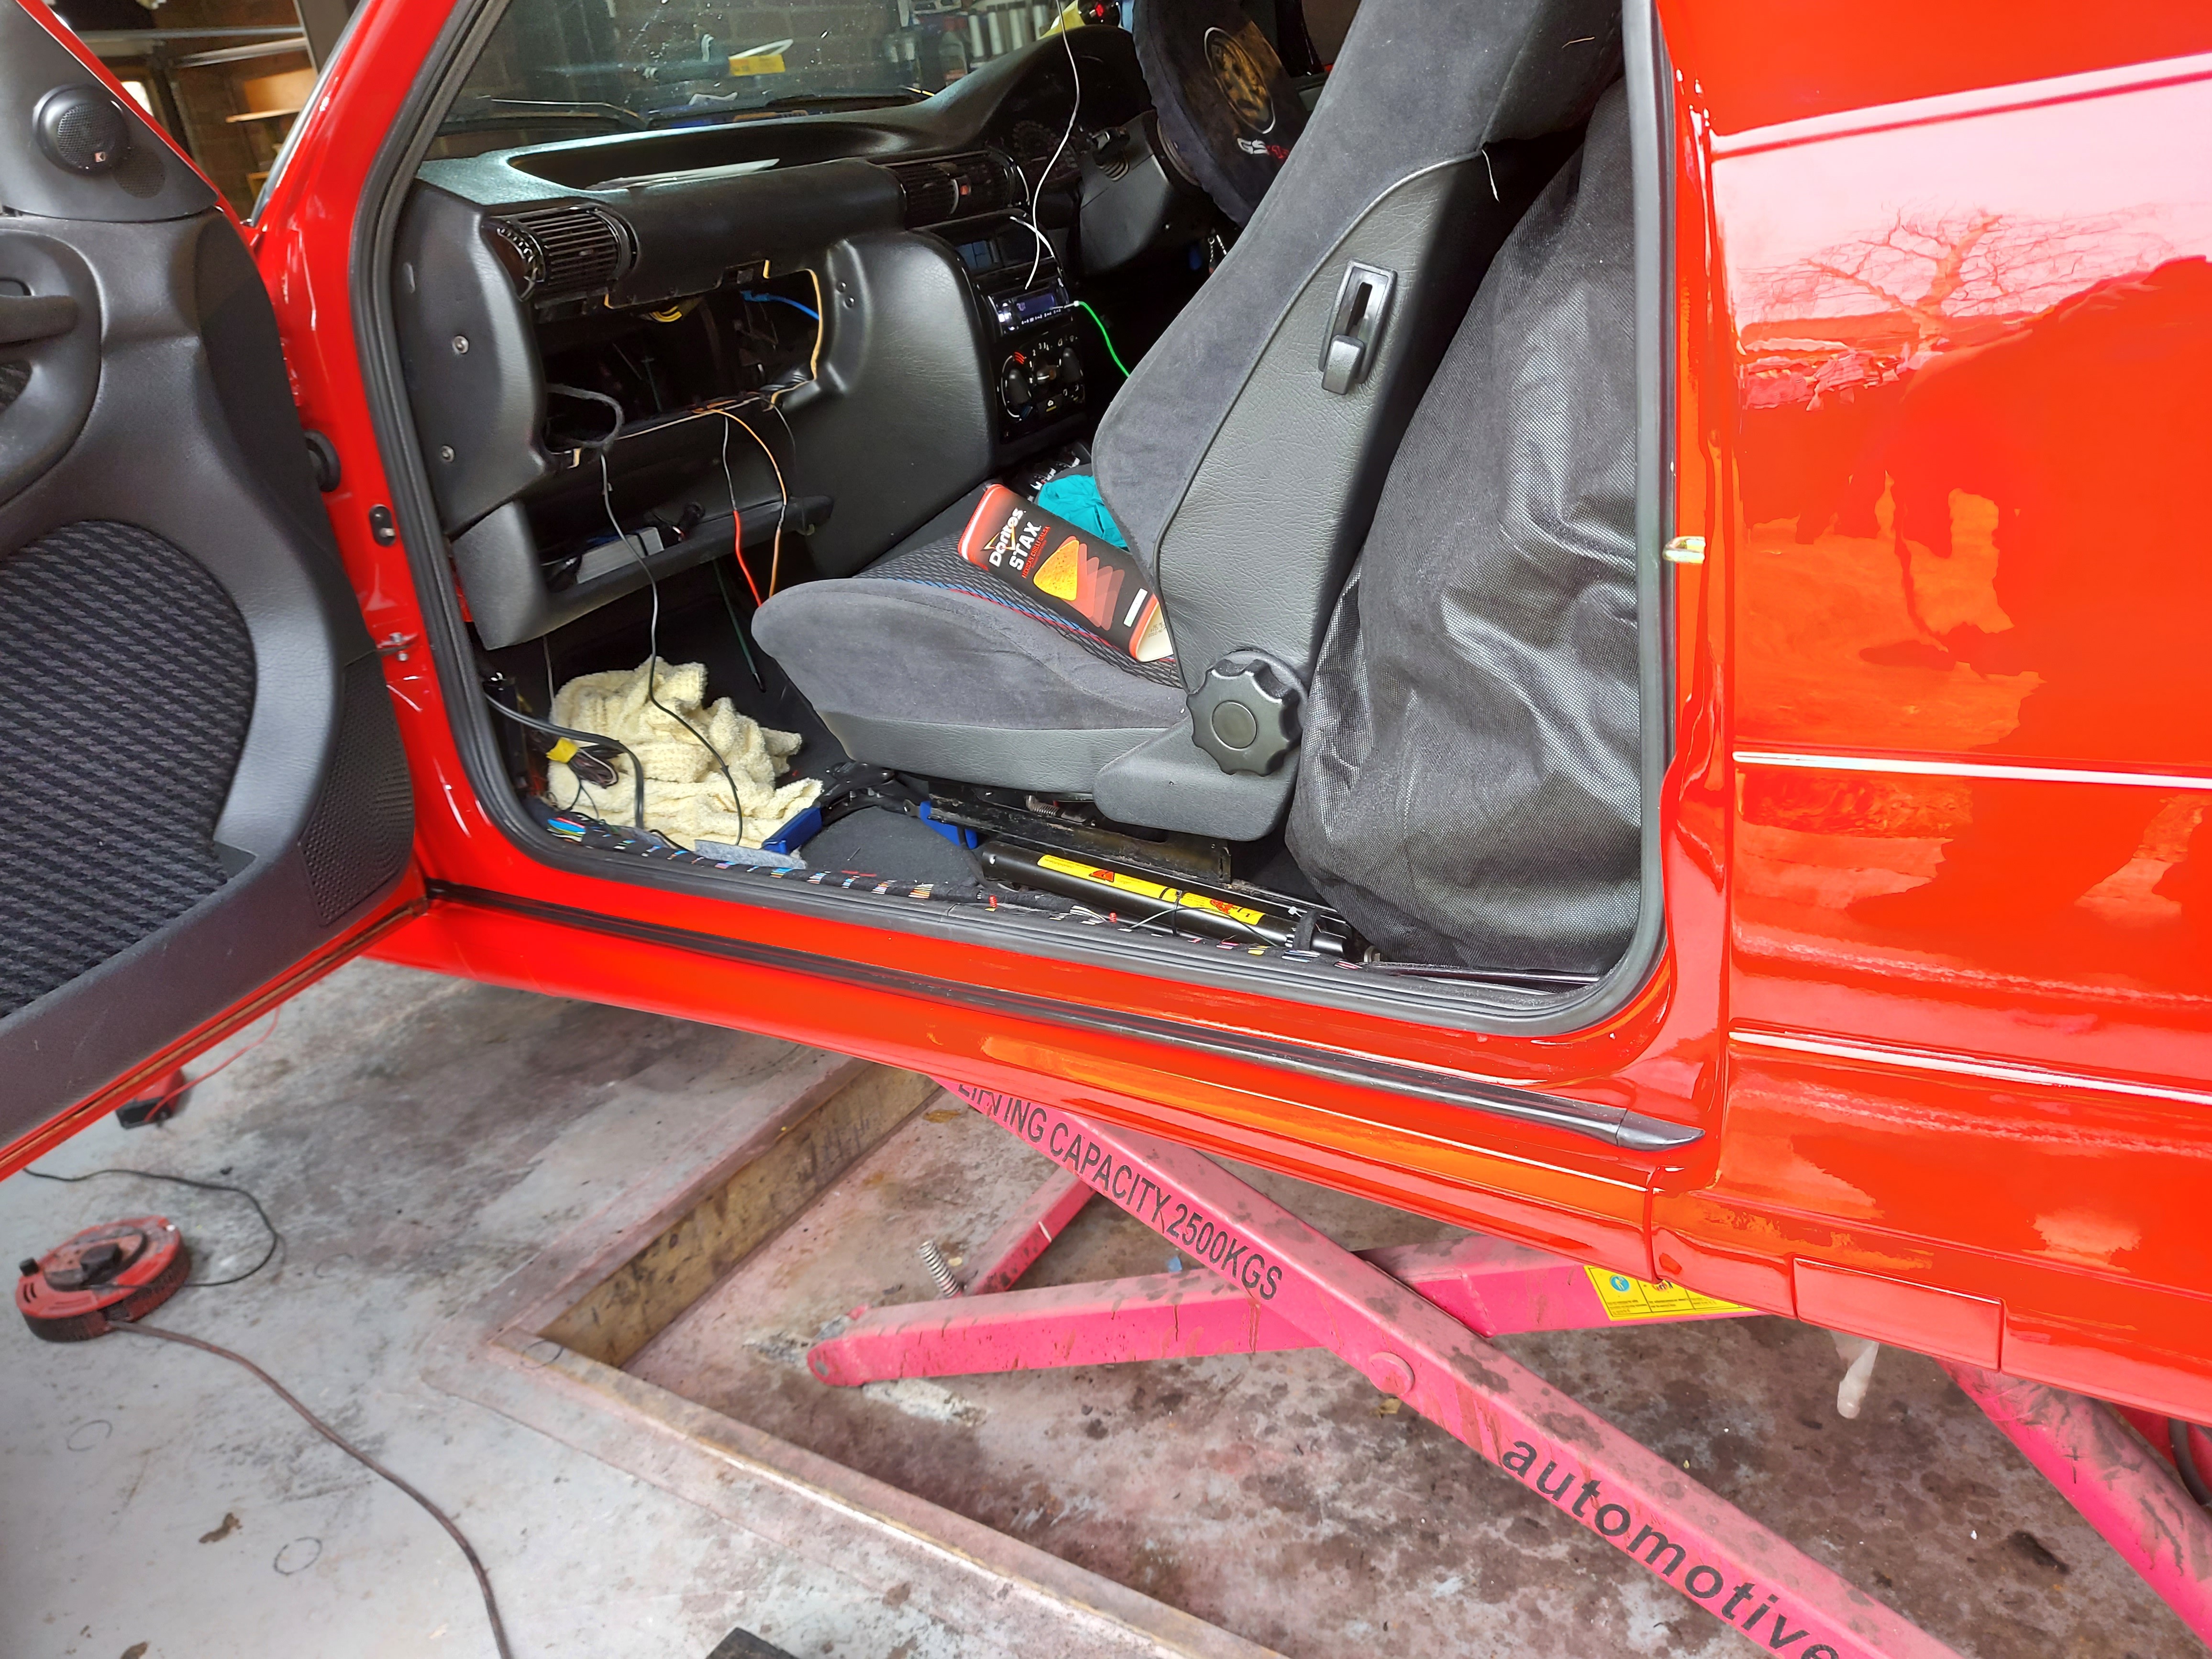
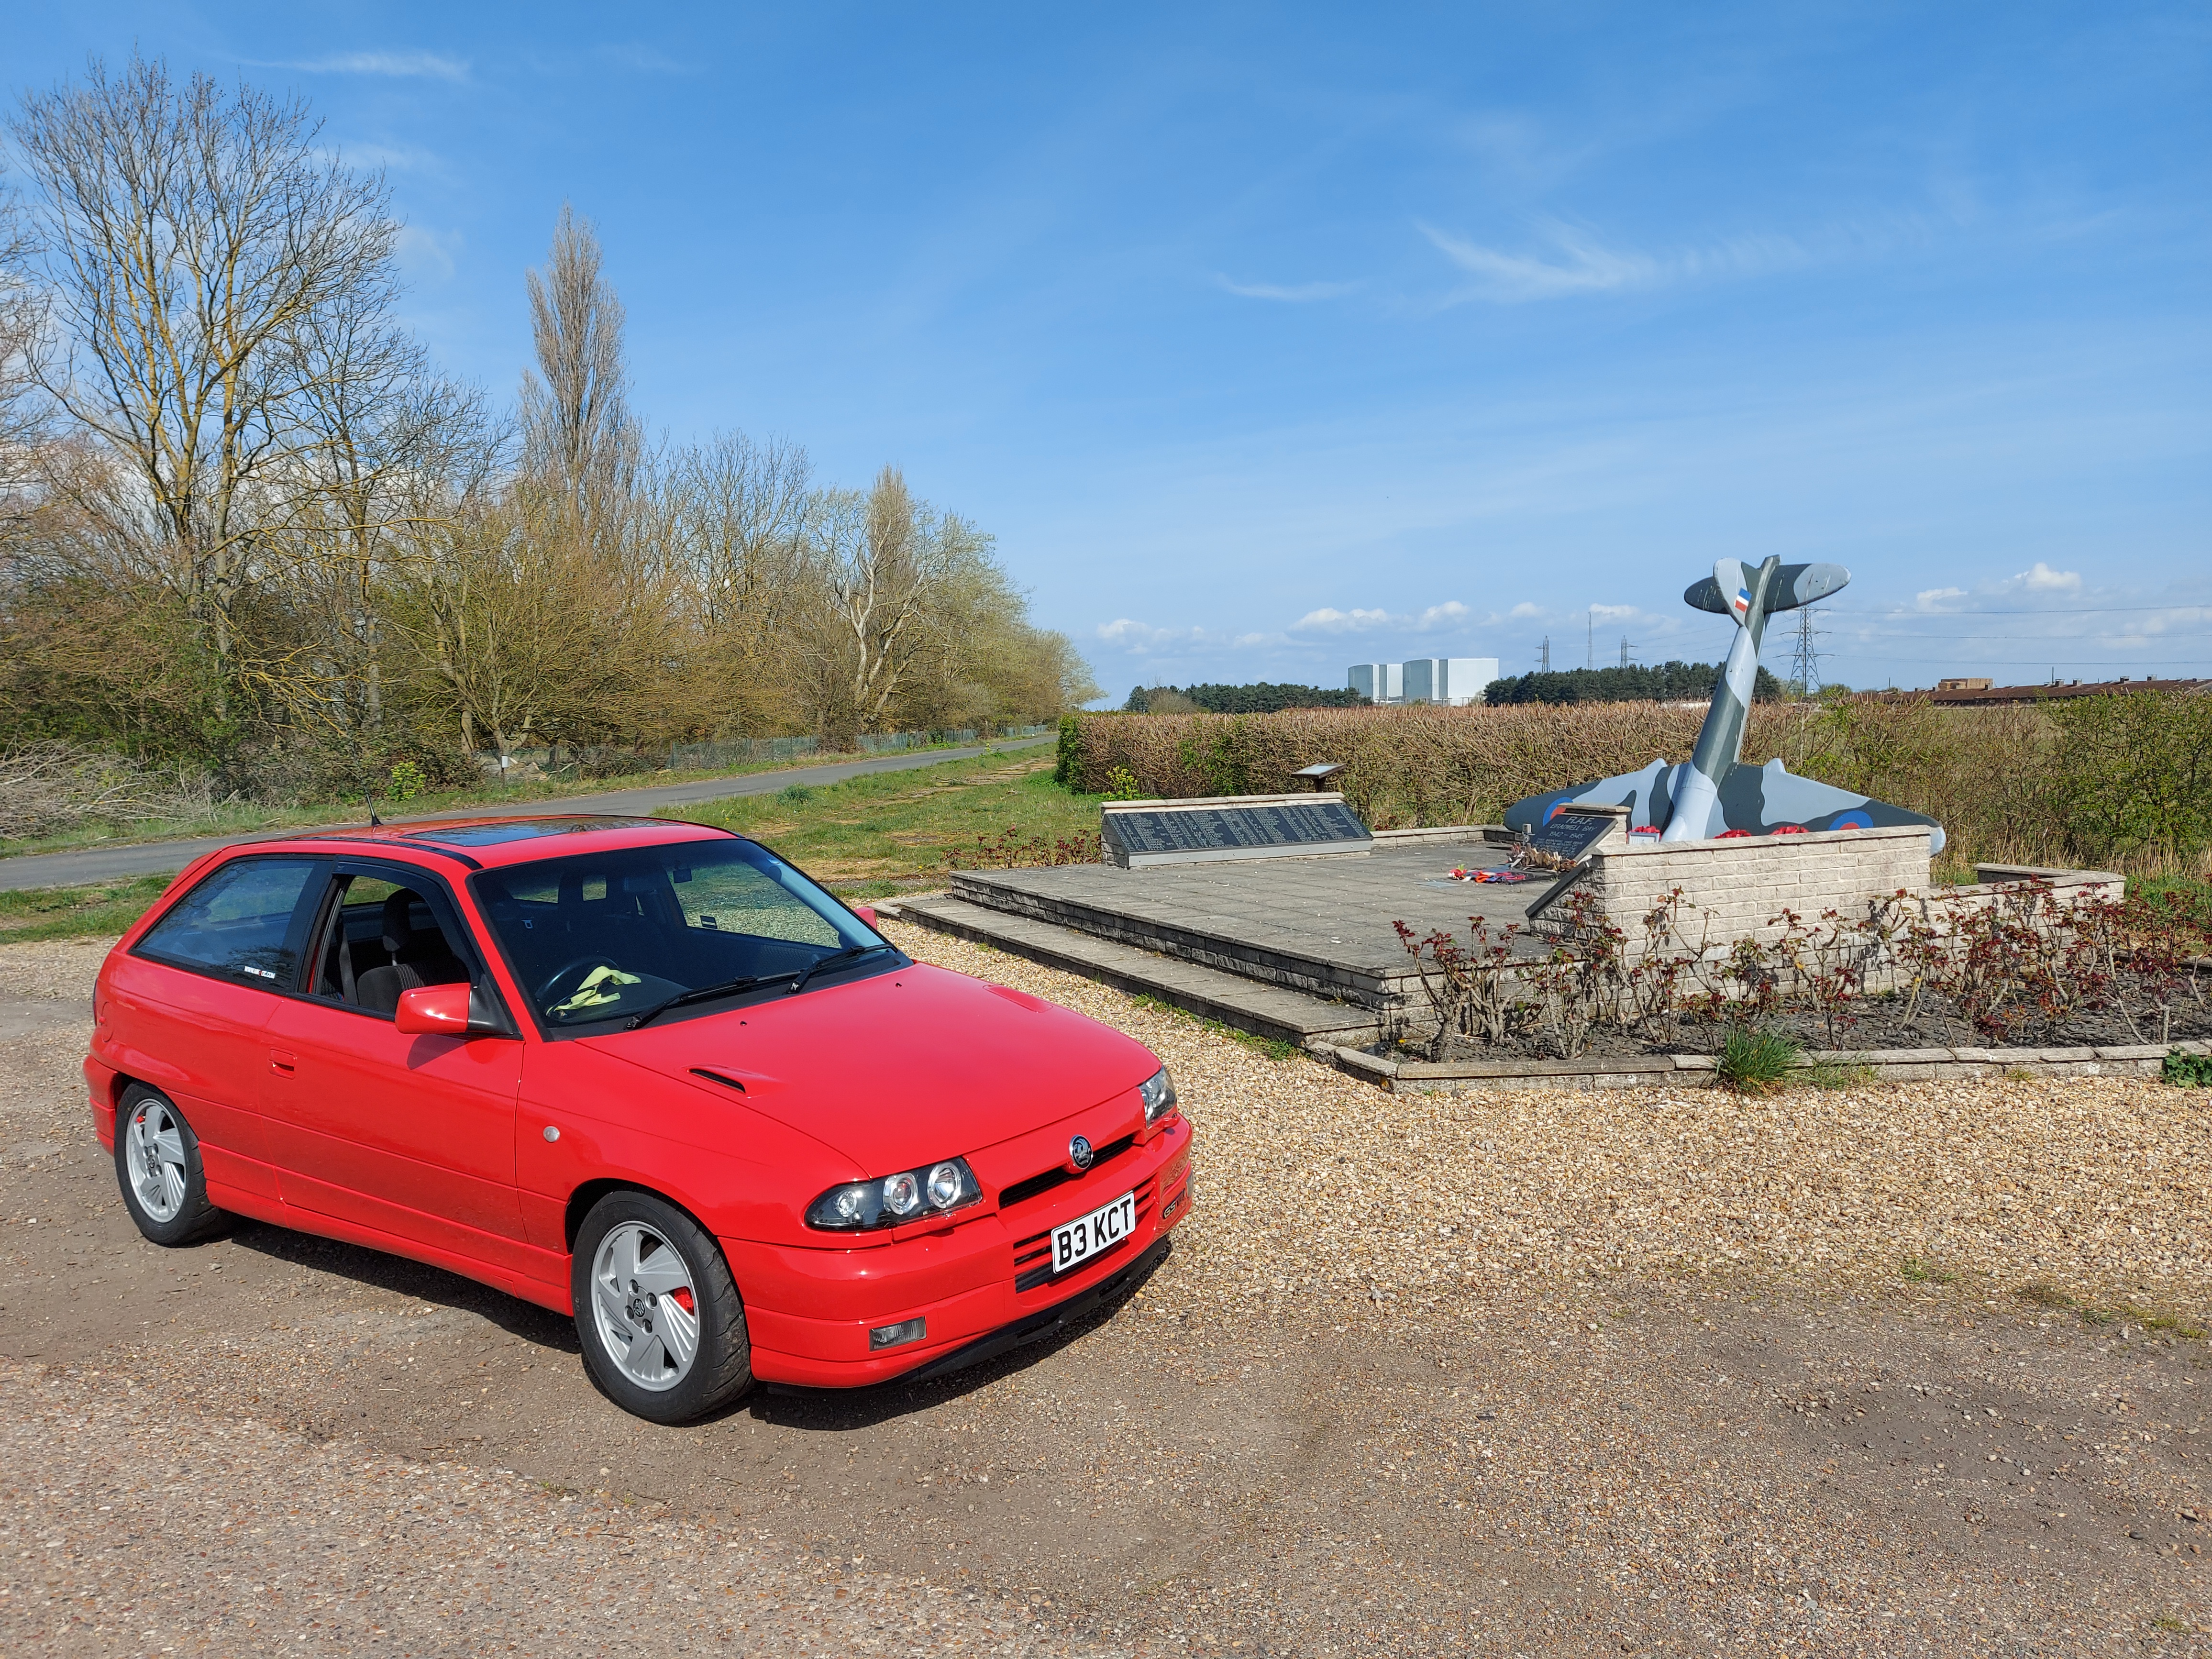
next up decided to quickly fit a 12volt socket and some usb chargers in the car. This was a very rough idea but I thought I will quickly make it out of some plastic block and see what I think.
So I got the original ash tray ordered some plastic off ebay and cut it to a rough shape.

bought 2x 12 volt sockets

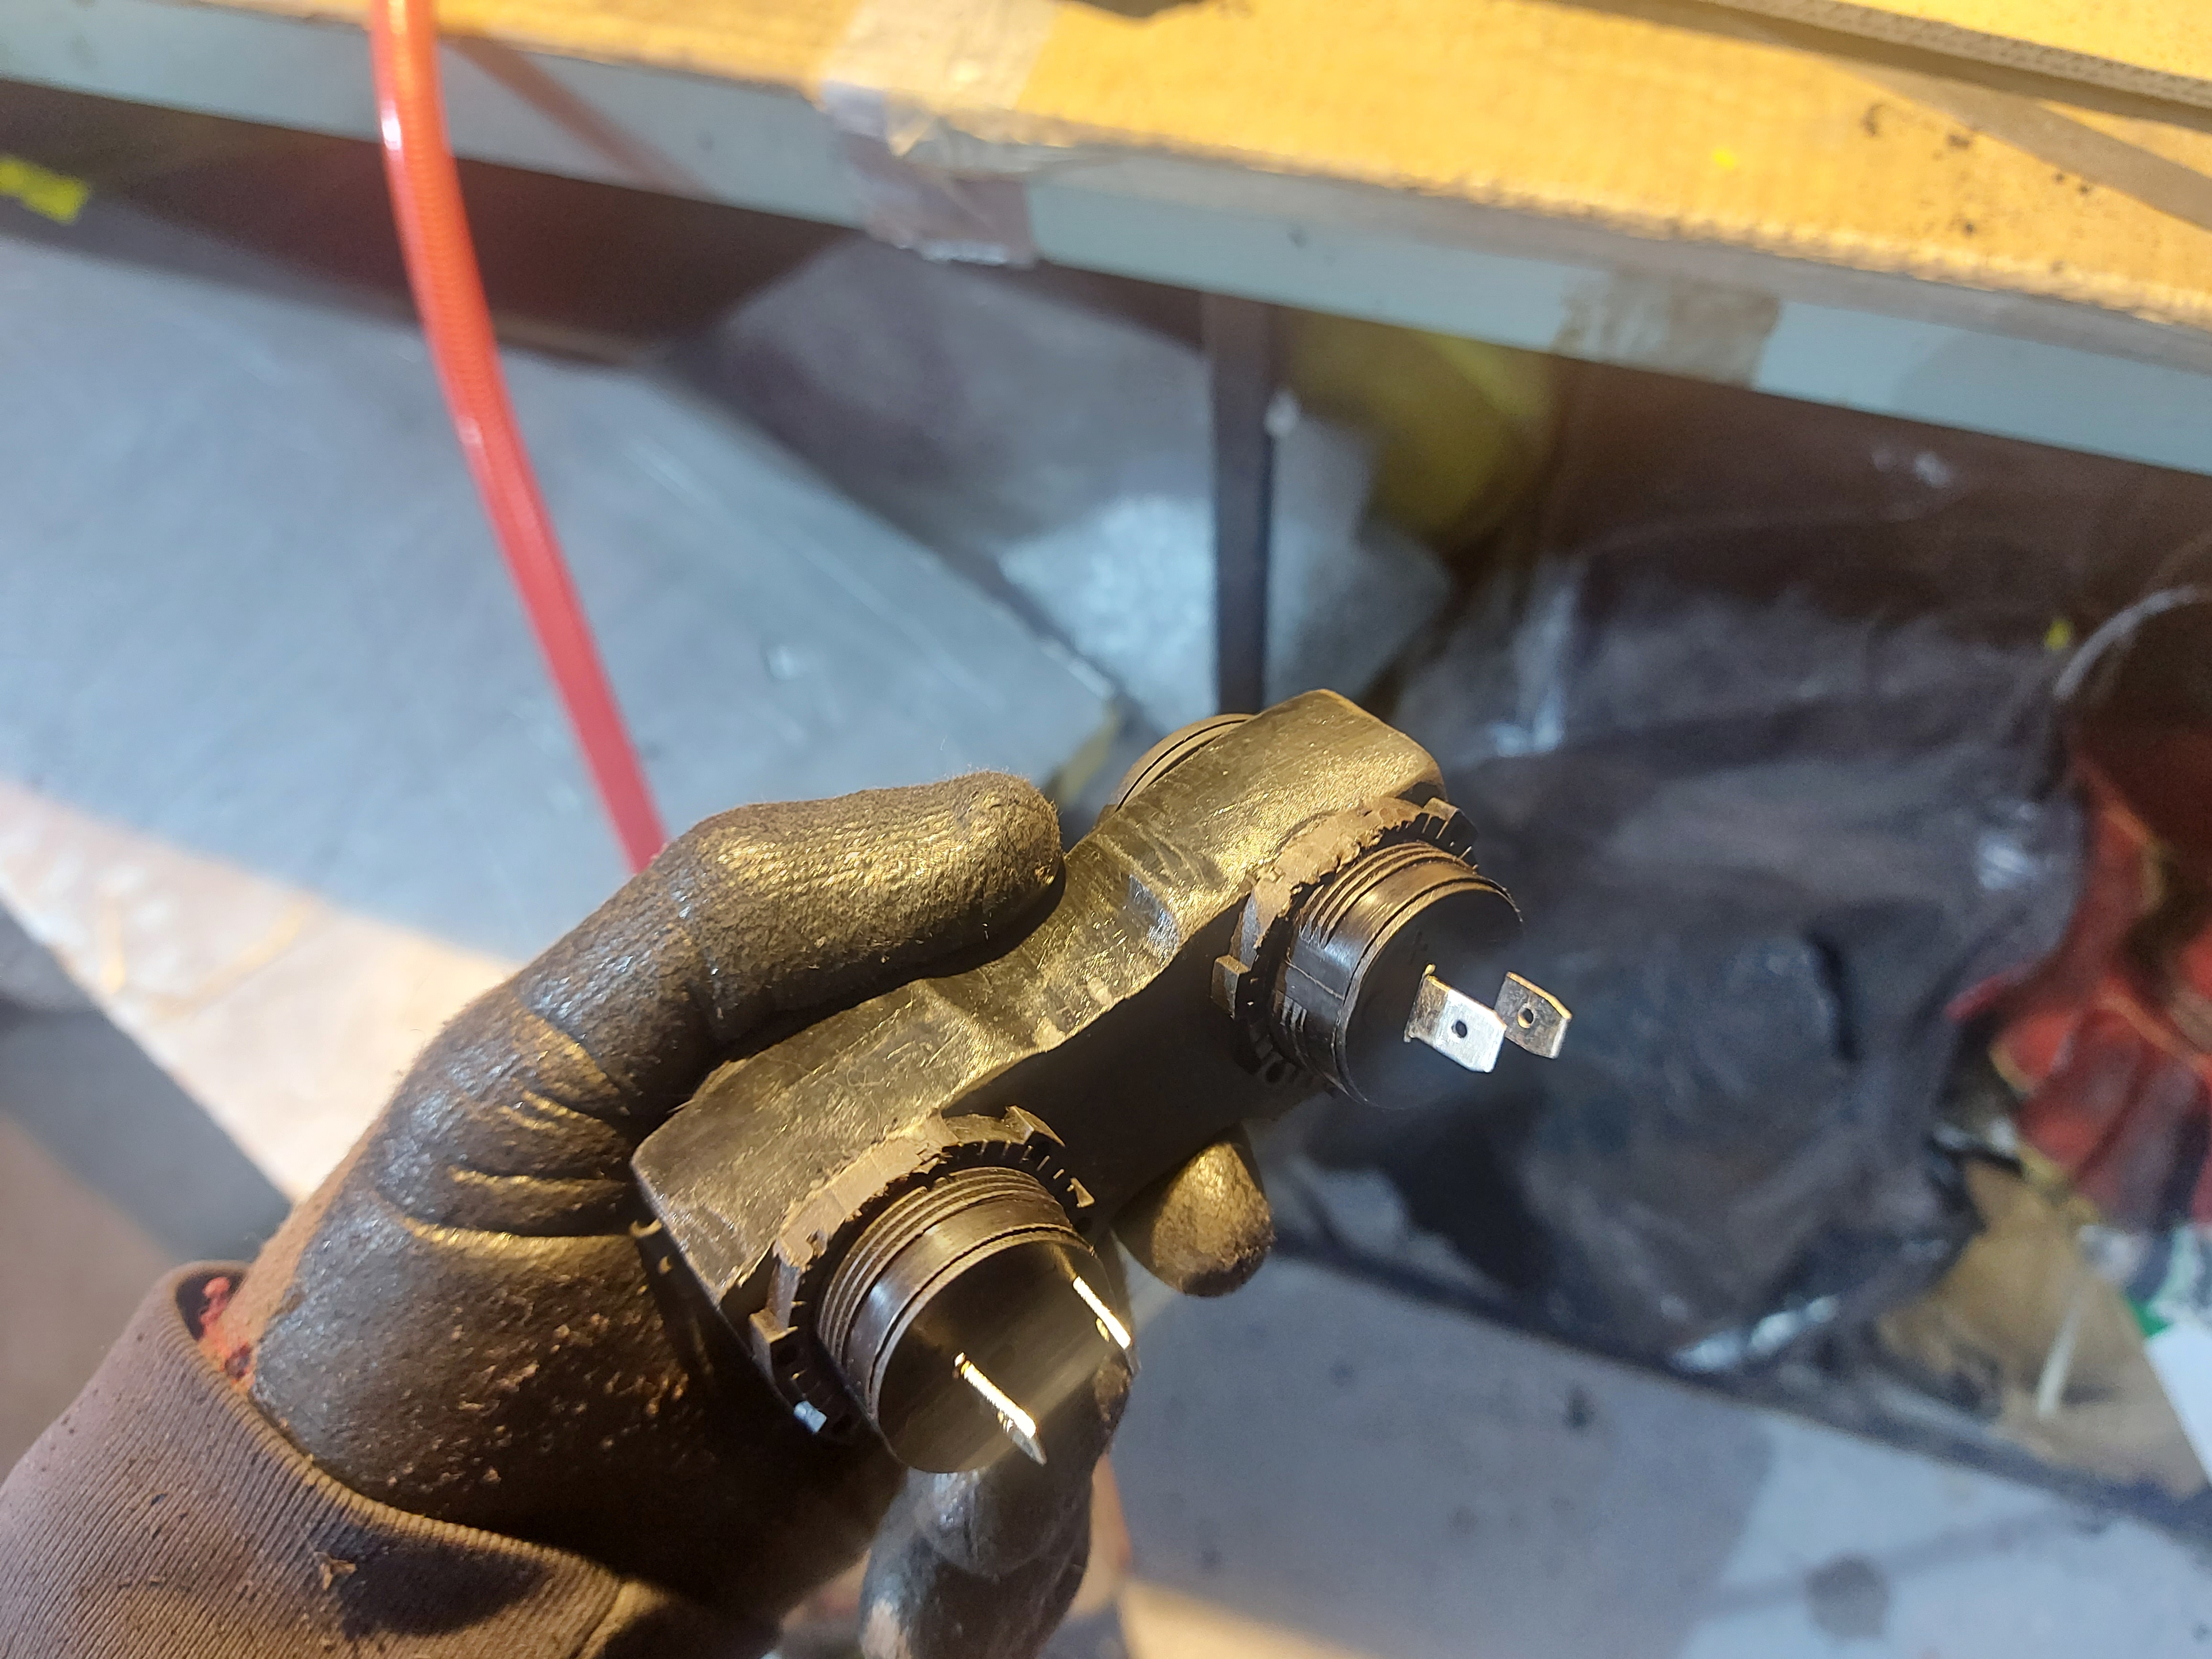
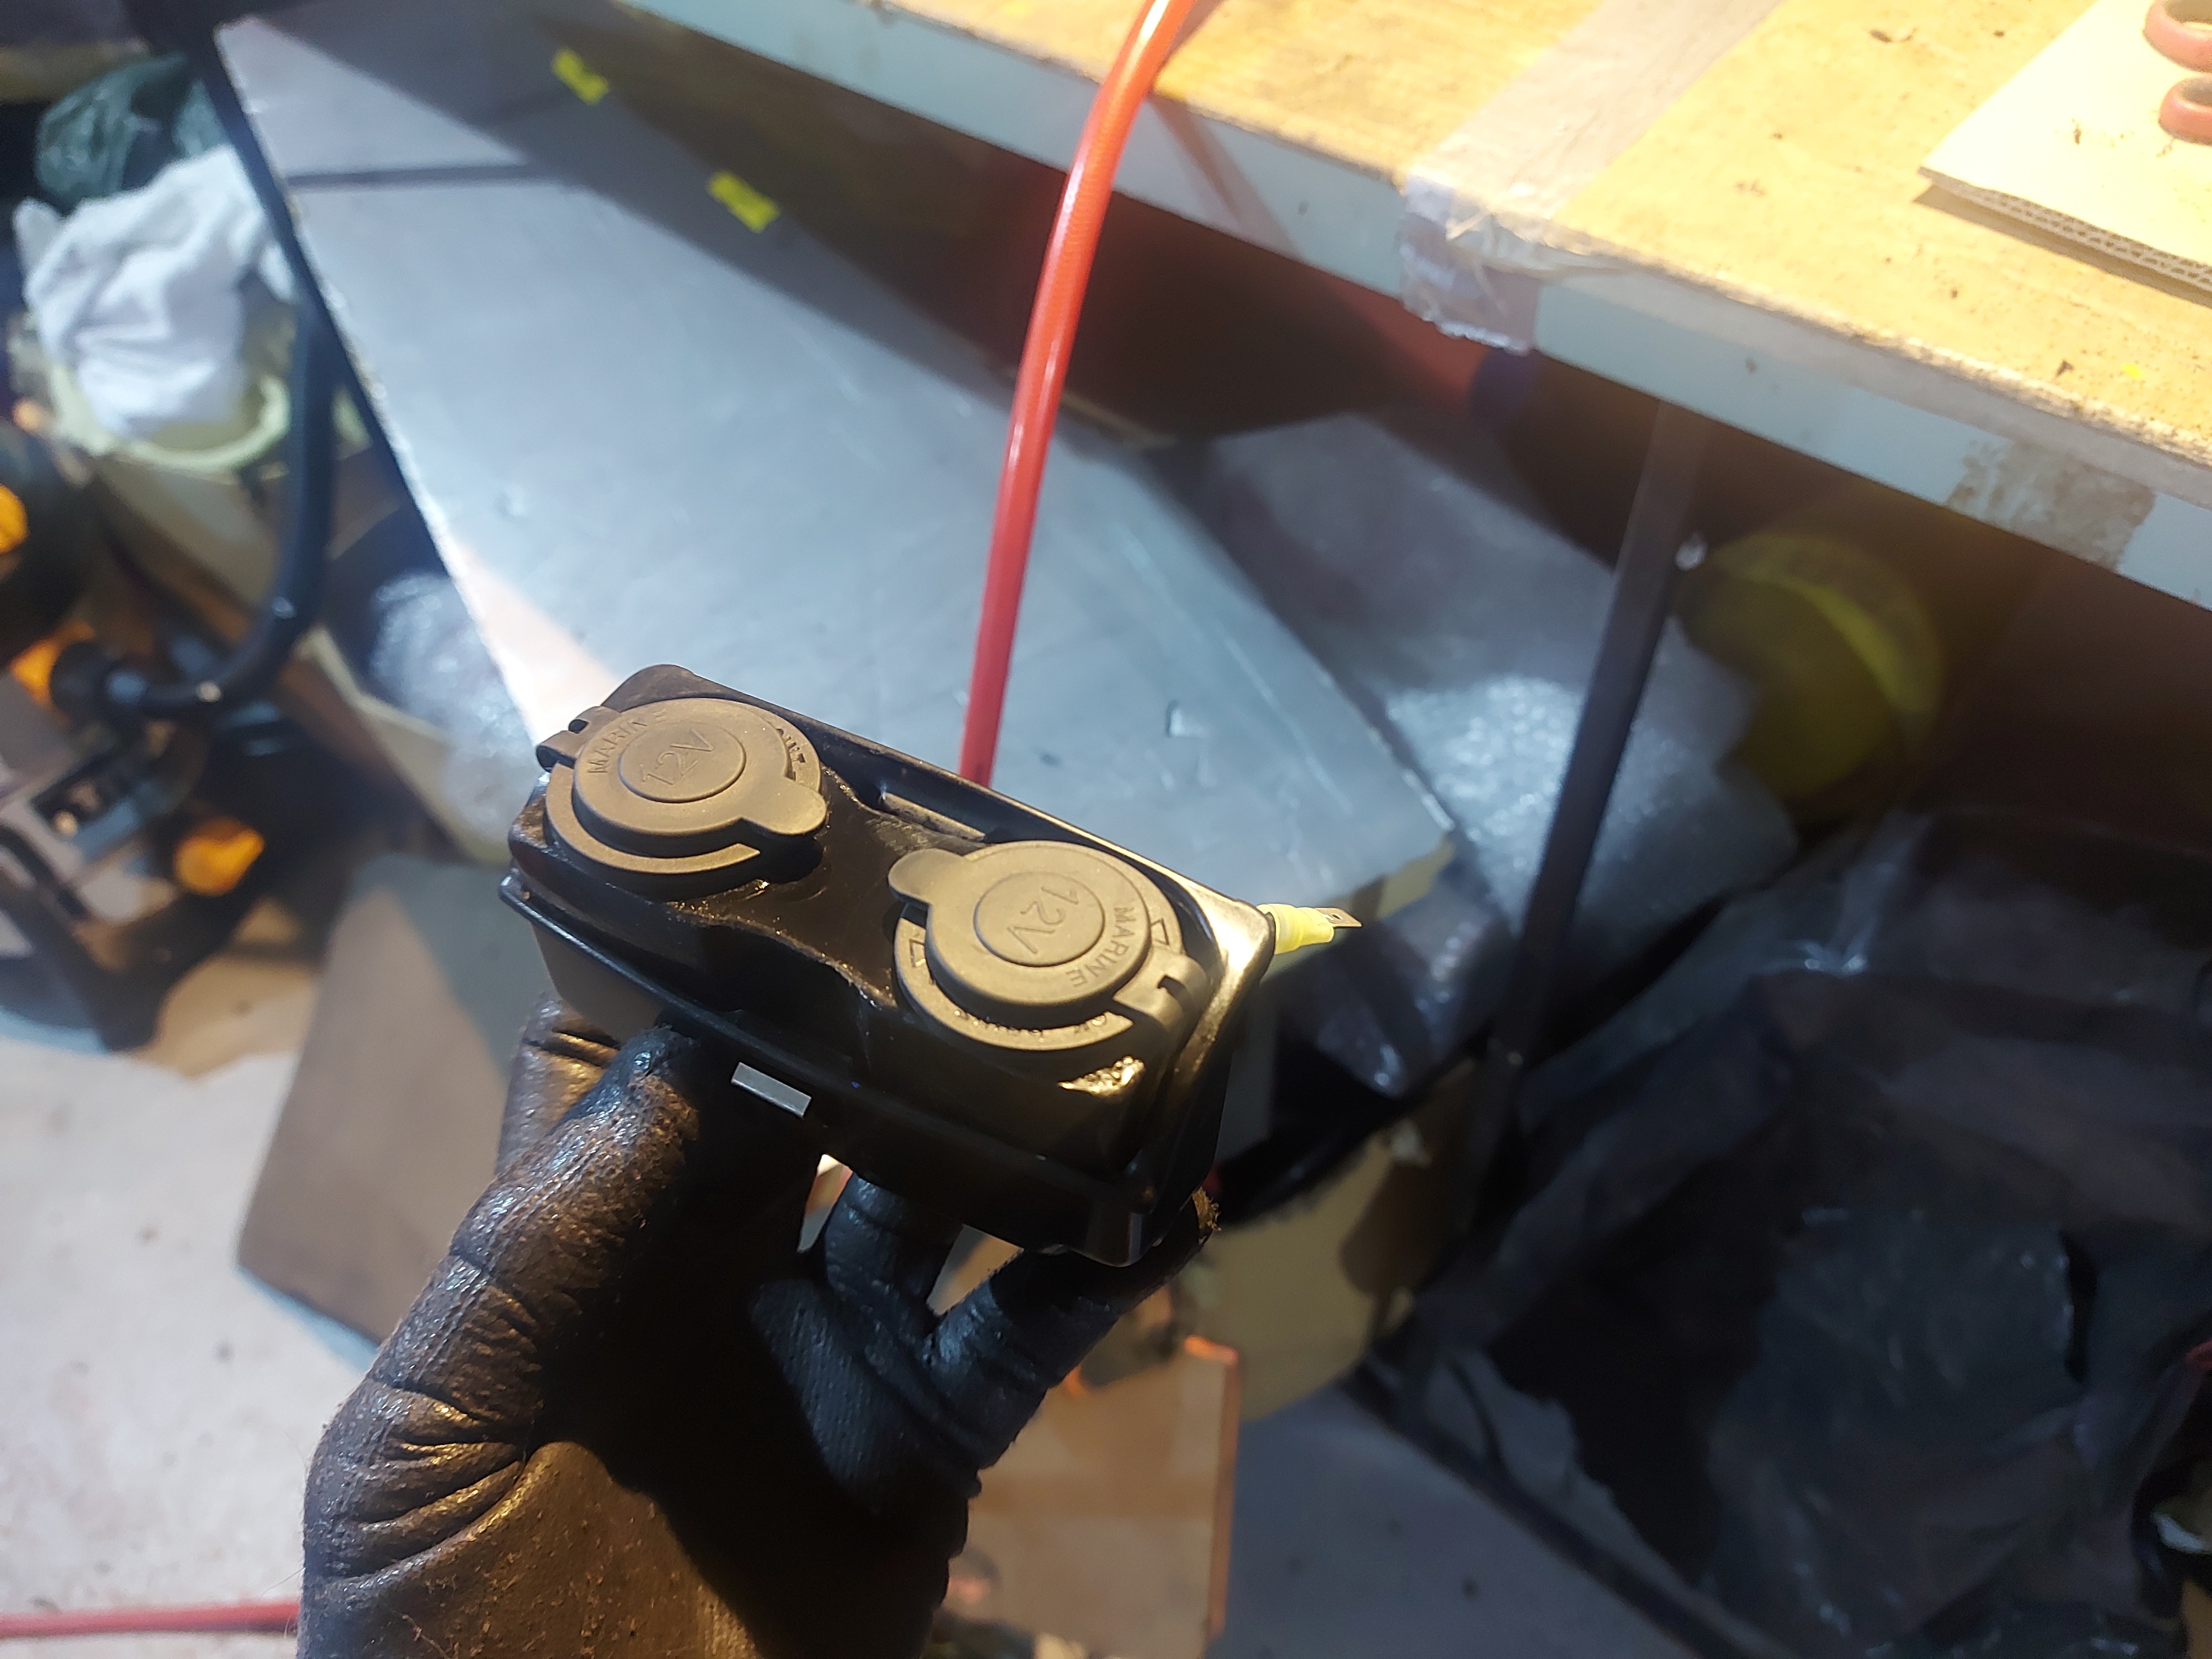
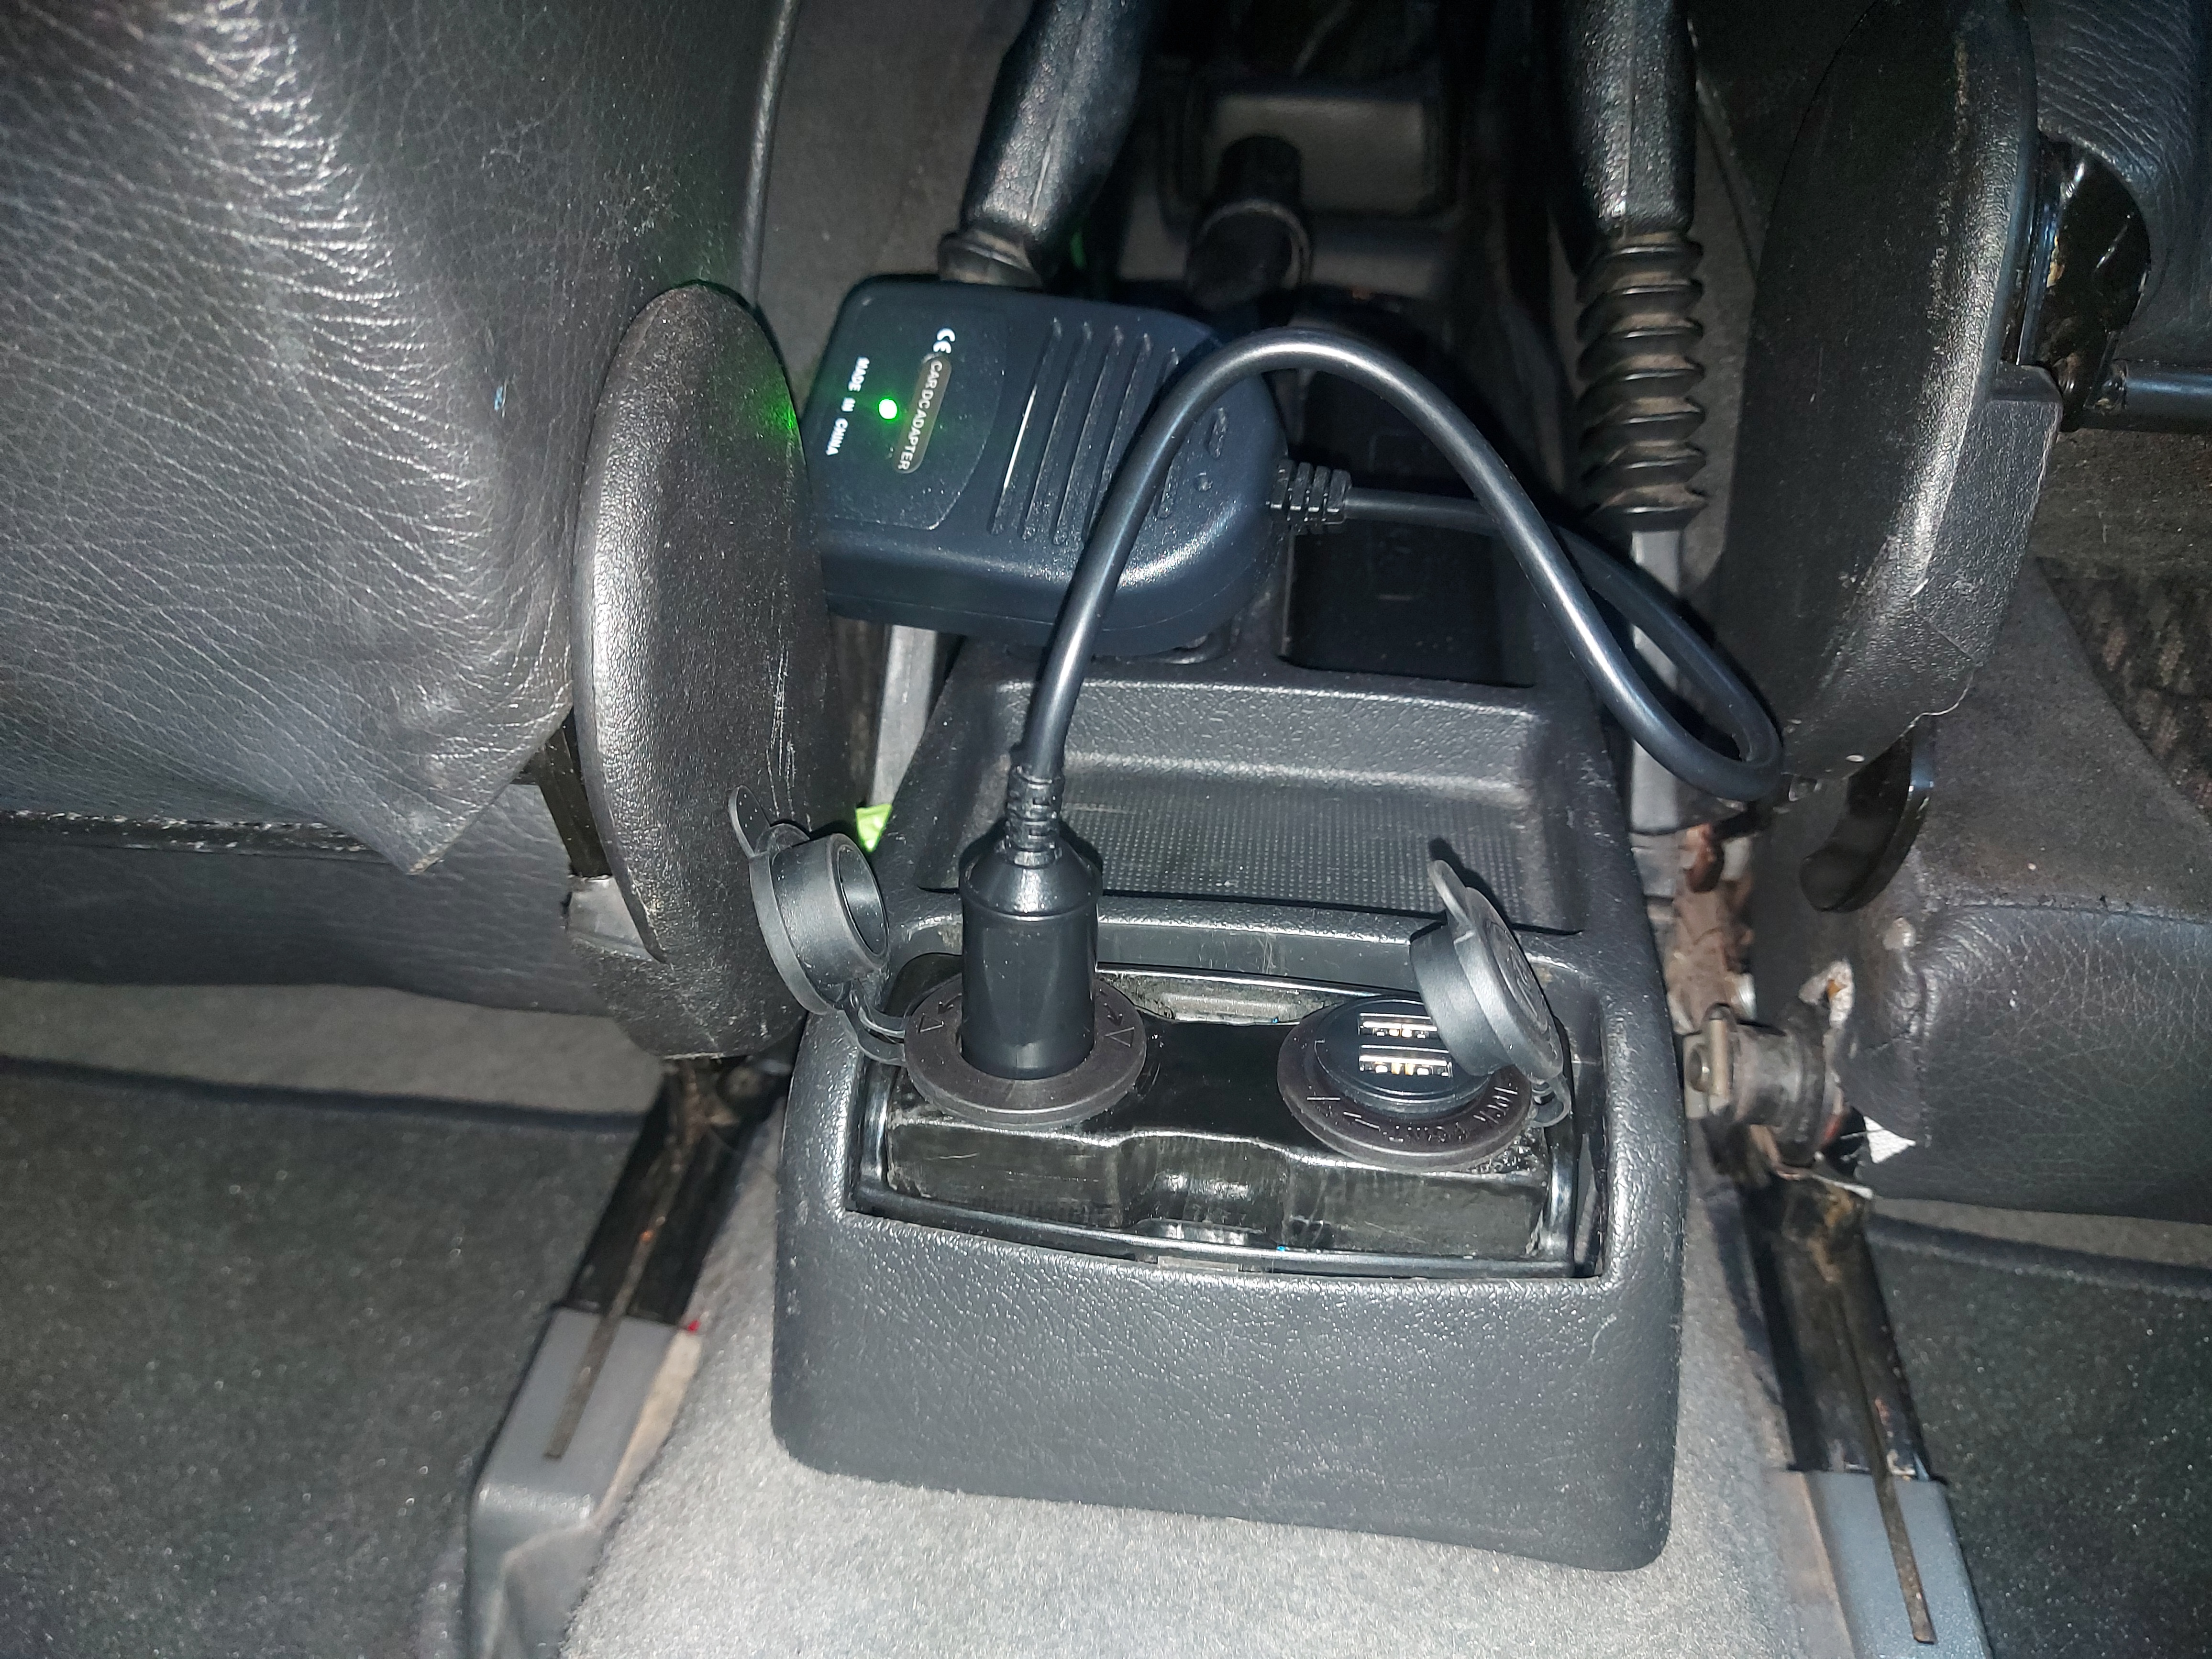
Actually looks alright in real life, all nicely tucked away at the back of the centre console and the wiring just runs under the console to the original wiring, where I now have my gauges. I will look into 3d printing something to fit in here at a later date, might even start selling them to you guys!
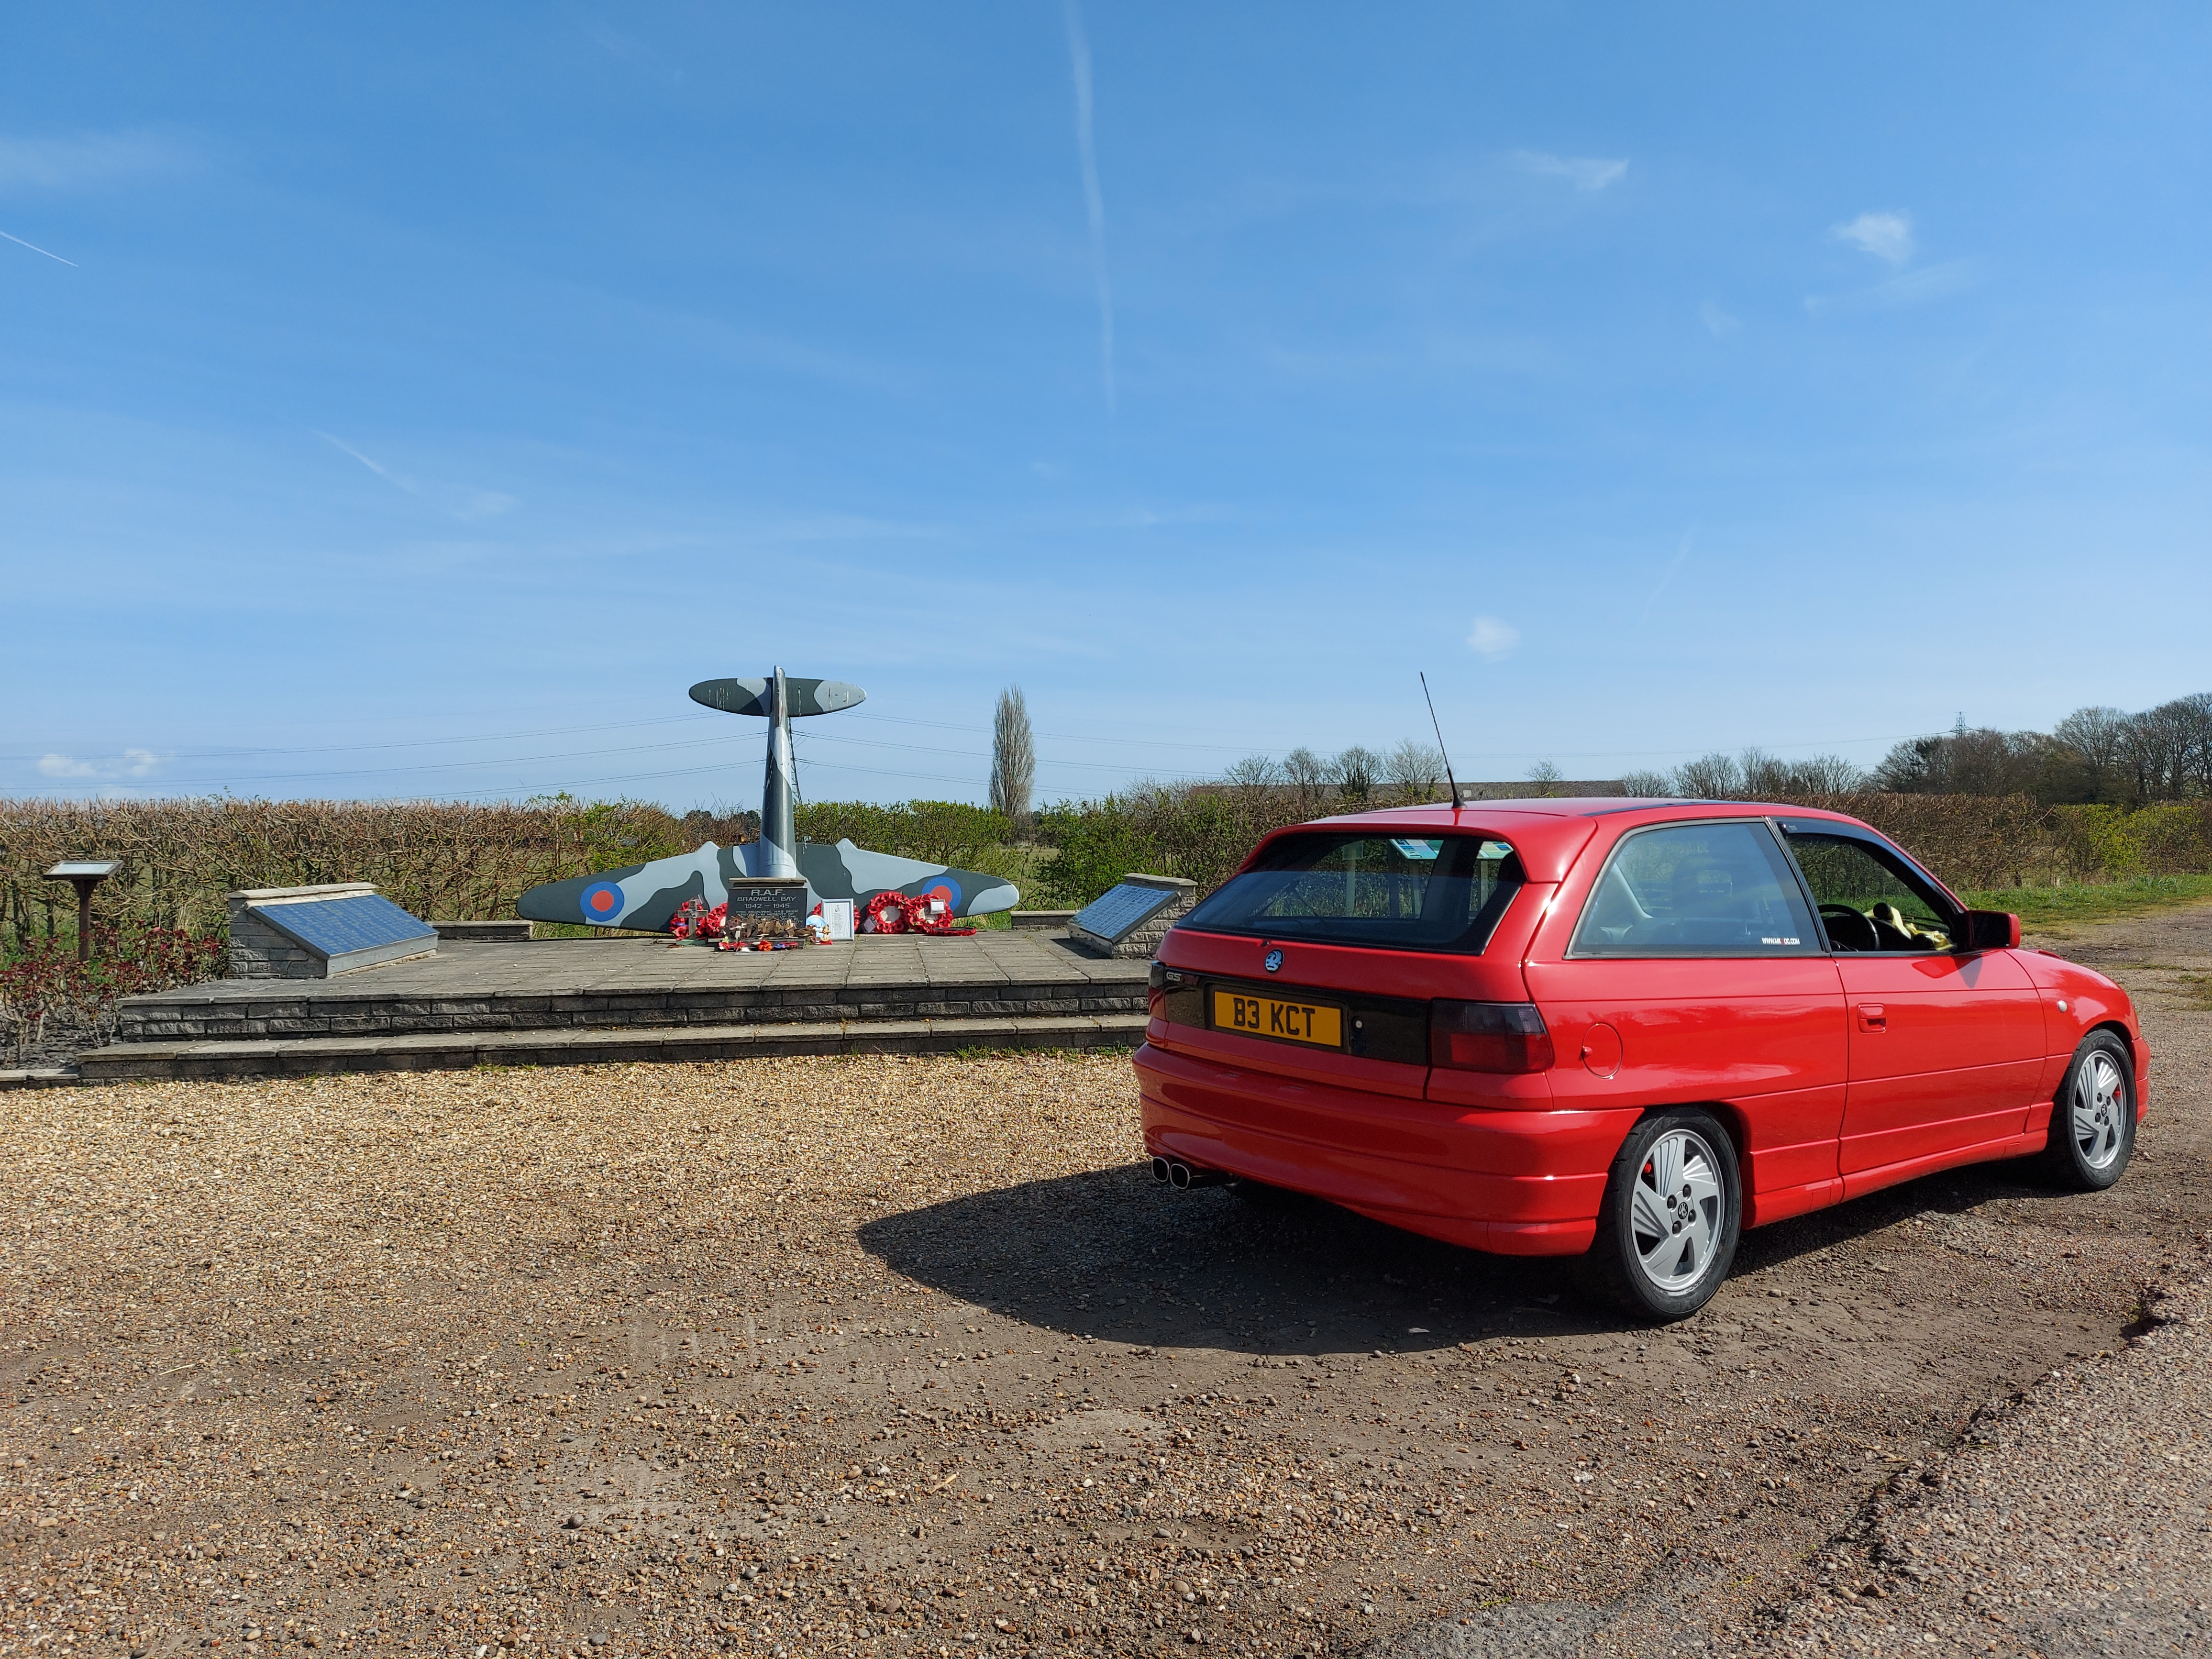
Gave her her first bath since the respray,
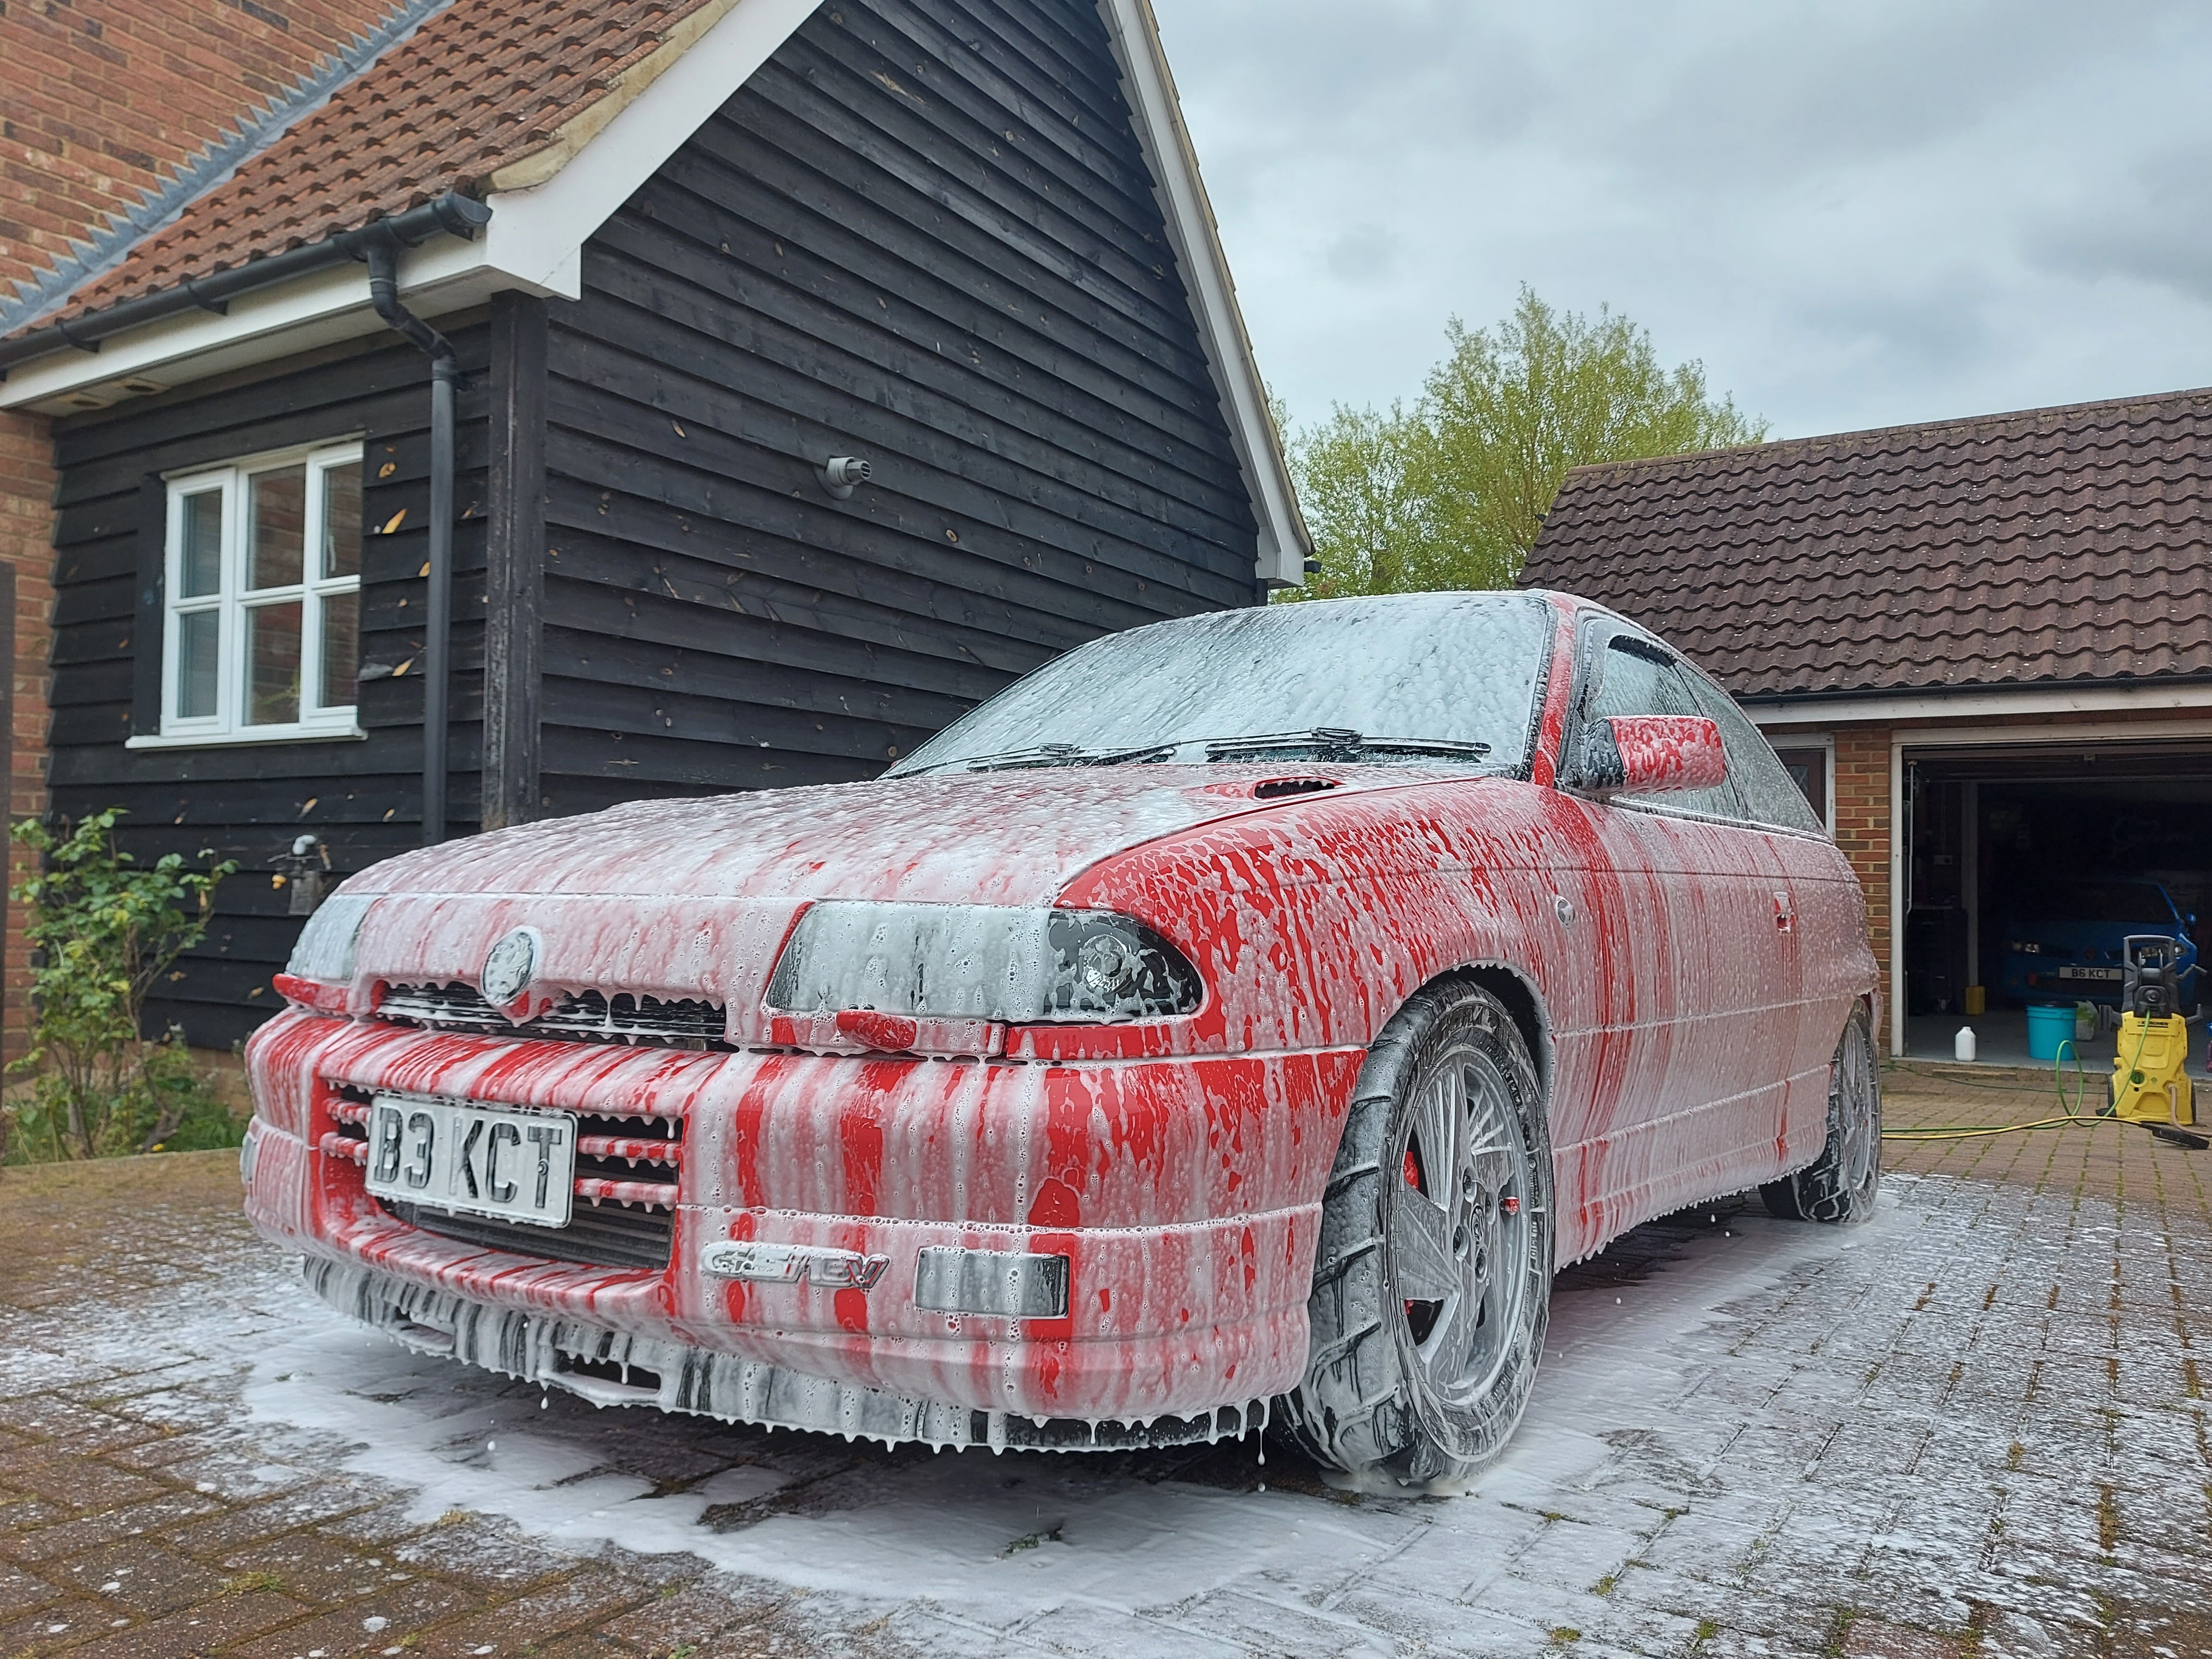
The paint didn't fall off!
Took the missis and her little girl to their first car show, BHP show at lydden hill. They really enjoyed it!
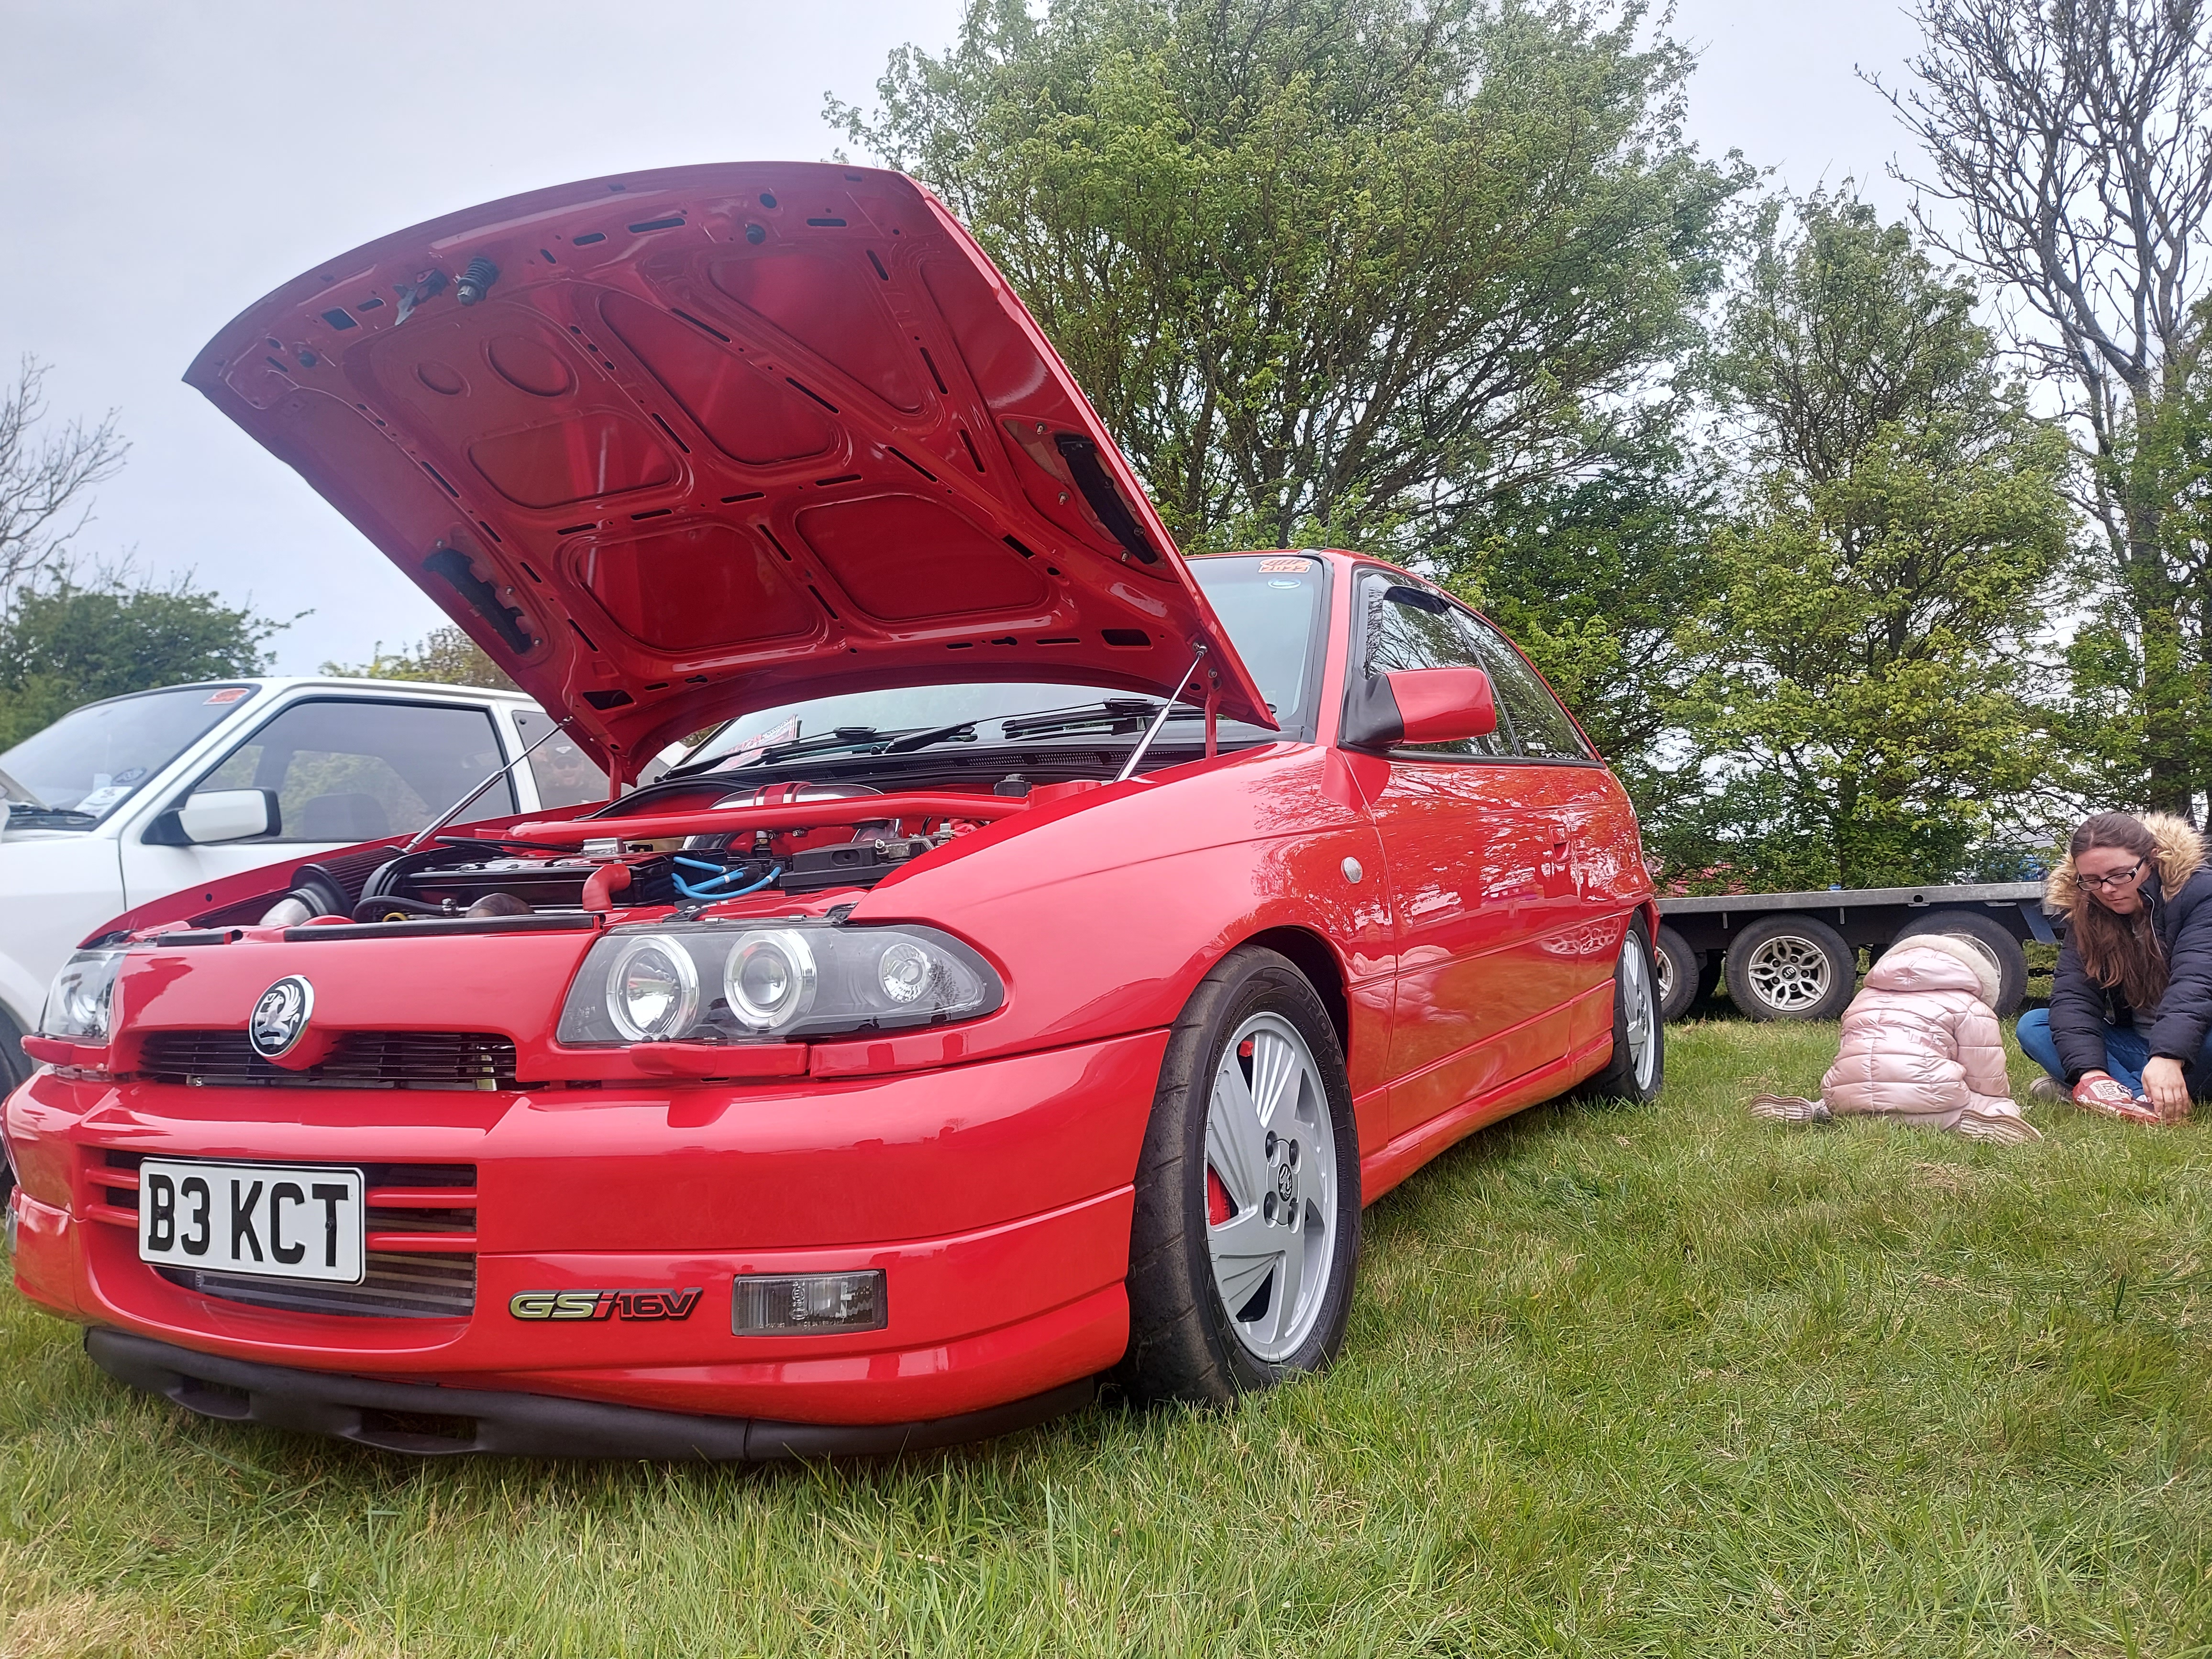
However it was at this car show there was a little weakness in the astra making an appearance....
Now, when I rebuilt the astra, I reused the clutch cause it has always been fine and had plenty of meat left on it... this may have been a mistake.
Brand new clutch cable, which I have had to adjust up several times, however the half hour of traffic I got stuck in gettin into this car show, the pedal went low again and eventually the clutch started to drag and it was gettin hard to get in gear! Not cool. So I have used the very last bit of adjustment on the cable to get me home. The clutch is fine again now, but first of all I thought the cable was stretching, but Now I think the fingers on the pressure plate have gone weak and are not returning to their original position and instead causing the release bearing to sit further and further in.....
I have booked a holiday to the Nurburgring in June so I can't be taking any risks as I want to be lapping the ring in the astra!, So I have ordered a clutch for the Astra and the box is coming out this weekend! Well it was good while it lasted.... I've done 800 miles now which tbf, is a quarter of my annual mileage on my insurance haha.
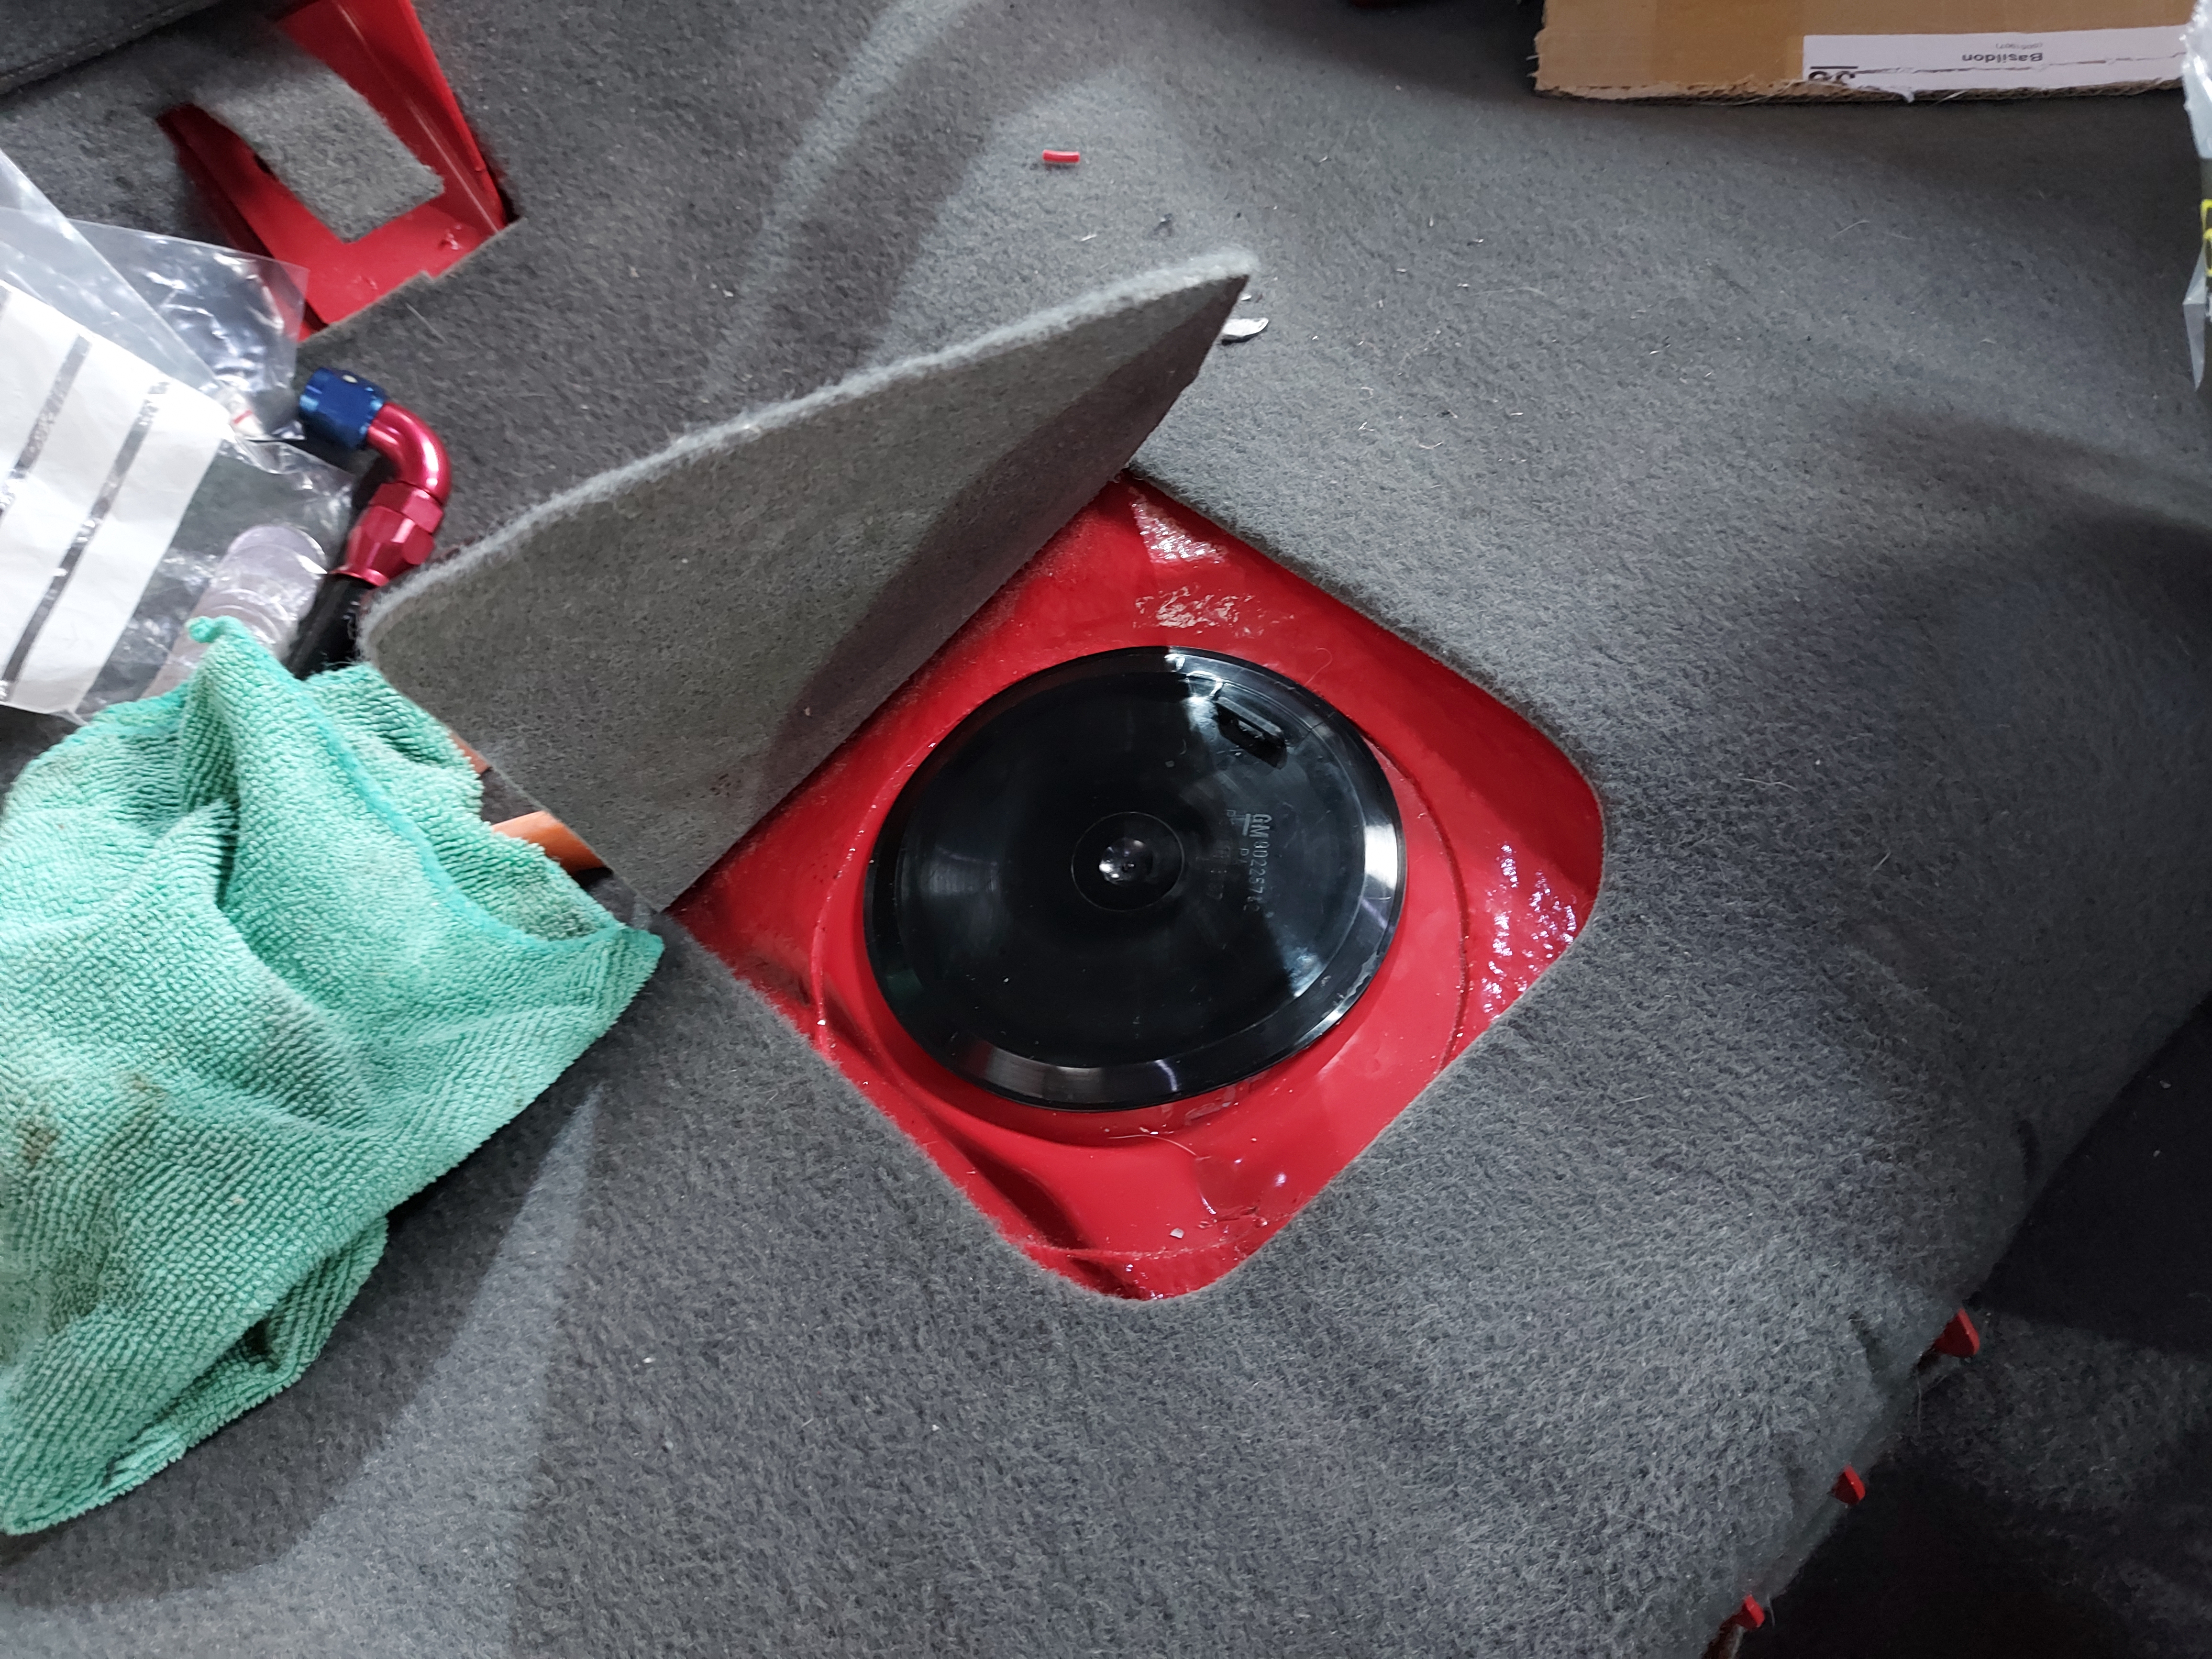
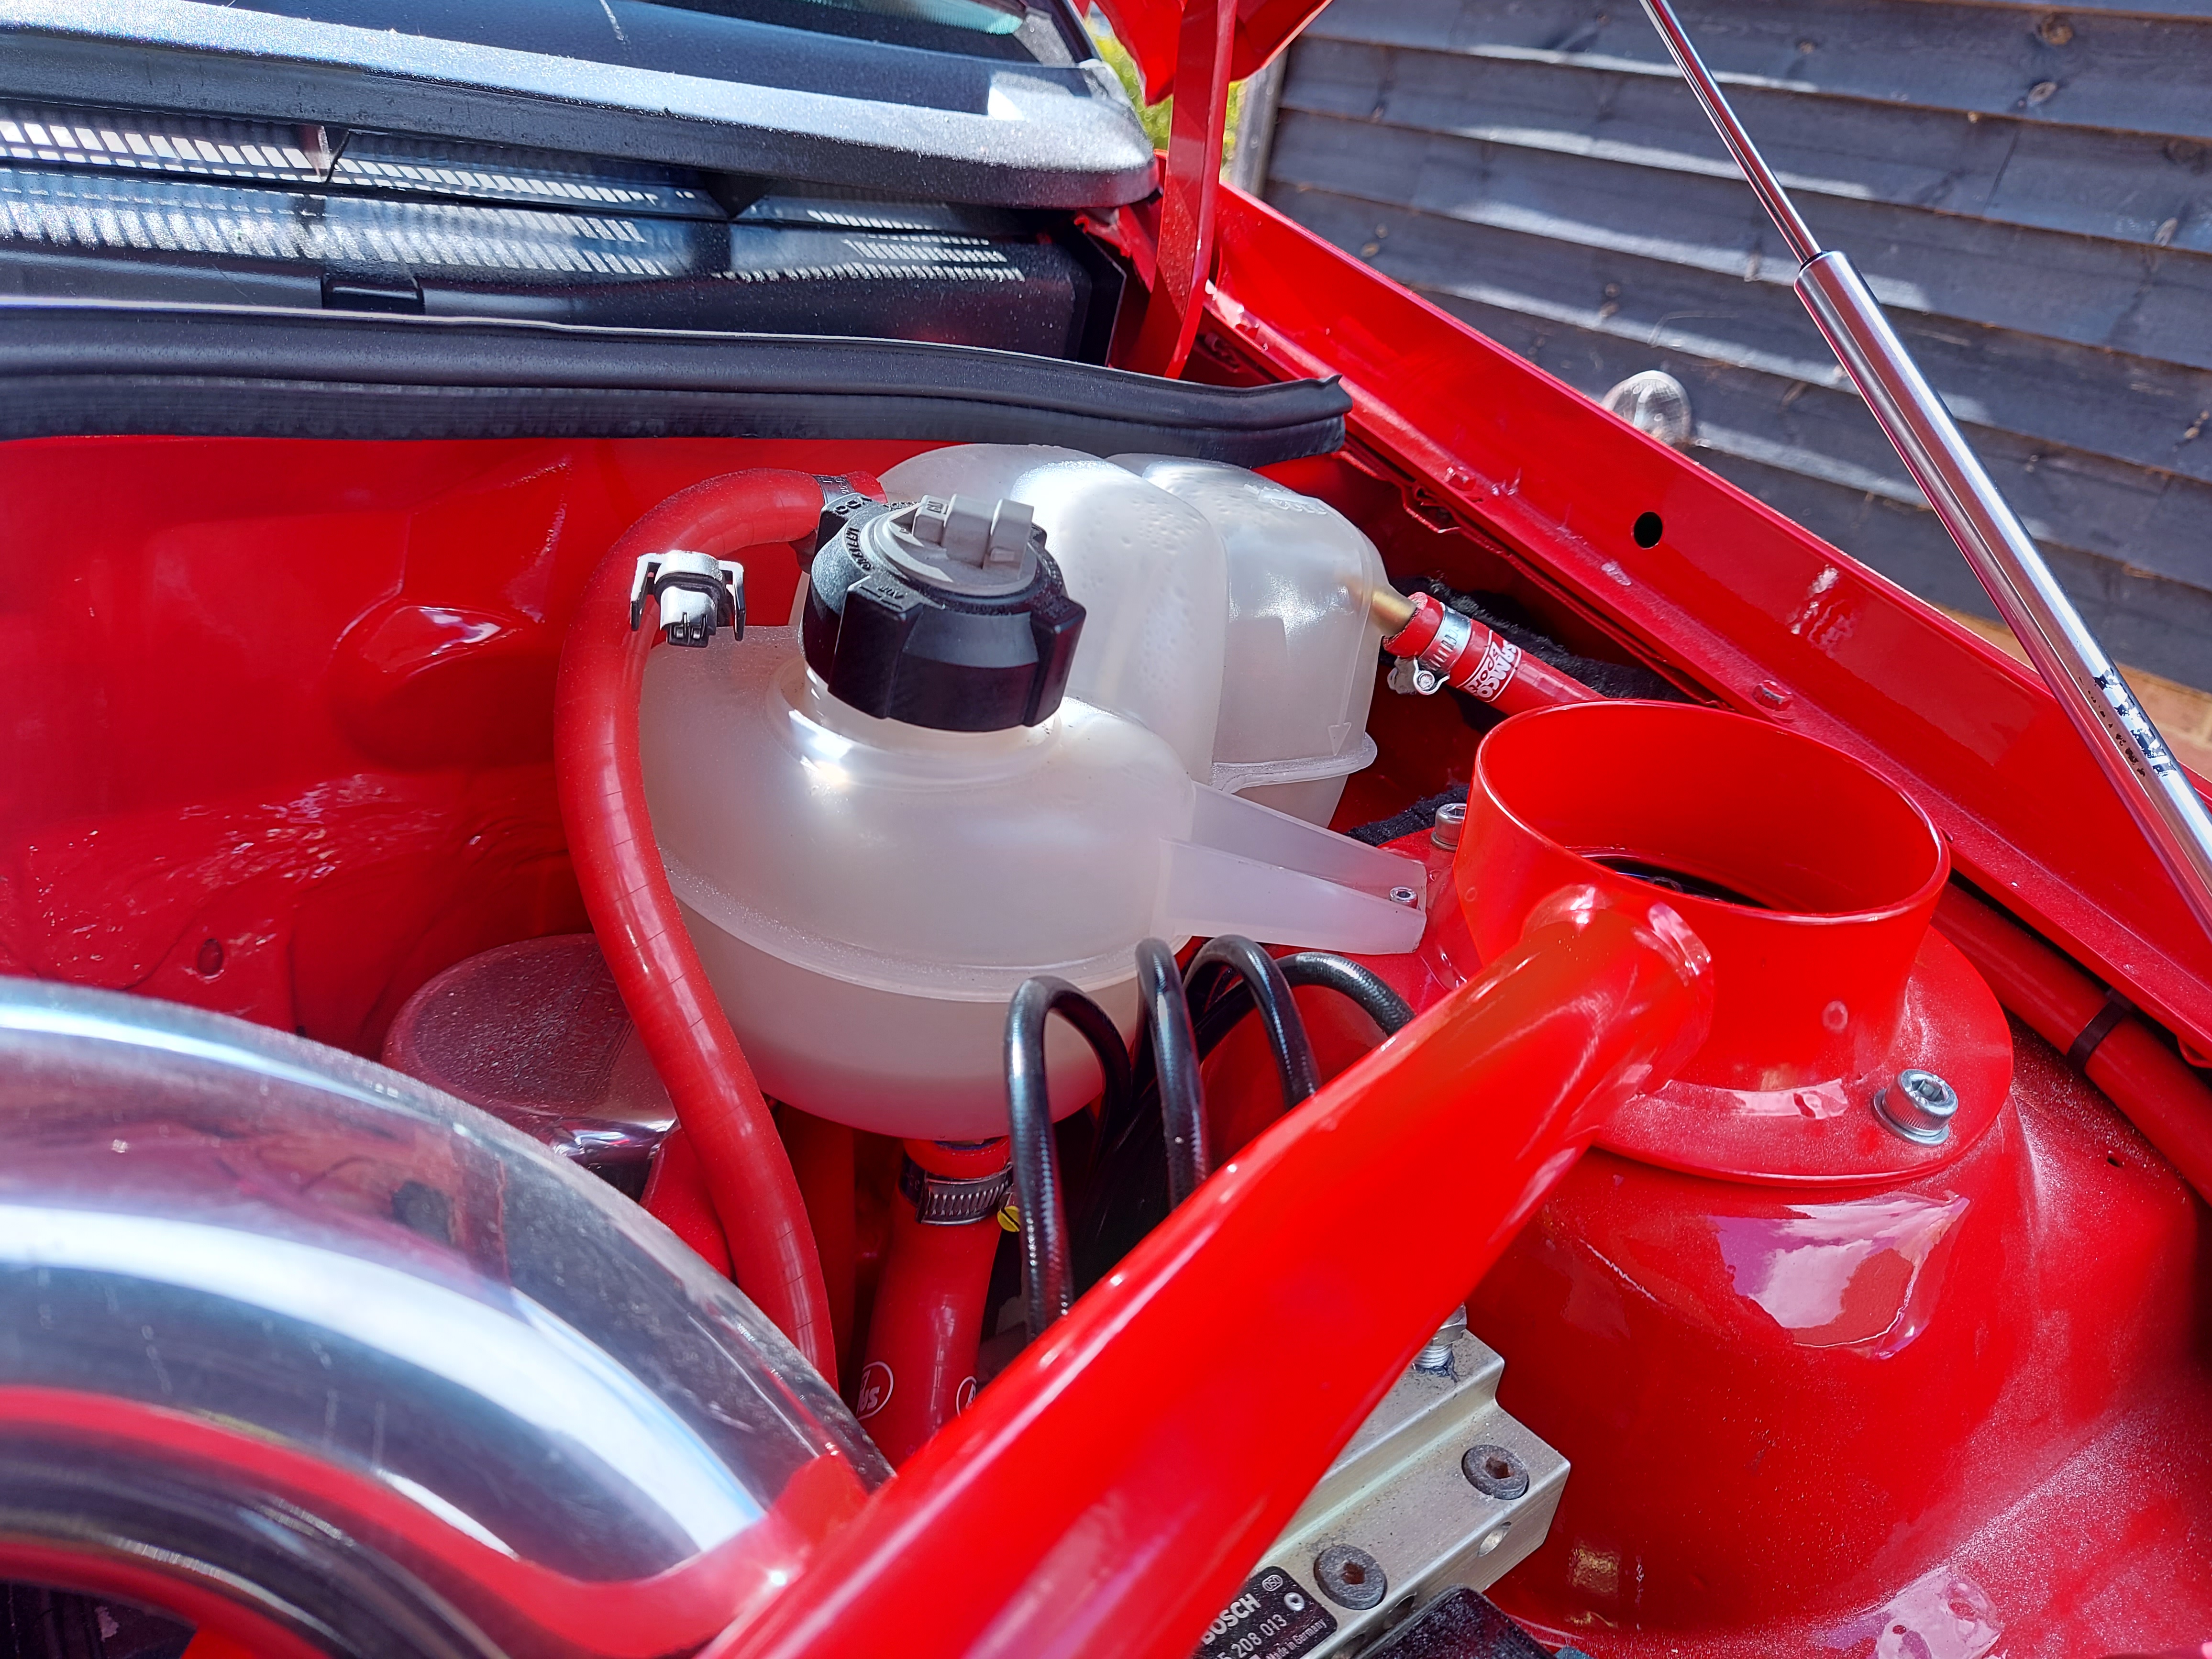
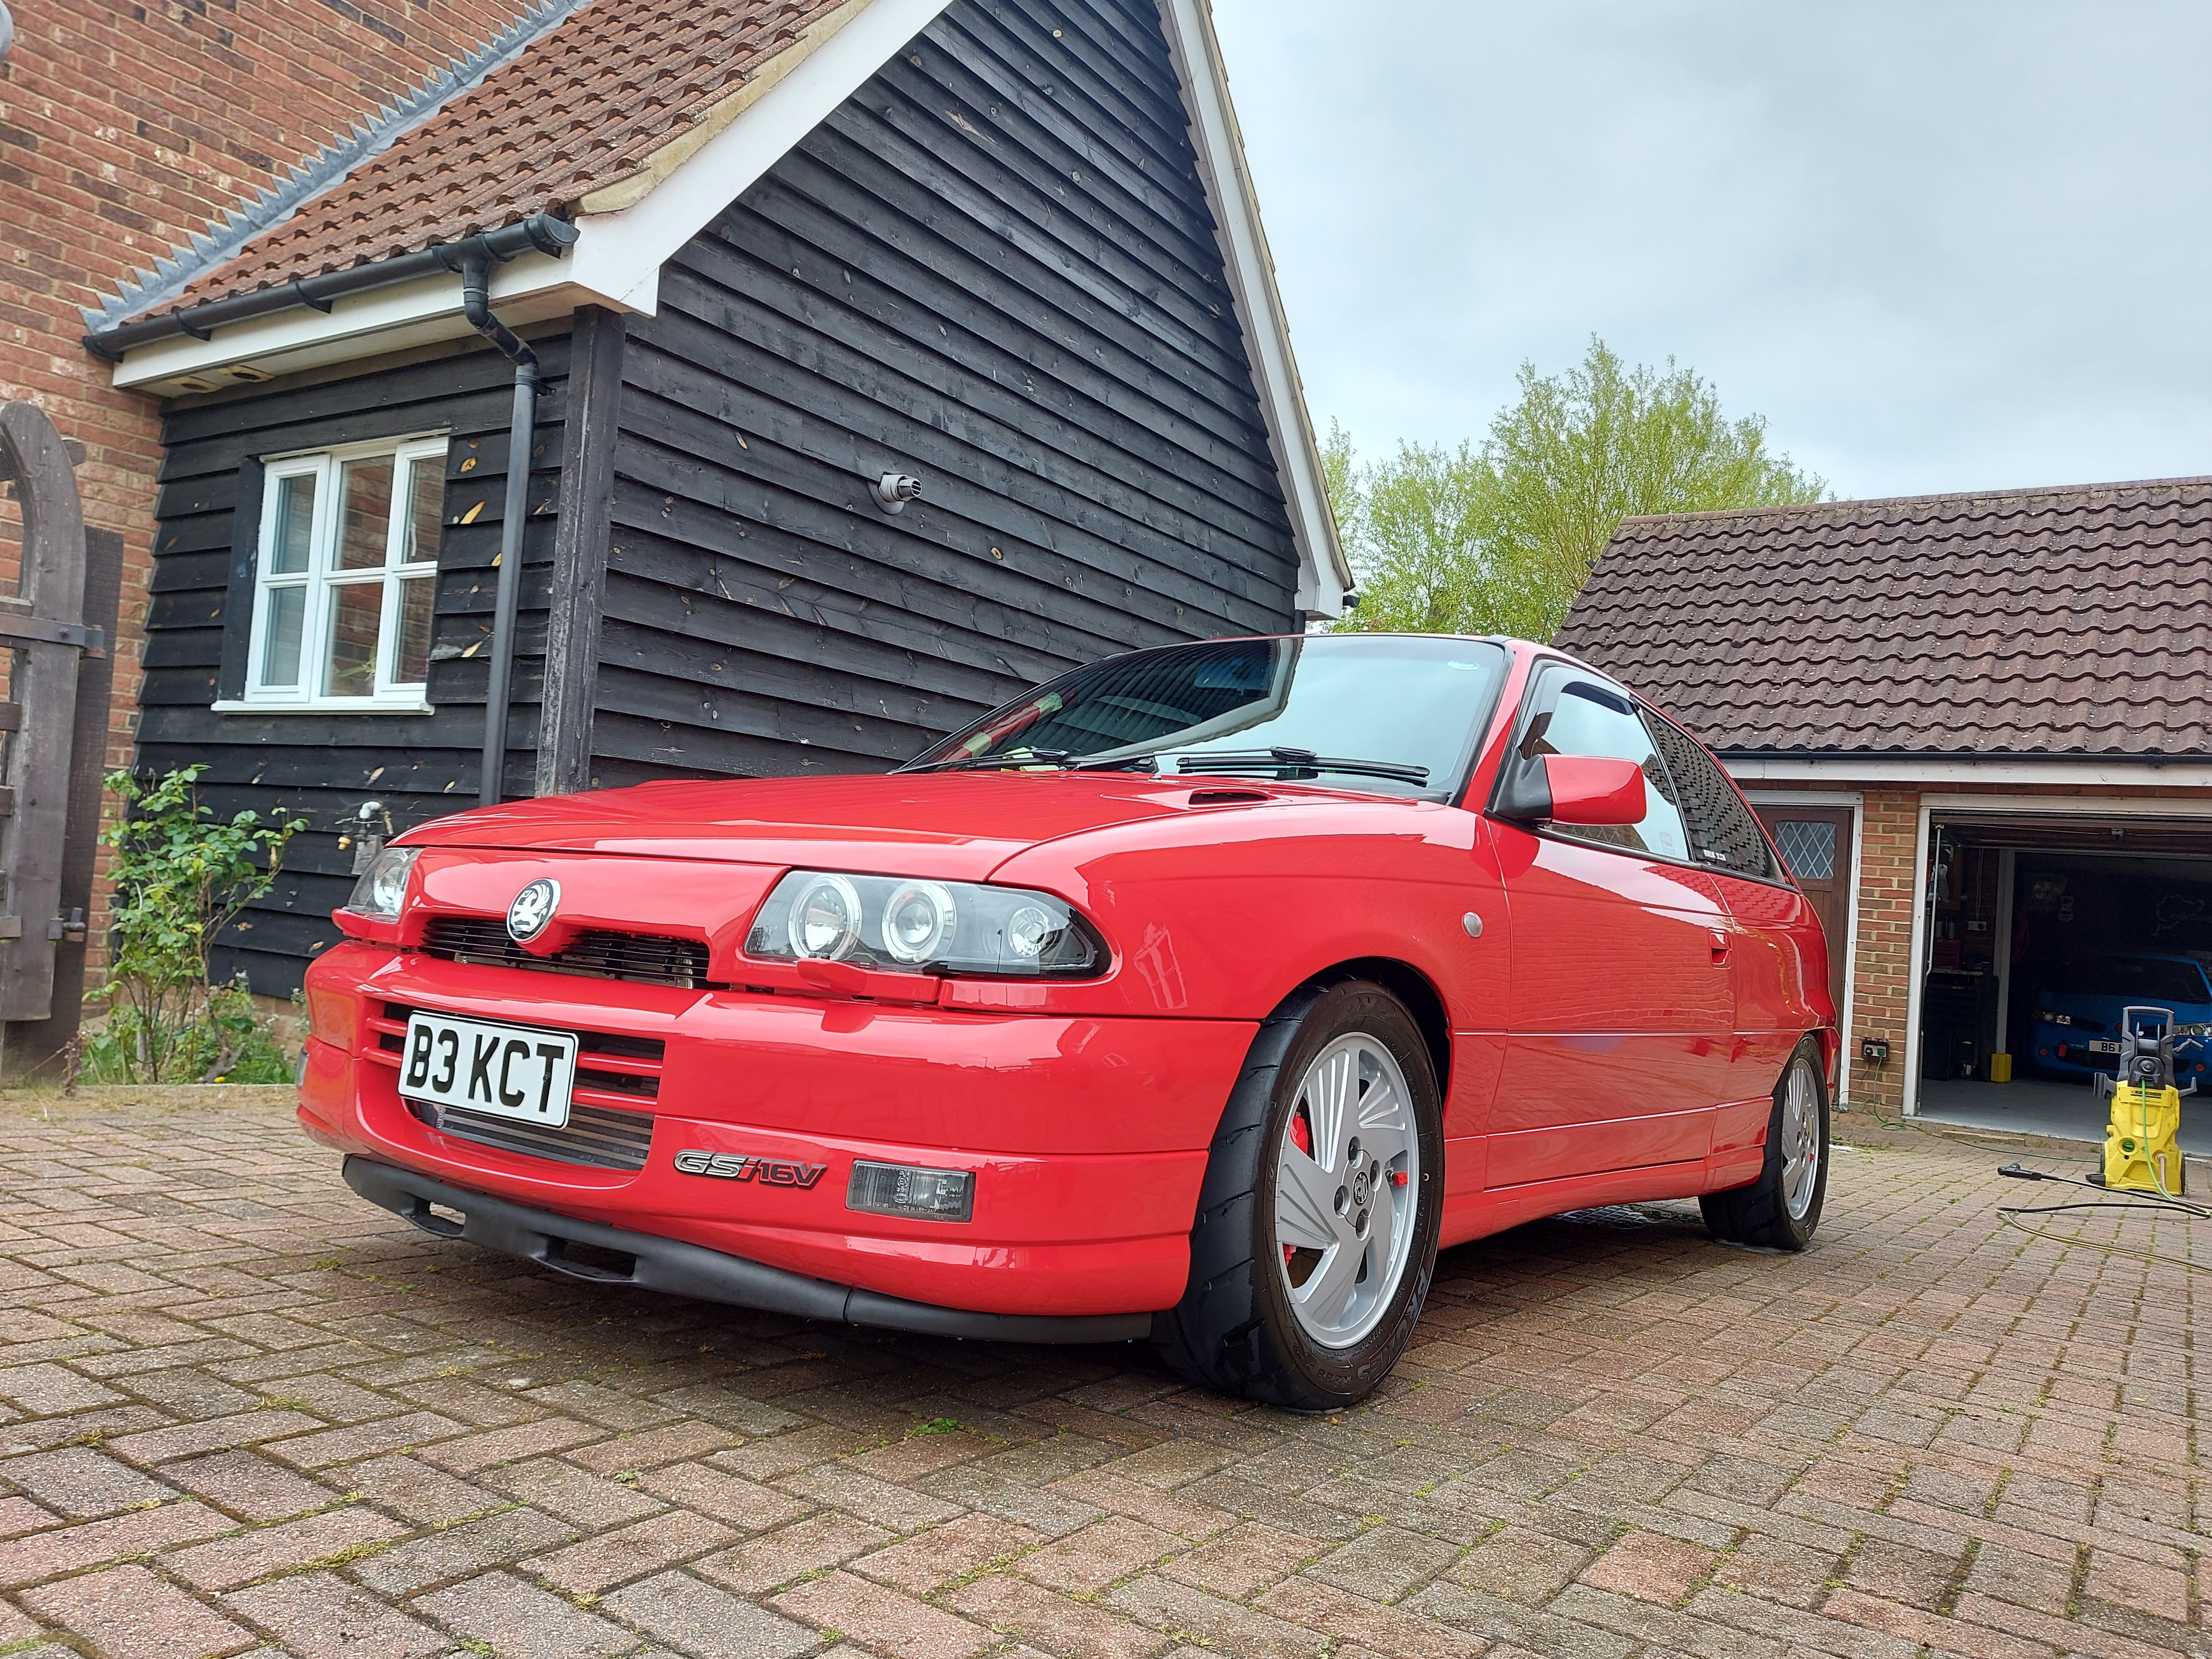
But this picture paints a thousand happy Dave's
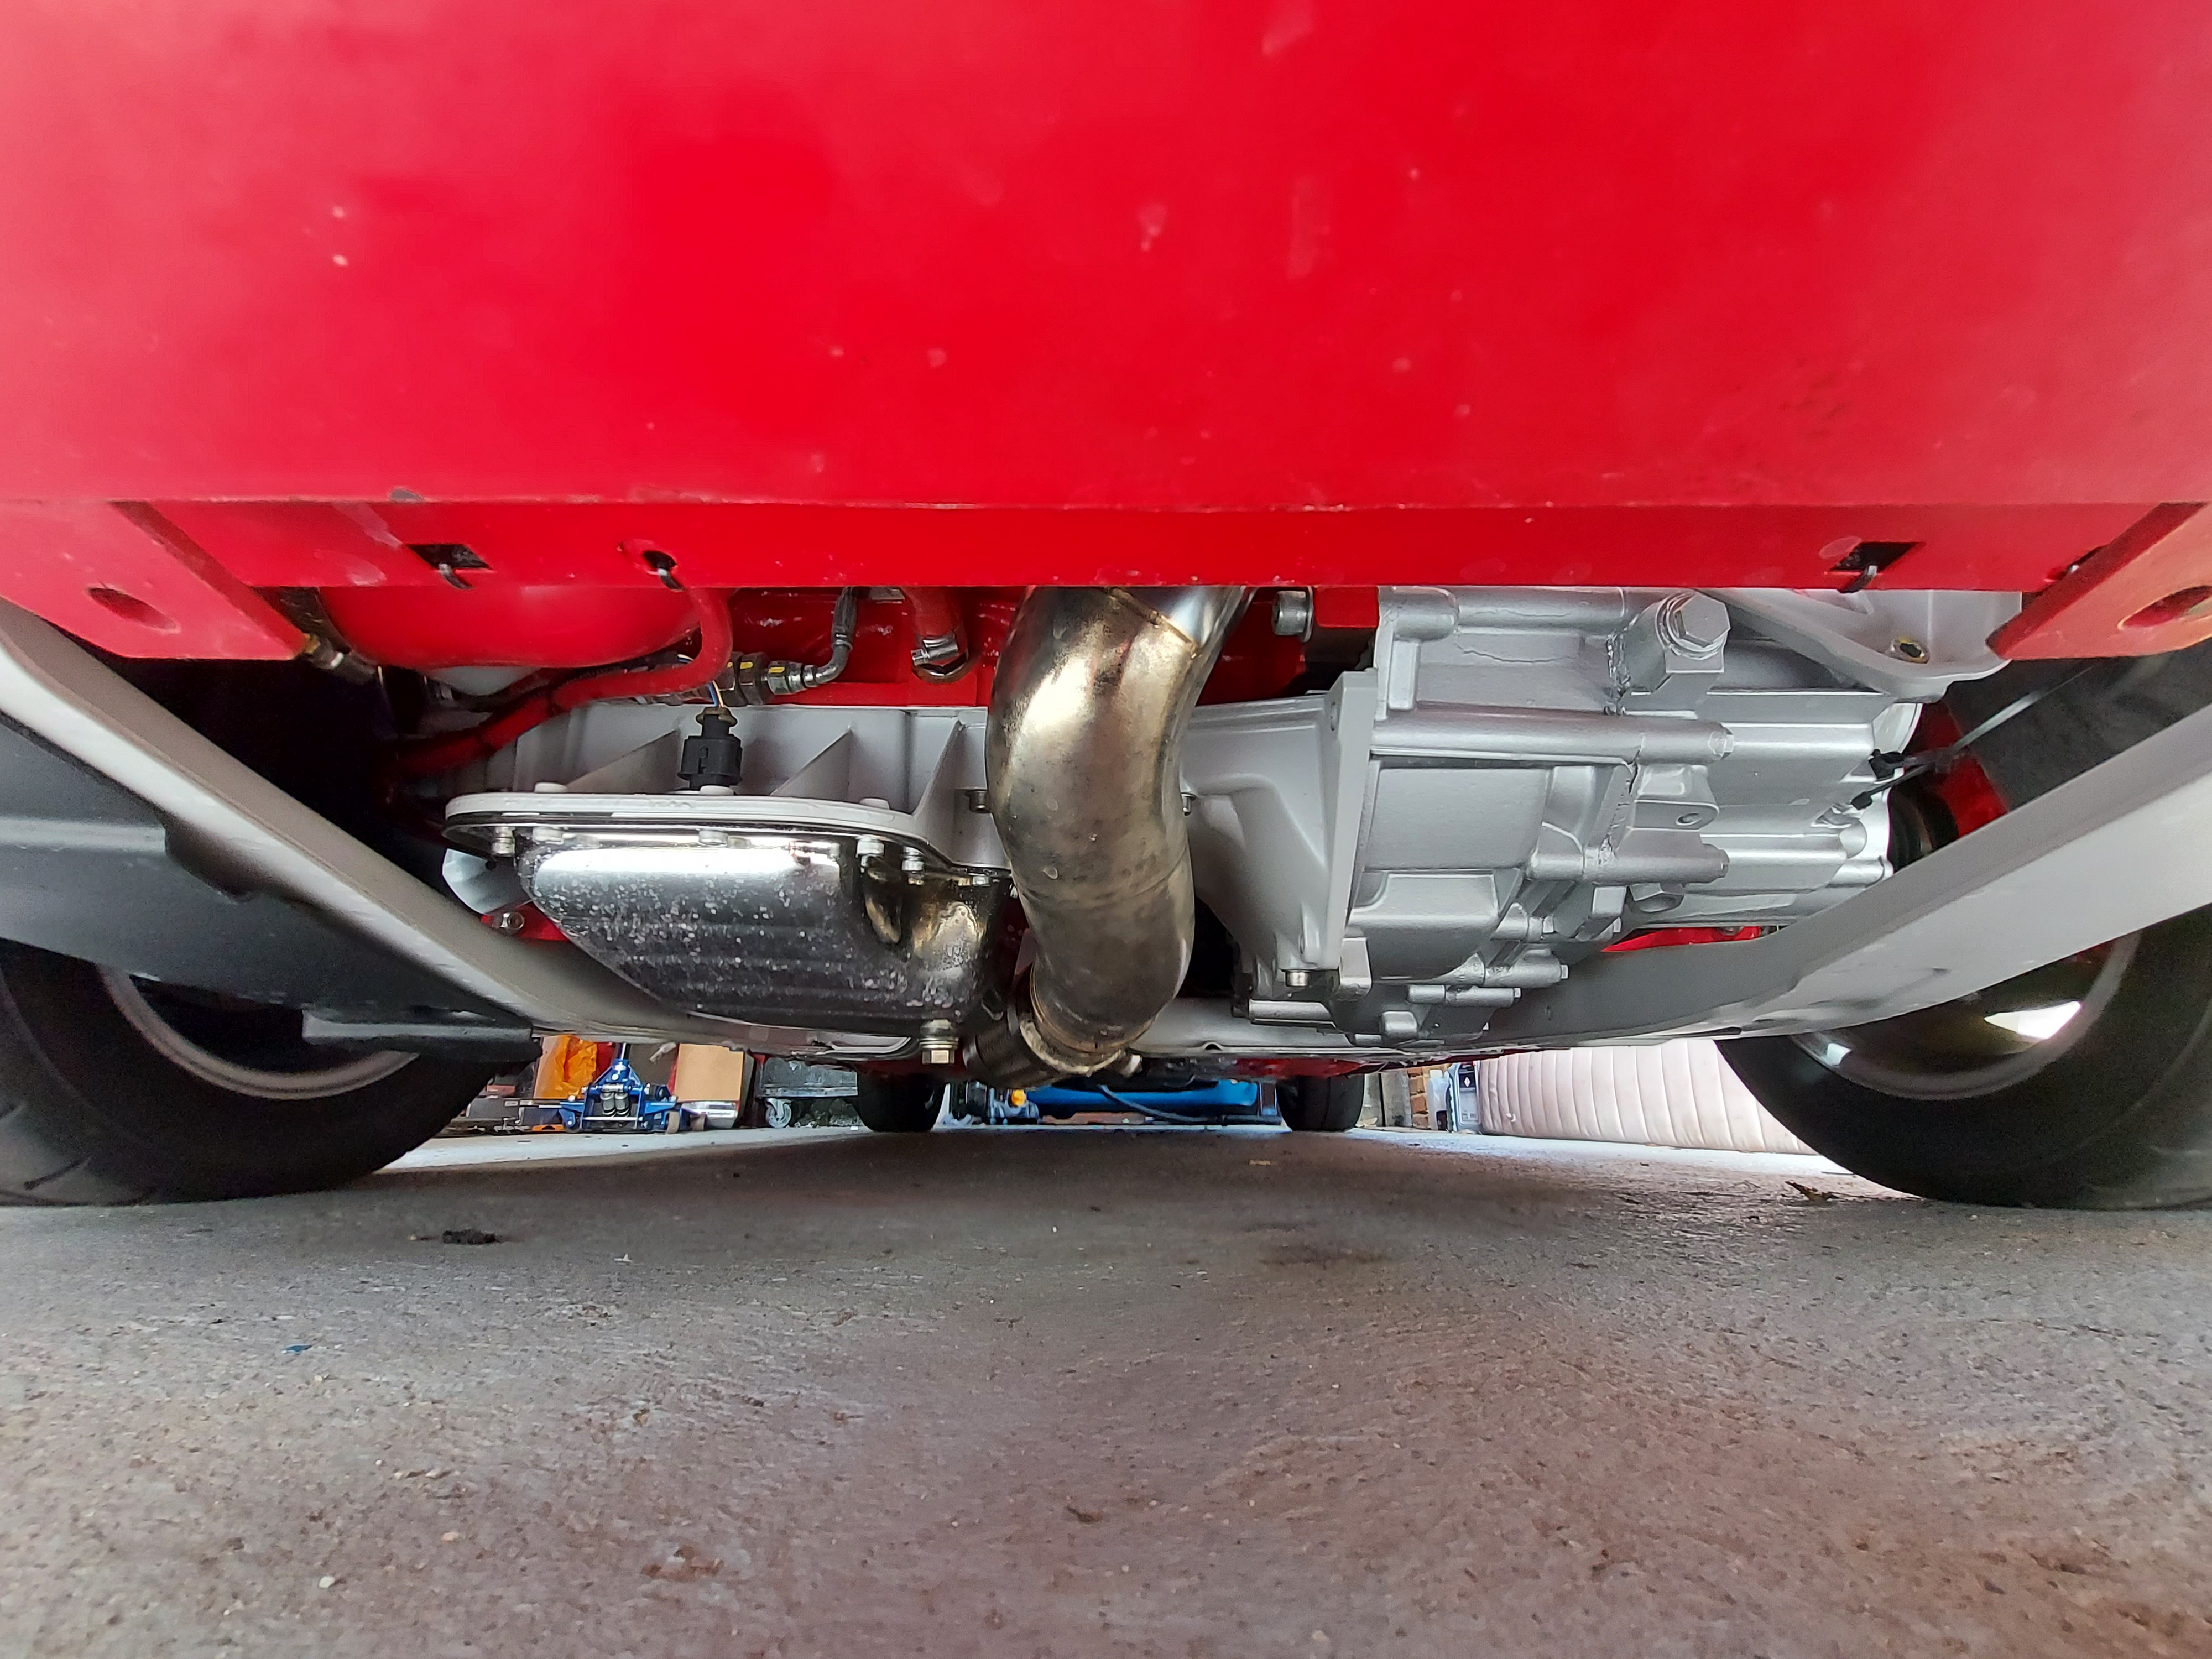
Still bone dry!
First drive didn't go that great... I managed 2 miles lol
Turns out the small coolant hose from the thermostat housing to the pipe along the rocker cover didn't want to be reused and split. Lucky I was only 2 miles from home and managed to limp it back with a microfibre cloth wrapped around the hose and the lid off the expansion tank to keep the system not pressurised. Go home with coolant still in the tank so all good.
I replaced that with some new black pipe I had laying around and gave it another go. This time all good.
Nice drive out, did 150 miles that Sunday.
next up decided to quickly fit a 12volt socket and some usb chargers in the car. This was a very rough idea but I thought I will quickly make it out of some plastic block and see what I think.
So I got the original ash tray ordered some plastic off ebay and cut it to a rough shape.
bought 2x 12 volt sockets
Actually looks alright in real life, all nicely tucked away at the back of the centre console and the wiring just runs under the console to the original wiring, where I now have my gauges. I will look into 3d printing something to fit in here at a later date, might even start selling them to you guys!
Gave her her first bath since the respray,
The paint didn't fall off!
Took the missis and her little girl to their first car show, BHP show at lydden hill. They really enjoyed it!
However it was at this car show there was a little weakness in the astra making an appearance....
Now, when I rebuilt the astra, I reused the clutch cause it has always been fine and had plenty of meat left on it... this may have been a mistake.
Brand new clutch cable, which I have had to adjust up several times, however the half hour of traffic I got stuck in gettin into this car show, the pedal went low again and eventually the clutch started to drag and it was gettin hard to get in gear! Not cool. So I have used the very last bit of adjustment on the cable to get me home. The clutch is fine again now, but first of all I thought the cable was stretching, but Now I think the fingers on the pressure plate have gone weak and are not returning to their original position and instead causing the release bearing to sit further and further in.....
I have booked a holiday to the Nurburgring in June so I can't be taking any risks as I want to be lapping the ring in the astra!, So I have ordered a clutch for the Astra and the box is coming out this weekend! Well it was good while it lasted.... I've done 800 miles now which tbf, is a quarter of my annual mileage on my insurance haha.
But this picture paints a thousand happy Dave's
Still bone dry!
Car is in some shape. level of detail is great.
Where did you wire the USB ports back to ?
Where did you wire the USB ports back to ?
Bradwell! 4 of us hooned up that way a couple of weeks back. Nice roads round Dengie!
Users who are viewing this thread
Total: 2 (members: 0, guests: 2)