Want to remove ads? Become a MK3OC Club Member today!

Dave b's VXR Powered Gsi Diary

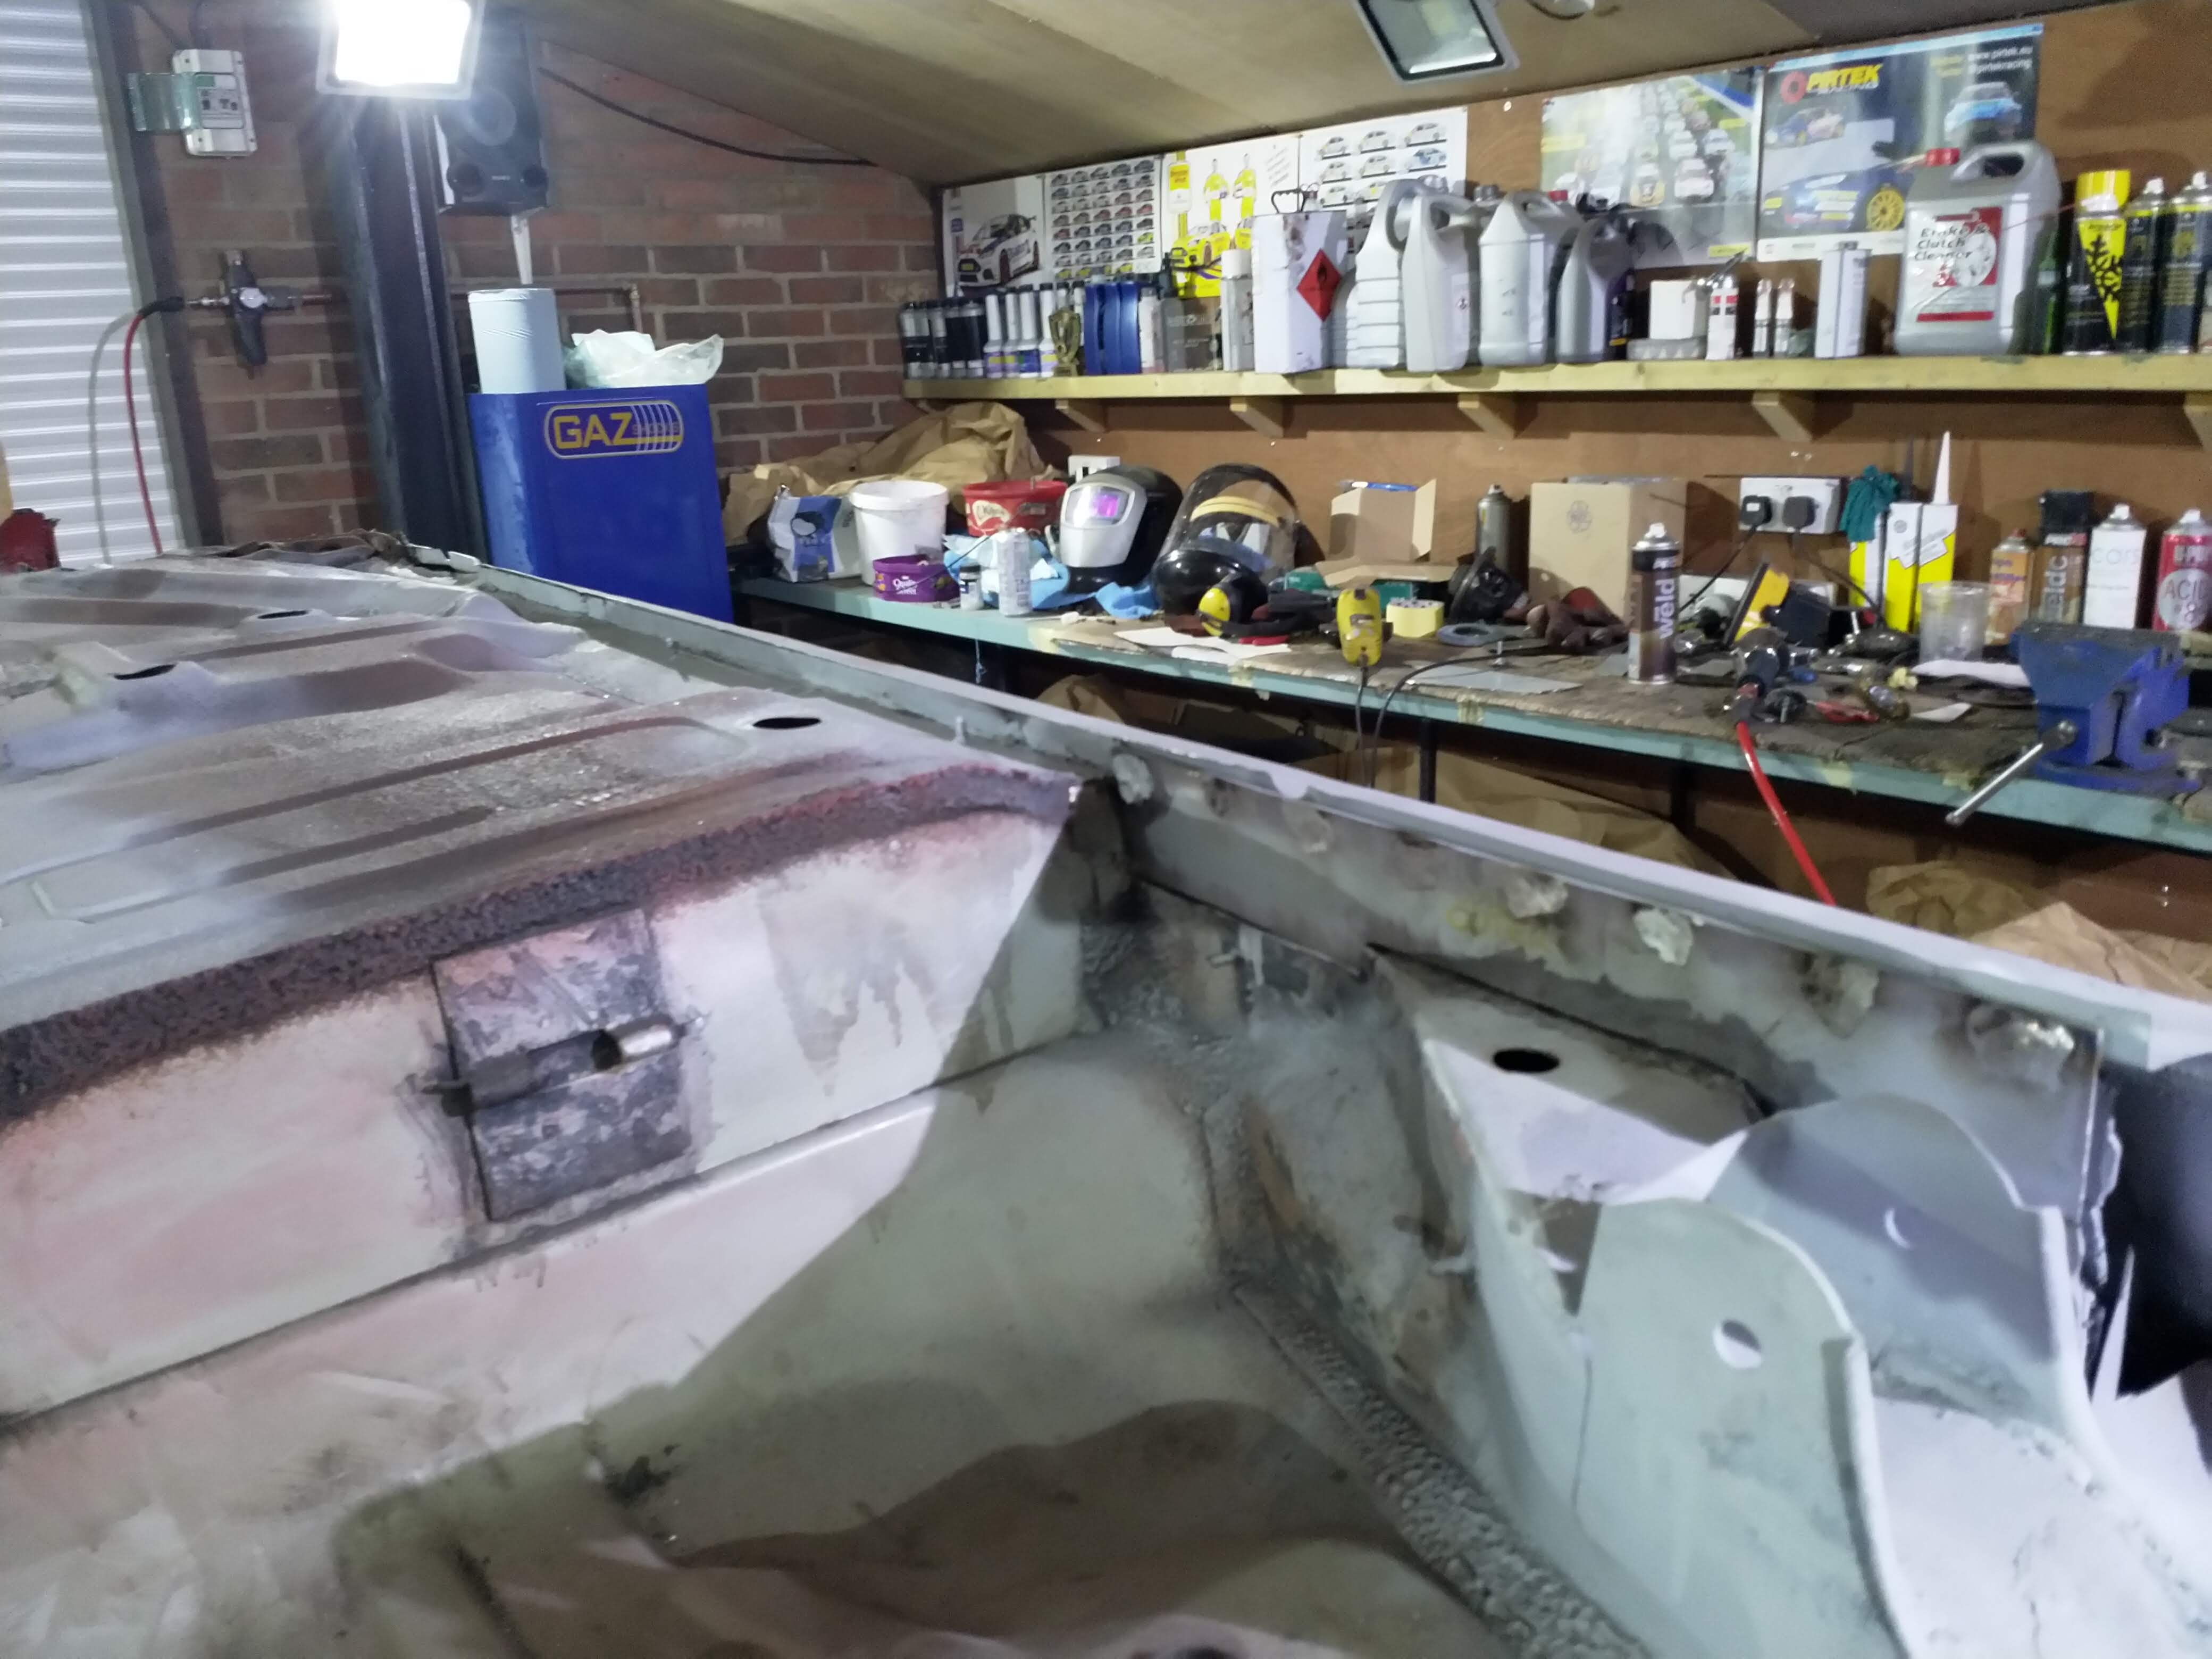
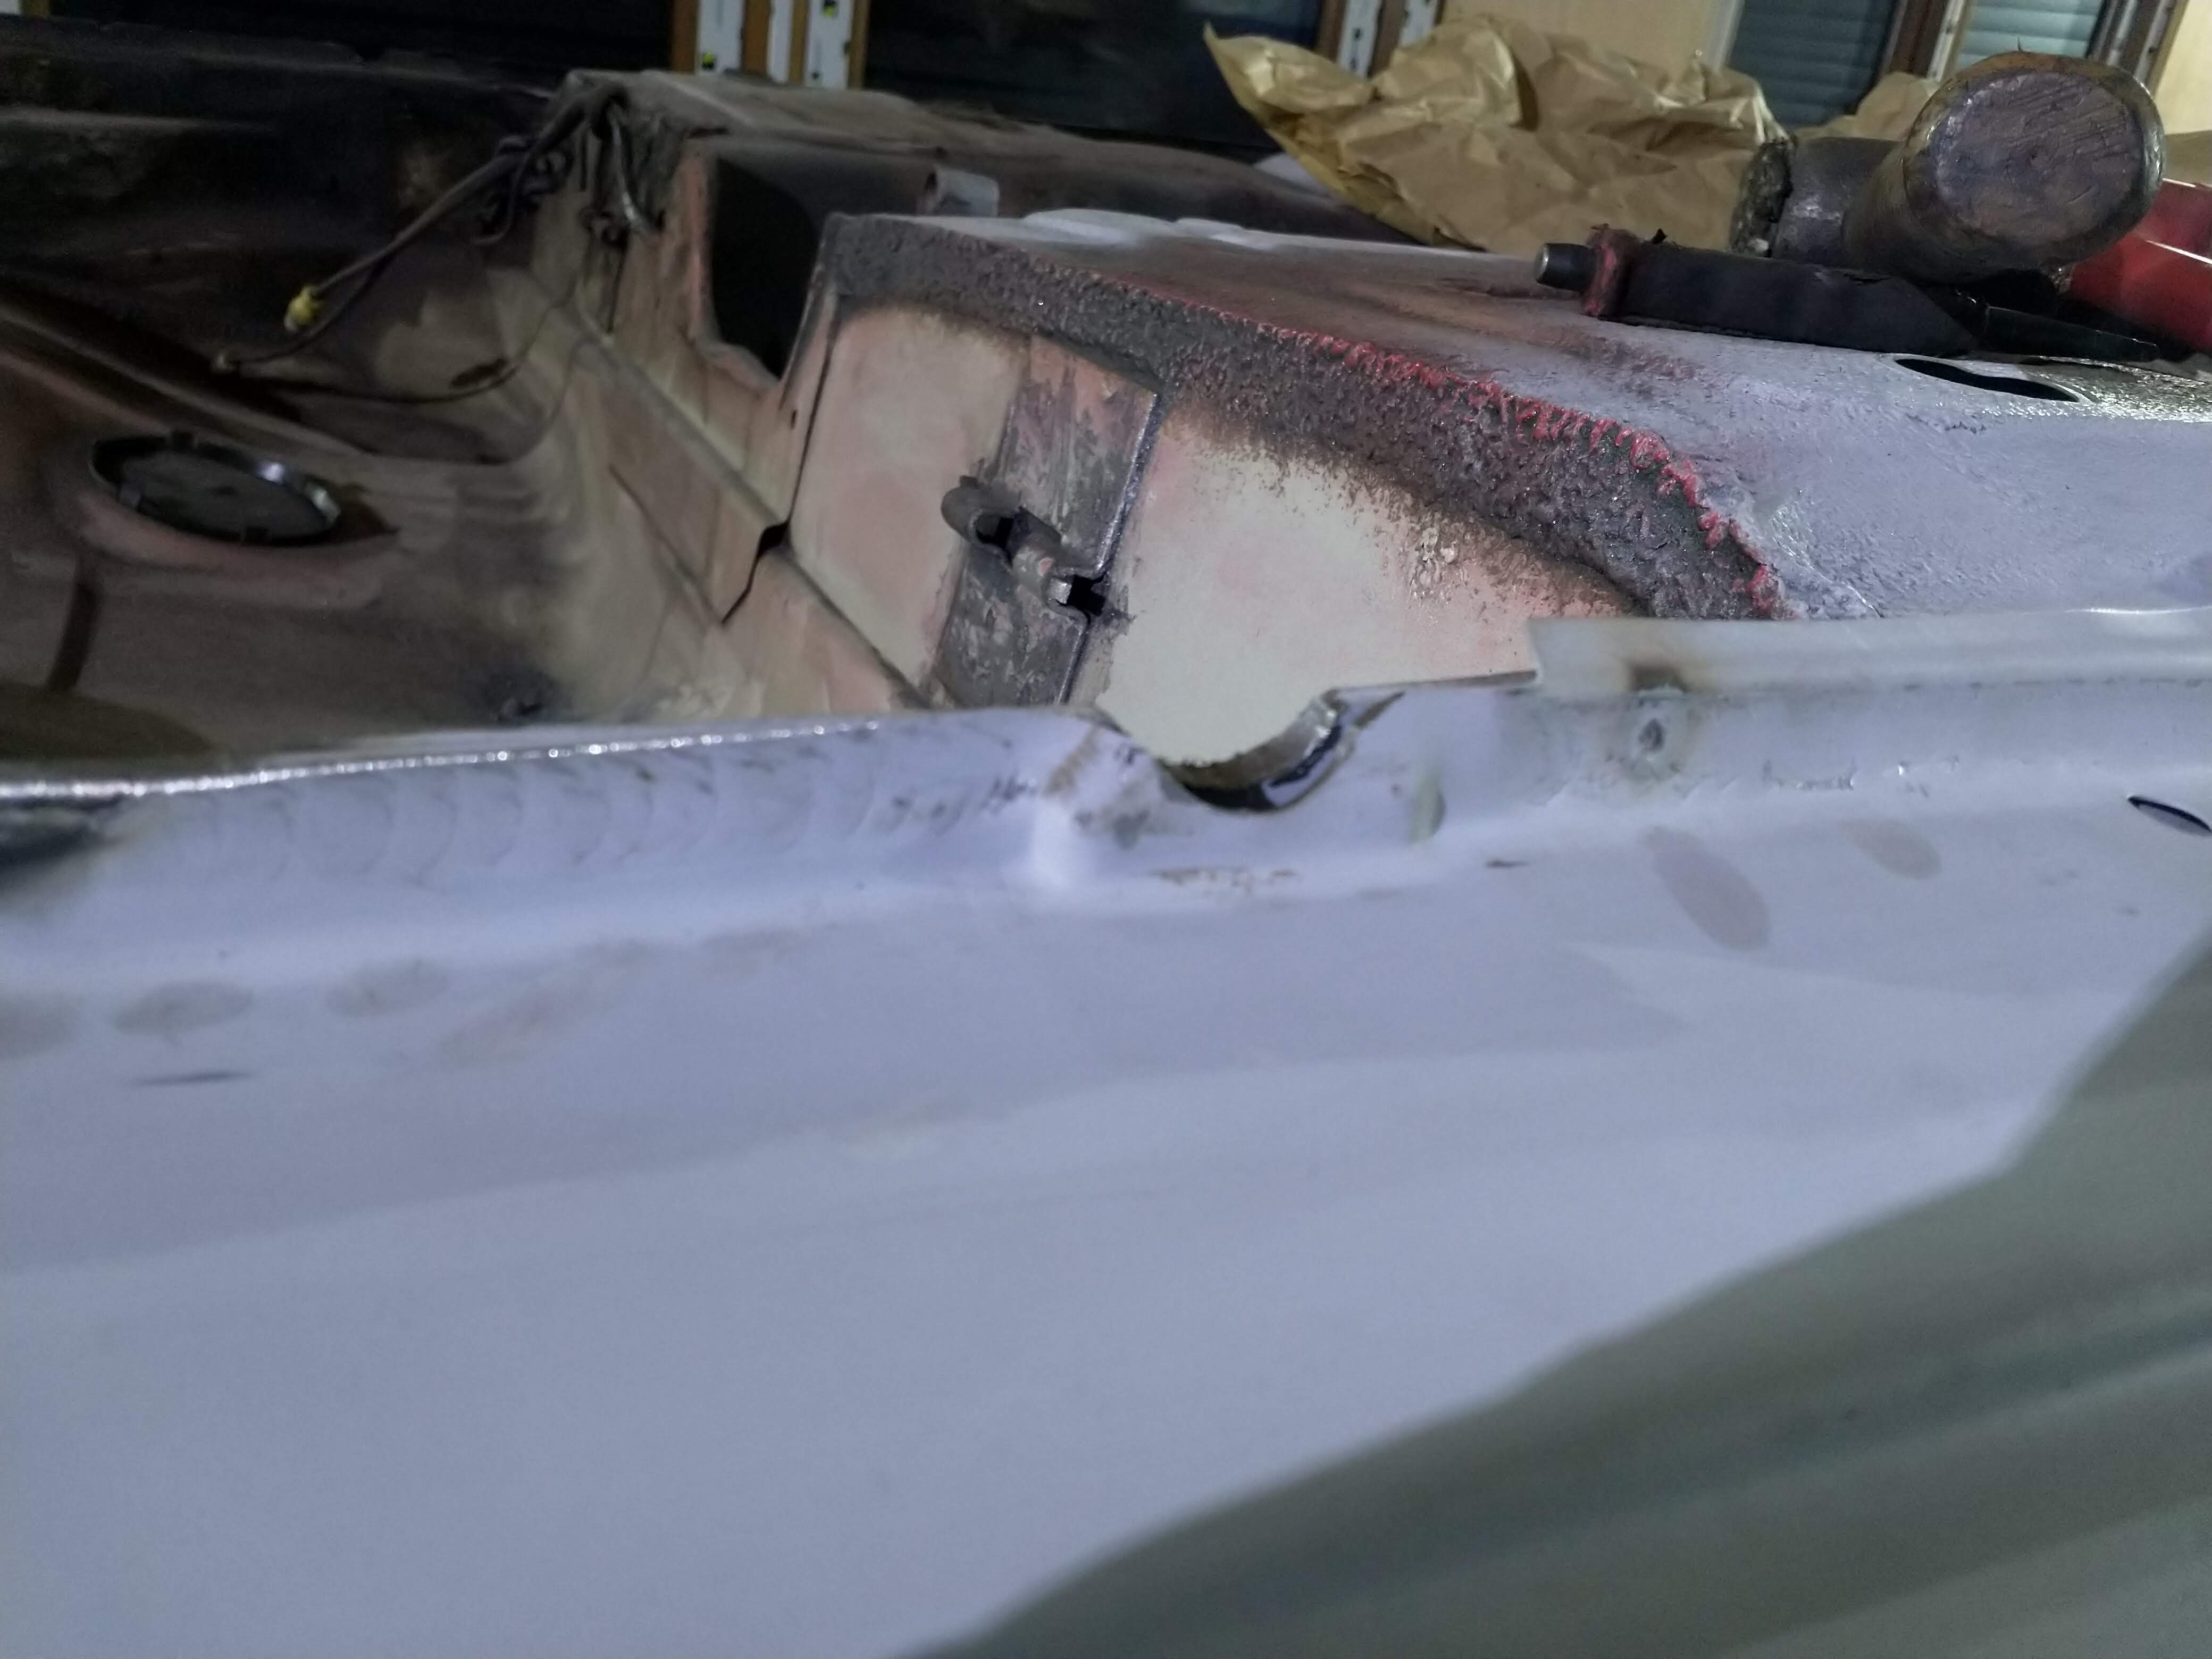
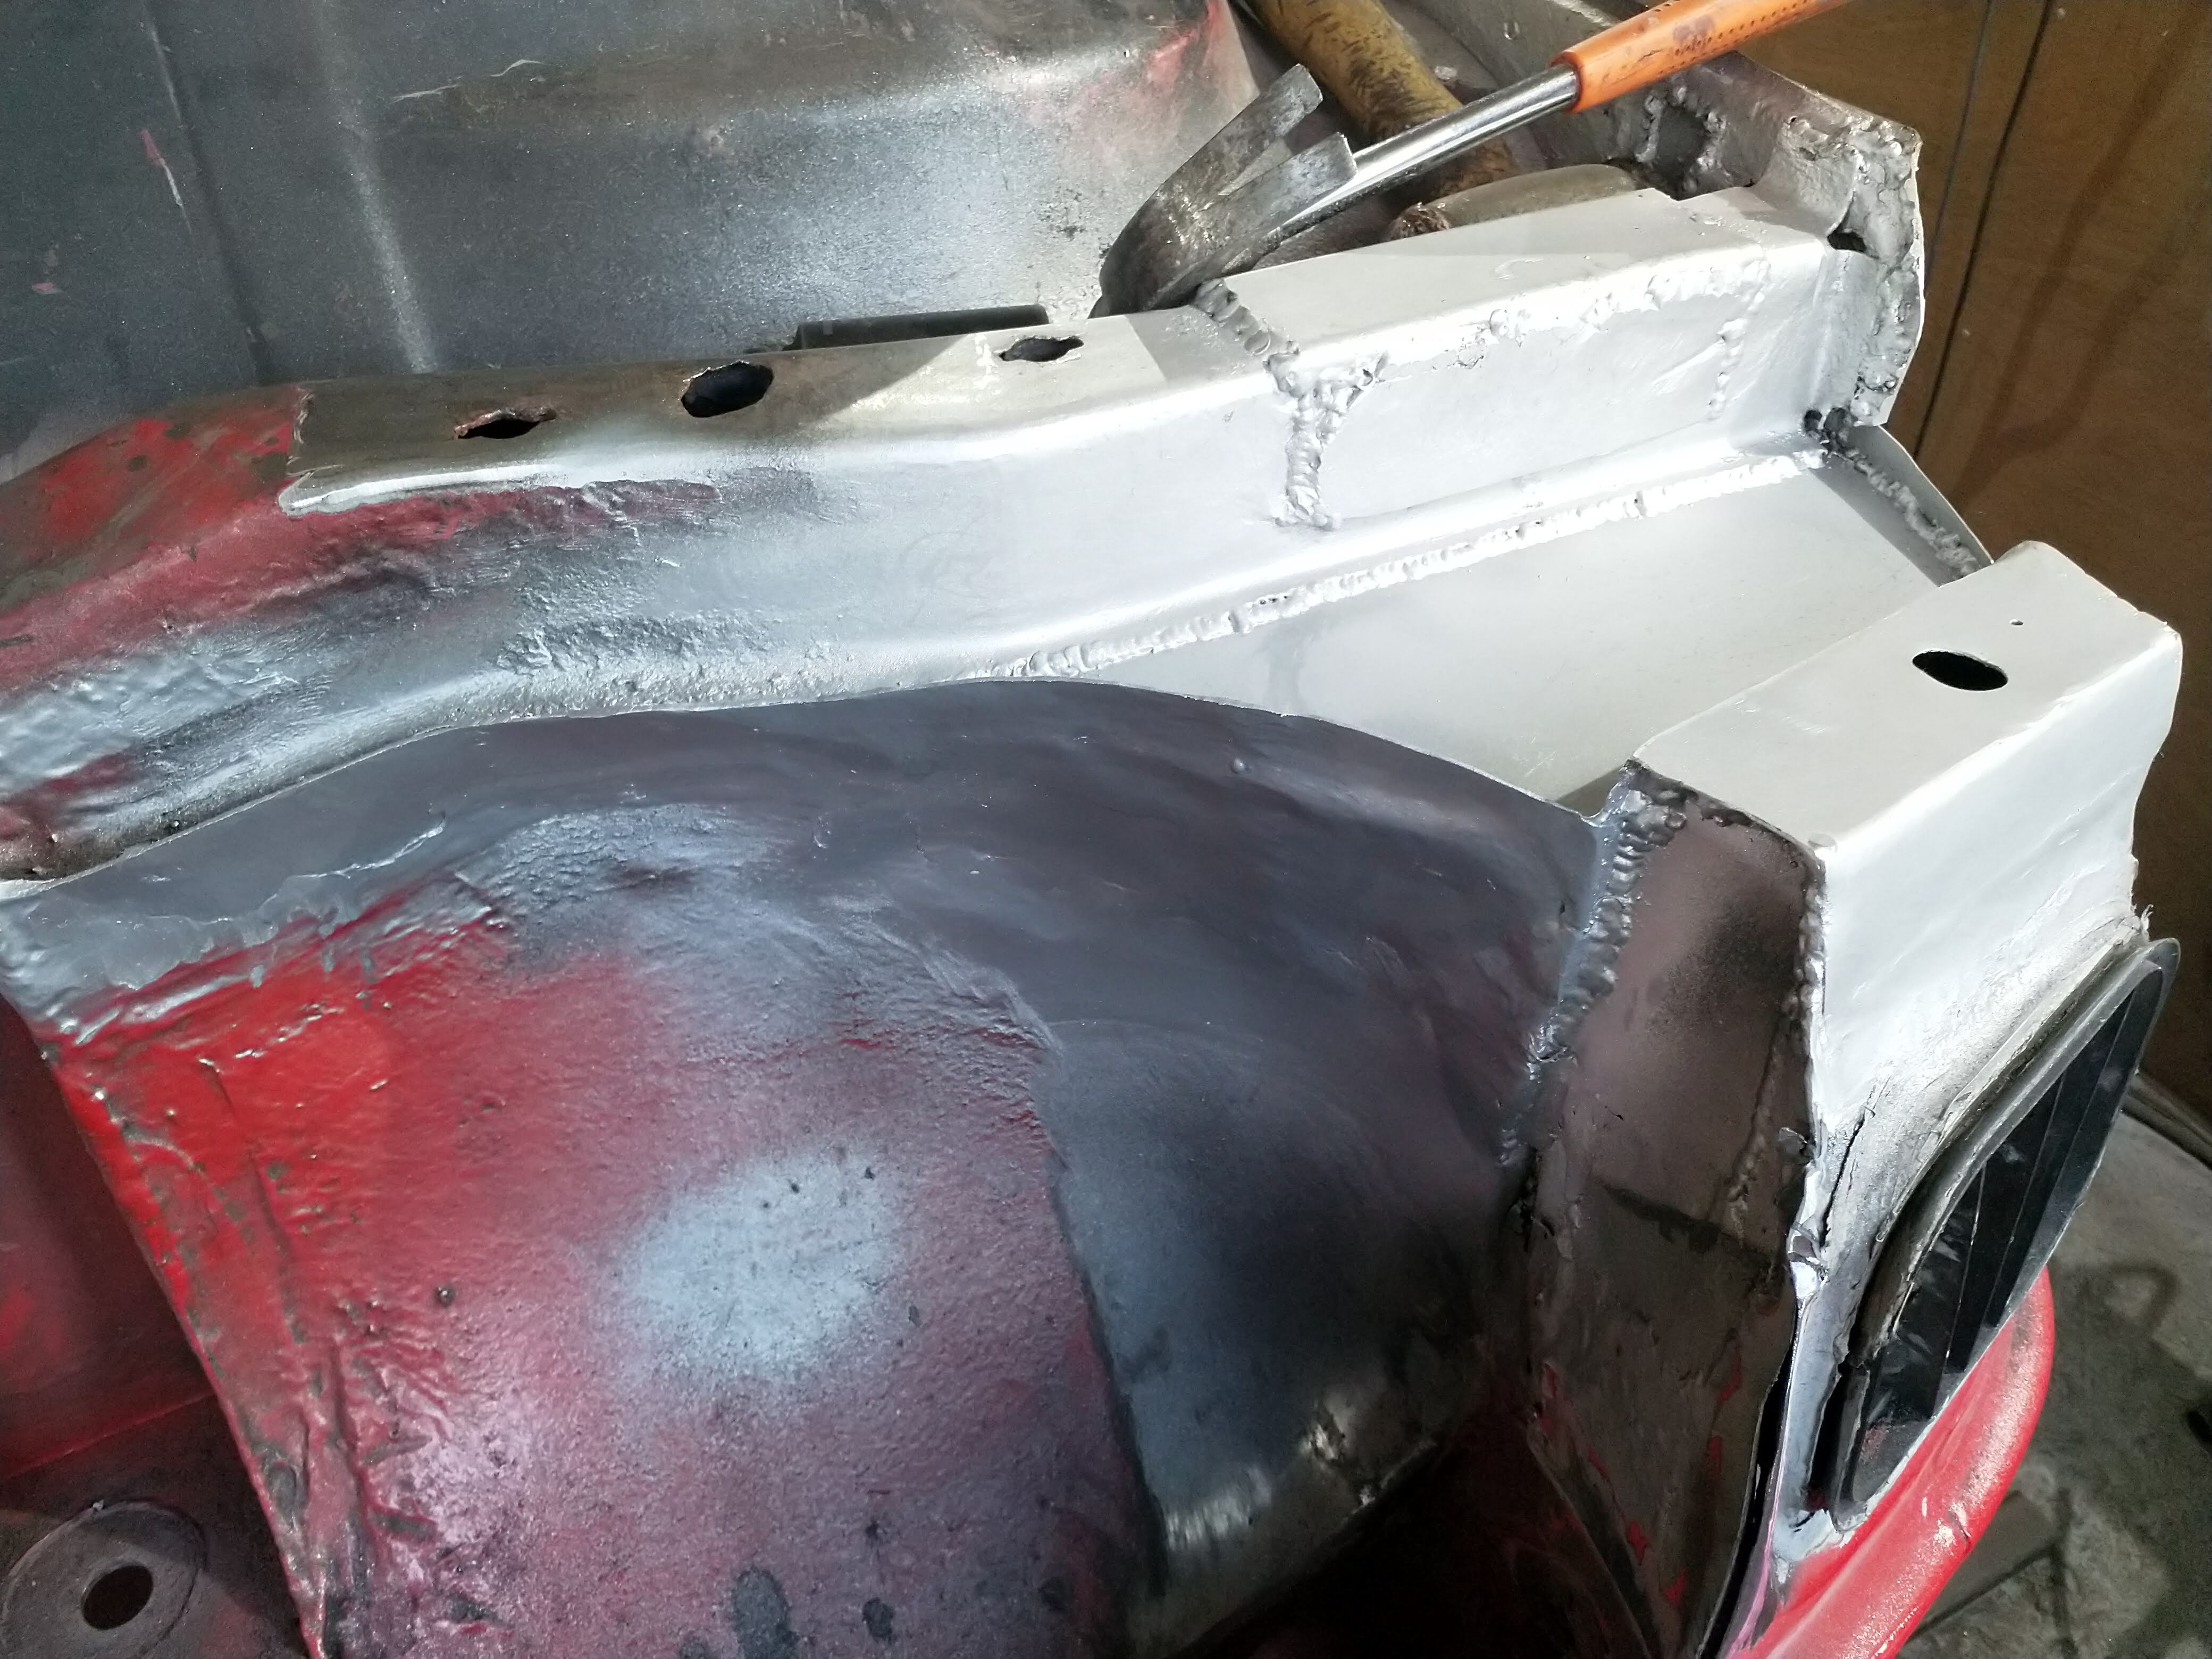
So back in the workshop, and time to crack on! Weld the bar, welder turned up for lots of melting!

full

full


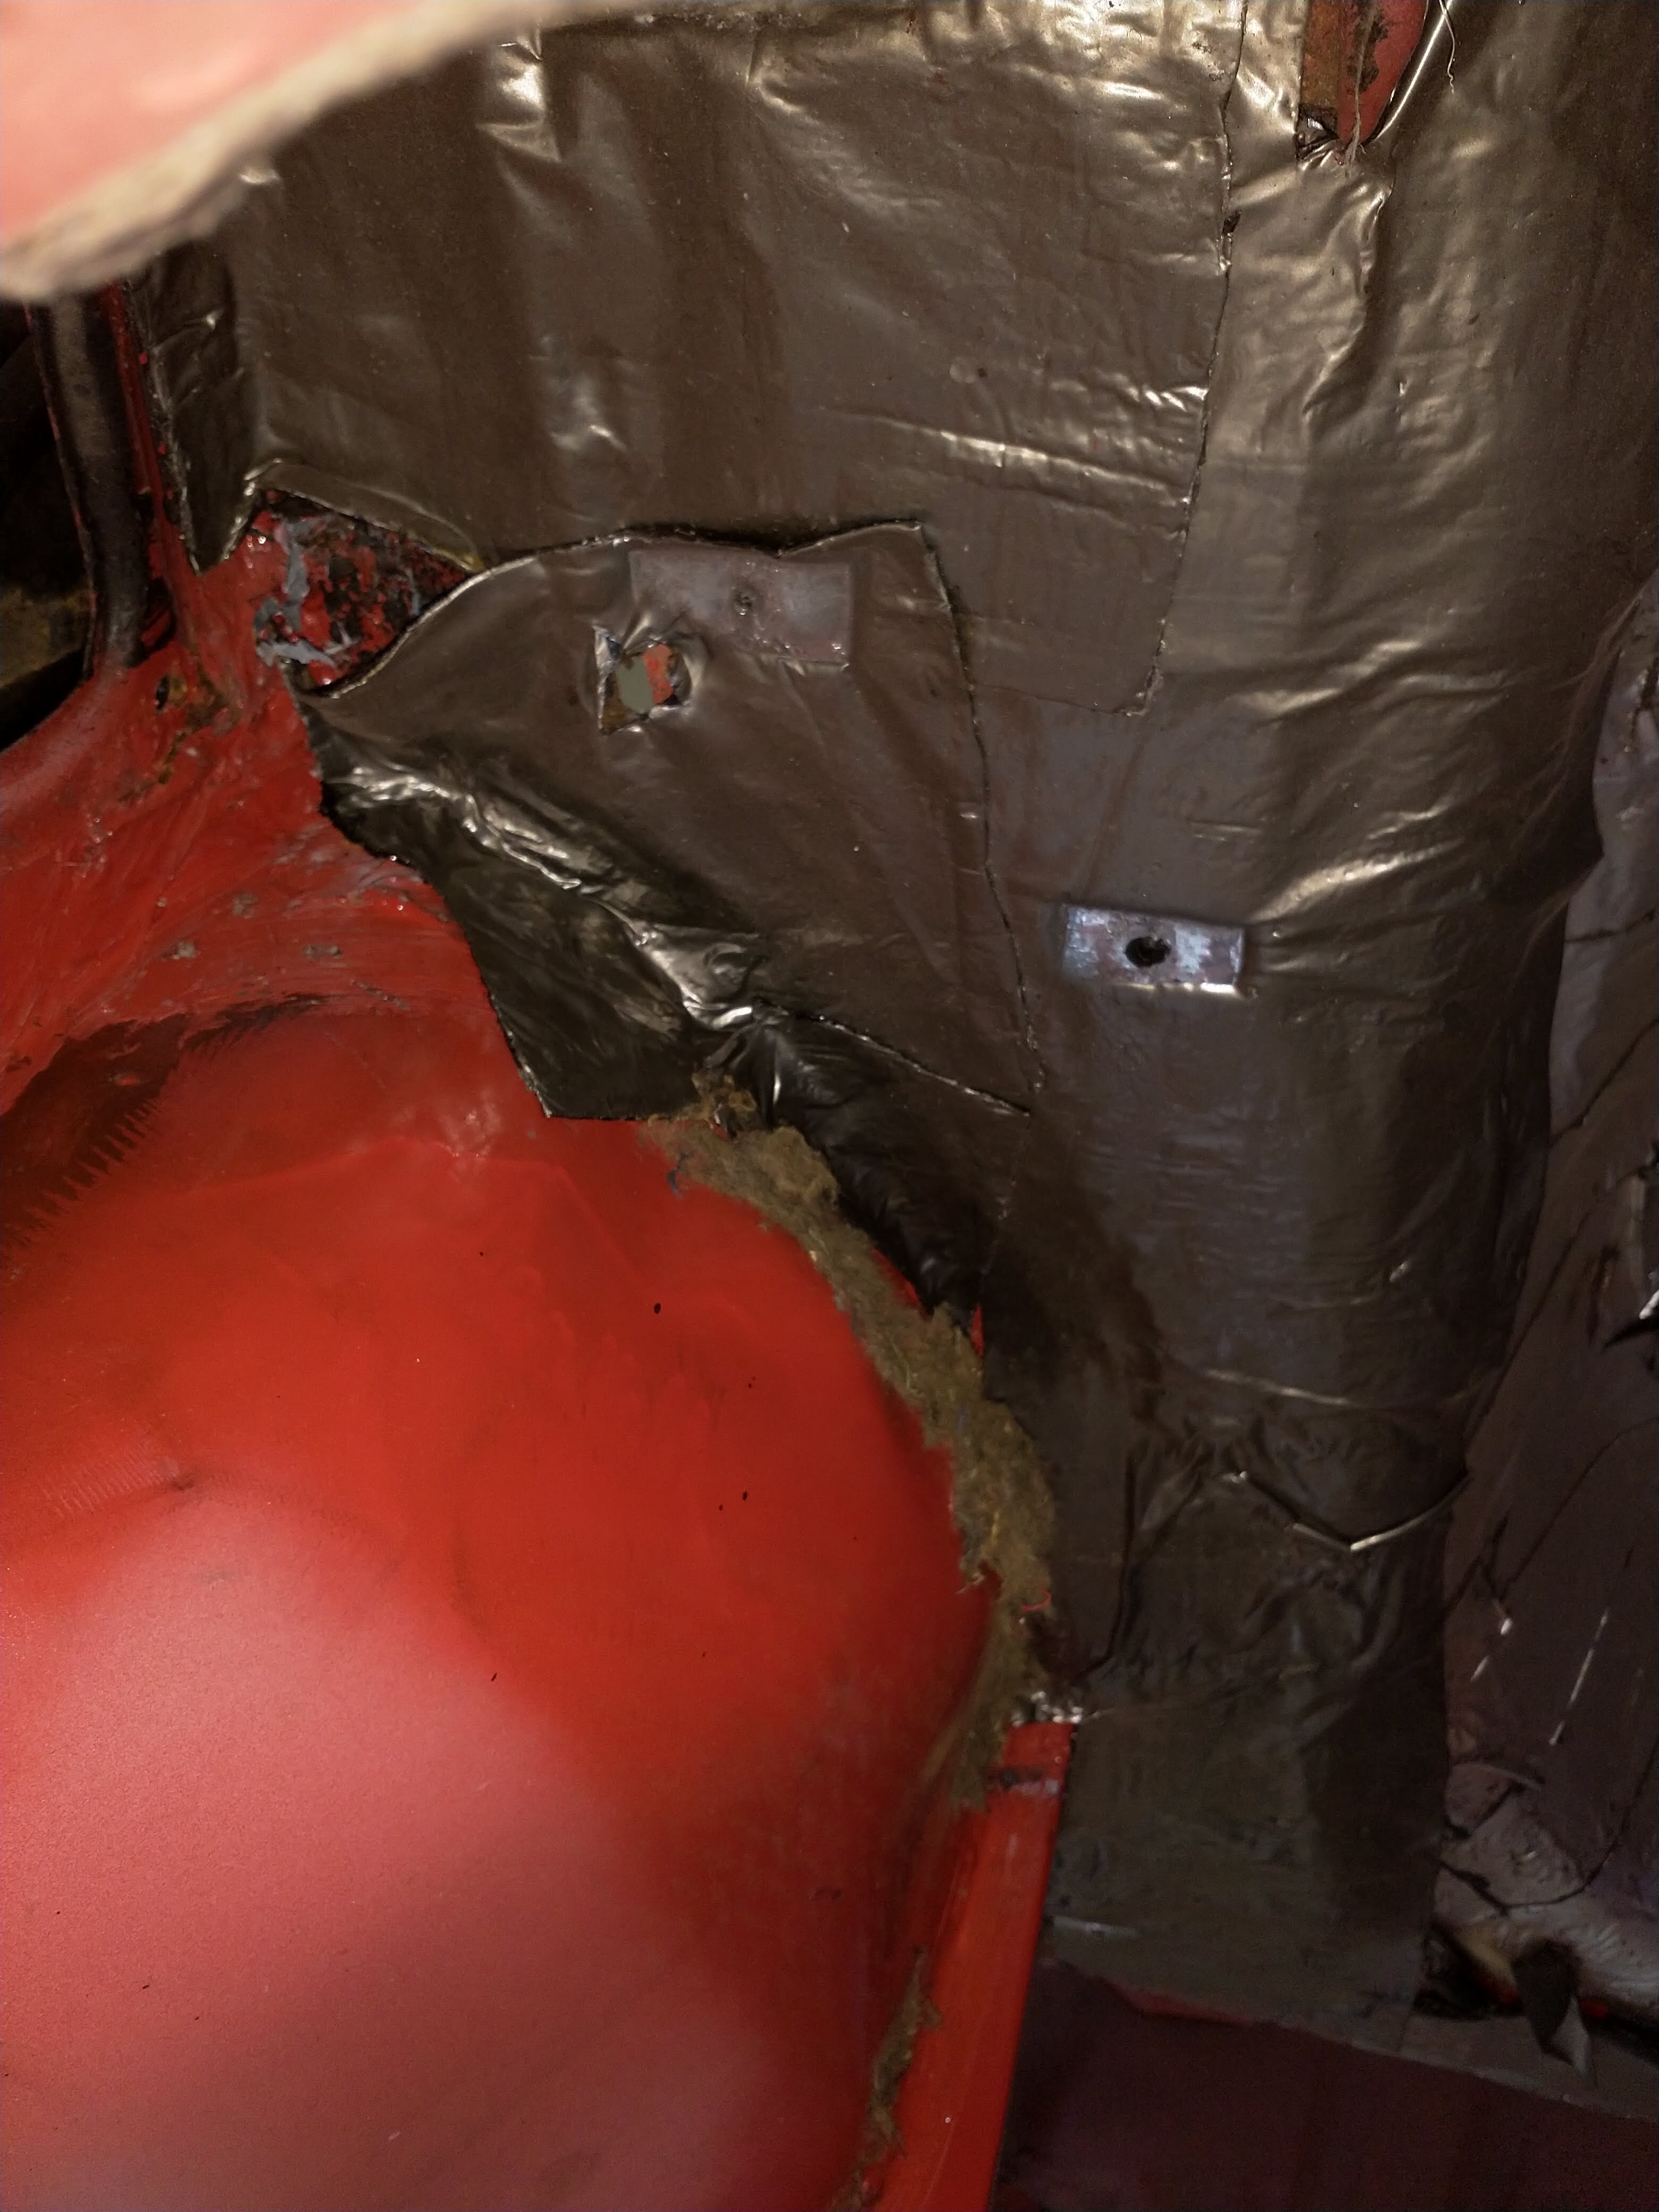
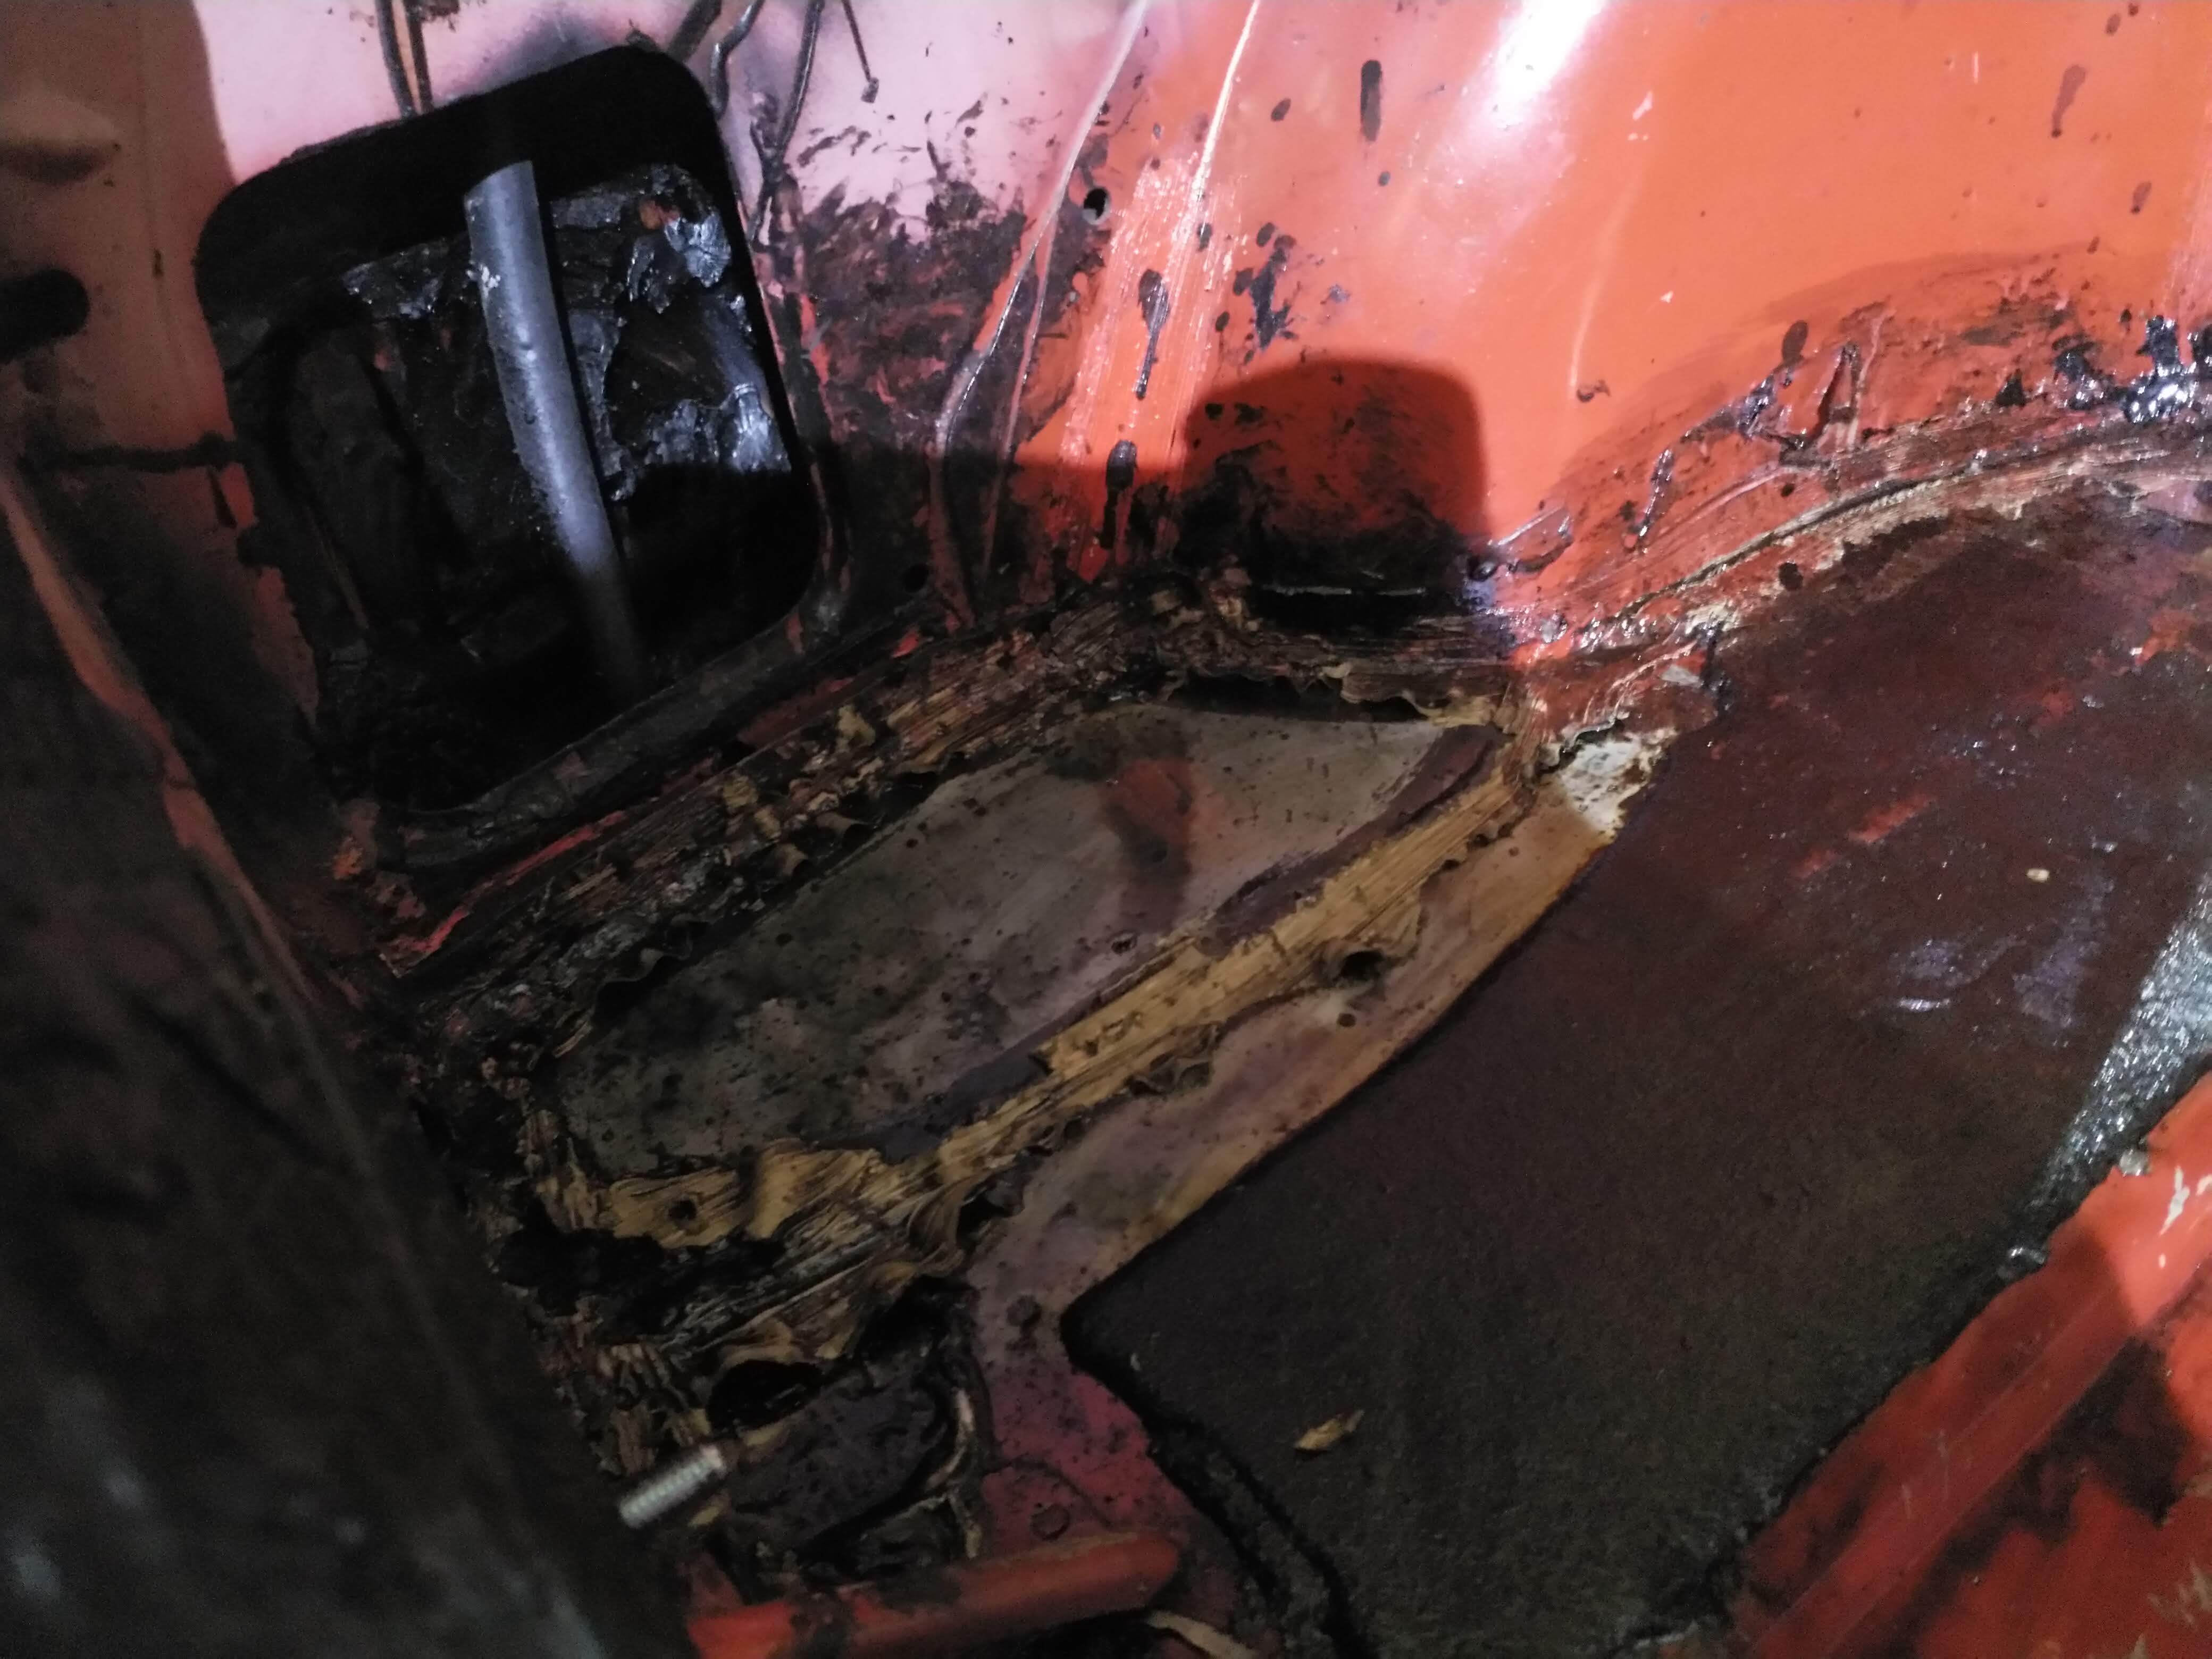
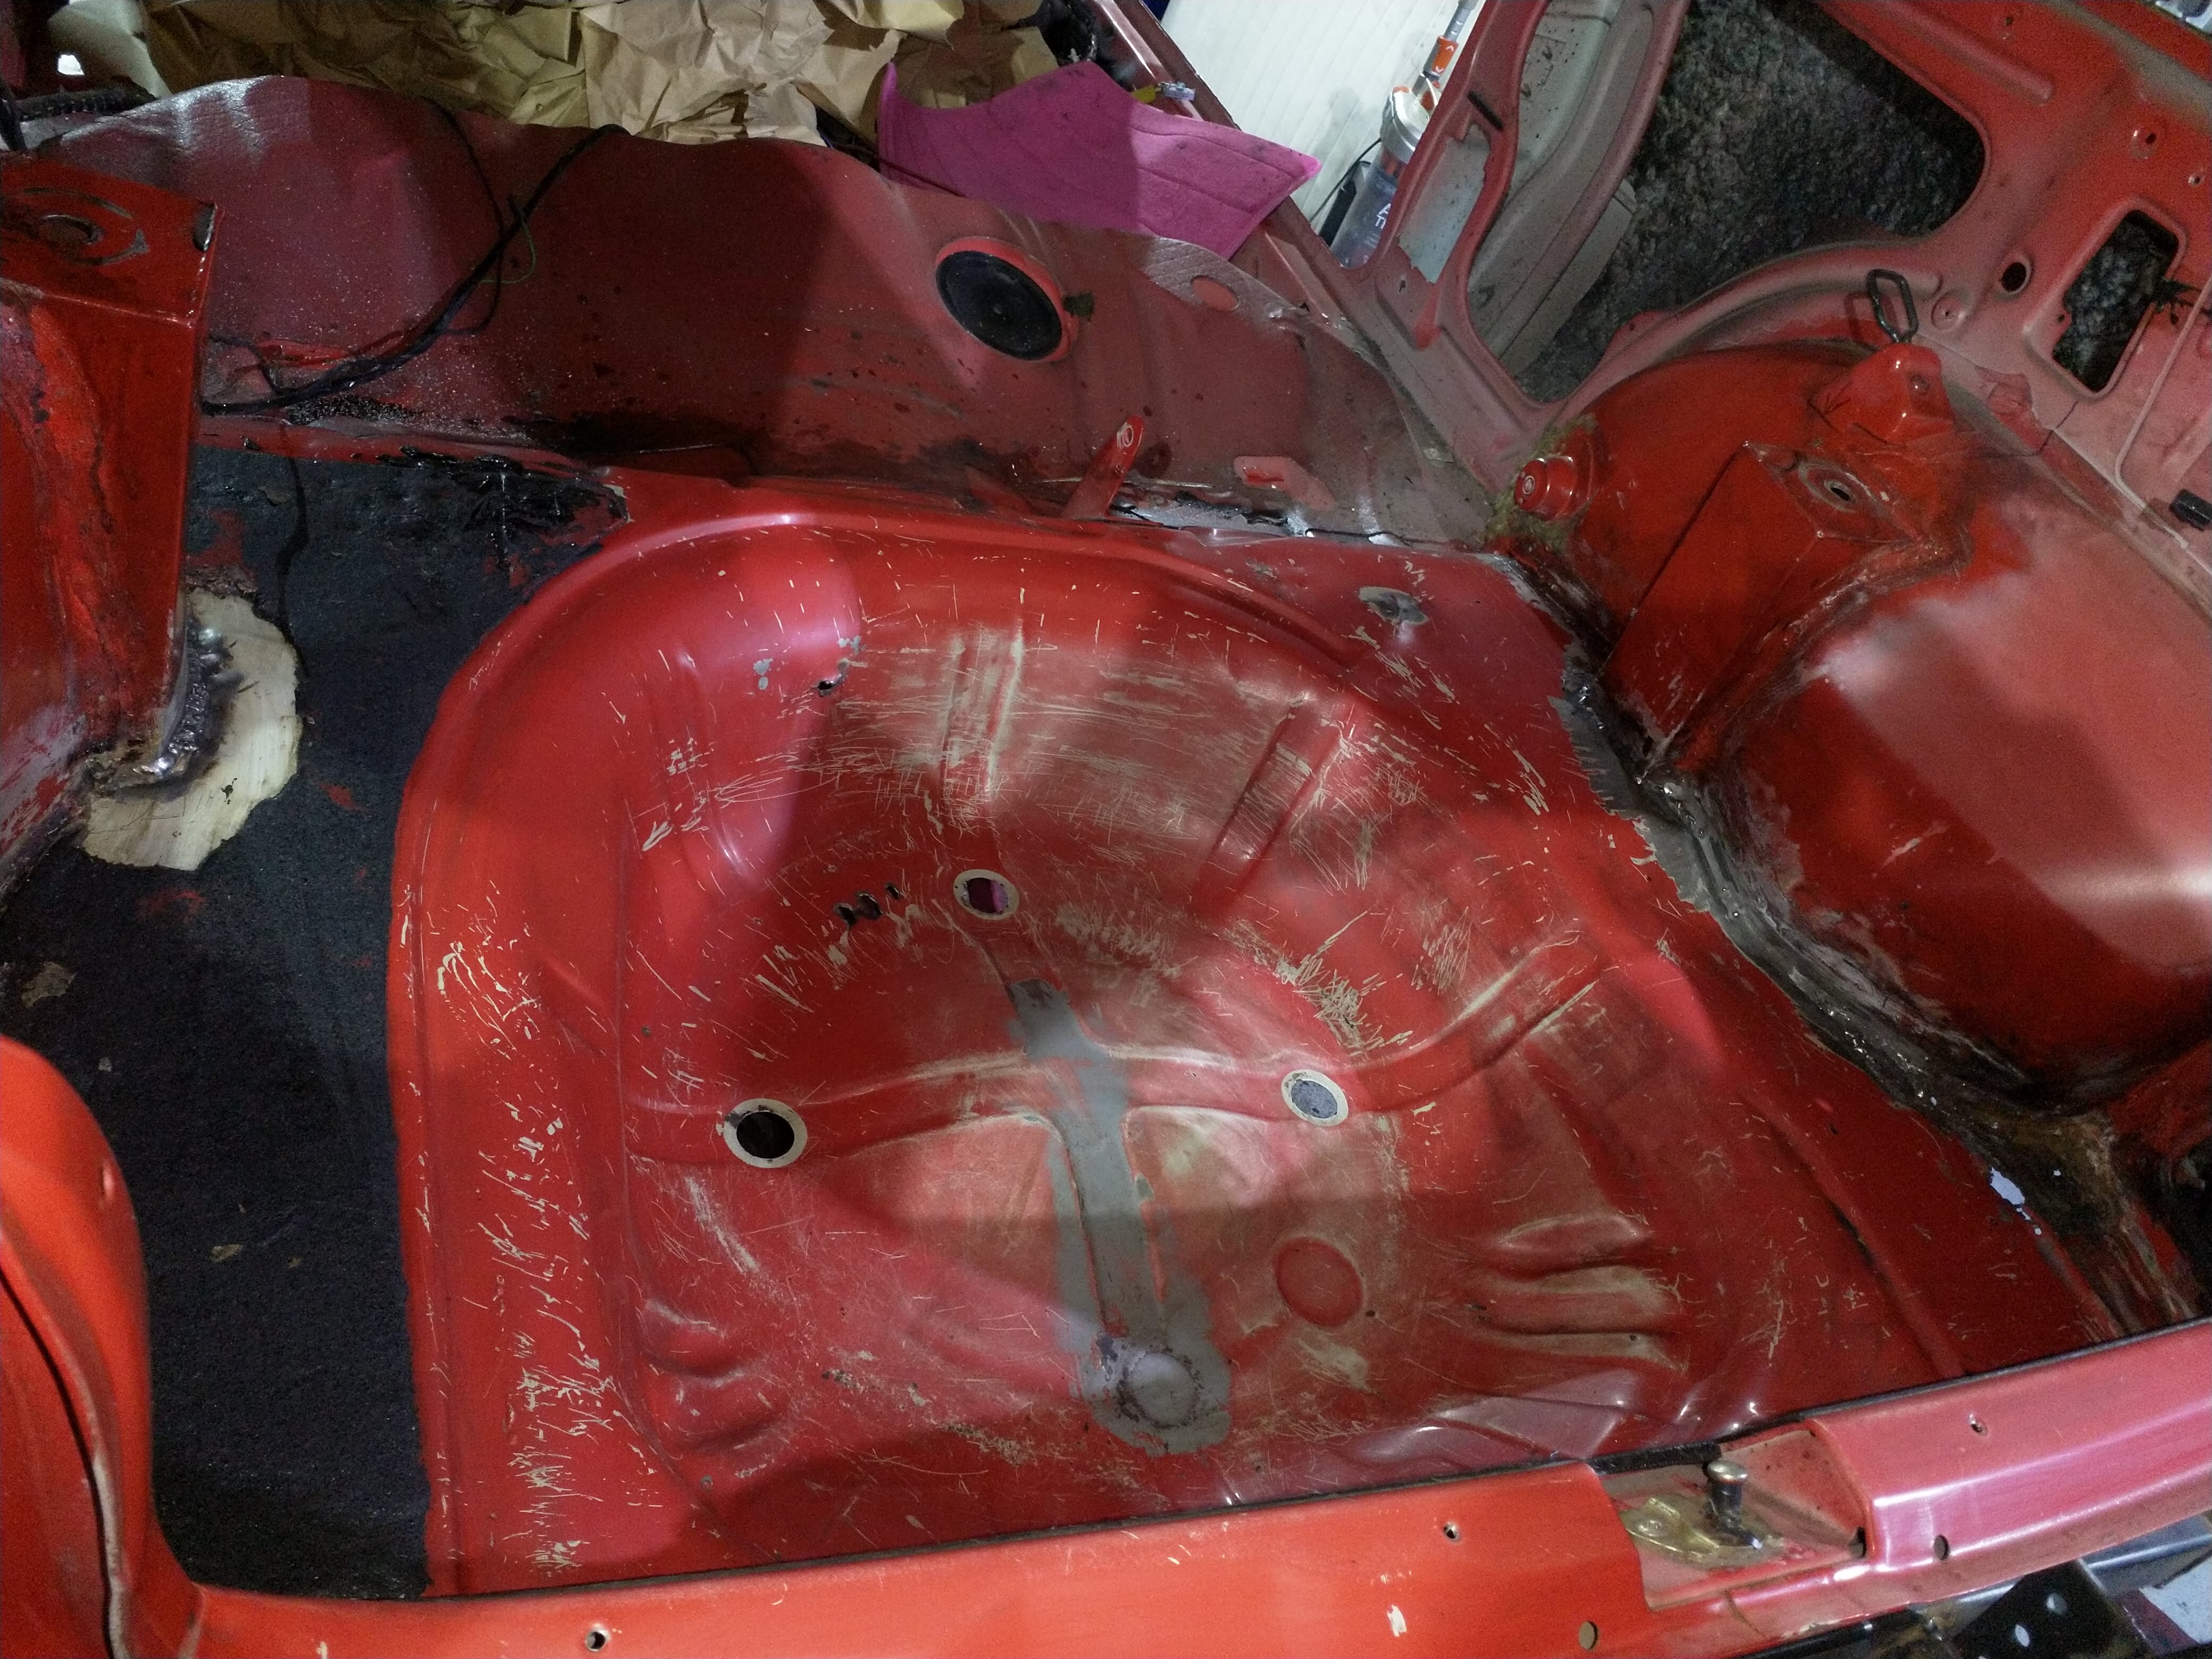
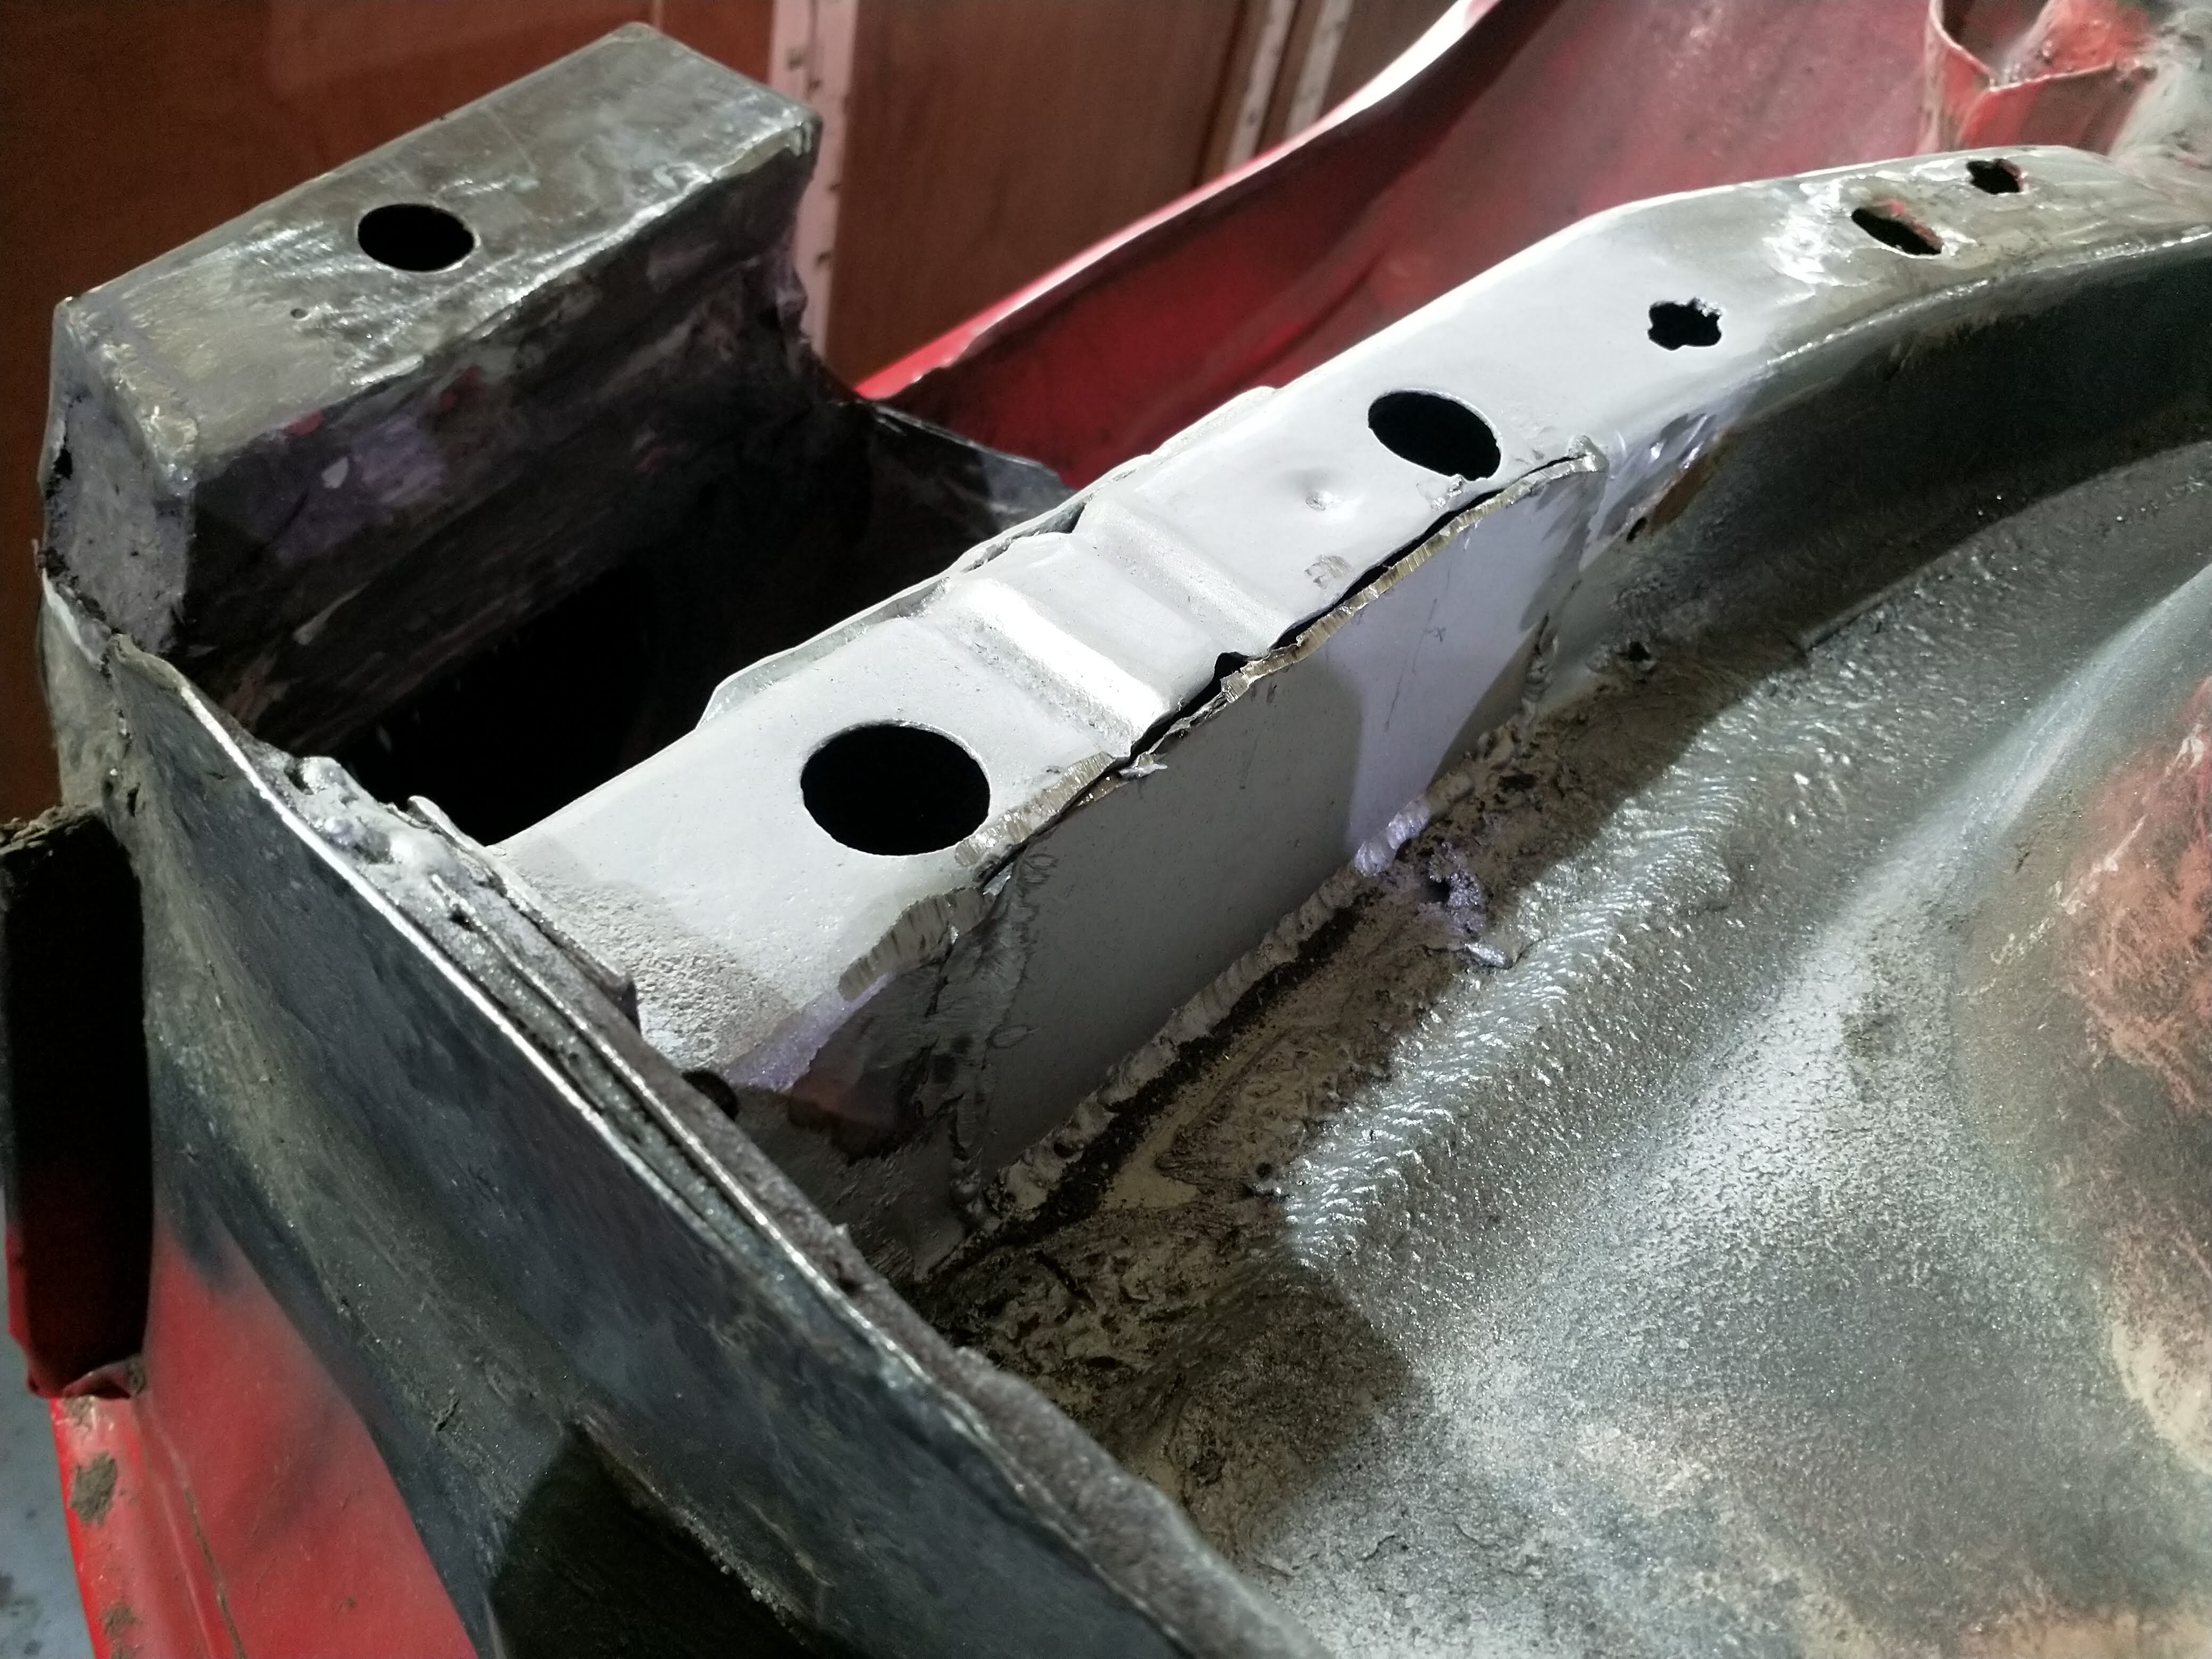
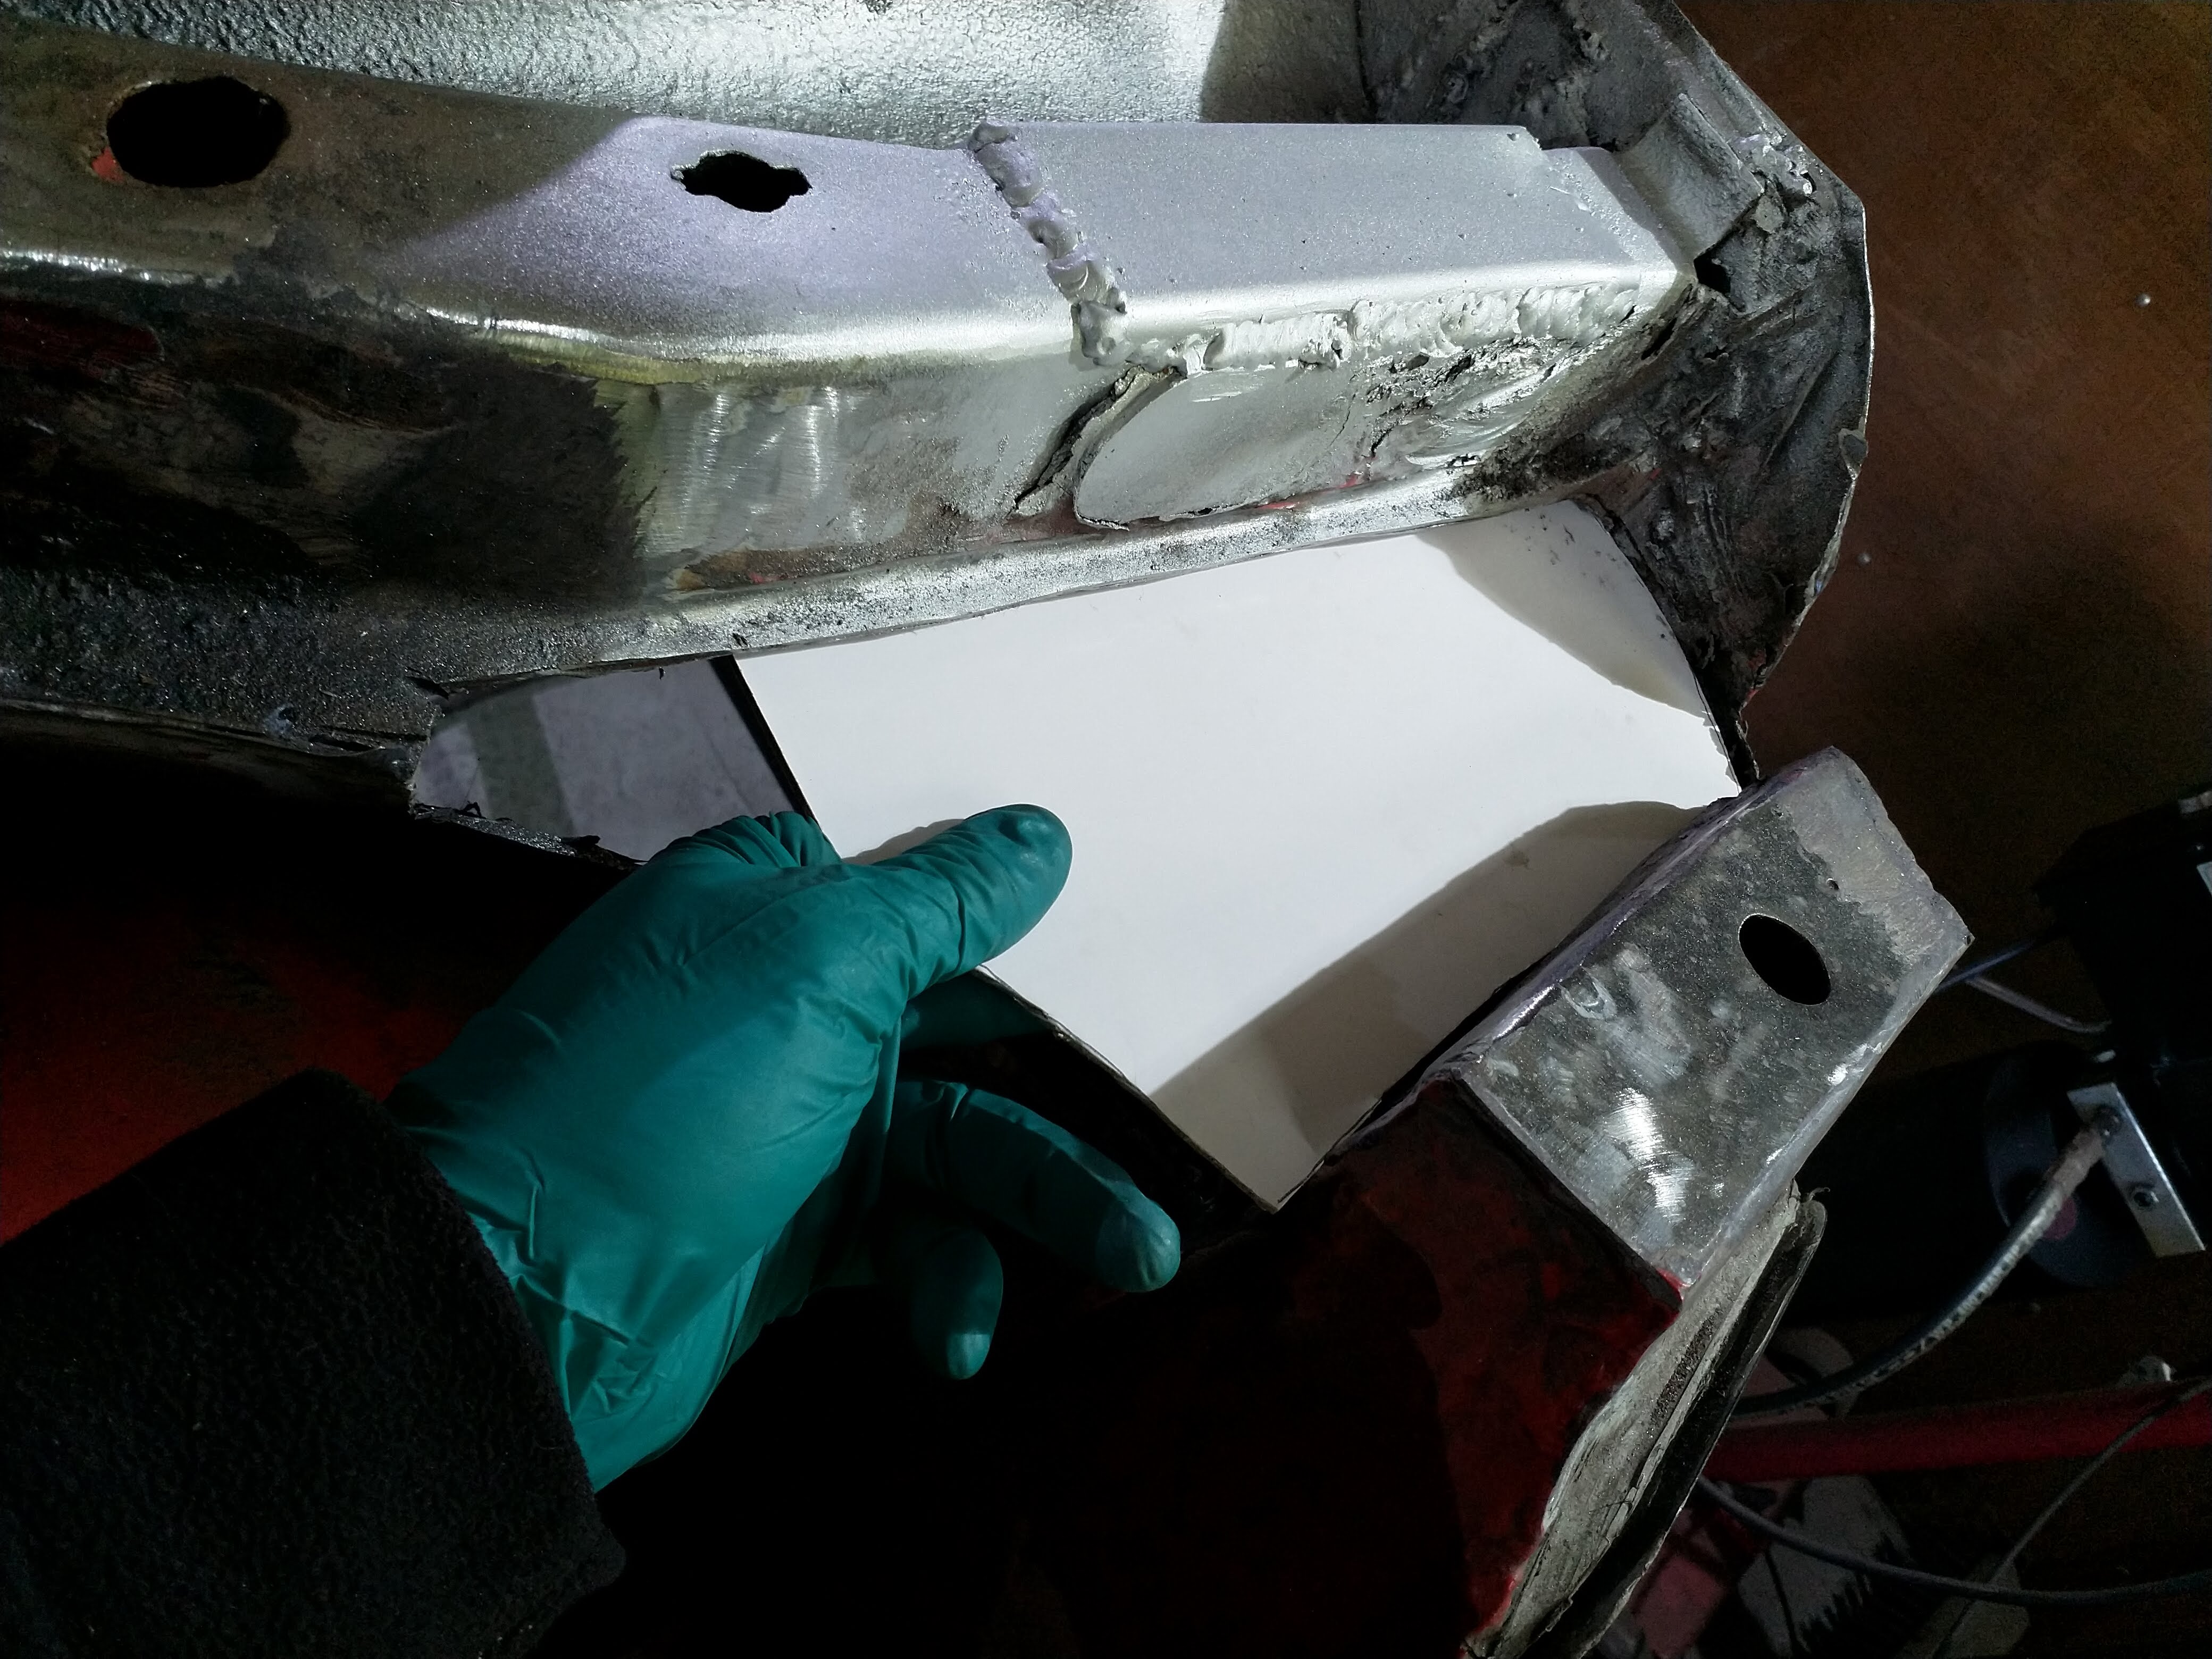
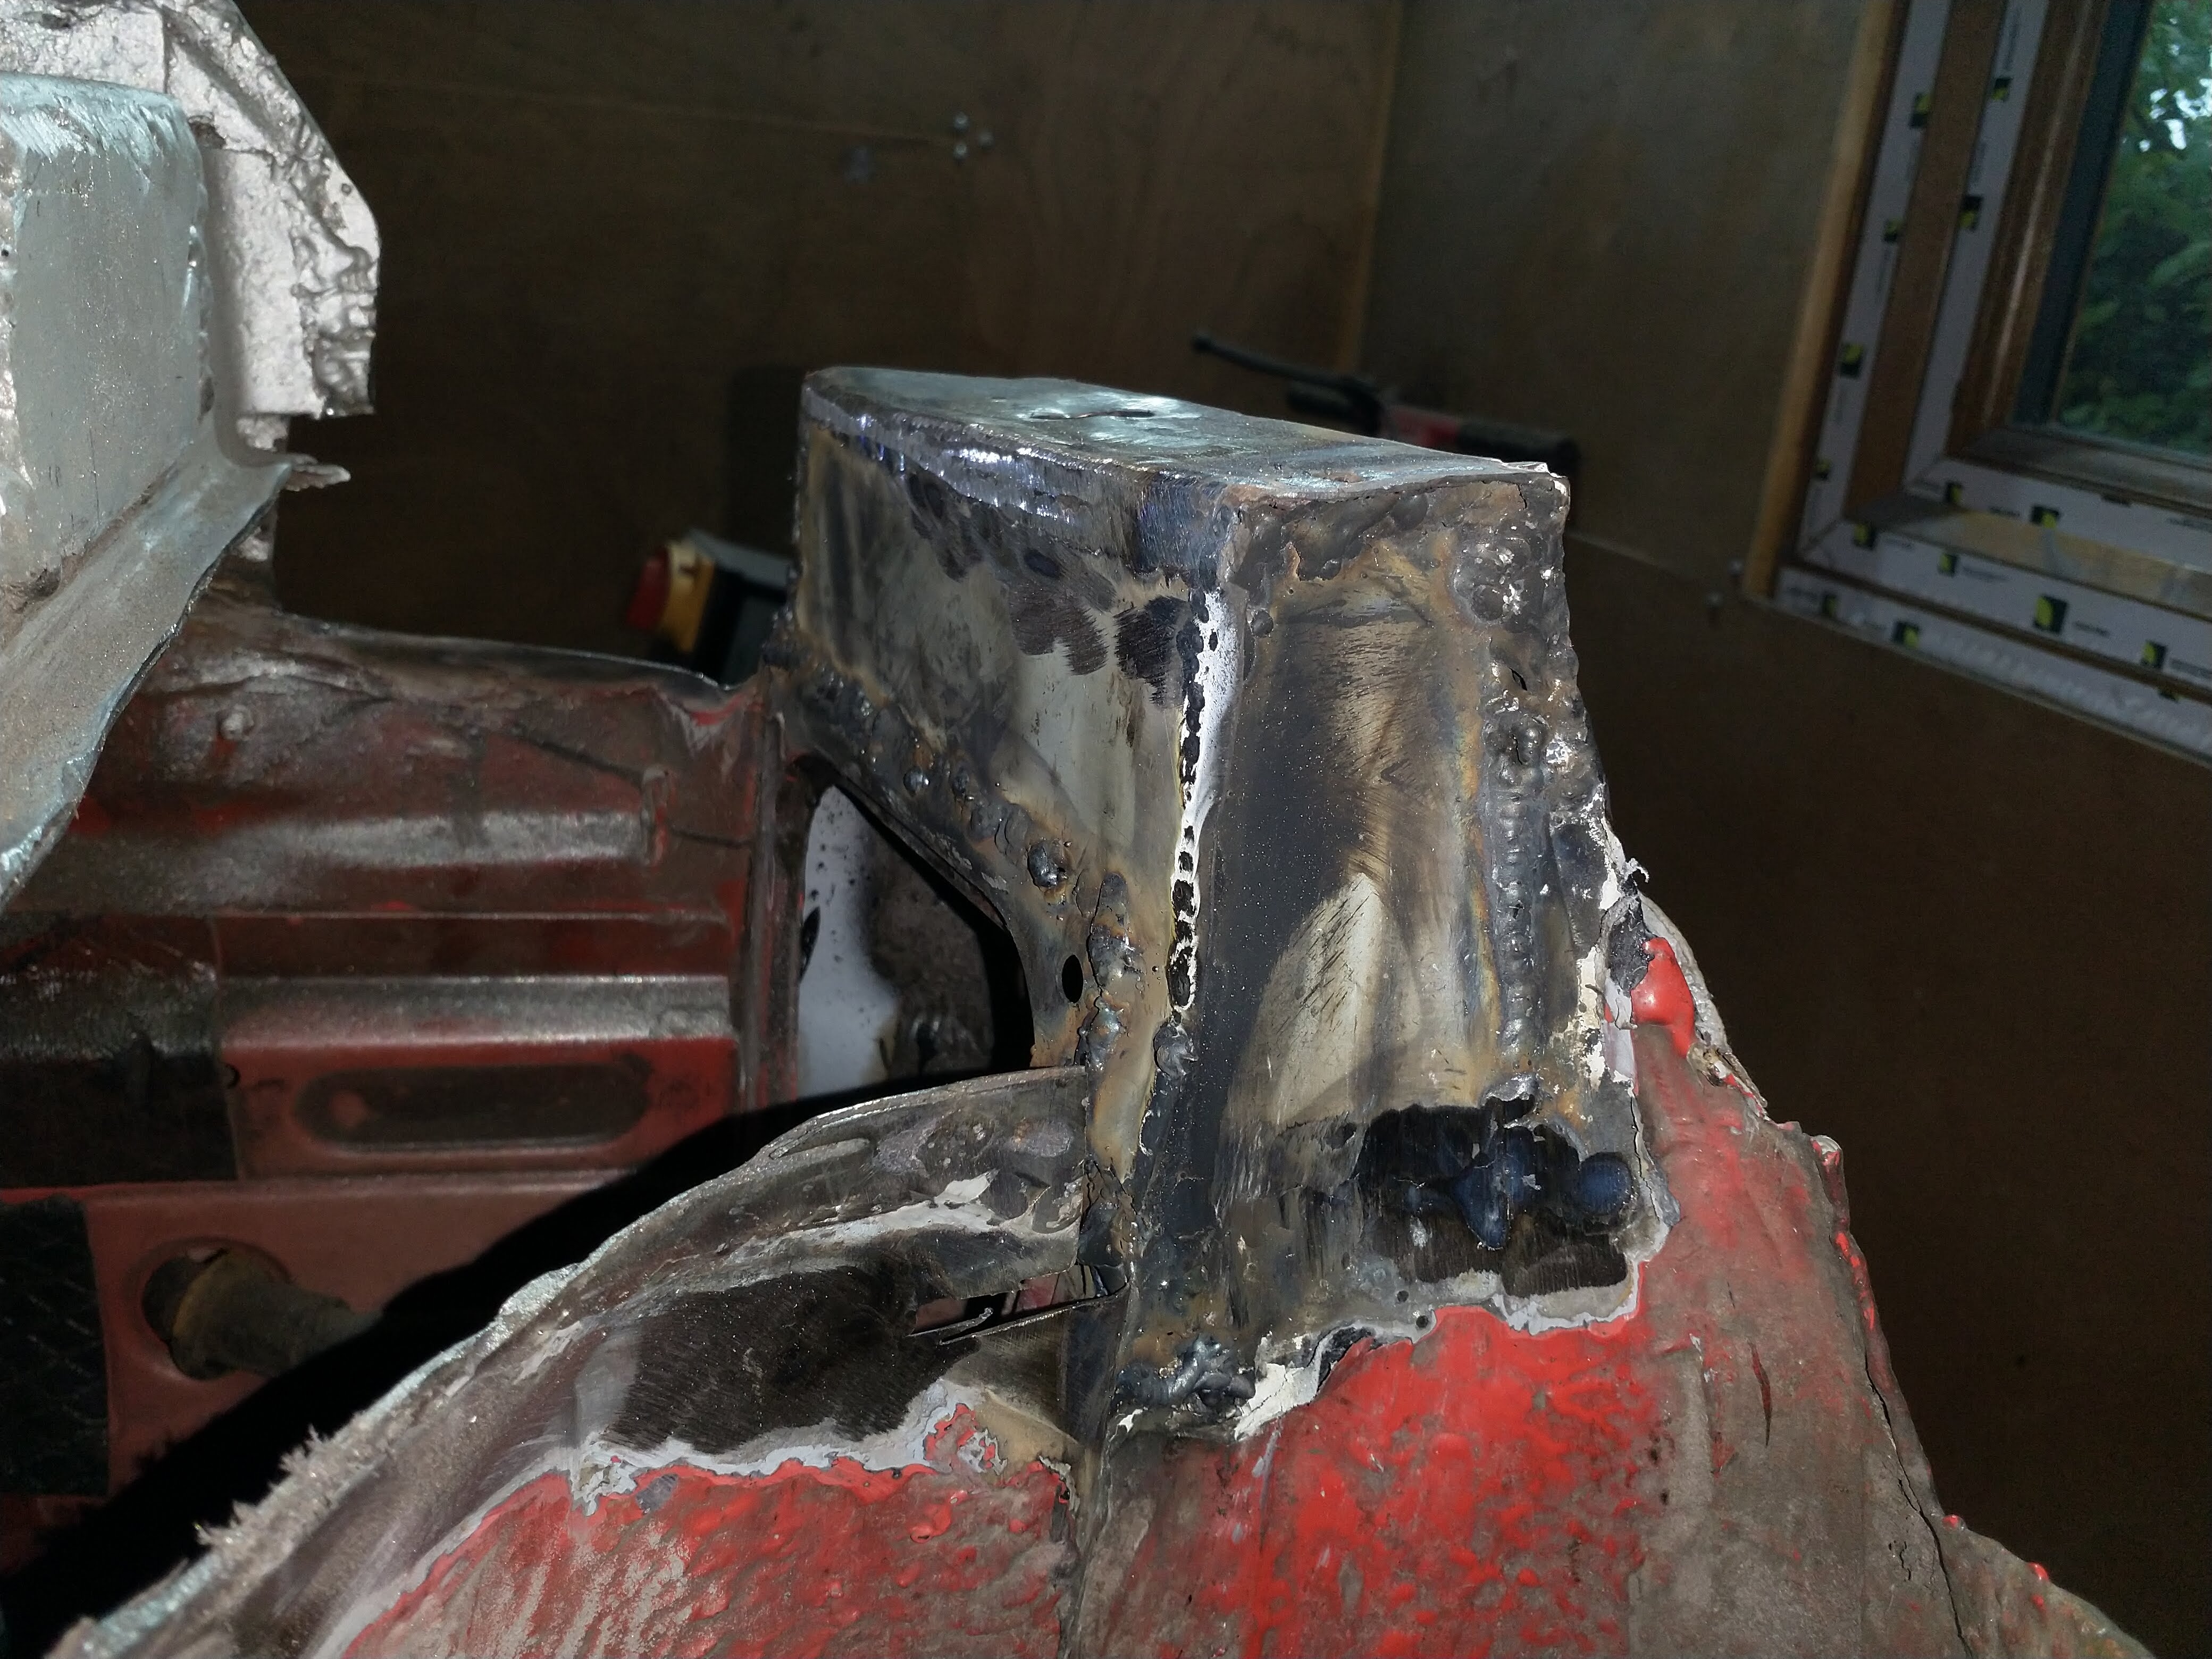
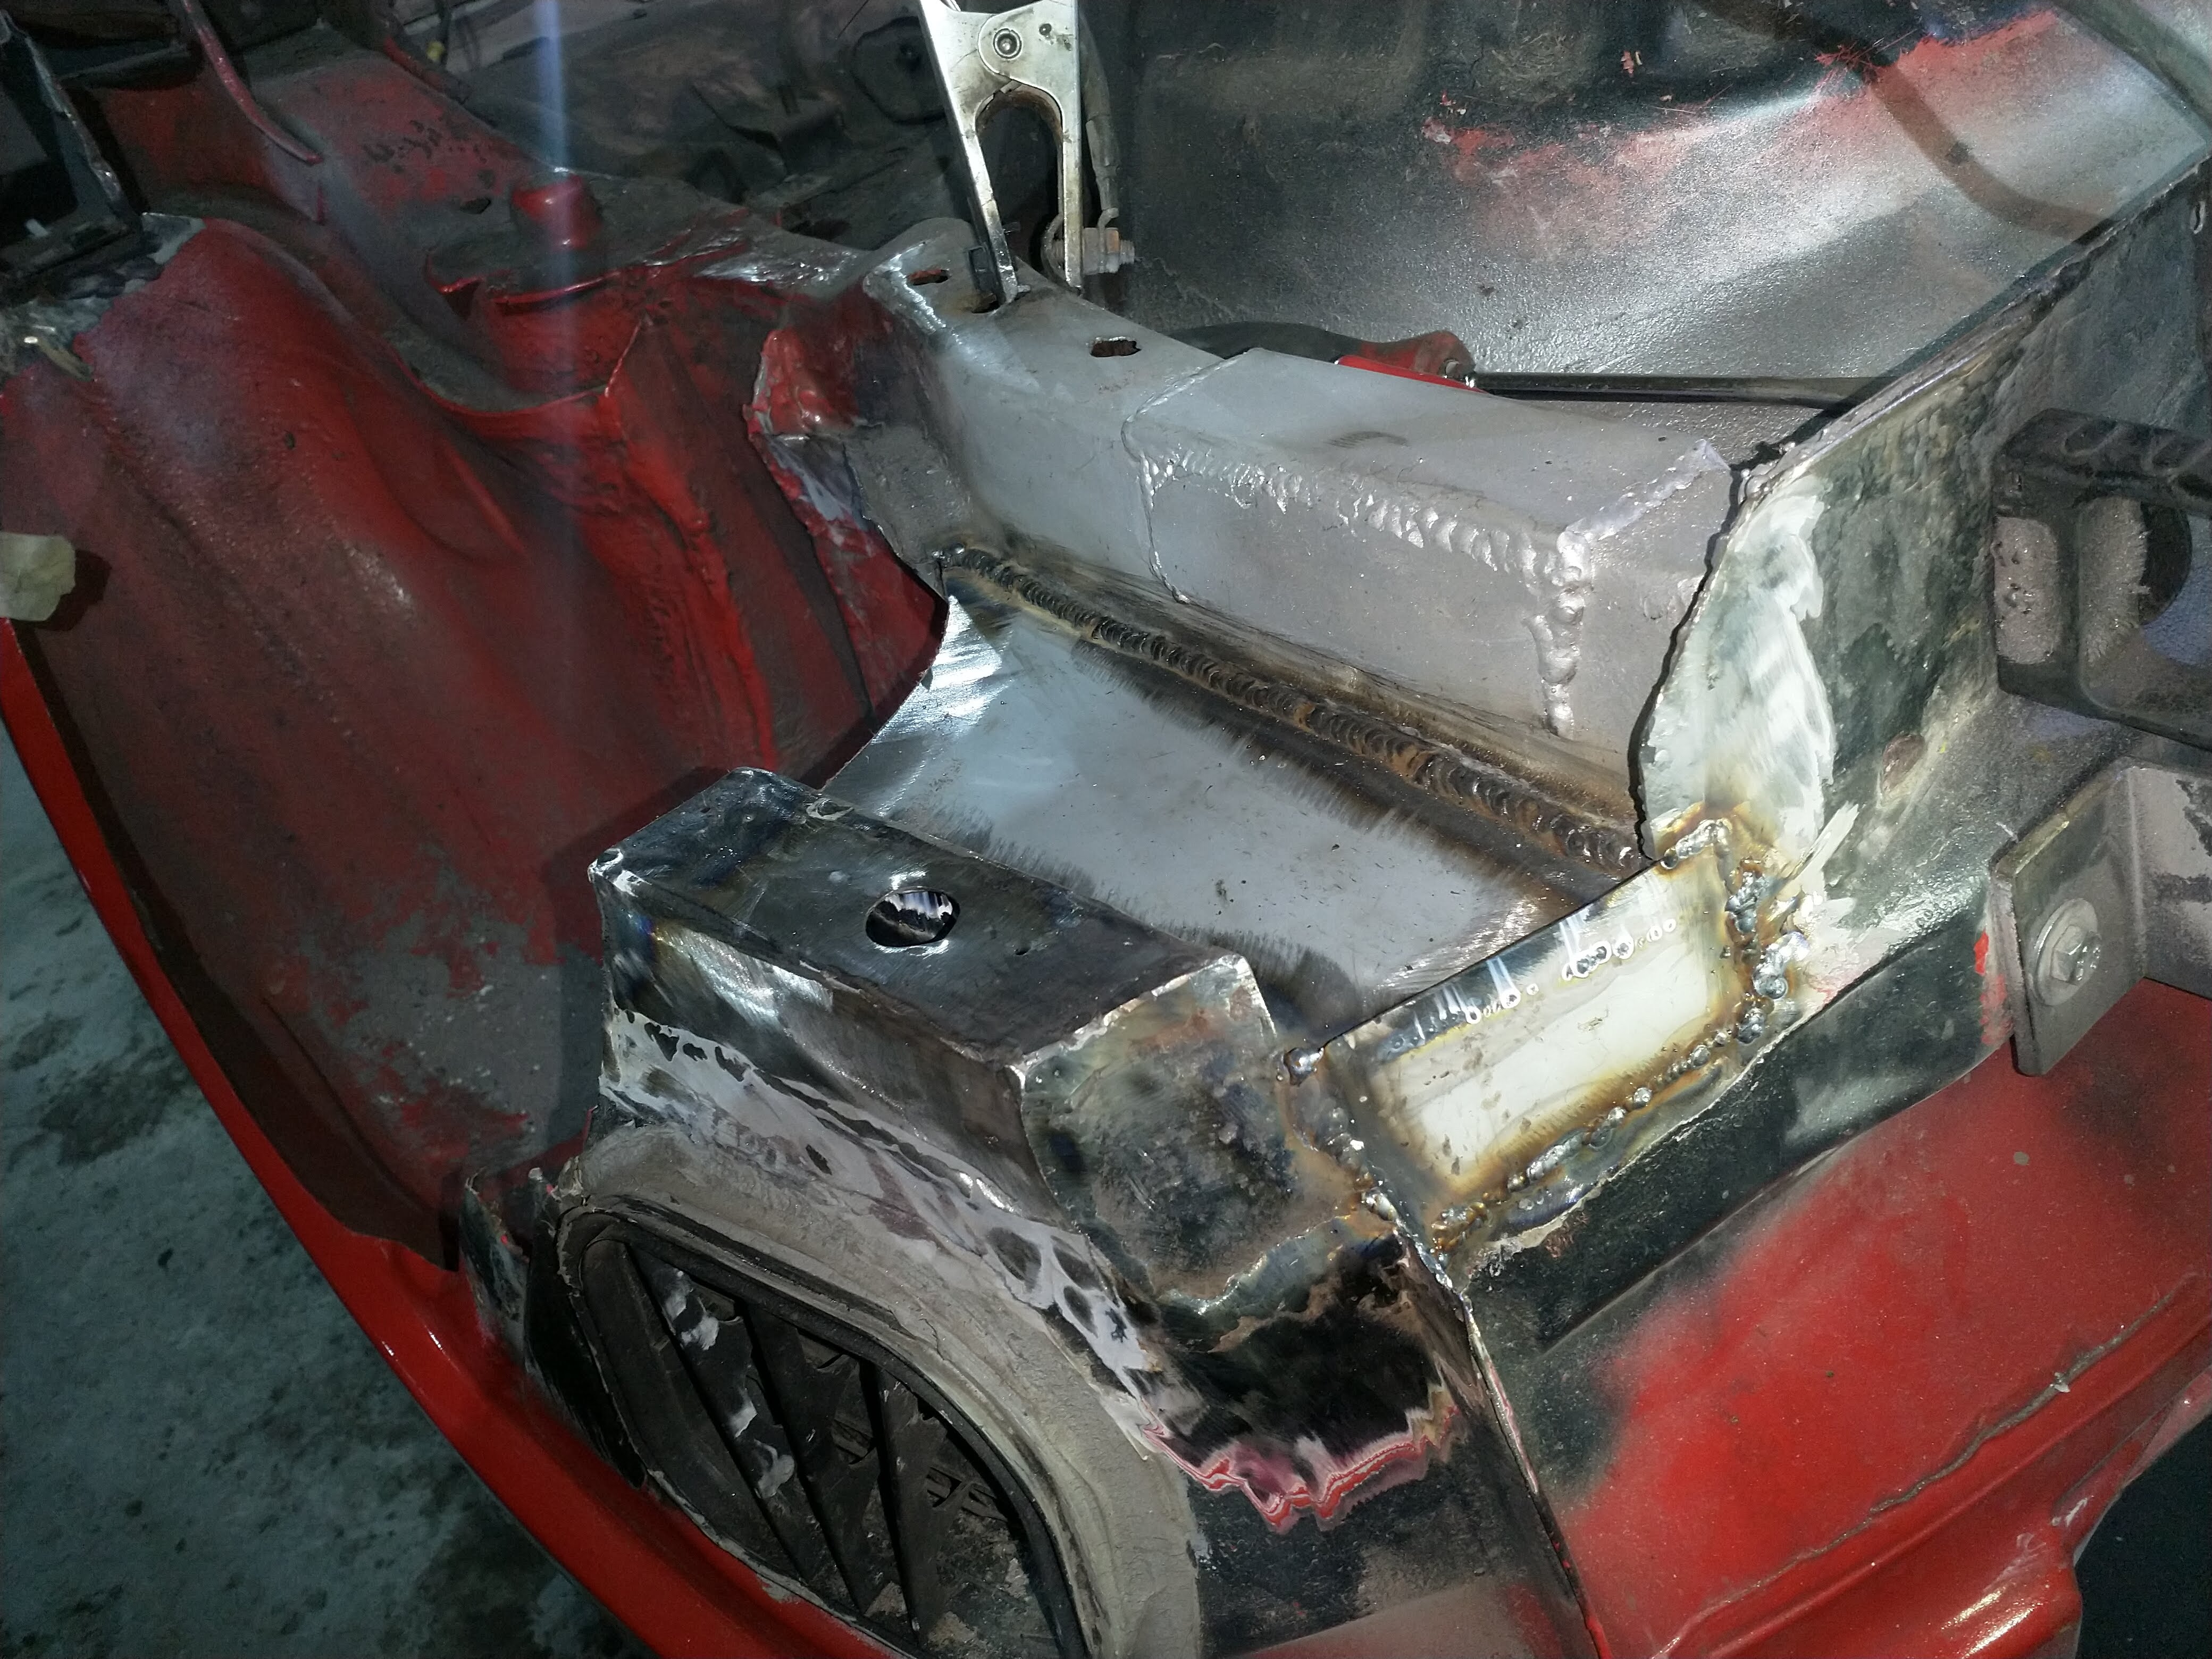
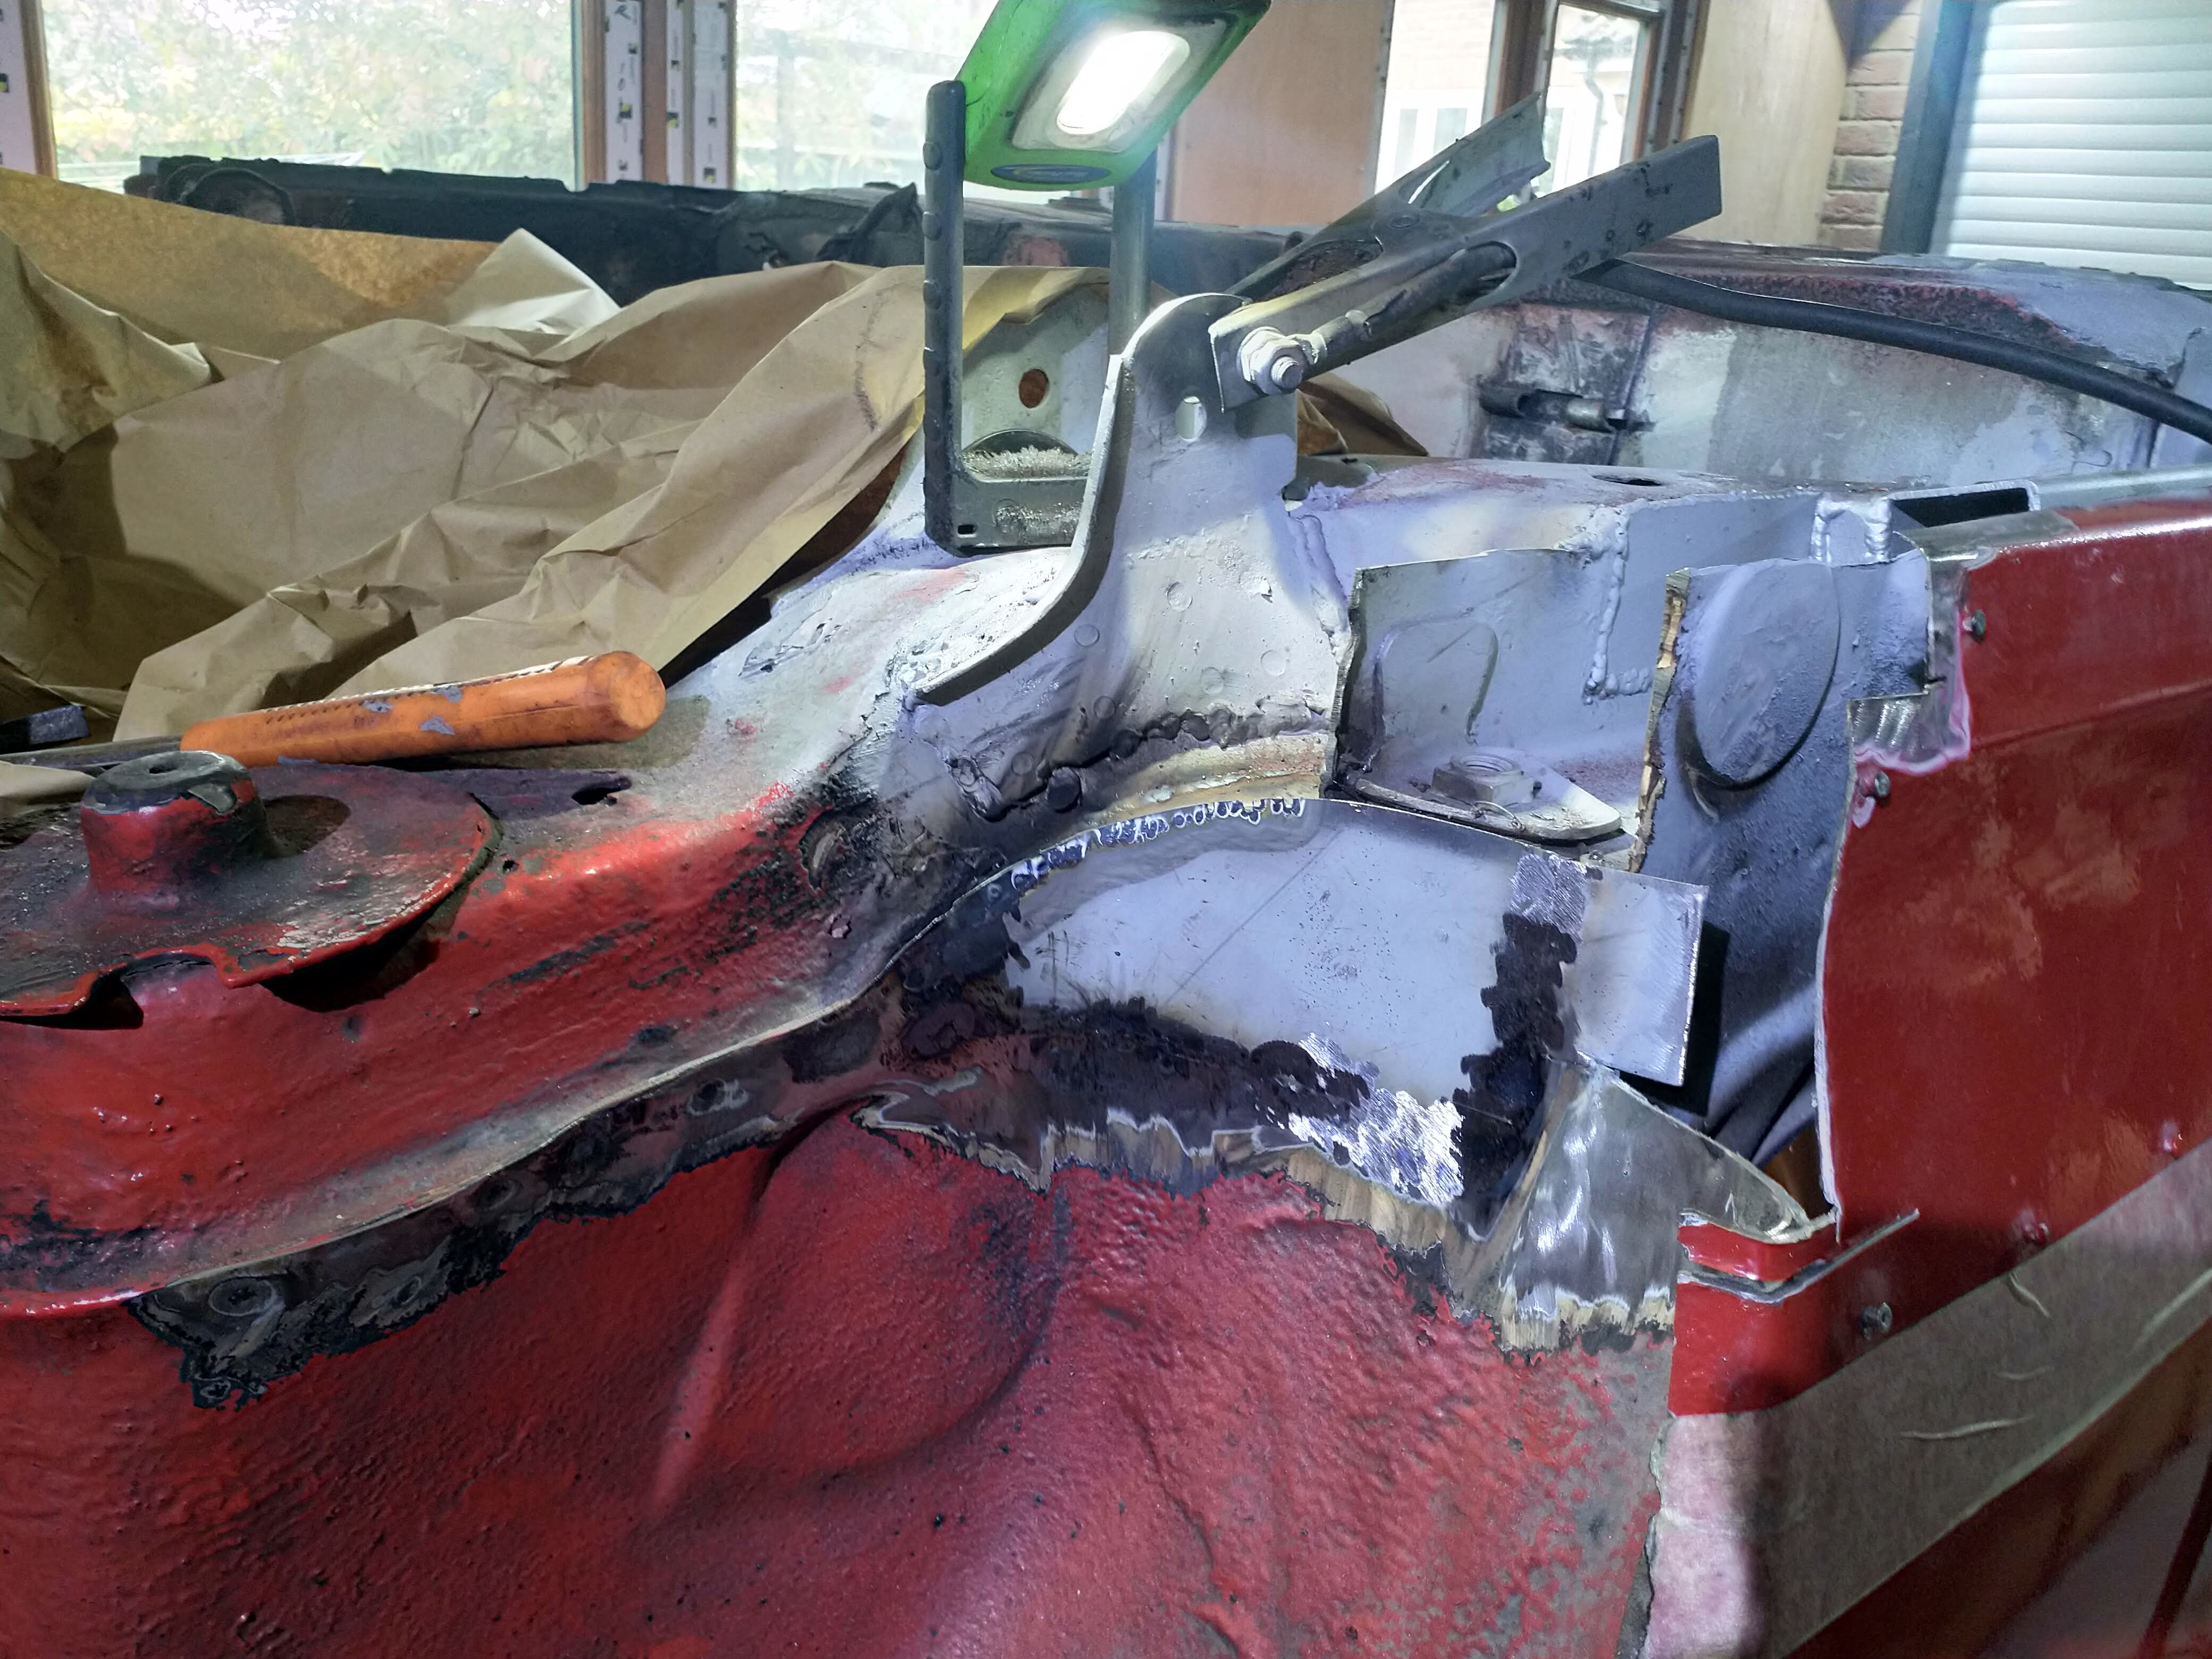
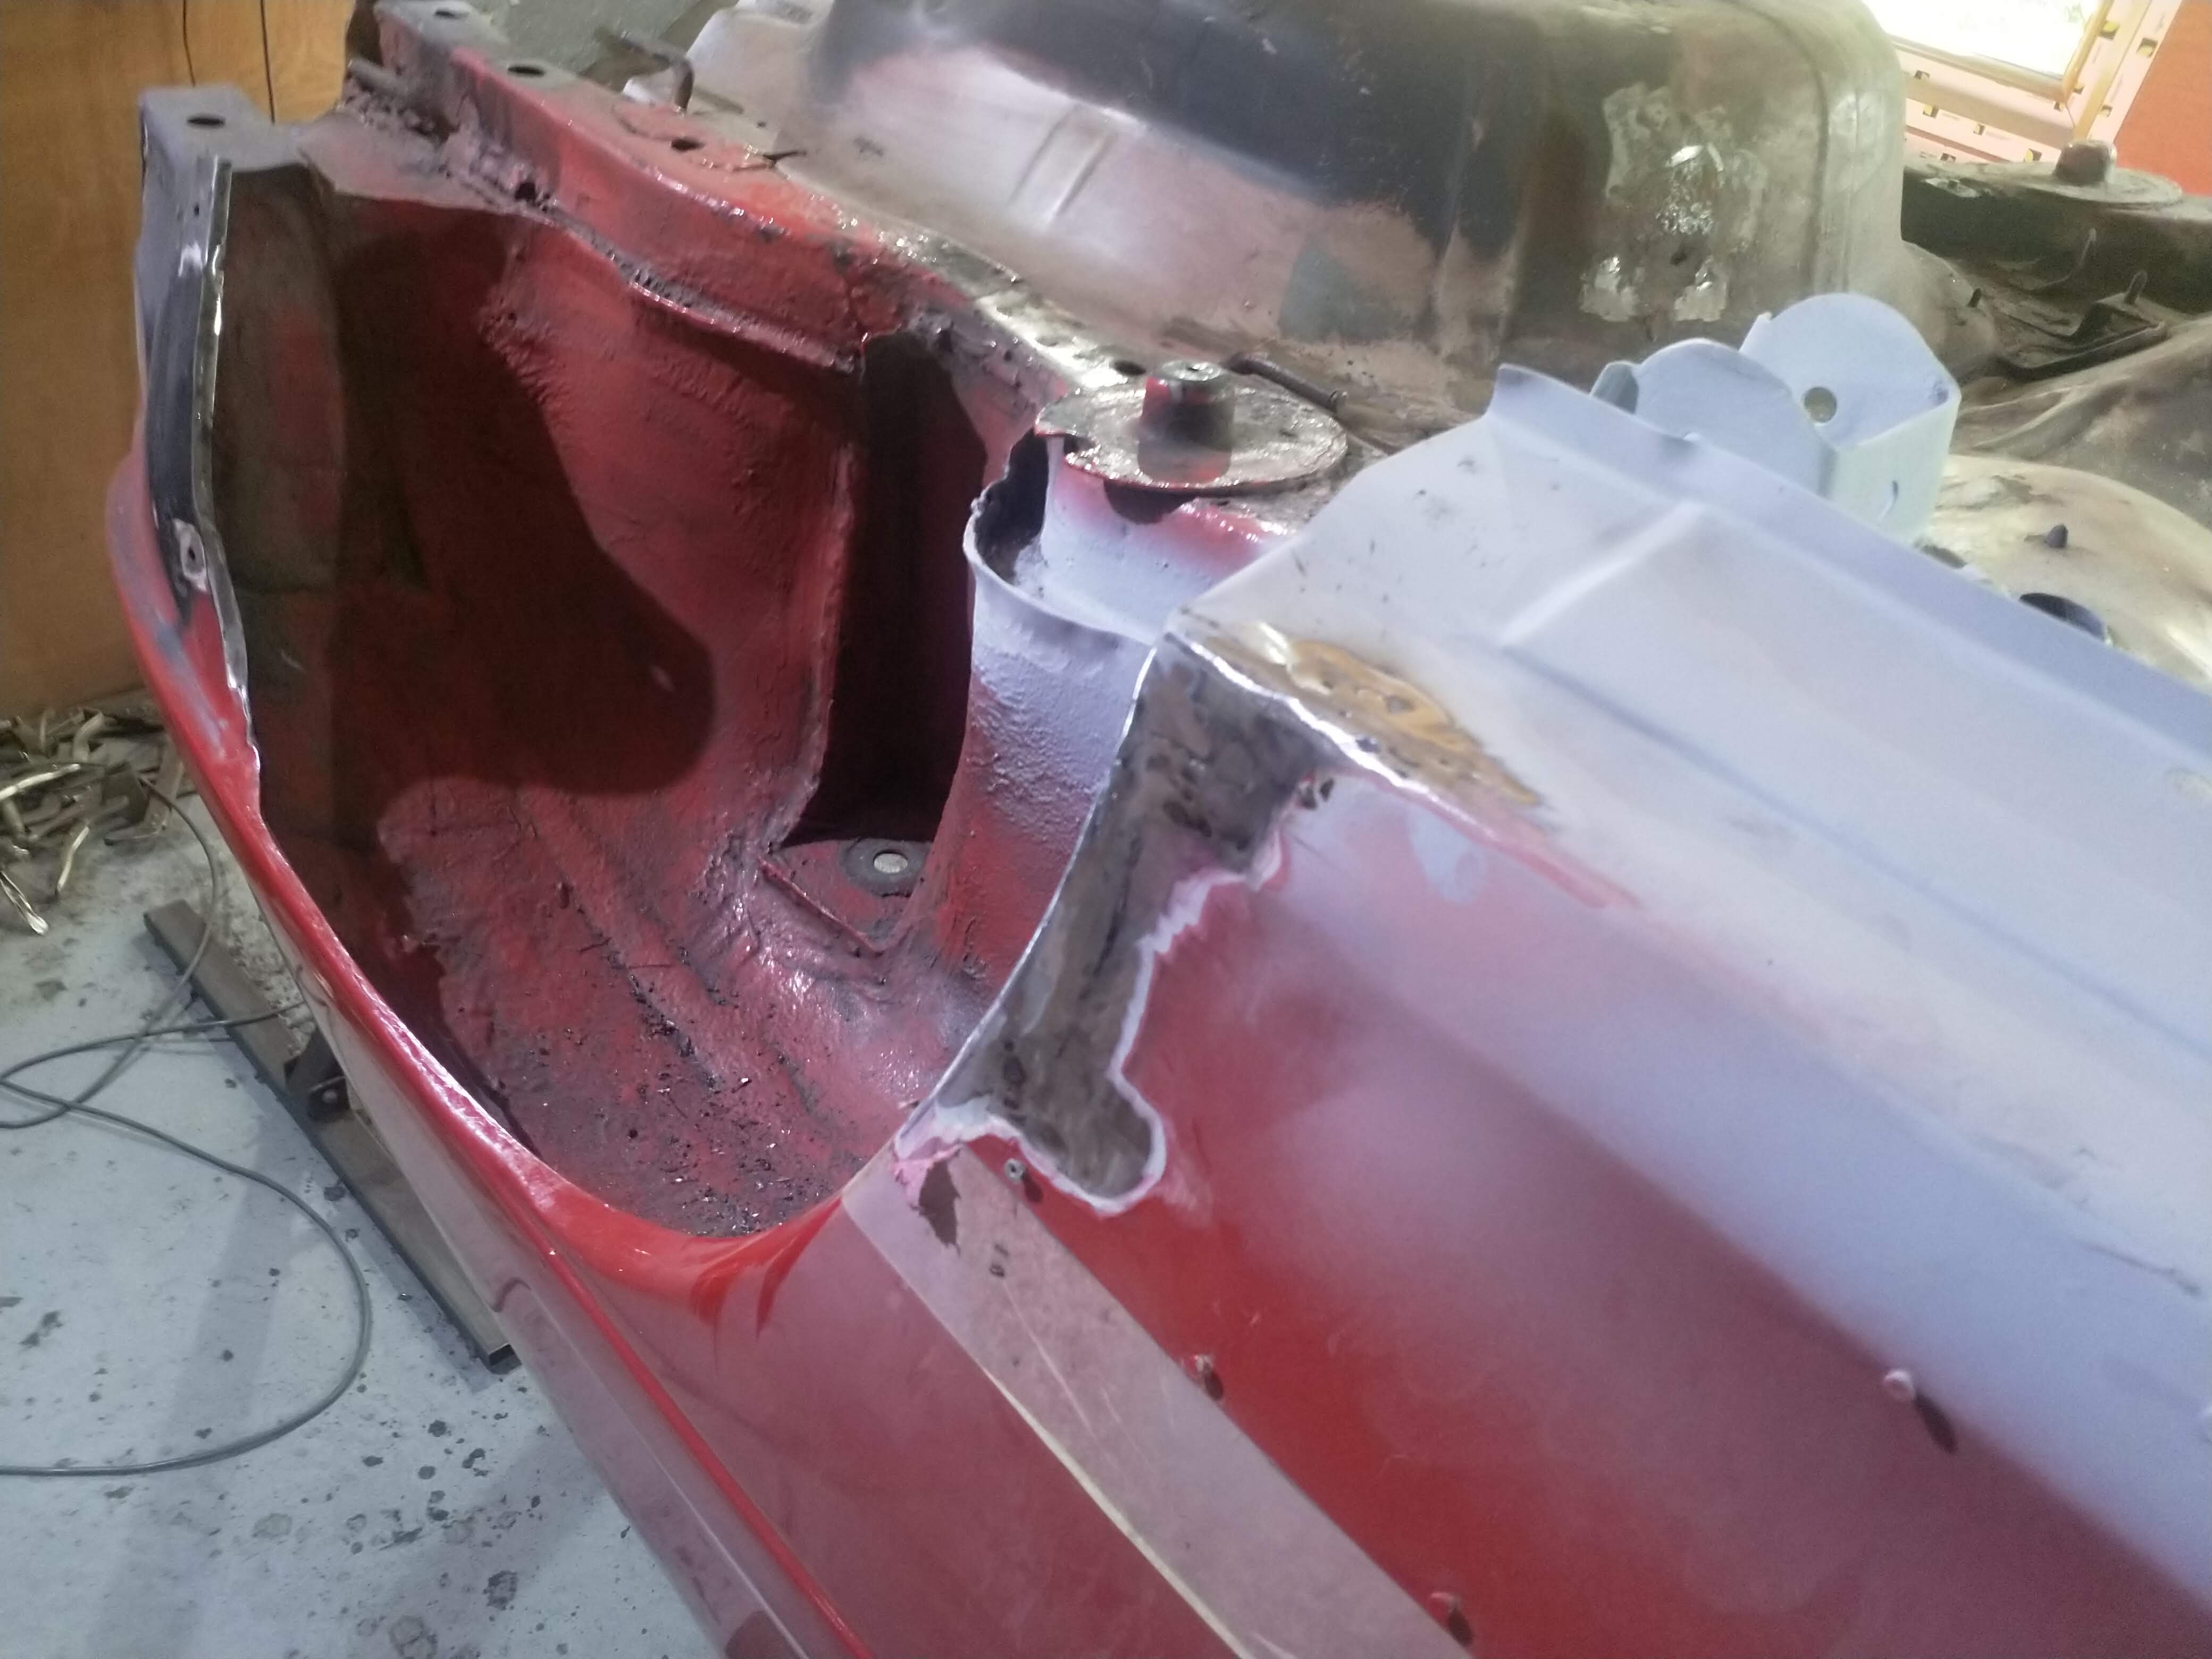
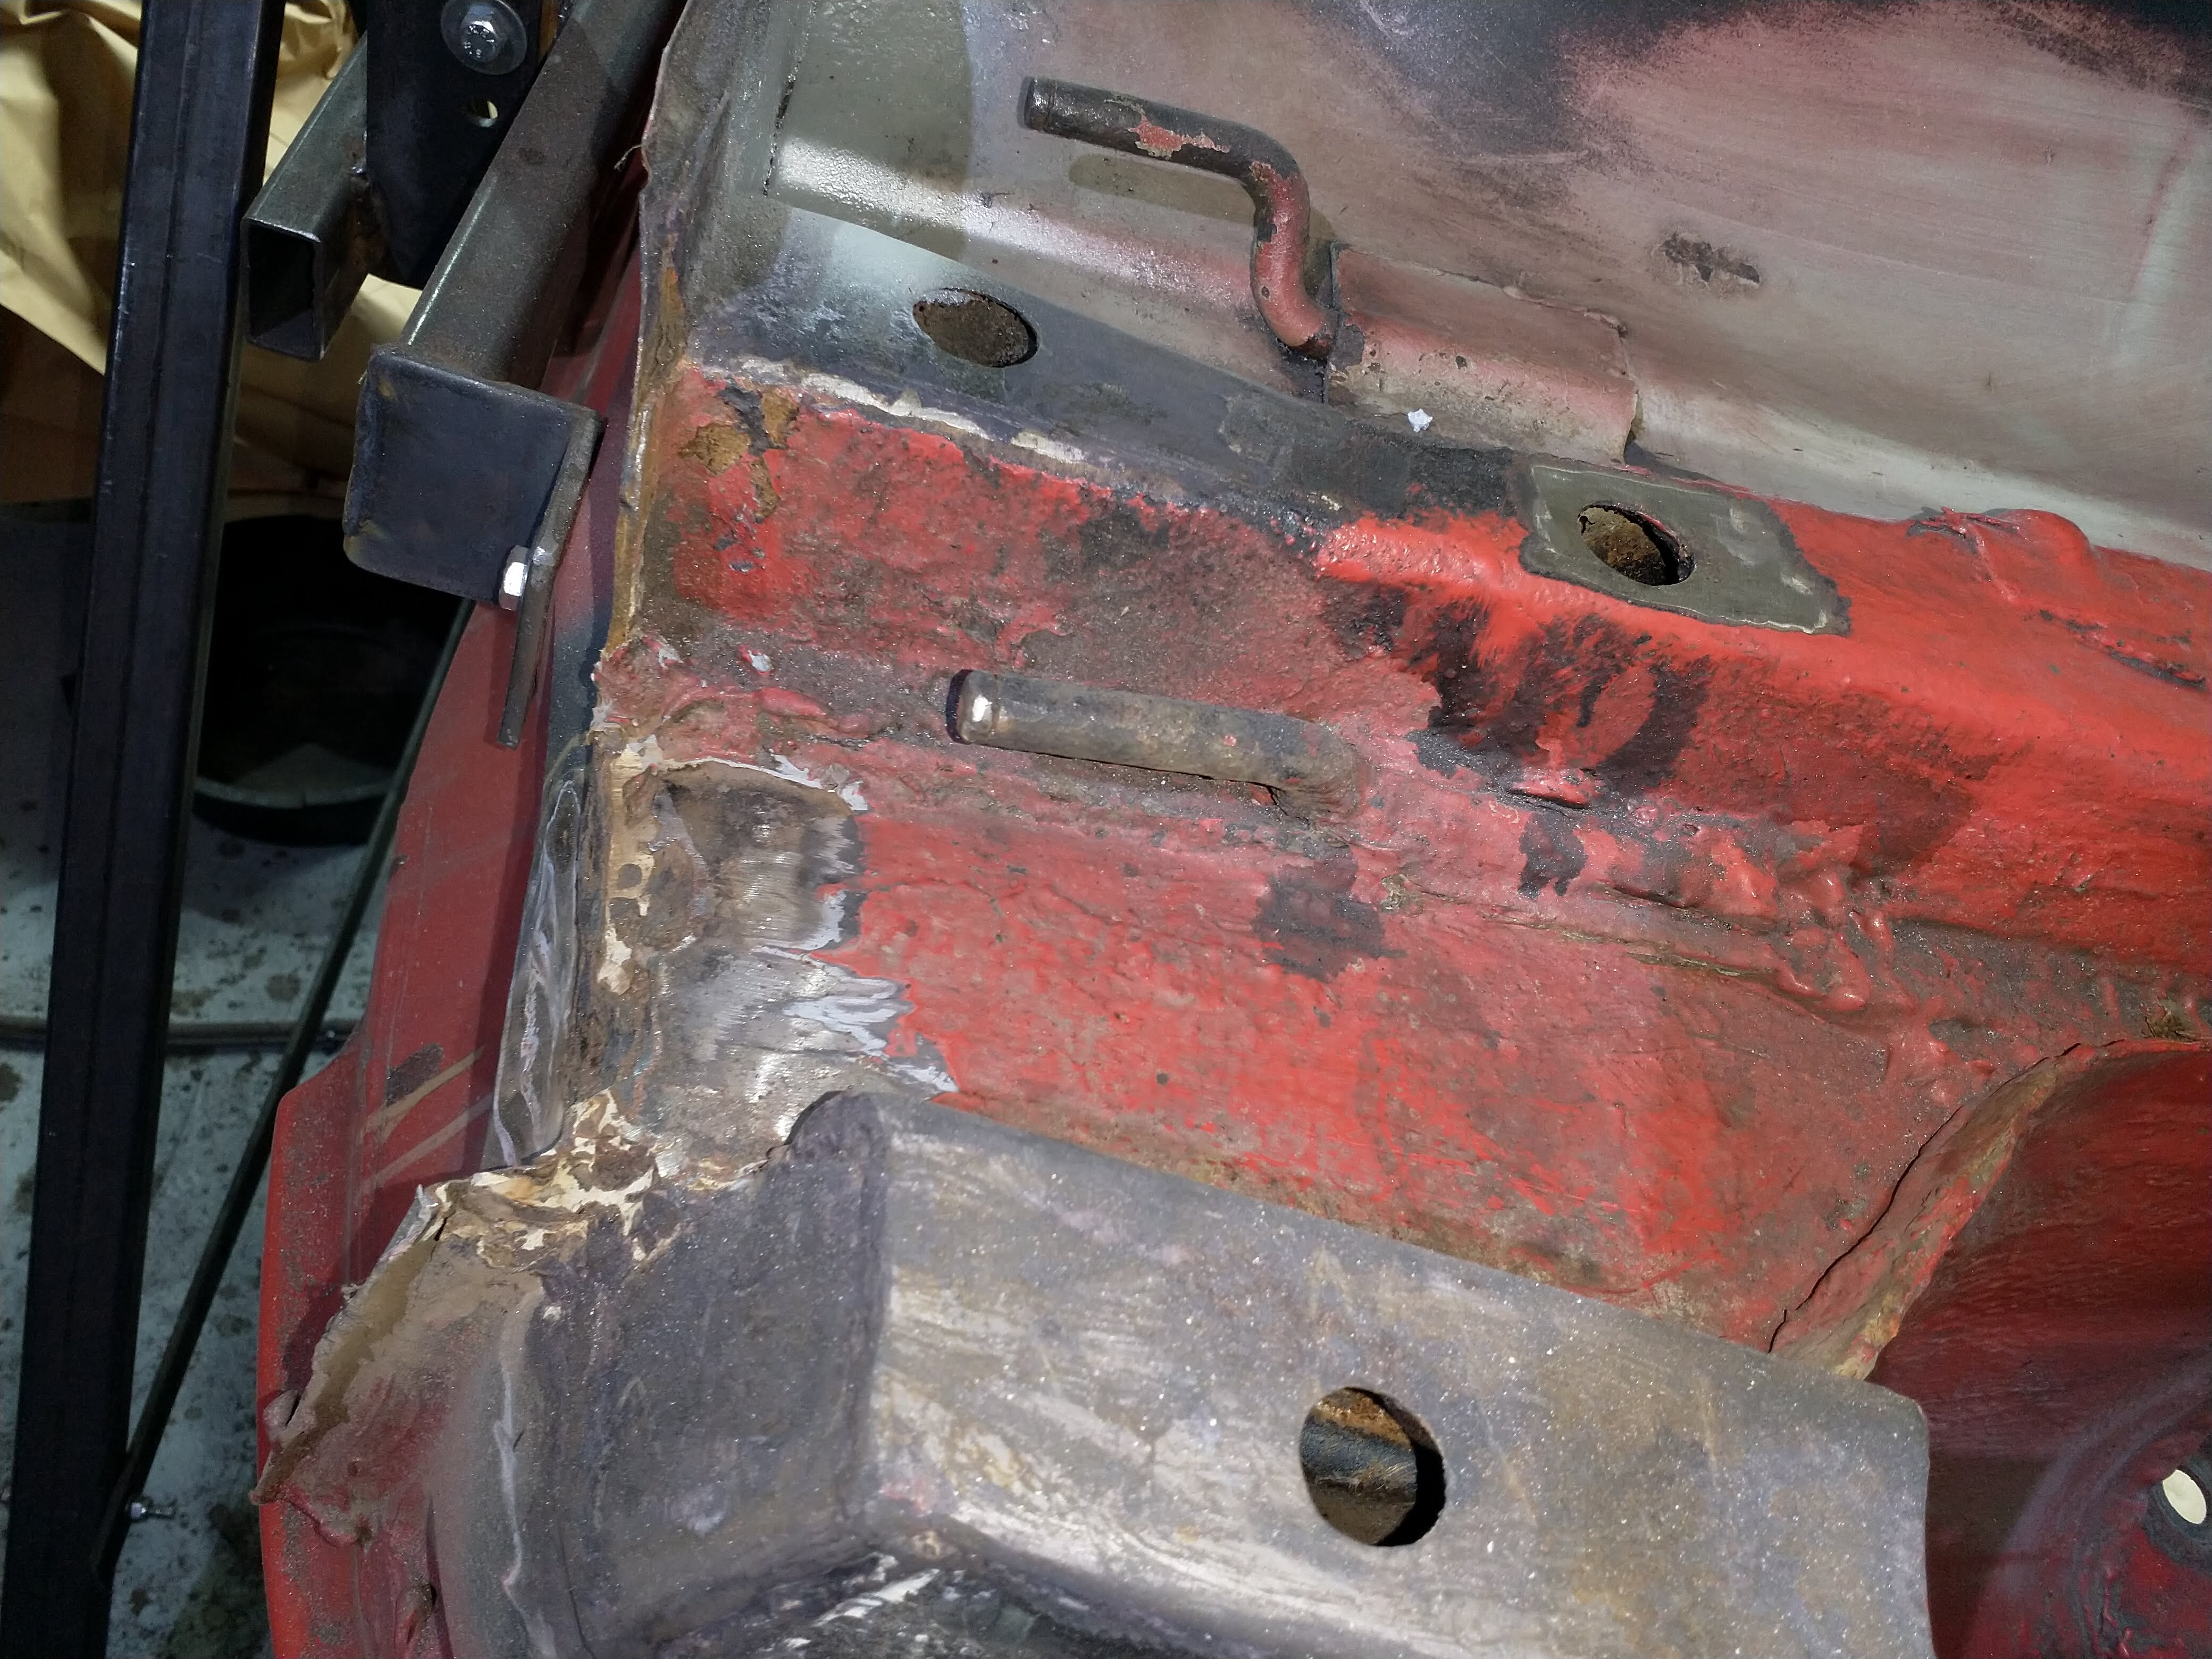
Now this was the point I was on about after,

full


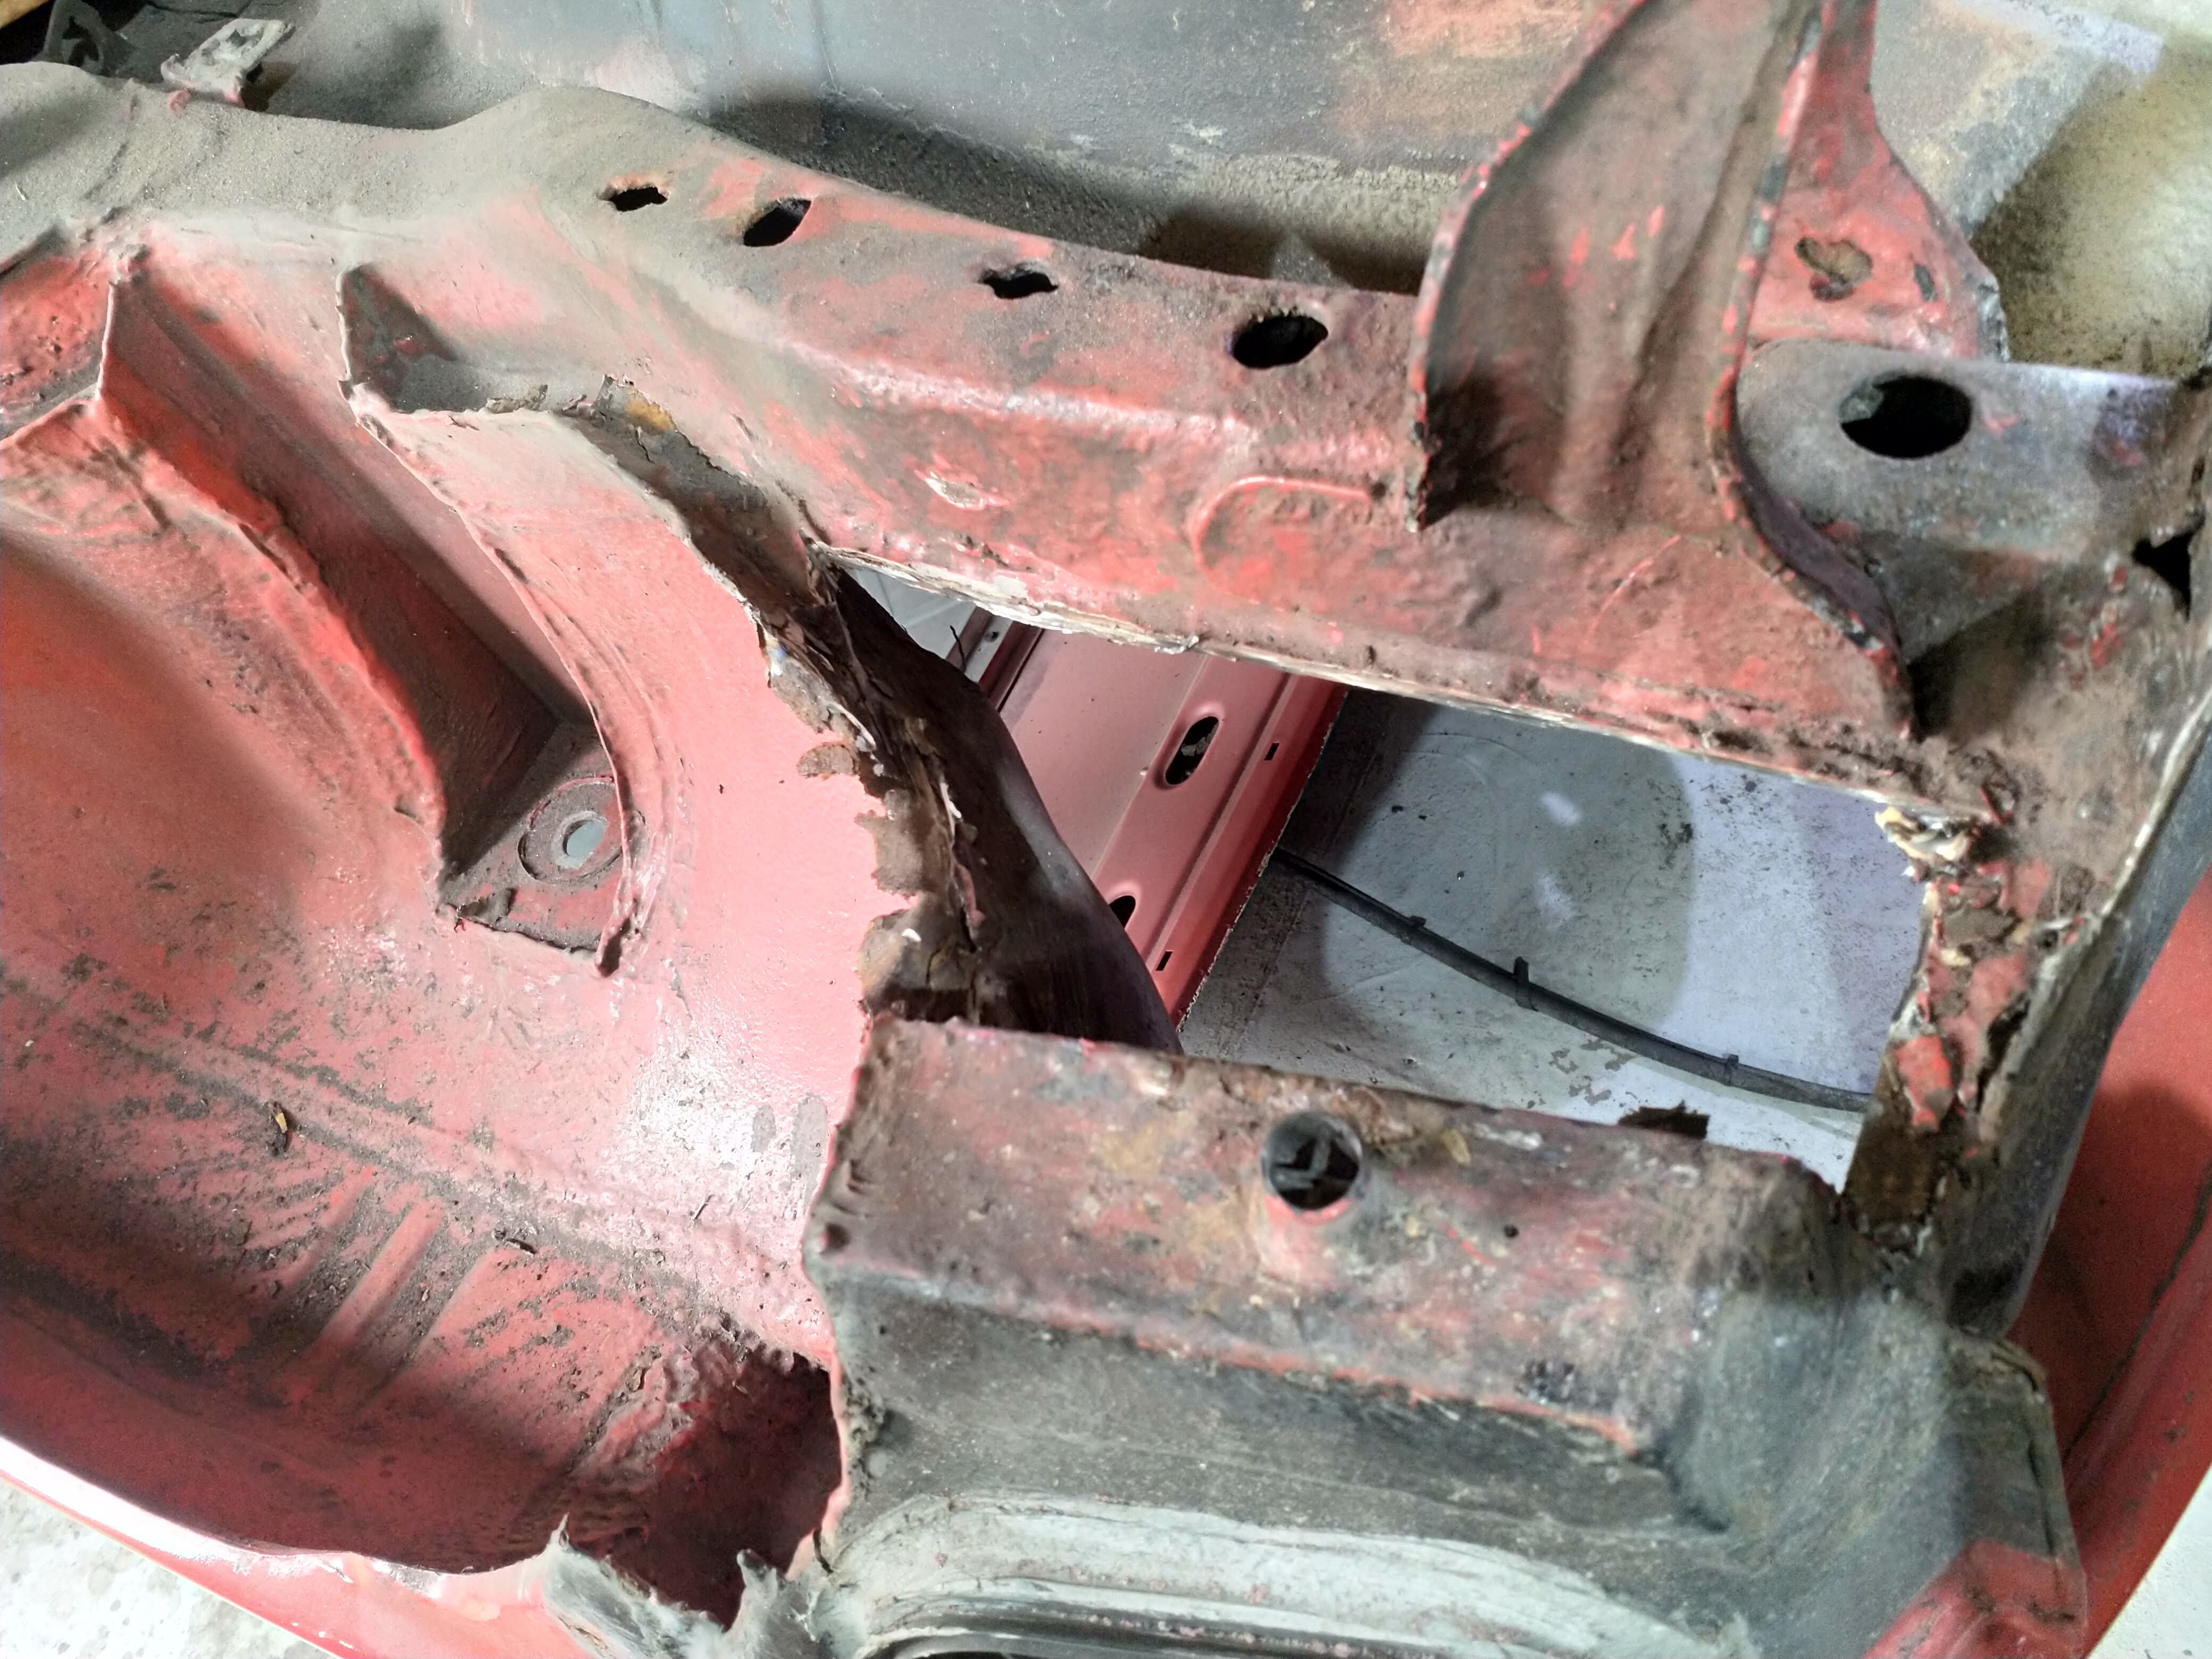
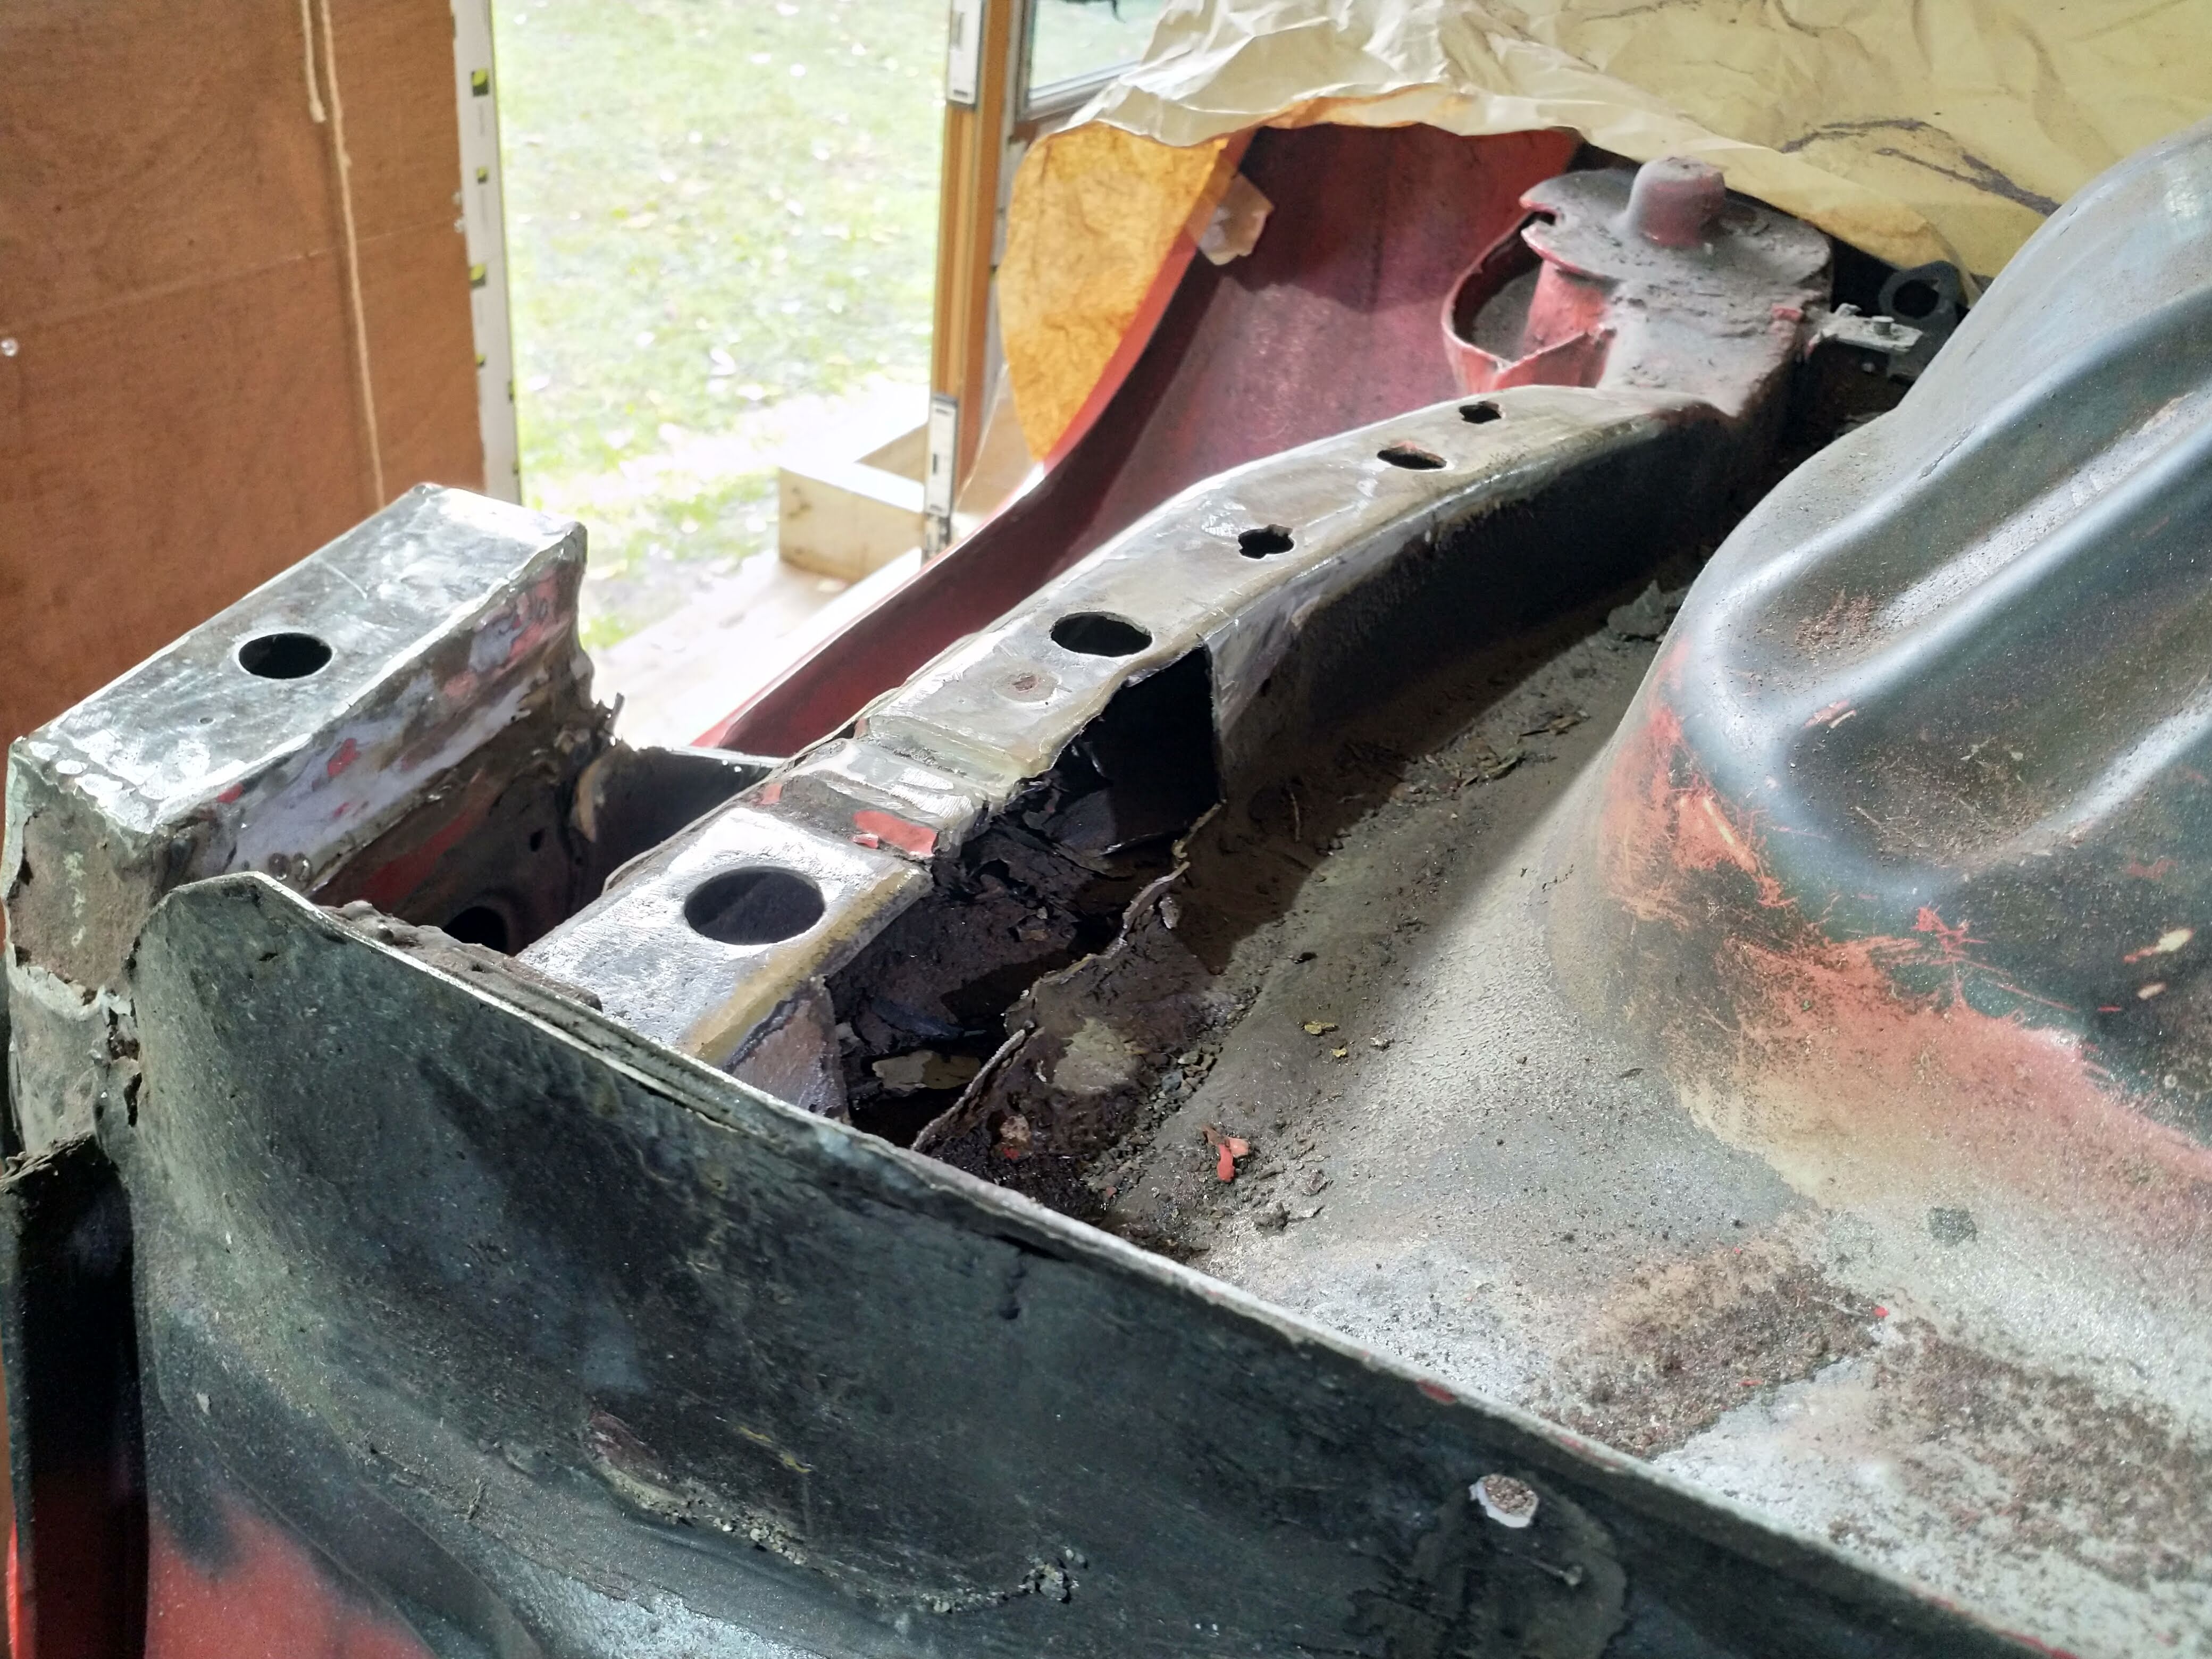
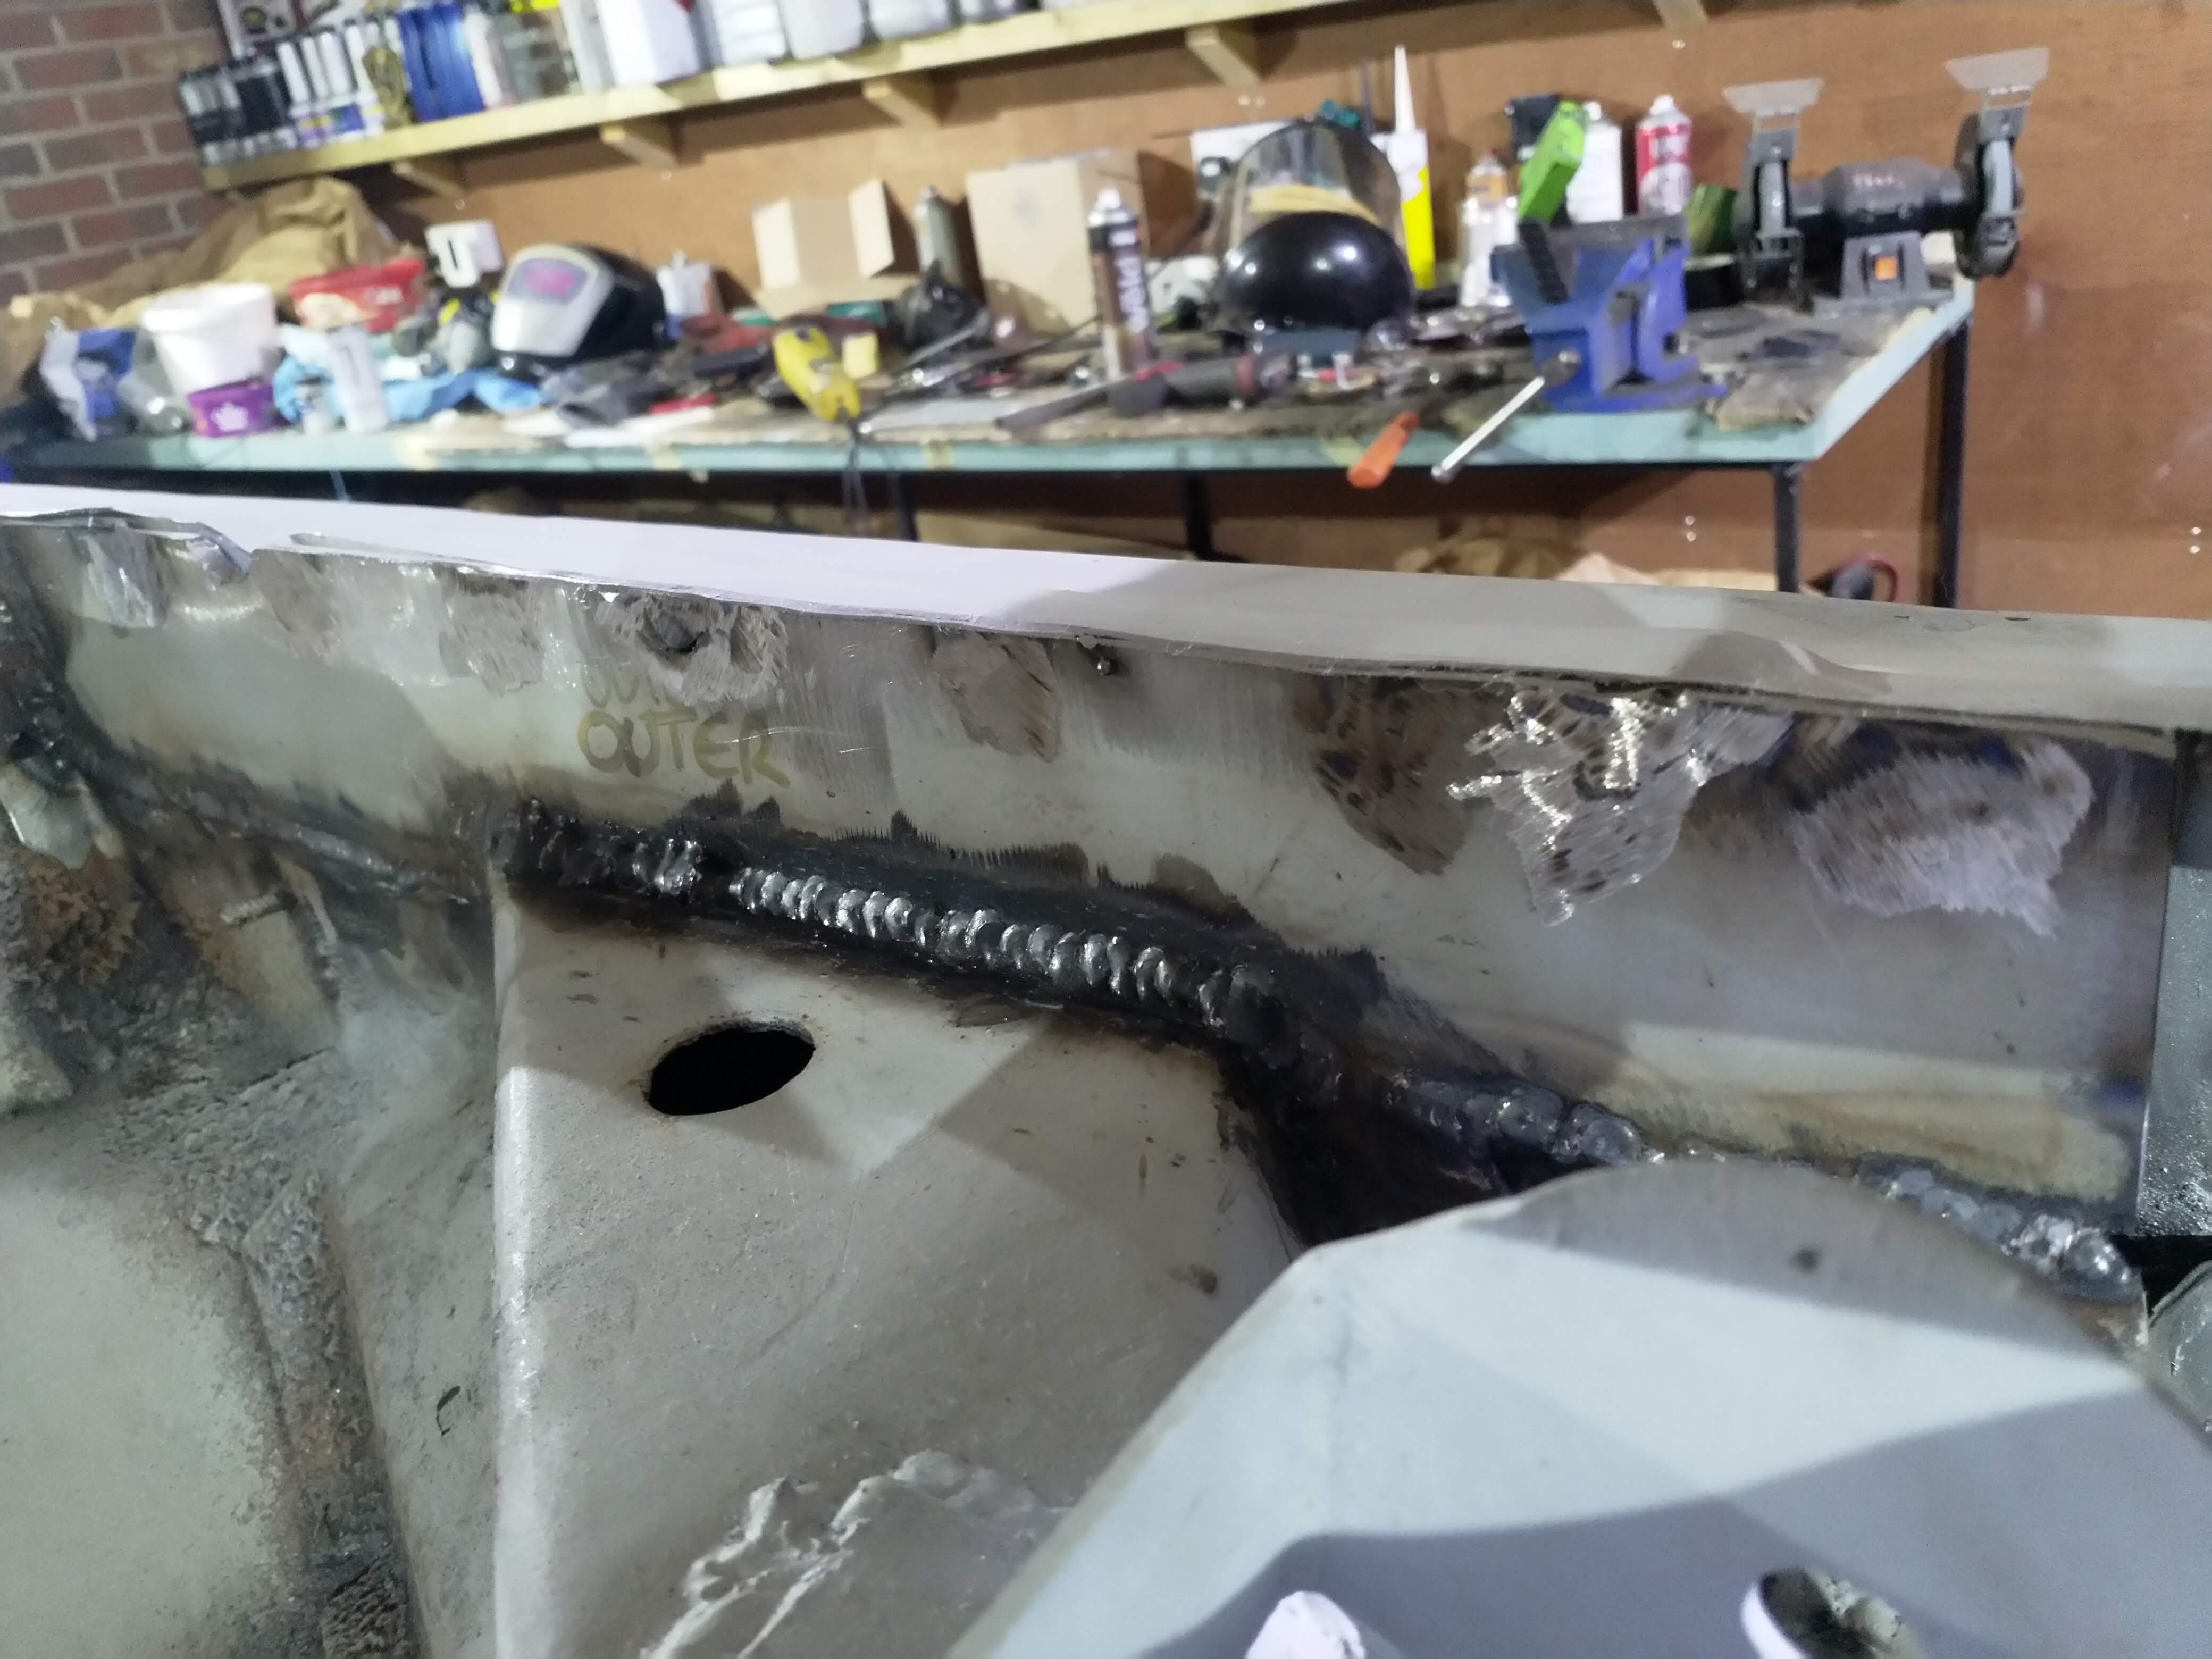
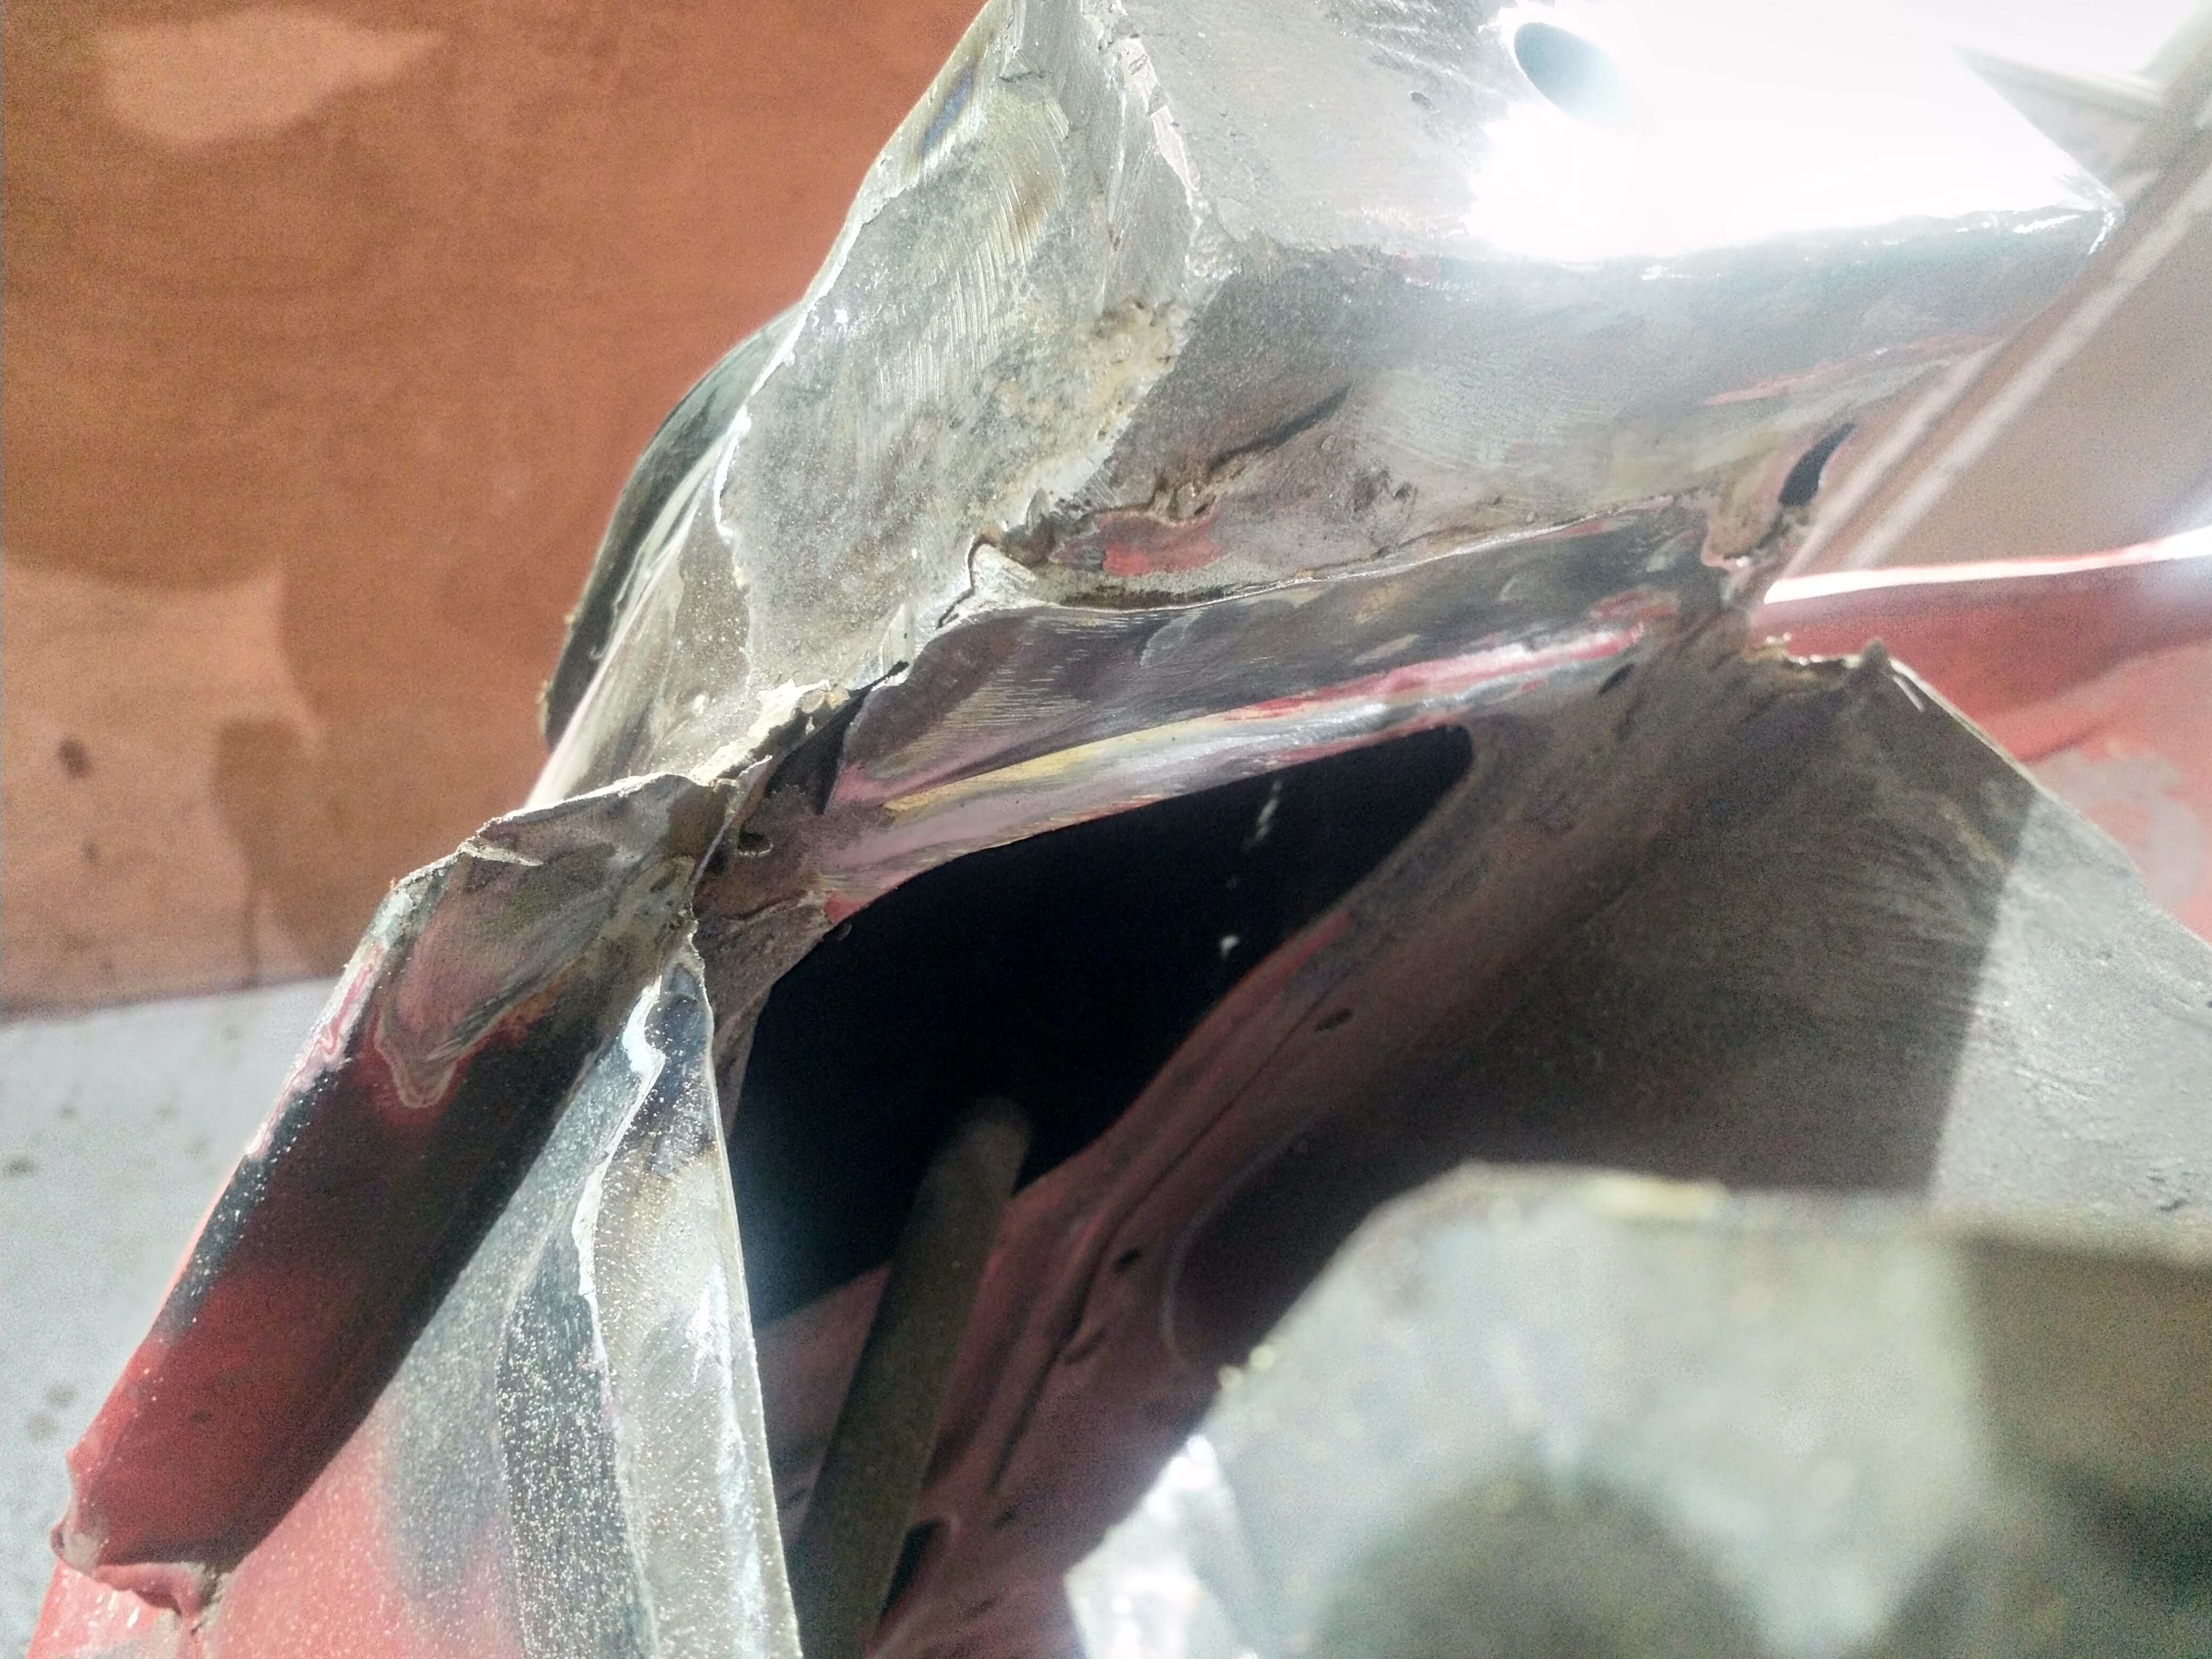
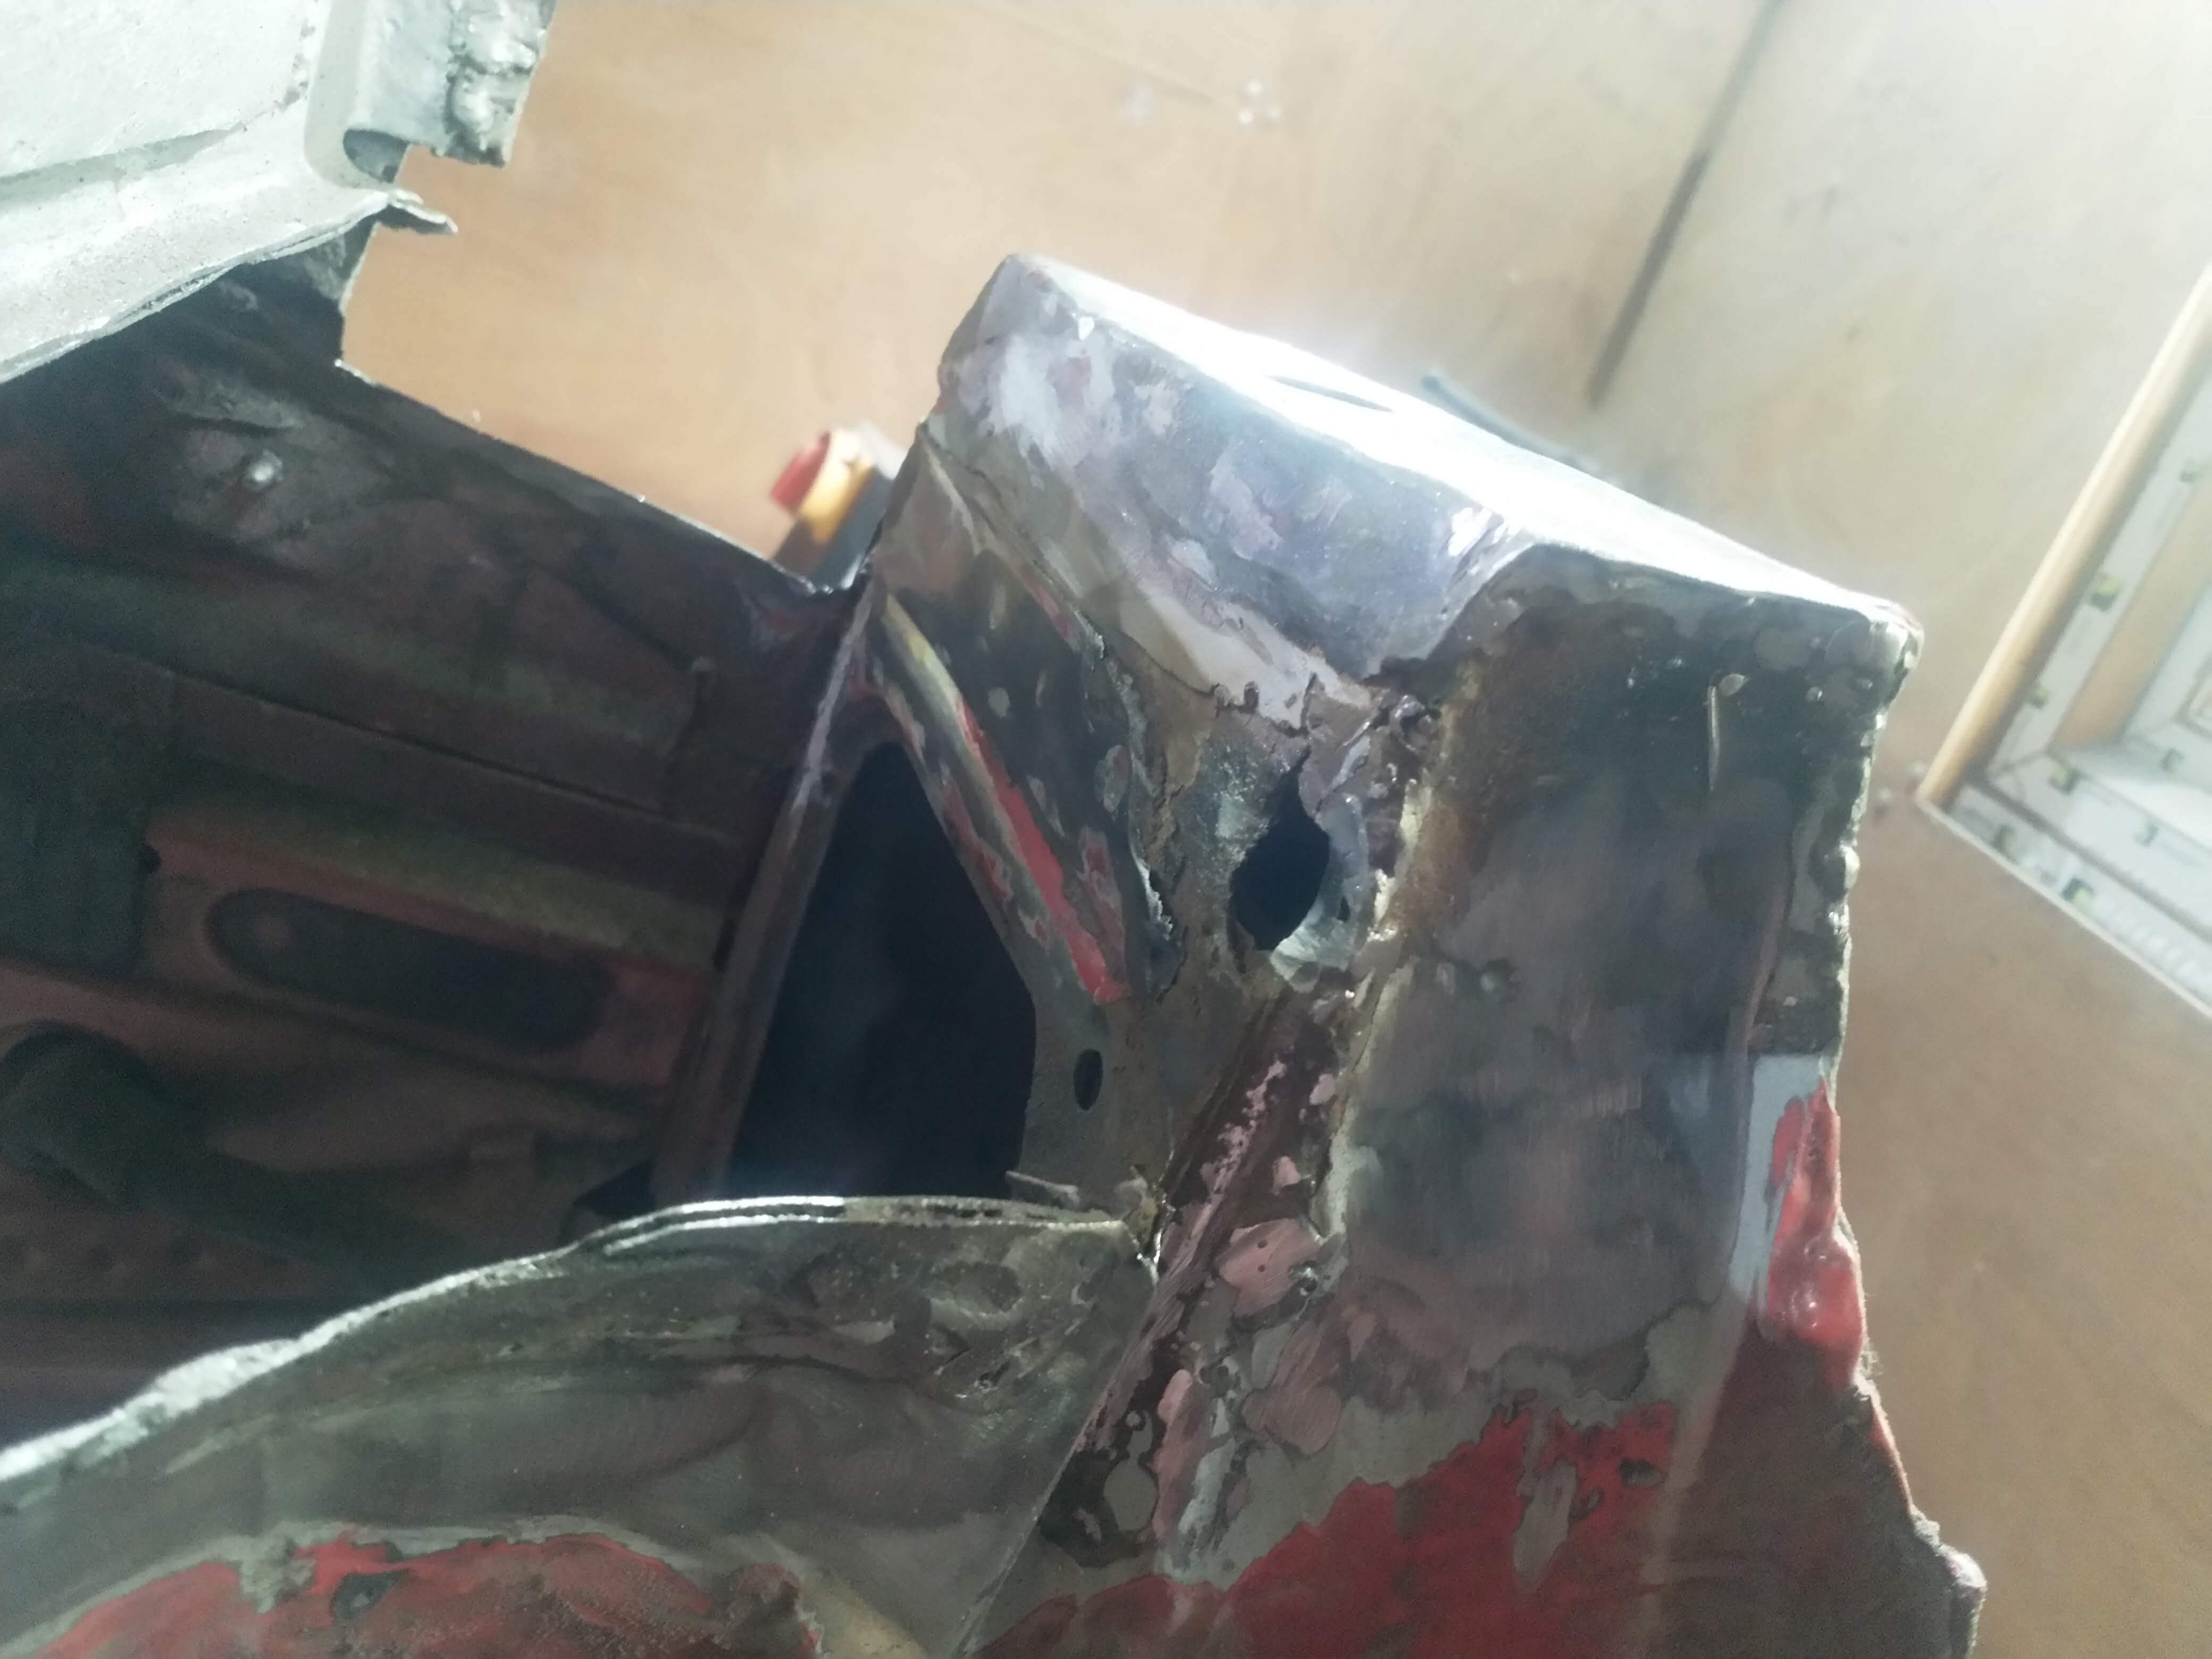
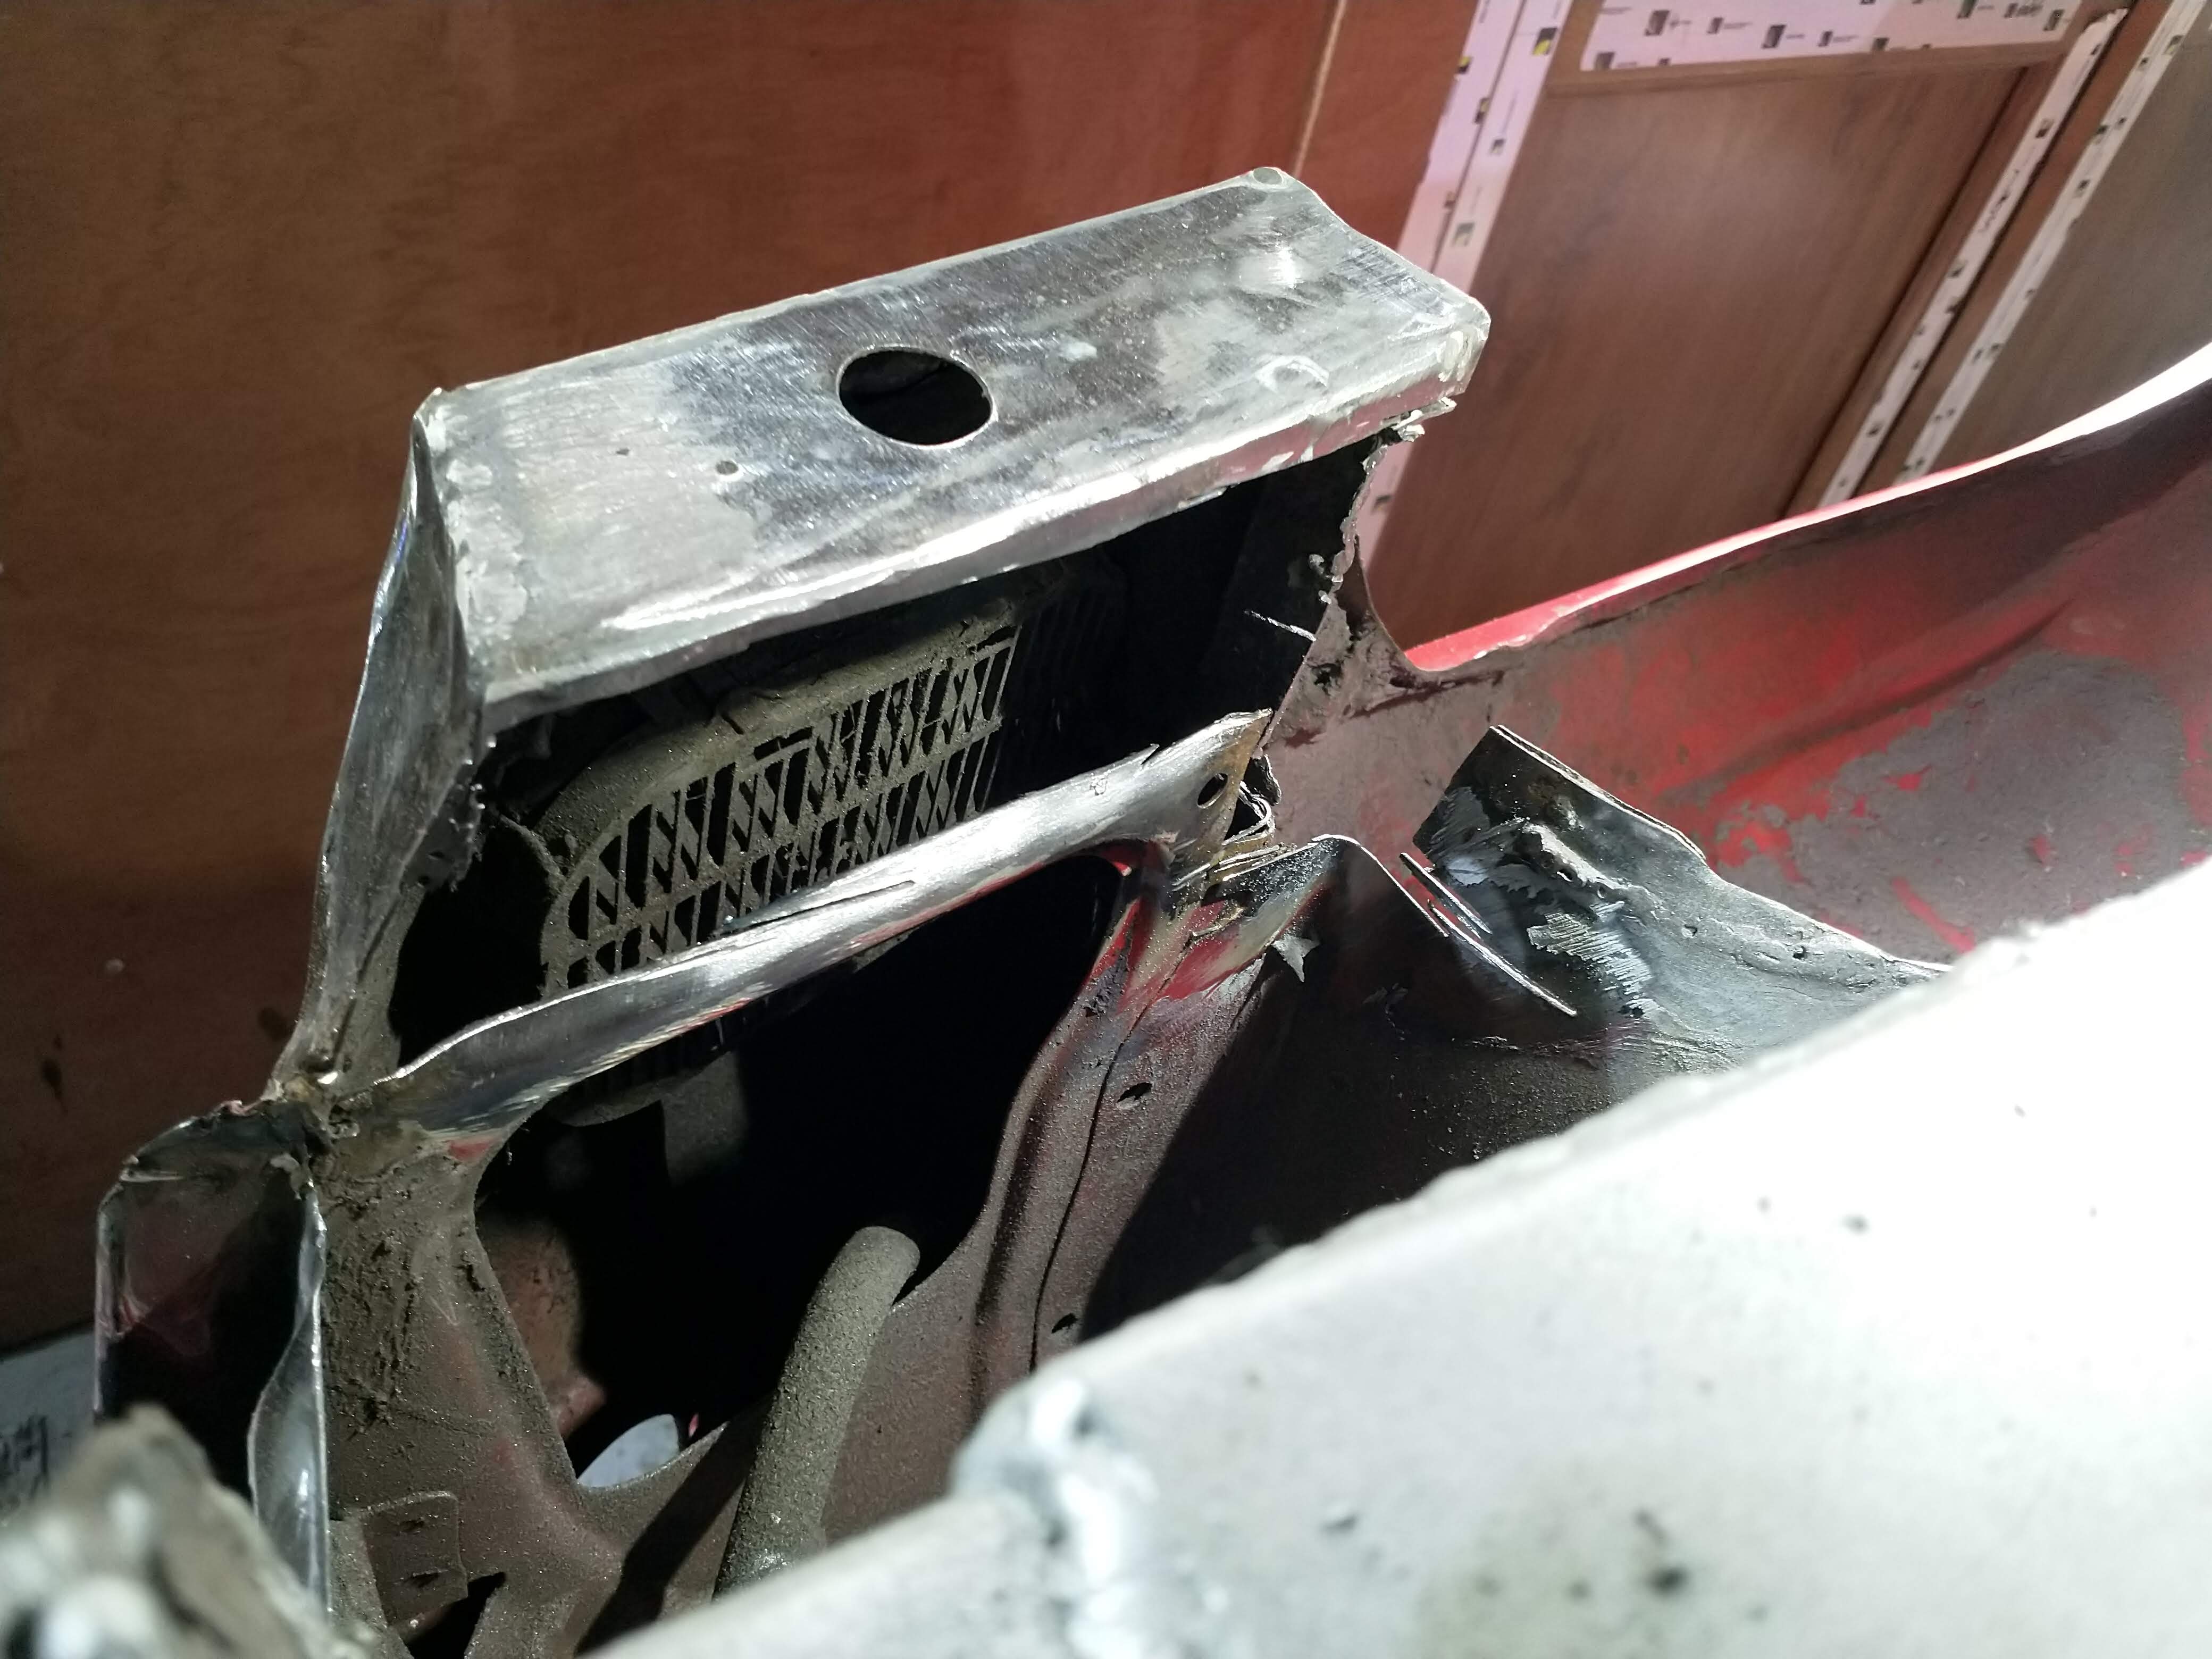
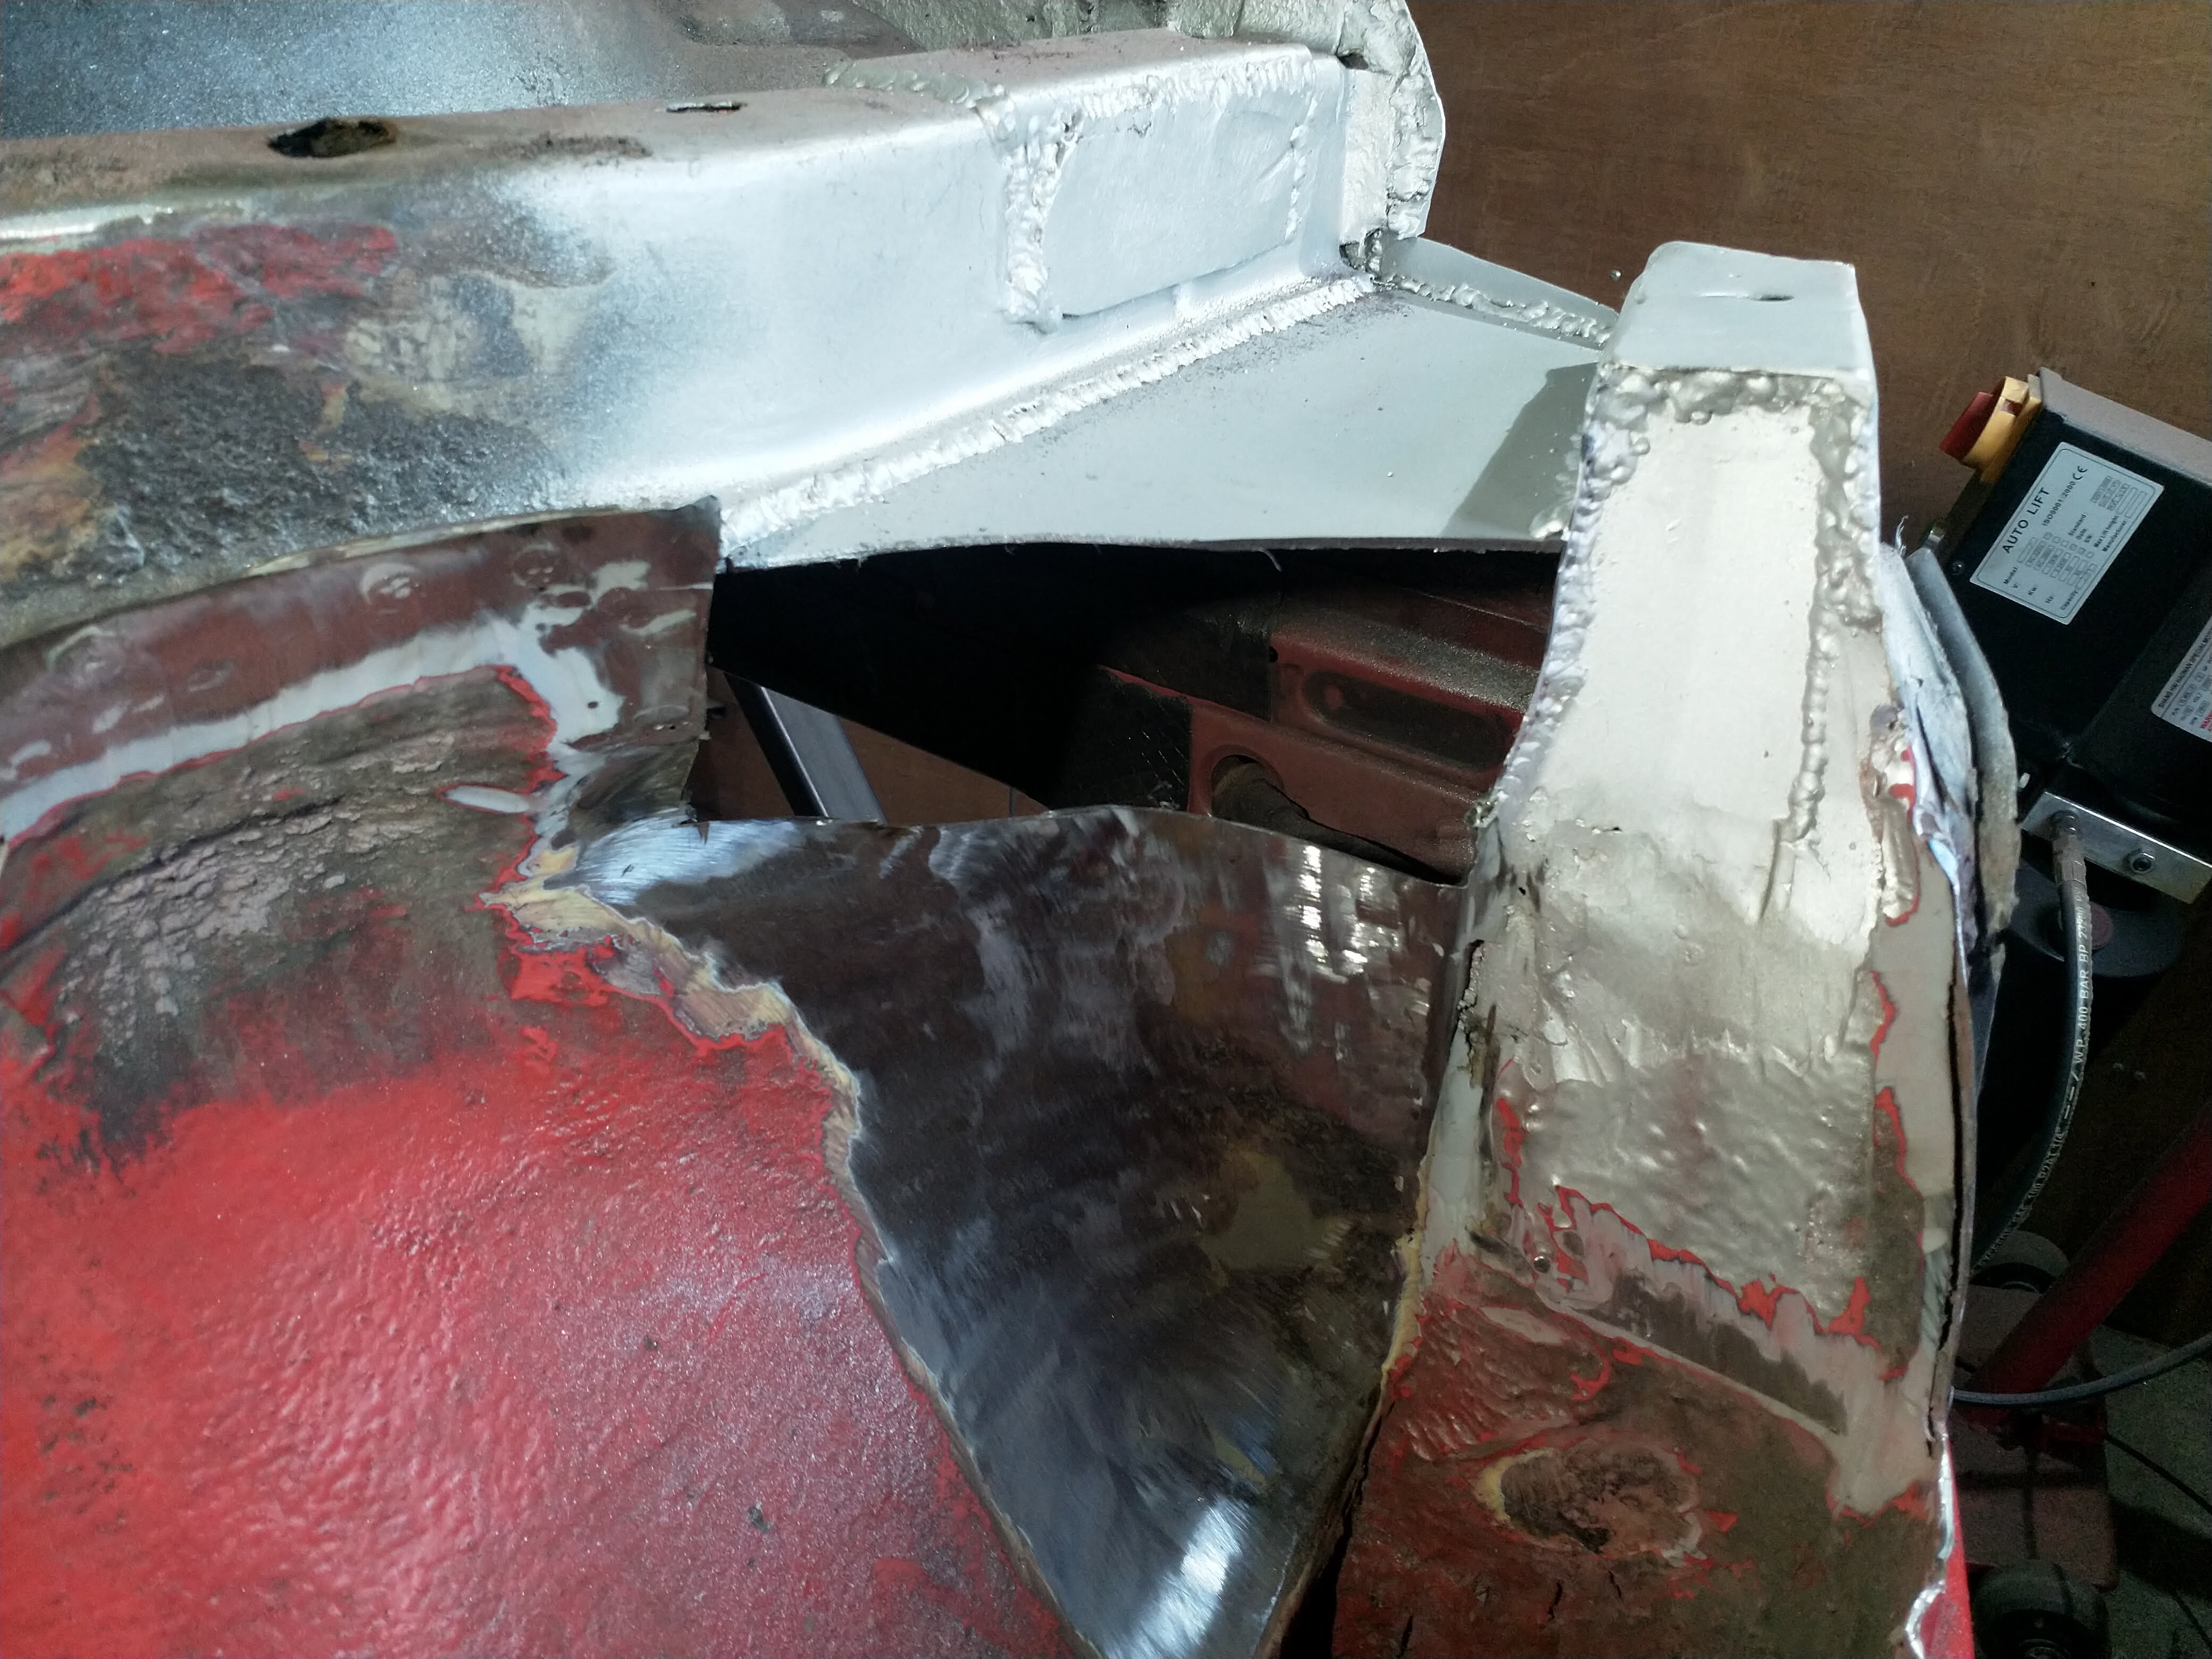
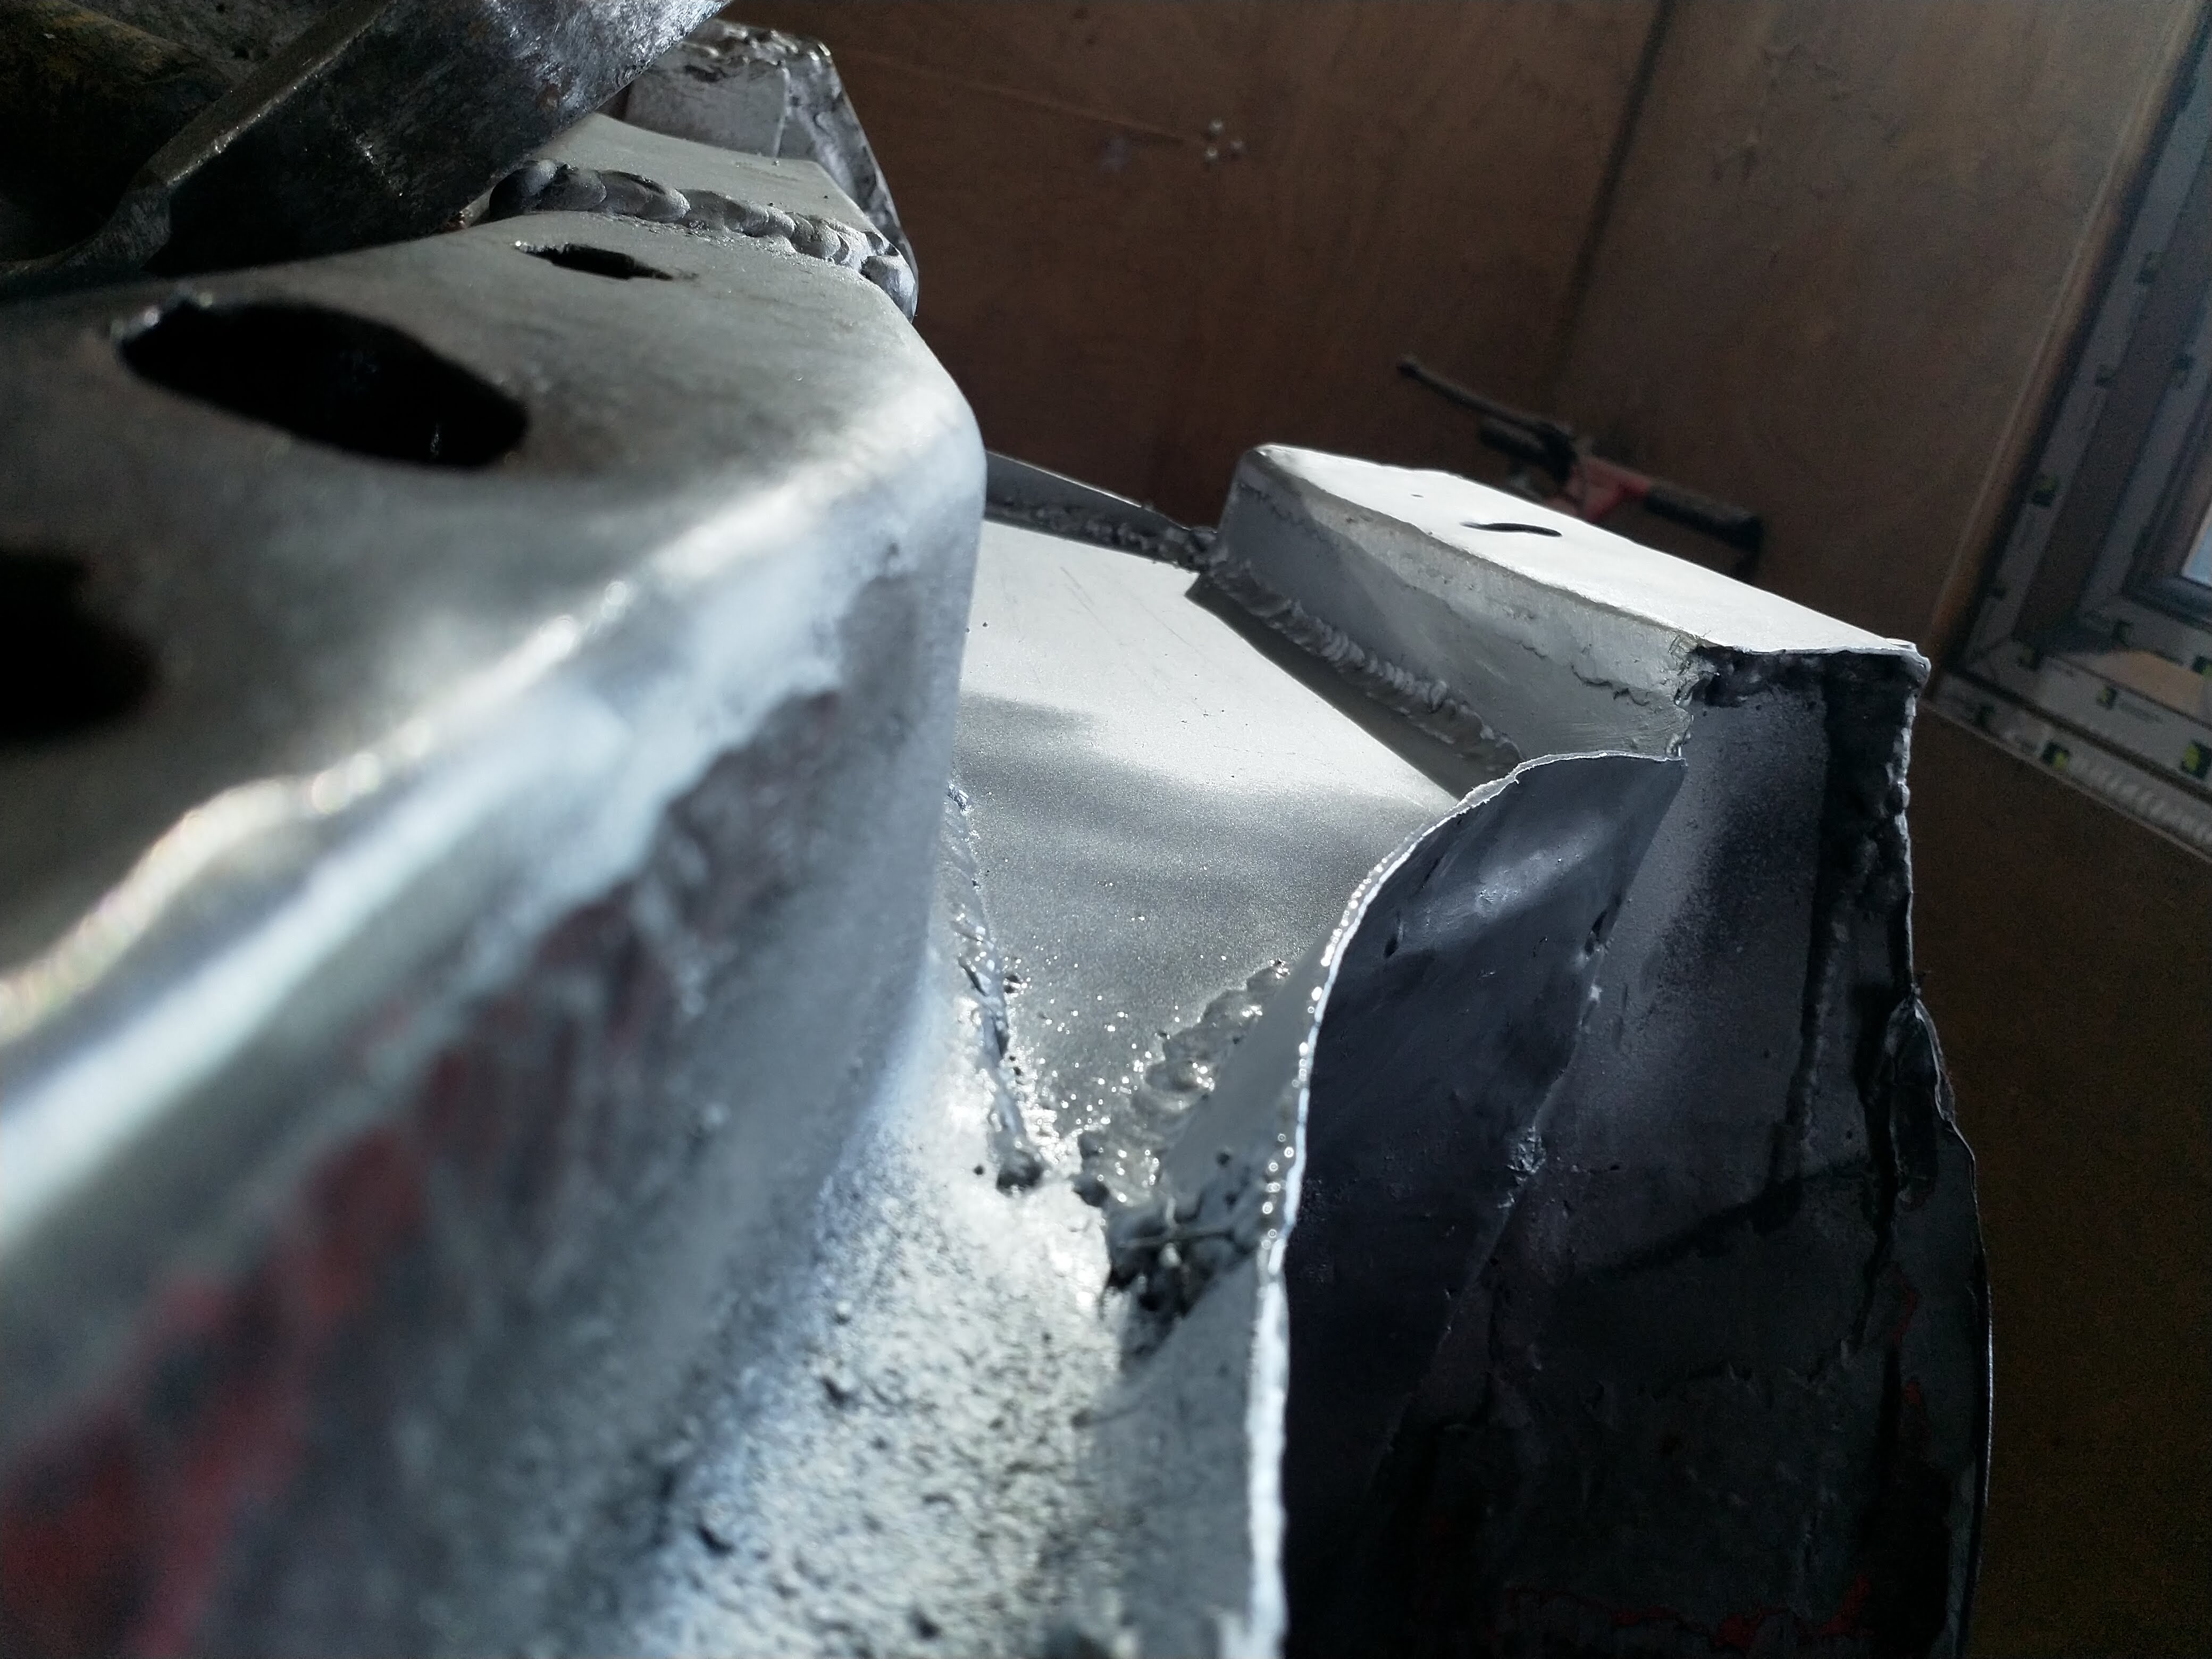
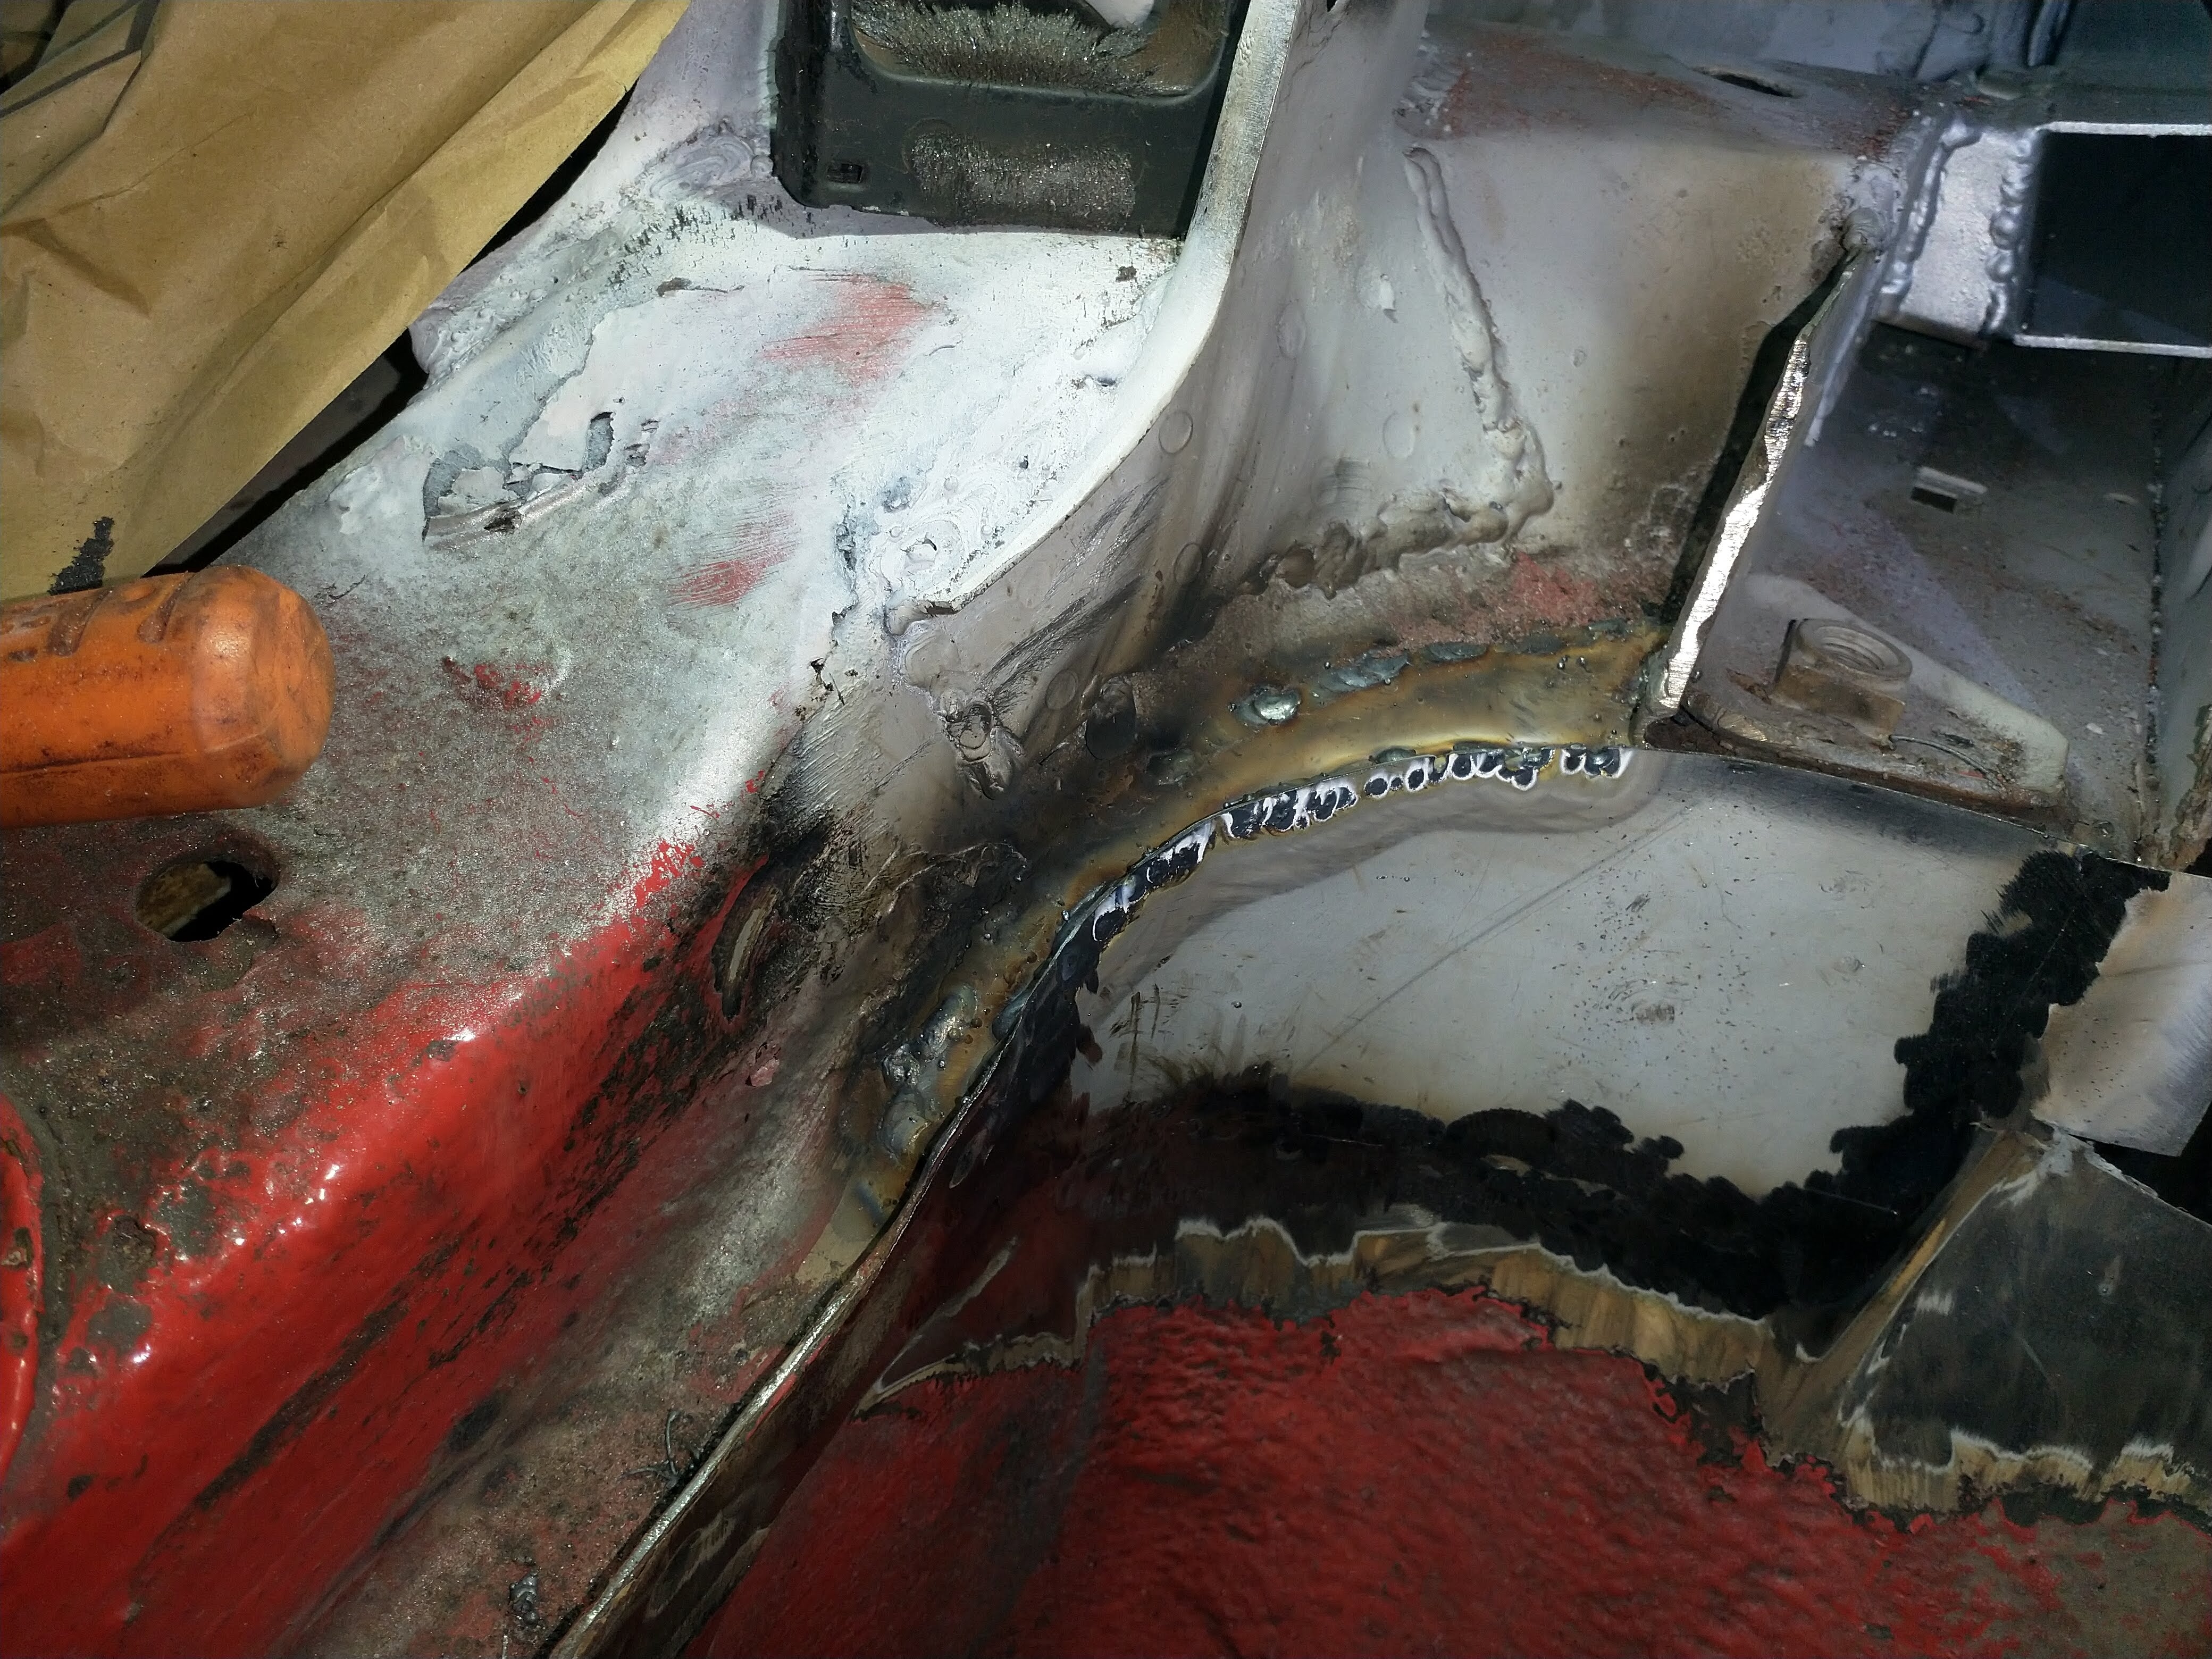
I had the ass. No rot either side of this, this is the inner wheel arch, so inside the car ffs! But just kept blowing hole after hole. My mate said it could be formed thin from factory. Is possible i suppose! So in the end, I cut it all out and welder a bigger plate in!
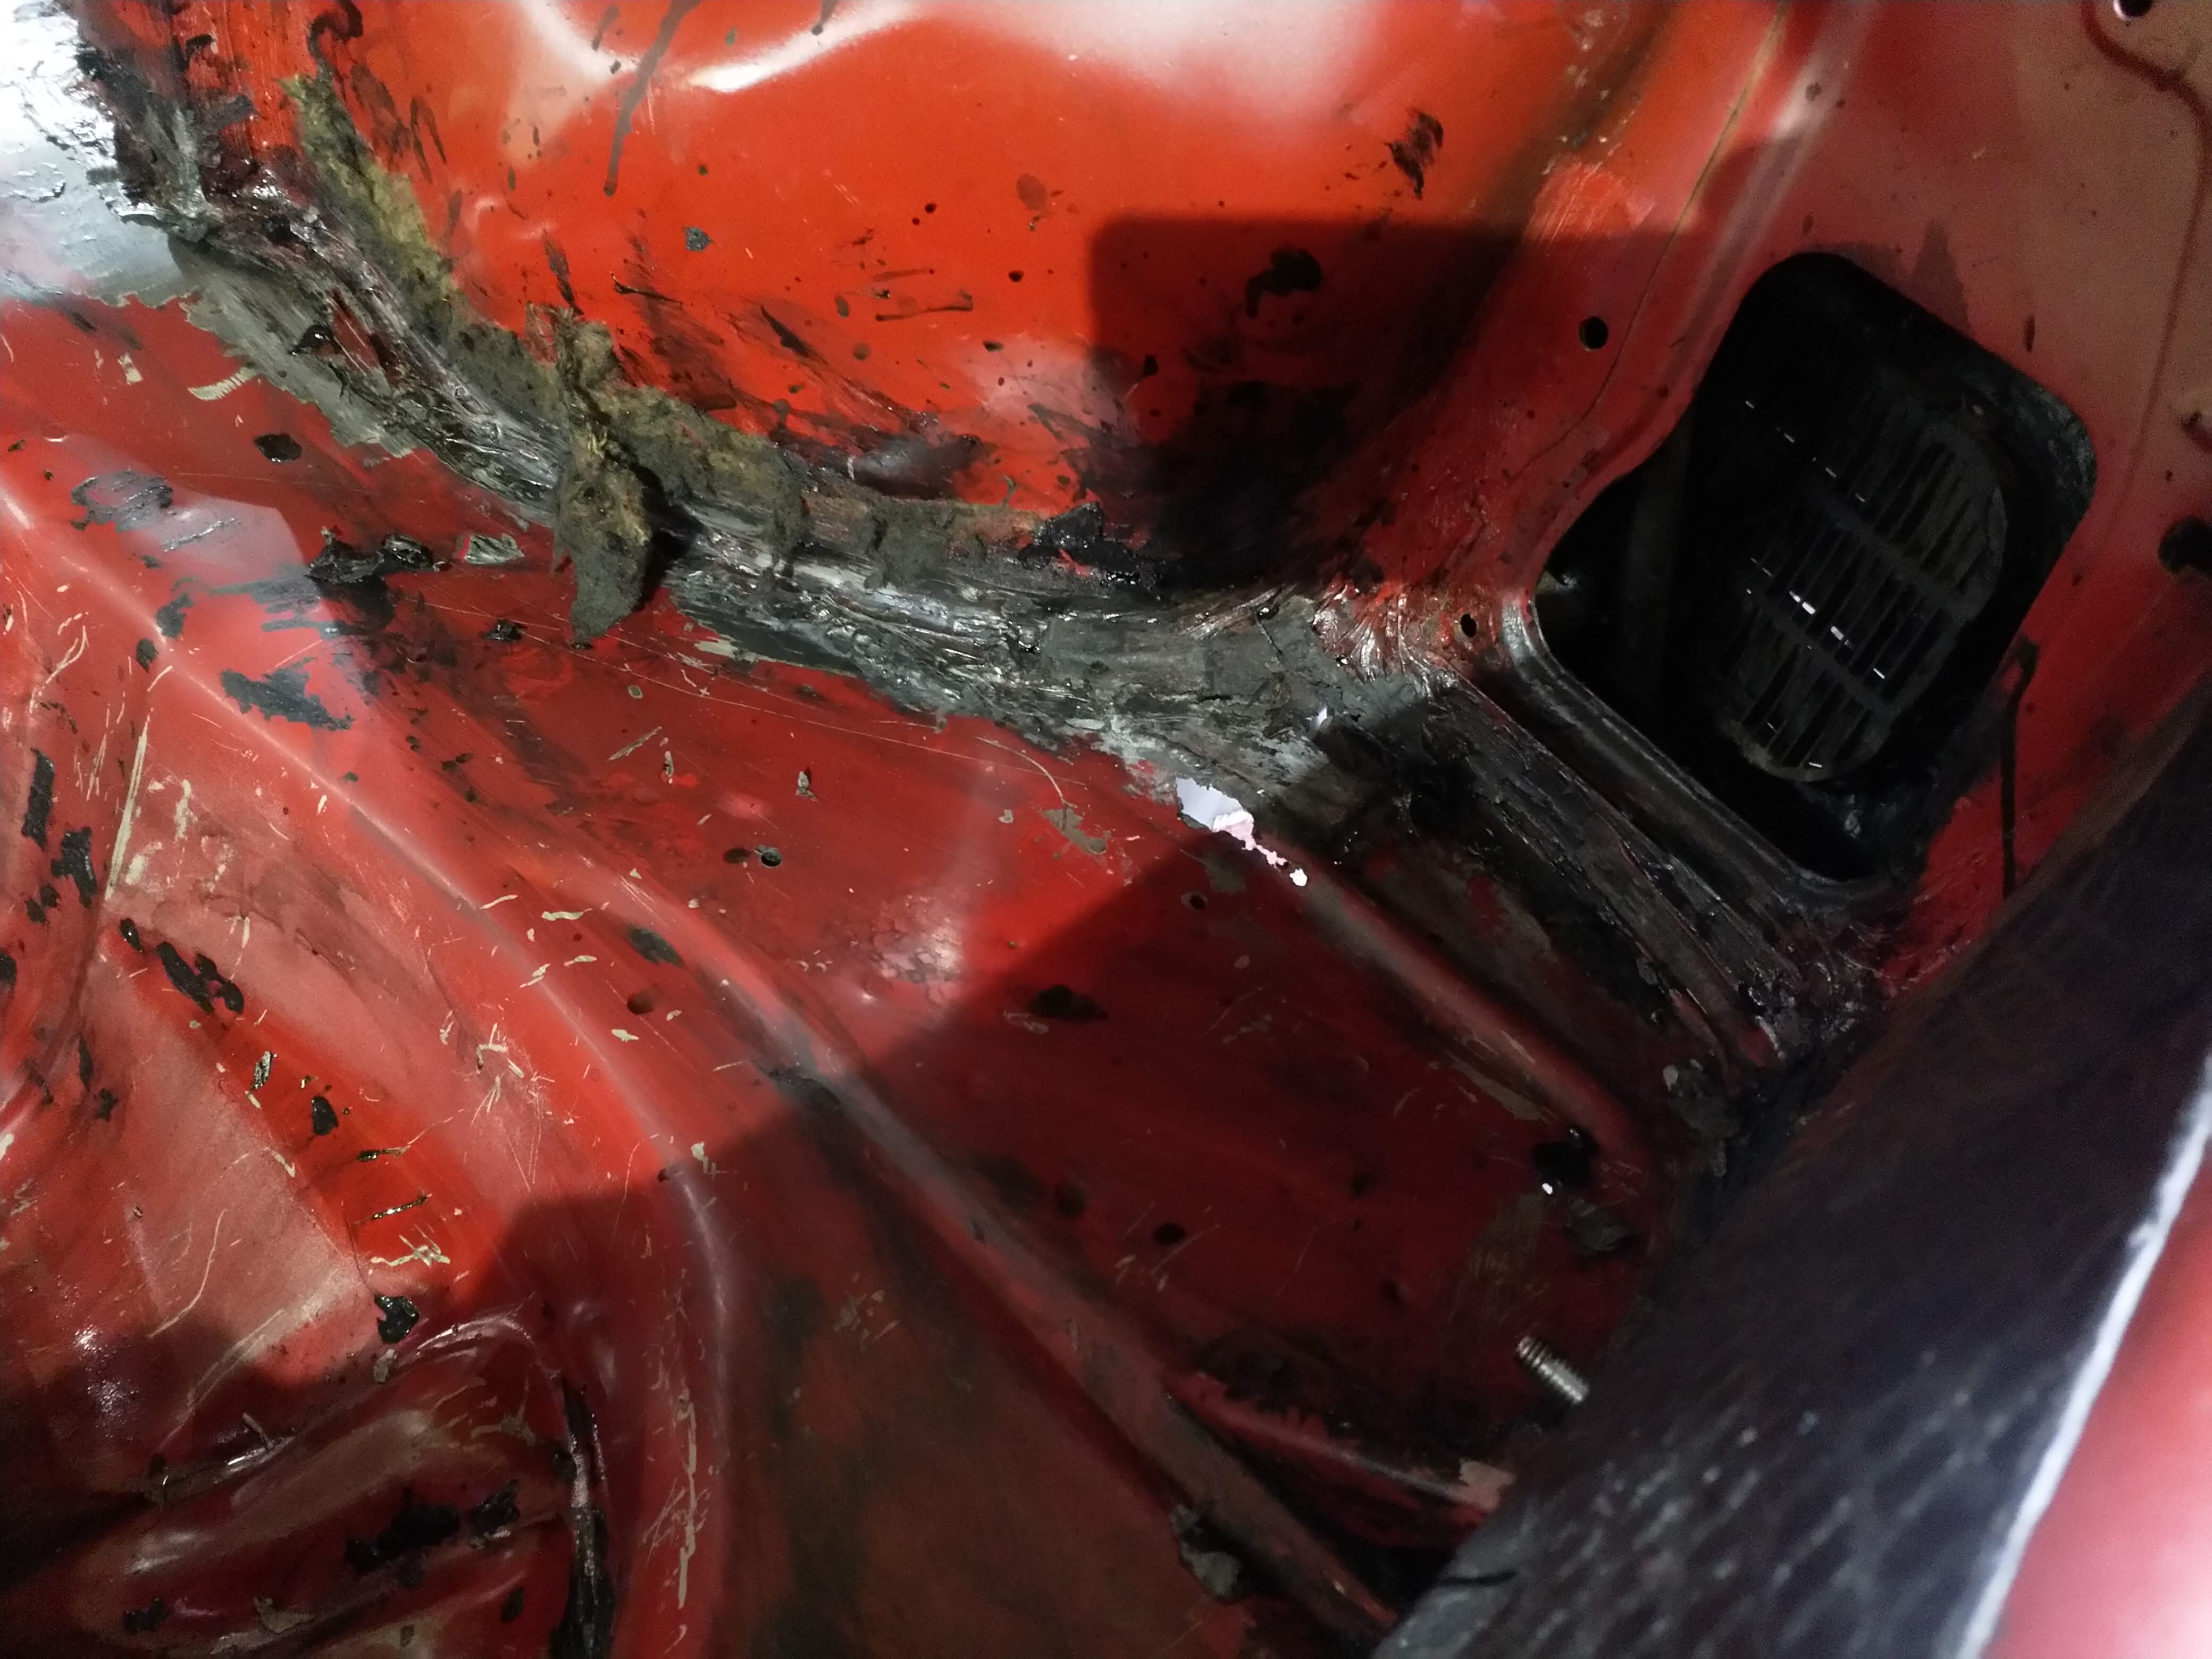
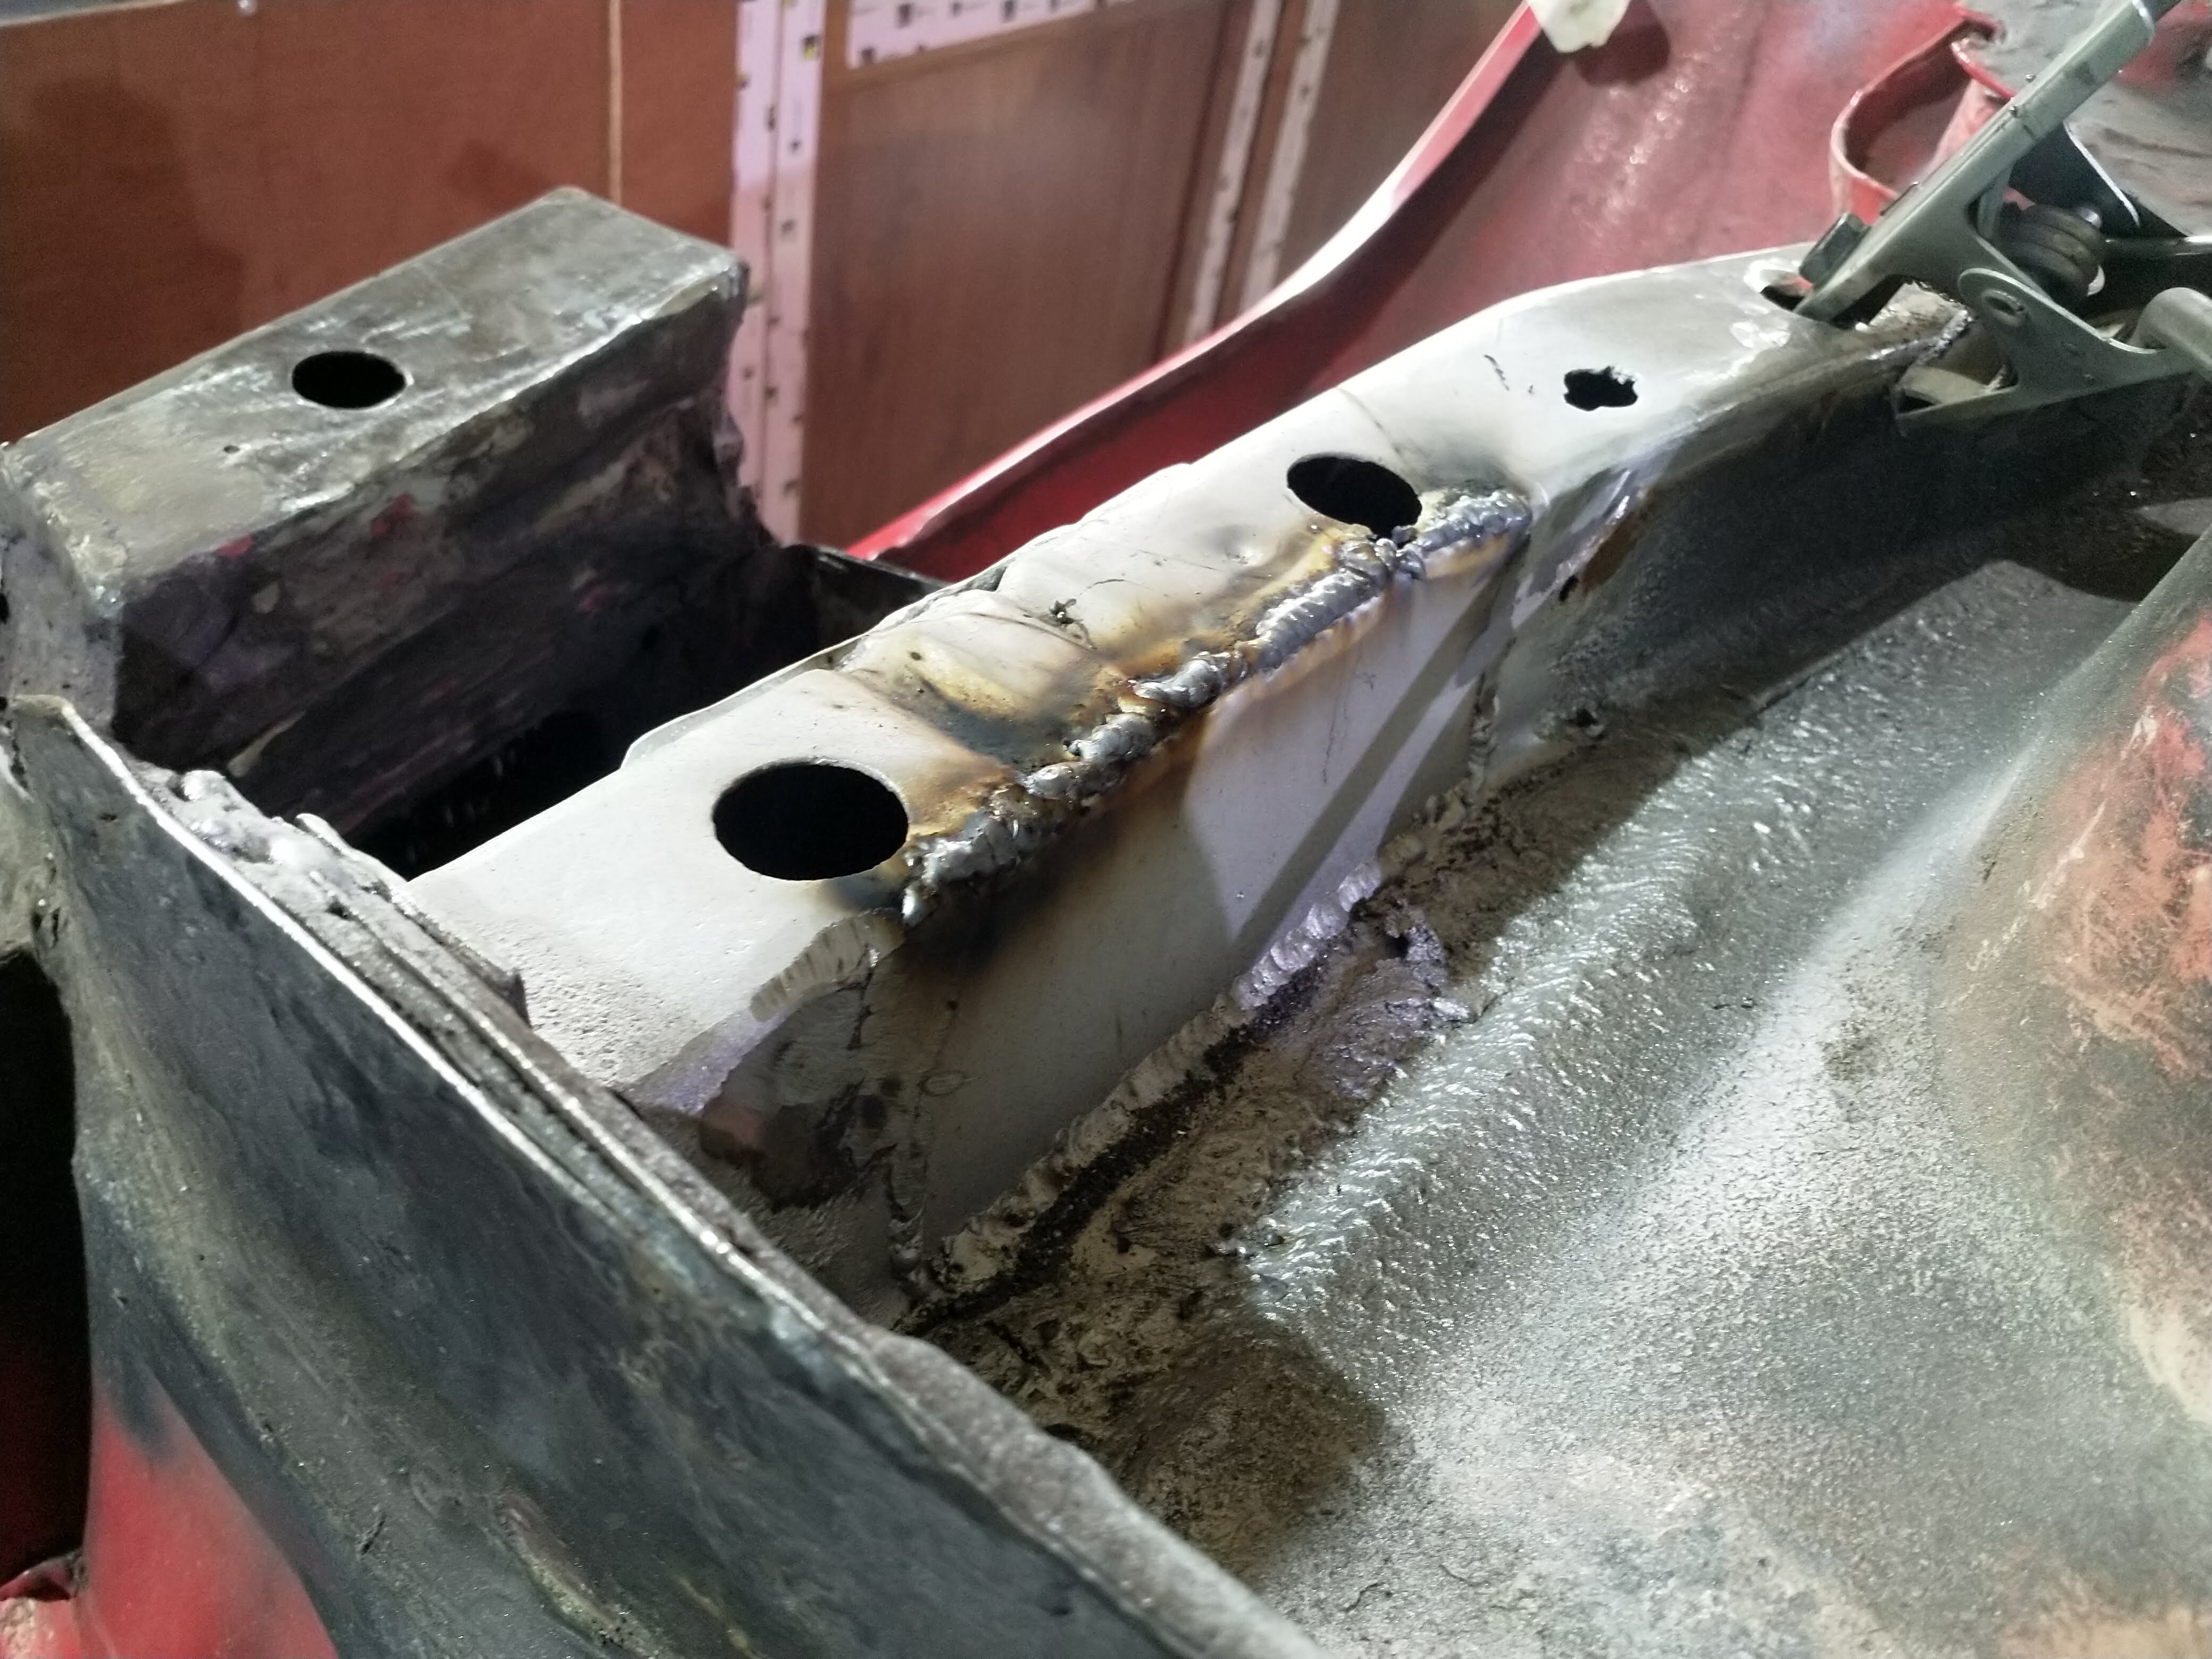
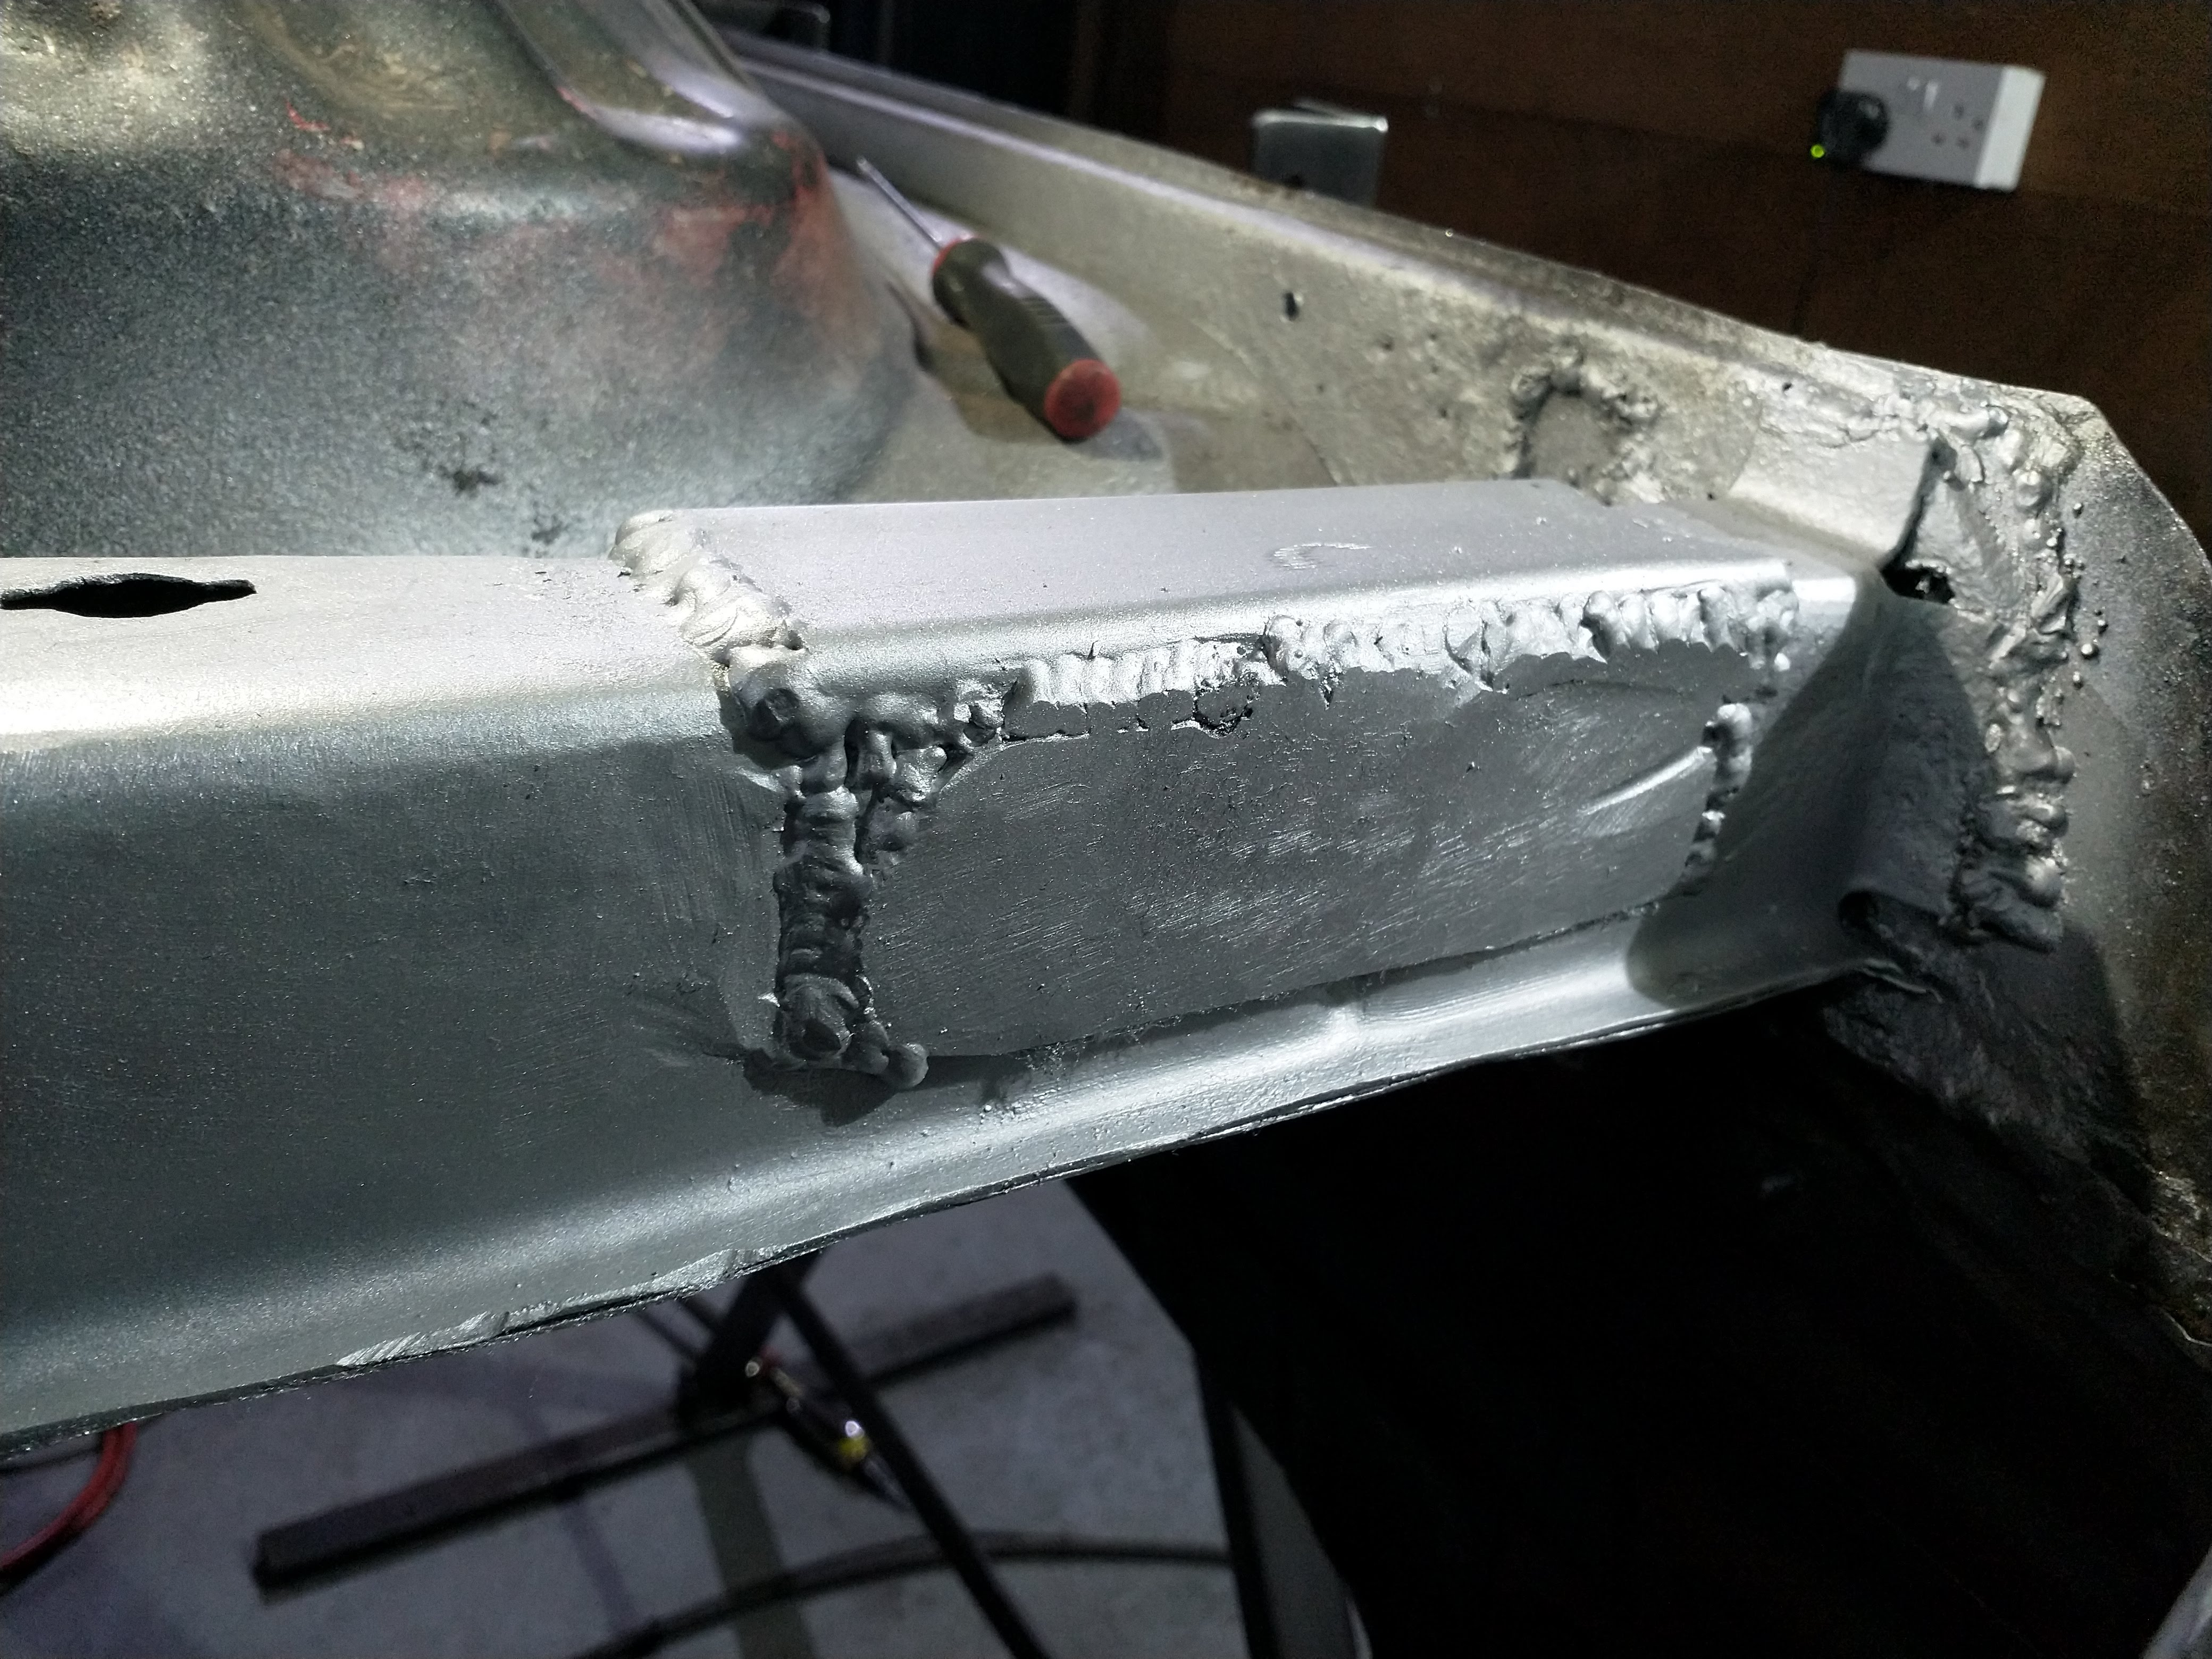
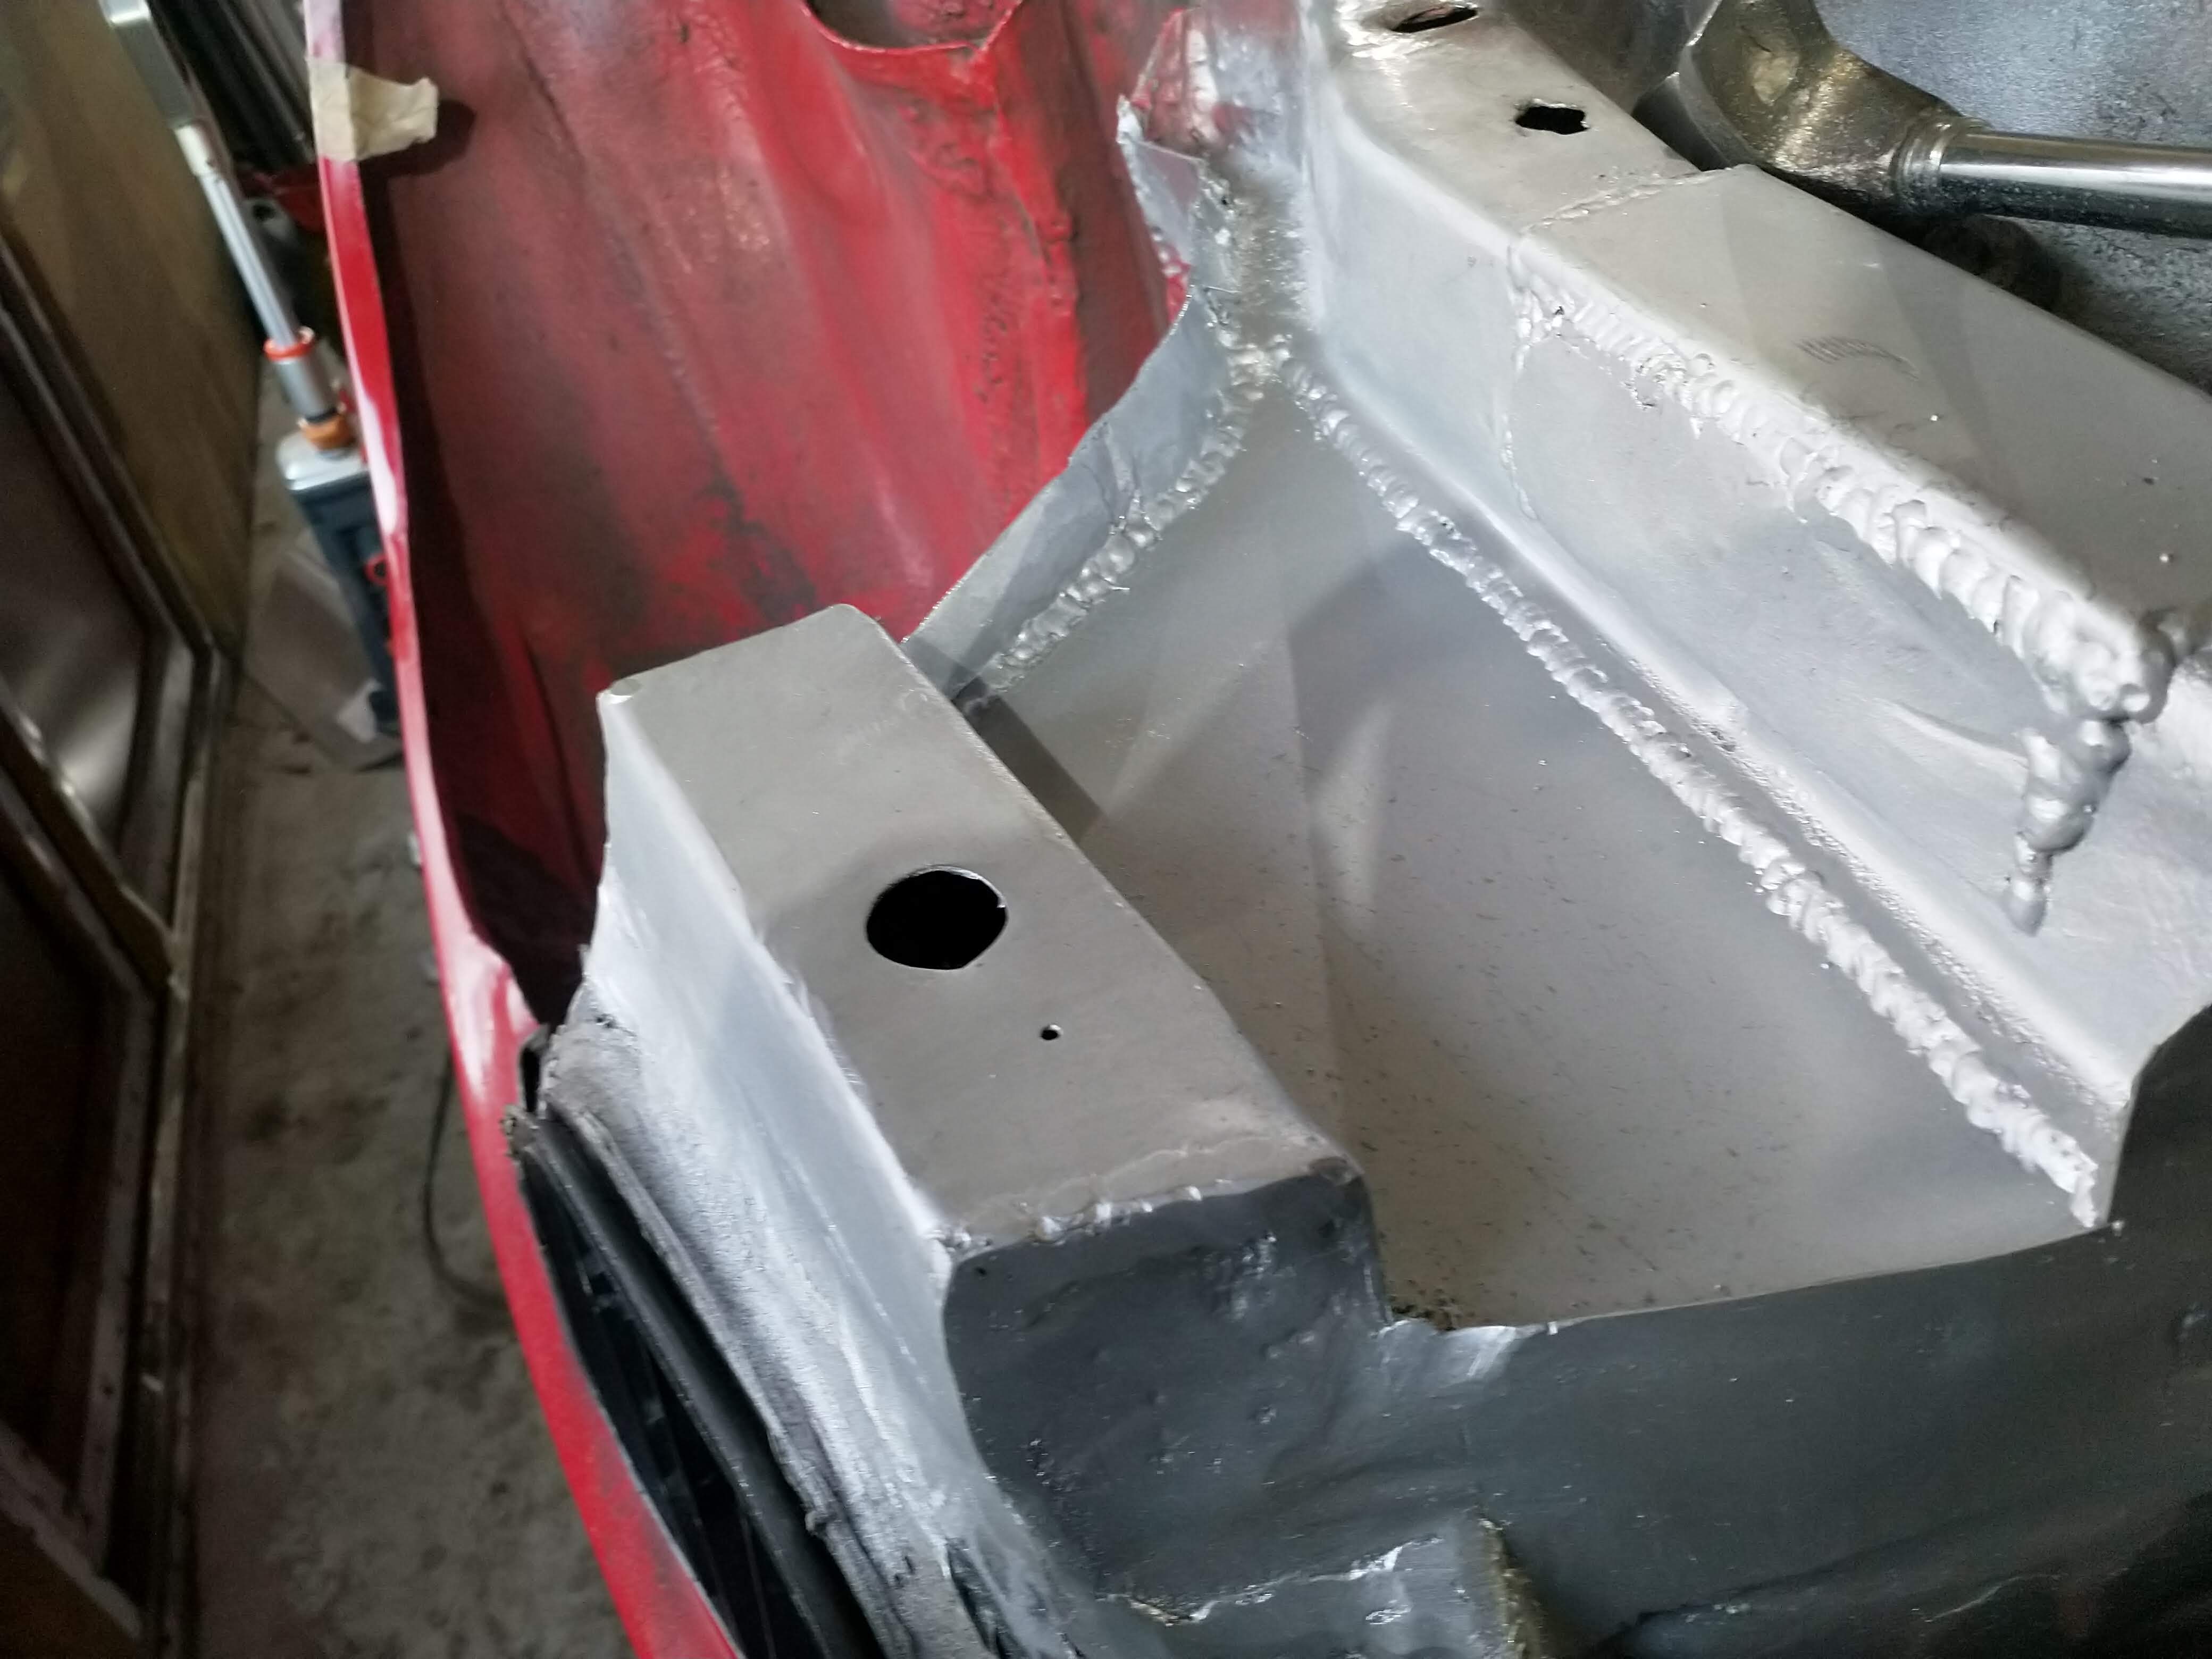
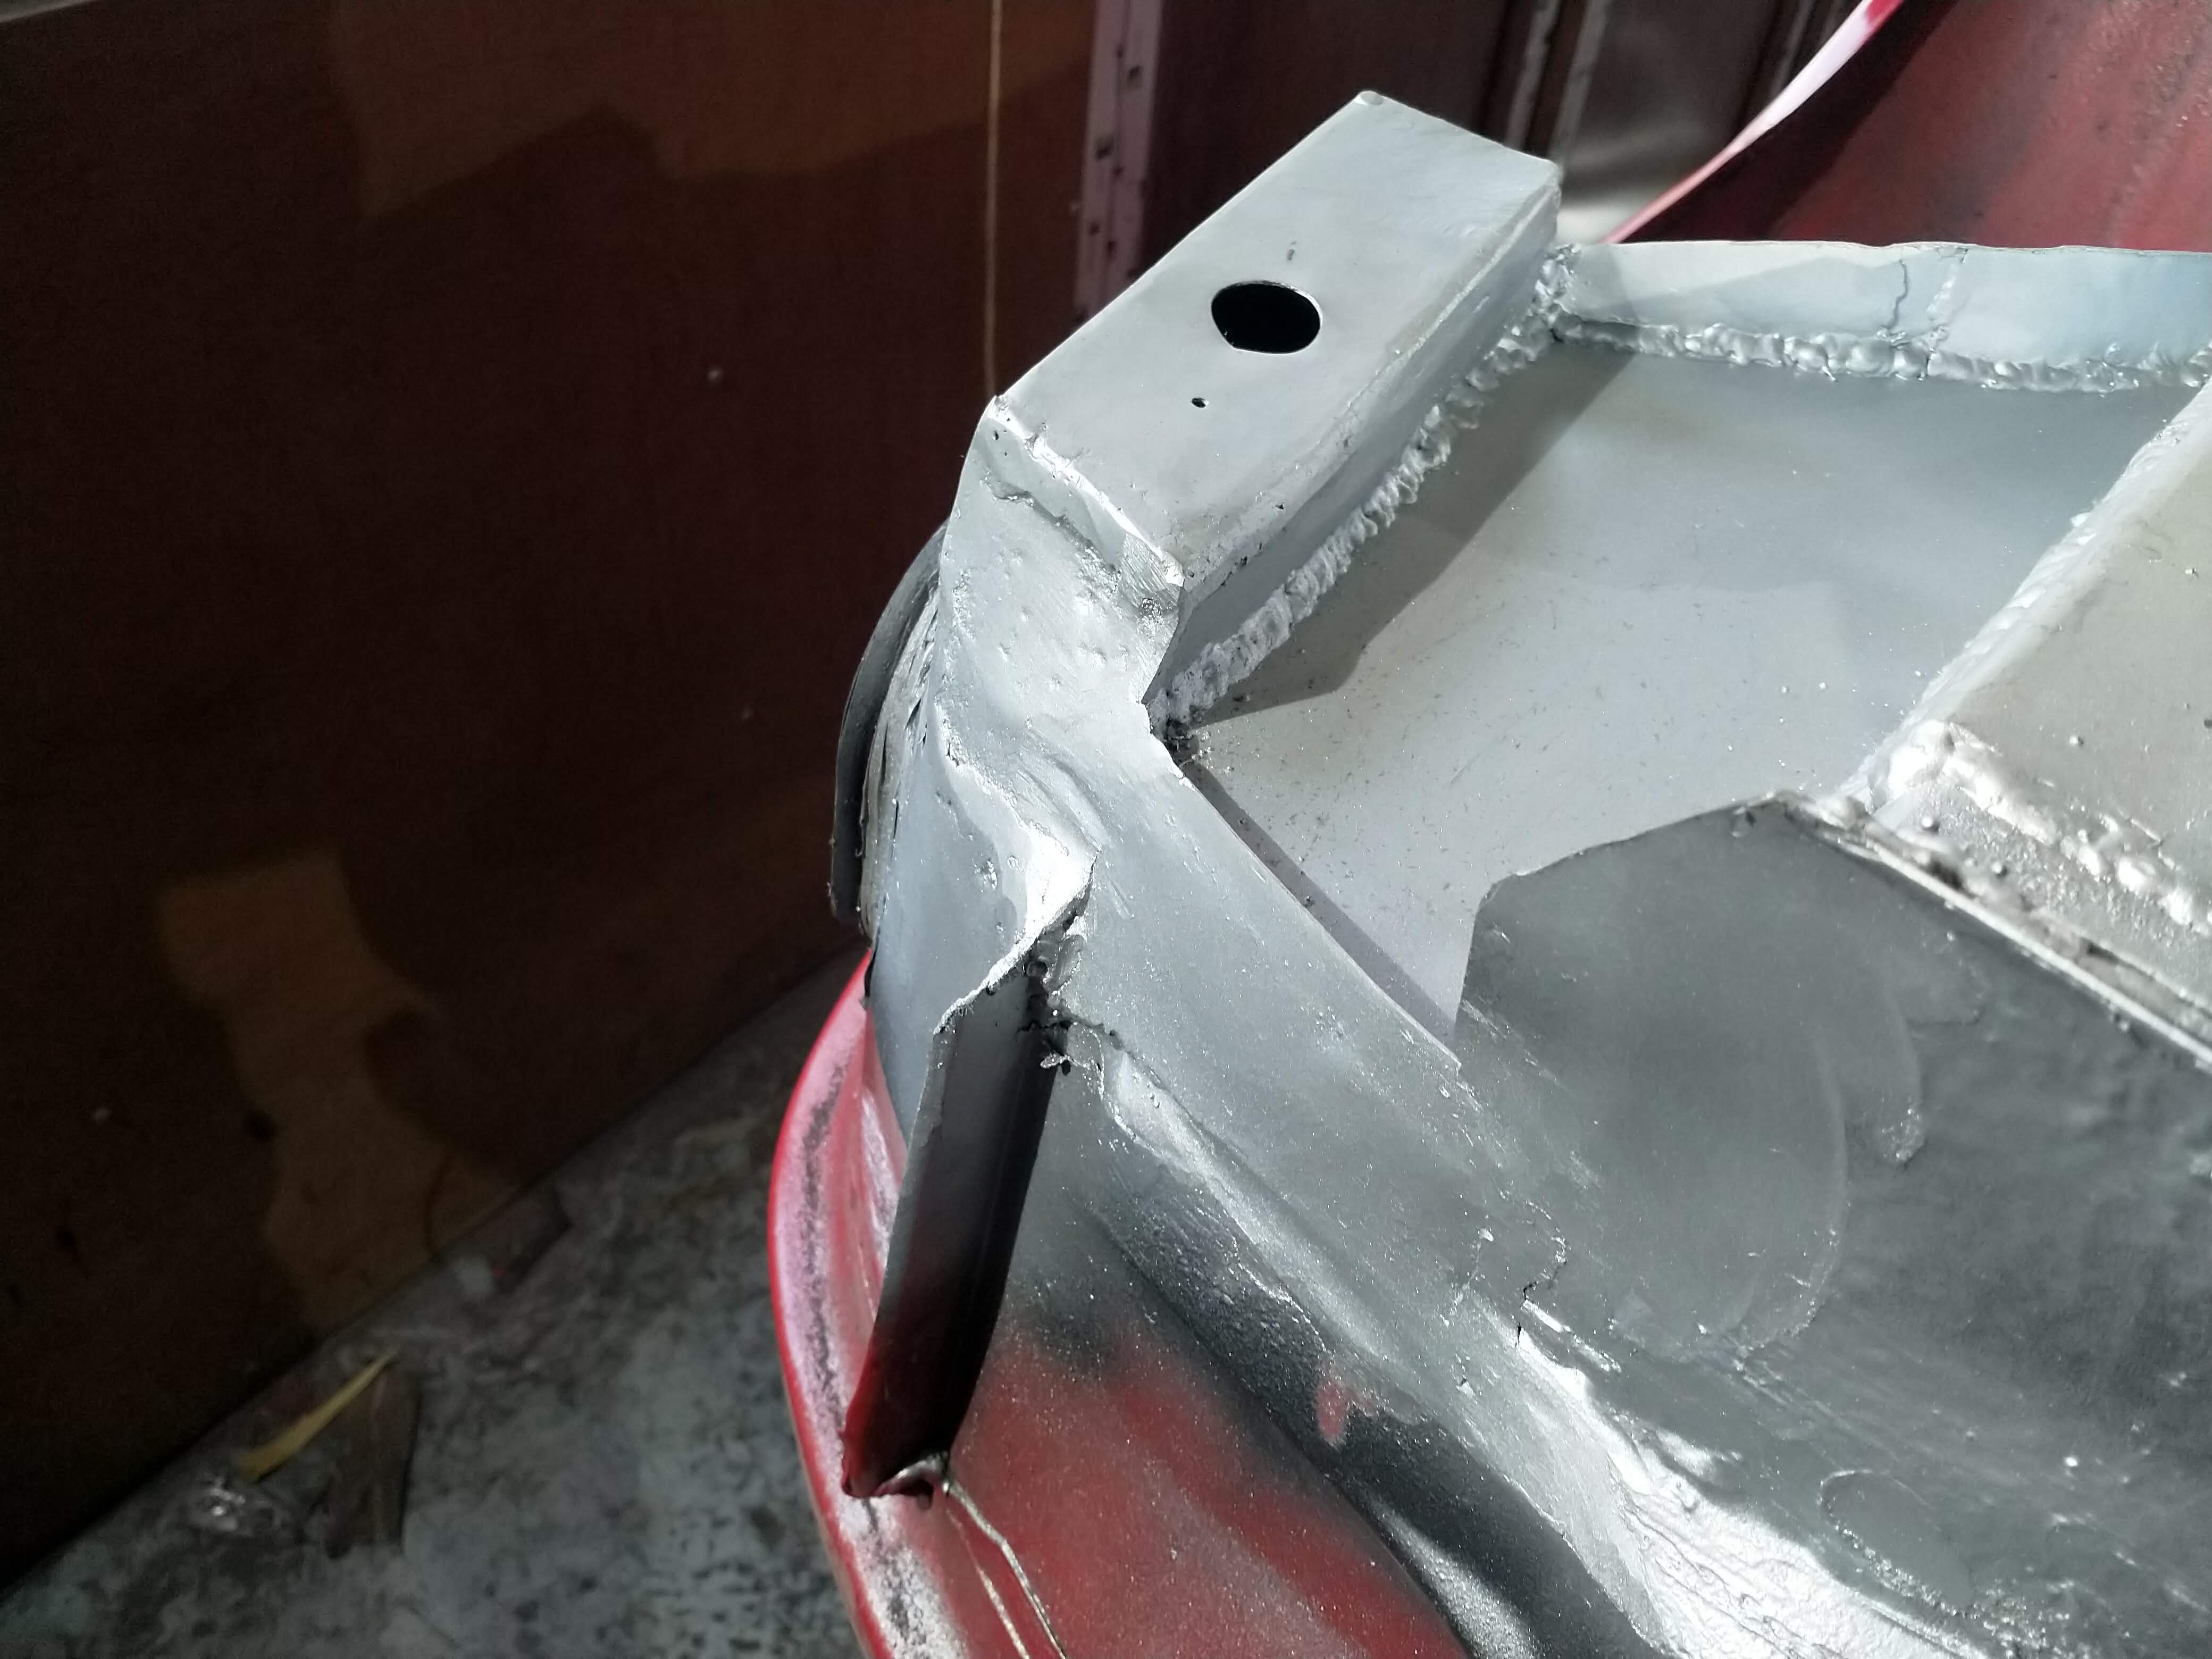
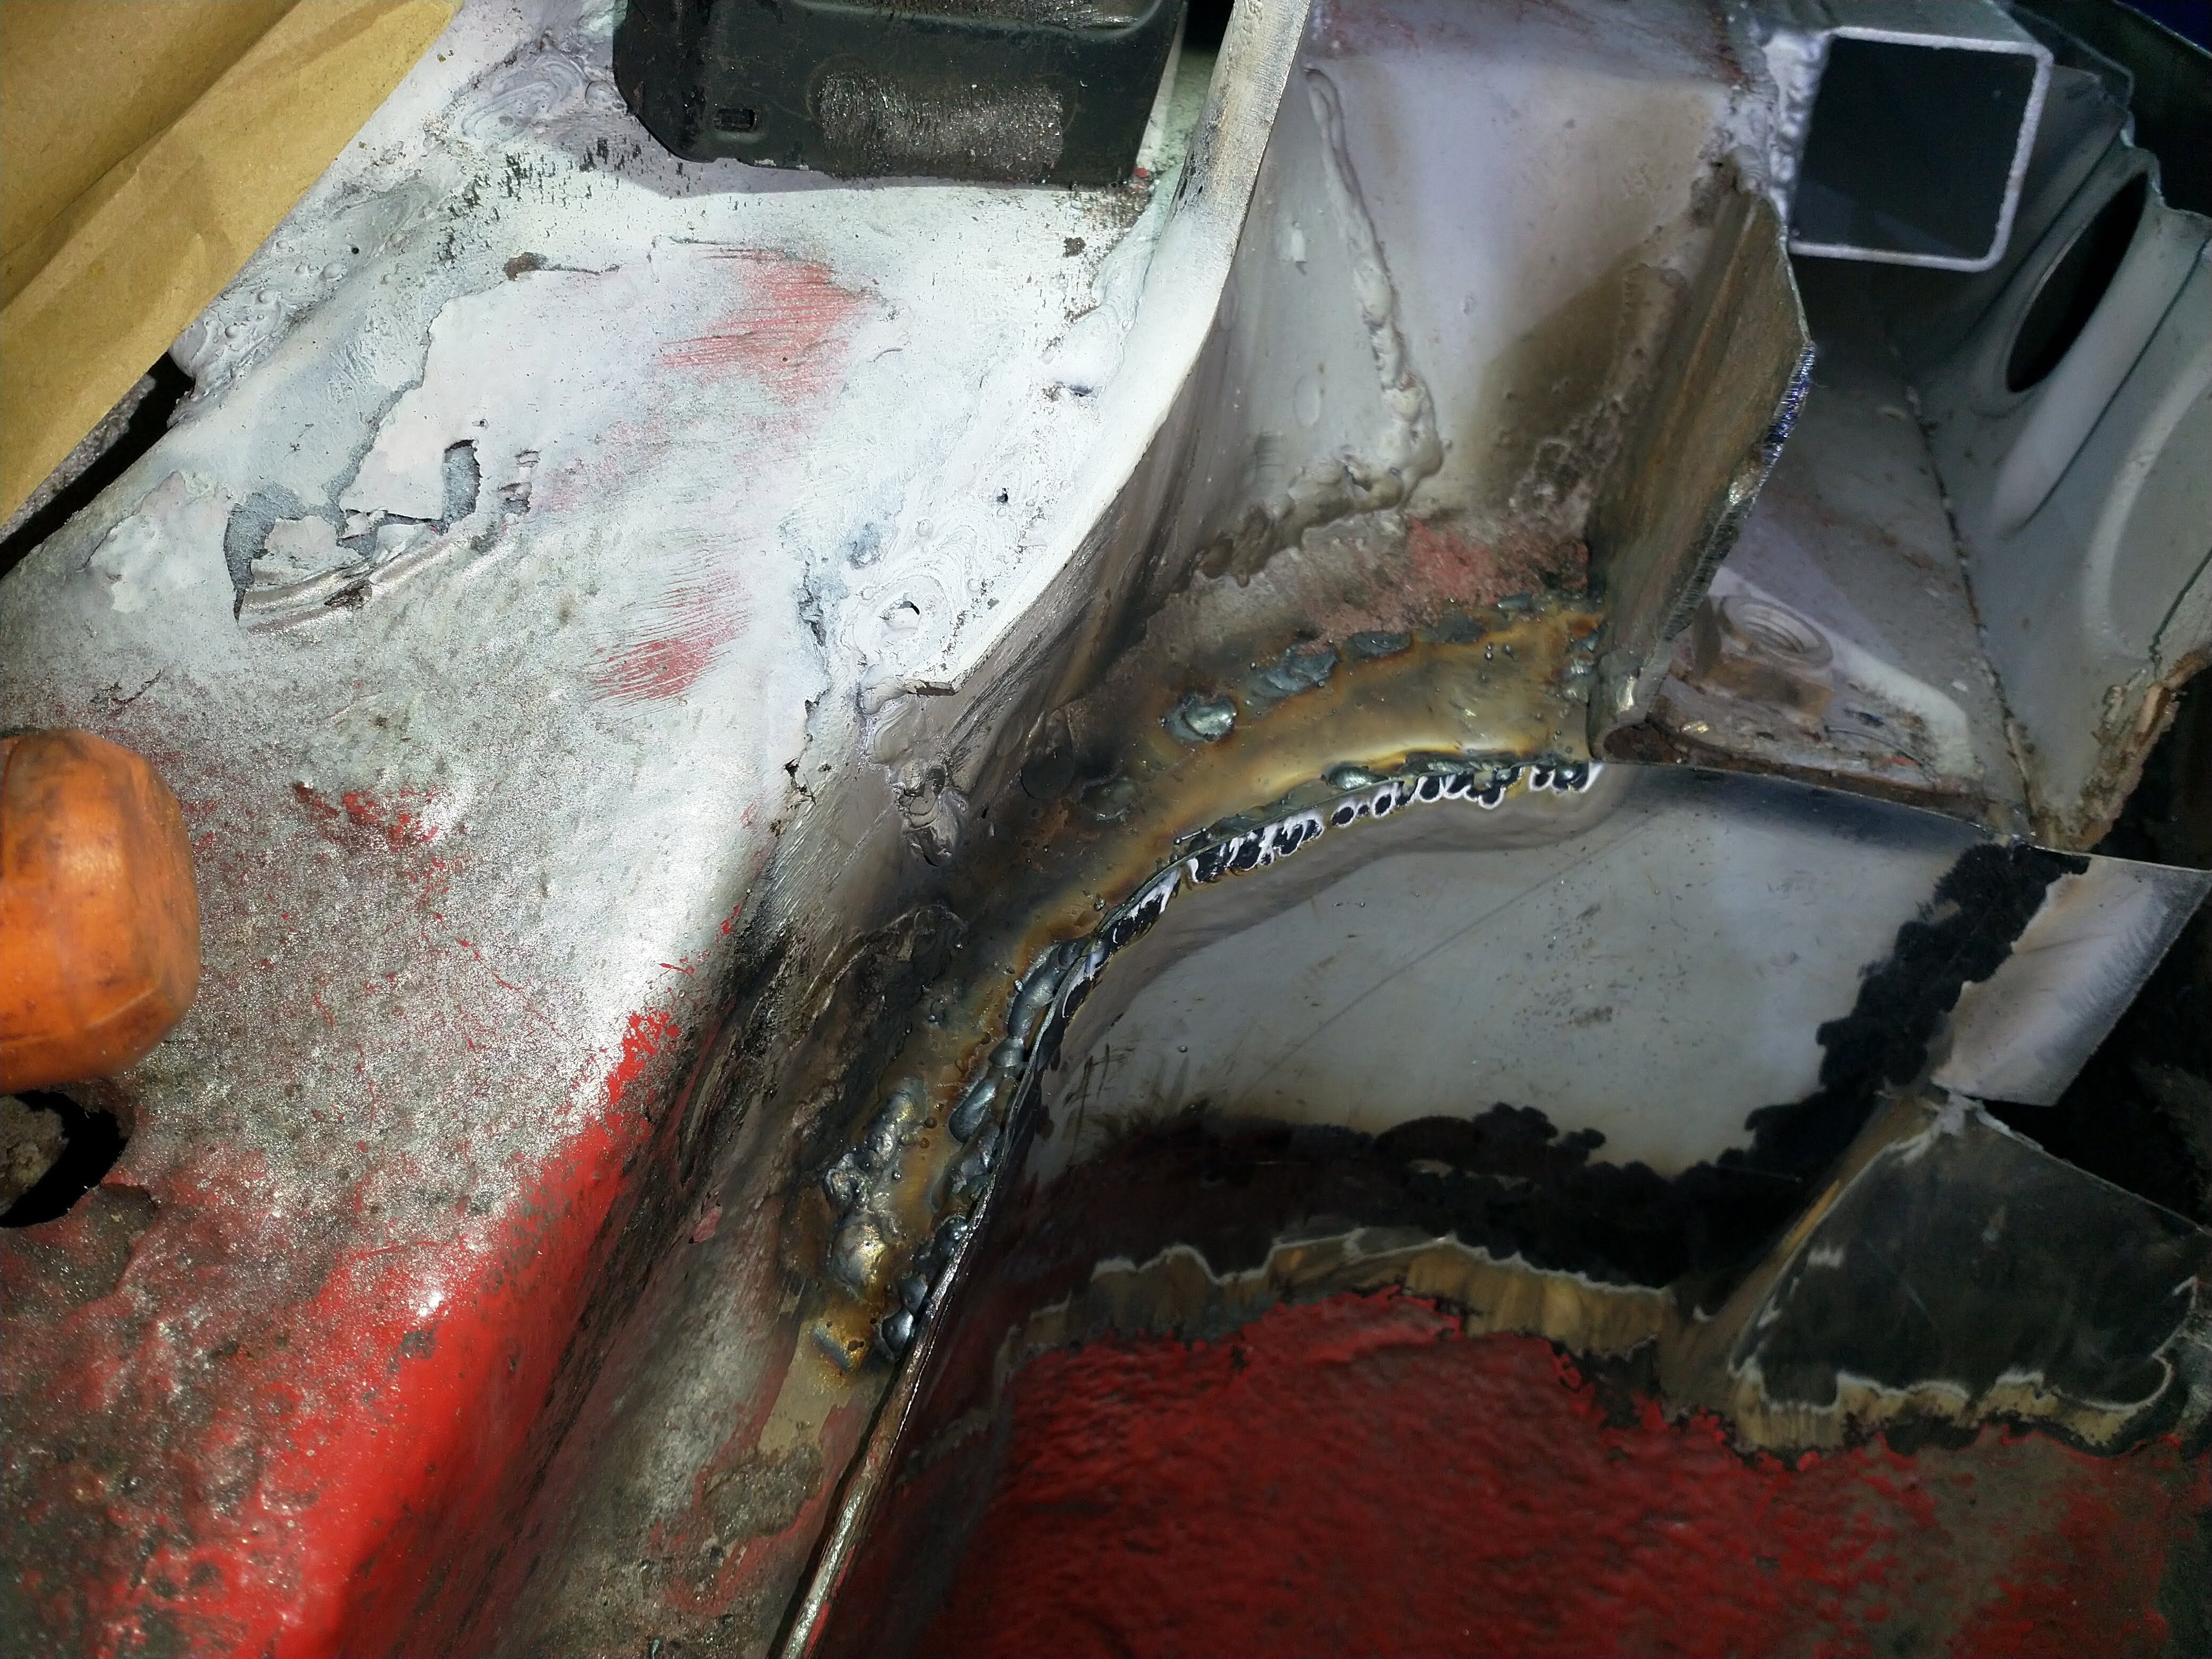
Thats better

full


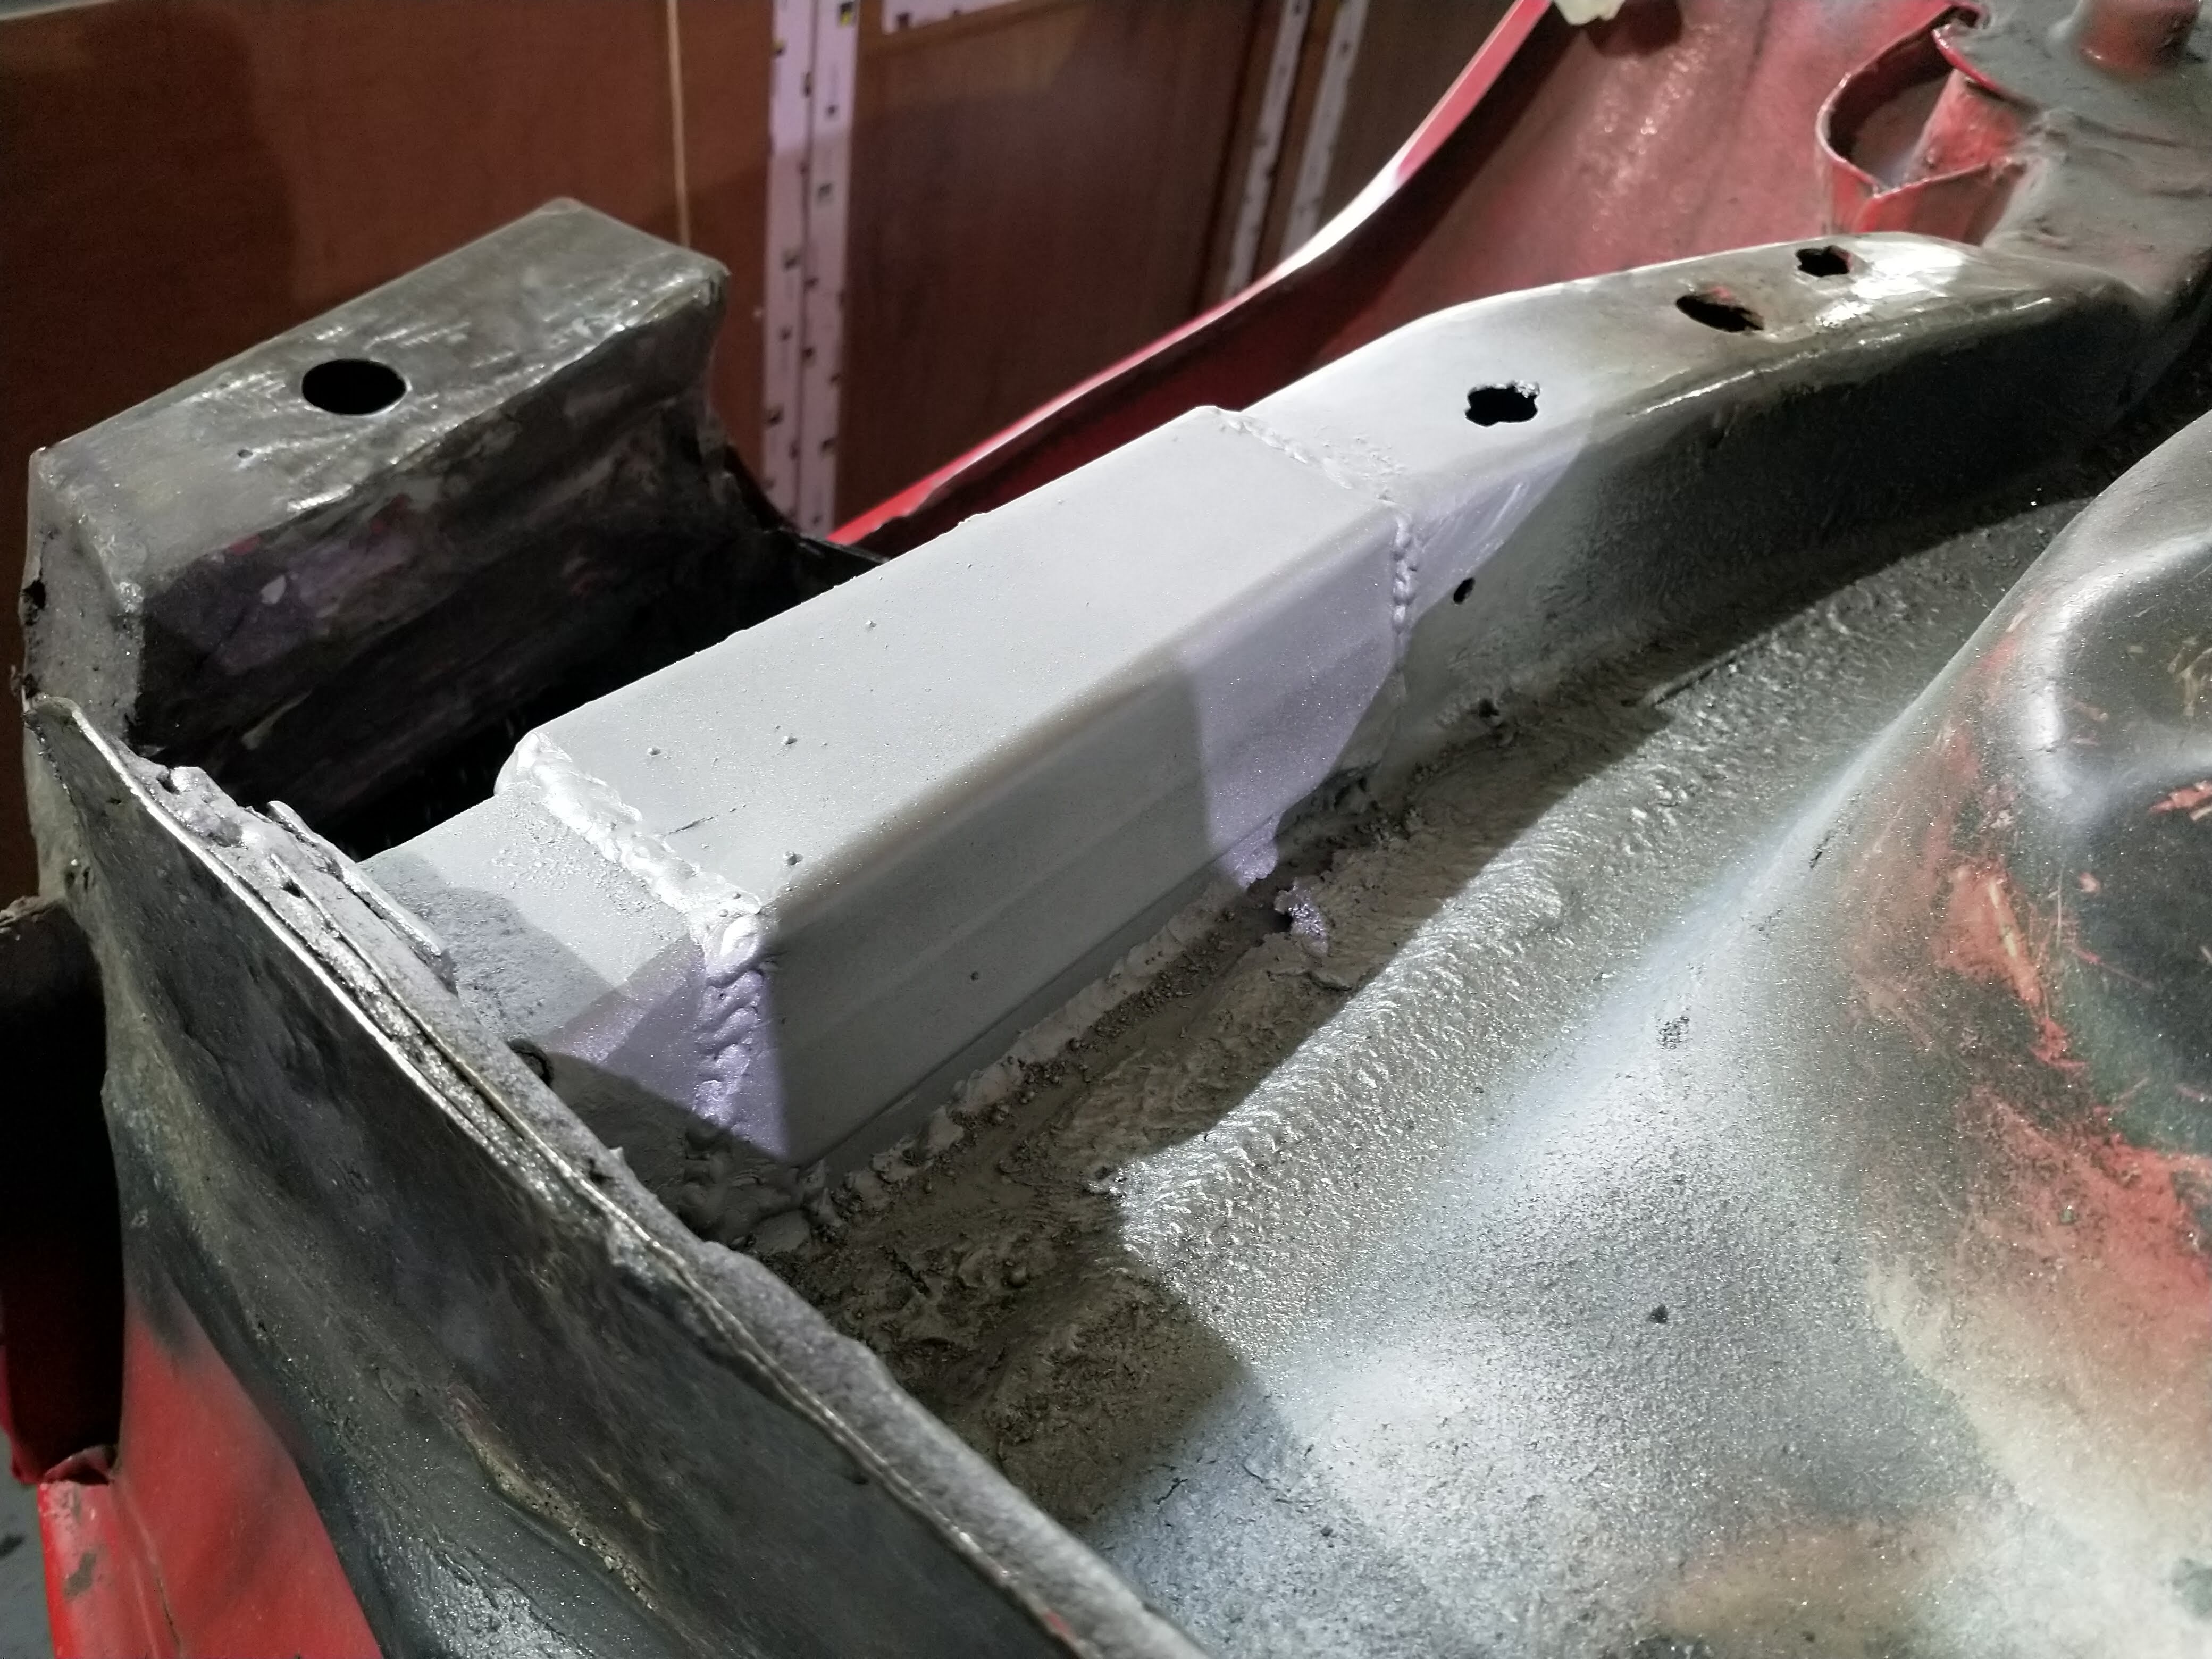
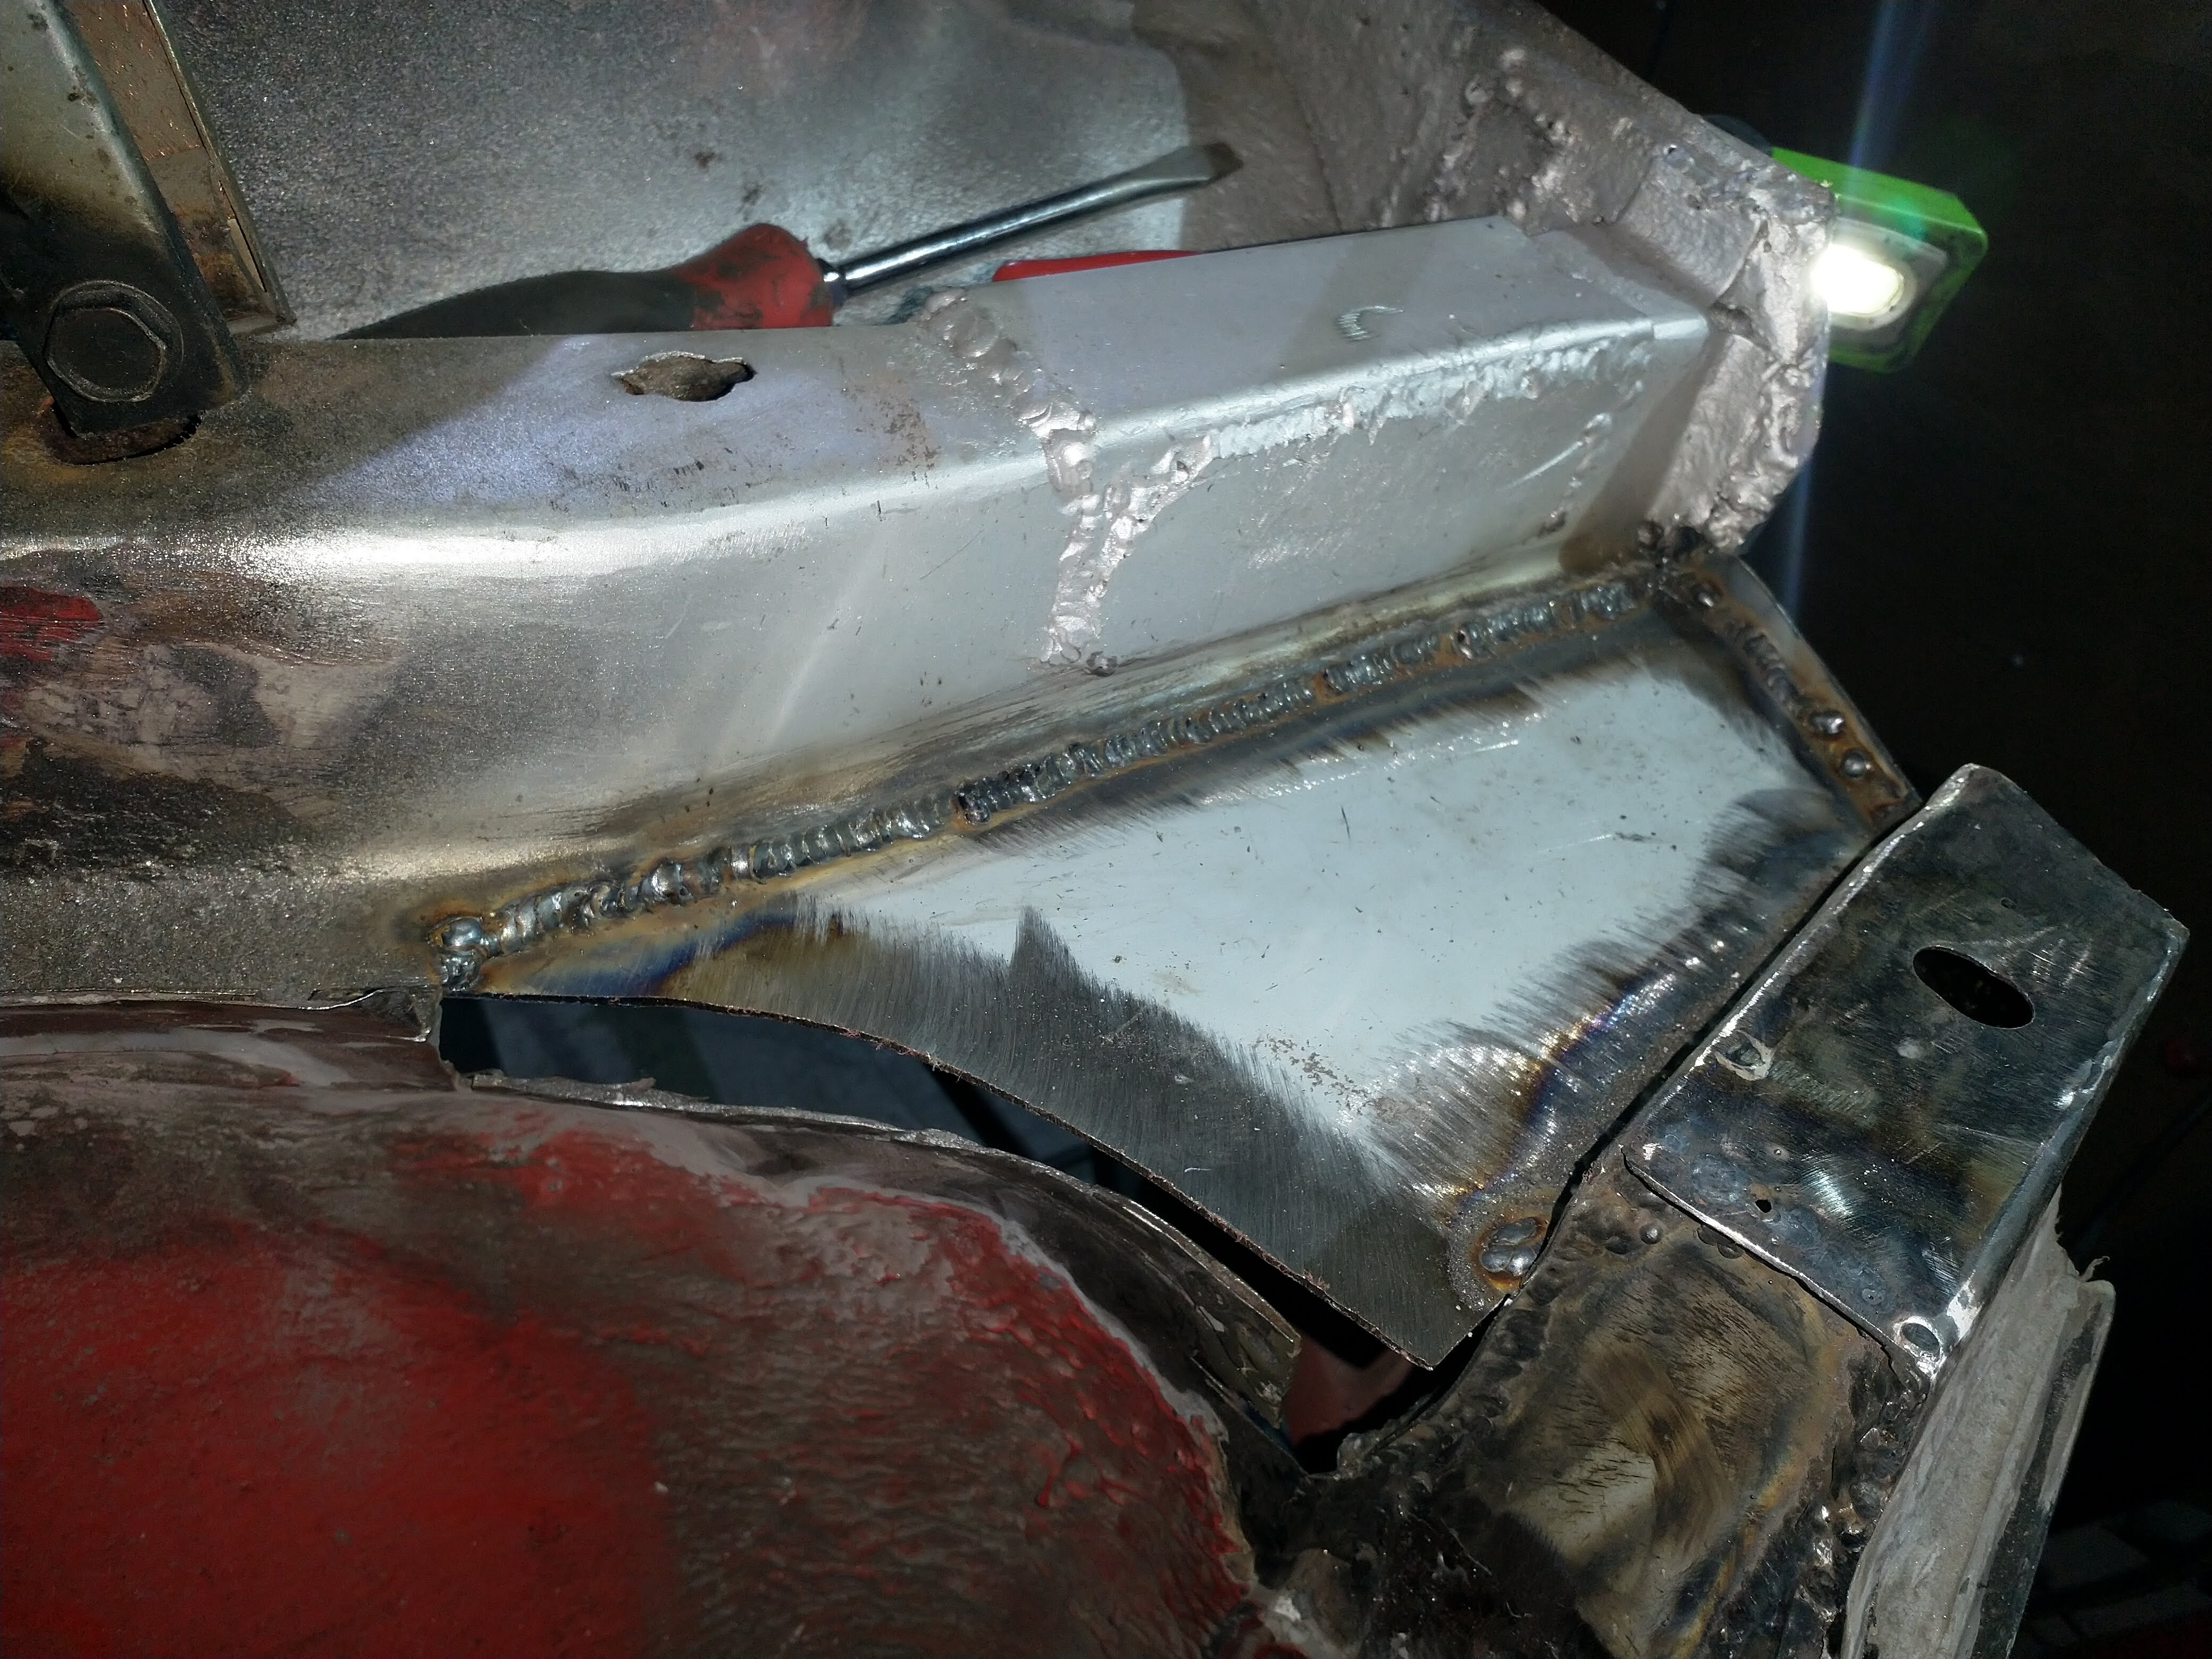
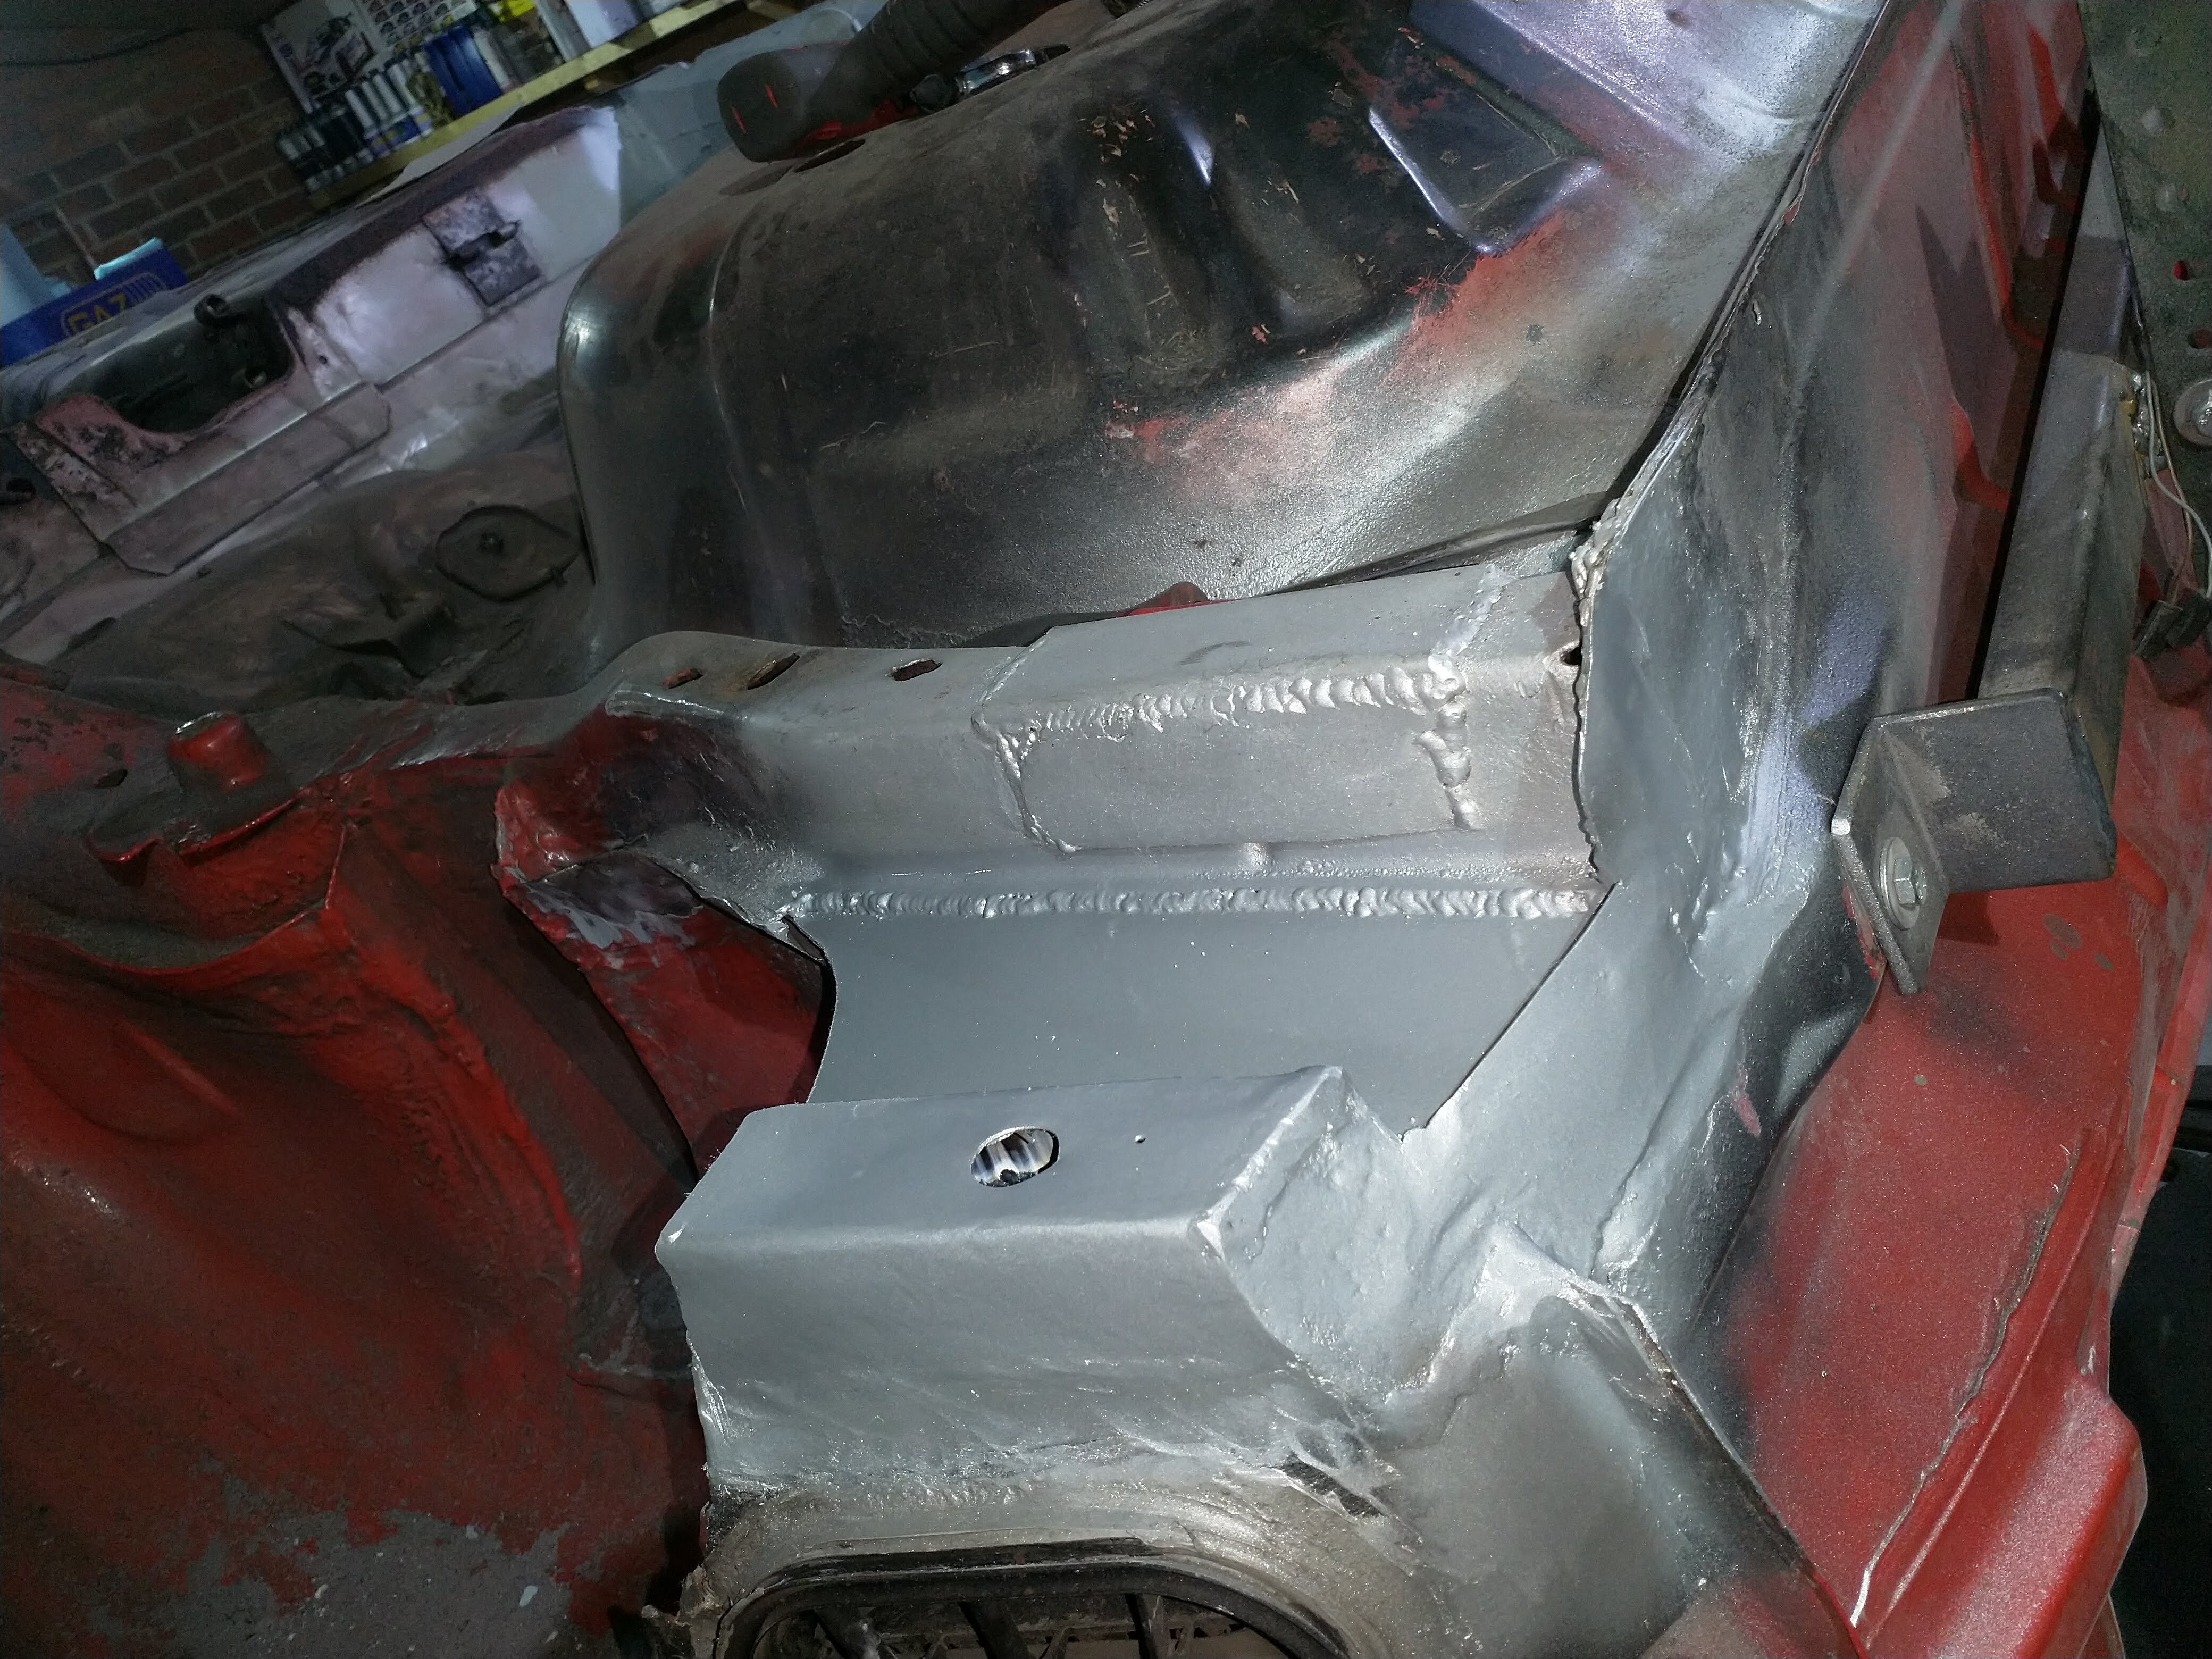
Also made the bit just inside which i didn't like the look of, was a bit soft, so cut that out and a nice thick bit of 2mm plate in there also. Lovely!

full

full


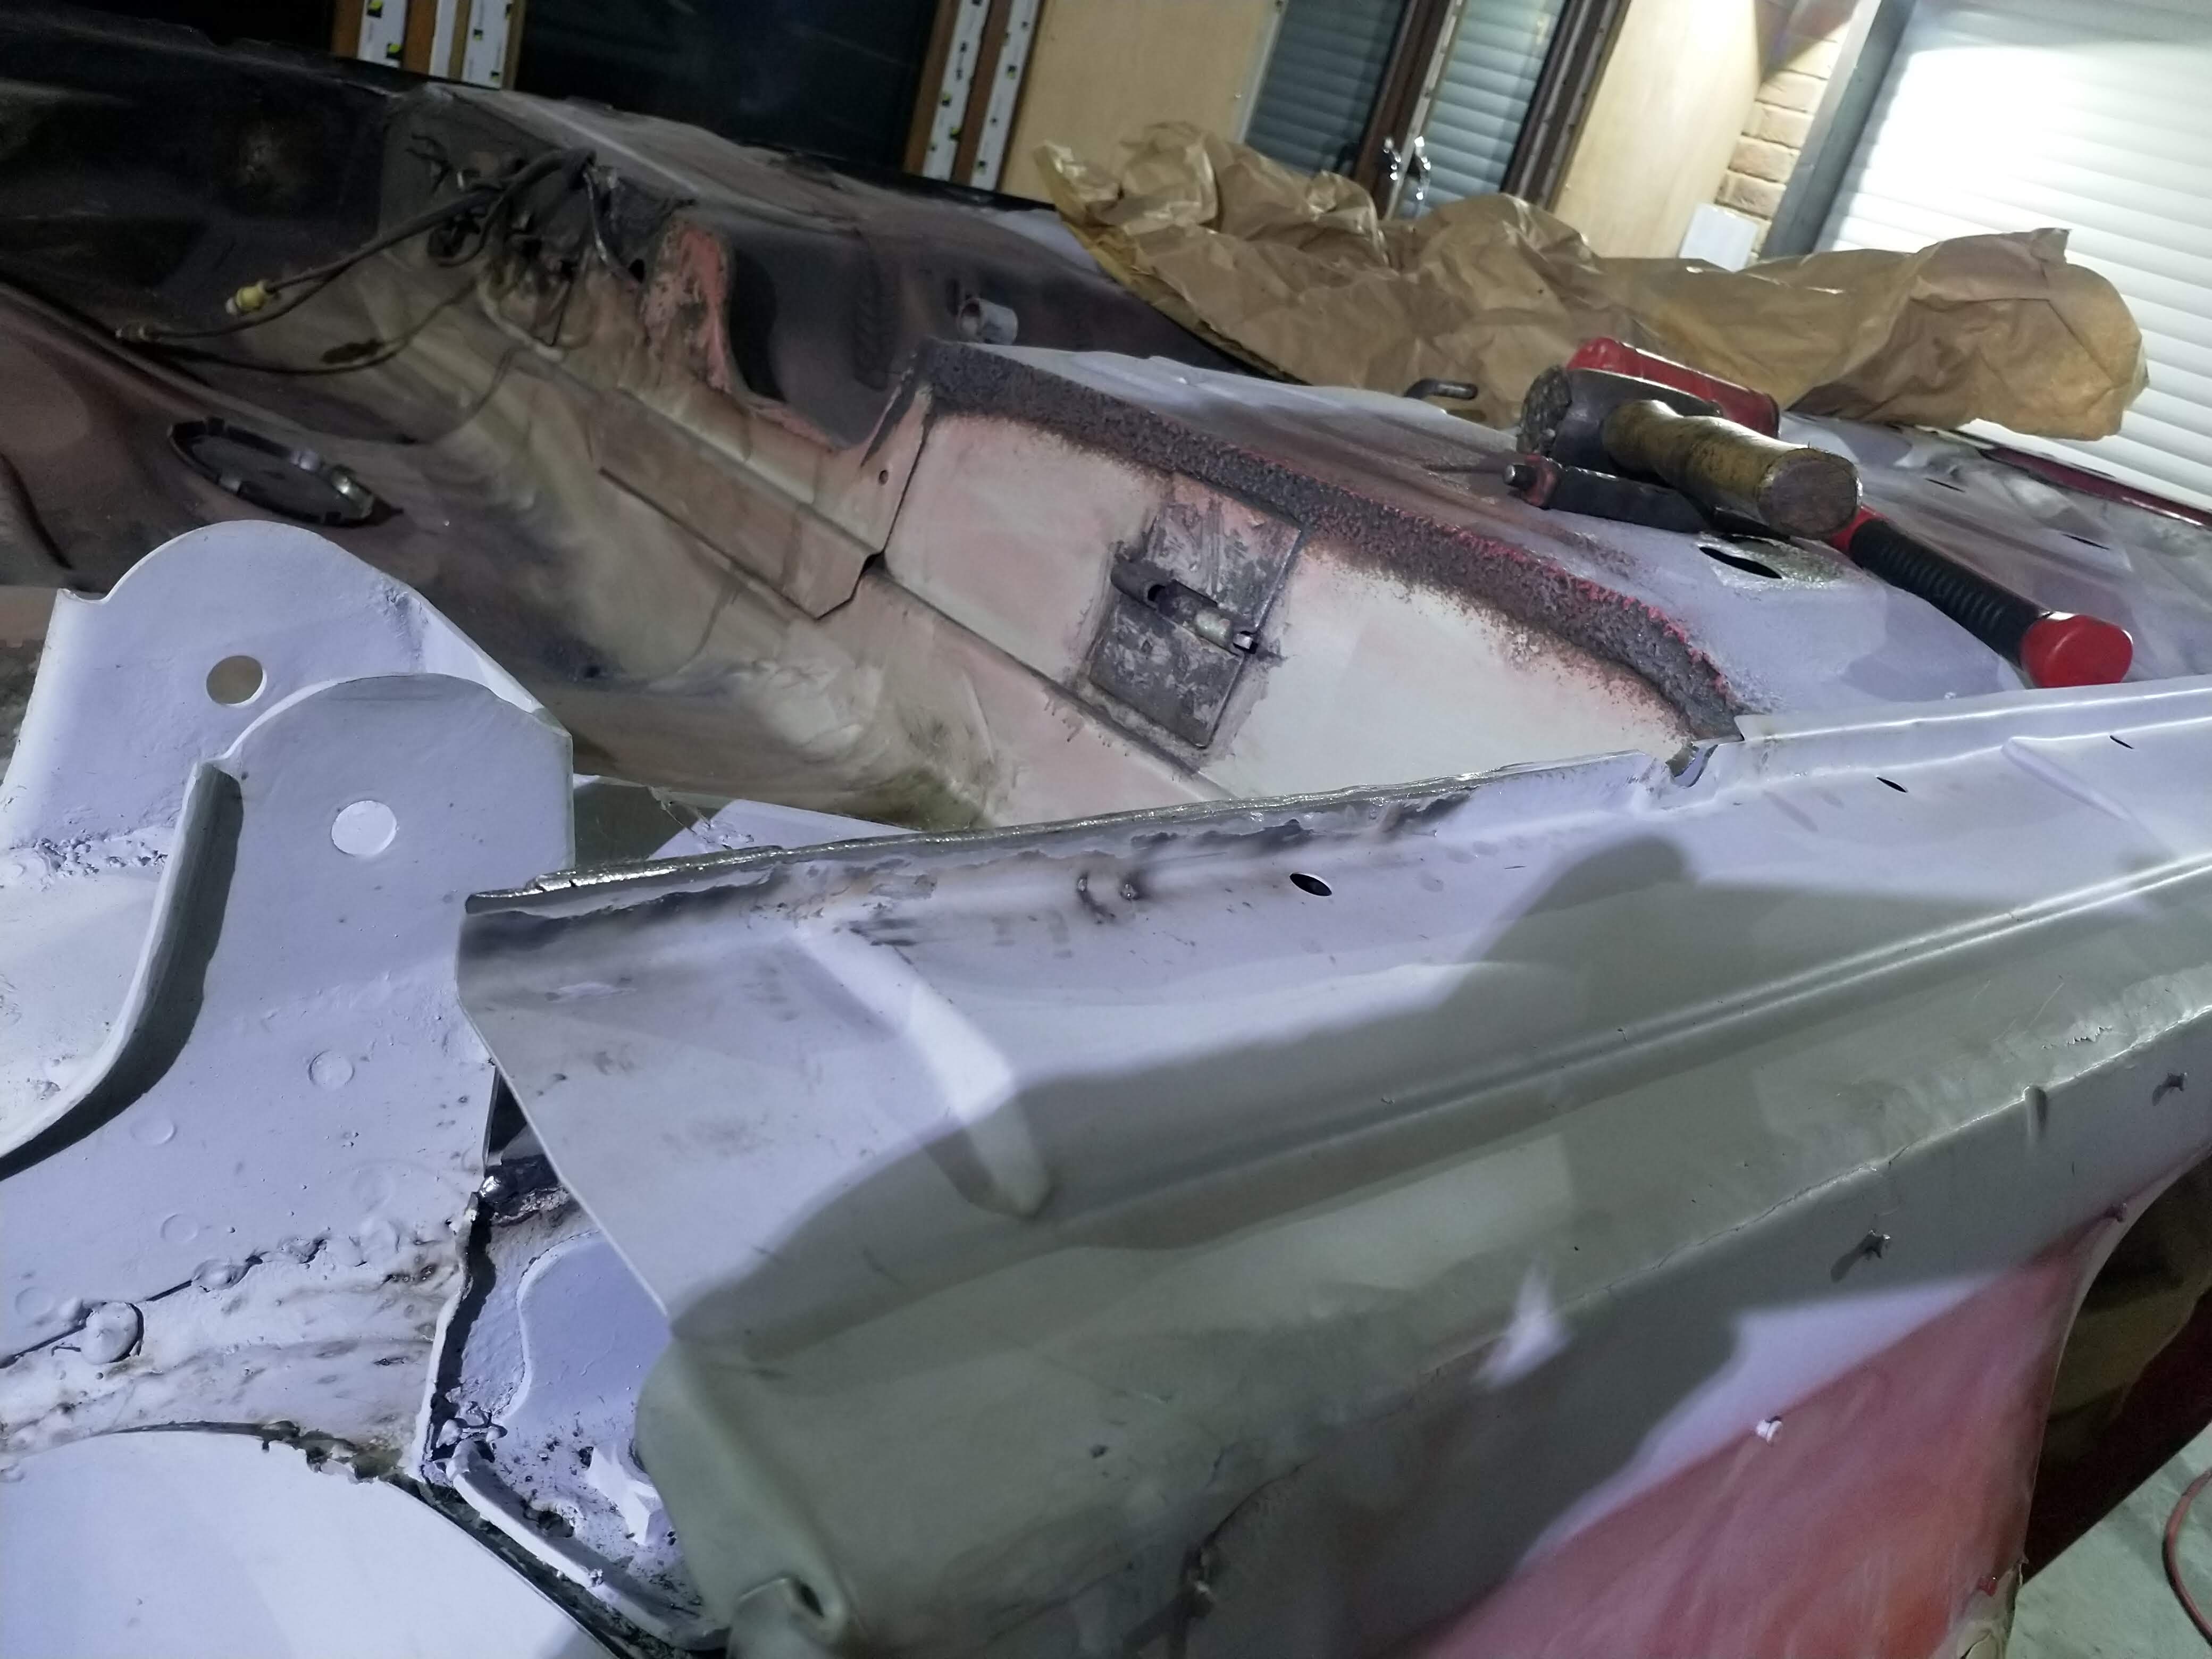
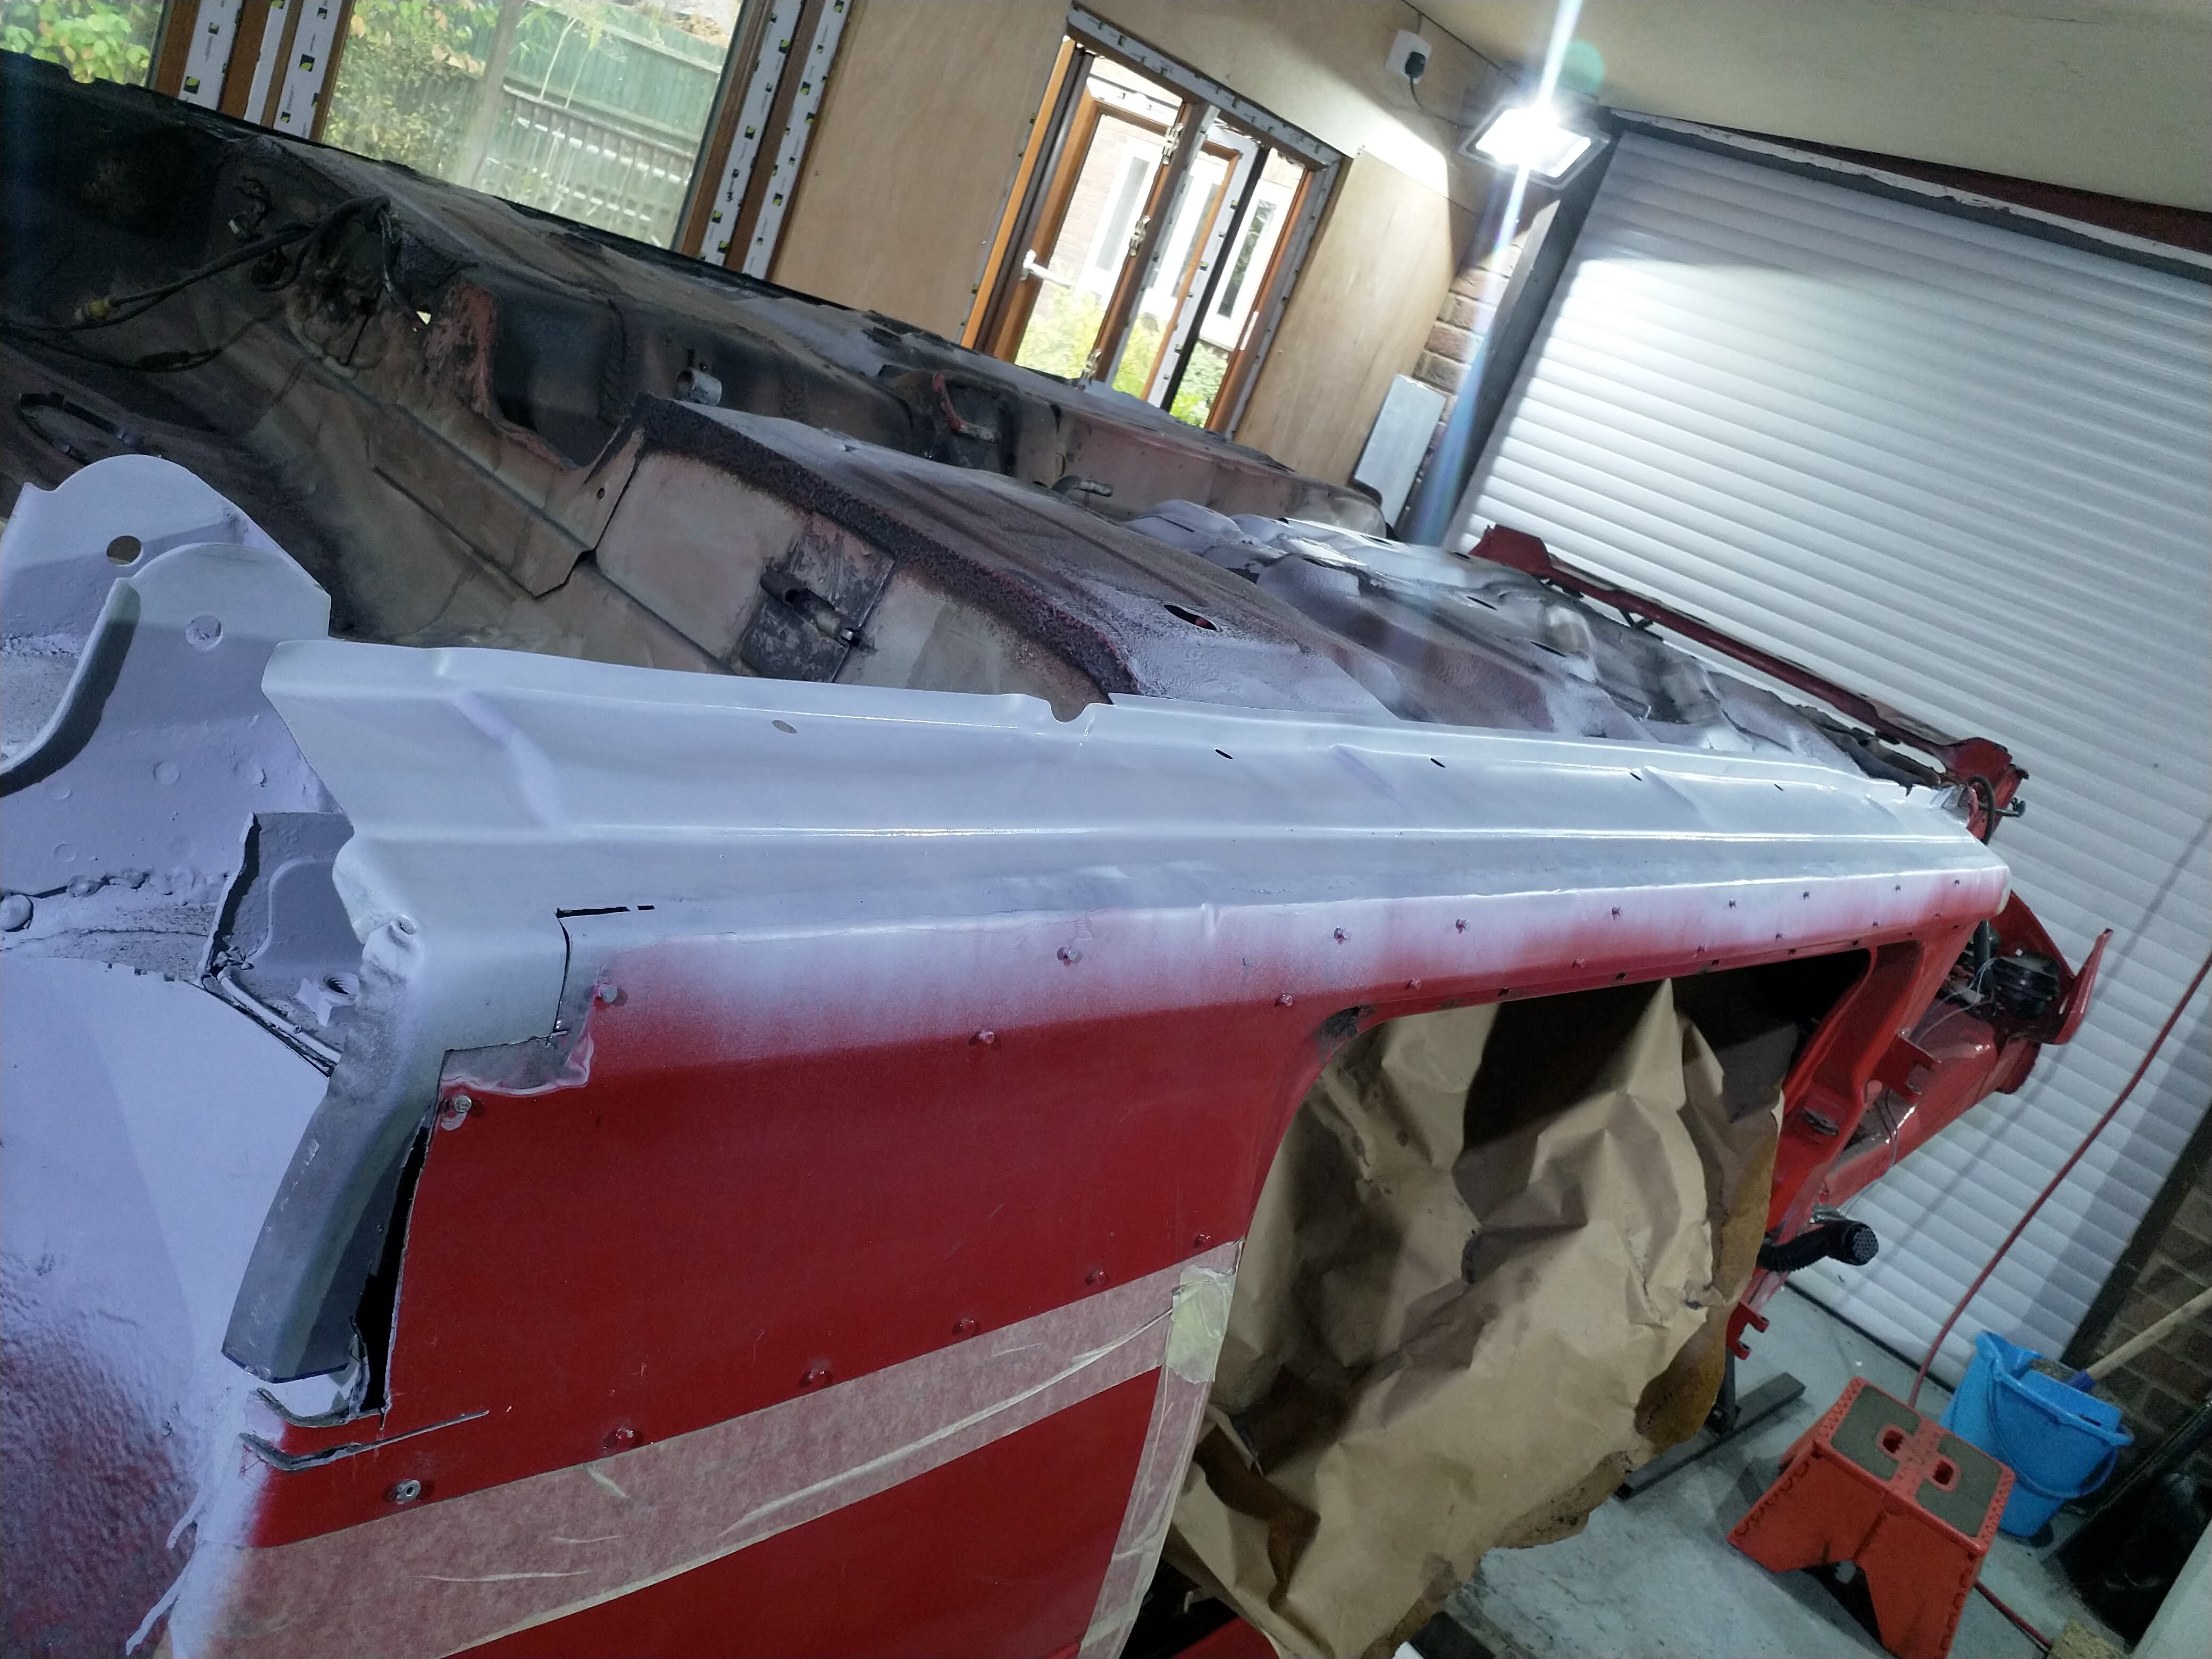
And a slap of primer

full

full


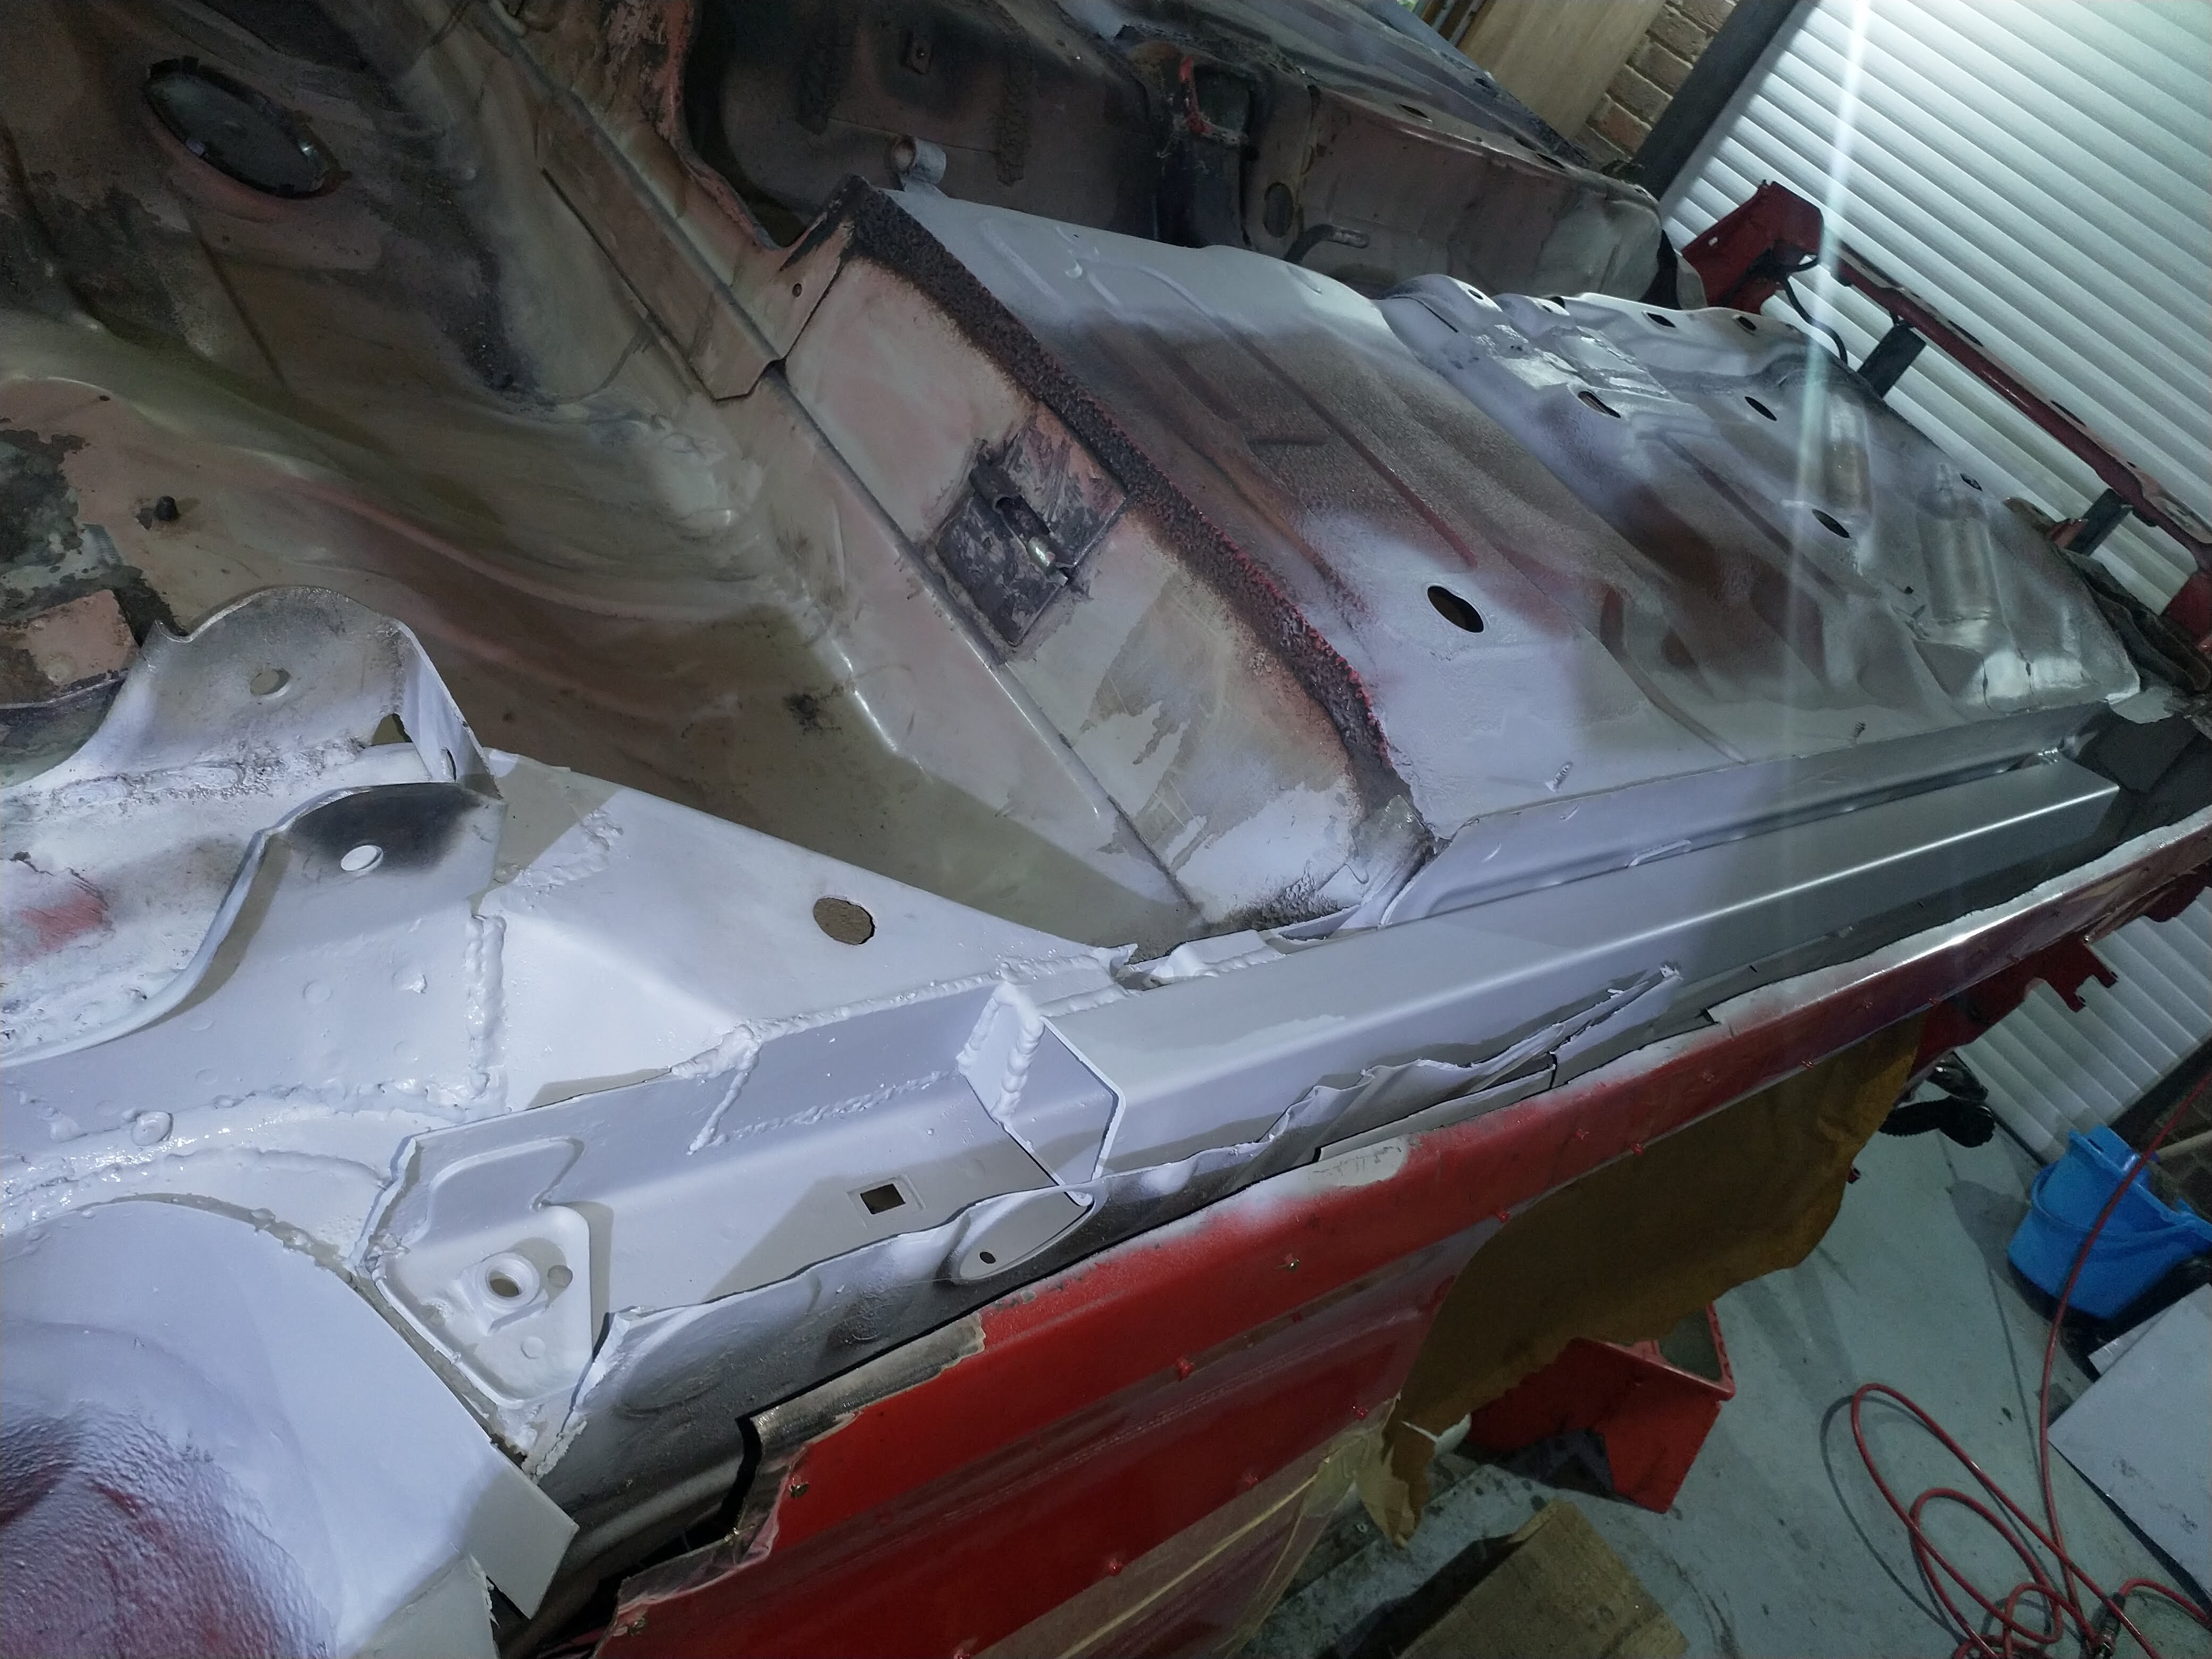
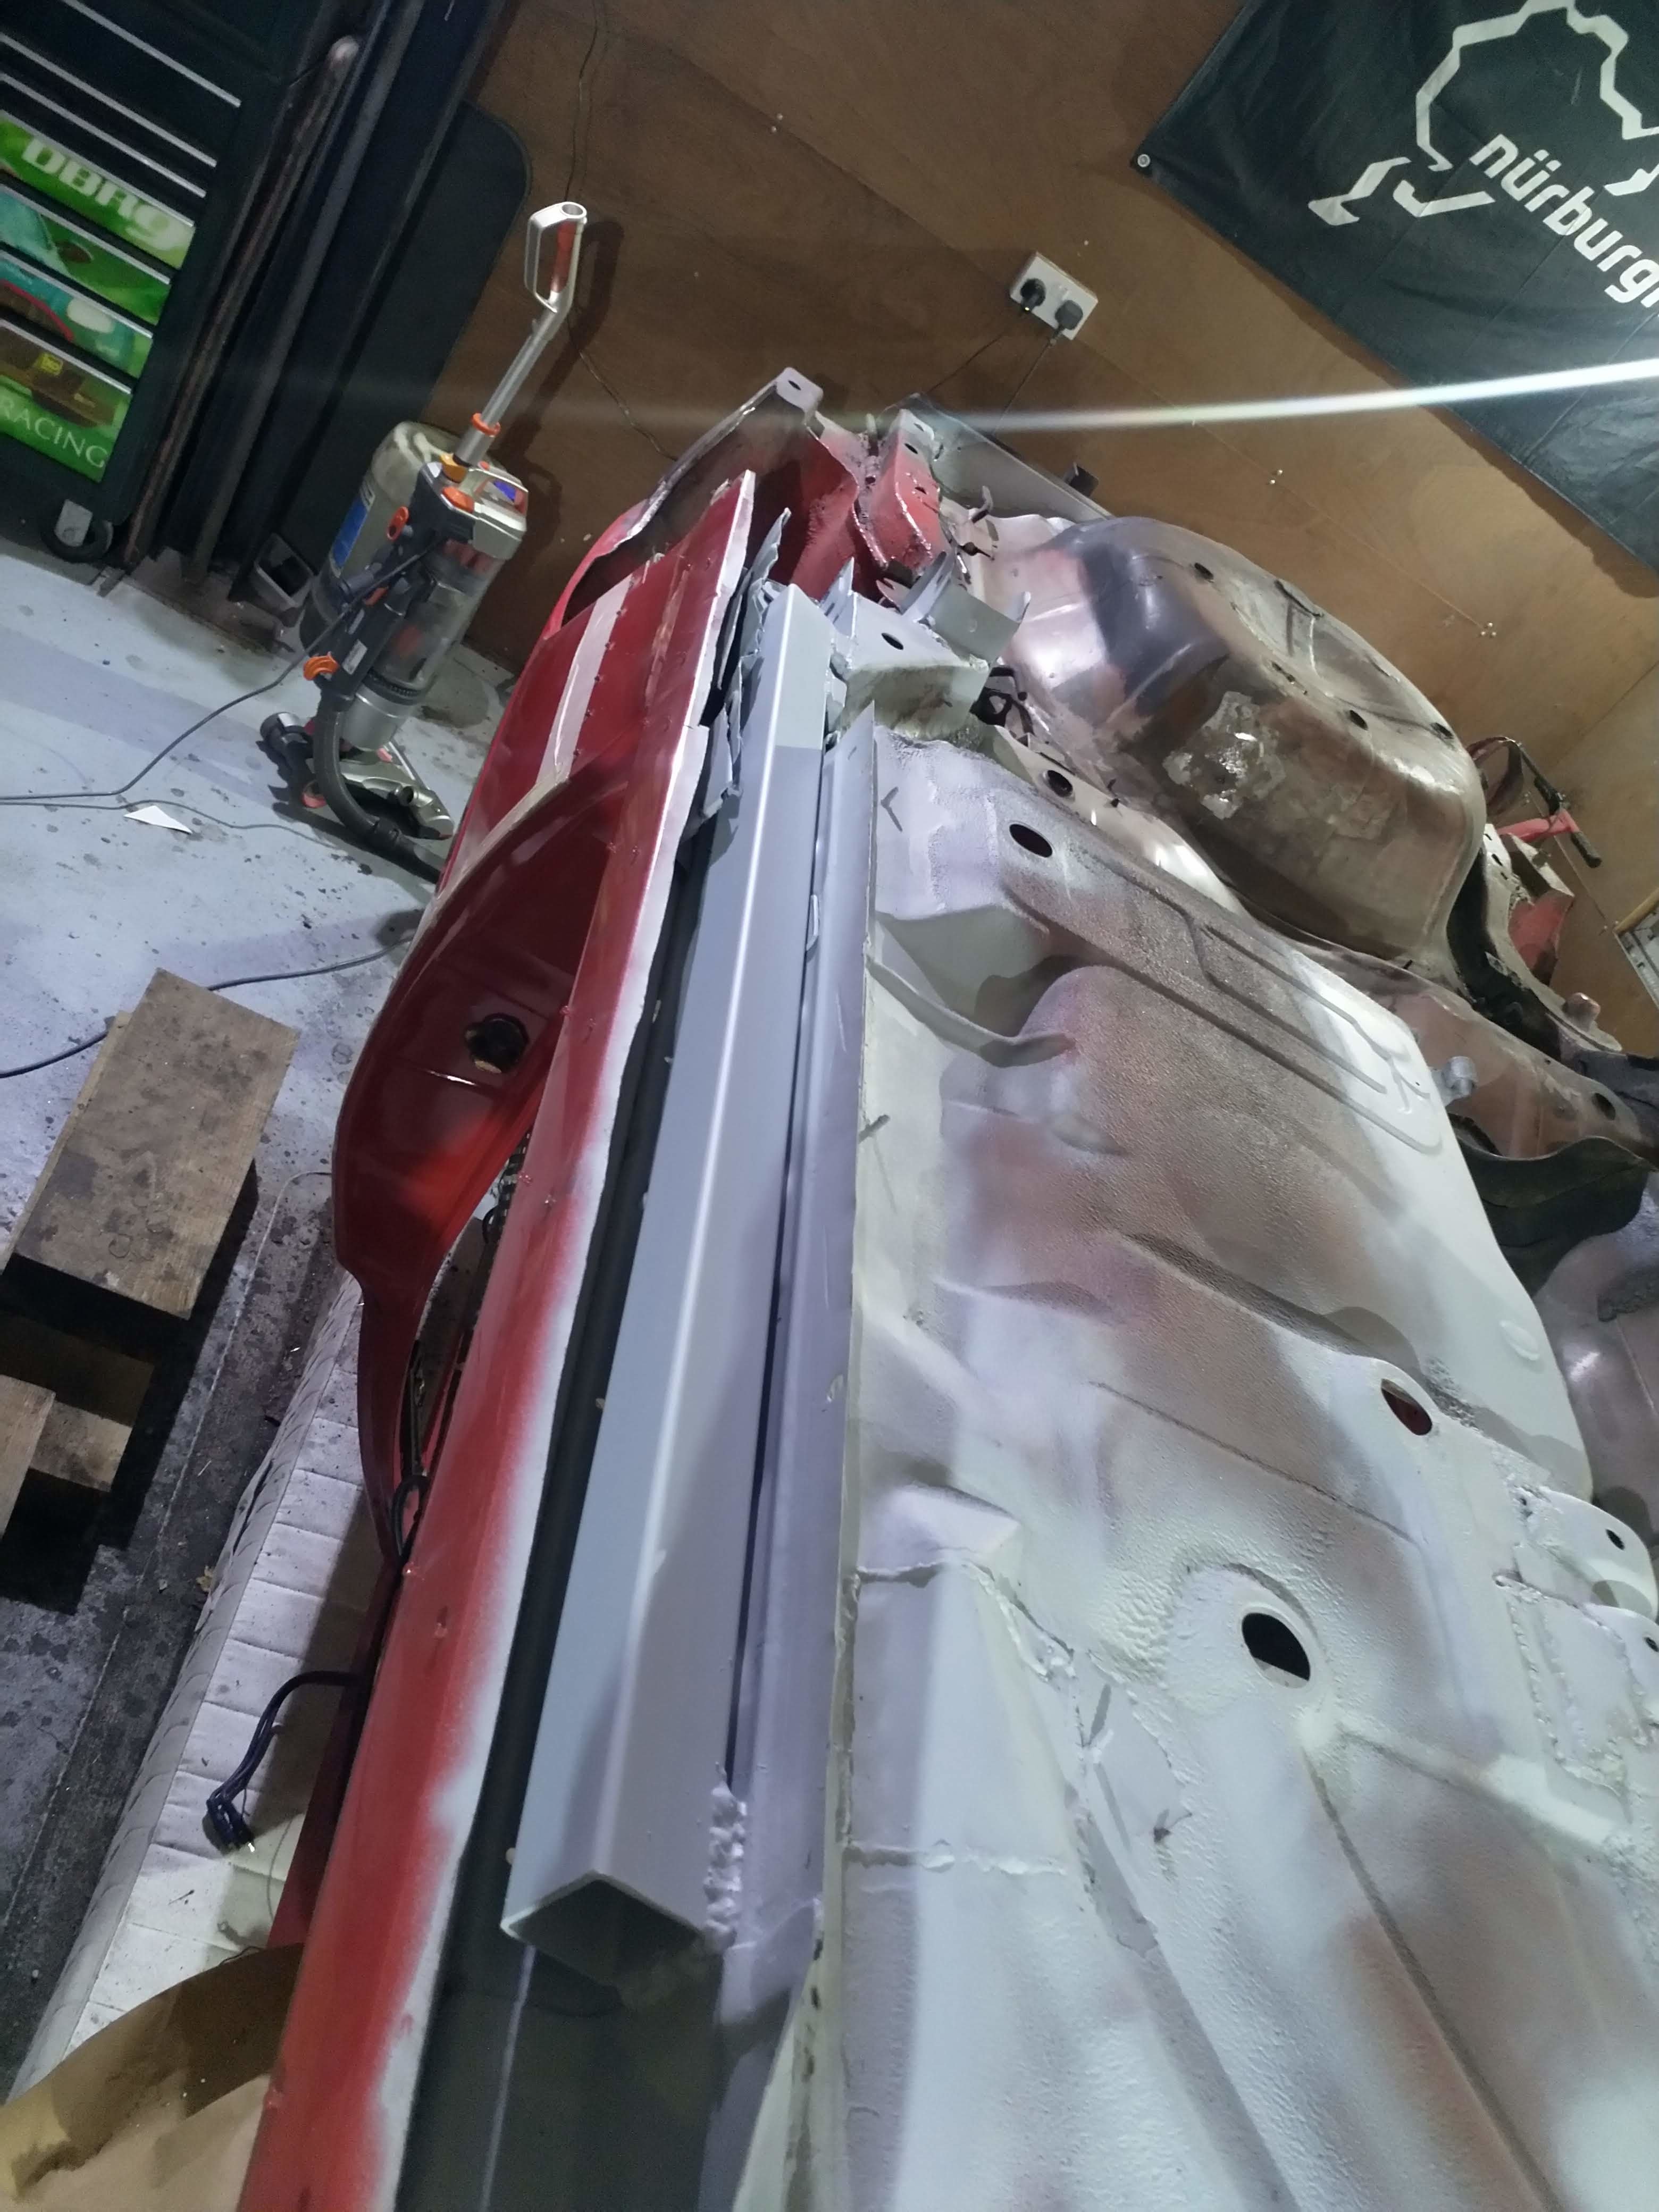
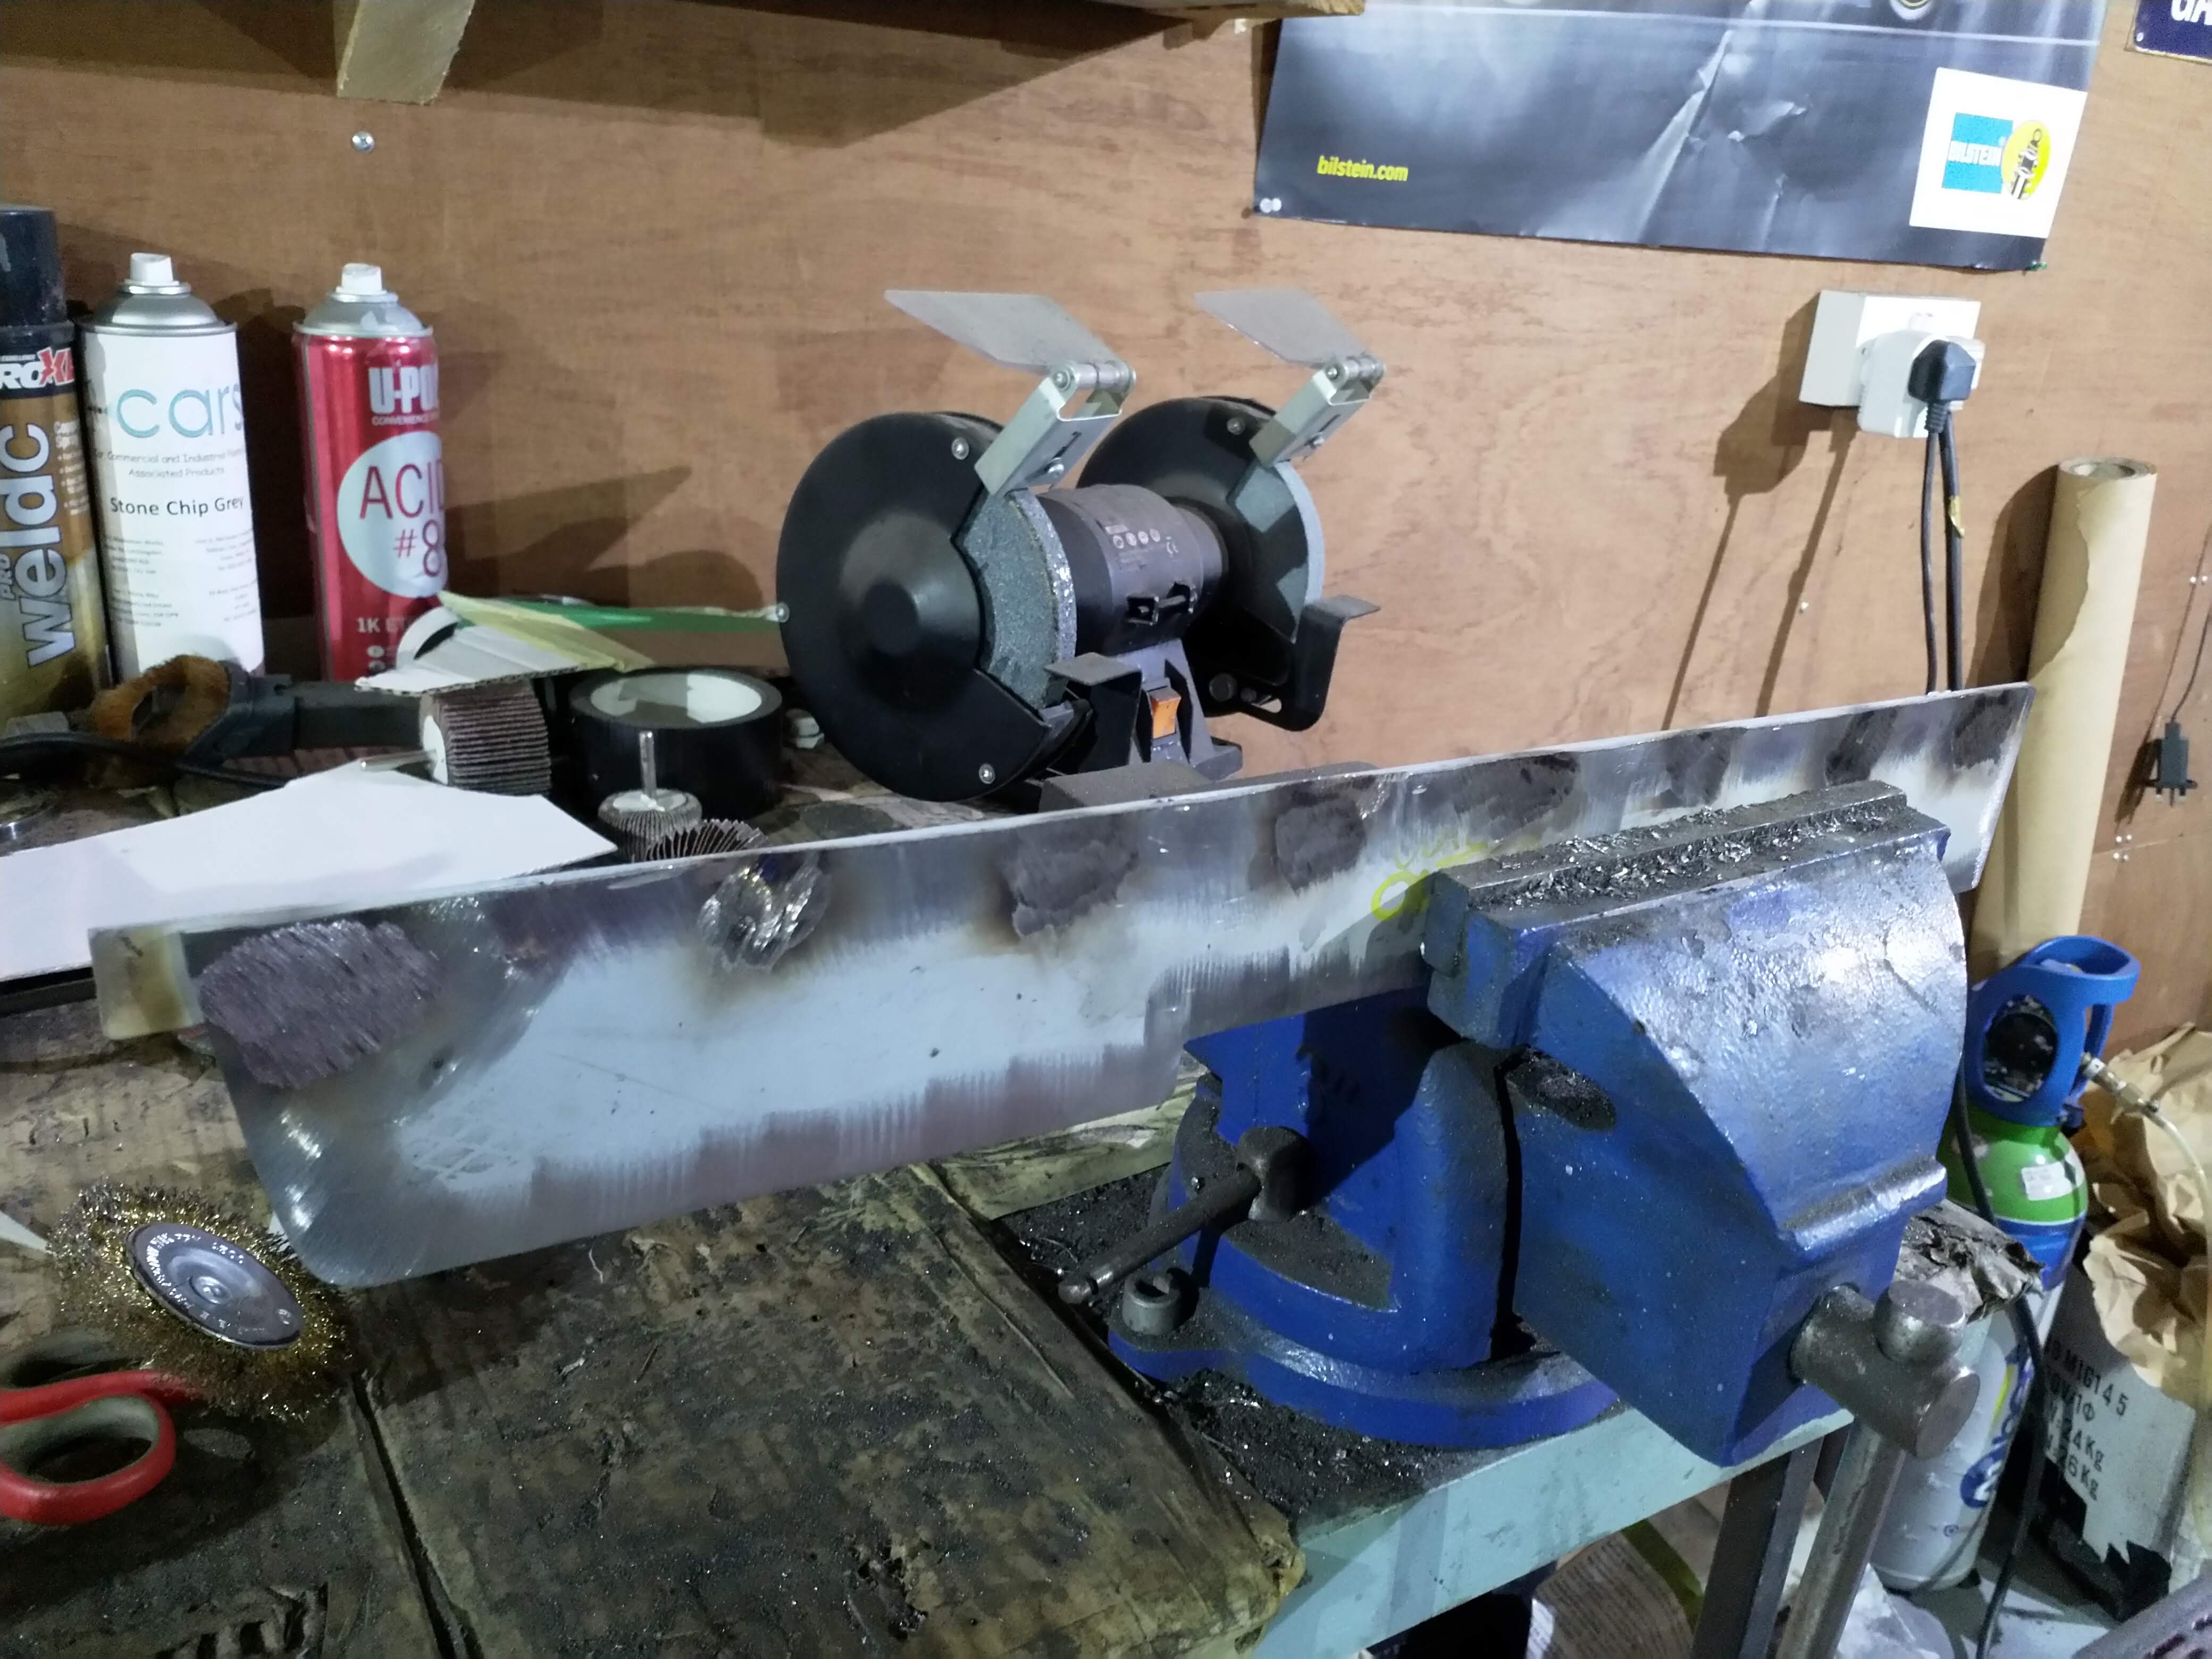
Then when that dried, it was time to put the new sill on! Array! Finally!

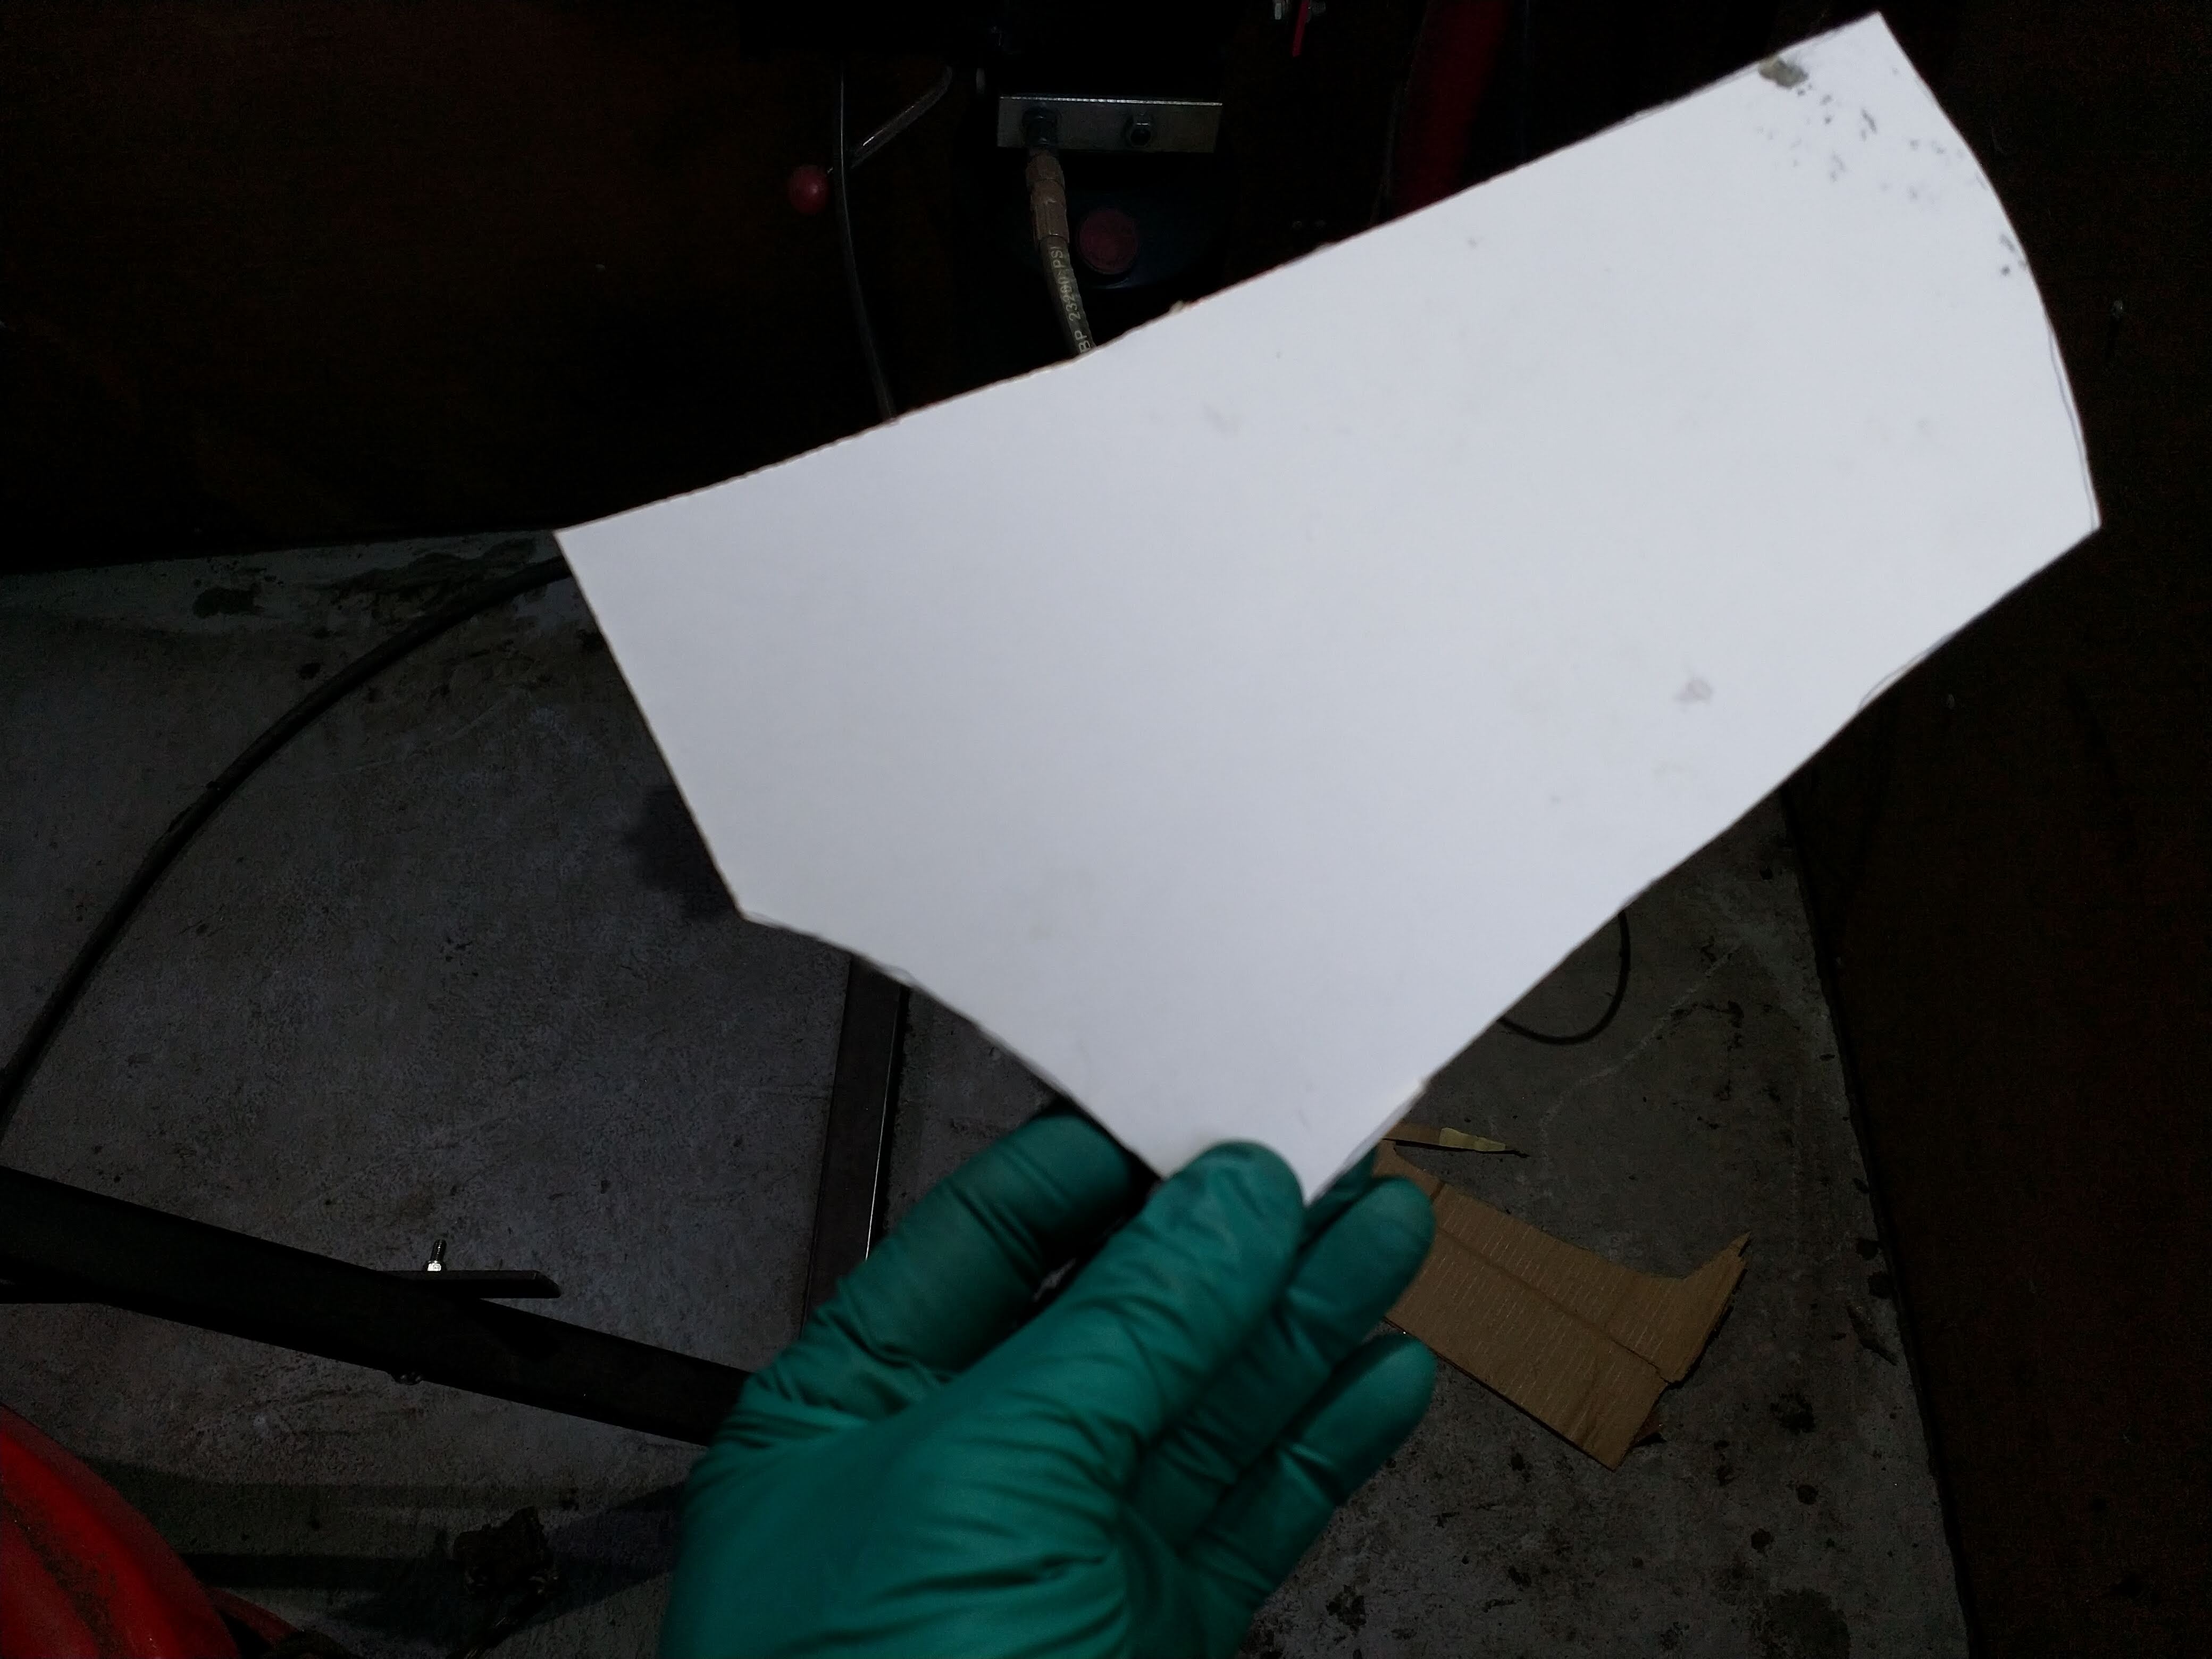
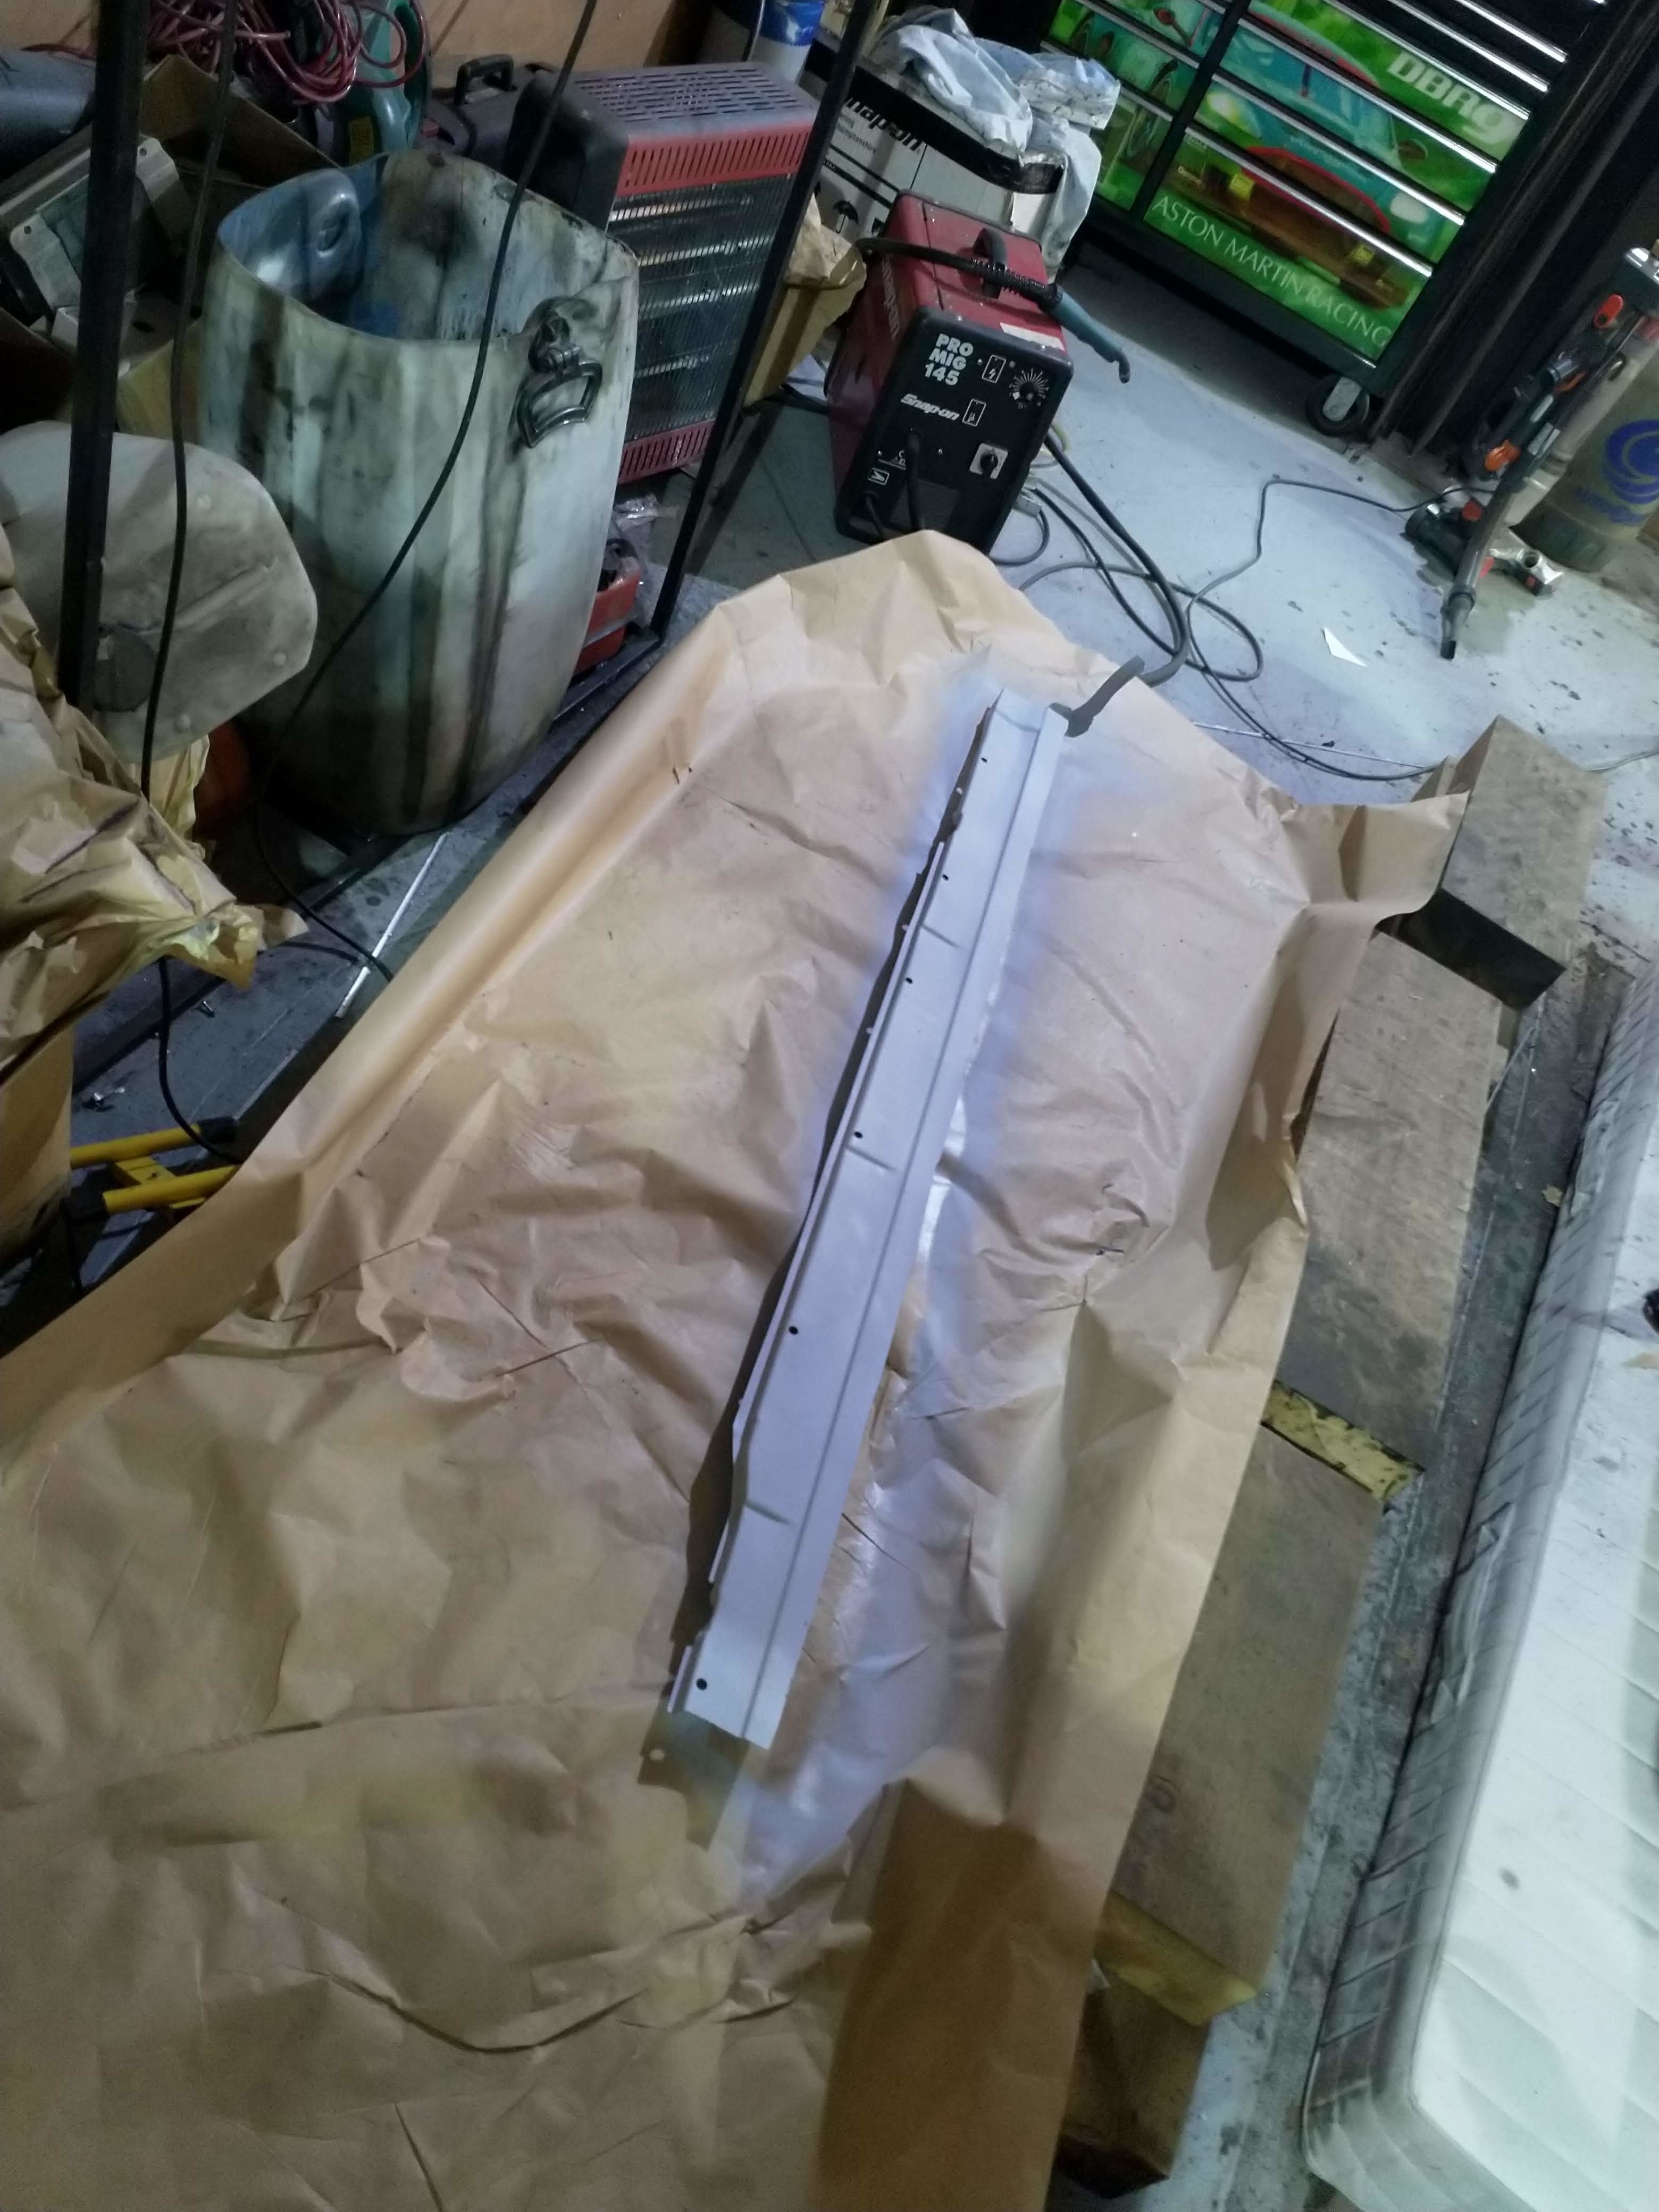
Cut to shape, Primered before it goes on to keep the rust at bay..

full


Laid in place

full


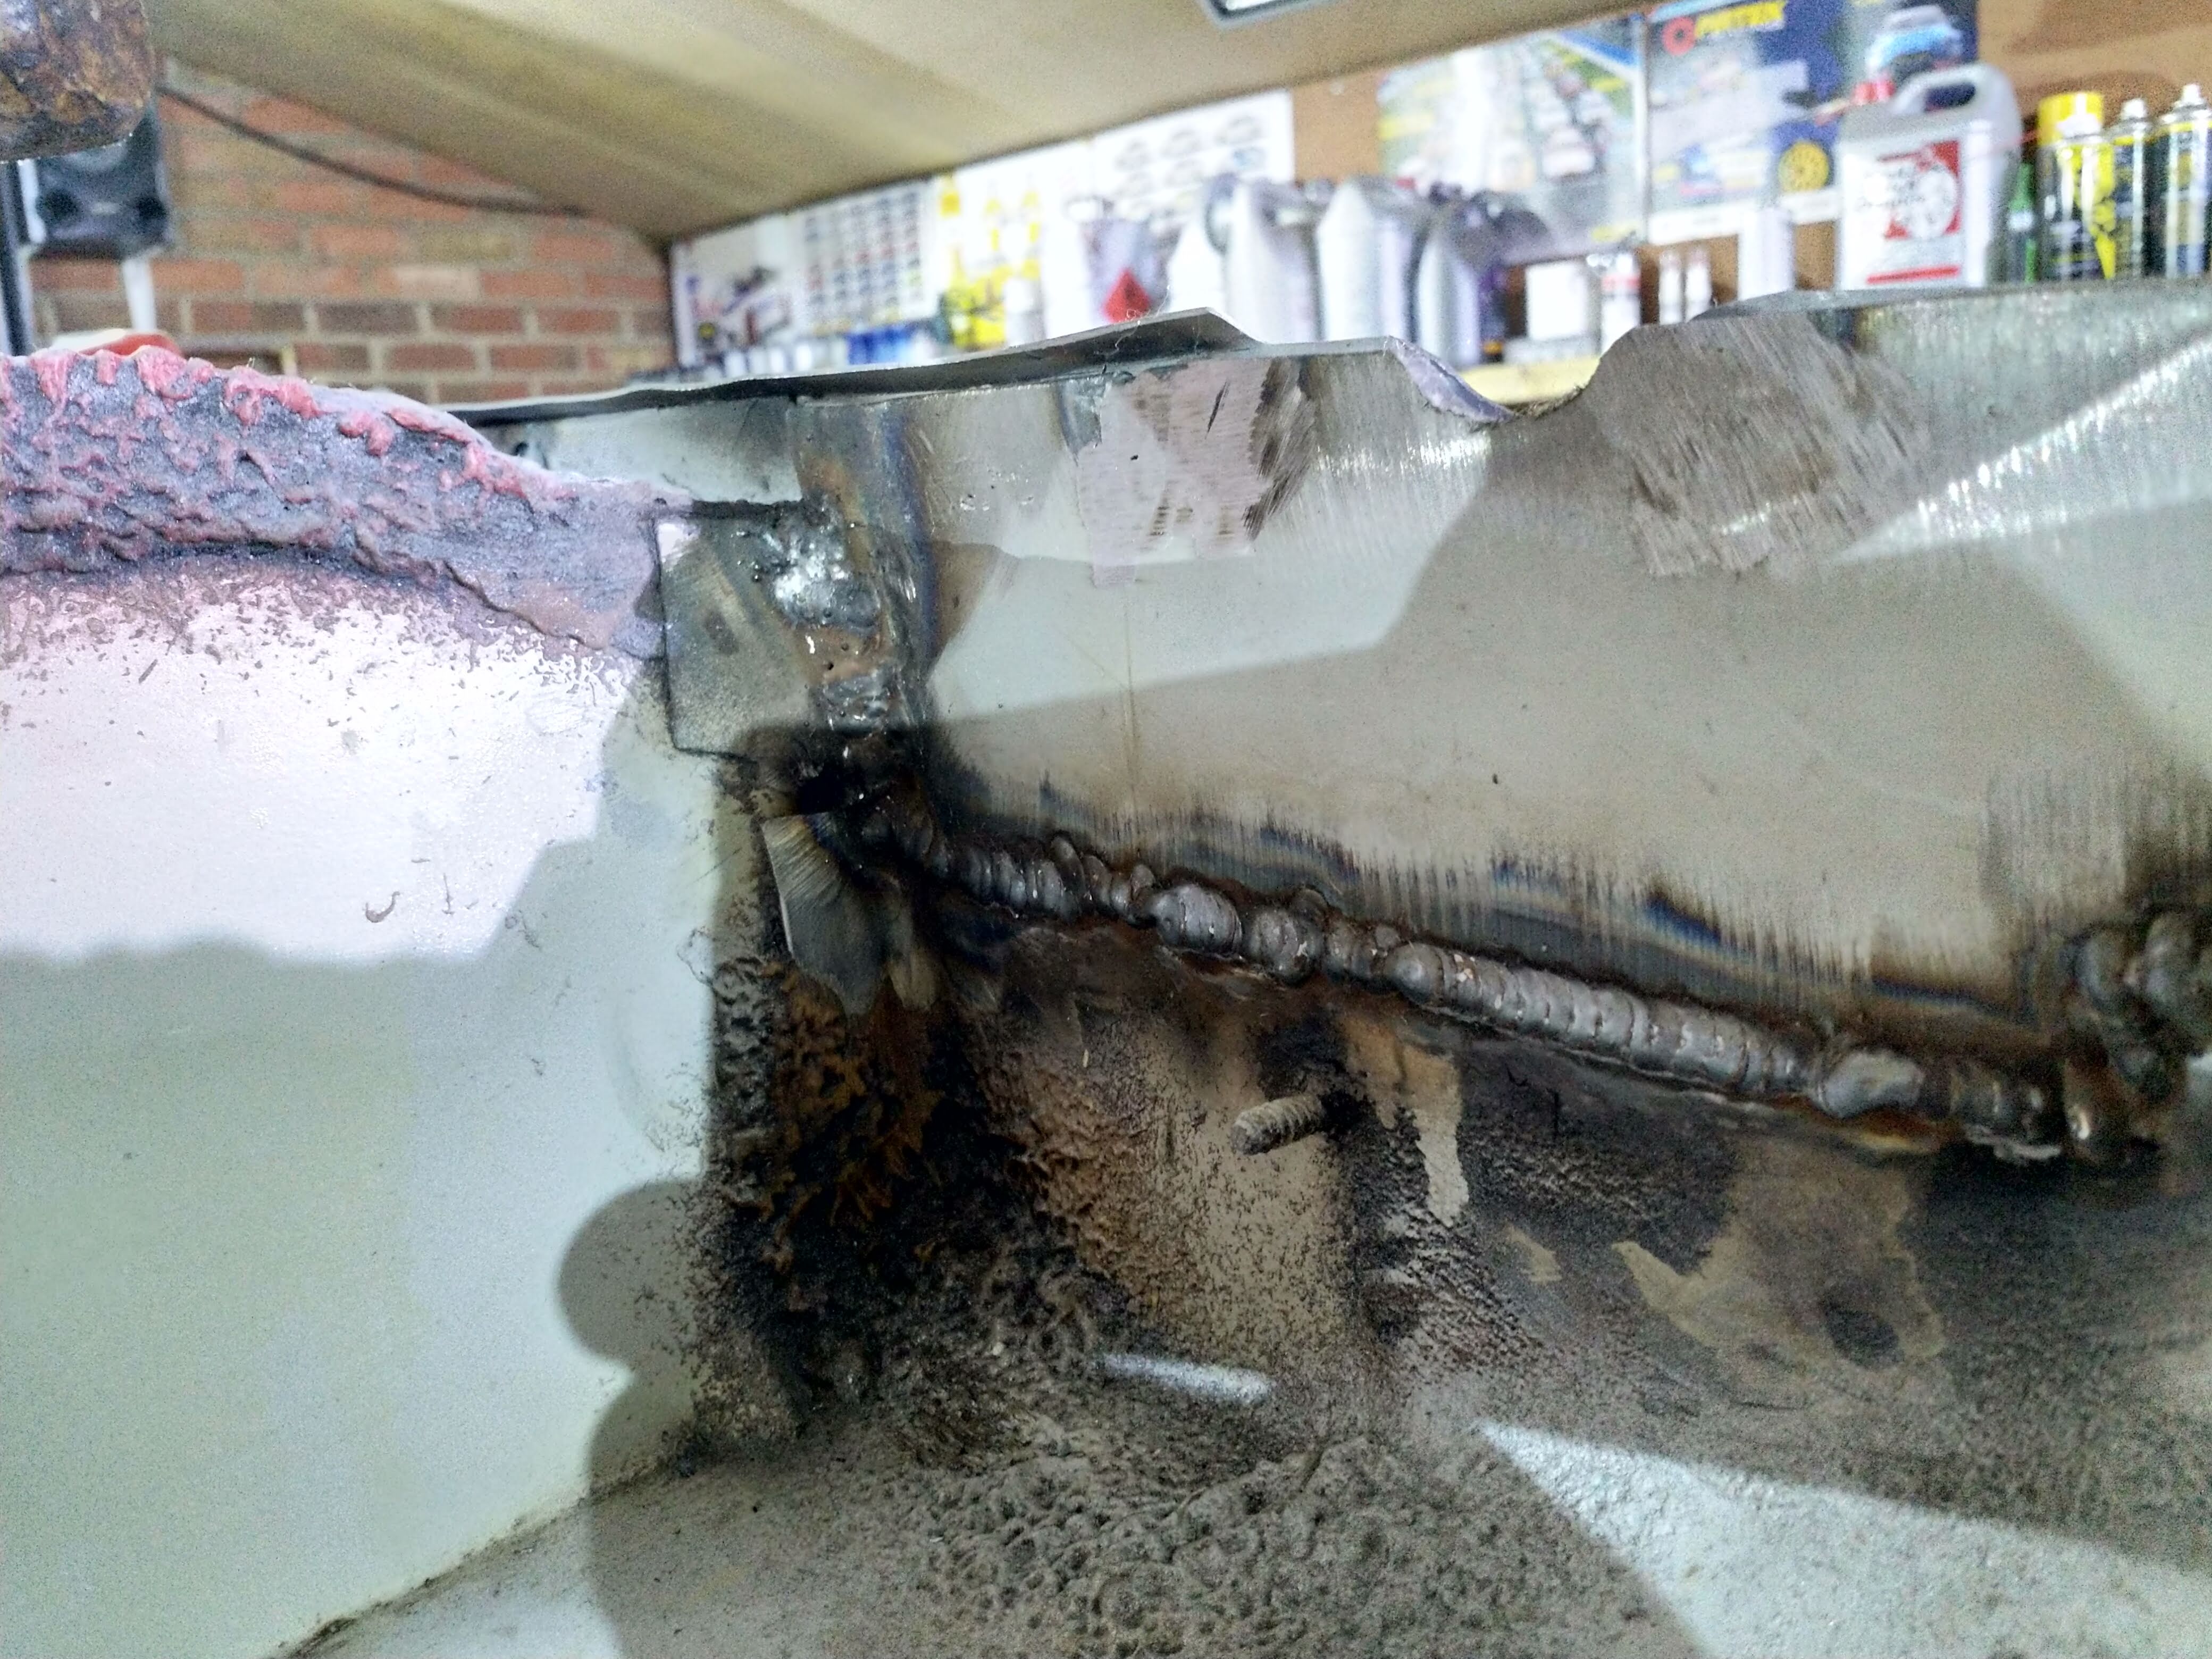
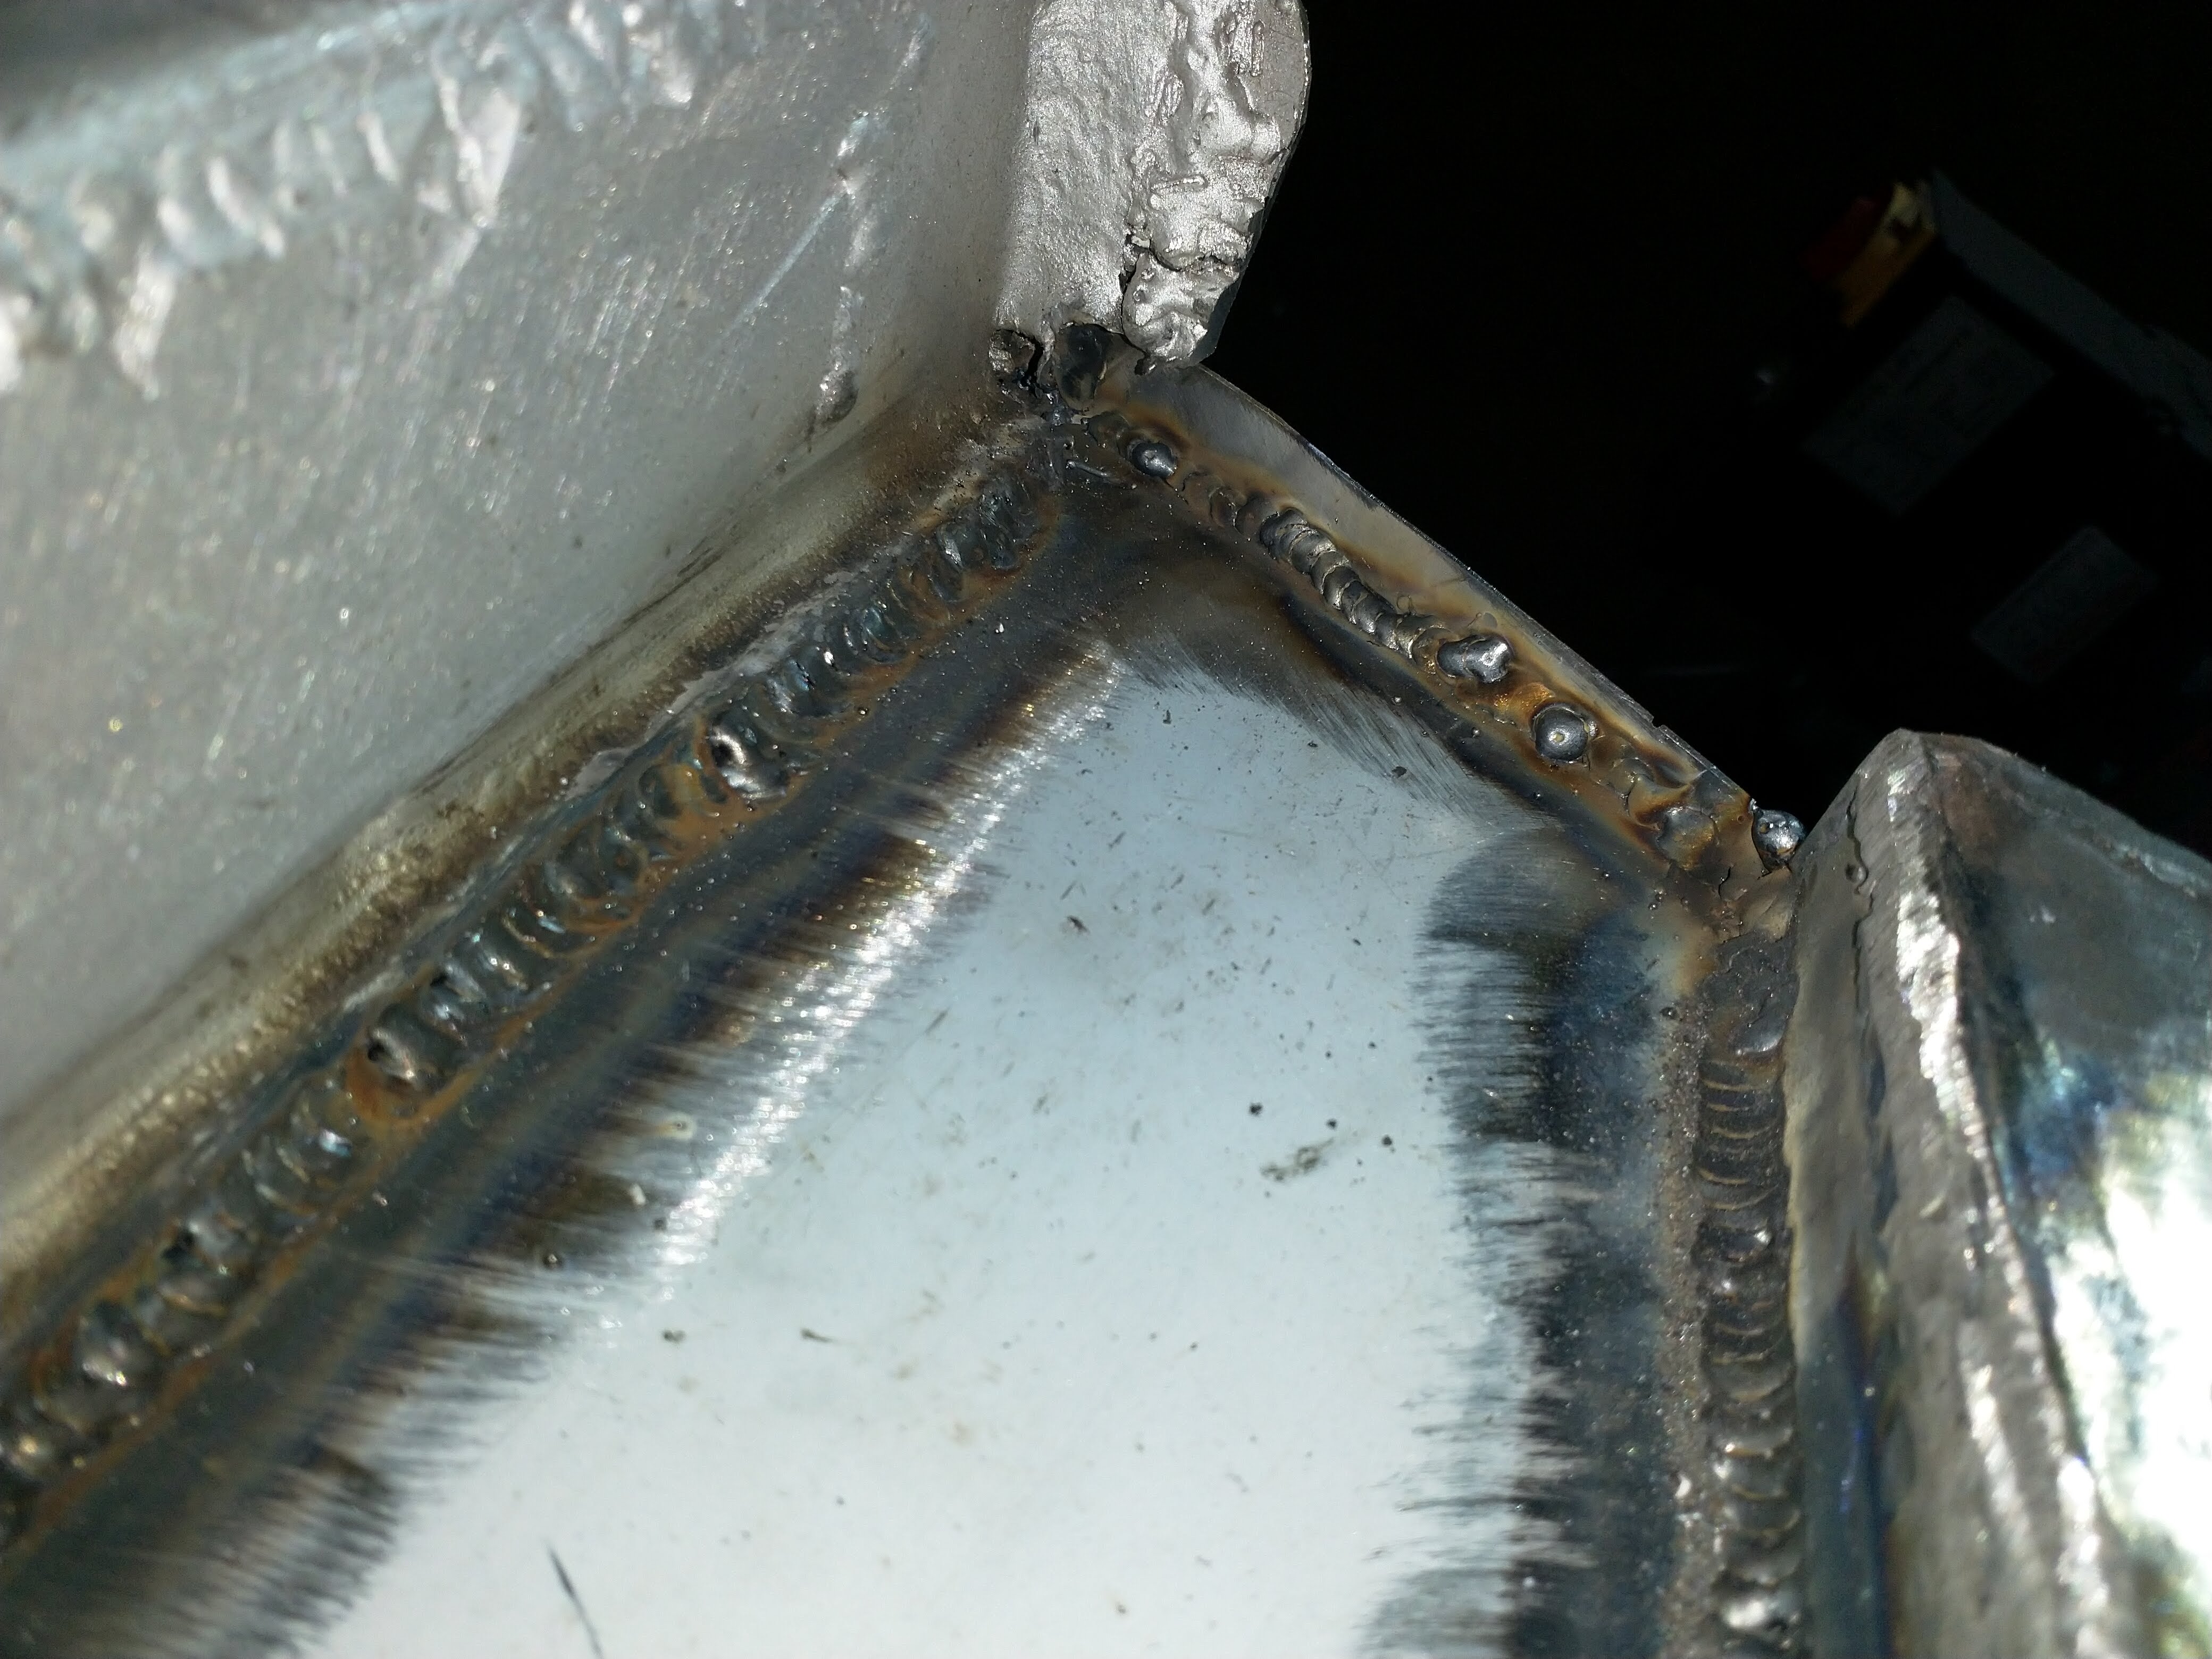
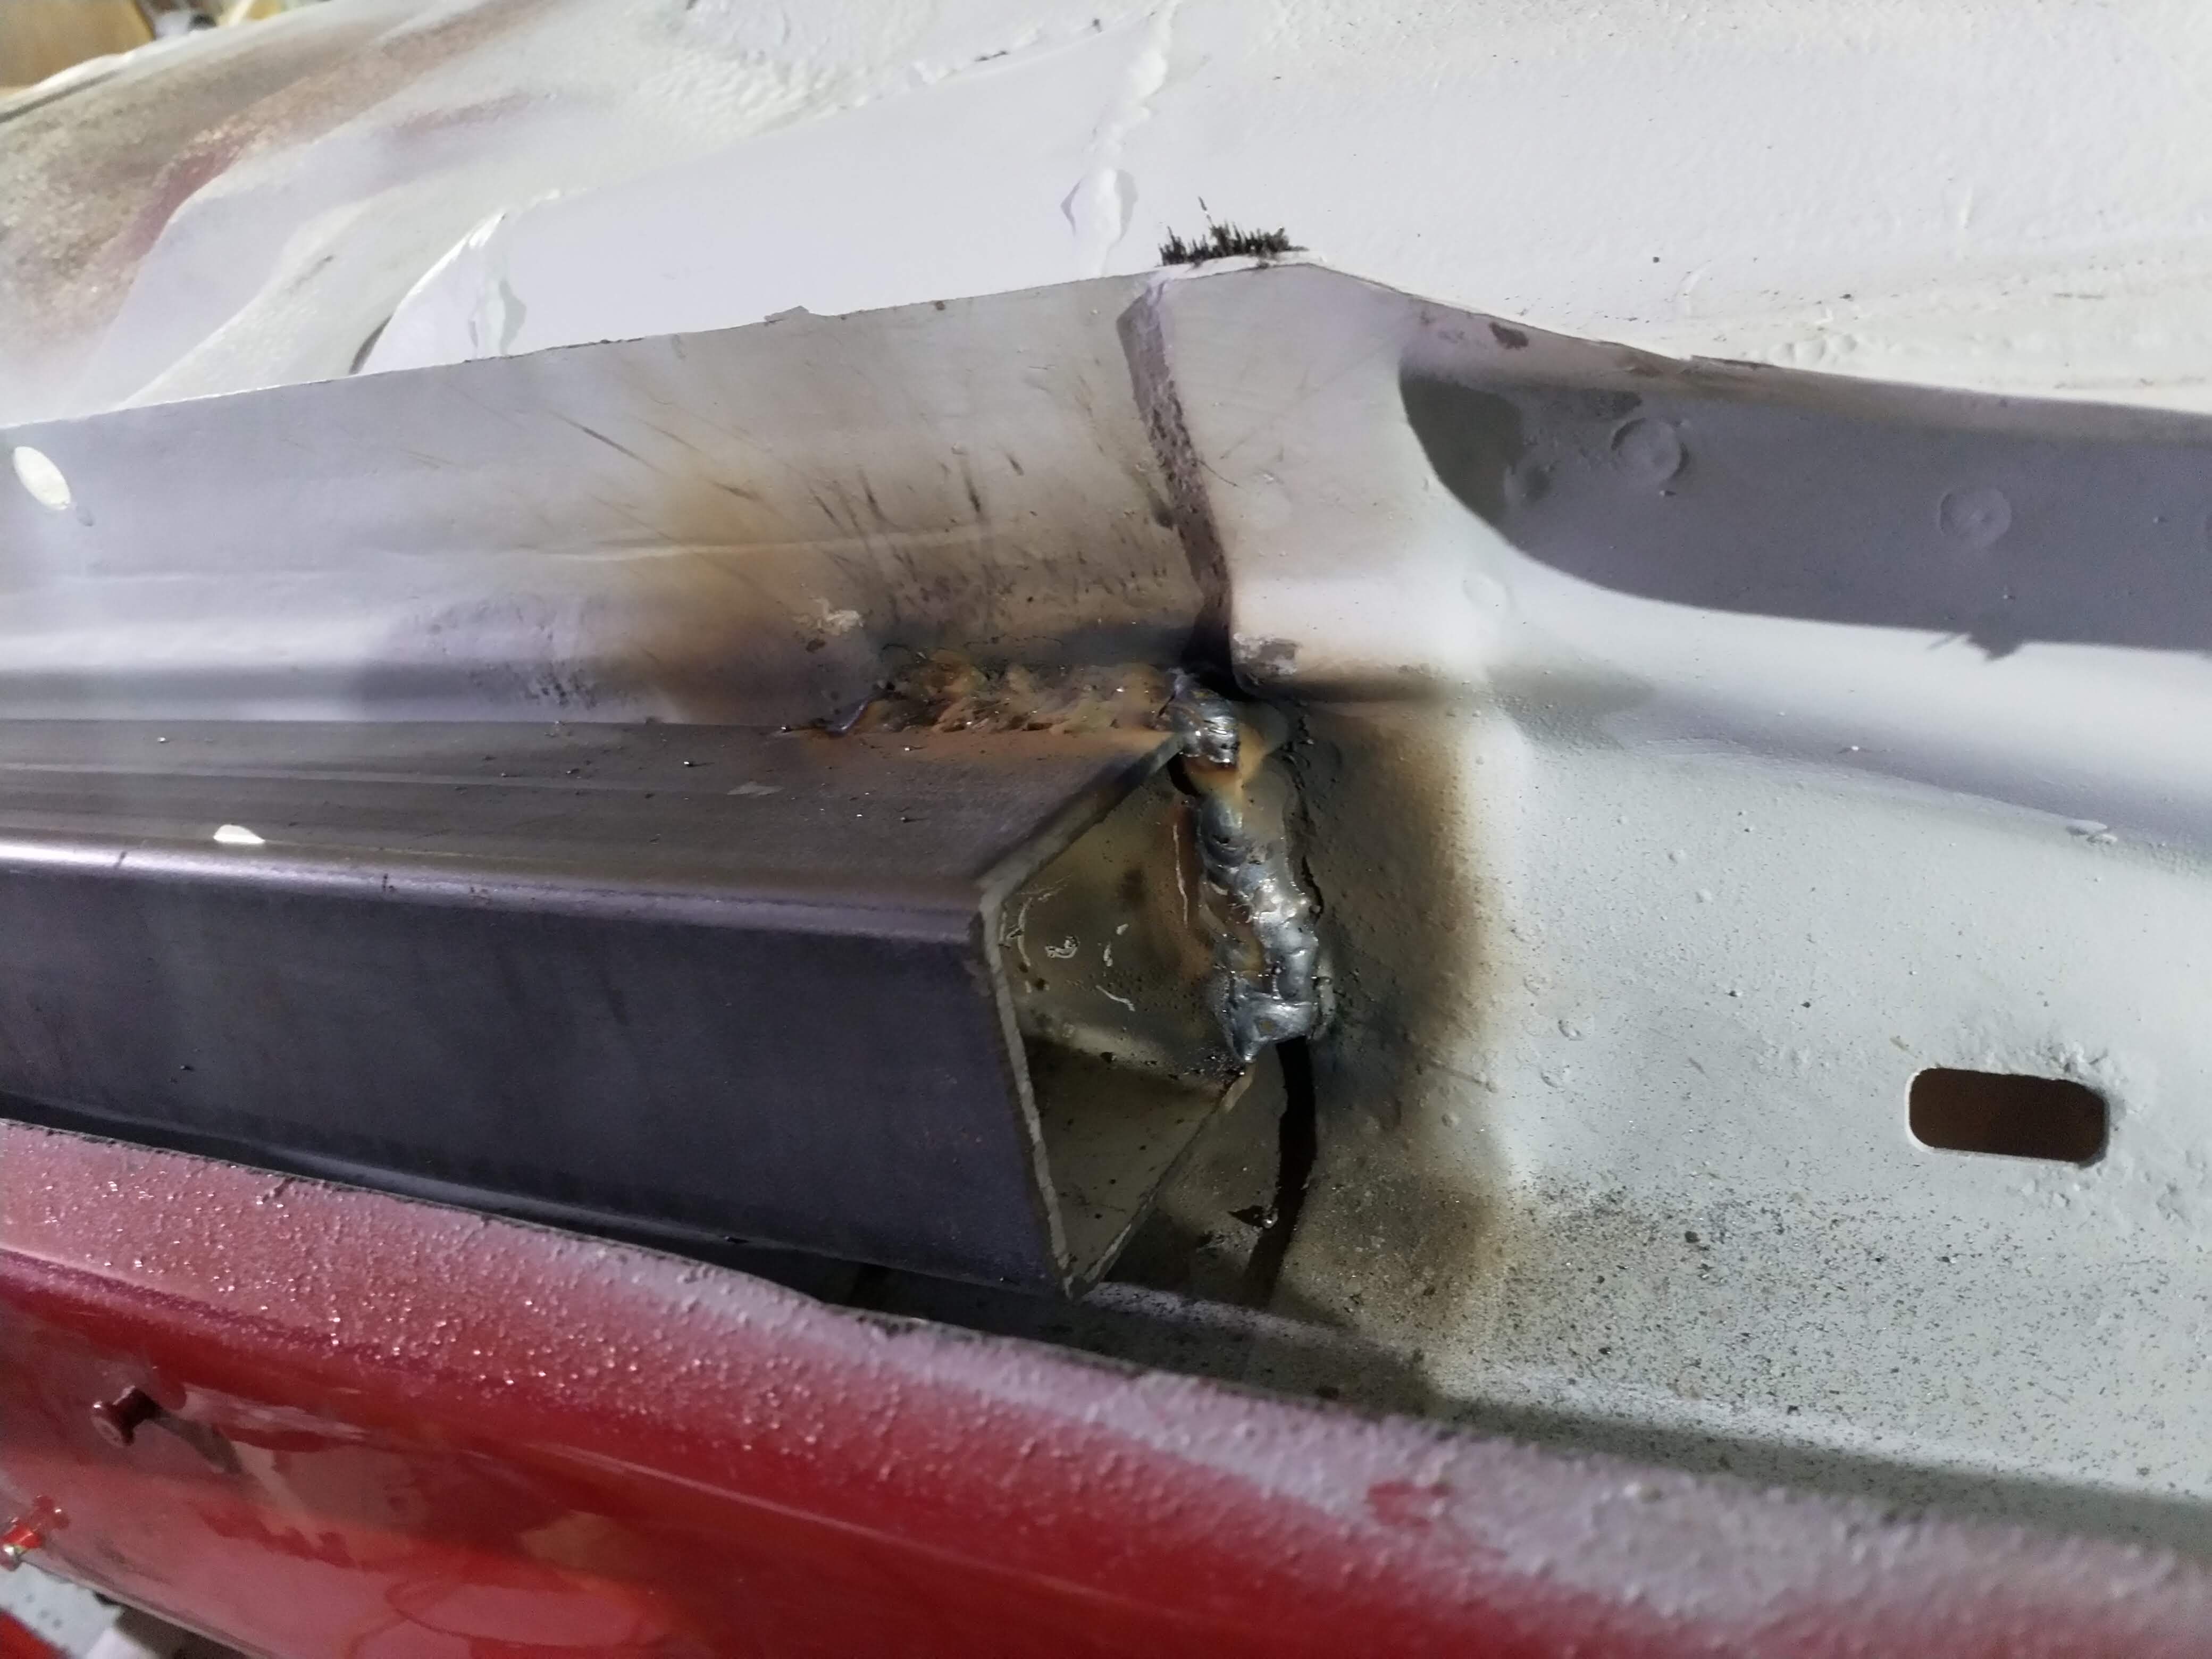
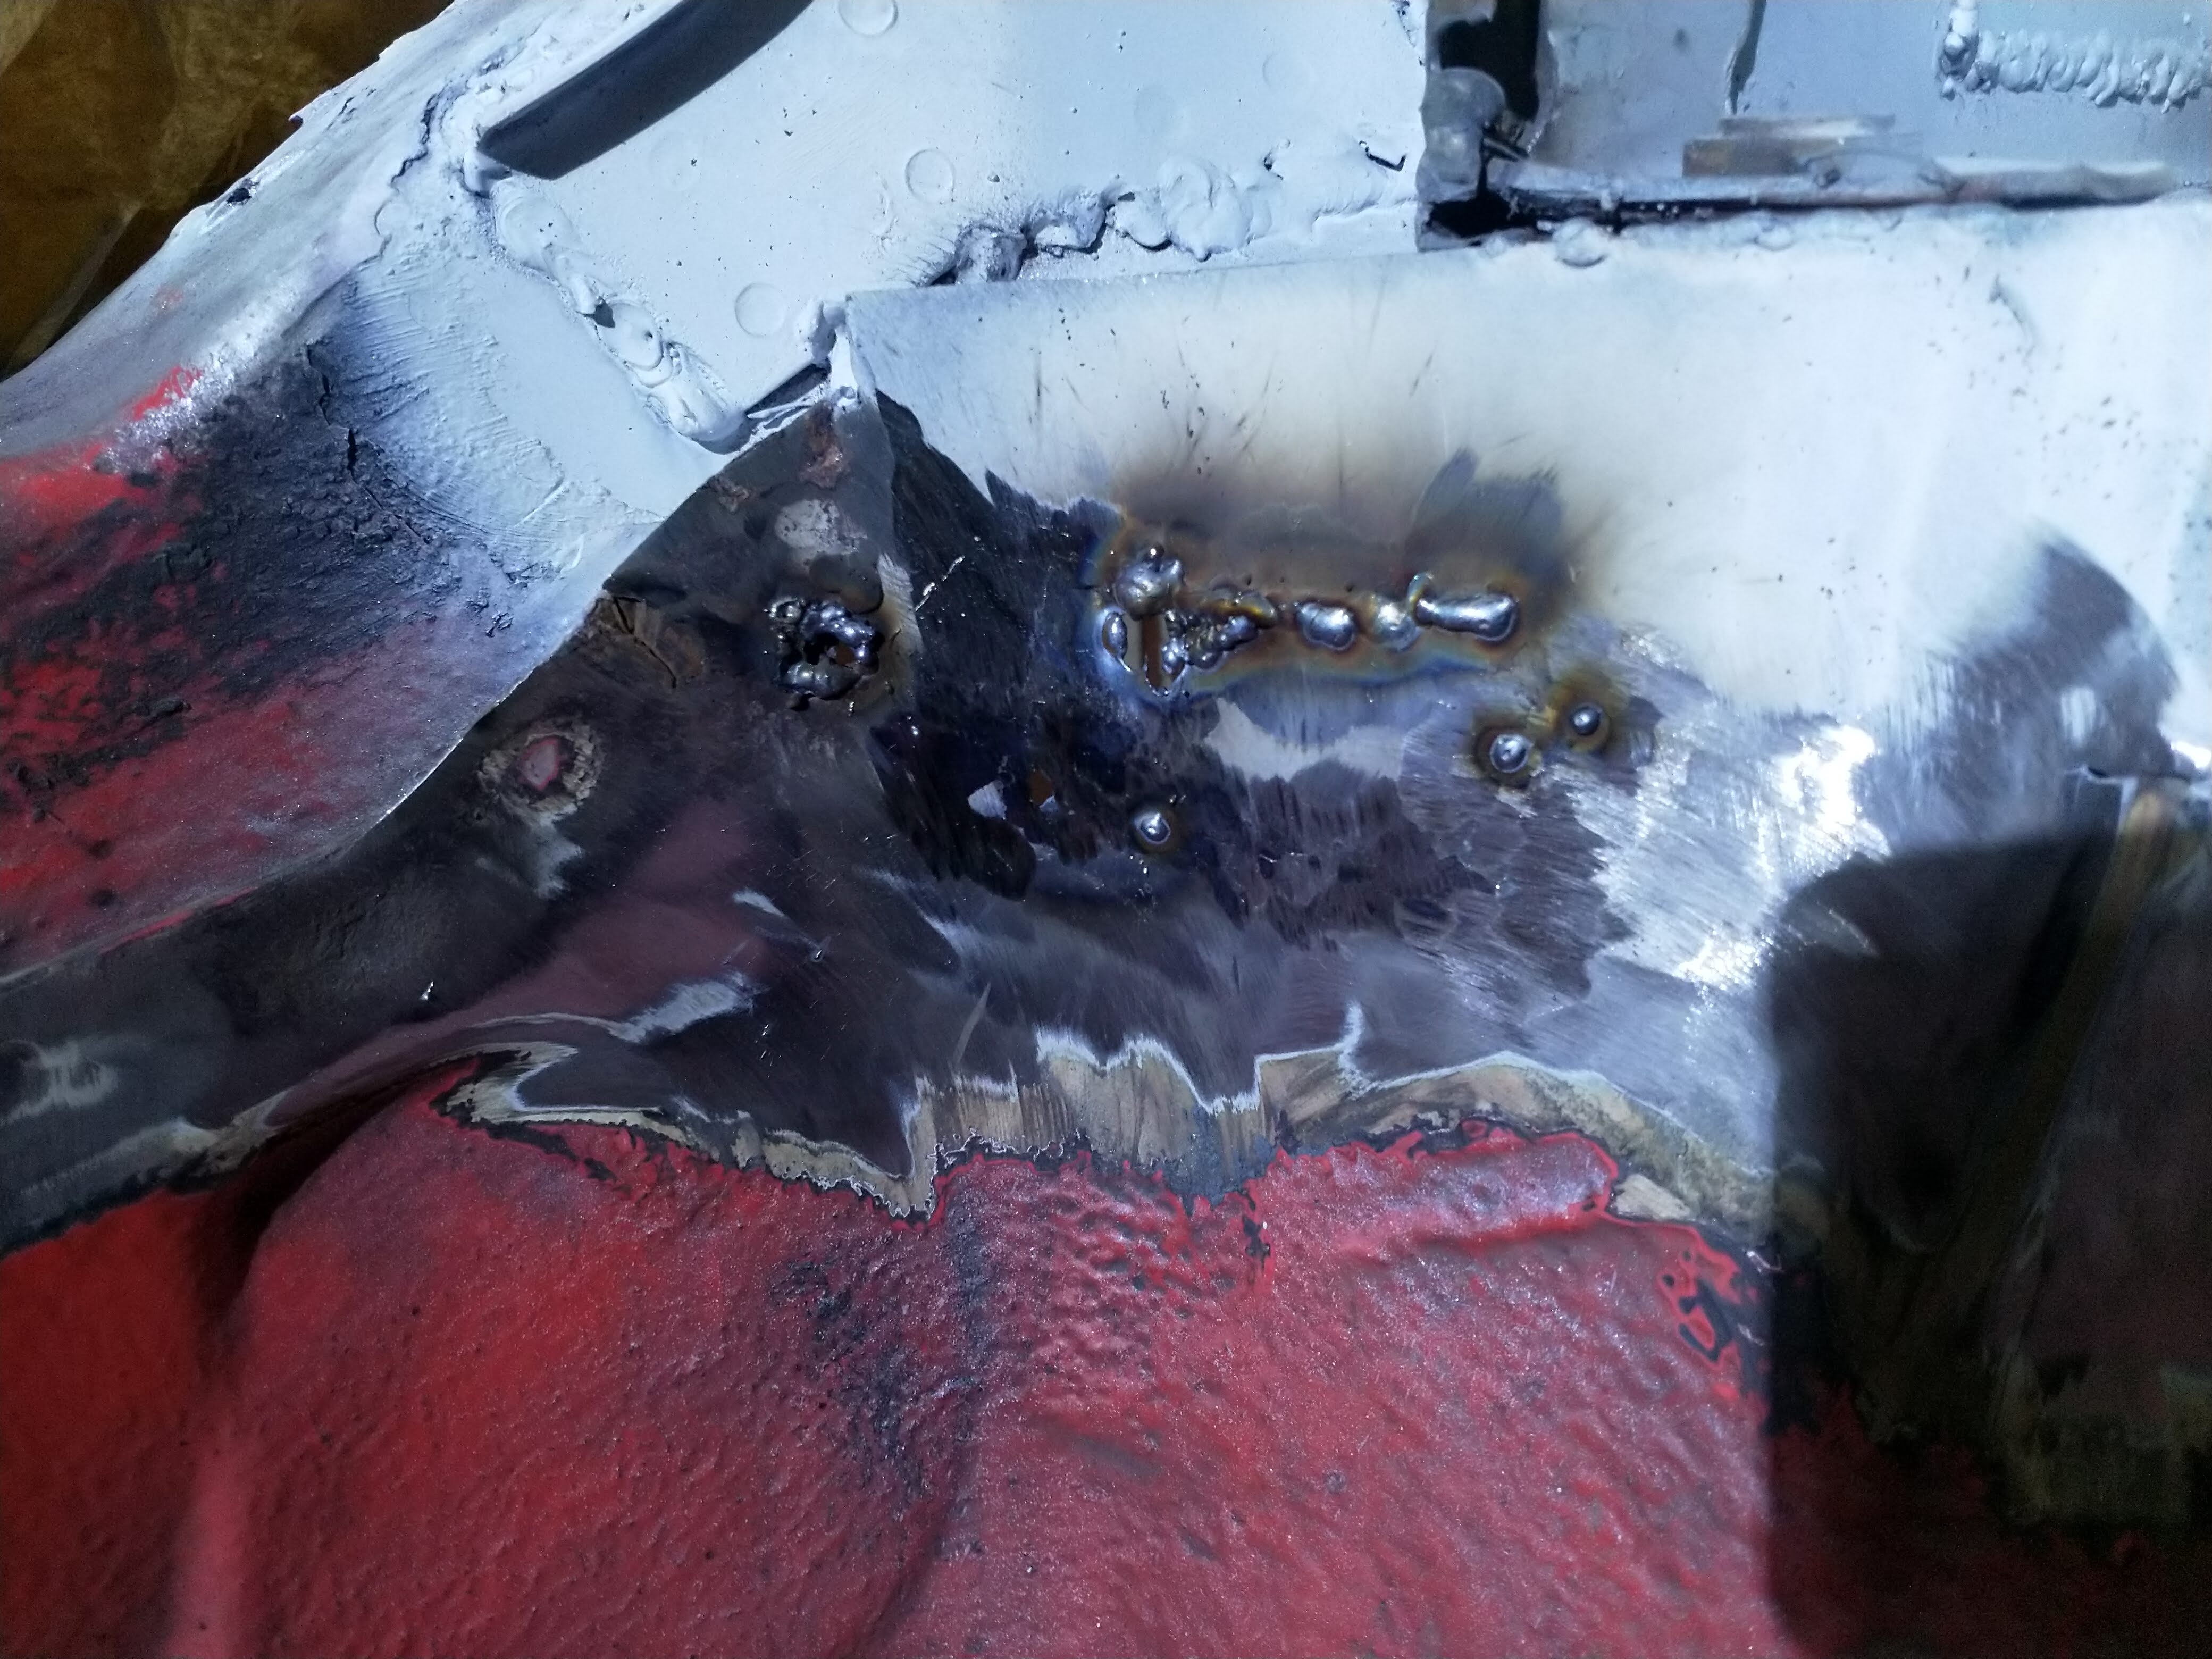
Anddddd then it stopped being fun. No idea what was going on. It was blowing holes left right and centre! Turned the welder down. I tried everything, was super frustrating. But i fumbled on and got all of the straight done but the back edge wouldn't play ball :rant2:

full


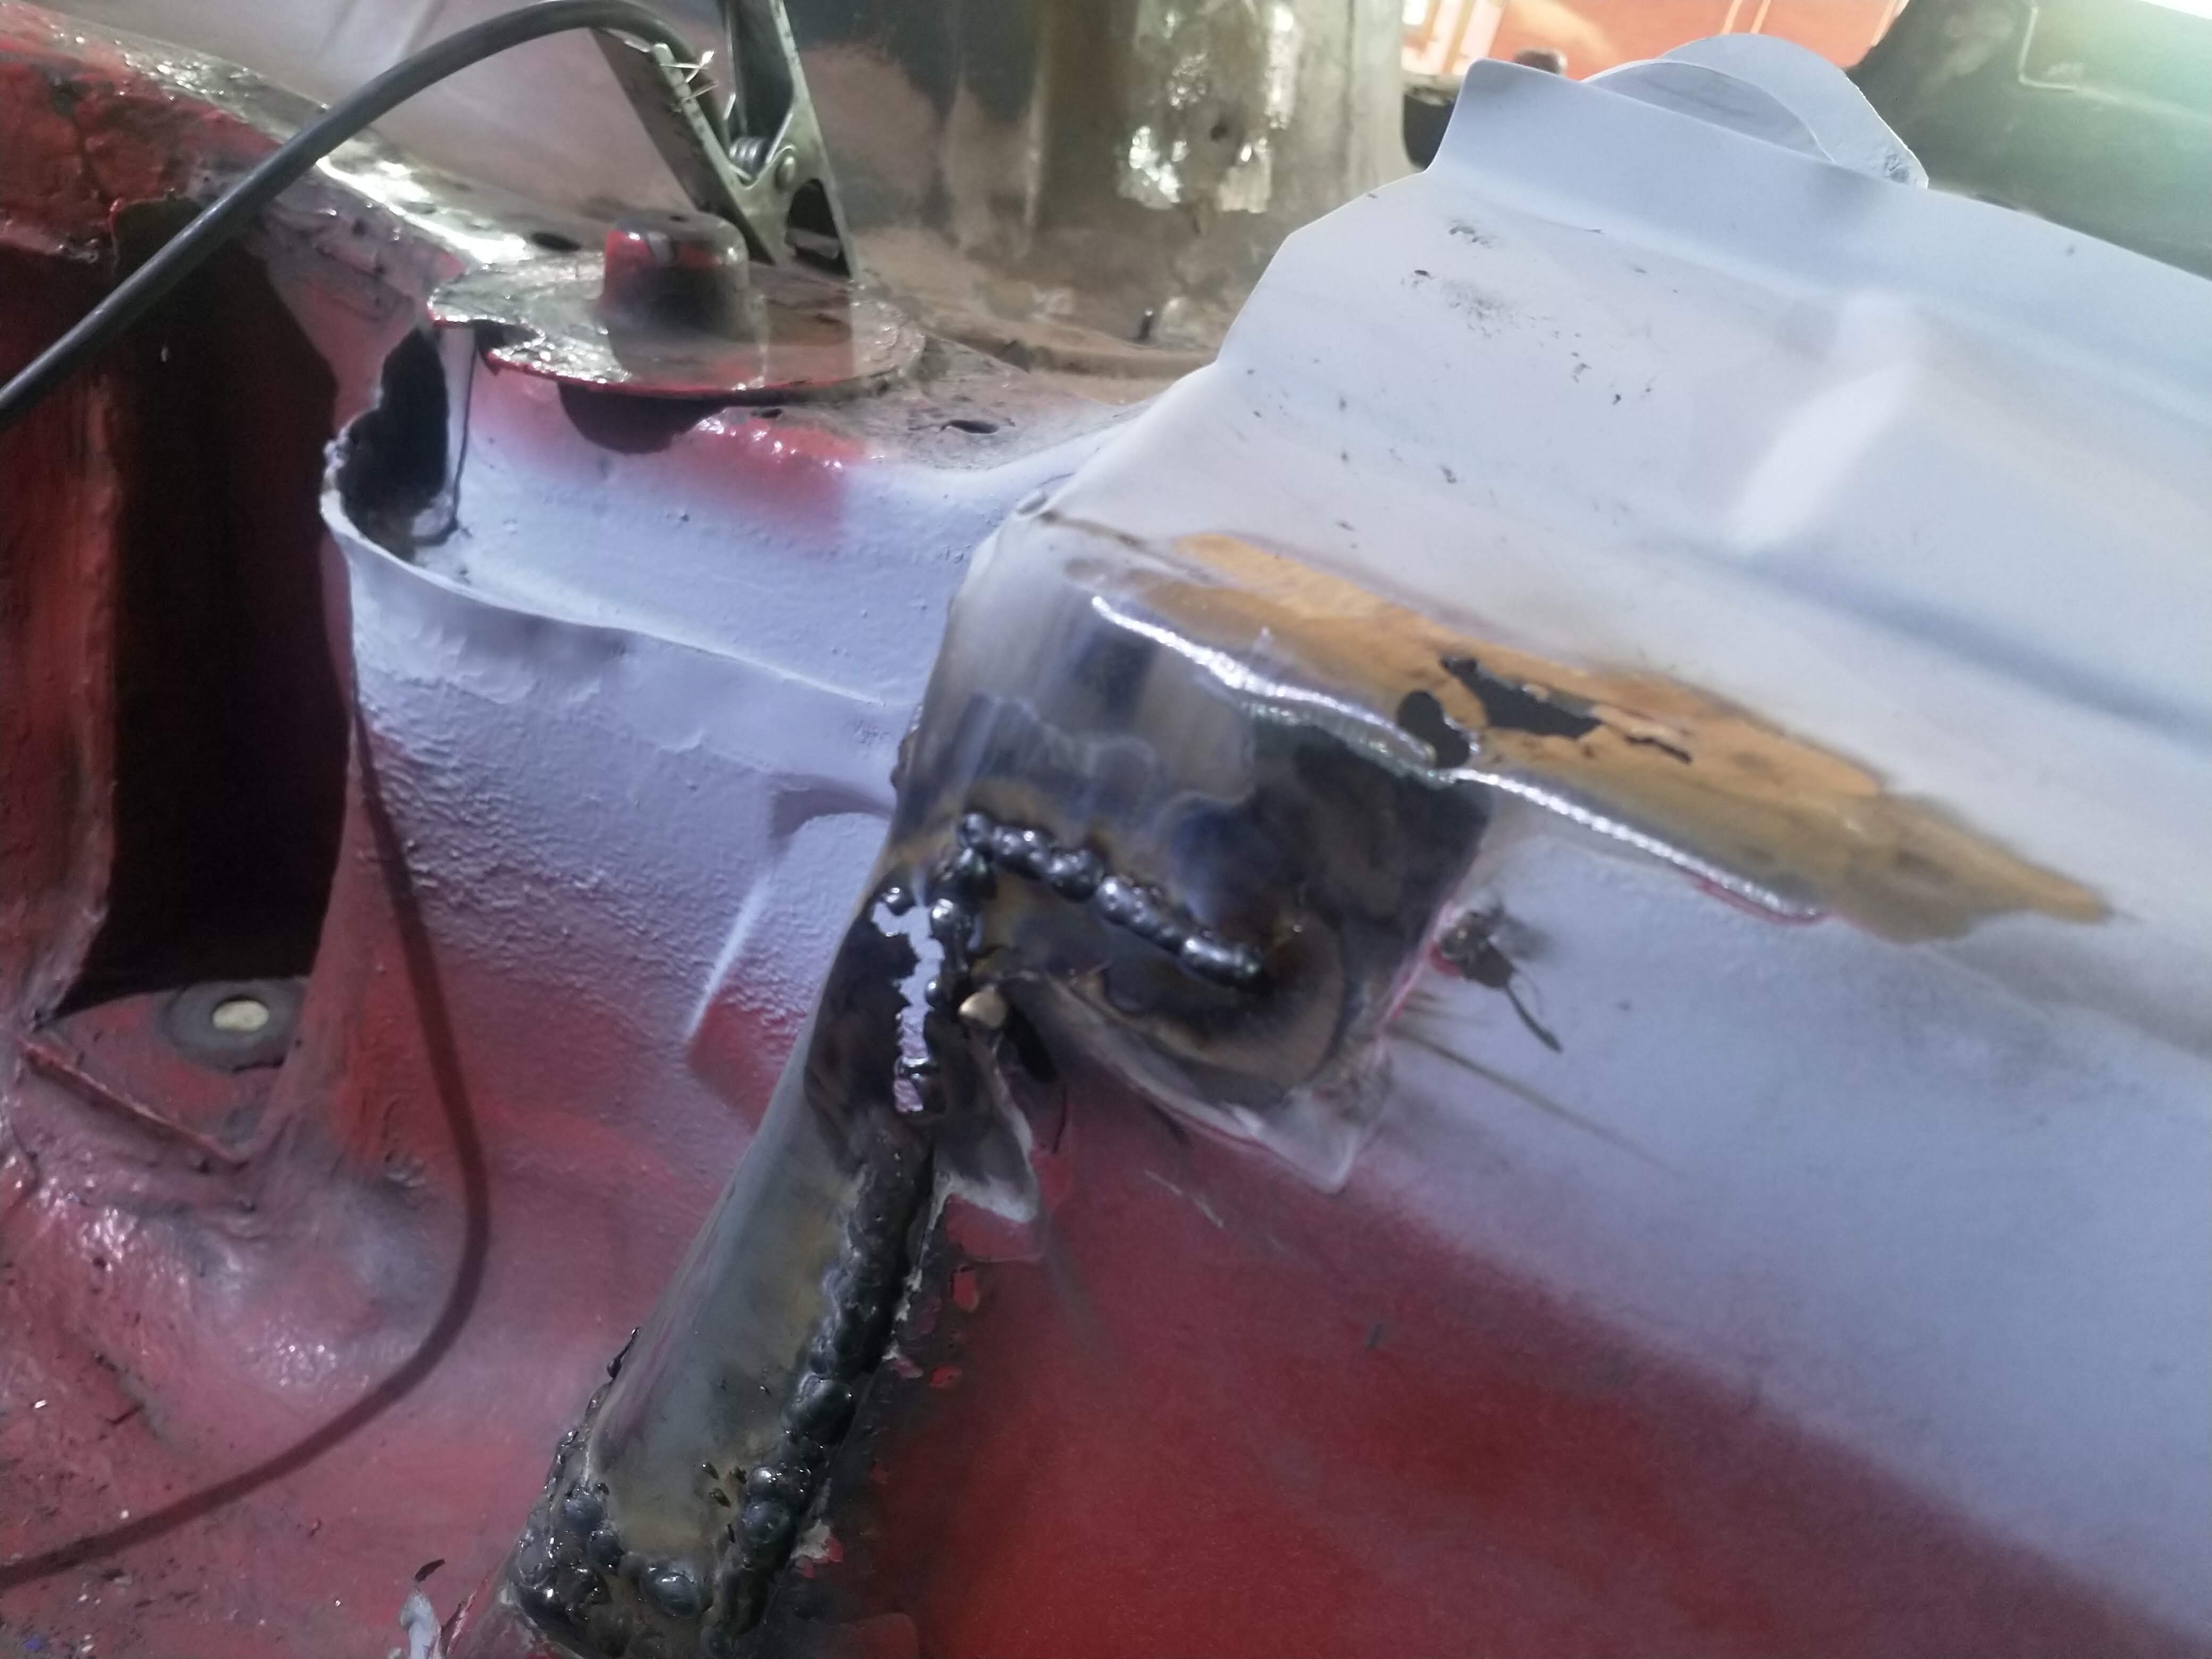
As you can see, already ground back once aswell... annoying. The metal was ultra ultra wafer thin and it wasn't the car, It was the panel. MUst be a rubbish forming with wafer thin metal.
In the end i had to cut some 0.9mm out and plate it from the back! Luckily the end of the sill is still wide open for spraying and wax oil purposes. So plate on the back, welded the front, and can seal the silly plate in. Finally done, nightmare!

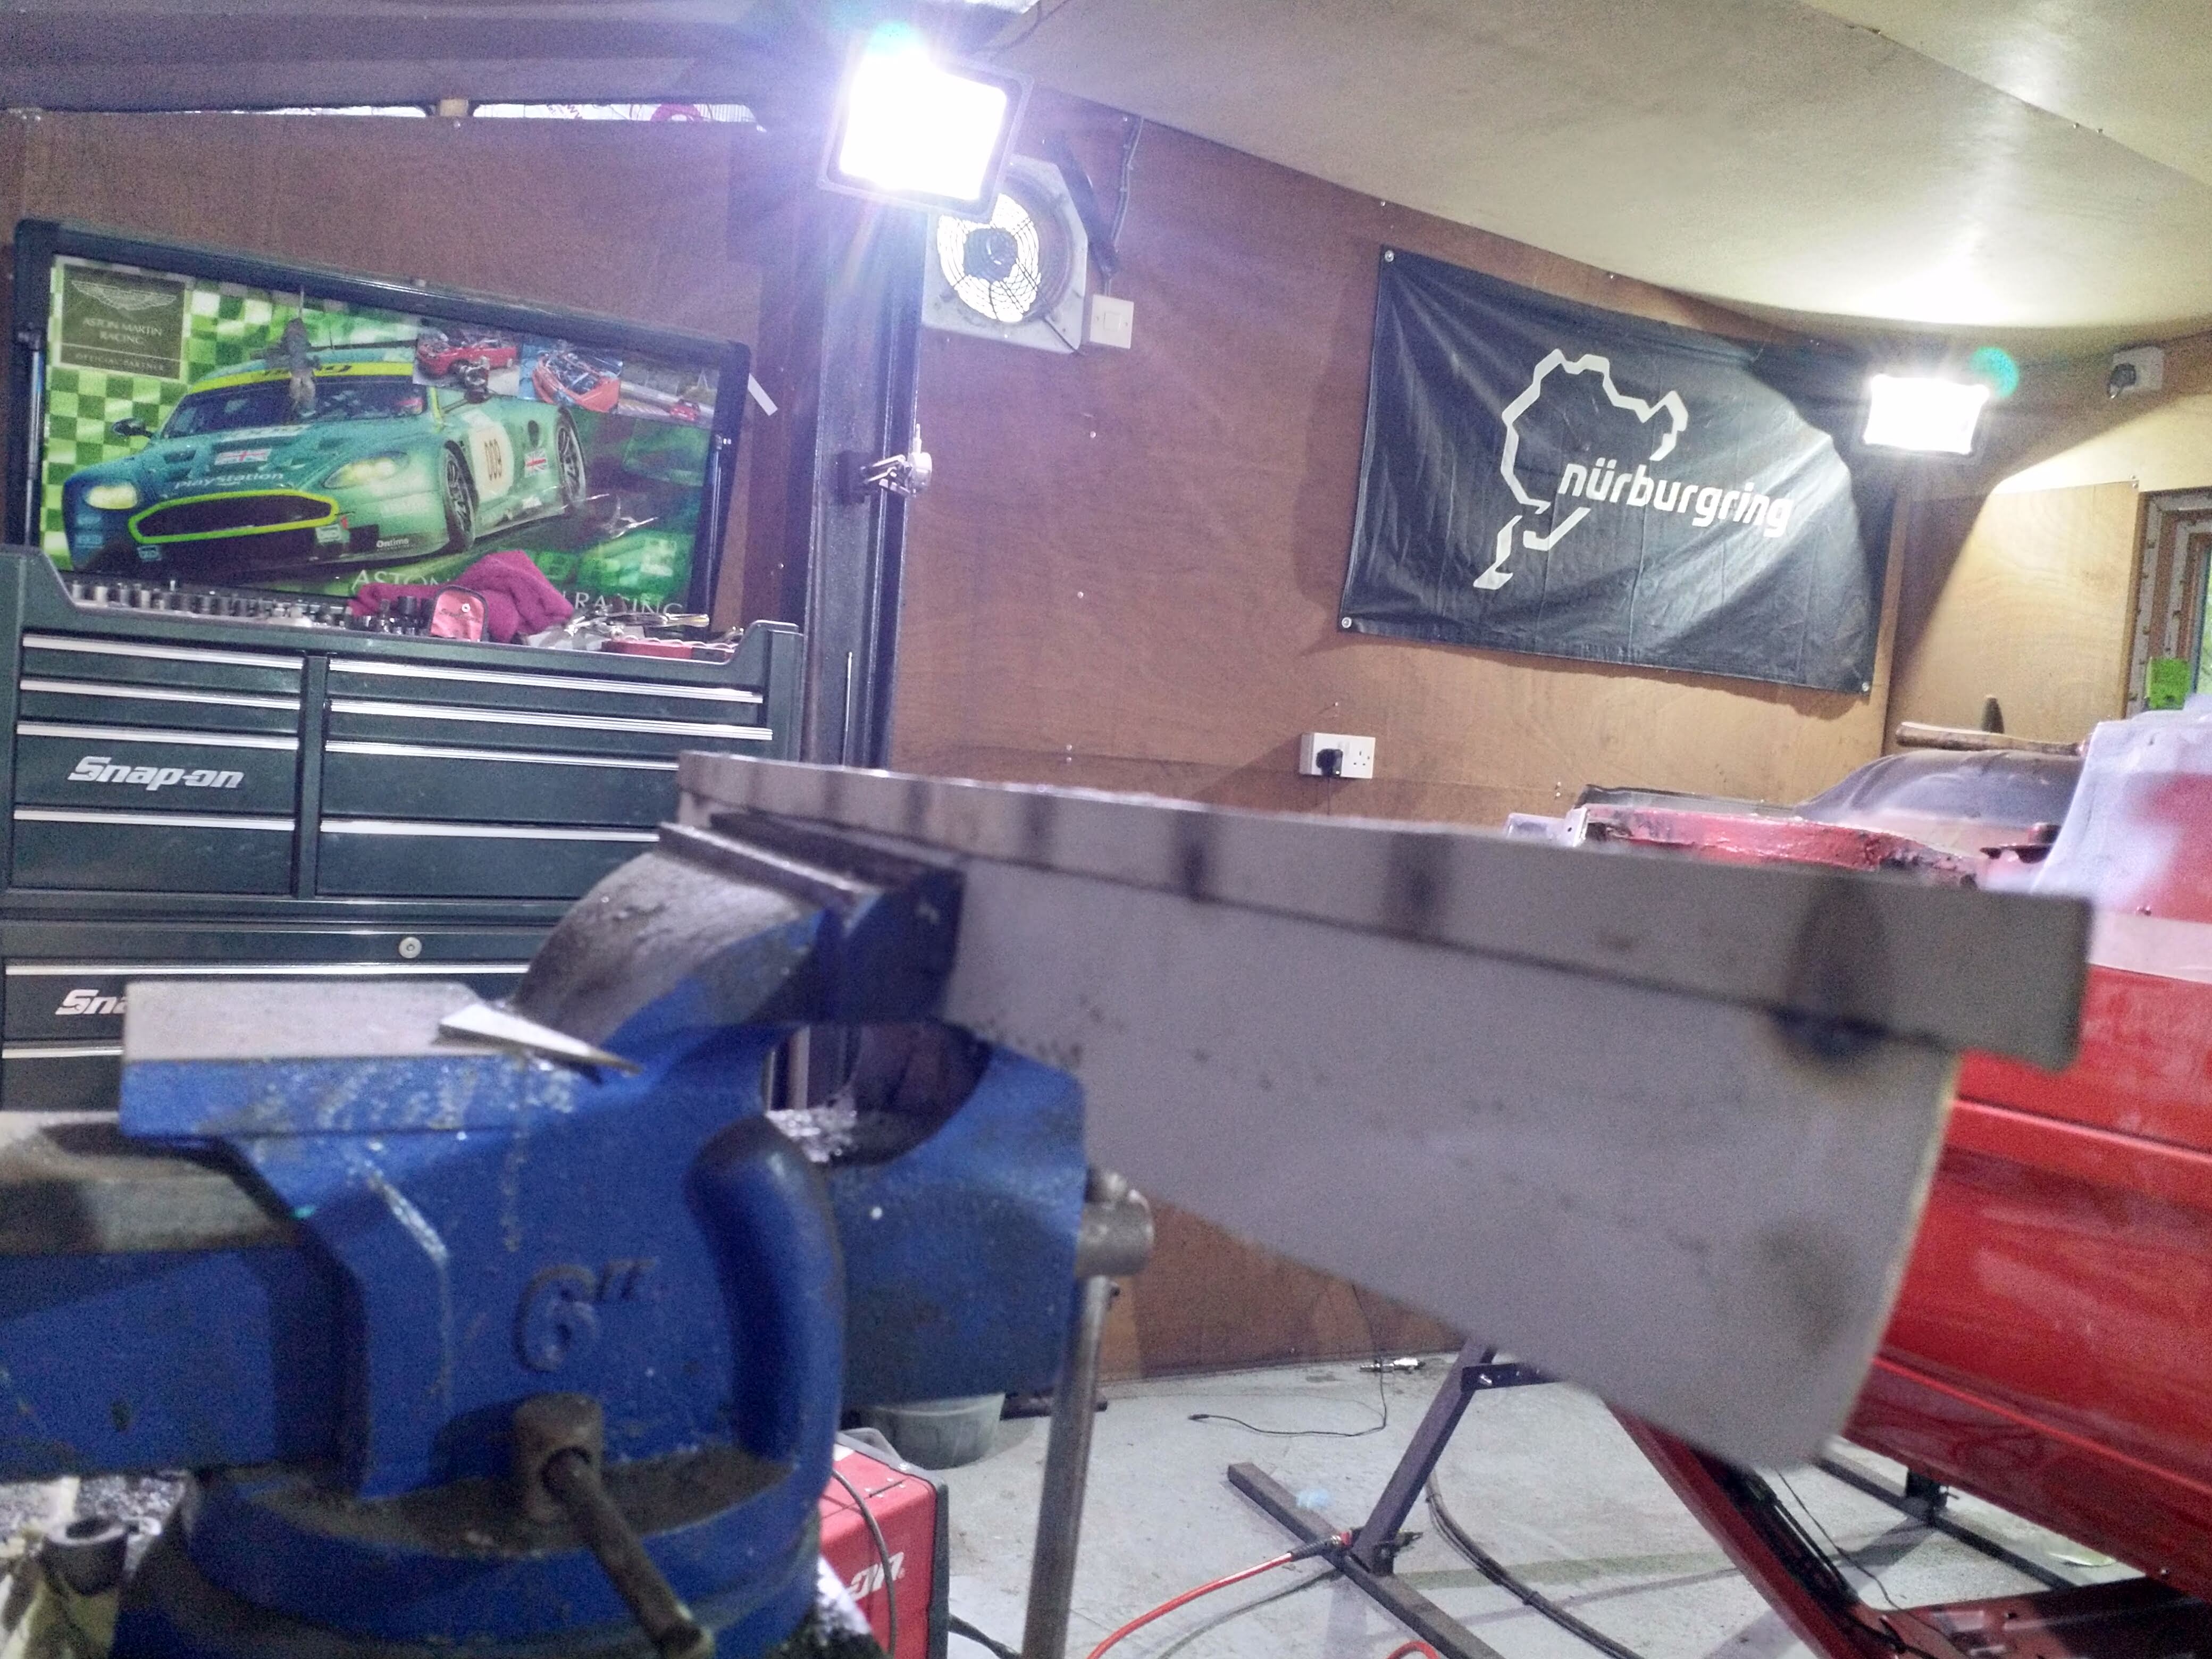
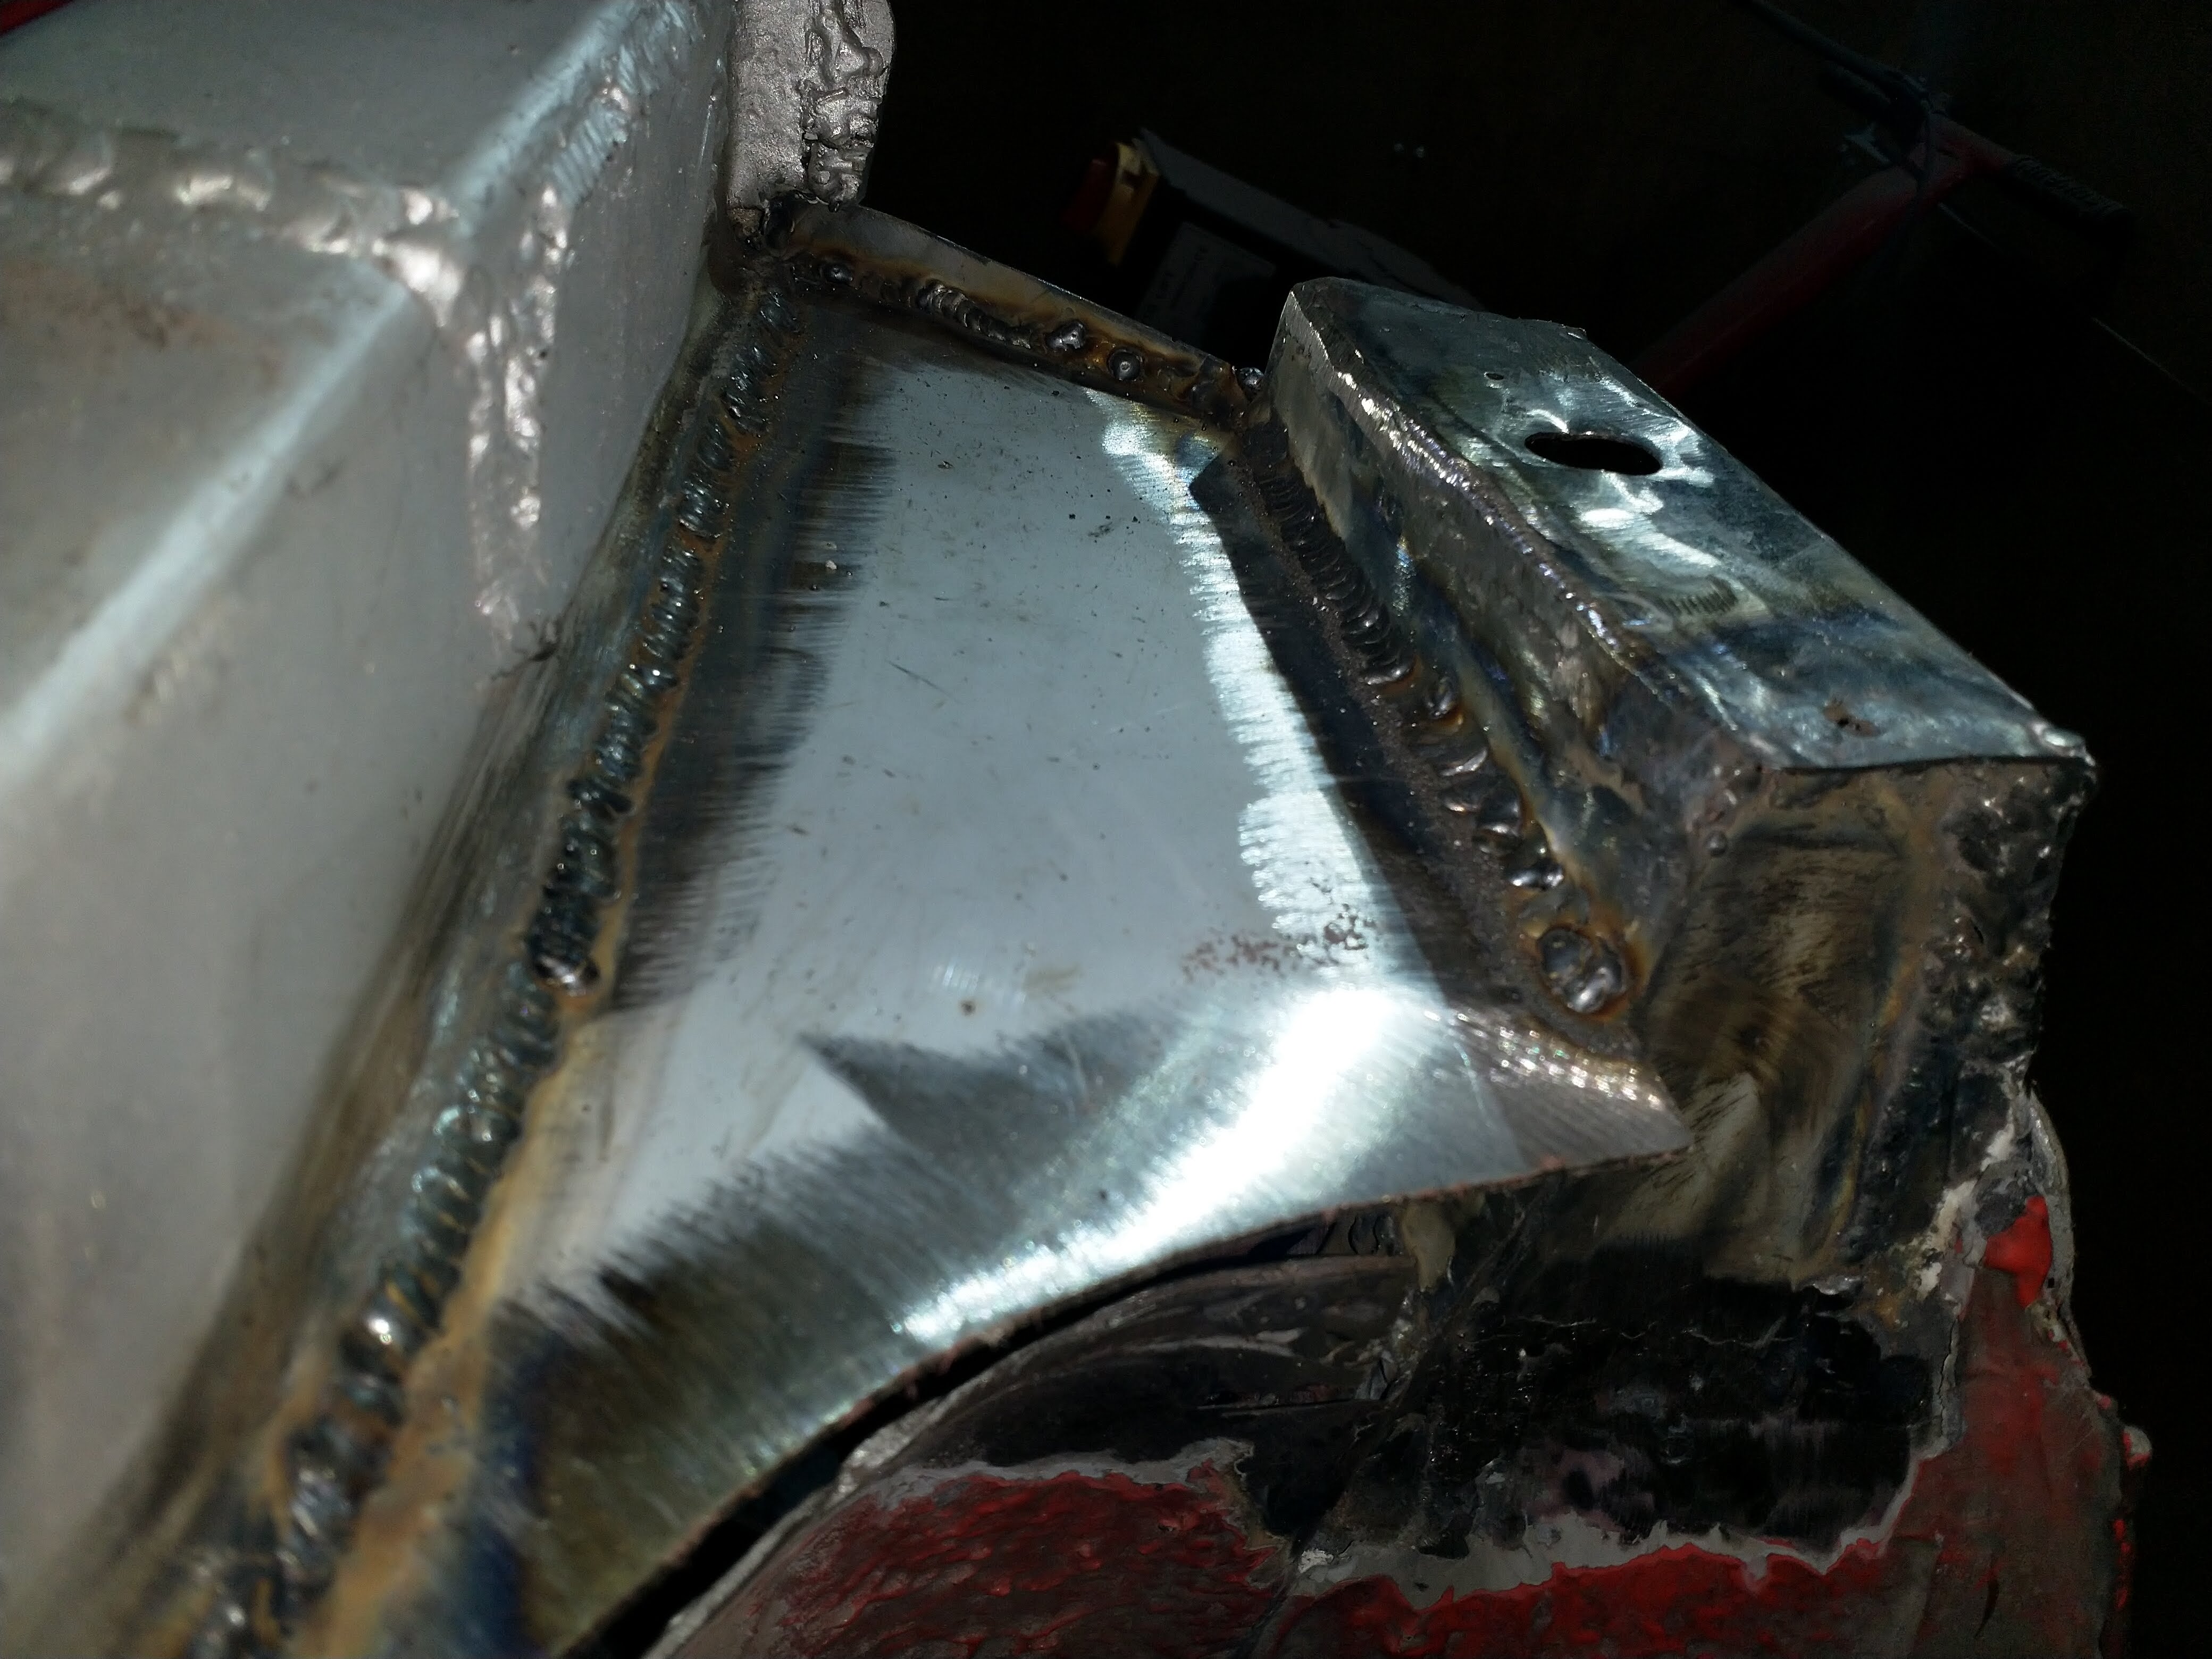
Bit wavy when done....

full


And fettled....


full


Looks a bit wavy , just needs a bit of fettling and the whole thing will get a little skim of filler even though it is under the side skirt, rude not to!
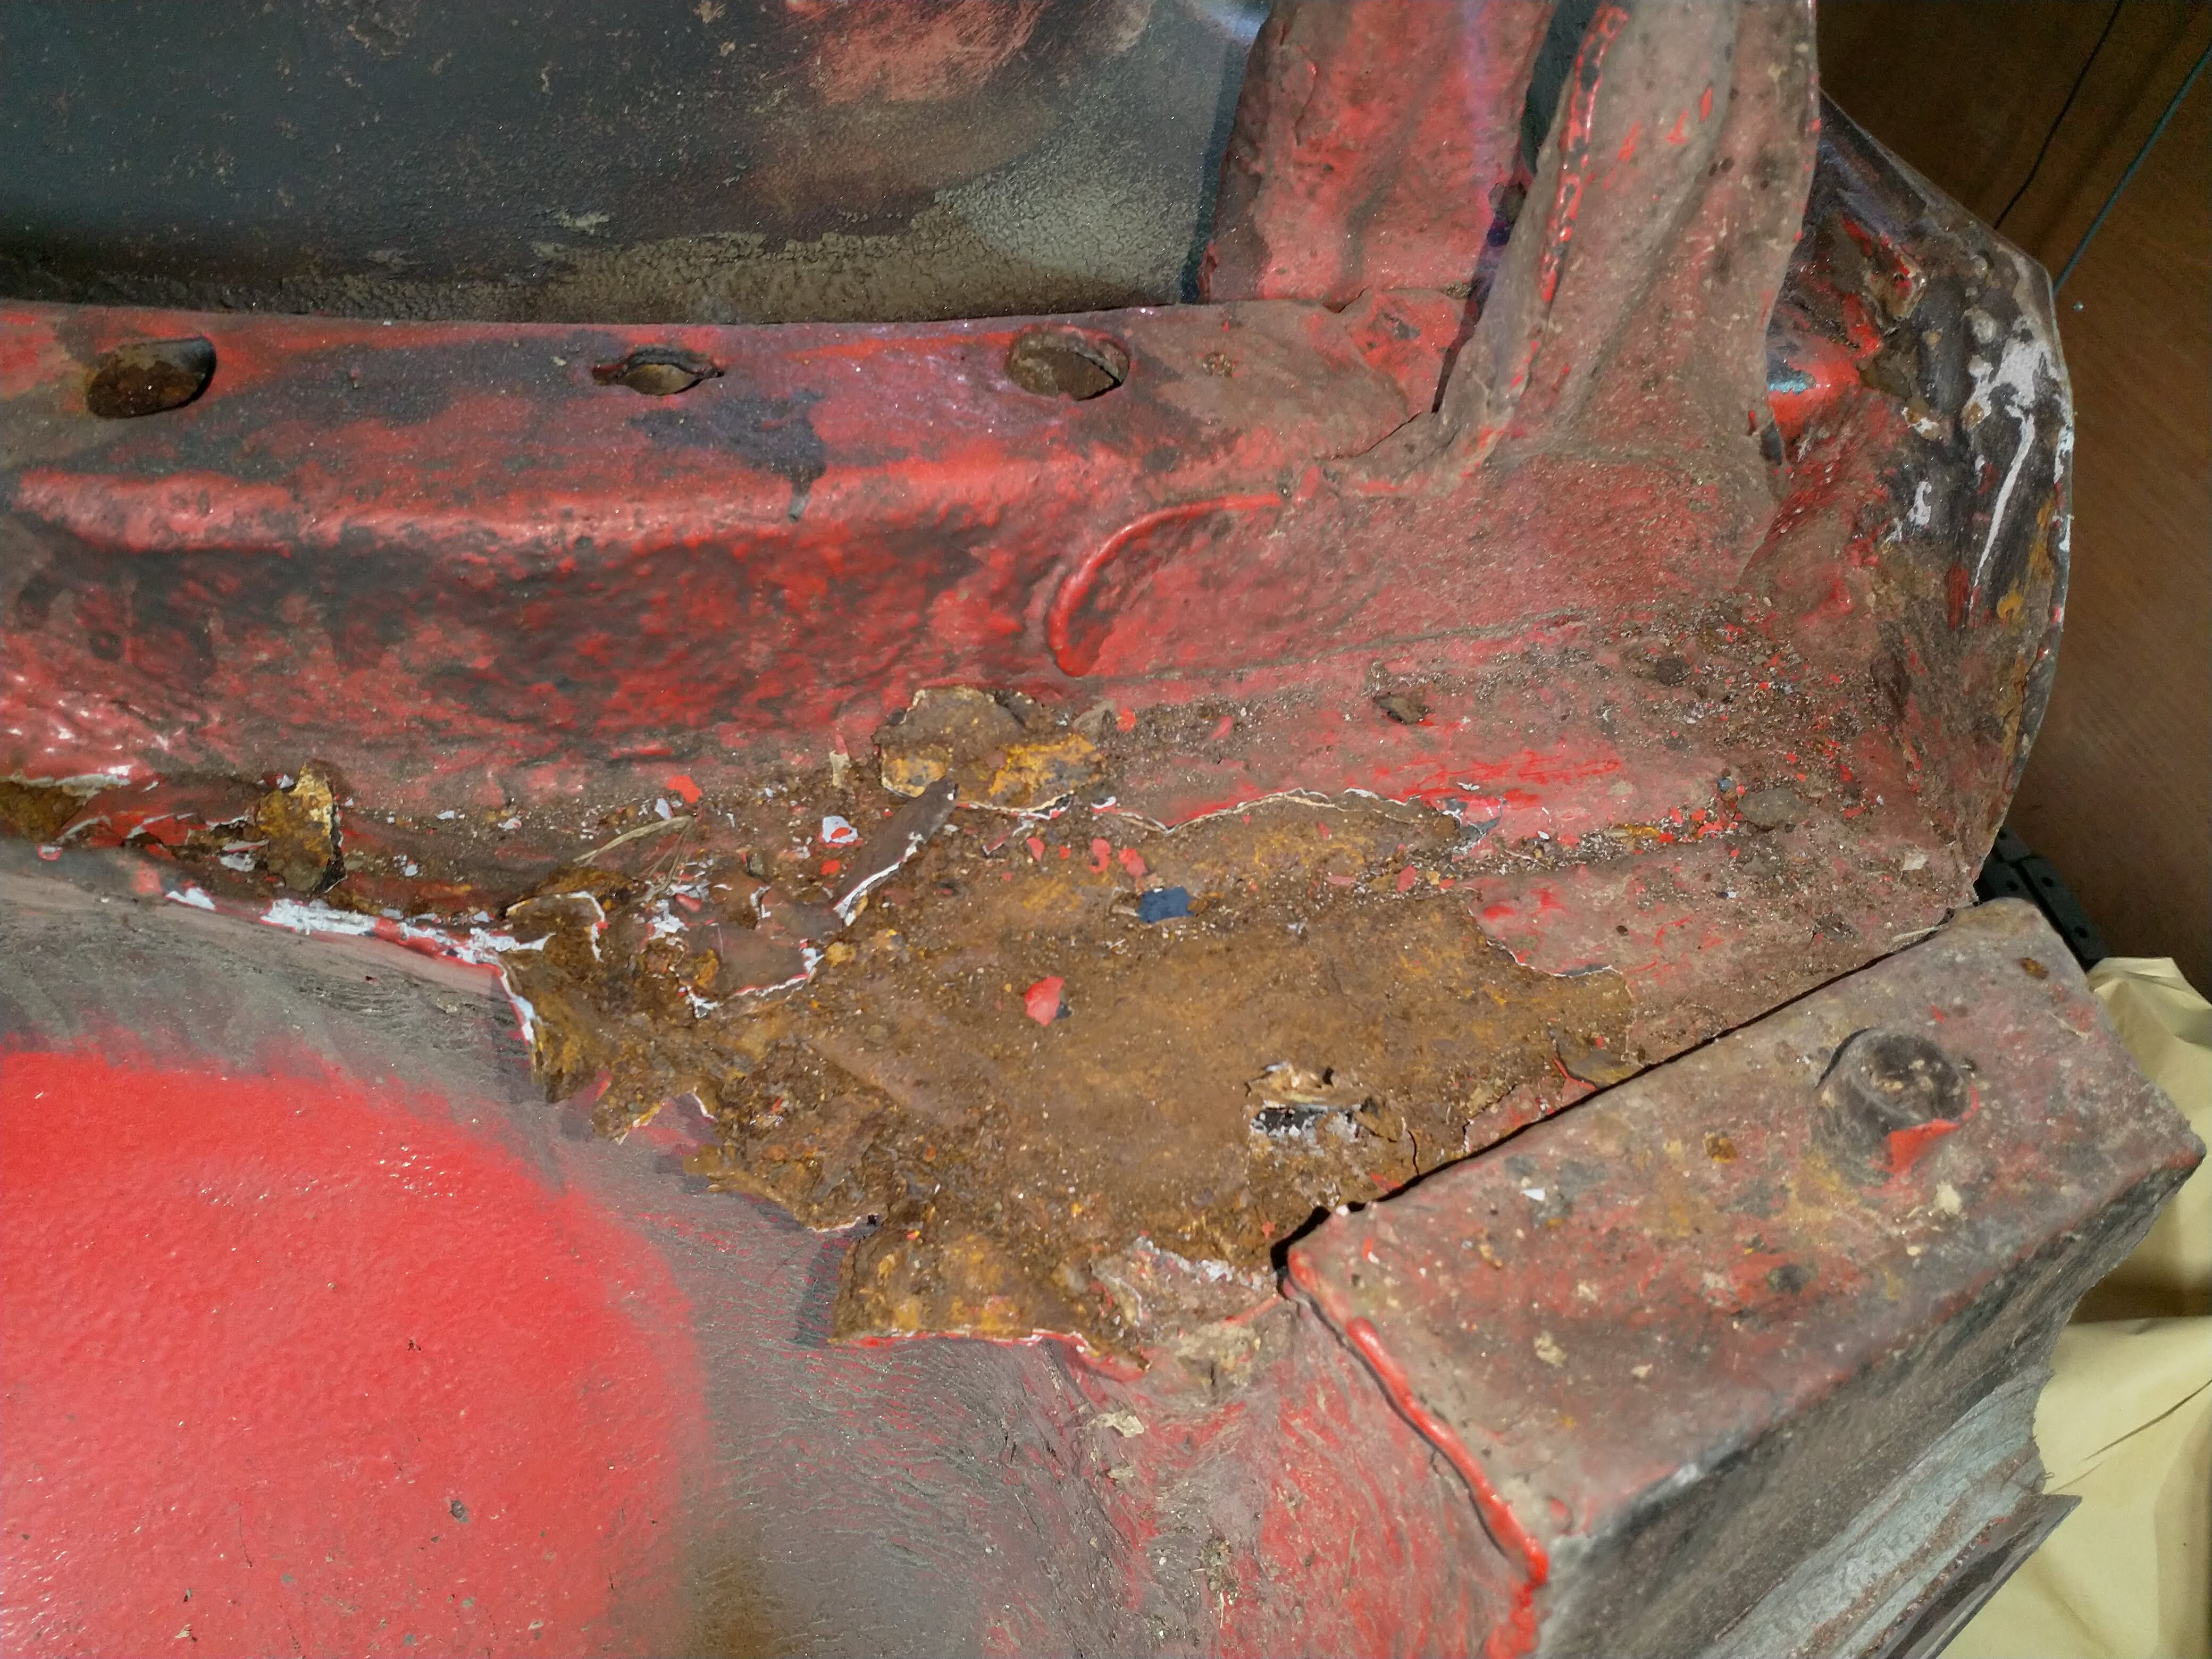
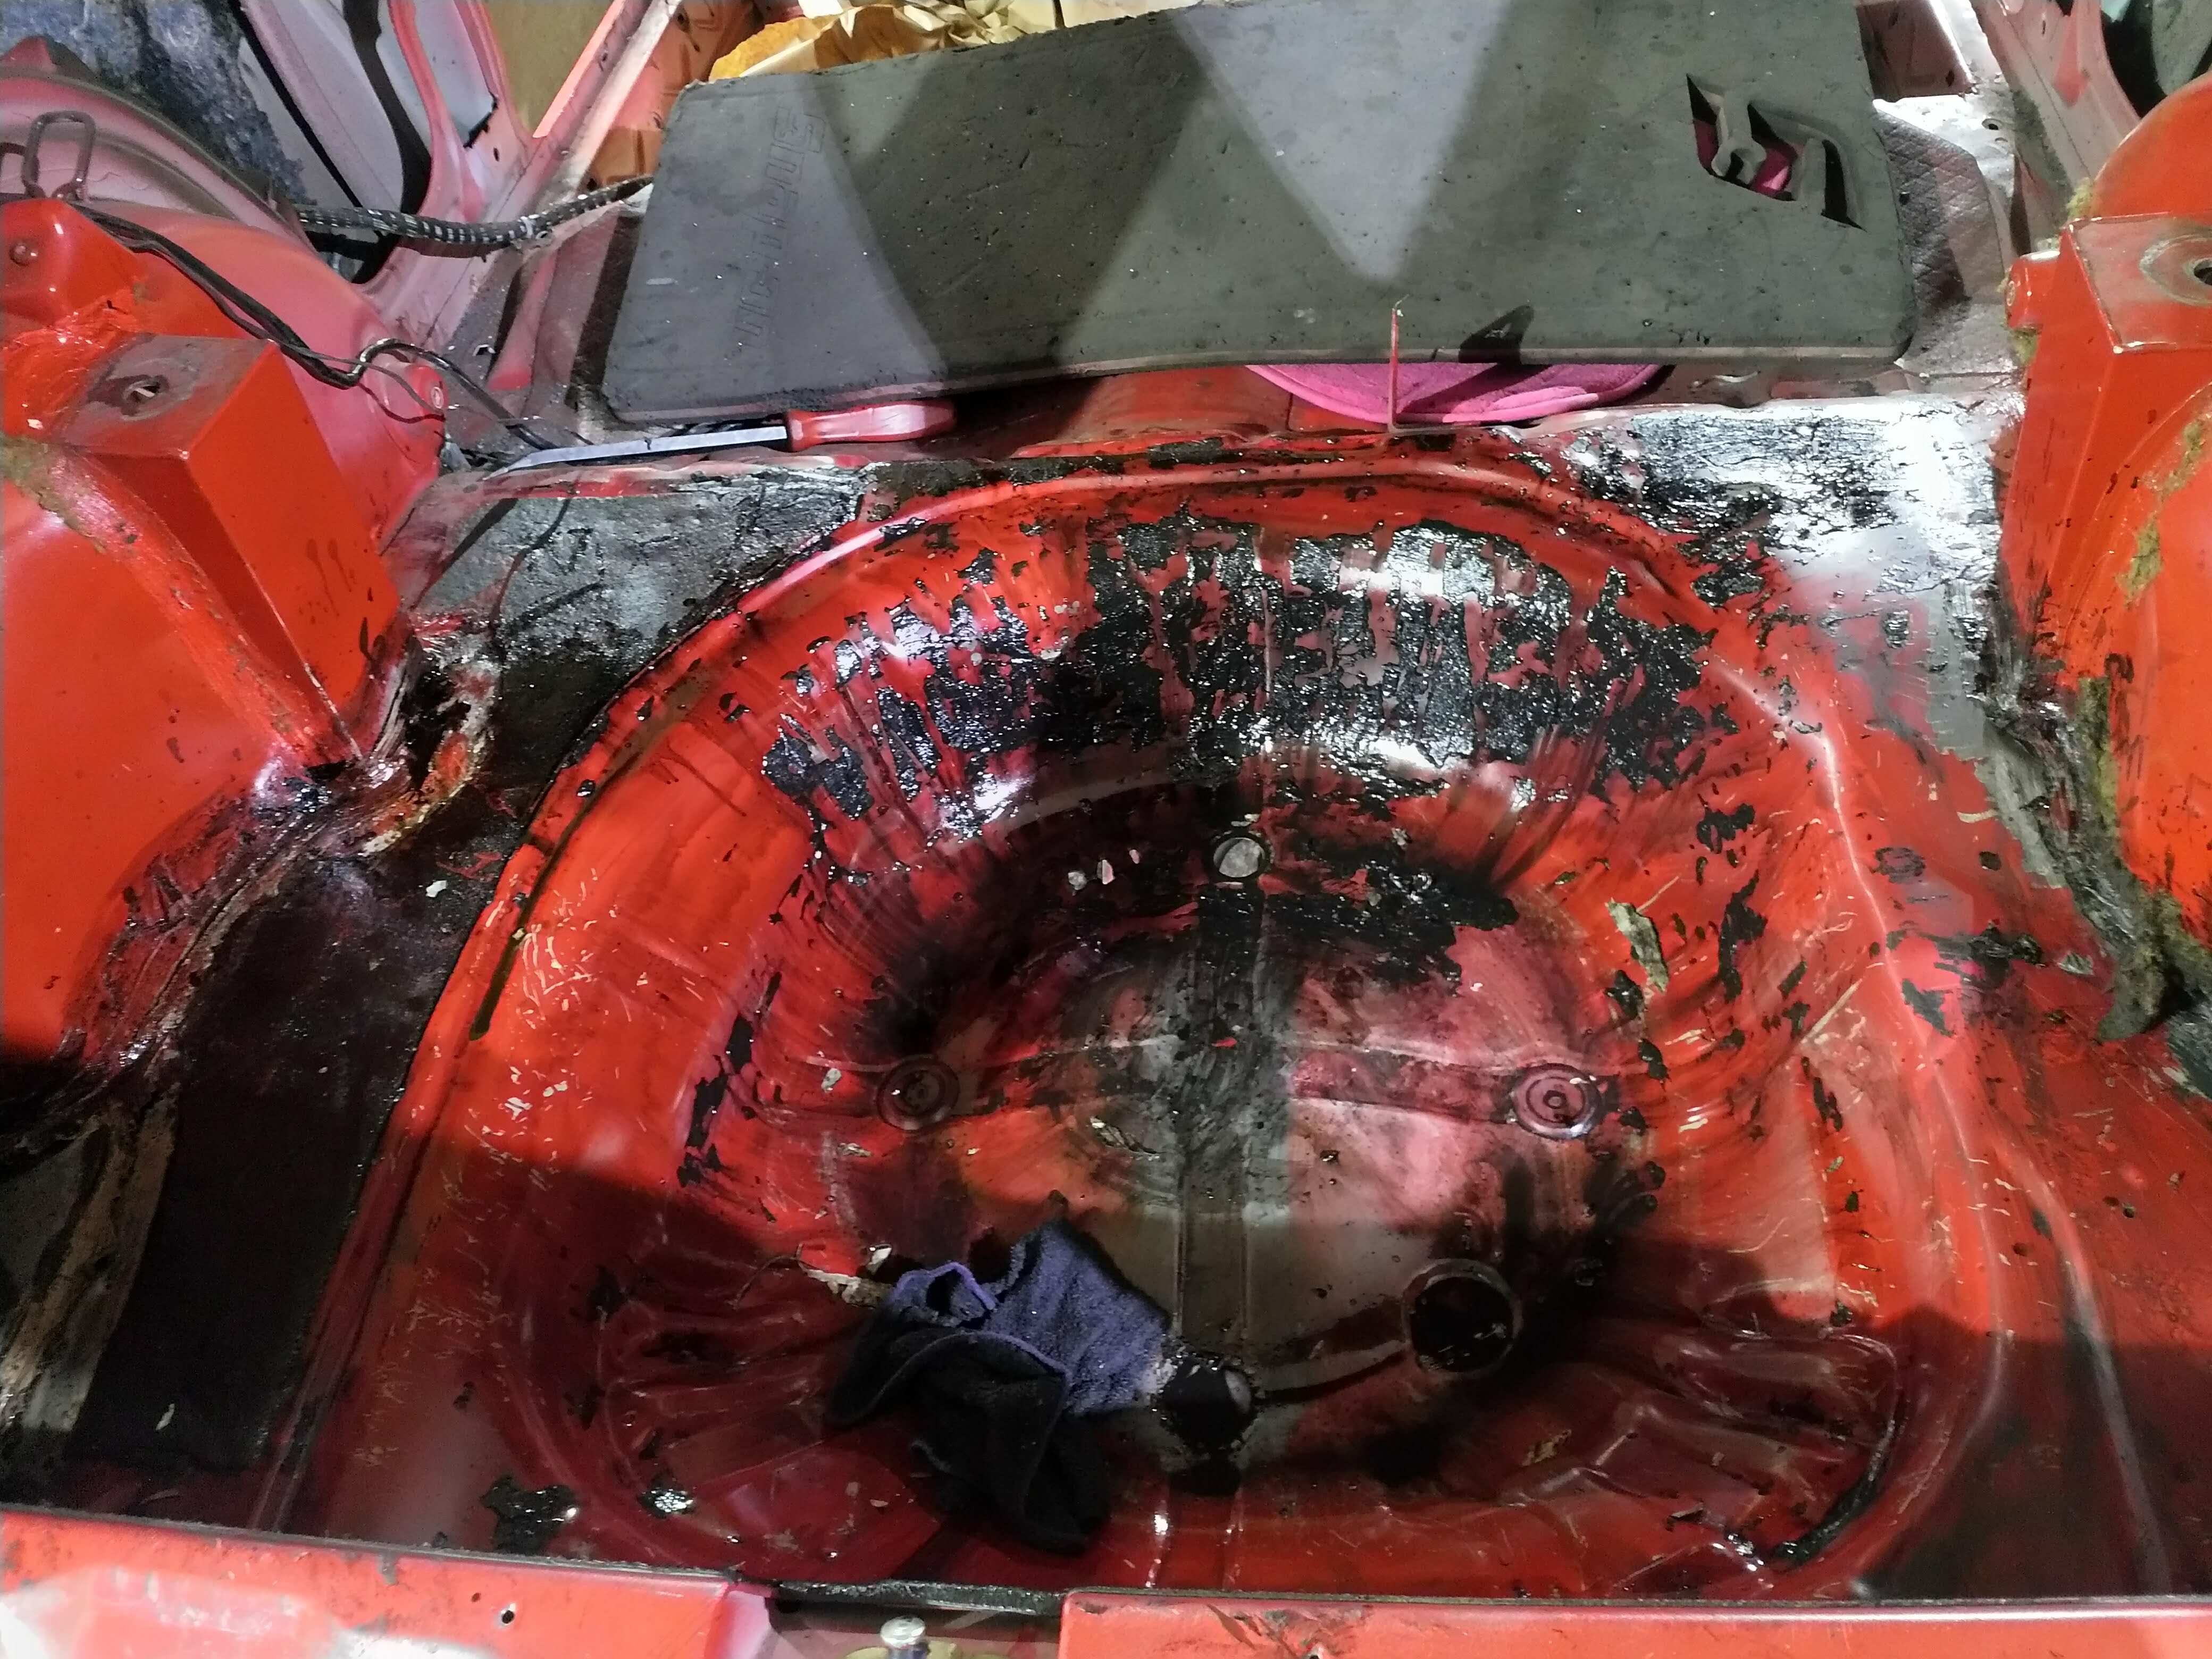
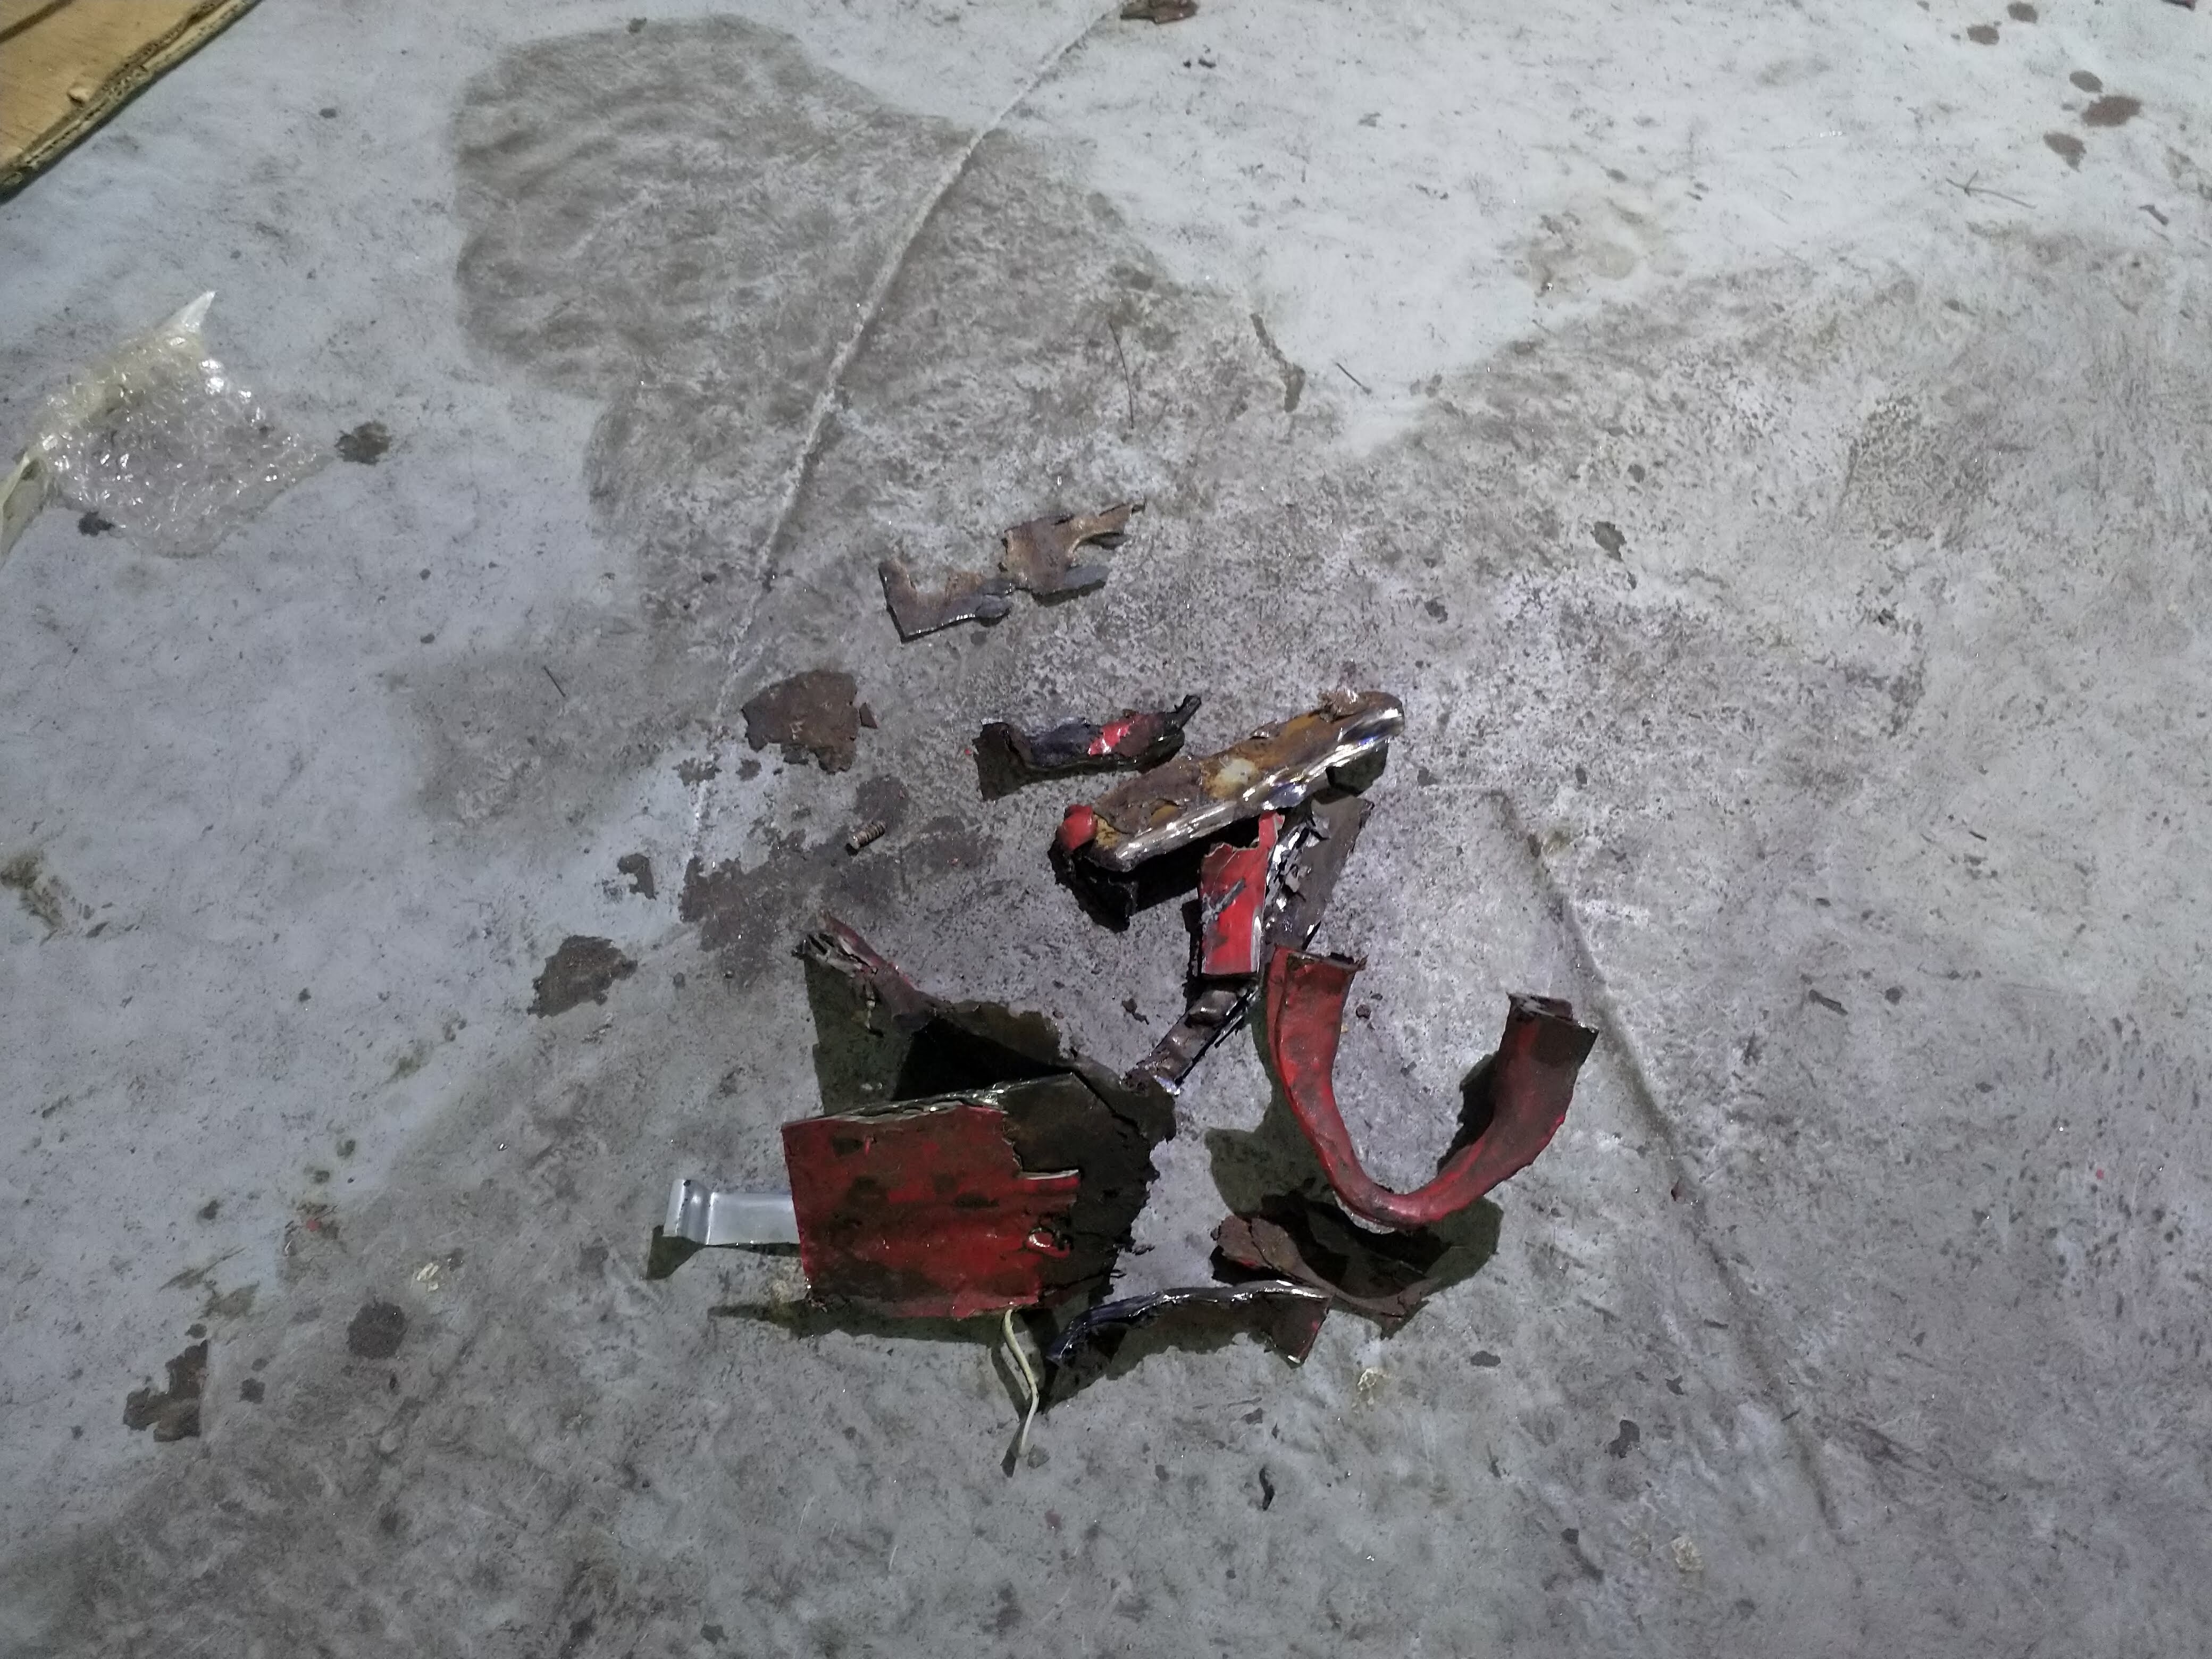
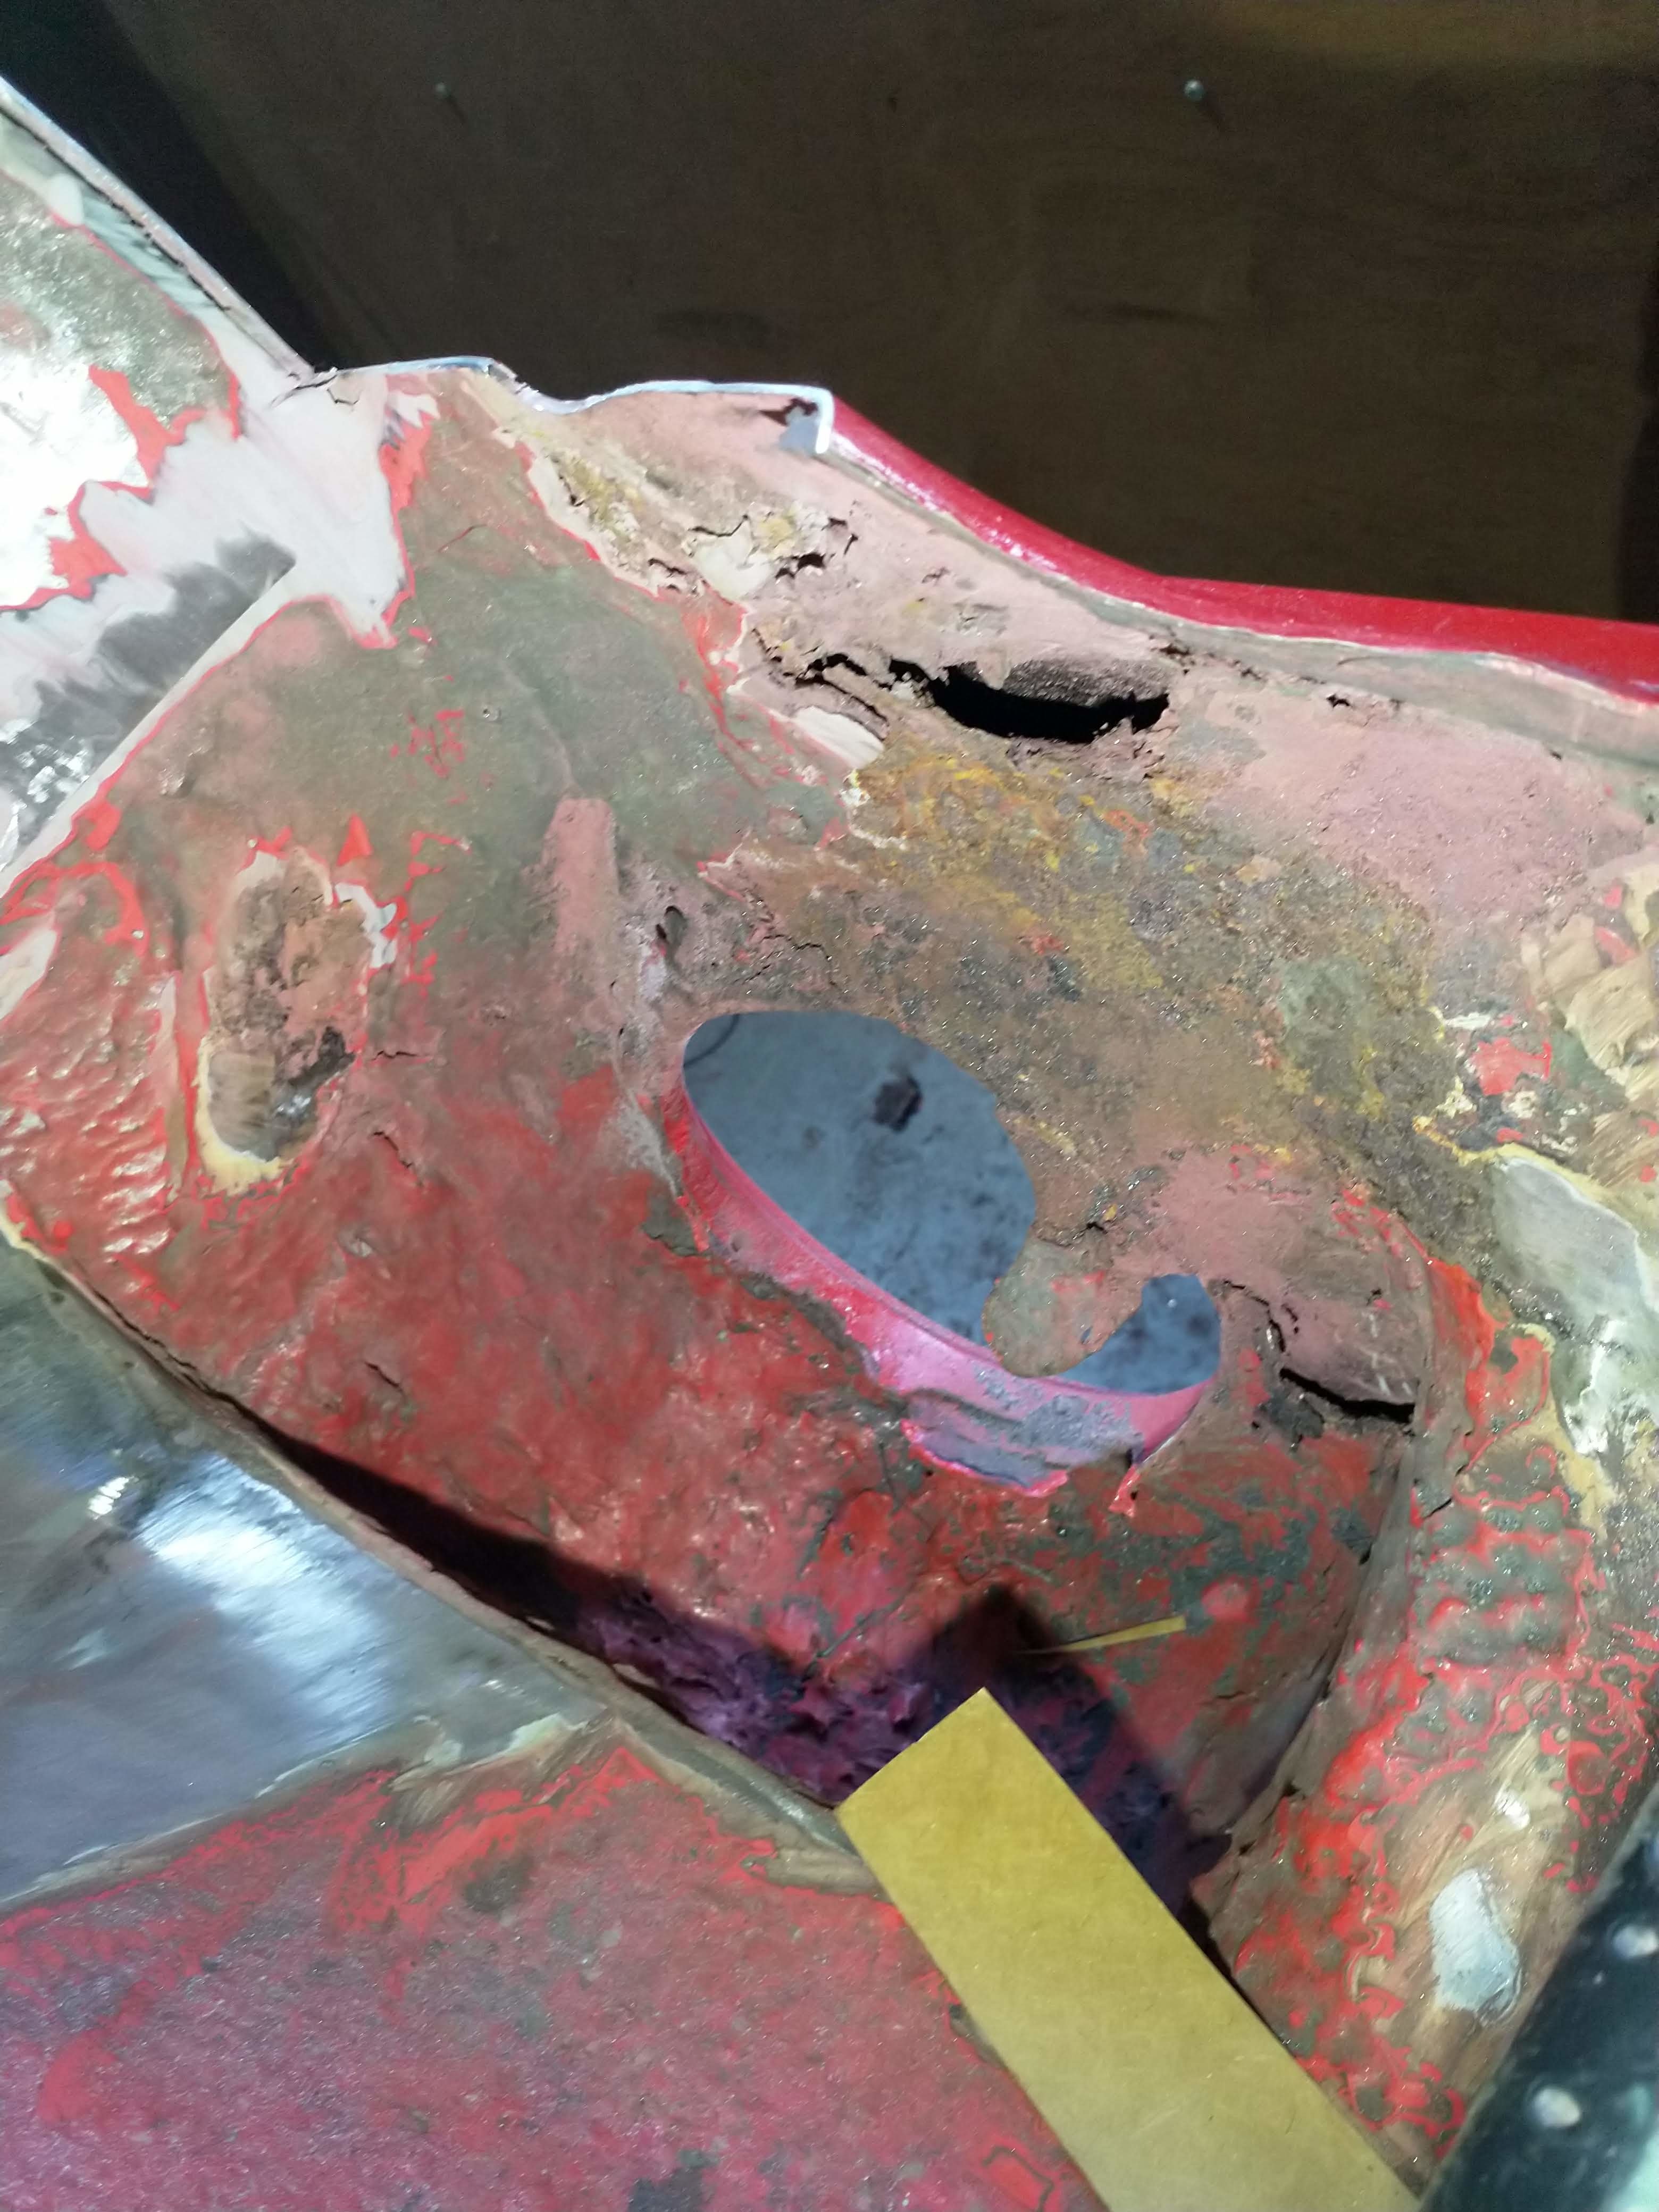
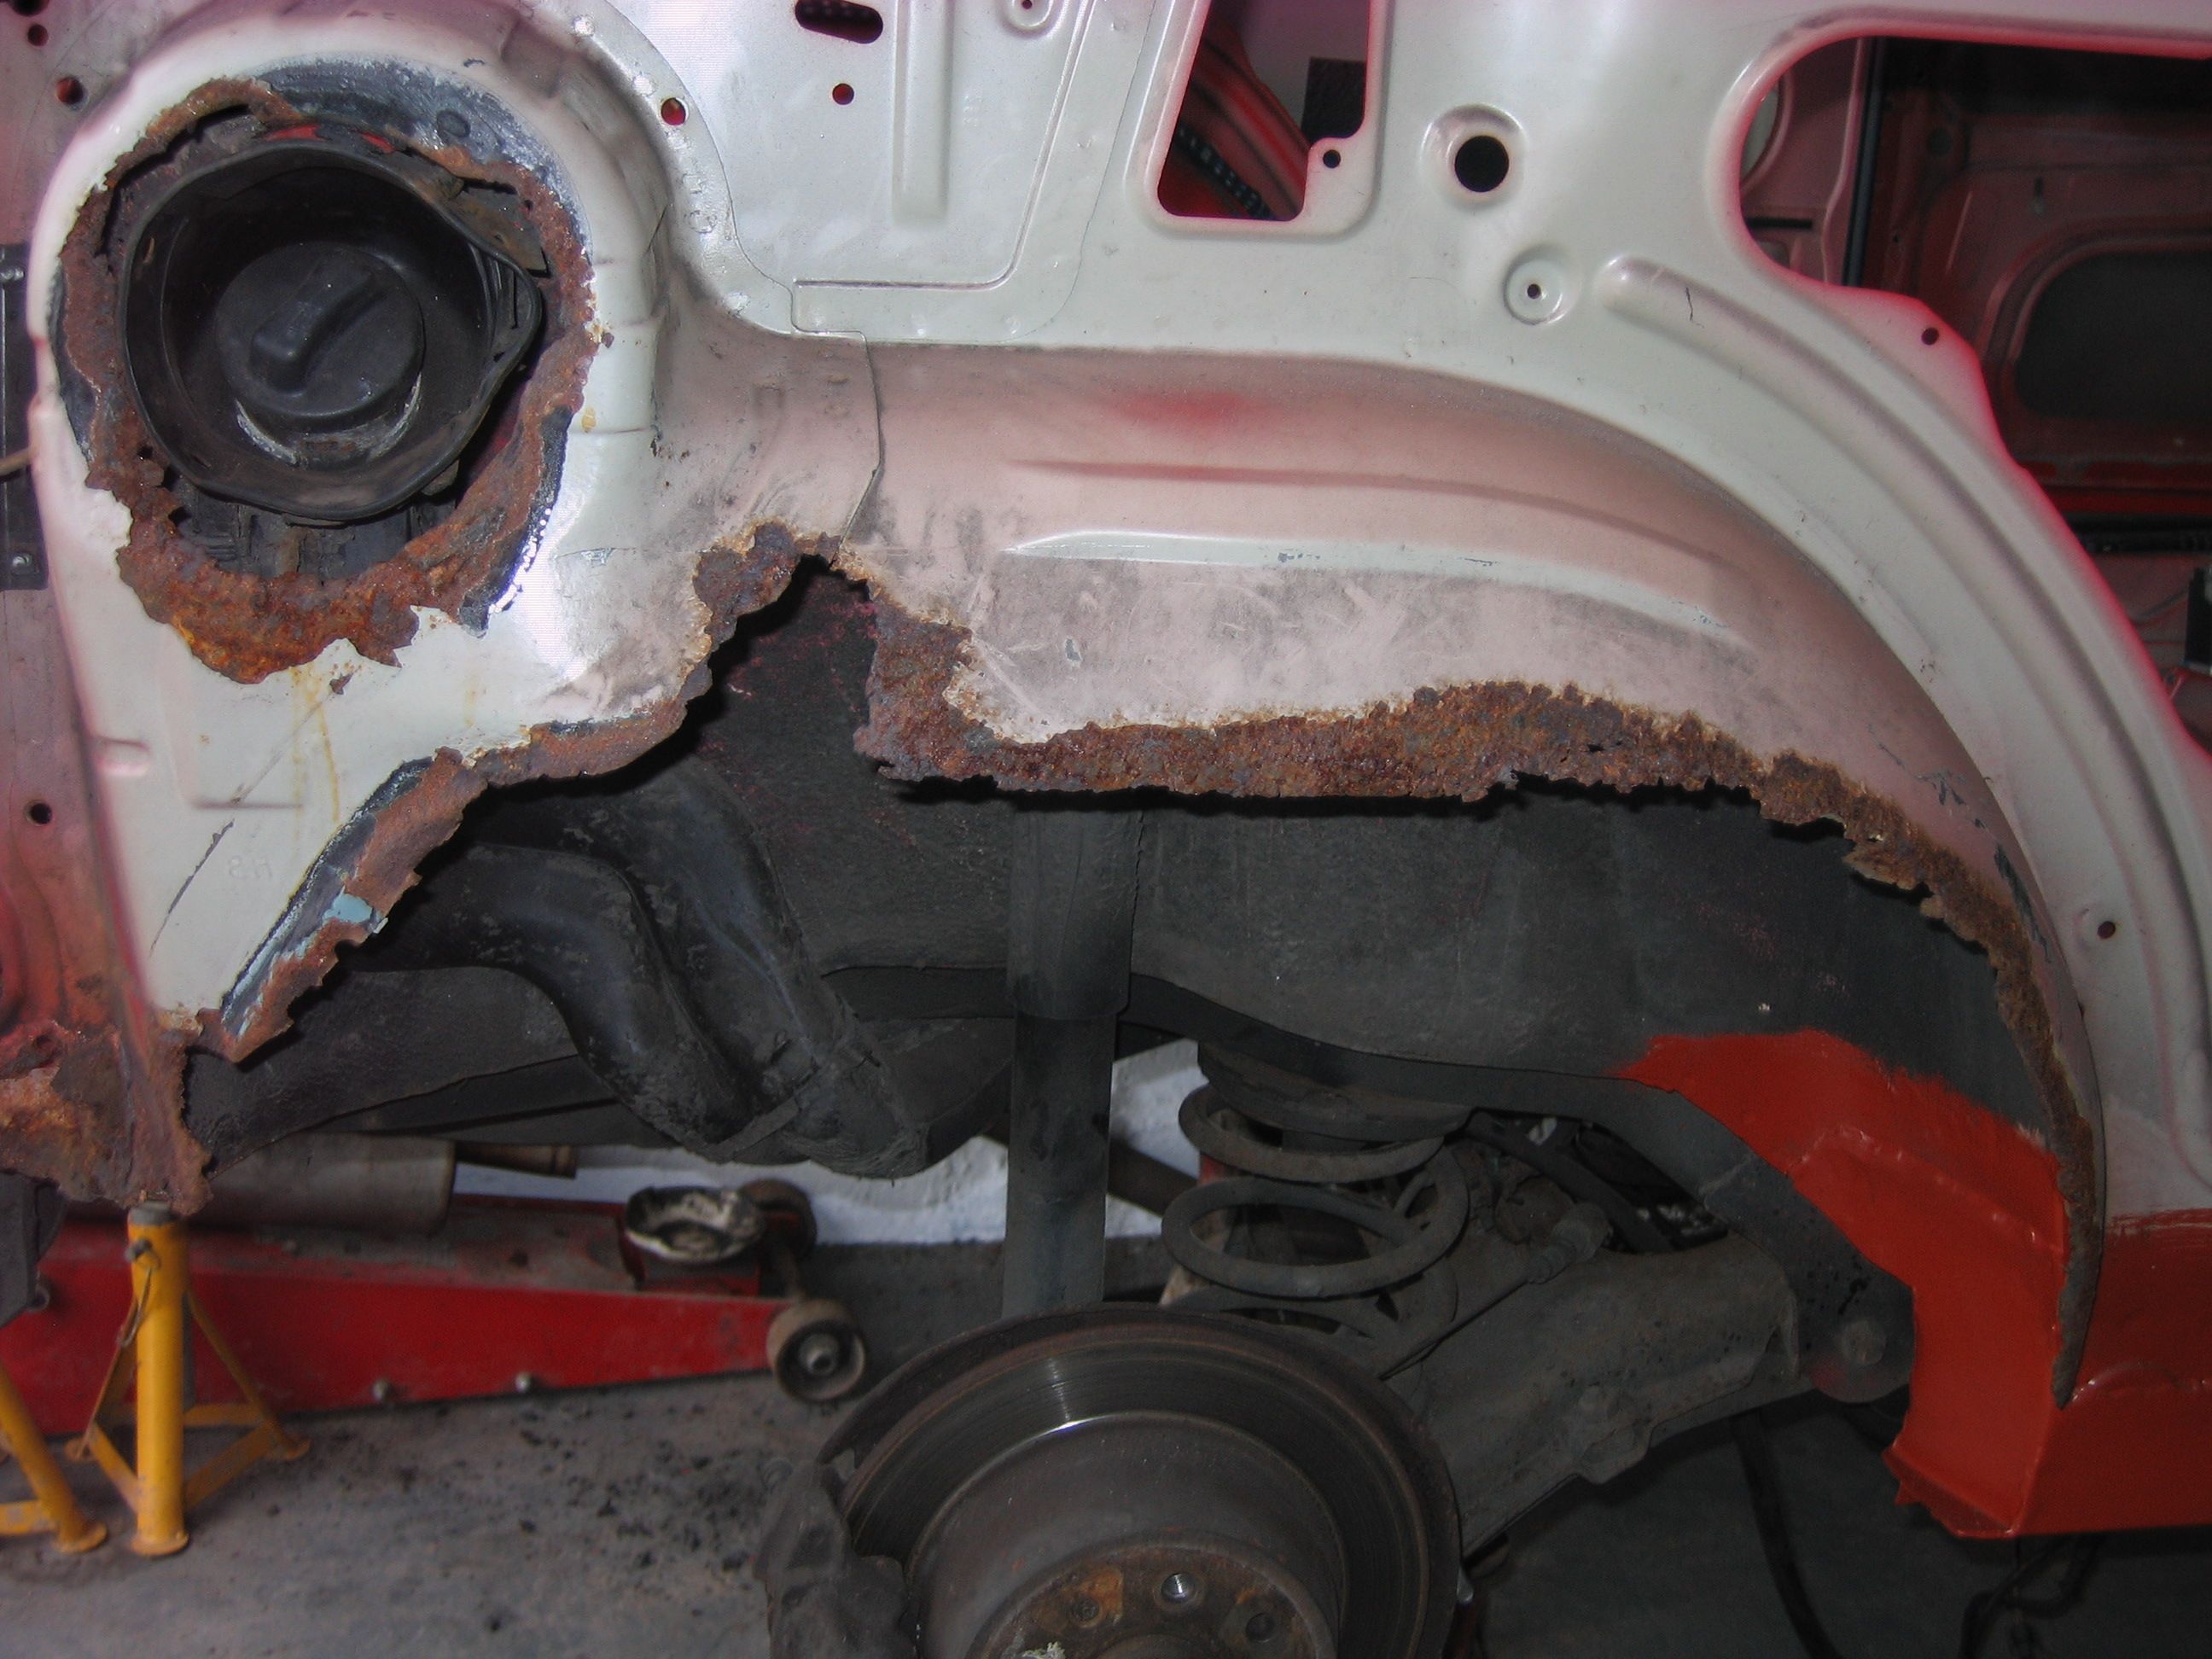
 
O, and to add to the last post, had to buy some side skirt rivets as they had to go which I was throwing a paddy lol

So during nightshifts I wasnt really up for grinding/welding/cutting/fabricating so gave that a miss. So i just spent a while looking at the shell, seeing what else needs doing, a fair few bits of localised rust, but surface rust so no biggy. I keep thinking about having all the under seal off which is coated in hammerite, but not sure. hmmm

So had a bit of a poke and found a split in the hammerite where the inner arch meets the boot floor by the corner pocket.
The driver side is crusty at the back....

full


Will need a little something there i think, No biggy.......but..... the passenger side.....

****** :Cry: rotten as a pear

full


oooo dearrrrr, with no effort, screwdriver straight through

full


So that entire section of boot floor, from chassis leg, to drain box, to back panel, to inner arch has to go, which means alllll the sound proofing needs to come out, which means I may aswell bare metal the whole back of the car.

Joy


:thumbsdown:
 
So That sucked ass, but, check this lot out!

full


o mumma :heart

Stuck with the same matt silver/grey metallic I always have, just makes everything look clean and new. Months off going on the car, no idea where to put it lol. This is the advantage of being a bachelor lol
 
cracking work Dave, love the powder coating. Mad the metal welds kept blowing but least it shouldn't rust anymore
 
cracking work Dave, love the powder coating. Mad the metal welds kept blowing but least it shouldn't rust anymore

cheers buddy, yea the powdercoating came out brilliantly. When i first saw the red i was o ****, thats a much darker red!
But now it is out in the light its a much better colour. Its a pure red, before everything was like an orange red which i actually thought was alright, but this is much better :love:

The blowing the holes was mega annoying! Bit weird to. shows the quality of pattern part panels lol
 
So more update, after finding the hole in the floor, needed to do something about it! So all the flashing tape sound proofing that has been in the boot for years had to come out, no before picture. But i was a **** to get out and took 2 days basically. left with a big sticky mess!

full

full


But also found this cheeky little plate in the floor. I can't even remember if i knew about this or not. Ronnie must of welded it in when he did the turrents!

full


which explain why one side is fine, and the other side i poked a hole in!

full


Proper 90's turbo hatch garage going on now days! My house mates 230bhp fez mk3. Proper home build!

Anyways, finished my btcc disc clock at work...

full


then cracked on fitting my polybushes lol

1606K.jpg


Now, we all know what these are front bush, lower arm.
Honestly, the instructions are 'just press them in'
This is impossible! It hard to explain, but if u try and use a vice to press them in, or a press, the bush either just compresses and squishes outwards or slips and fires itself across the workshop whether u lube it or don't lube. the flange on the bush is just too big to be compressed like that!
So if you were at home, you would actually be bollocksed! But because i was at work, I had a plan, and it was mega mega long winded!

So i had to find a way of compressing the flange to get it in the arm, a jubilee clip wouldn't touch it, so i needed a smaller cylinder to put the bush in, so it could then be slide into the arm.
So this is what i came up with....

full


Now this is a reasonably bigger tube that the arm, which i put in the lathe and put a taper on (yea that's right, the lathe!) bored the whole tube out so it could then be pressed onto another tube which has a smaller diameter. This had to be done because I could even get the bush in the small tube to begin with! So had to step down! only a small step between the two tube thanks again to making a tapered to allow transition.... I pressed the bush into this tube and that then allowed me to press the bush down into the small tube which squished the bush into a hole the same size as the hole in the arm!
superb!
However the issue still remains that when the bush gets to the end of the tube, it will just expand out of the end of the tube and probably fire the tube off the arm instead of sliding from one to another!
So i needed to keep the tube tight against the arm, while still having access to the bush to move it.....

So, I came up with this MASSIVELY over engineered solution lol

So the 100 ton press (purely for size not strength) is holding the tube against the arm with a bit of weight, stop it jumping off.

full


This is then held down on a bit of plate with a hole in it

full


Then running all the way from the bottom, through the bush is a bit of stud, which has a big penny washer on the top so doing up the 13mm nut at the bottom, pulls the bush all the way though into the arm!

Damn it worked!

full


:party:

Now these look good!

full


Also steering arm bushes fitted....

full


Just need to re-fit the axle bushes basically. But EVERYTHING is getting a coat of ceramic coating platinum wheels to protect it, make it shiny, and make it easy to clean!

full


Gonna have to buy alot of that lol
 
Last edited:
Looking good mate, what make are the poly bushes? I'm sure mine were in 2 bits so you put one bit in from either side, can't remember having to press them in
 
Looking good mate, what make are the poly bushes? I'm sure mine were in 2 bits so you put one bit in from either side, can't remember having to press them in

Yea the powerflex bushes are in two bits, there is no need for these superpro bushes to be in one piece, and i very very nearly just cut them in half lol, but i don't like to be beaten!
The reason i went superpro is the rear bush is in a metal case and a better design, the bush is almost more like a rose joint made of poly
 
So more update! this took forever, but the goo is out! nice clean spare wheel well, ready for welding!

full


So i could crack on cutting more holes in the car lol the state of this rust :help:

full

full

full


So to get in there properly i decided to remove the tow hook!

full


It is amazing what this was hiding! So i cut the tow hook off, then it was kinda brown, so cut the spot welded plate off... and blimey. The chassis leg was rotten underneath! obviously where they spot weld this thing on, it traps water and rots the chassis leg out! mega localised though. so i cut it all out and patched it.

full

full

full

full


Then I ground that back, and welded some of the 2.5mm box over the top and seam welded that aswell. This will make the base for my new tow hitch.

full


I am planning on welding a thread onto this, then I can have a removeable toe eye like modern cars :thumb:
 
Last edited:
So next, bring out the CAD!

full

full


It was at this point, i remembered i didn't finish off the thick plate and the fact i was going to attach it to the standard tow hitch plate i left on the leg!
So i did... Please don't judge my welding lol

full


It may not be the prettiest, but it is functional lol


So You can't buy inner sills, and its only a section that i cut out, albeit a big section! So got out the 2mm plate. Fabrication time!
Now because it is 2mm plate, there is no way in hell i was ever gonna bend the indent curve in it to meet the outer sill, although i did try. So the only choice was to make up the gap with a bit more plate. It's kind of a bodge in a way, But there isn't much choice and it gives the outer sill something solid to hold onto.

So made the plate and welded the spacer to it

full

full


Fits nicely

full


Then welded it in

full

full

full


And i welded all the way along the top of the inner sill to weld the outer sill to it, did some spot welds before but wasnt happy that they had hold properly. So welded along and ground back. Should hold it all together!

full


Carved the jacking point dip in for no real reason than it to look good :lol:

full


More tomorrow!
 
So today was time to weld the boot floor in, already made the template and cut the plate out in the last update, so i had a look at the are it is going to be welded into....
hmmmmmm
full


o dear.......
full


That won't do at all! Now this will be a quick update, but I have to stress, this sort of stuff takes FOREVER!!!
this was whole day 10 till 5 basically lol, with a lunch break haha... but now days, I am gettin pretty good at this welding and fab stuff (at least i think)

So i don't mess around now days...

full


These pockets go back to when rc had to make these boxes from scratch! His boxes are still good, but what he welded them to has rotted away :lol:
Thankfully, I could crack on from here with a good base,

Lets go!

full

full


Box repaired and in, now boot floor and a section of the rear valance

full

full

full

full

full


Stuck it in primer

full

full

full


Actually very impressed with myself there! Basically a whole corner of the car fabricated from scratch! all i need to do is finish the inner tub, and buy a cheapo arch repair panel and weld the part in that has been missing for years lol
 
Good update that Dave, great progress :thumb:
 
Got a little bit done the other day, finished the corner off passenger rear

full

full

full

full

full


Was a proper nightmare to do actually! as u can see i have to slot the flat sheet, weld it in, then weld a pizza slice shape back into it again lol. All done now thou, will clean up the inside when the car is the other way up as i'm gonna spray the inside of the car anyways....

down side, I was cleaning up some other bits and i found this....

full


That actually made me pretty moody tbh.... everytime i think i am gettin near the end, i find some more rust! So once this is sorted i'm not gonna poke around anymore :lol:


So basically this part of the car has done this...

full


and this is the repair panel

full


As you can see, your supposed to take the quarter off.... I can tell you now, that isn't happening lol. Its already escalating massively from 'just putting a new set of door sills' so no way it's gonna happen. So i am going to cut the rust out and see what happens, i actually think its nearly all solid and the area has been repaired before, to think i will repairing this with a small section of the repair panel I have ordered.... its not even an important part :lol:

but there is no way im going balls deep into a full rebuild, so that haha
 

Users who are viewing this thread

Back
Top