Want to remove ads? Become a MK3OC Club Member today!

Dave b's VXR Powered Gsi Diary

Getting really good results there for a home job! Impressive :thumb:
 
So I haven't updated this in a while, not because I haven't been working on it, but because I am in the middle of about 10 half finished jobs haha.

So i'll post what I can!

Got the roof flatted and polish and ceramic coated

full

full


Also Decided to touch in the stone chips on the front, I always think touching in stone chips looks a bit naff, but actually with 2k mixed in a pot and a tiny brush, flame red lends it's self very nice to blending the stone chips back in when touched in and to be honest, standing 2 foot away, you can't see them anymore so i' glad I did it!

before

full

full


after

full


(insert picture of front bumper and I forgot to take one!)

Next up, got the silent coat soundproofing out and started sound proofing some stuff, roof and rear quarters. Inside the rear quarters was the factory foam recycled material stuff that is all over the mk3, but unfortunately, year of underseal and arch repairs ment alot of this was melted, been on fire or covered in underseal. It took a long time and was very messy but with the thinner and a rag, I finally got it all off and with a fresh inner quarter, placed the silentcoat sheets on it.

full

full

full


Finally spare wheel well, dry and stop the subwoofer from rattling and kill some exhaust noise.... like.... a tiny bit probably lol.

full


Next, wet flatted and polished the tailgate

full

full

full


went through on the edge which sucked, but hey, ill touch that in

full
 
So the shiny new tailgate was fitted, treated it to some new gas struts, luckily the OE struts are labelled up as 300nm struts, so I was able to order some new shiny versions, these had big balls in comparison! The old ones were obviously gettin tired, but the window isn't fitted yet so i dare say these will be perfect.

full


Now this next part it was time to get the big balls out. For some reason, i never really concentrated on the fact my brand new tailgate didn't have the rivets for the black panel... :dohslap:
So i toyed with the idea of bonding the panel on, ill thought about this for weeks, no exaggeration! In the end I decided that would be bodge and I was being silly so I decided to get the big boy pants out and do it.

Luckily I never binned the old tailgate so I had that for reference measurements. And don't forget the hole for the bolt that screws into the panel to support the handle which is molded into the panel.

full

full


Taped up the new tailgate for marking and so I don't scratch it

full


drilled alot of holes! Before fitting the rivets I painted the inside of each hole with 2k paint and while the paint was still wet, I fitted the rivet so the rivets and paint would seal the hole as one! Doing everything I can to make sure there is no chance of rust. I then painted around the rivet inside and out aswell.

full

full


cut some squares of helicopter tape and put them over the number plate fixing holes, as if I would be screwing a number plate to the car :lol:

full


Just need to run the mop over the tailgate, refit the clips and ceramic coat this bad boy. So I dug out the black panel

full


It would appear I got a bit heavy handed 3 years ago removing the number plate lol, That needs painting :doh:

Finished the day off with some sound proofing

full
 
Great work, I'm still on the hunt for a new tailgate for mine but having no luck at all.
 
Great work, I'm still on the hunt for a new tailgate for mine but having no luck at all.

They had another one, brand new genuine tailgate, non gsi.

But the postage was crazy haha
 
Dave did you remove the boot panel with a shovel lol? :lol: Looking good though :thumb:
 
Dave did you remove the boot panel with a shovel lol? :lol: Looking good though :thumb:

:lol: I can only imagine I did!!! I must of had the right arse haha
 
So the weather went a bit randomly warm didn't it.... sod it, outside painting time!

full

full

full


Actually got a really good finish on all of it, but the black boot panel has 2 epic runs in it haha. May have to spray it again lol But the roof rails came out really well, brand new clips and fitted..

full

full


also did a bit of satin black, the boot button plastic which sits in the middle of the panel

full


and the aerial base, I had to get the one with an angle grinder and ended up creasing the roof. Luckily the new one covers the ripple in the roof. Thank the lord! Got this from Kev_mk3 , cheers!

full


Finally, time to change the filter sock on the bottom of the fuel pump. When i got the tank powdercoated, it got filled up with sand and I spent forever gettin the sand out of it. Well, I knew there would still be some lerking in the tank. So I left the old sock on the in tank uprated fuel pump and let it work its magic, filled the tank and as it gets lower, the sand will natural be sucked towards the pump and then get stuck to the sock. So lets have a look....

Inside the tank, all clear! There was a tiny bit floating around but probably normal to be honest! These little bits were all in the pick up tray aswell :) done it's job! Sucked them out with brake bleeder.

full


The filter

full

full

full


That's a lot of sand! Super impressed! Has done it's job nicely and kept everything out of the rest of the system, The inside of the sock is clean which is good and the gauze on the bottom of the pump.
So i have ordered a new sock and I may check it again in a couple of thousand miles. Good to see my fuel system design worked though, left the wiring long enough you can take the pump right out and put it in the back of the car and the AN fitting slides nicely out the way. I just need to pull the chassis upwards a tad more as the fuel line touches the body and I don't like that!
I'll sort that when the sock turns up.
 
Last edited:
looks mega and no worries on the Ariel gasket. I knew some random things I have would come in handy one day lol
 
So my new filter arrived

full


It was when I was refitting the pump, the rubber gromit for the wiring jumped out. On closer inspection, it turns out the gromit has already been melted by the fuel, or at least fallen apart.... This was a fuel resistant gromit.... Not so much it would seem! I will have to deal with that further down the line. How boring. Think I am going to need a proper bulk head style plug. which will help with taking the sender out, just need to find something suitable


Small update, after forever someone finally makes short plates in the pressed metal plate style! Celebration times!

full

full


All road legal with the reflective-ness and markings

full

full

full

full


Making proper use of the RC mod!

In other news, started flatting the passenger side today, all flatting done ready for the polisher

full

full
 
Bit of an update, I've always wanted another boot light in the astra, proper random I know but always thought the OE one was too small and cause I have a nice boot build, I want to show it off lol.
Now U can't actually cut the shell in the same place but on the other side, cause that is where the fuel filler panel is! So the other option is a stick on LED

full


cut down the back of the lamp so its doesn't hold a bulb, but will still clip into the trim

full


job done

full


happy with that, next up I had a chap come over who I found on facebook who was willing to fit my rear window to the astra, I could of fitted the window myself, but for the sake of chucking someone some cash, he has all the gear, the sealant, the window suckers etc. I would rather just pay someone and it be right!
After booking him in, I tried to fit the front window trim around the windscreen, turned out the previous person has used to much sealant, and put the window in slightly pissed aswell! So I couldnt get the bloody window seal in!

So i ended up paying this chap to cut the front window out, clean everything, fit the new seal and put the windscreen back in! Nightmare, but all sorted now :)

full

full


well happy with that, another piece of the puzzle!

Next up, bluetac on the wing to make where the rivets need to go for the side skirt clips

full


then just pushed through the bluetac with a pointer to mark the paint and job done. Ready for drilling and rivets.

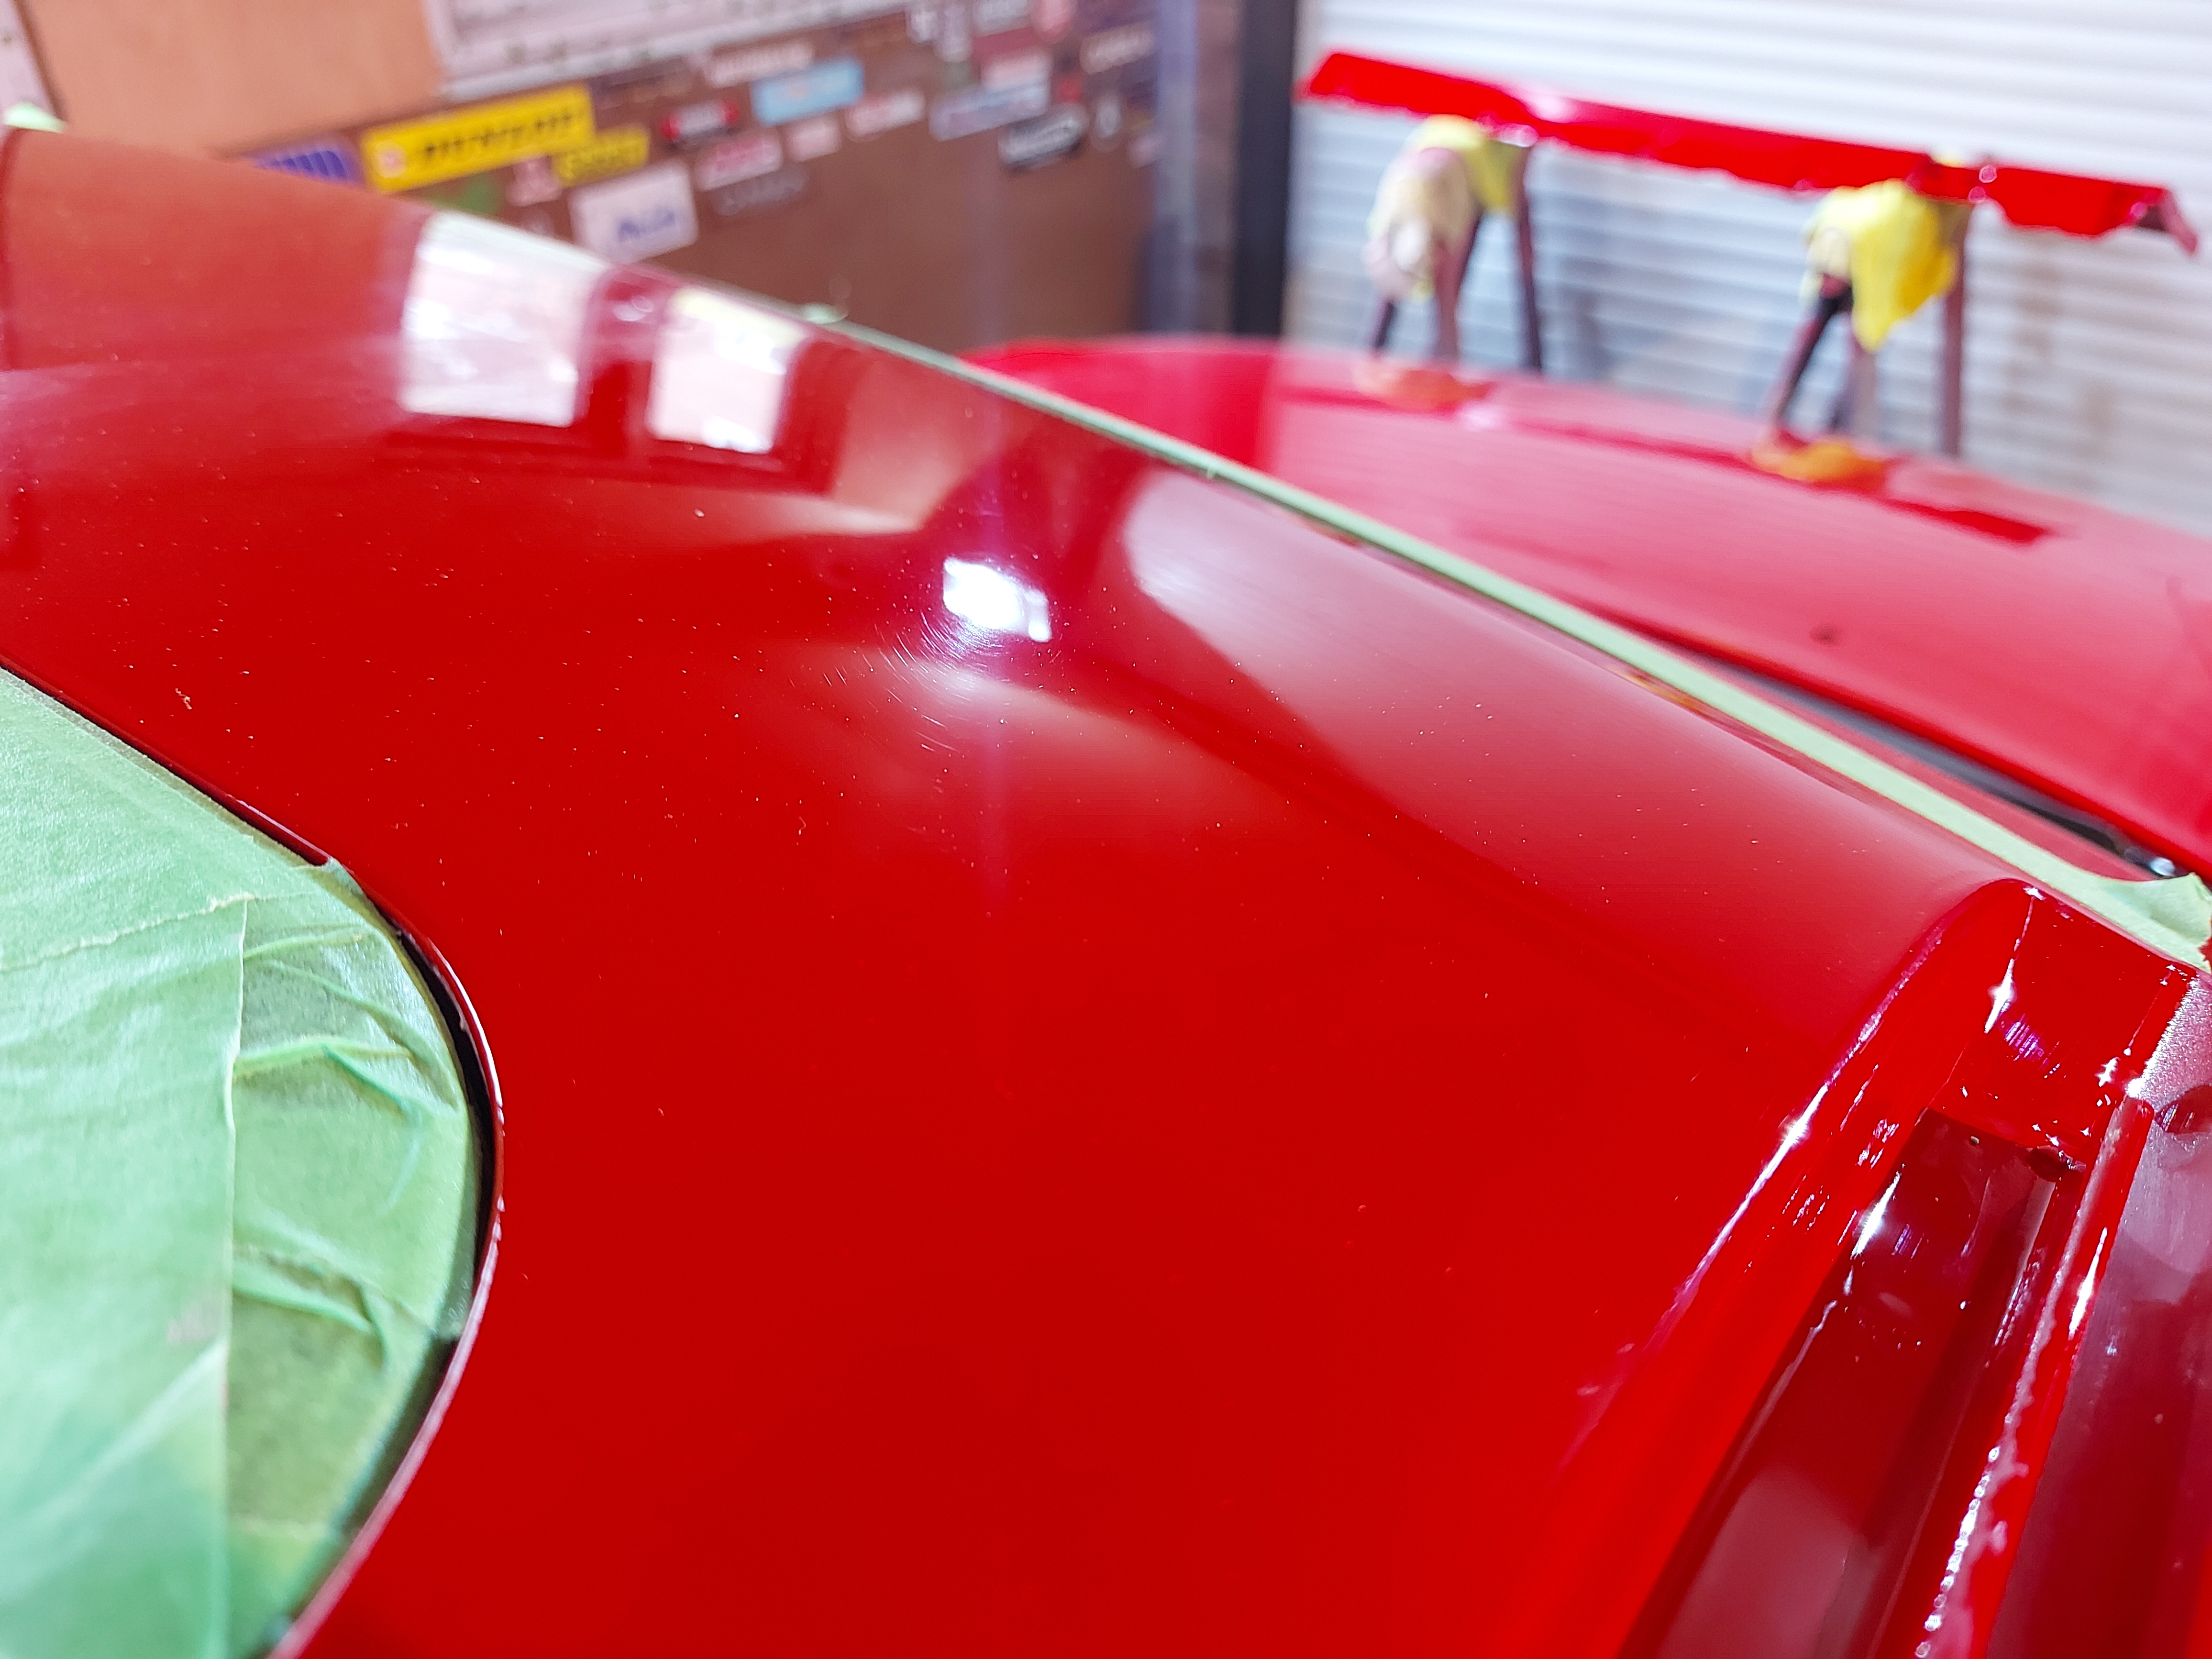
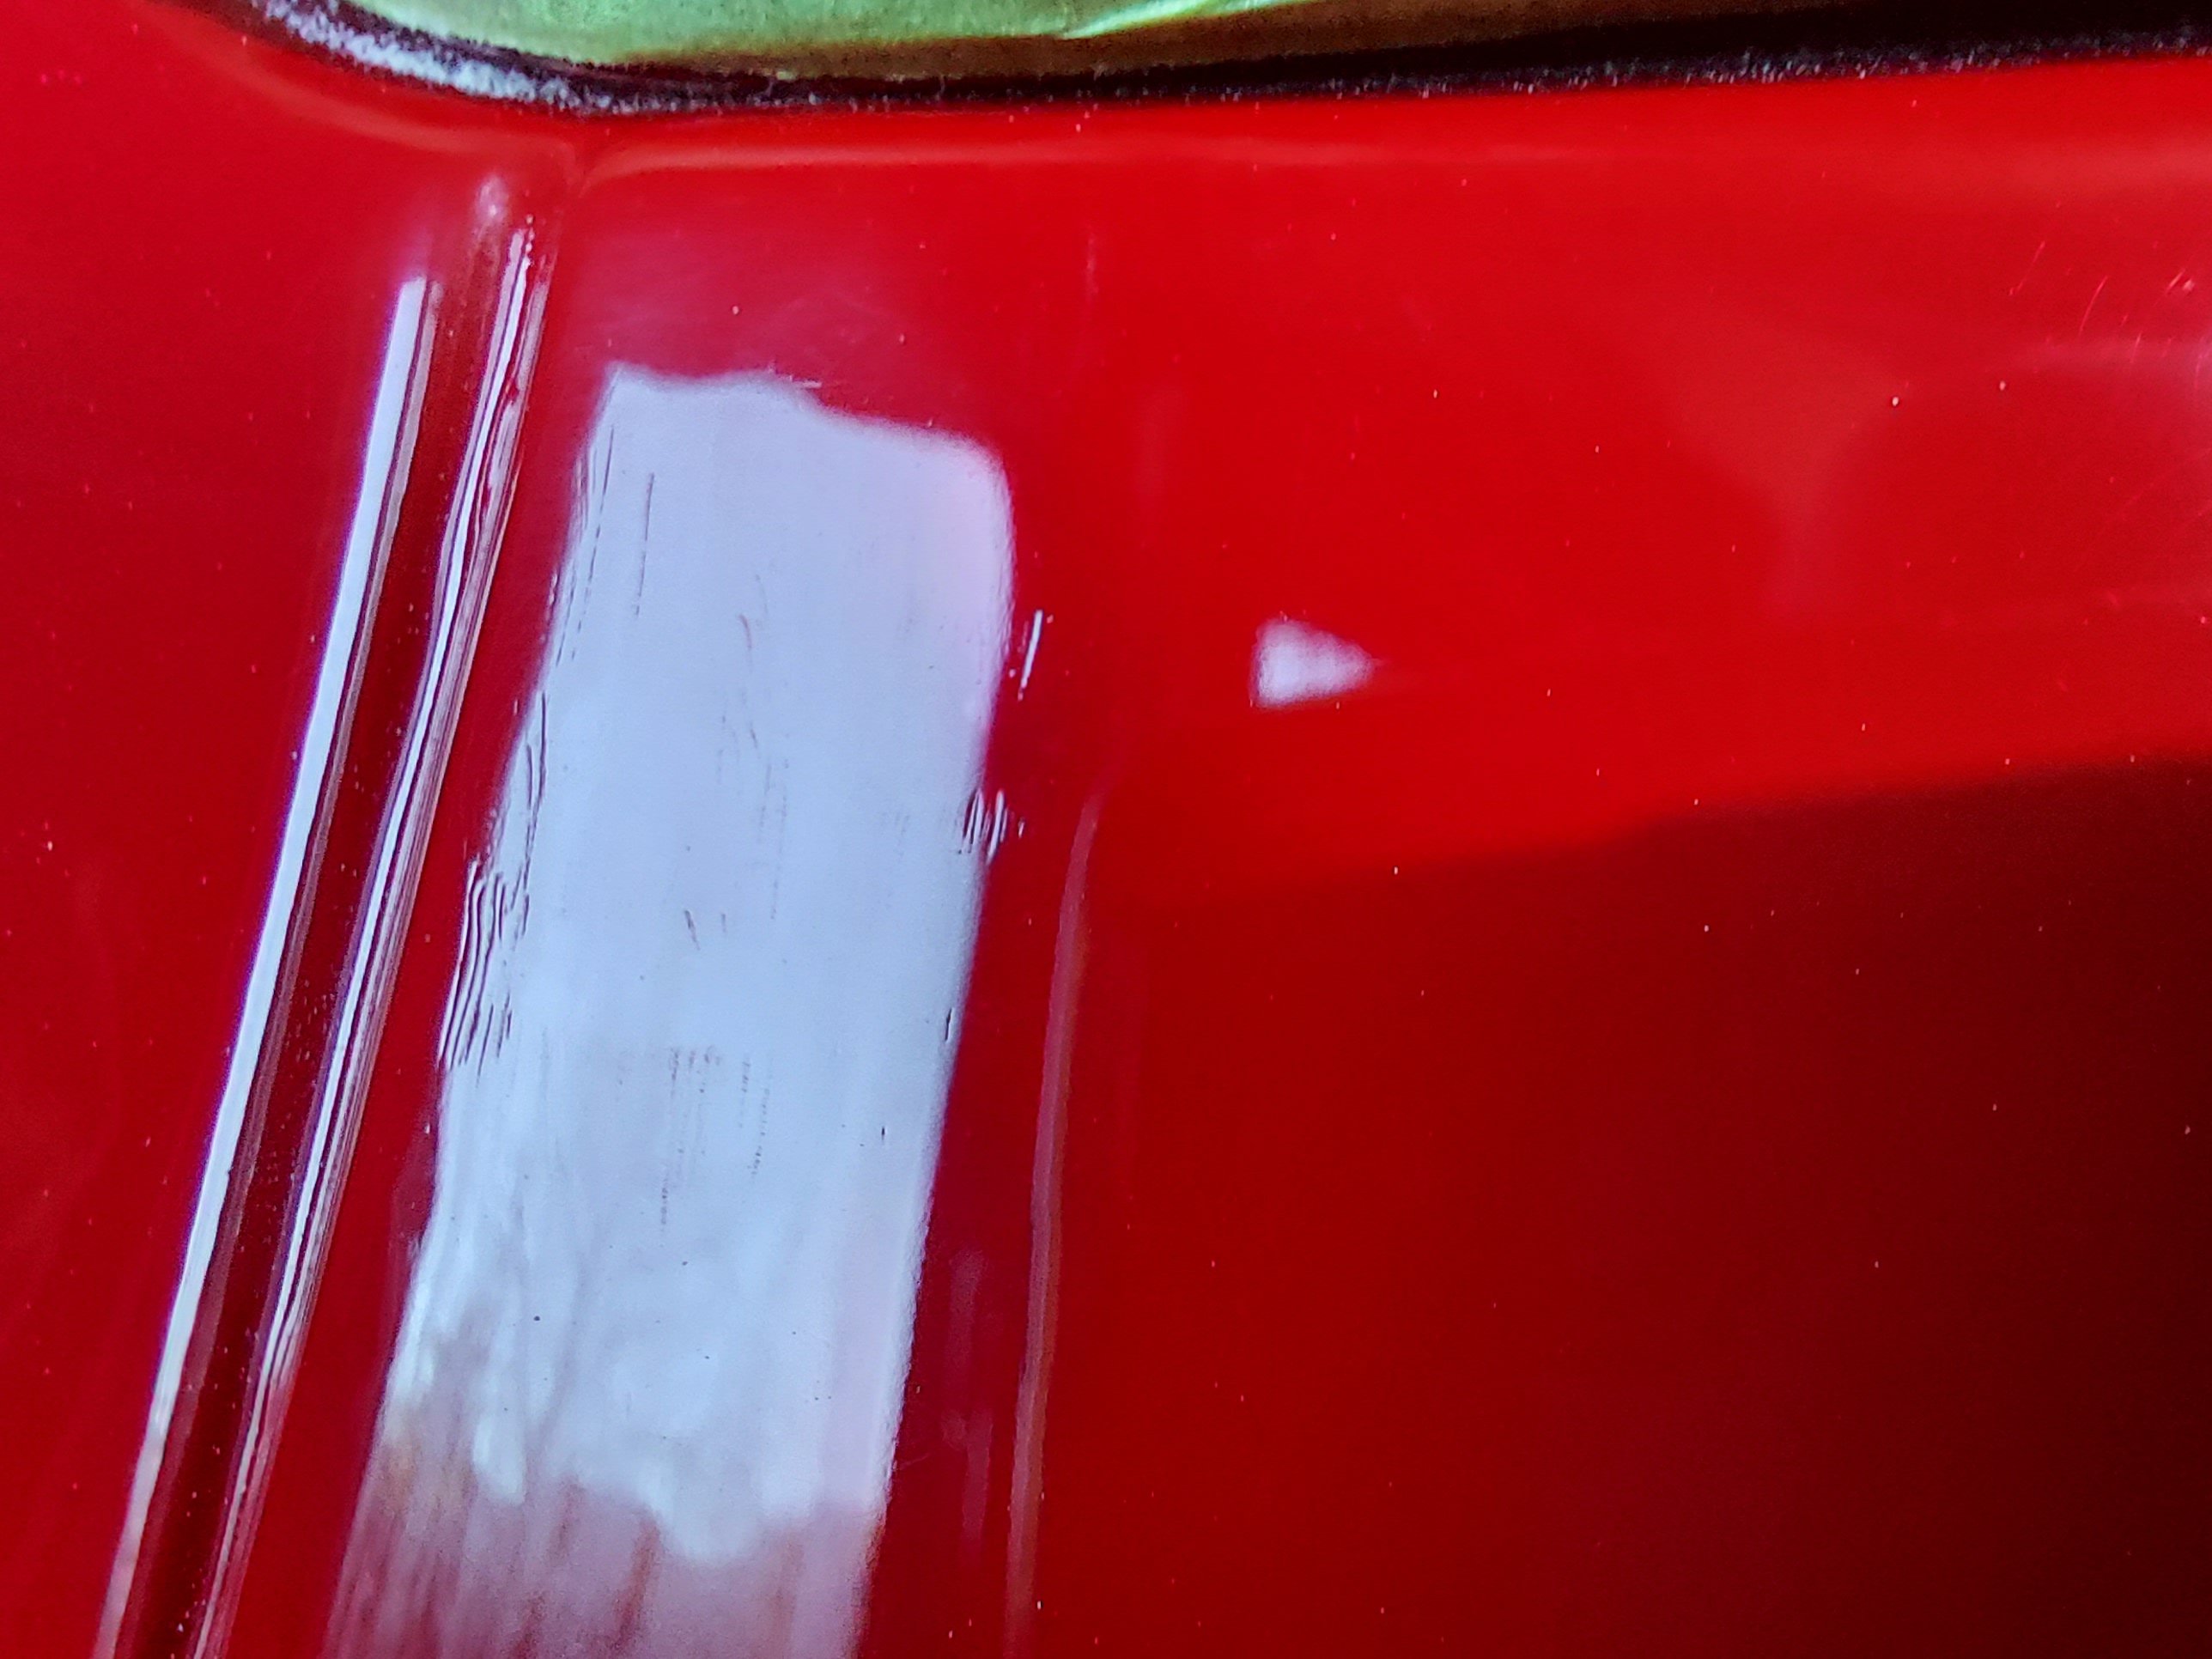
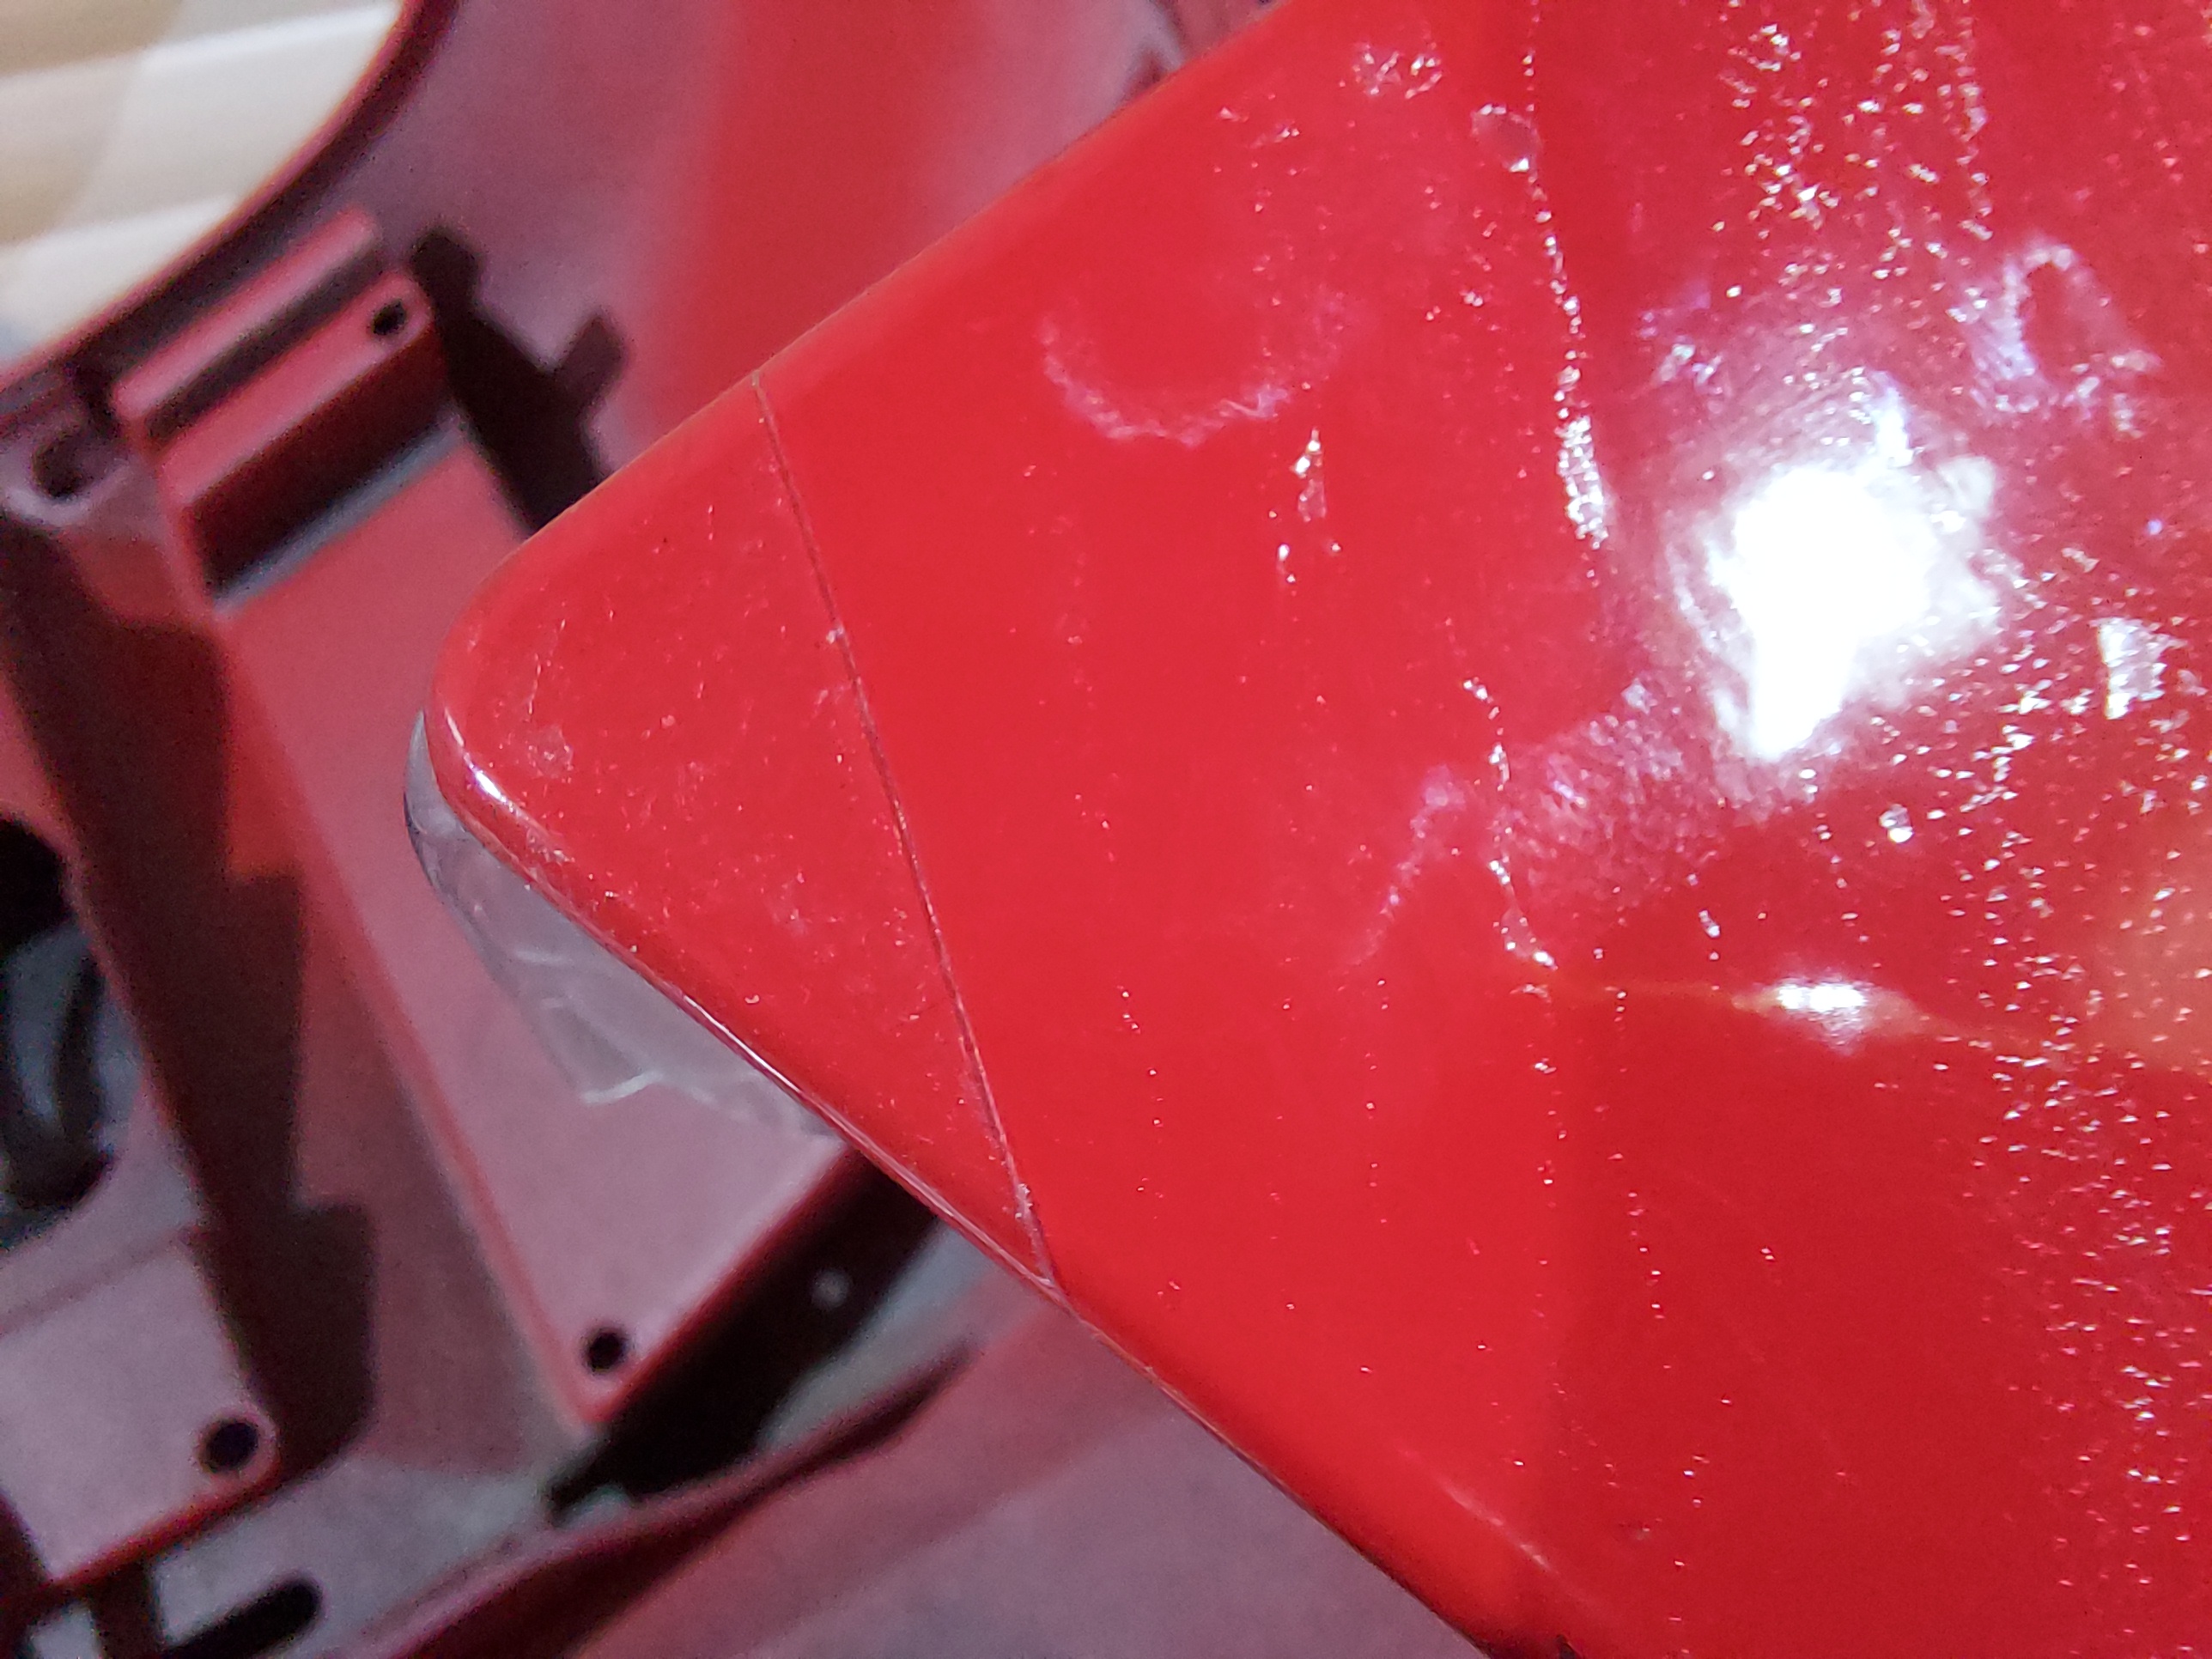
Next up was polish the quarter, funnily enough started polishing the quarter and noticed this

full


Must of been where I didn't flat the quarter properly, looked like I had flatted through the orange peel, but missed this bit along the seam, I was probably being too careful as It is near the crease in the quarter and didn't want to rub through!

Also found this where I has scrtched the clear coat with the edge of the stanley blade gettin rid of a run!

full


So on these areas I went back through the motions of 2000,2500,3000 grit and got rid of them, polished up and second time, much much better!

full

full


With that all done, mocked up the side skirts, marked the holes, drilled, painted and then slide the riv nuts in ready for the skirts to go on!

full


At this point realised I don't have enough Side skirt clips! Annoying! So just trying to track some down!

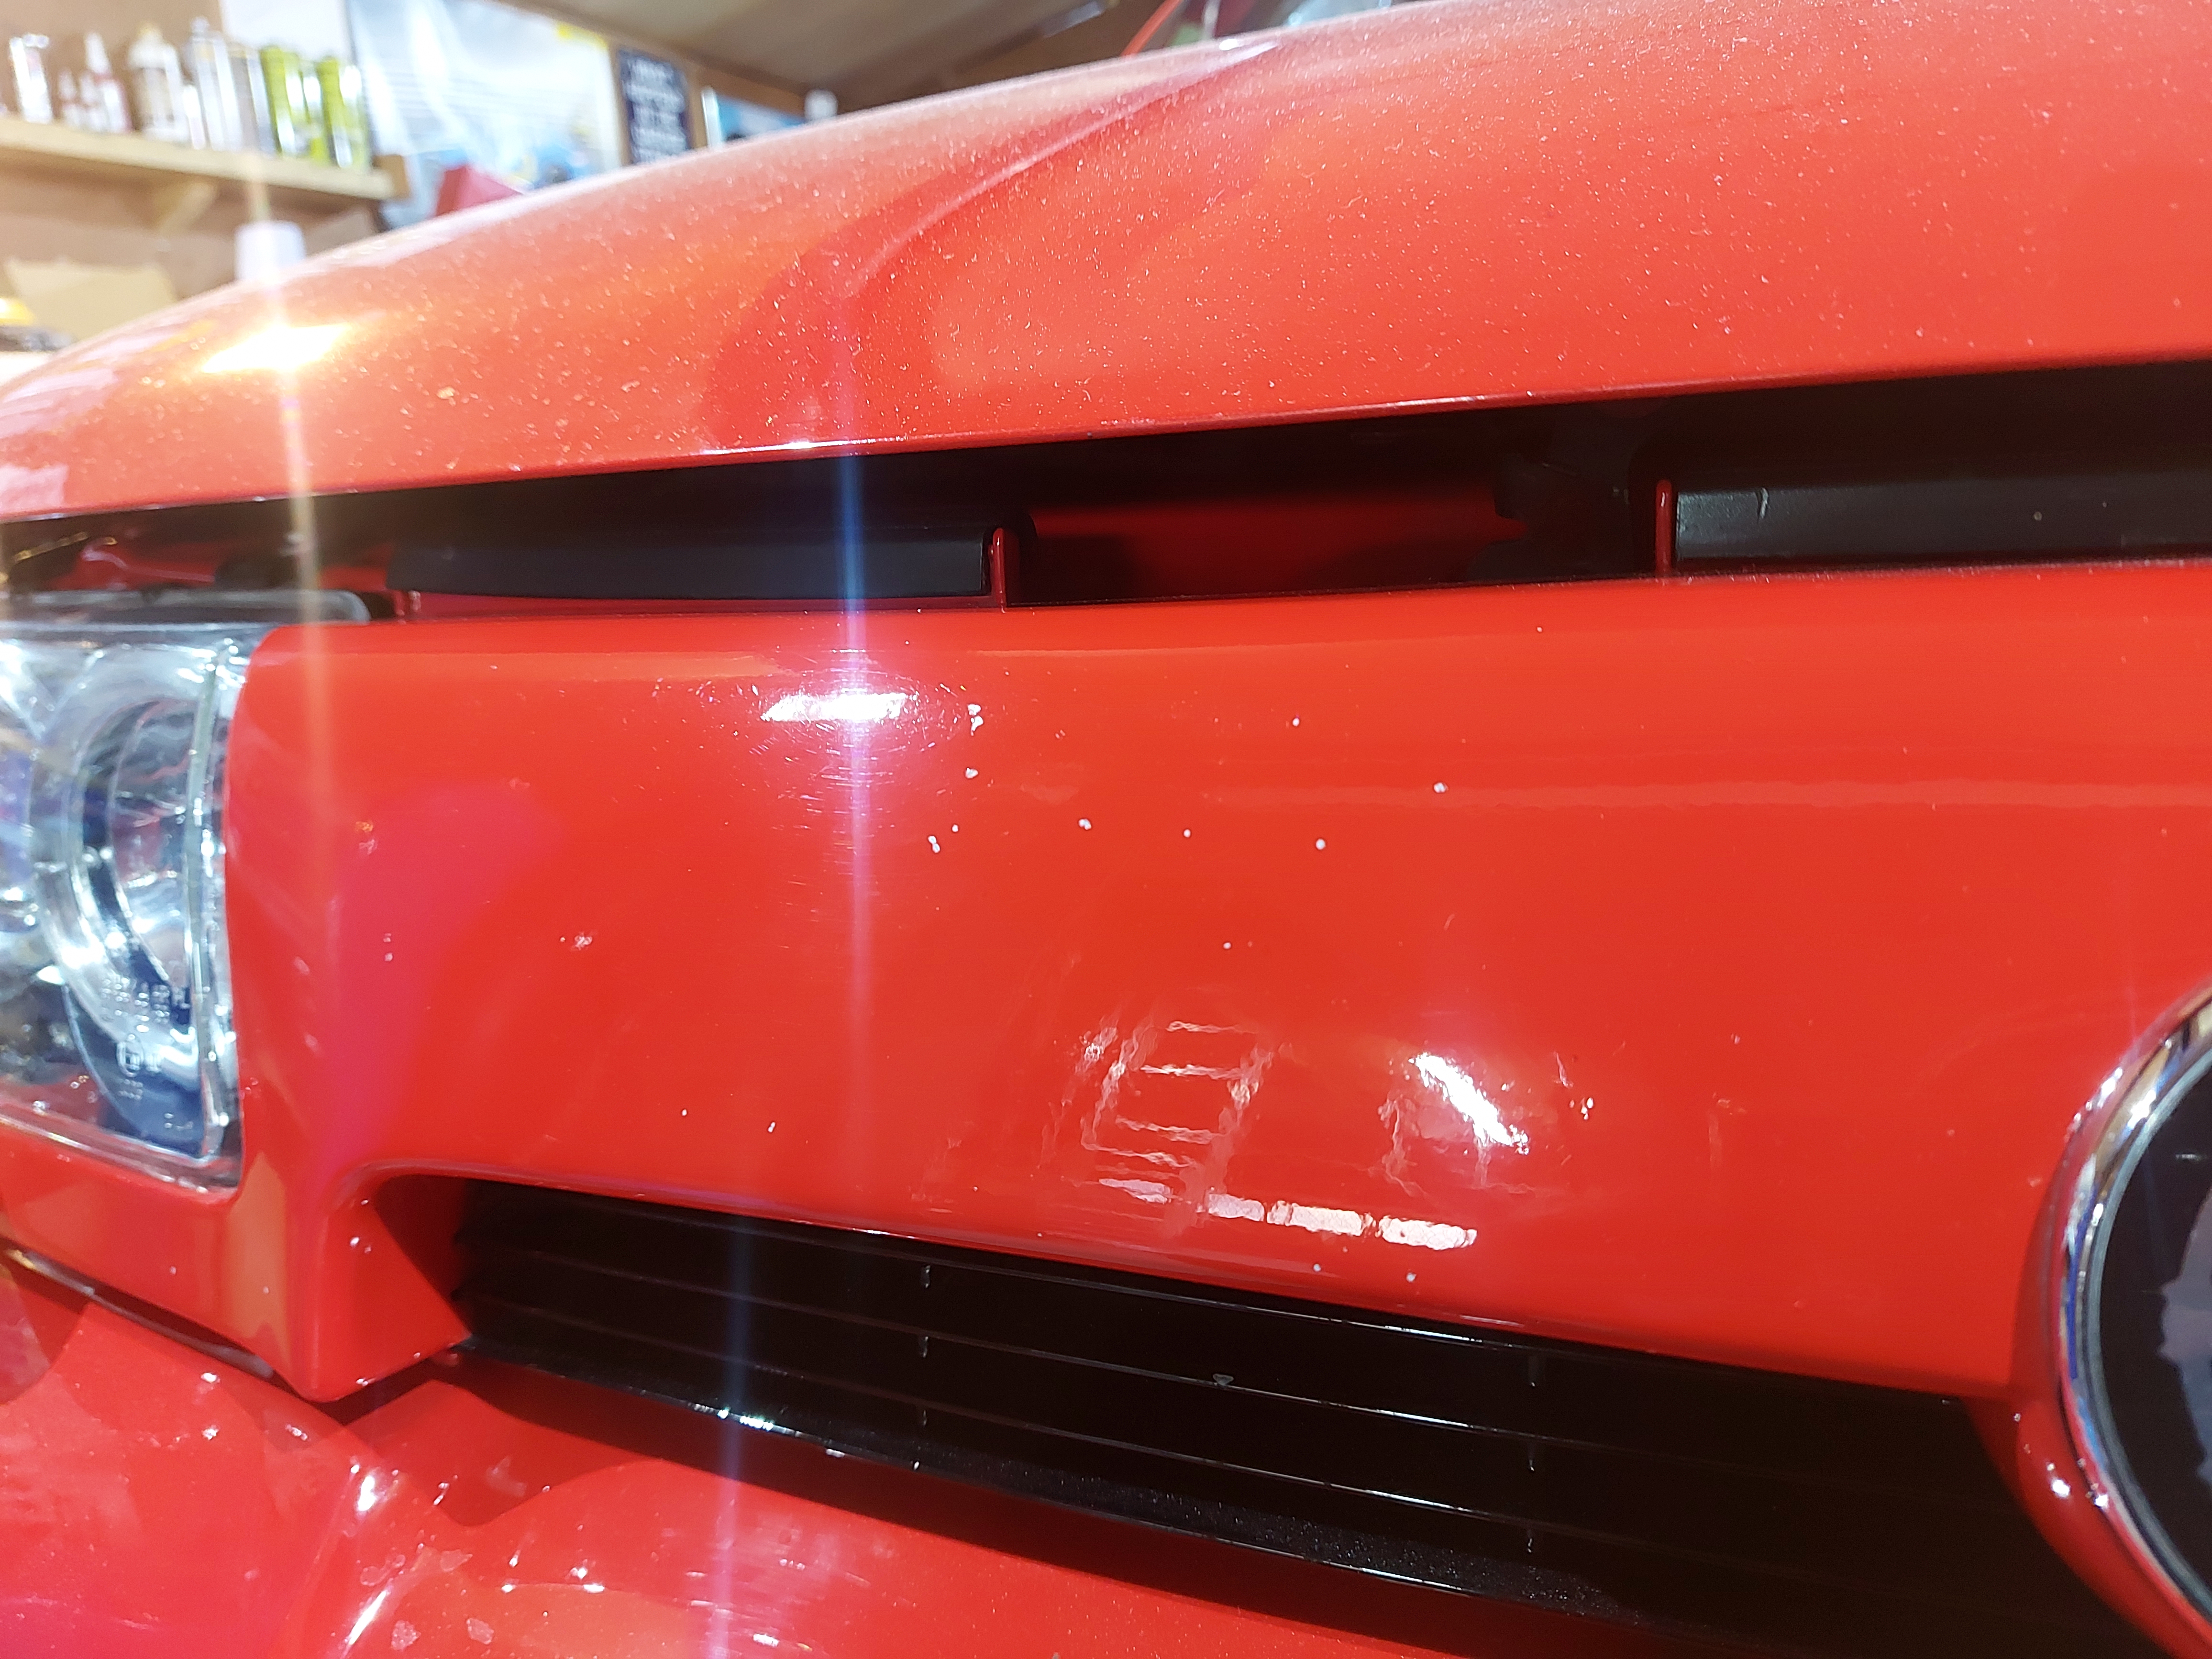
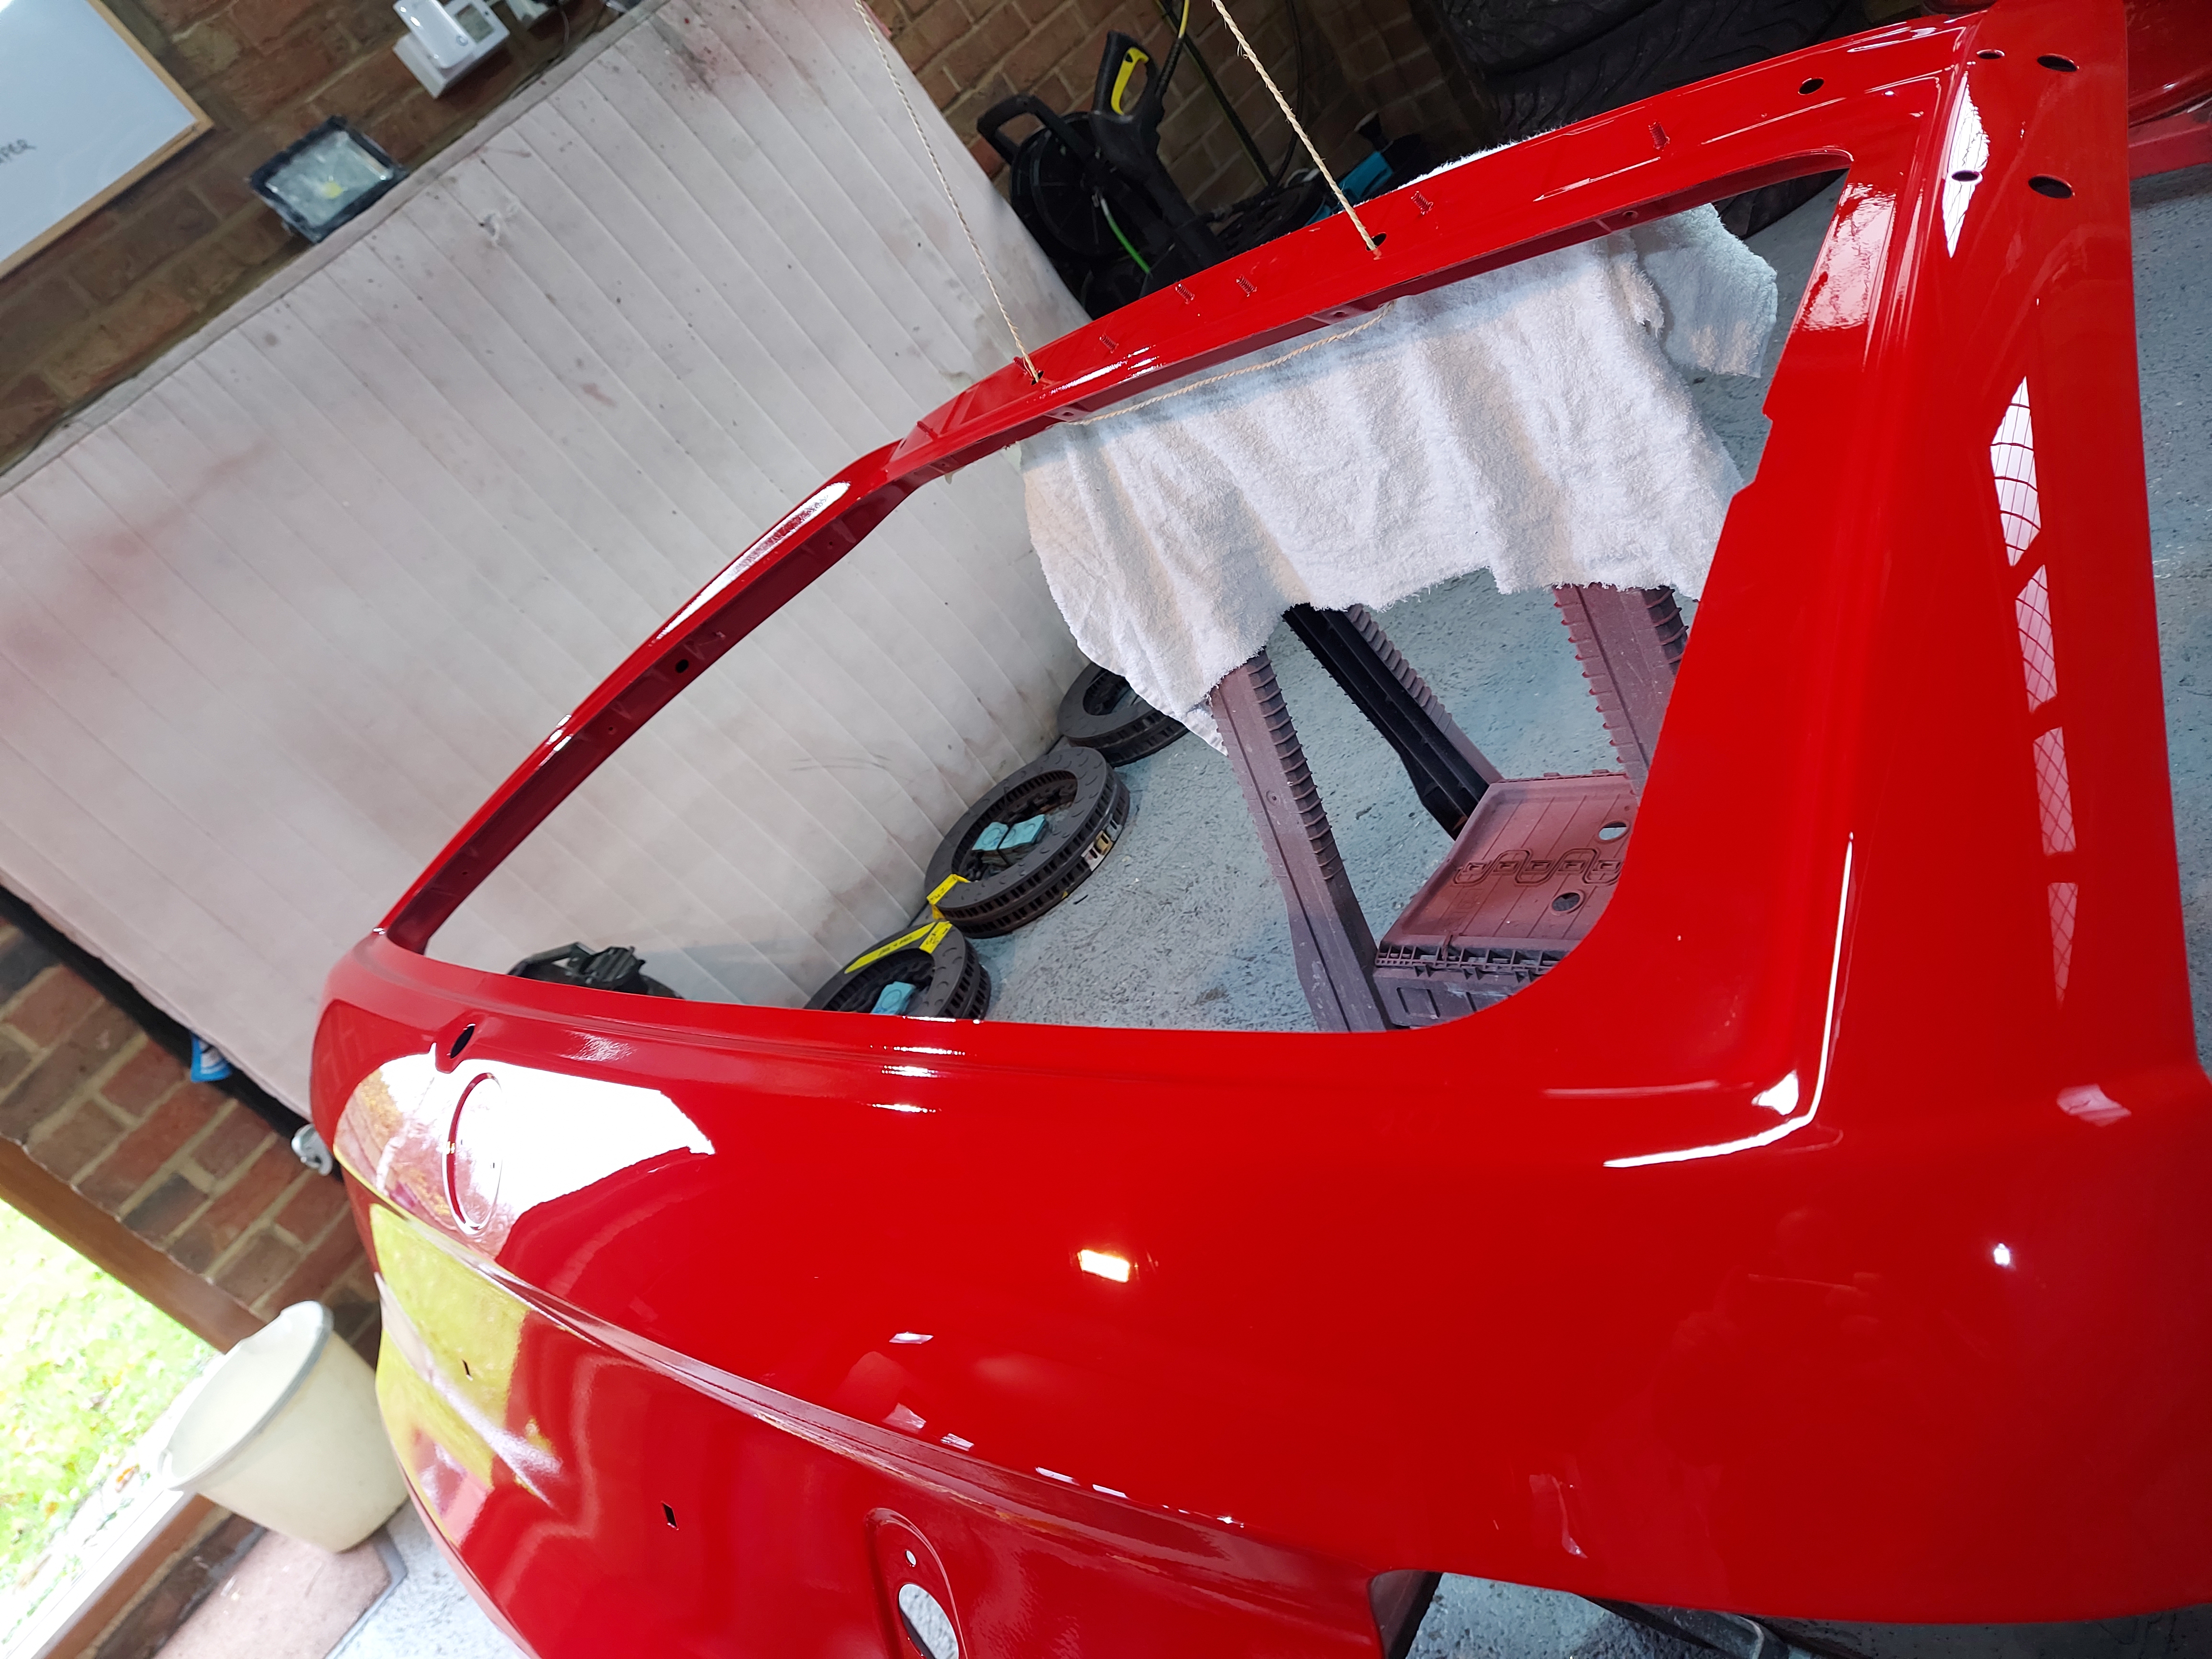
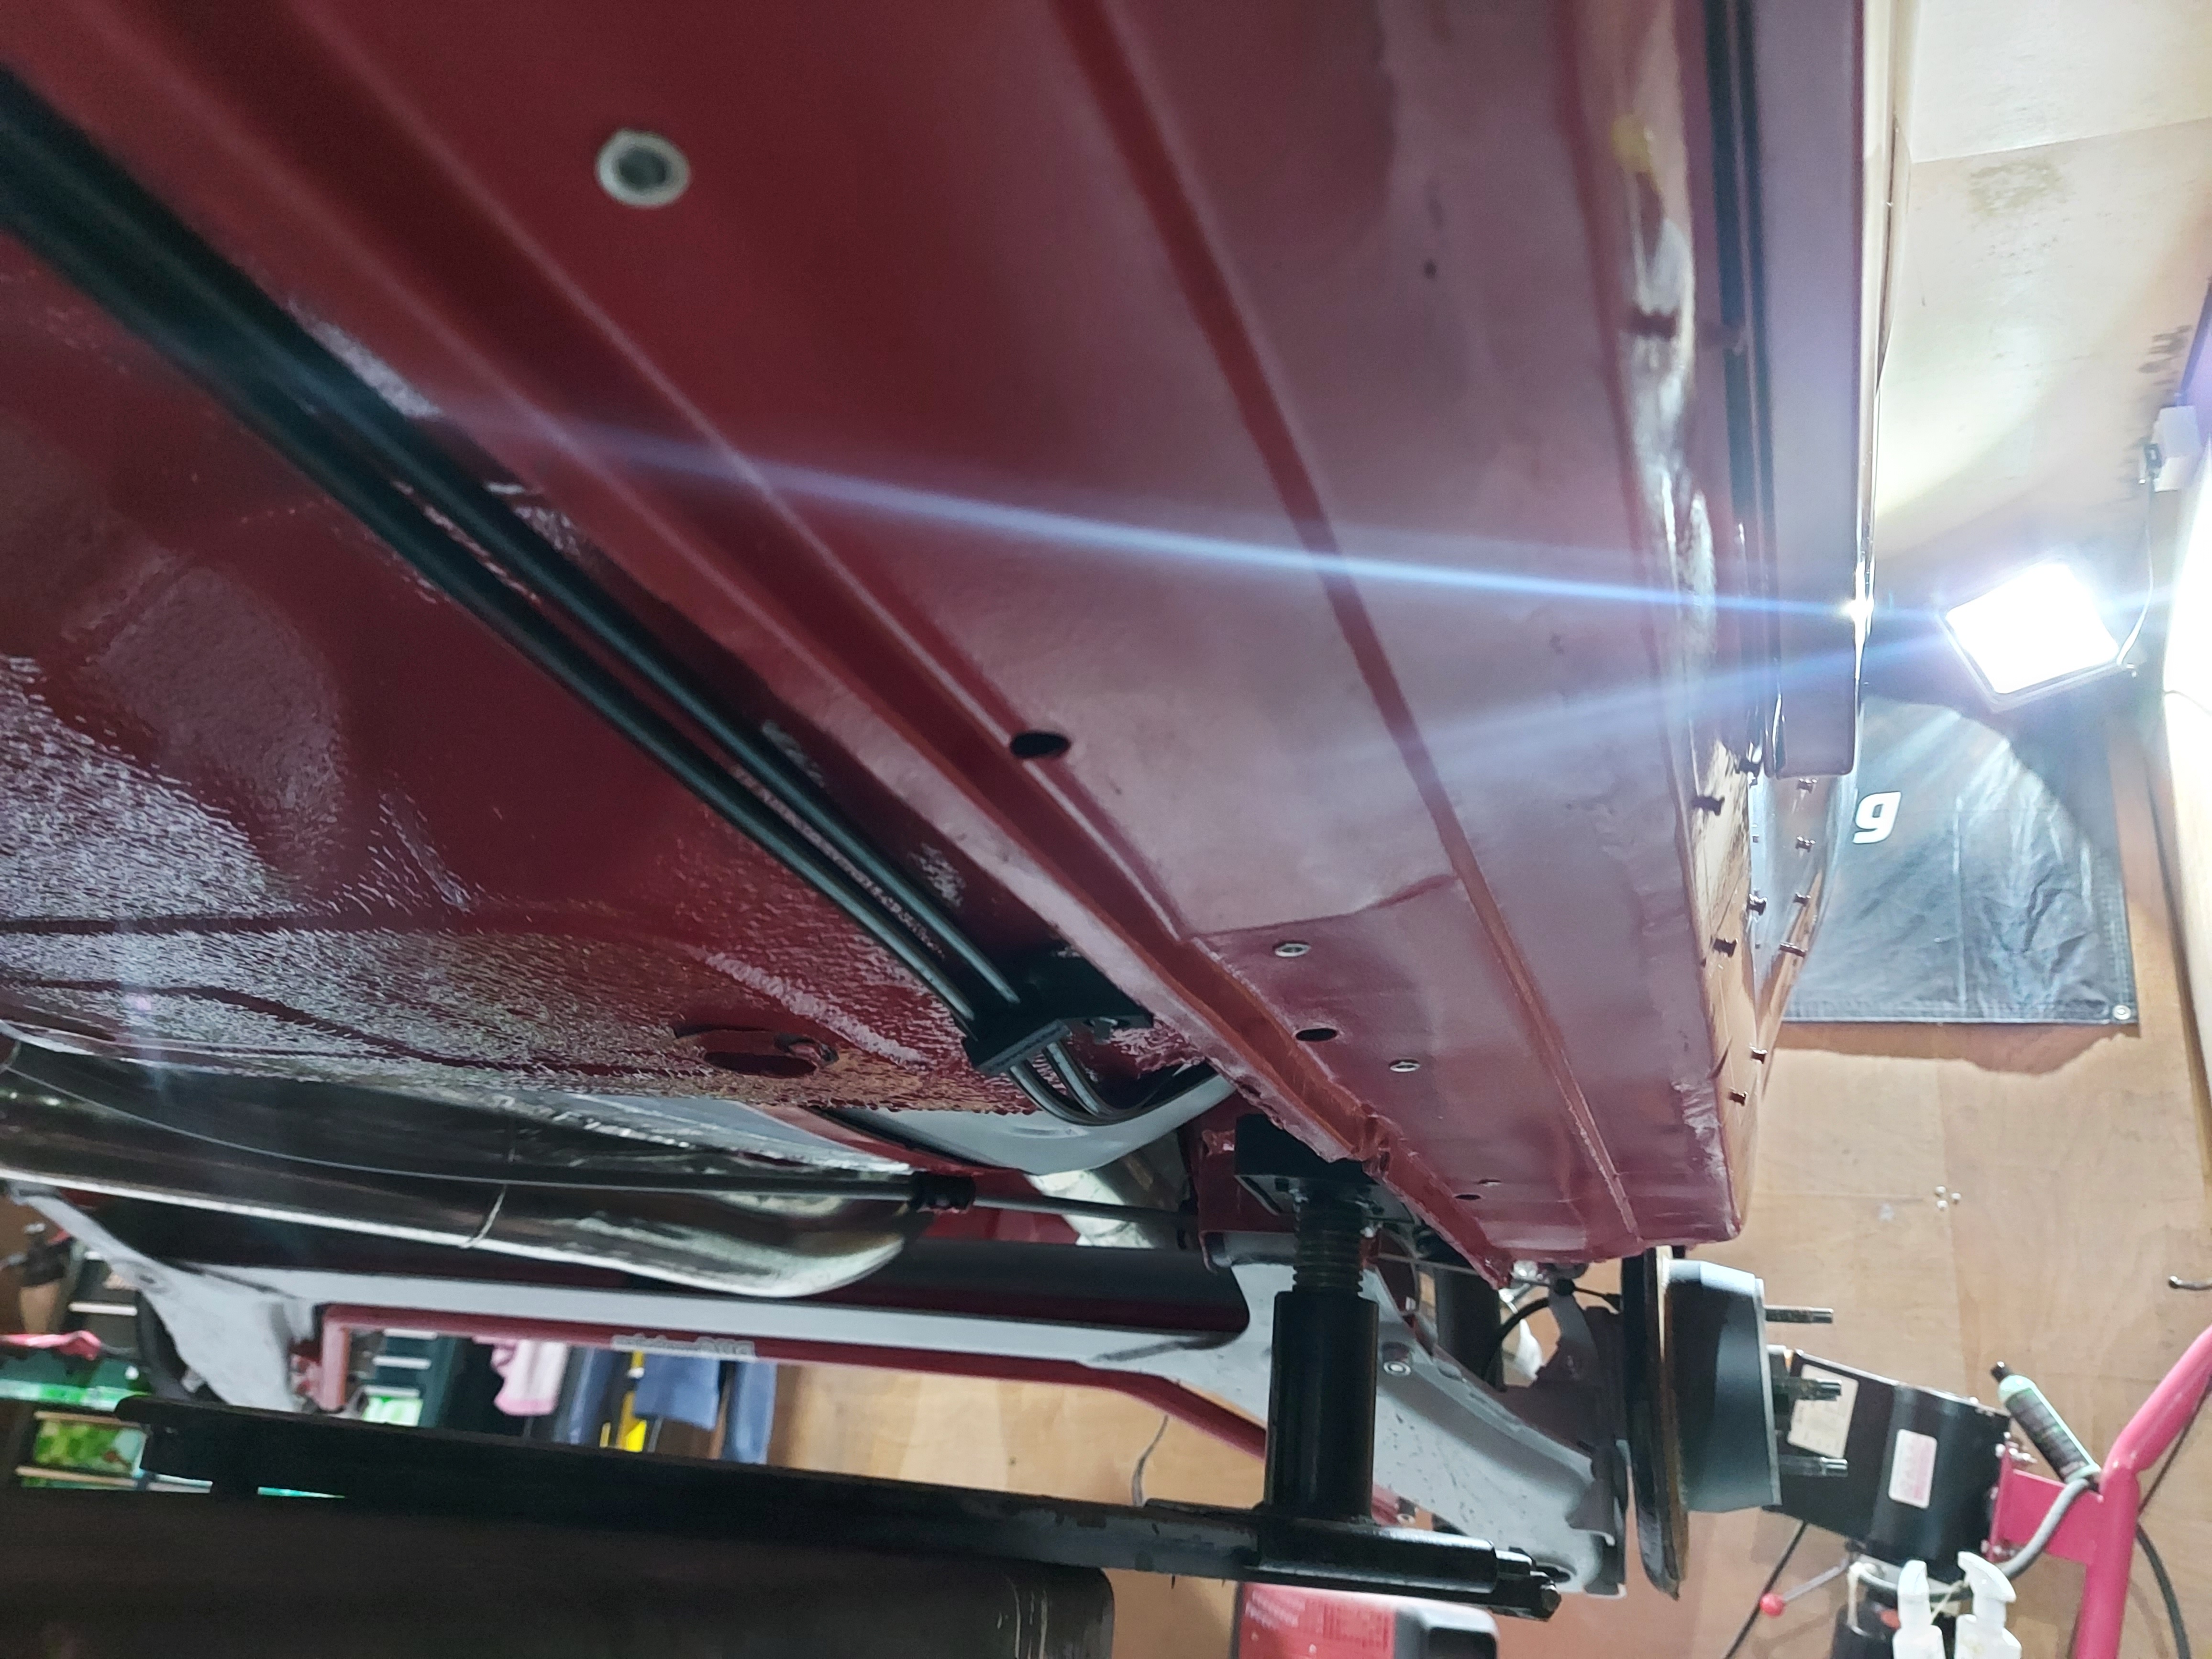
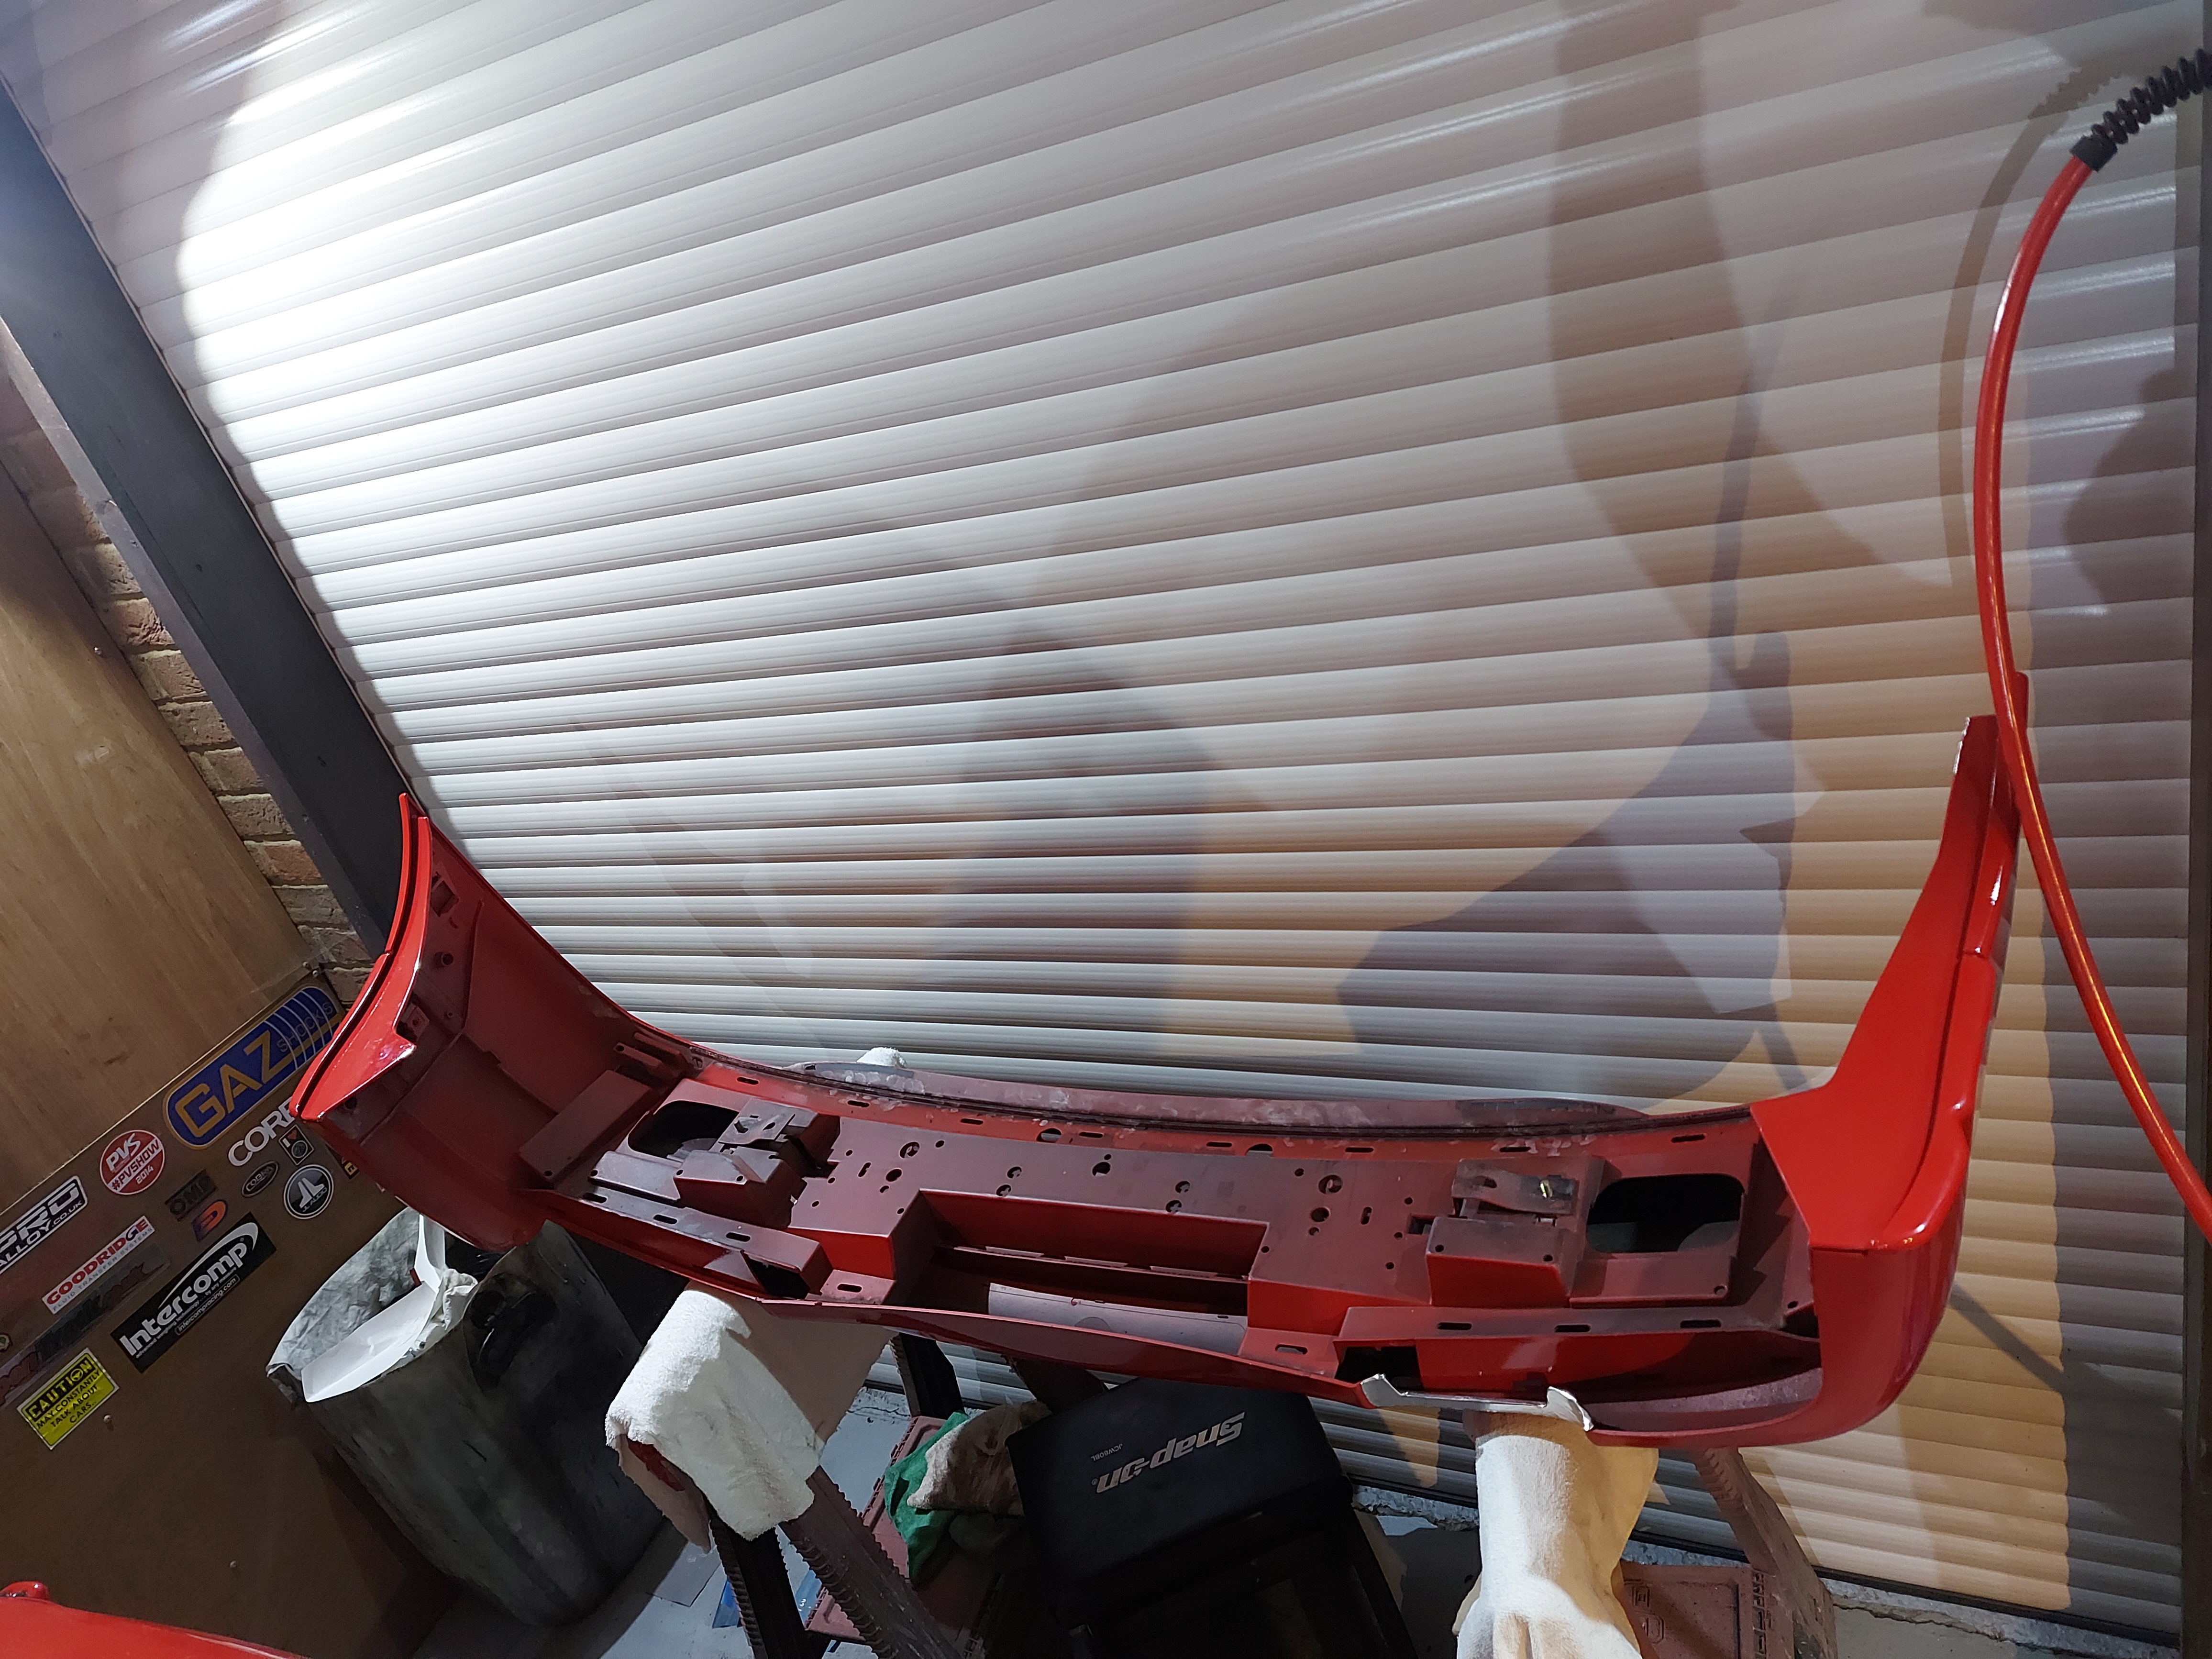
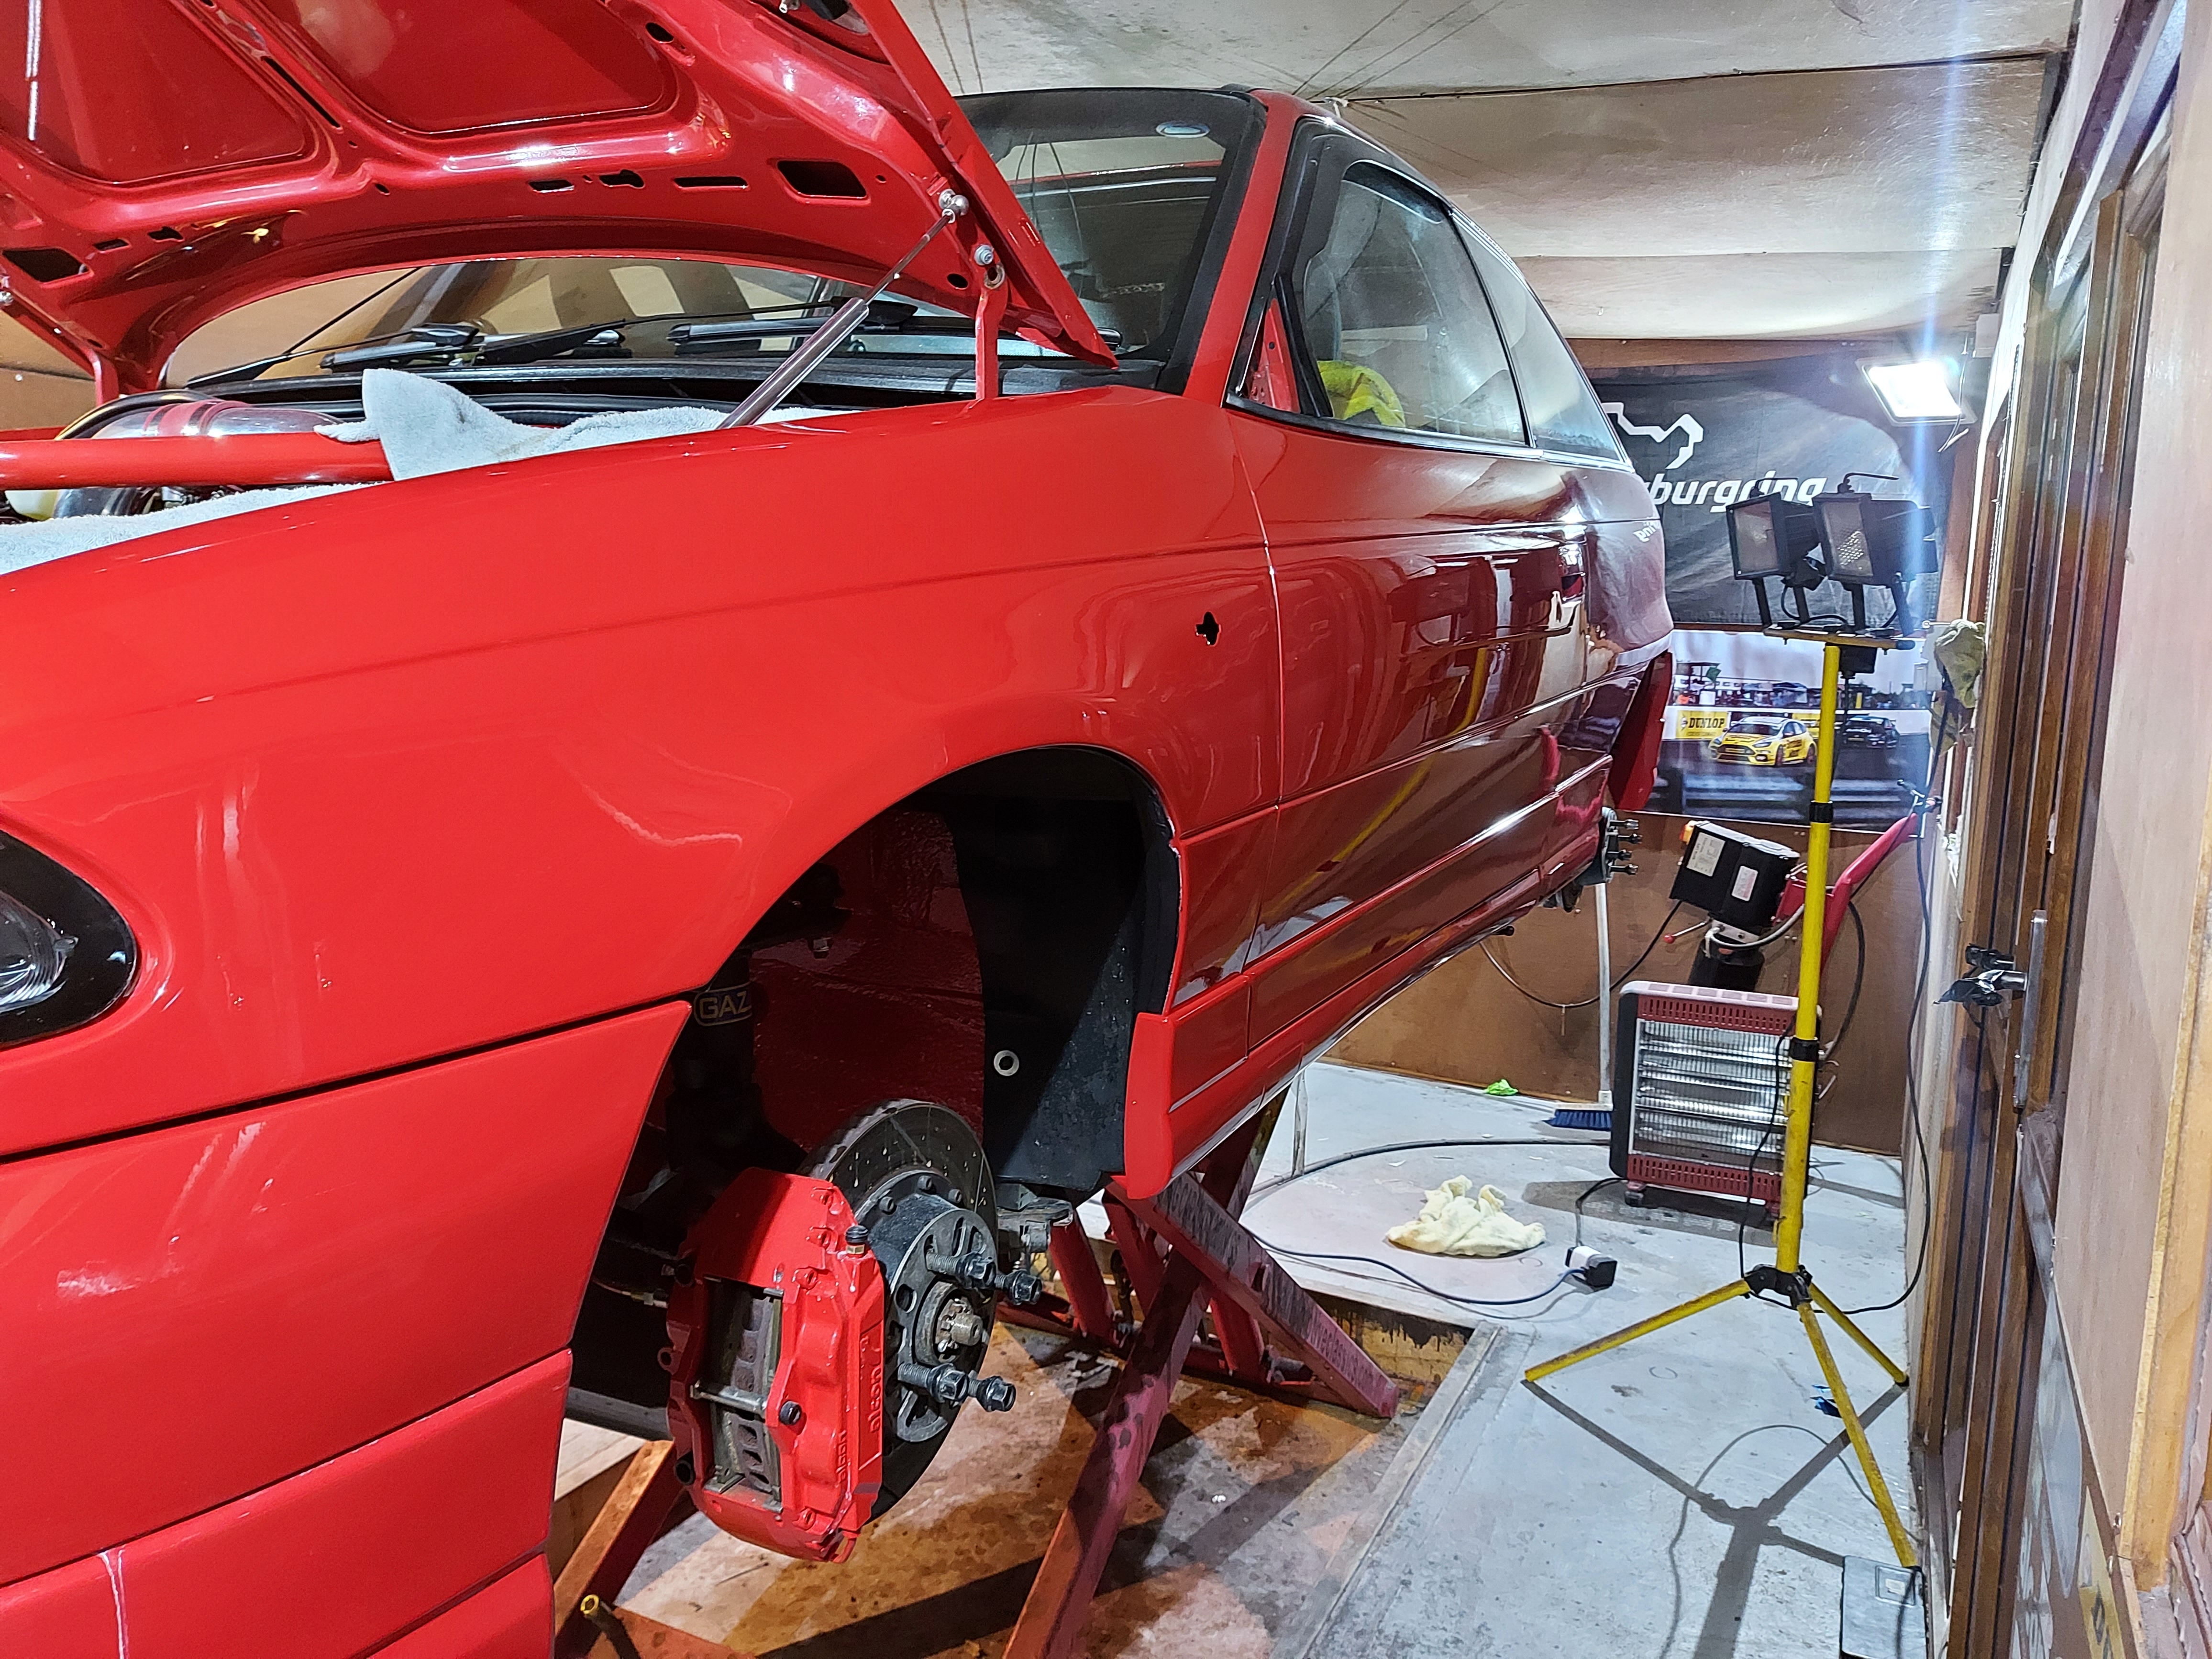
With the quarter flatted though, I can fit the rear bumper, after some prep.

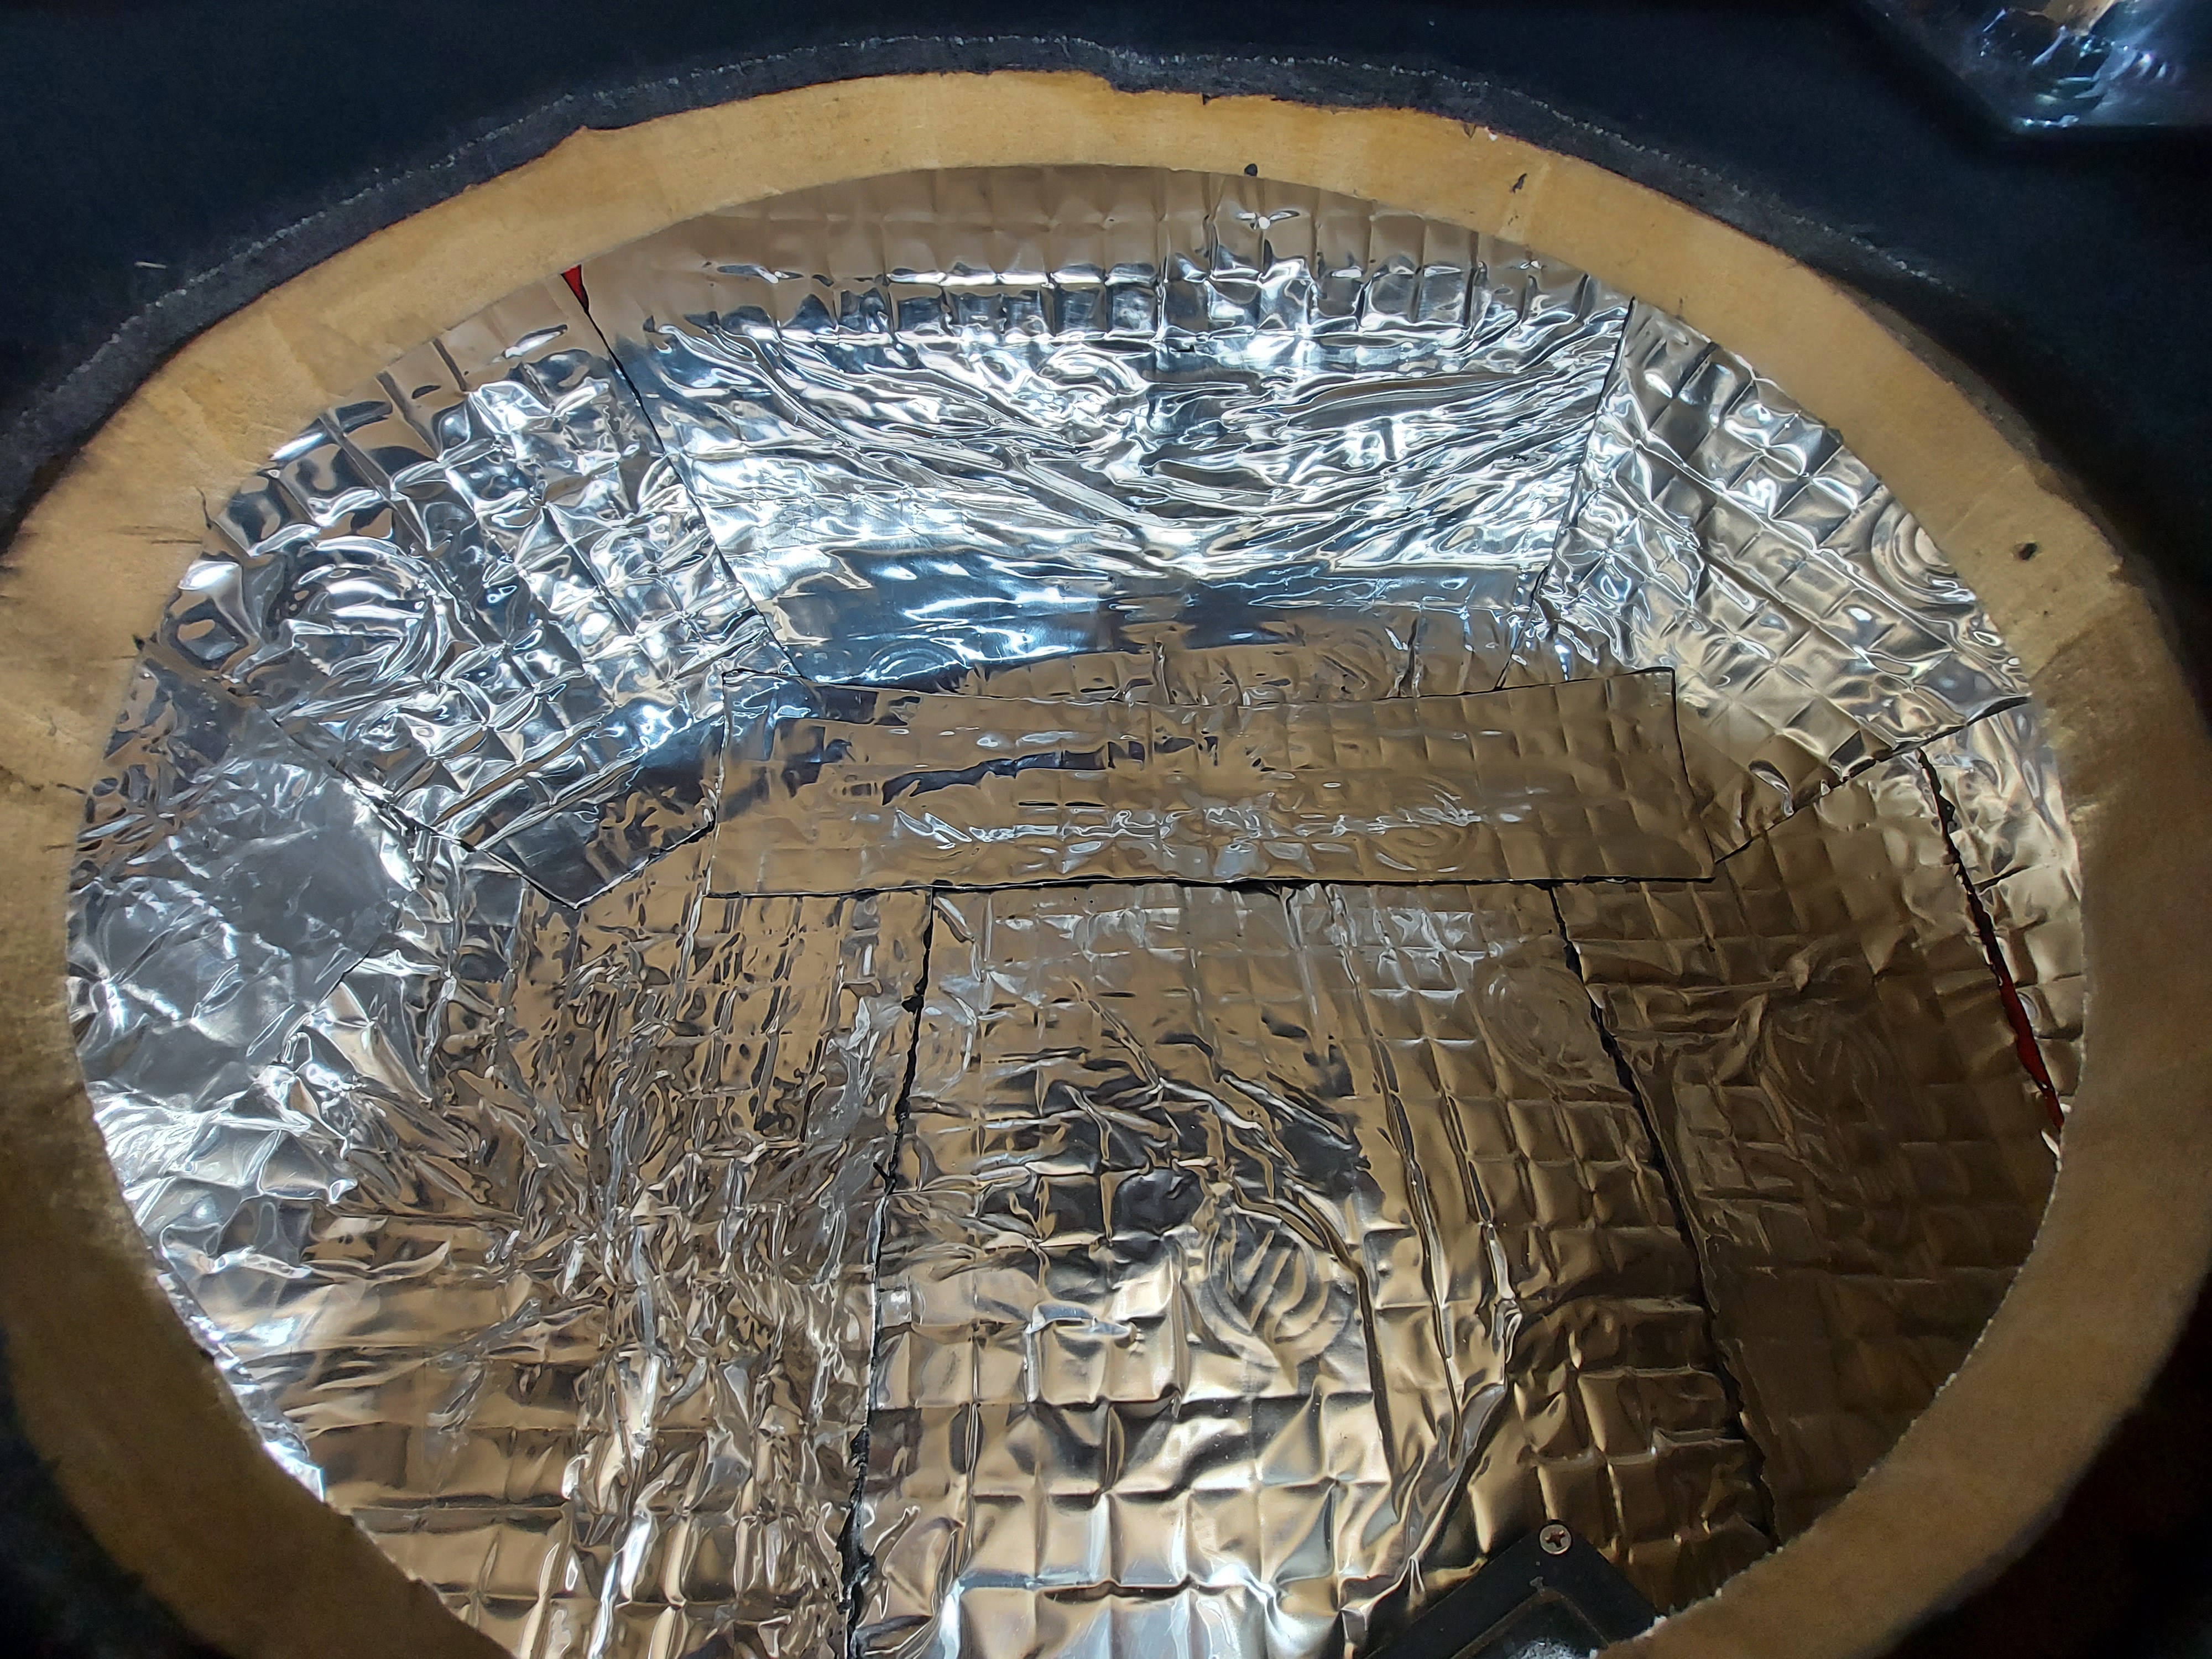
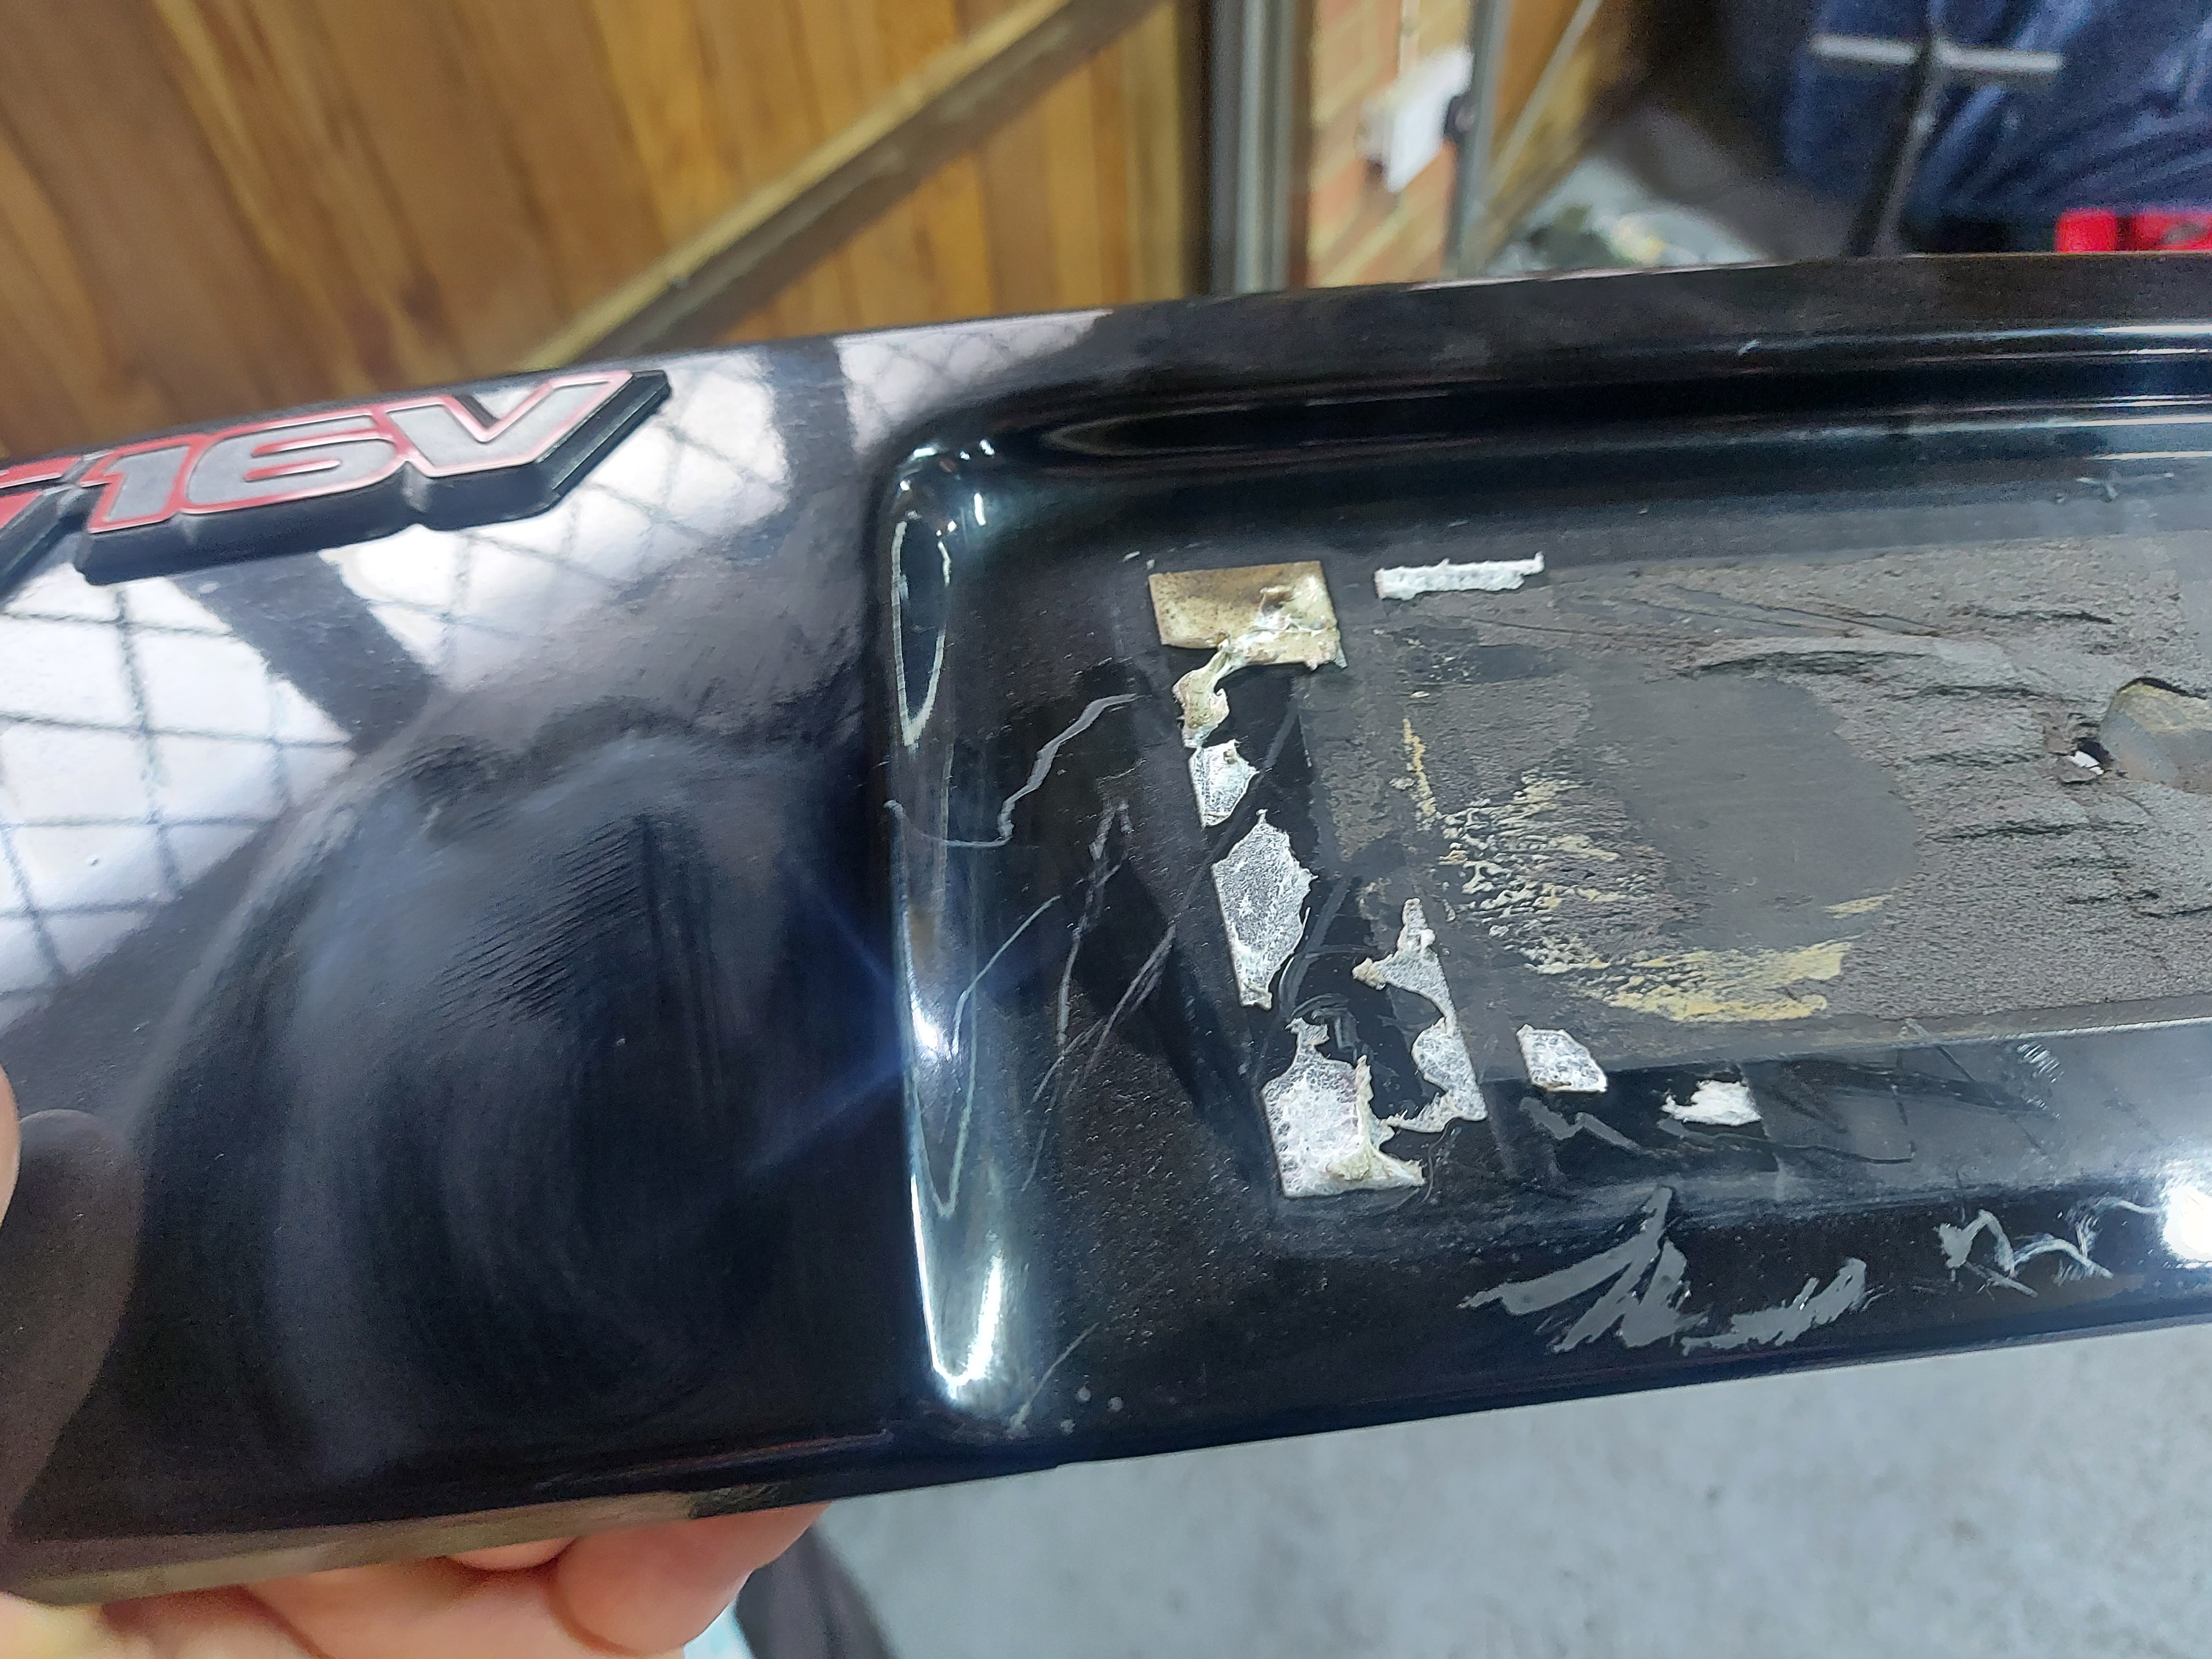
First things first, heat protection to stop the back box melting the bumper again! Zircoflex stick on stuff, I Melted the bumper, then ran this and it never got any worse so it works!

full

full


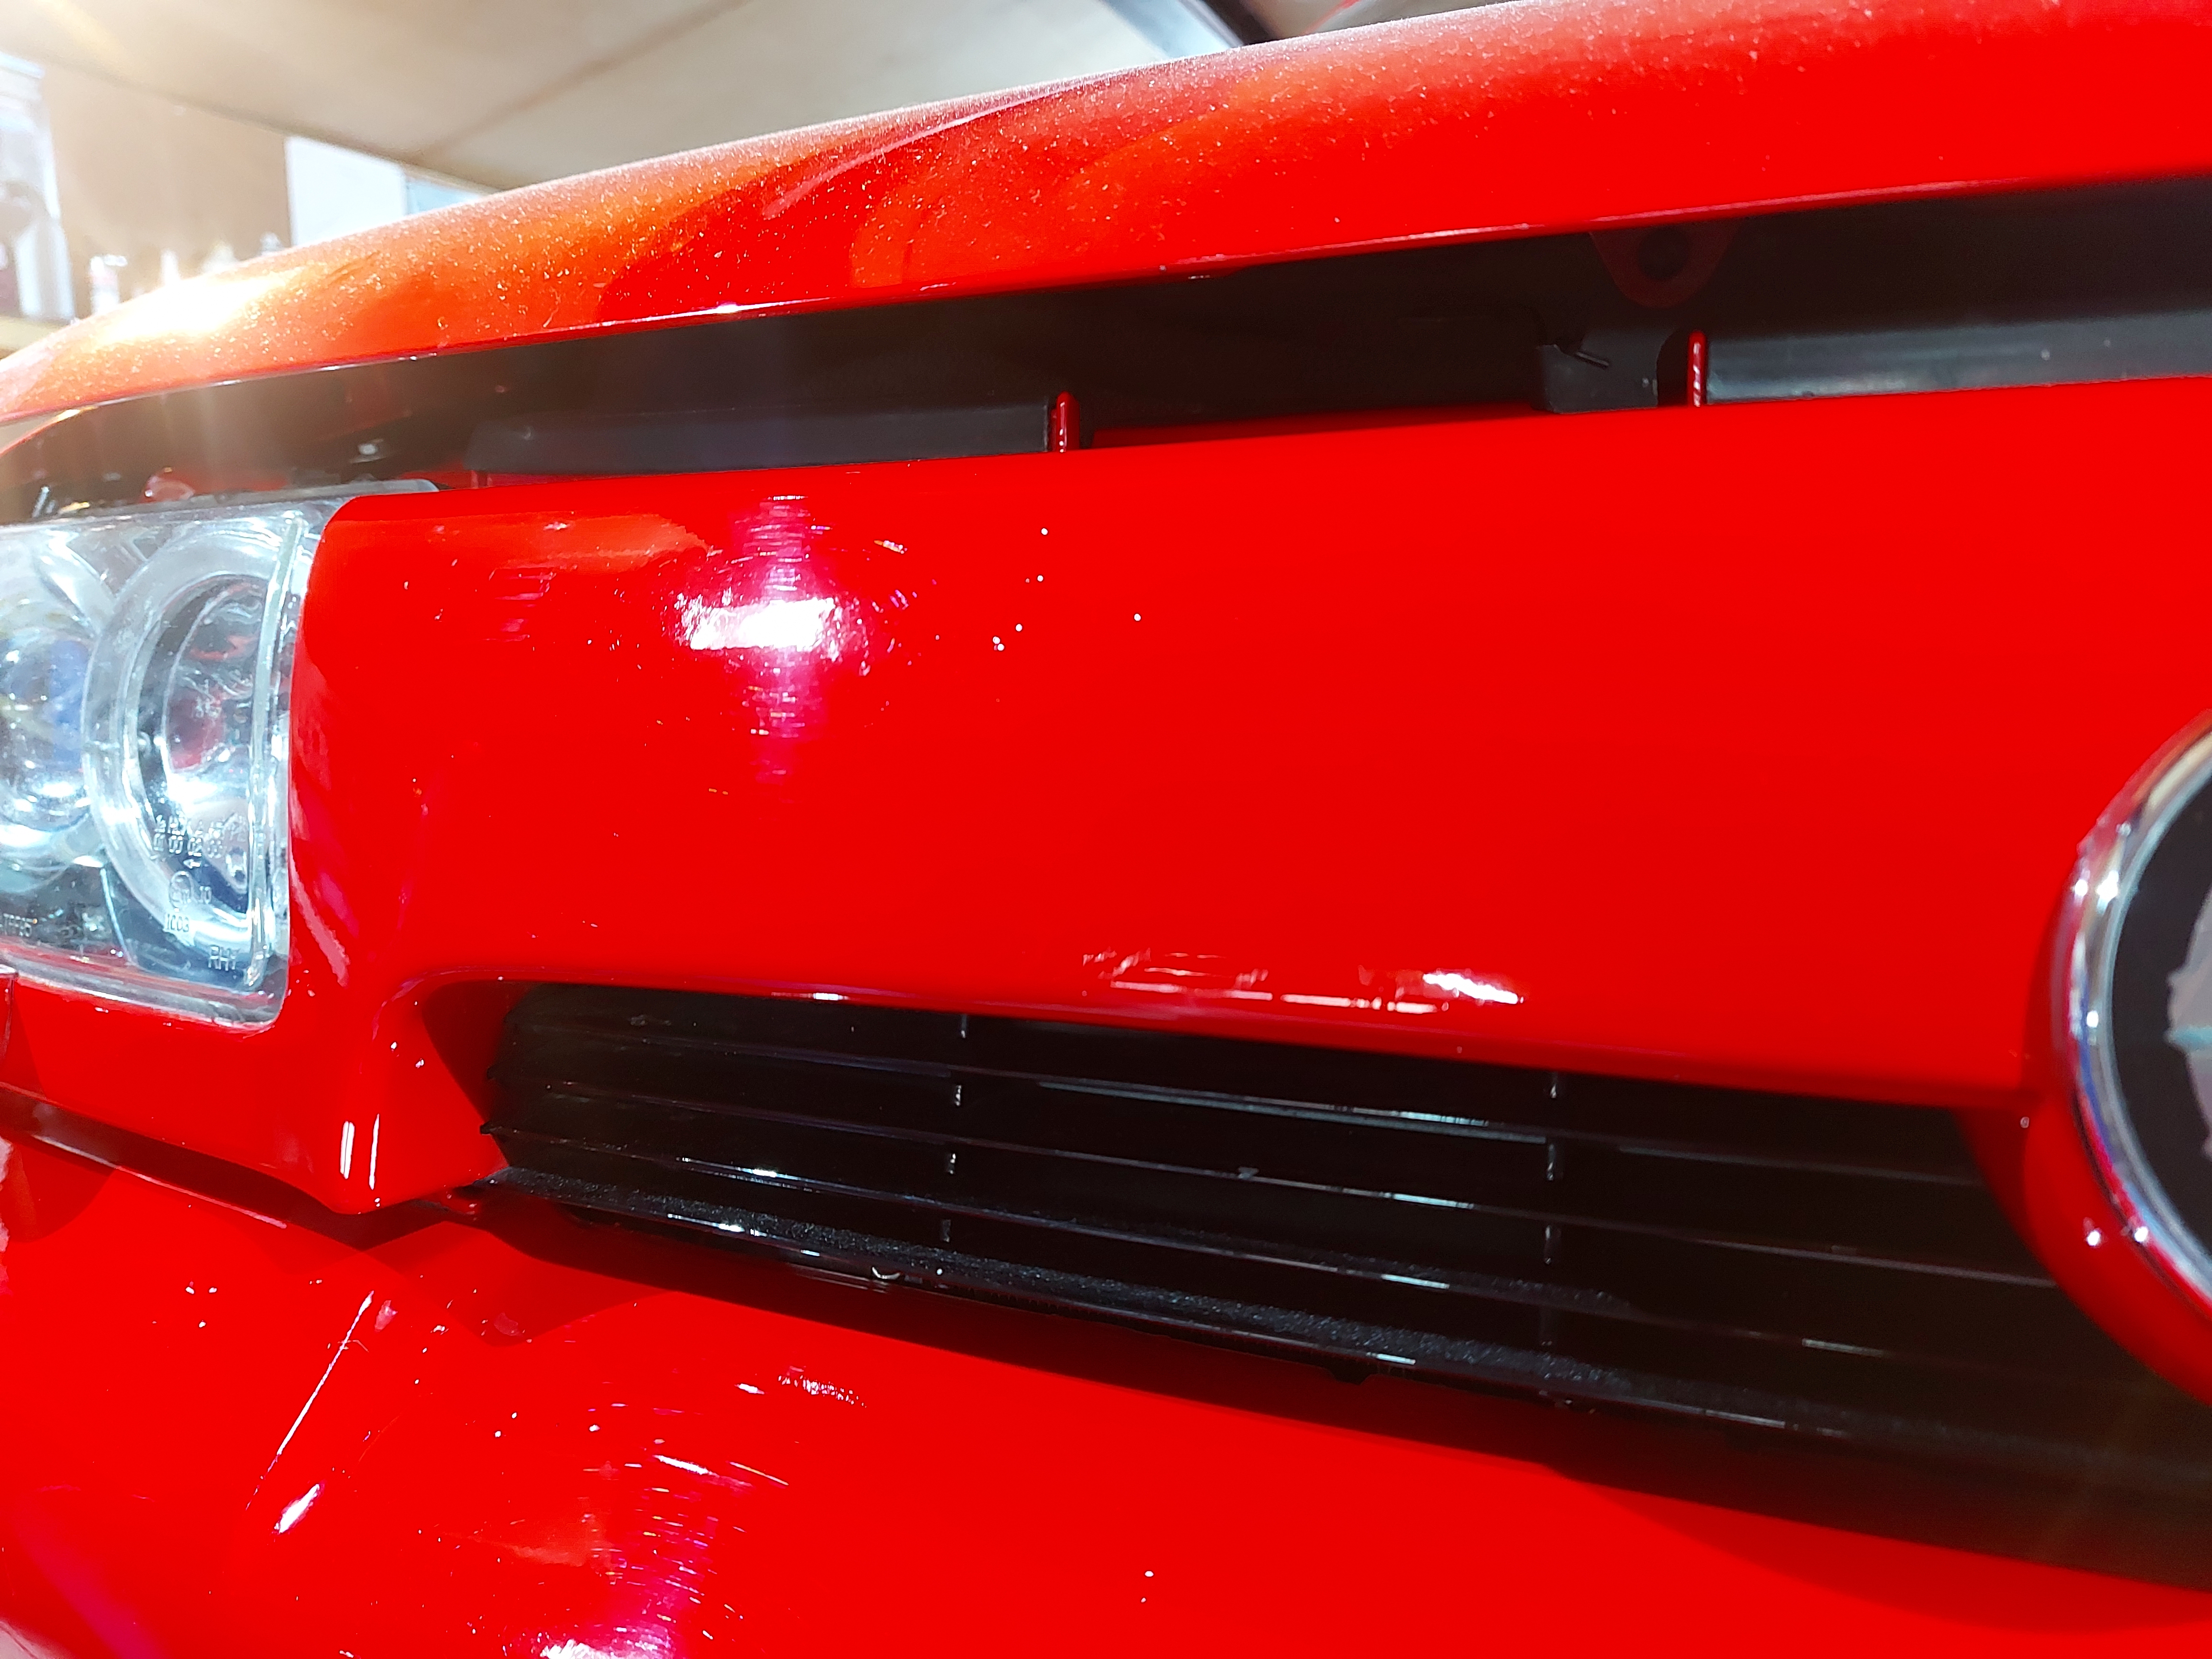
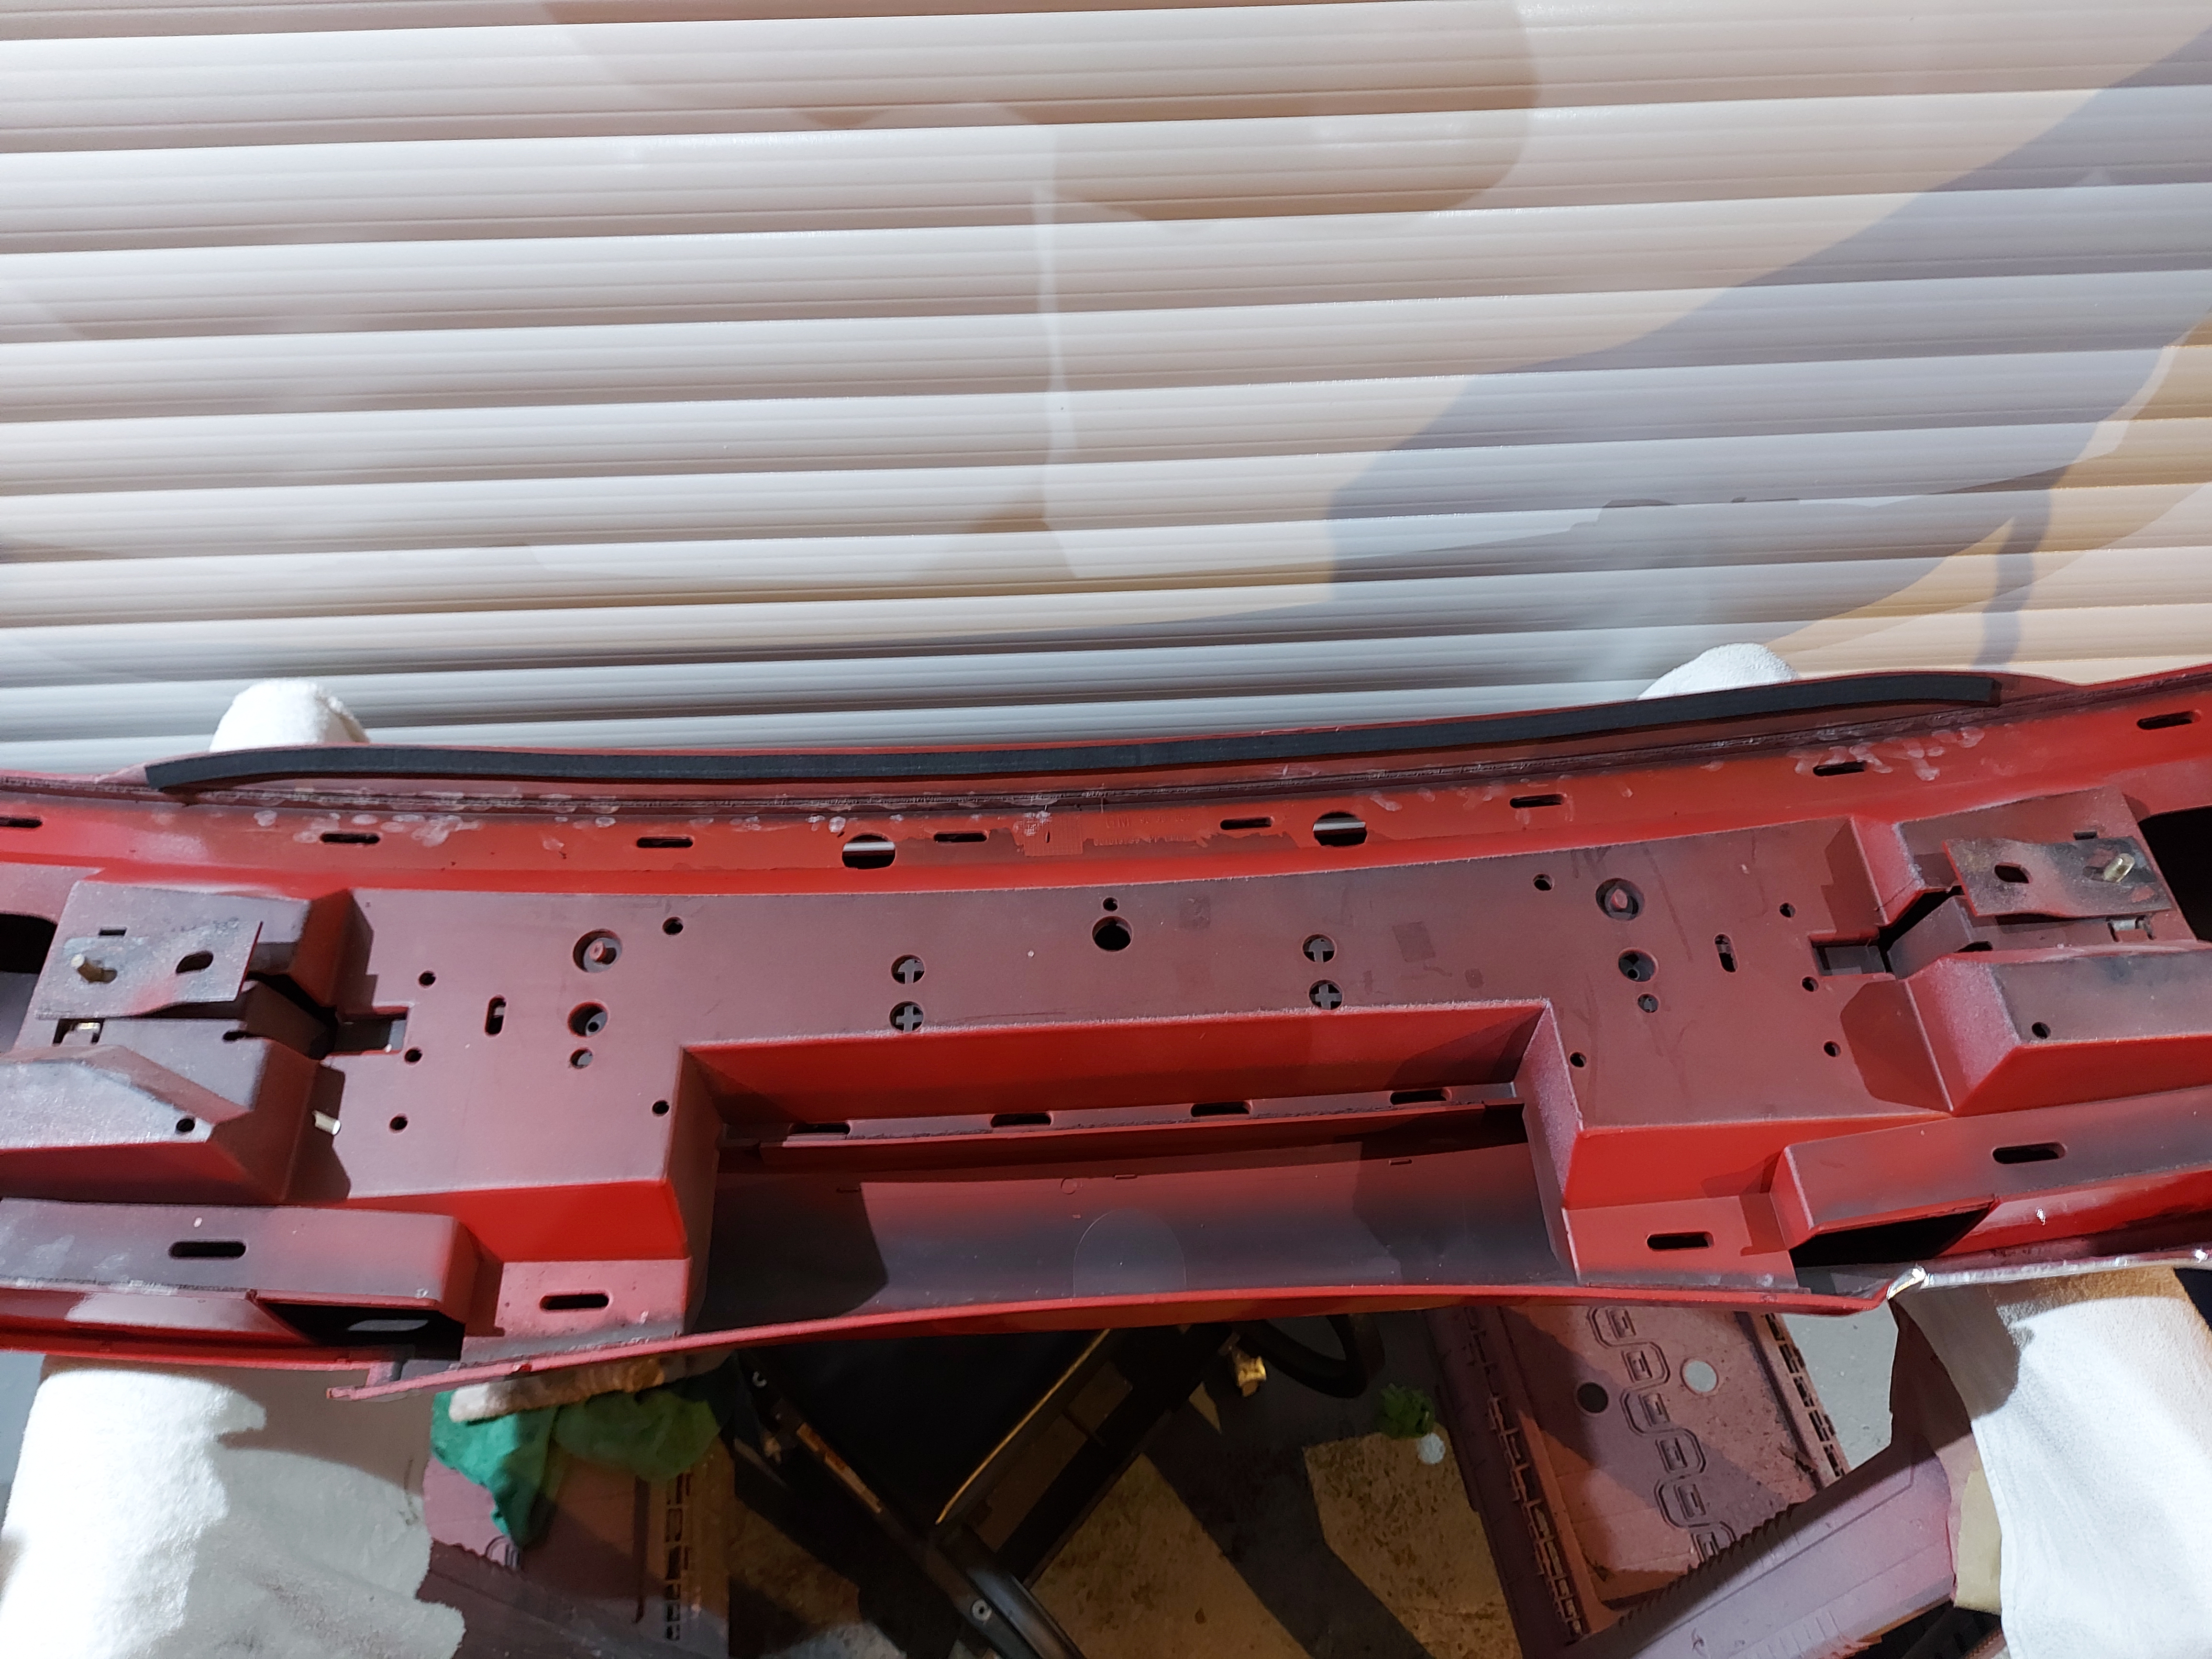
So to protect my new paint work I bought myself a roll of PPF. Everyone is badgering on about this stuff now days and although I won't be fitting big sheets of it across my front bumper but I bought some to protect certain bits and bobs.
So the first part to fit it to is the 'built in mudflaps' which is probably more of a strengthing part of the bumper to keep its shape, but this part gets pummled with stones and end up black again!

SO cut a sheet off

full

full


funnily enough the sheet isn't quite big enough lol

applied the sheet, you can see the texture of the plastic where it isn't smooth from years of stone chips, I never bothered trying to smooth it out of anything, but that no airbubbles, just that textured plastic look.

full


little cut out for the triangle

full


used the hot air gun to fold the corners round, waited for it too cool down then cut the excess off with a stanley blade! Actually looks really good from head on, seamless!

full


Both side done

full


New foam fitted to the top, no idea why this is on the bumper, but it is so I replaced it for new haha

full


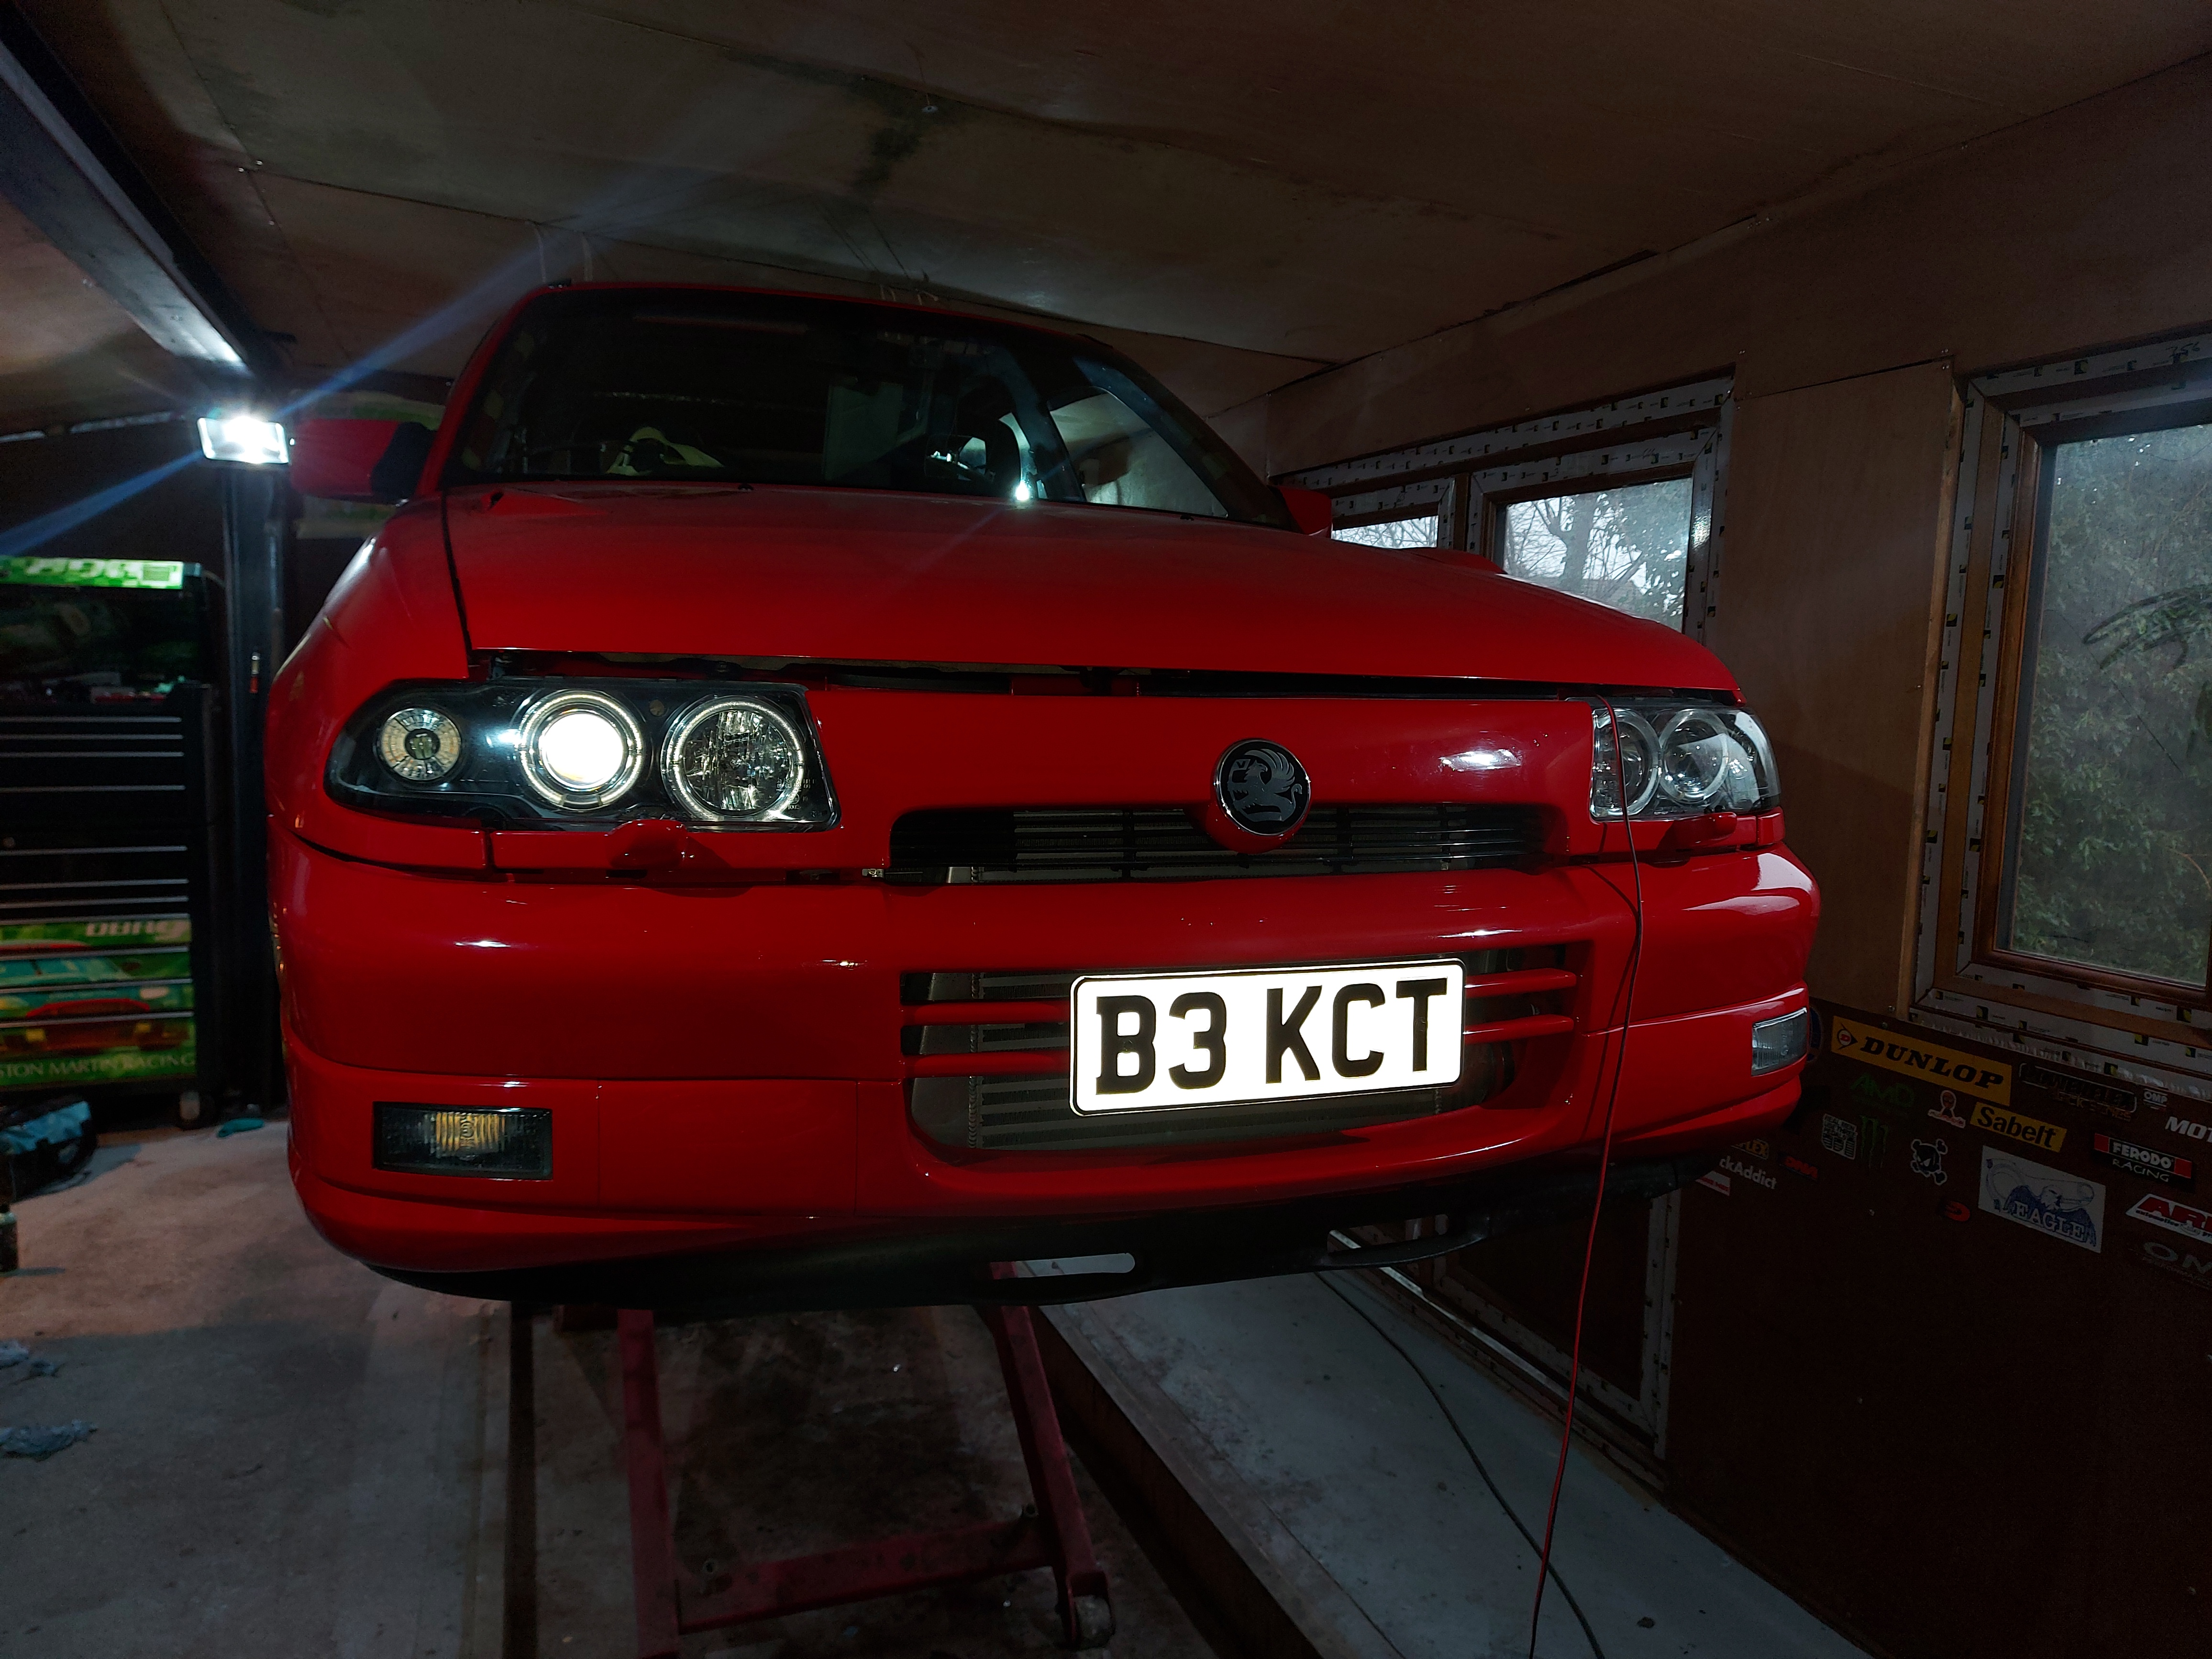
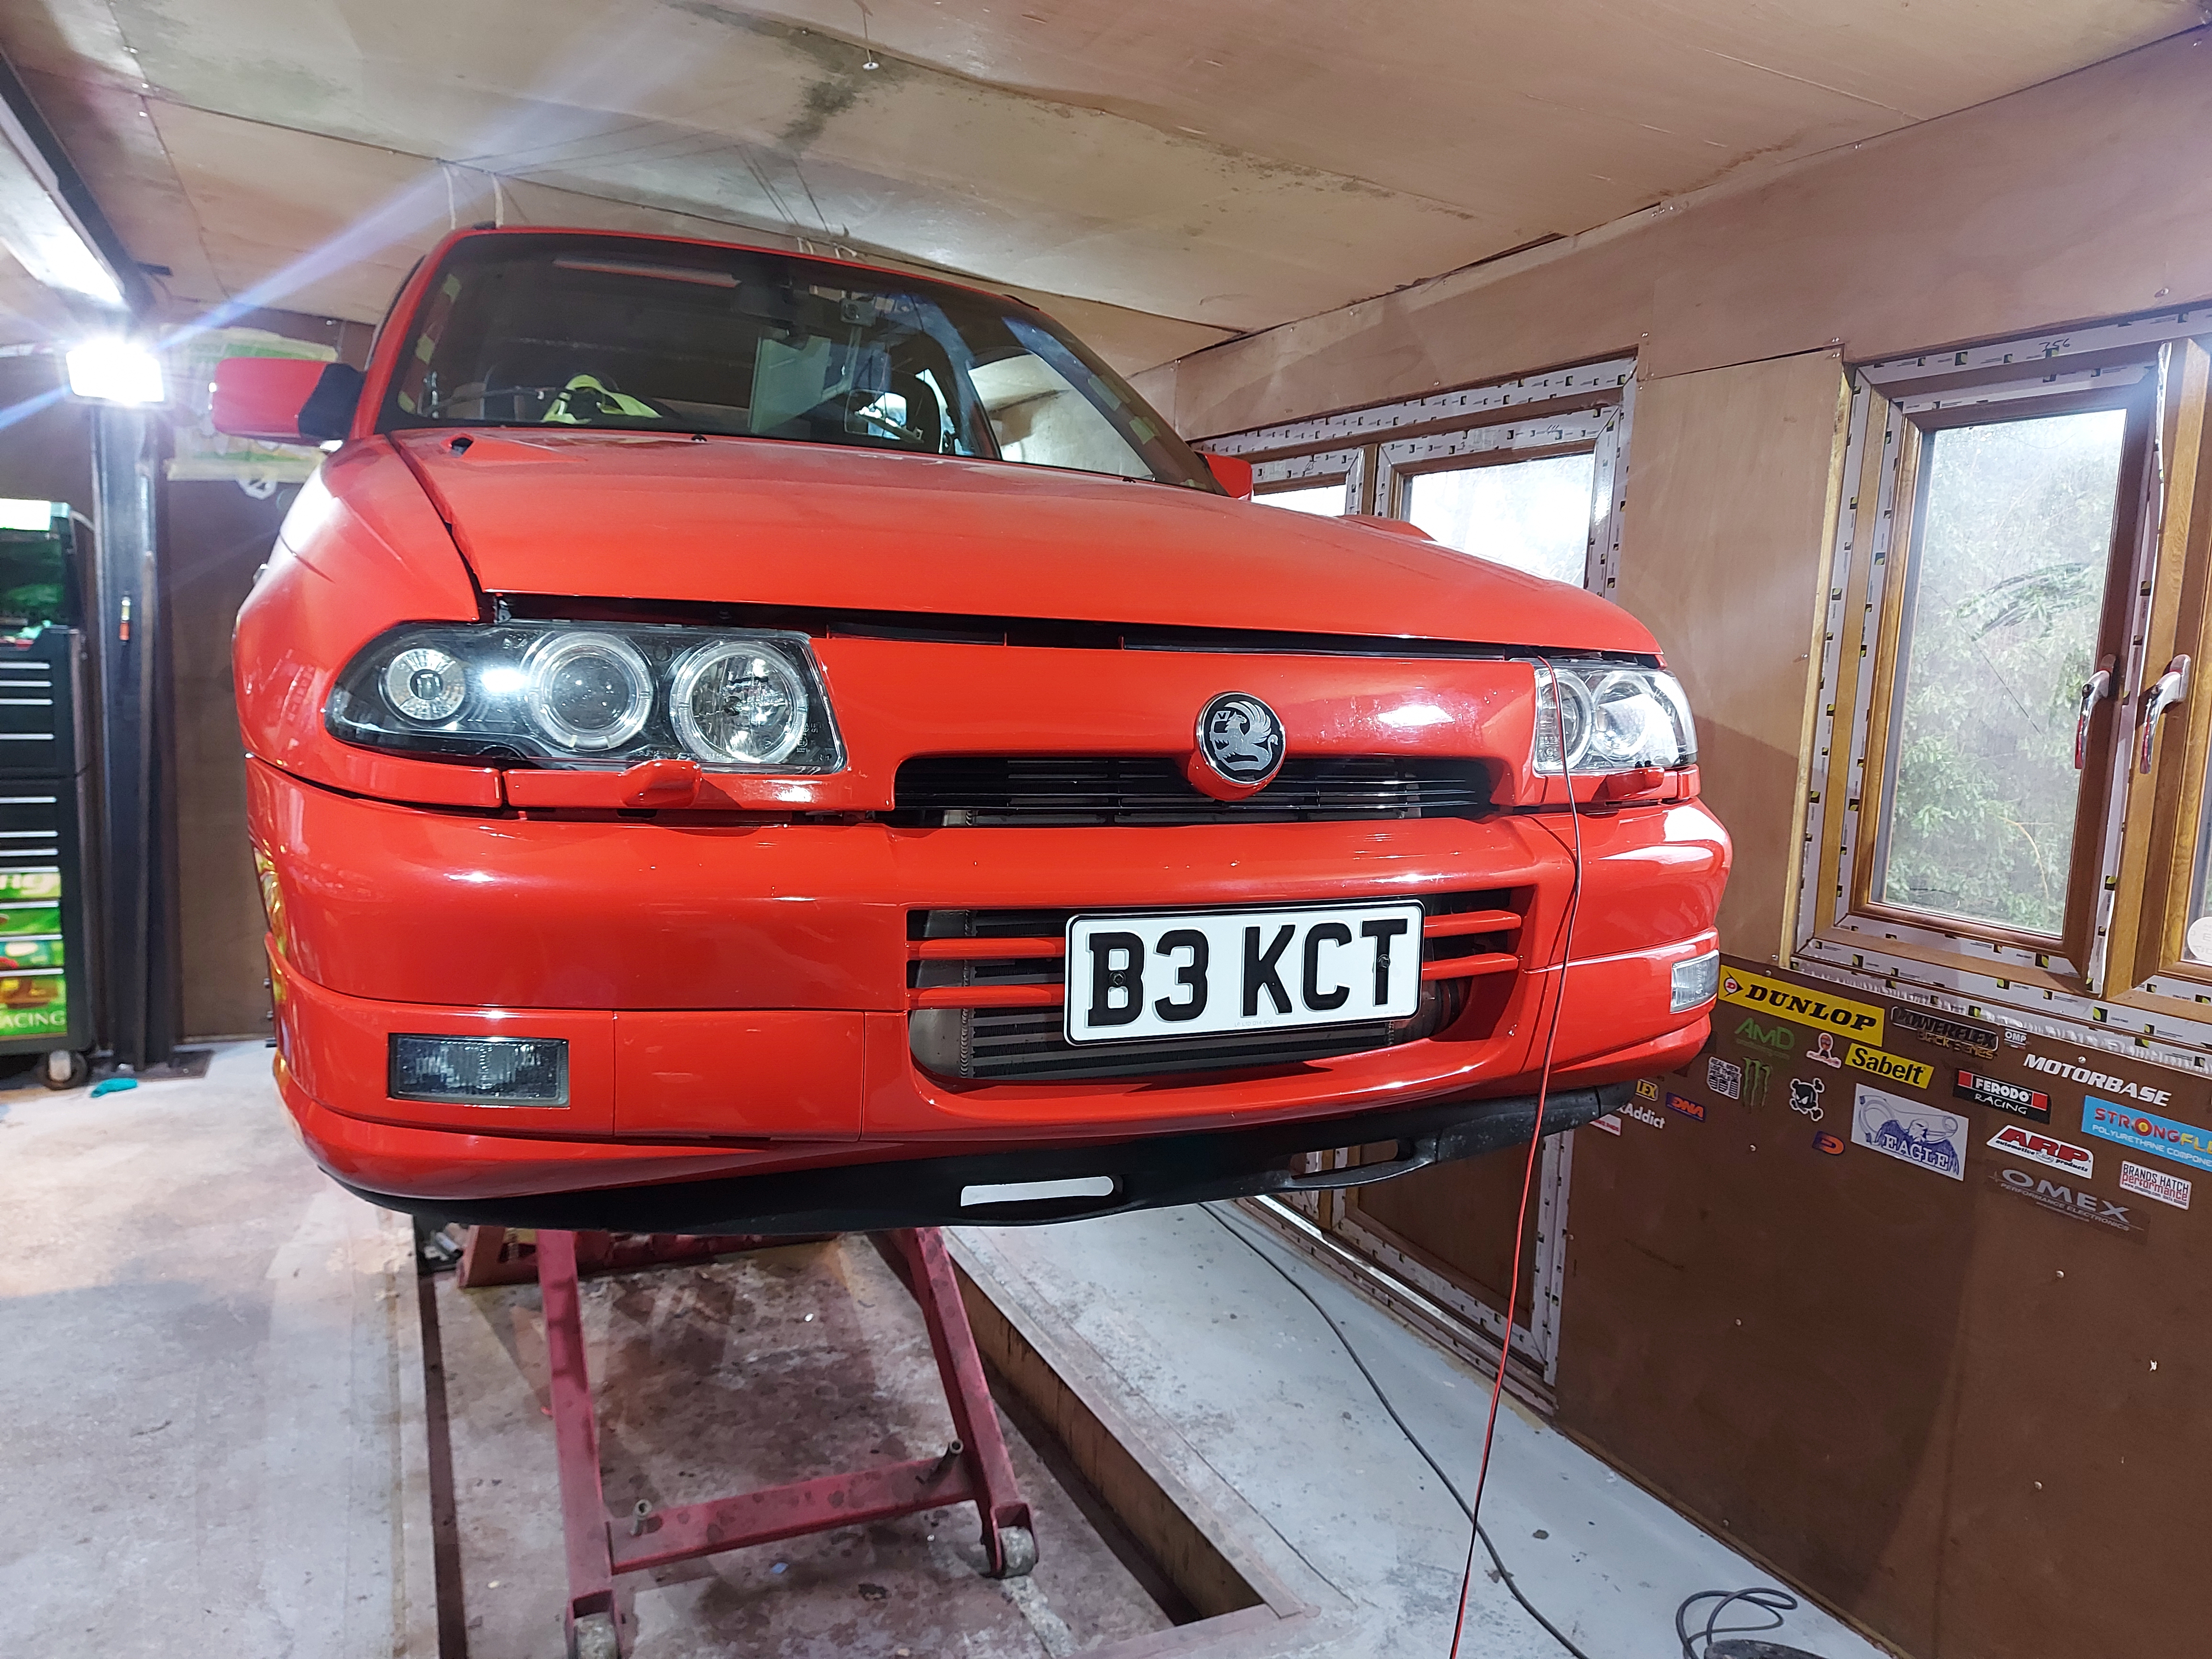
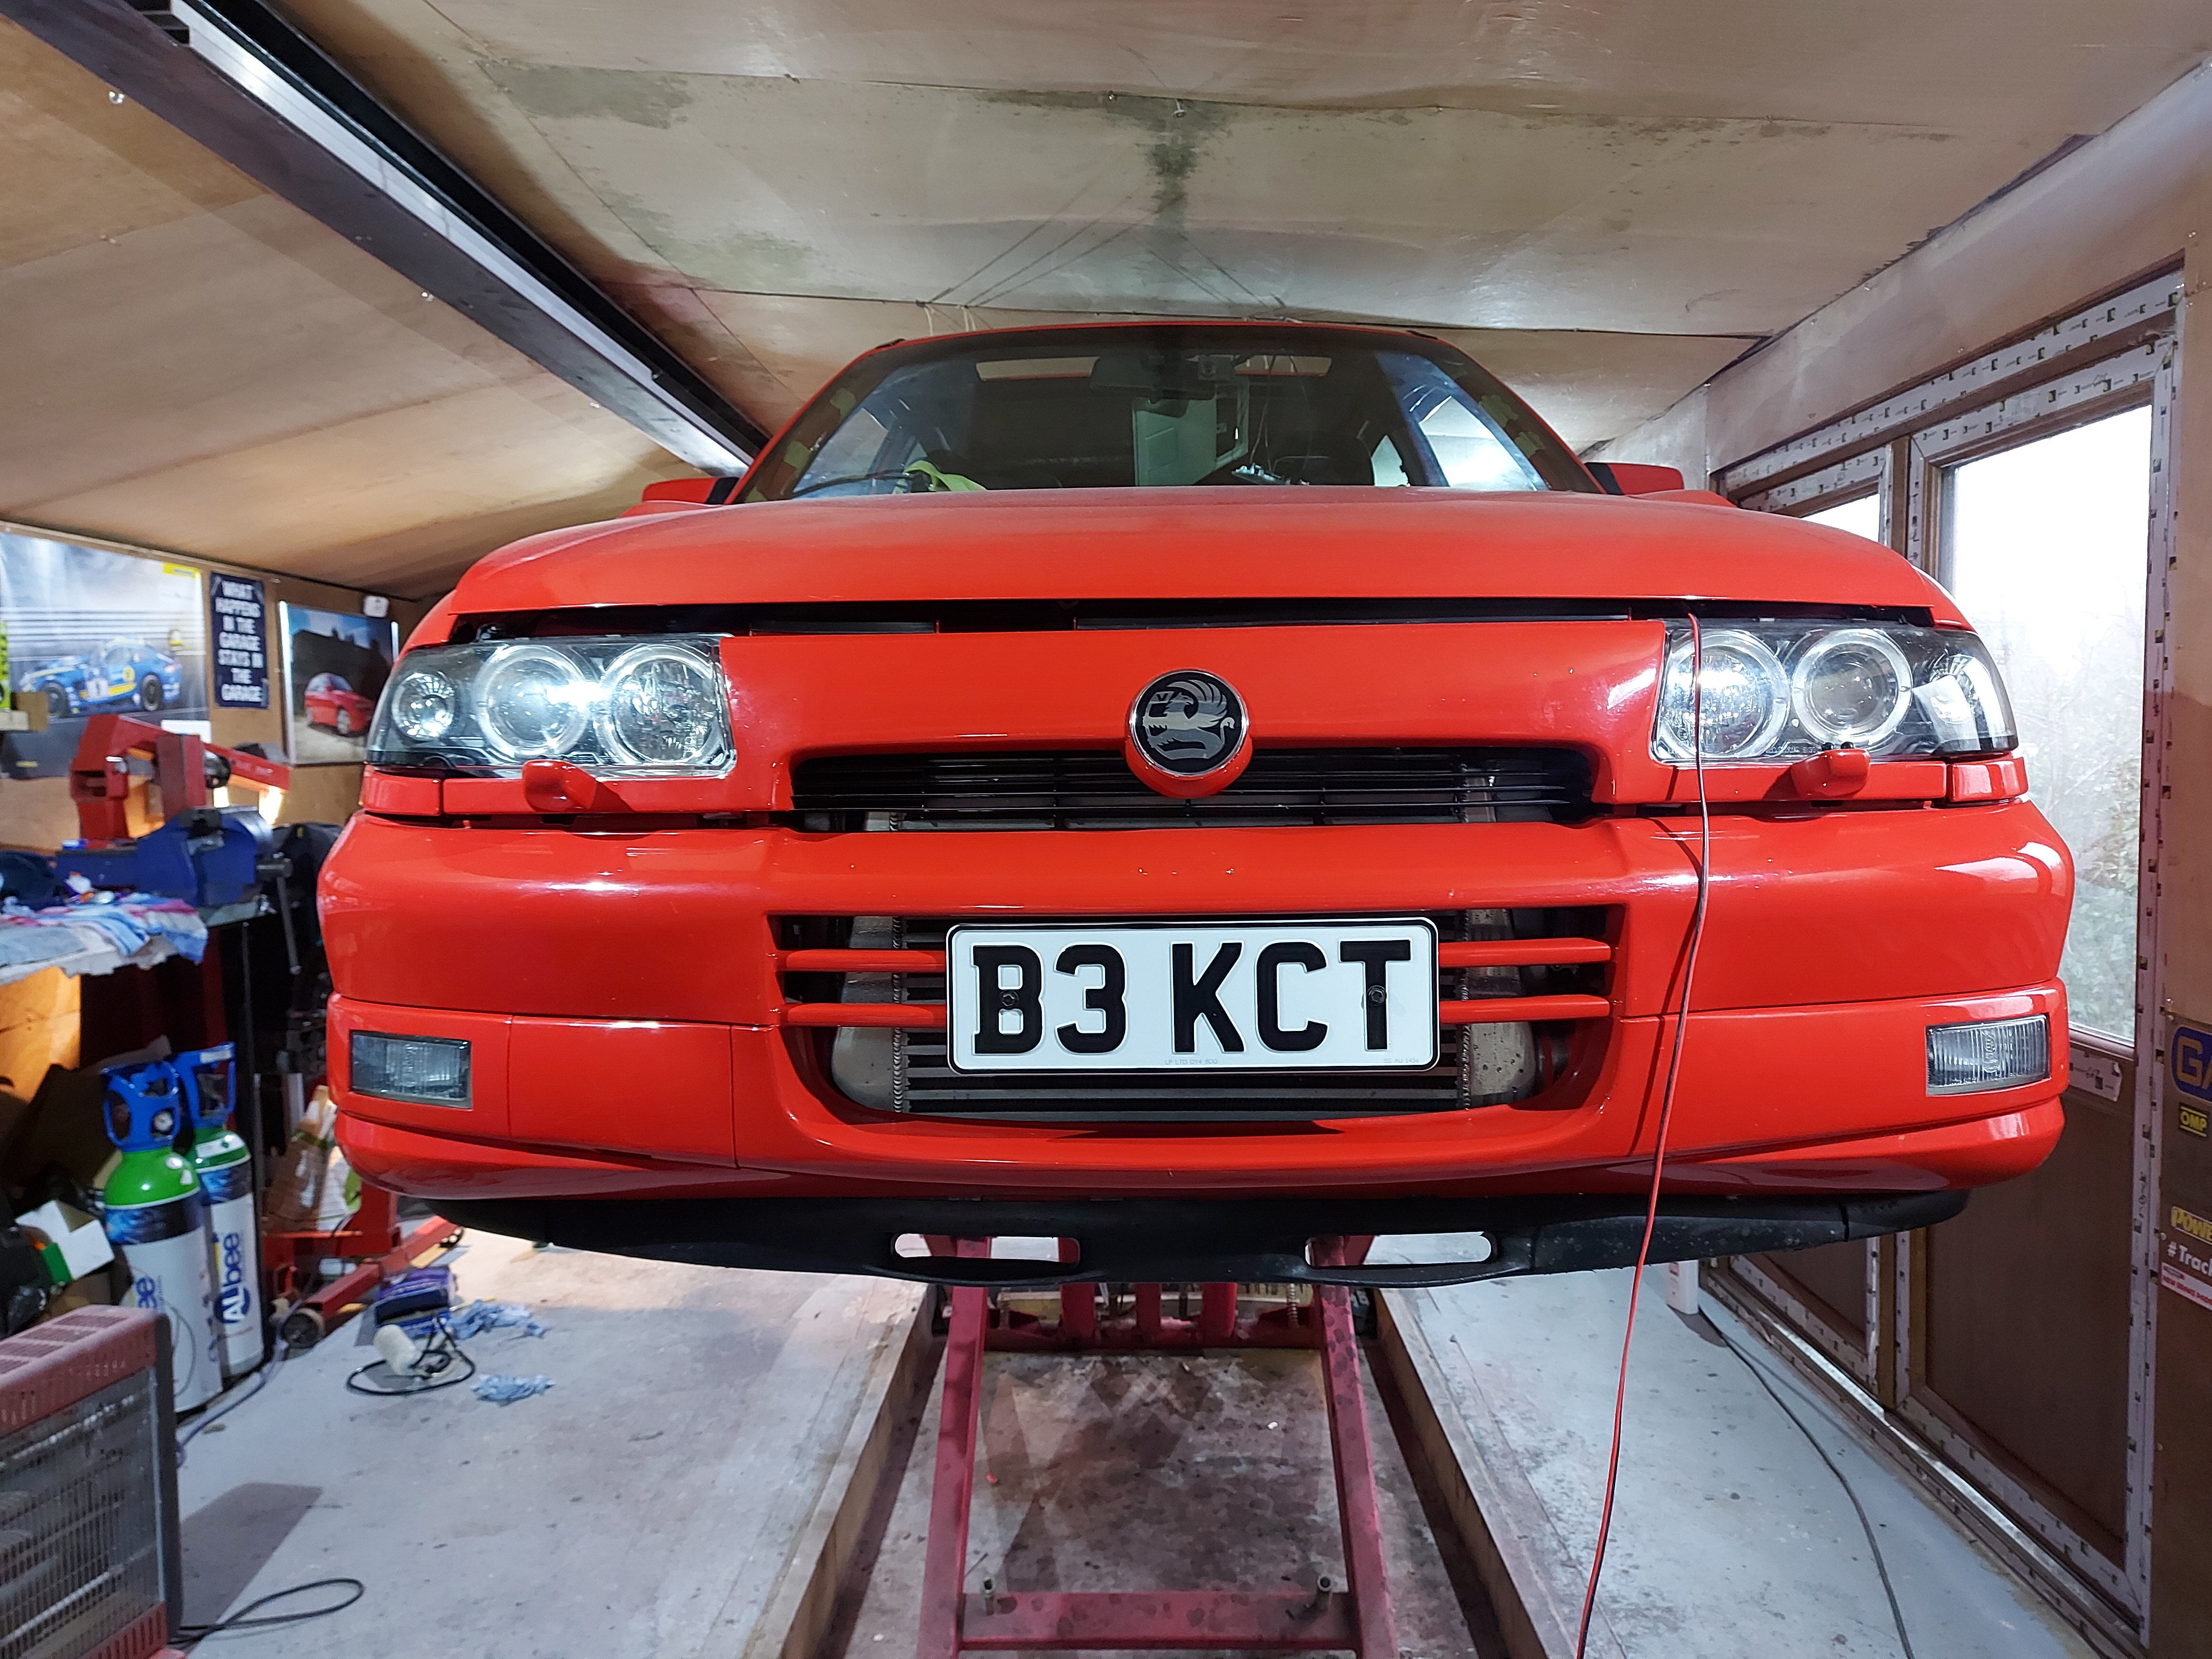
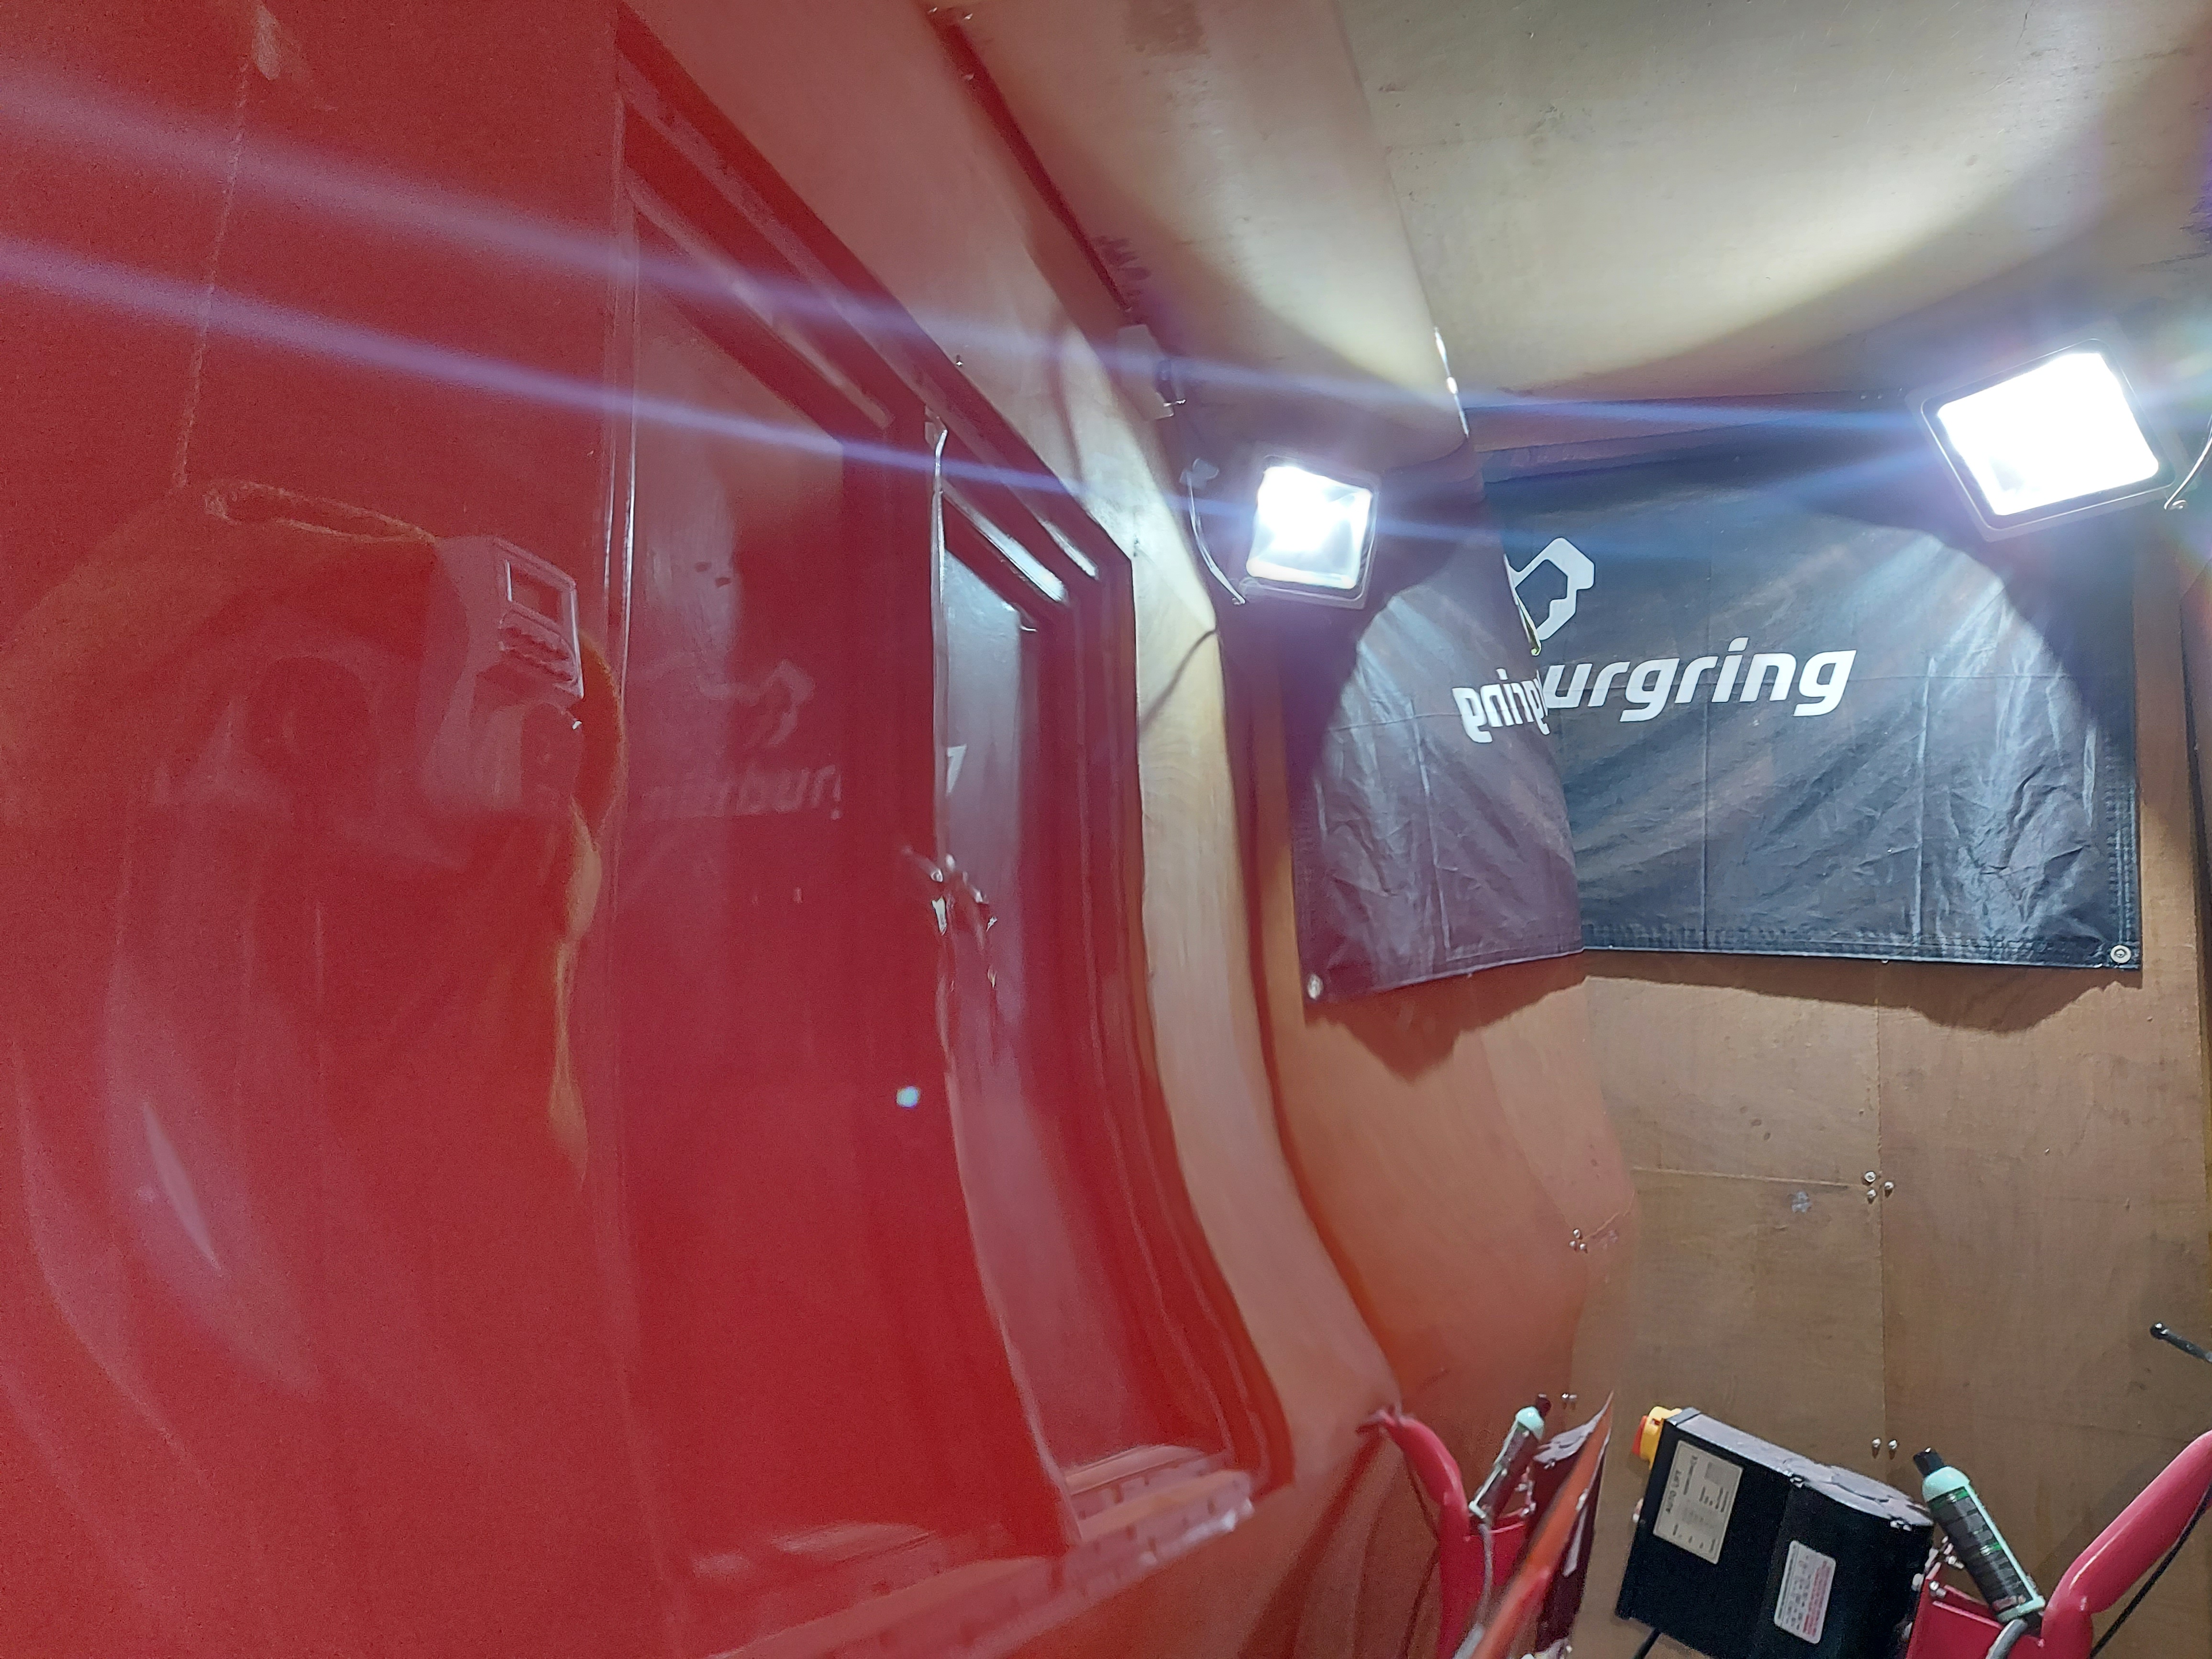
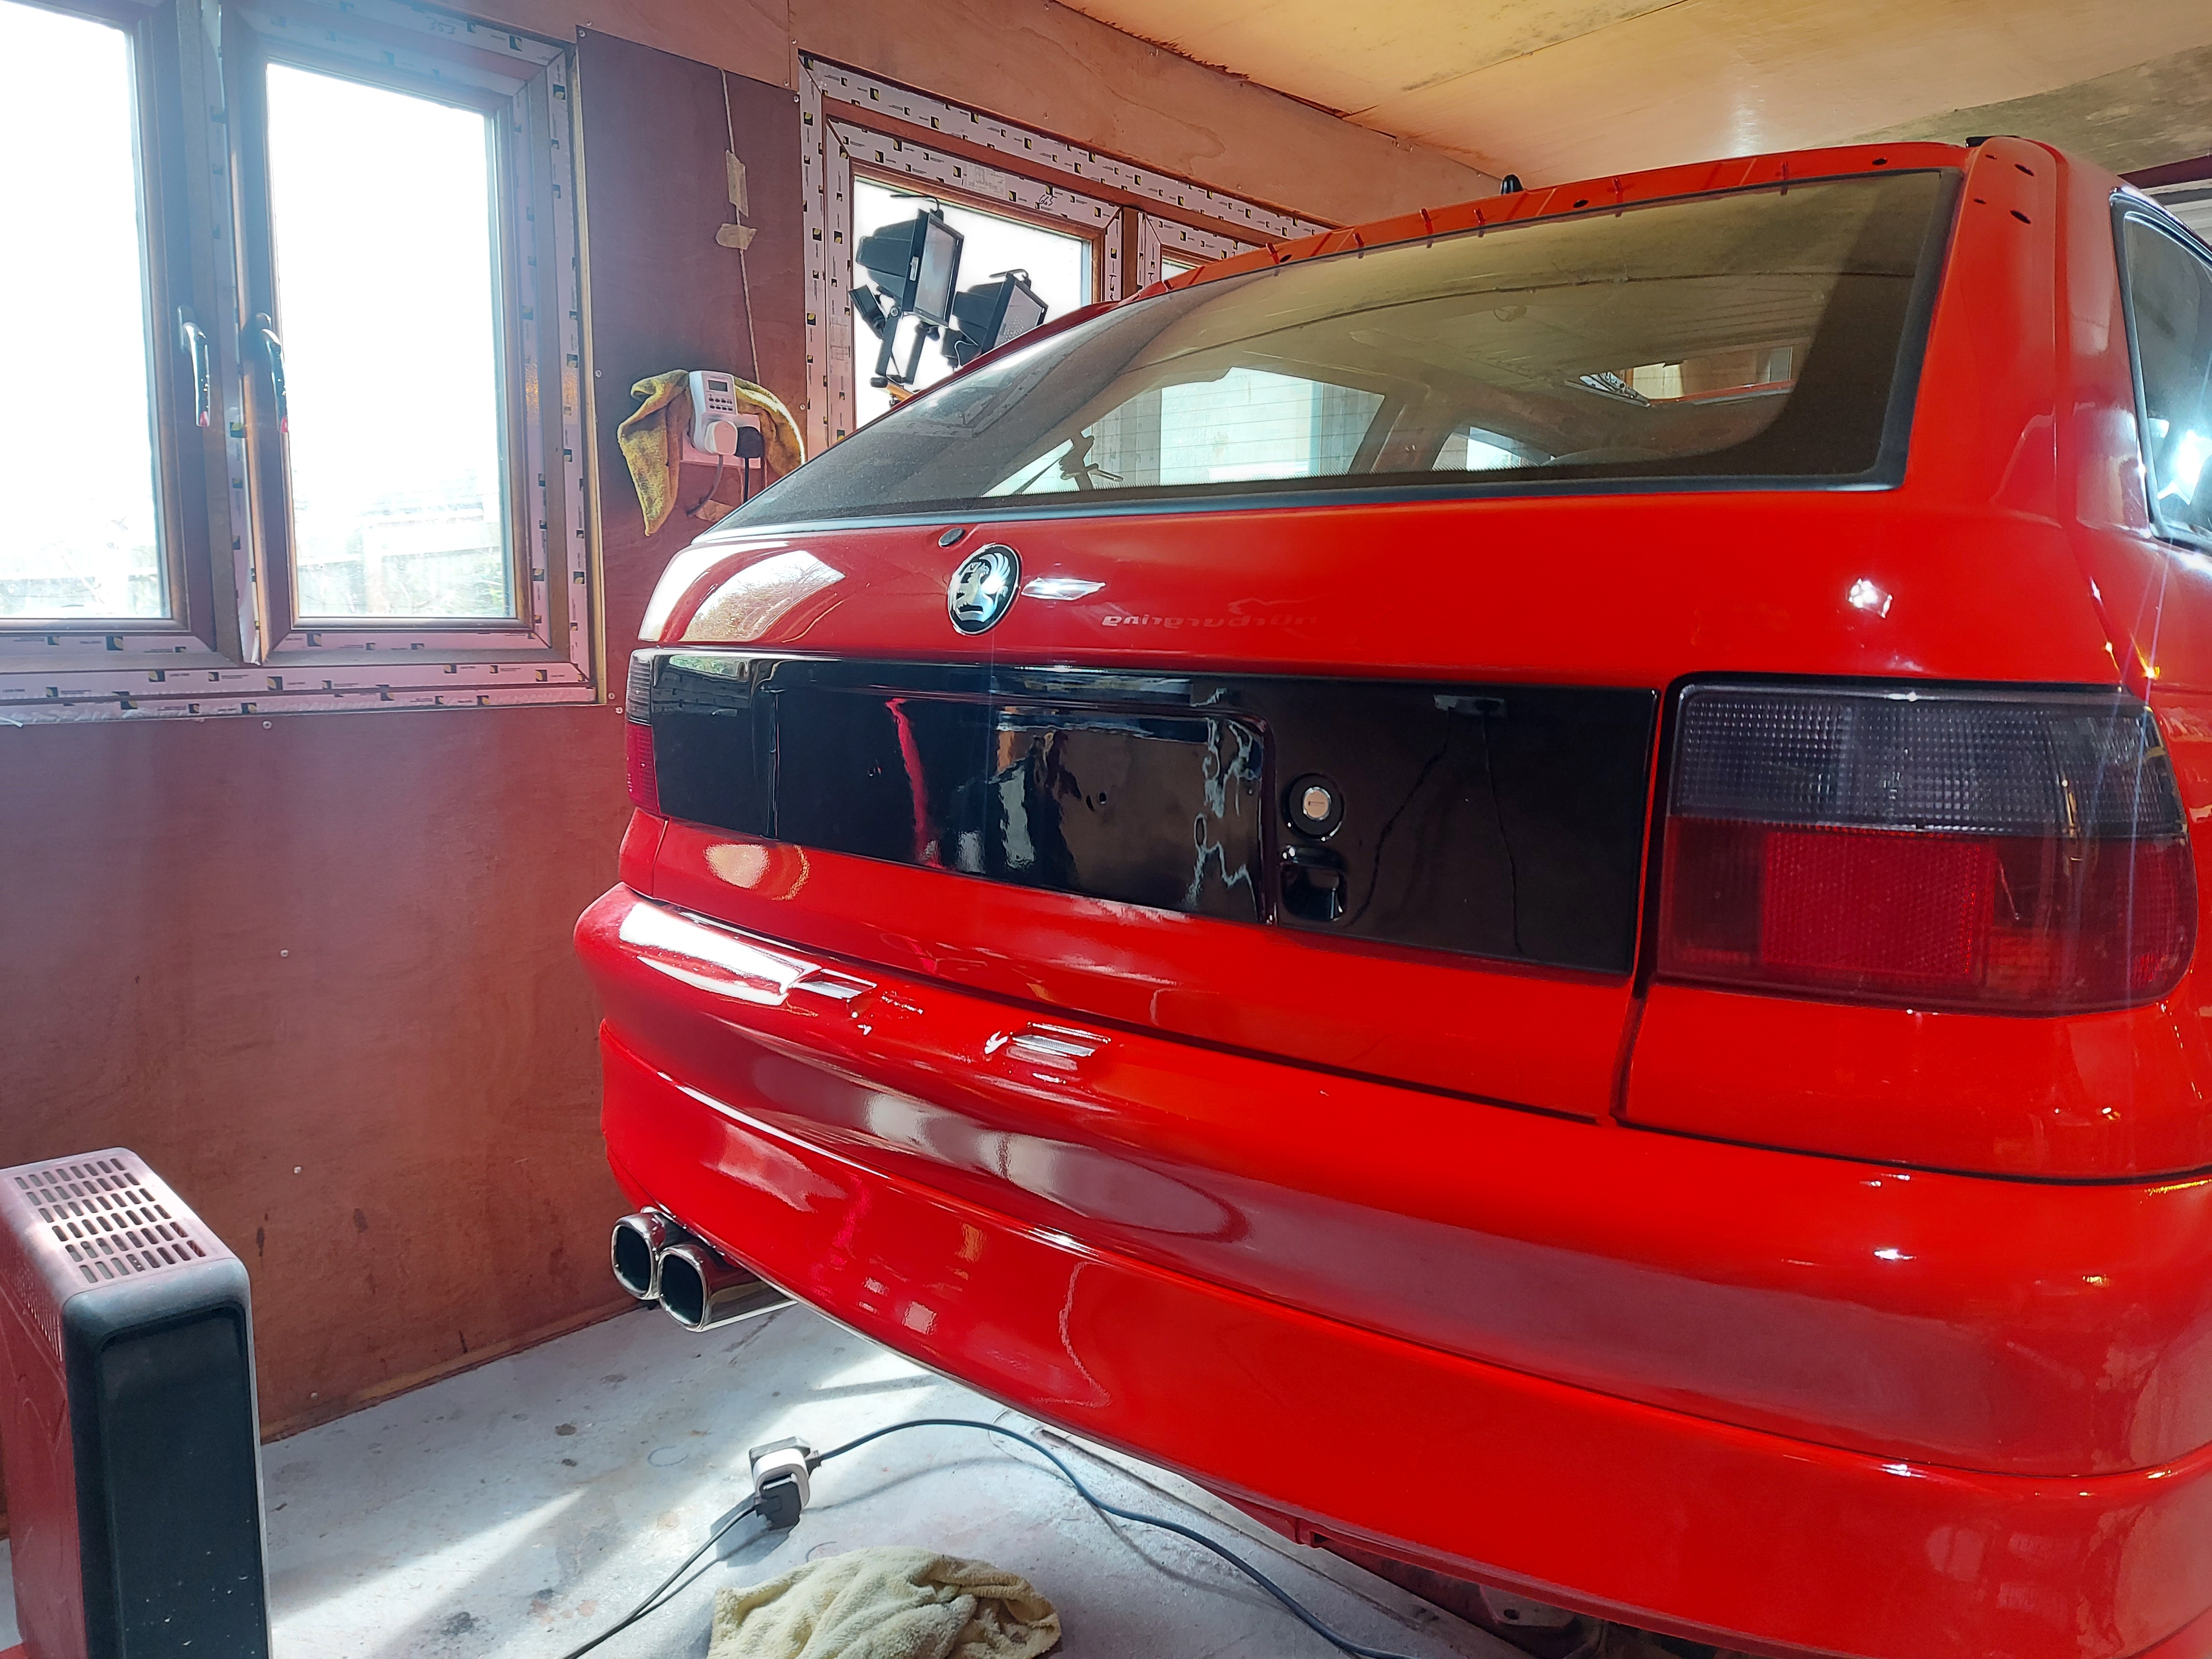
bumper on with ' as bright as the sun' number plate lamps lol

full

full

full


led tail lights and number plate lights...

full


their a bit bright haha
 
Have to say looks stunning
 
I do like the 2nd boot light, what plastic did you use for the mud flaps
 
I do like the 2nd boot light, what plastic did you use for the mud flaps
to cover them do you mean? The mud flap thing its self it just a part of the structure of the bumper, pretty sure you know that but just checking lol.

The clear stuff was PPF clear tap stuff, or helicopter tape I call it. This was actually off ebay for protecting mountain bike frames lol. but same stuff!

 
That looks stunning, Really like the LEDs youve done as well!

What LED's have you used for the boot lights? Just struggle to find decent quality led panels and i know you wouldn't use something thats crap hah
 
That looks stunning, Really like the LEDs youve done as well!

What LED's have you used for the boot lights? Just struggle to find decent quality led panels and i know you wouldn't use something thats crap hah

Thanks mate, I'm really pleased with how the bits are turning out!

I used these


I haven't got any idea how long they will last etc, but quality seems good an to be honest, this is literally the only thing I could find which would do the job in terms of been a flat short led for the grab handles and boot light!
 
Last edited:
Well there has been a small amount of progress on this, but tbh I was massively concentrating on the Megane track car which got new suspension and interior strip, geo setup an did a track day at snett. The Levelling frames for the scales I welded together myself at work, 7mm Ally right angle Tig welded together. Very proud of them actually. With a car on them they have 0.5mm flex in the middle :)

it was epic lol

full

full


So not a lot of spare time going on there! But mainly I have been waiting on the head lining to be done. It has taken a fair while for the chap to get hold of the material, but also the guy doing it is local, very old and works in a big metal shed. So if it cold, he doesn't work lol.
I have had to chase him like buggery. Finally the sun shade is done, so that can go back in, along with the glass. Hopefully the headlining in done this week!

So I managed to get back out in the workshop again. First thing, I finished wet flatting the passenger front door and passenger wing. So that is the whole car flatted and ceramic coated :).... well, apart from the front bumper and grill which just need running over with the mop as they didn't get sprayed.

full

full


So next up is the in tank fuel pump....

So originally in order to get the new AN fittings to meet the fuel pump, I cut off the standard hose tail, turned that into the hole for the wiring and made a hole for a bulk head AN fitting.
At the time, I wasn't completely happy with this and you know me, It played on my mind, So I have revisited it and glad I did.

The ' fuel safe' rubber grommet had gone soft and was loose in the hole and the fuel safe sealant I used had become dislodged and melted....... ebay for ya! Also the heat shrink I used on the wiring had started to fall off too. The whole thing is just pants and not up to my standard.

full

full


Also the rubber hose I used had already soft and swelled up! Make sure you spend the right money everyone and don't cut costs! I then did some research and realised fuel proof is not the same as submersible proof....

full

full

full


So I have decided to make my own from scratch...

100mm stainless laser cut plate

full


Tig'd on the OE bracket for the fuel pump cradle

full


Bought a stainless AN6 fitting and a Stainless hose tail and welded them together

full

full

full


This is done to give me the shortest adapter possible to mount the AN fitting as low as possible. I drilled the small hole to drop the fitting into for welding, but it didn't allow the fitting of a right angle AN fitting so I drilled the hole bigger using a step drill and have fitted the fitting flush. As you can see, this gets the fitting as low as possible to then have a right angle AN fitting on top, being mindful of the rear seats being directly over the top. I hoping to get the OE bung to still fit too!

full

full


Just needs welding in place, gonna do that tomorrow!

Also fitted the black panel to the boot

full


Shiny!
 

Users who are viewing this thread

Back
Top