Want to remove ads? Become a MK3OC Club Member today!
You are using an out of date browser. It may not display this or other websites correctly.
You should upgrade or use an alternative browser.
You should upgrade or use an alternative browser.
A mk2 is born!
- Thread starter tonka666
- Start date
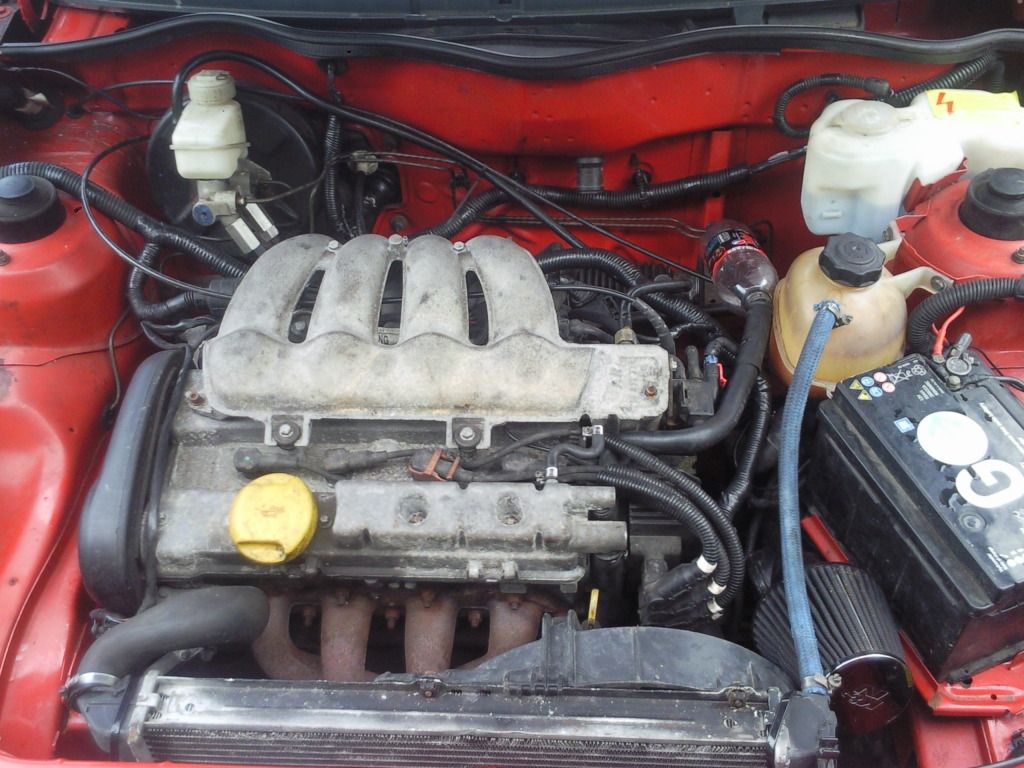
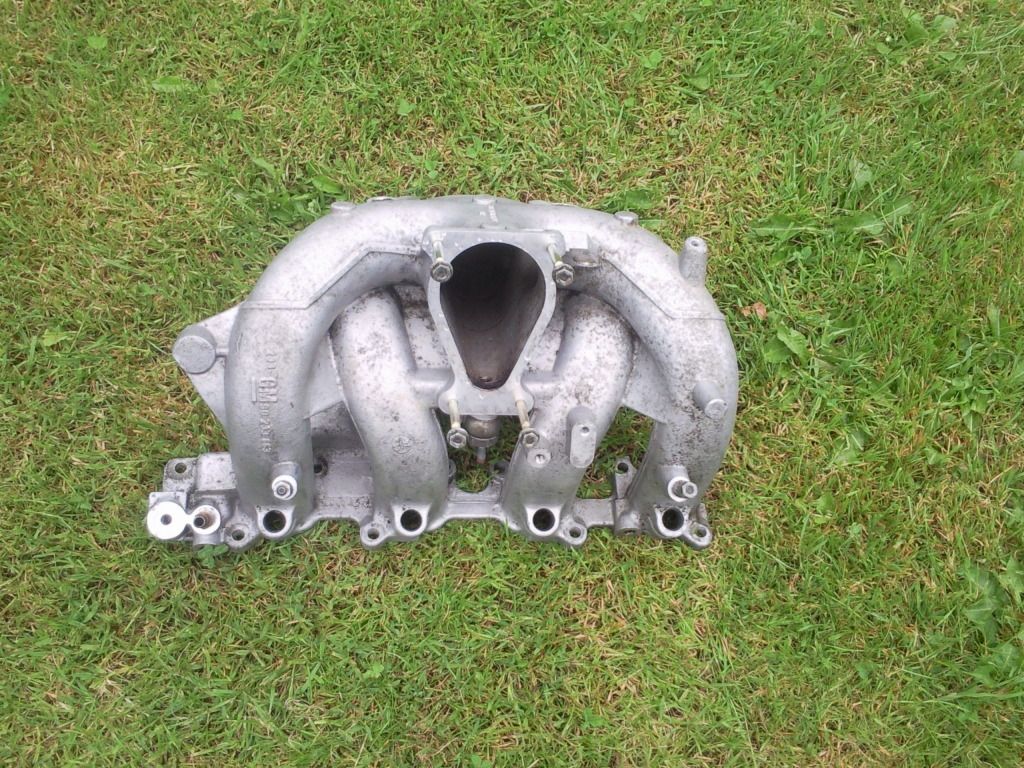
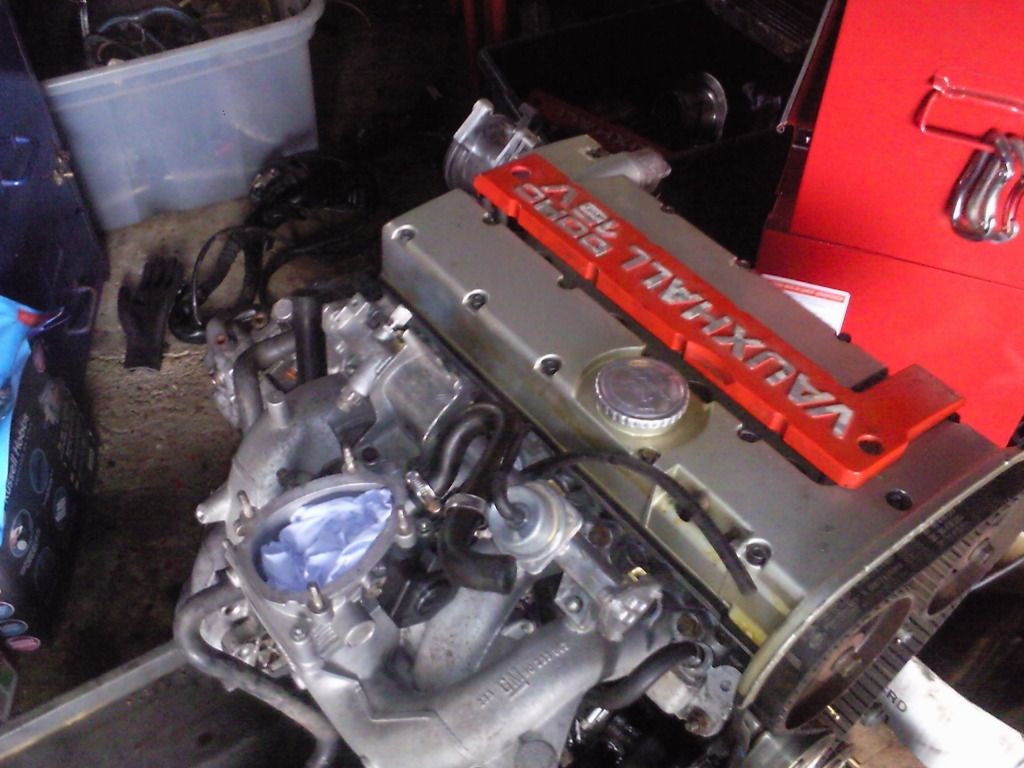
Got myself a sump from the scrappy and the engine was in a mk3! can't be many x14 engined mk3's about. Removed my manifold downpipe to swap my sump and managed to break 2 out of 4 bolts not happy so the manifold had to come off which was more sucessfull with no broken studs! I managed to drill one out without damaging the threads the other was not so sucessfull but i can put a bolt through it and put a nut on the end so not a prob. It will be getting a better manifold soon so not too bothered anyway. All things being well should be ready for first start tomorrow.
Big update time good news and bad Got the x14 in and all working no issues great engine
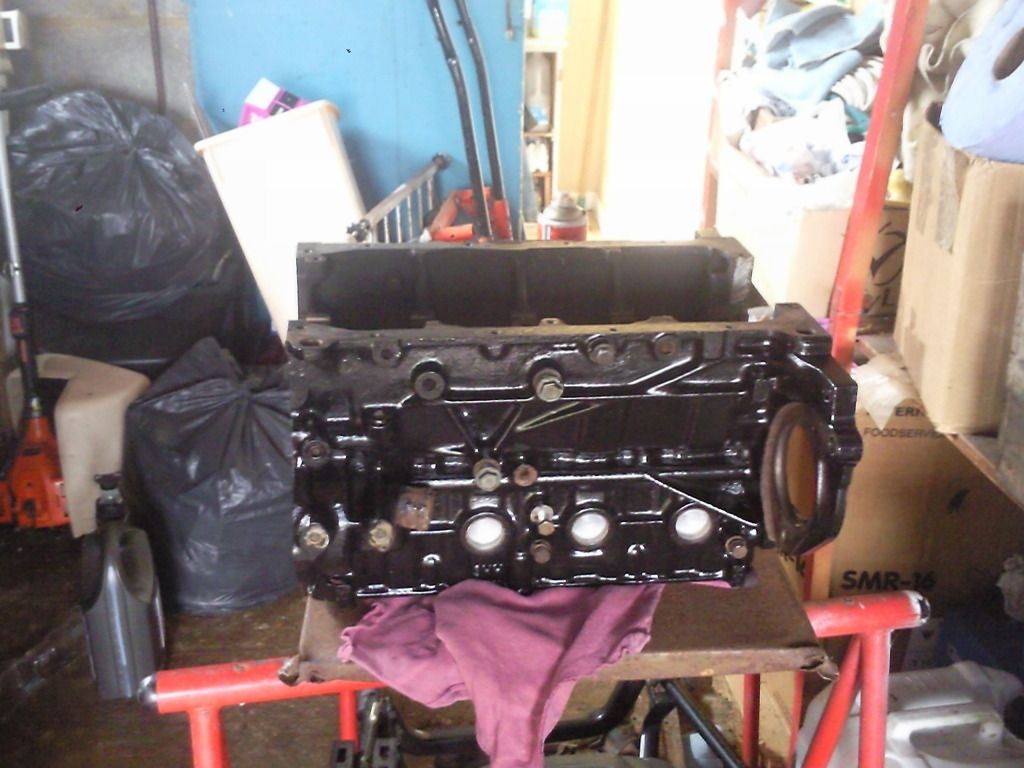
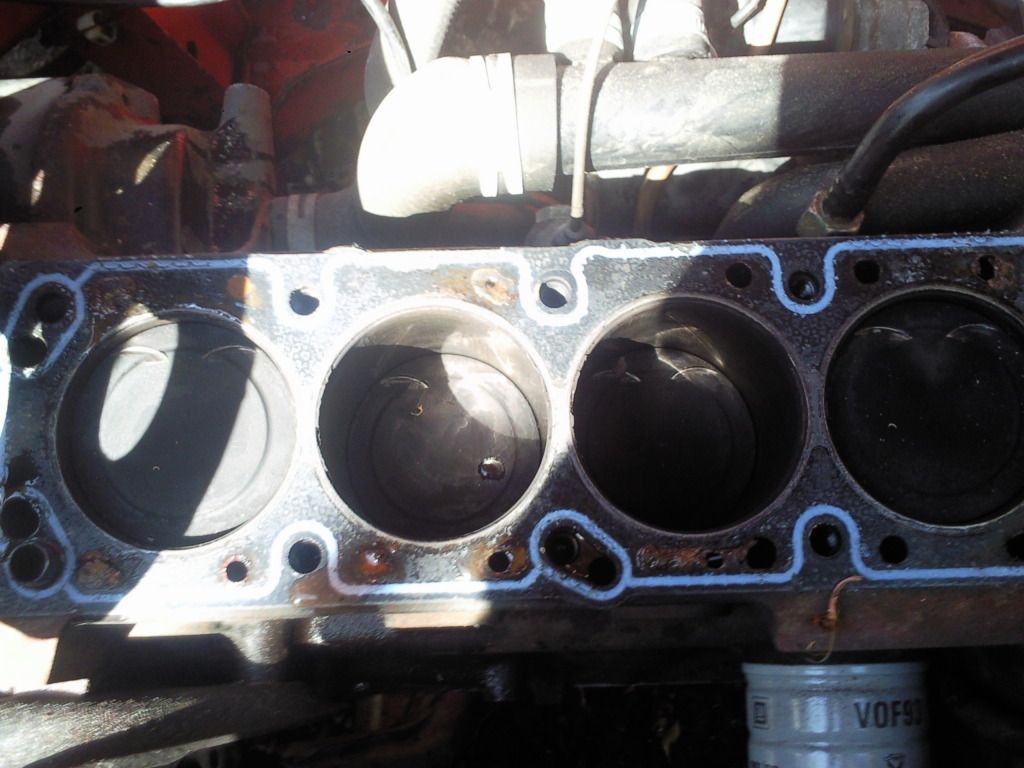
Then disaster struck on tuesday part of the cambelt cover decided to re-time the crank so had the car on the road for all of 5 days and the engine is dead. But i have a couple of c20xe's in reserve so i decided to put the one i just stripped back together just a basic rebuild is needed on this one so i ordered all the gaskets and bolts i need from autovaux yesterday and got on with cleaning up my pile of redtop parts.

Block de-greased and painted
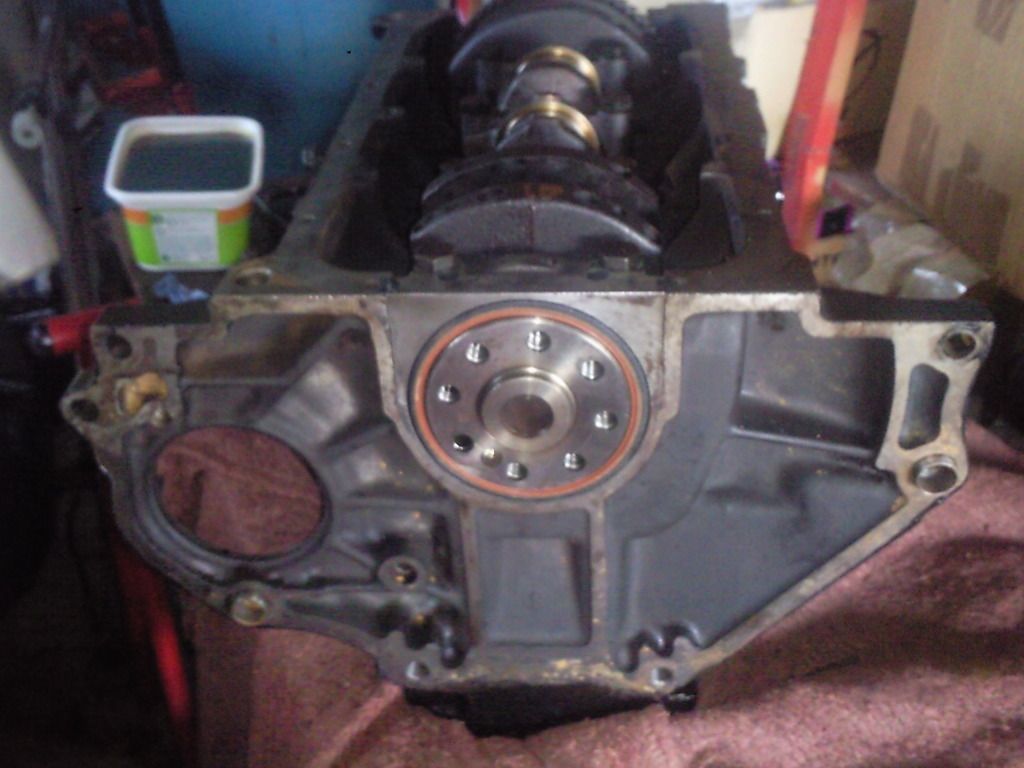
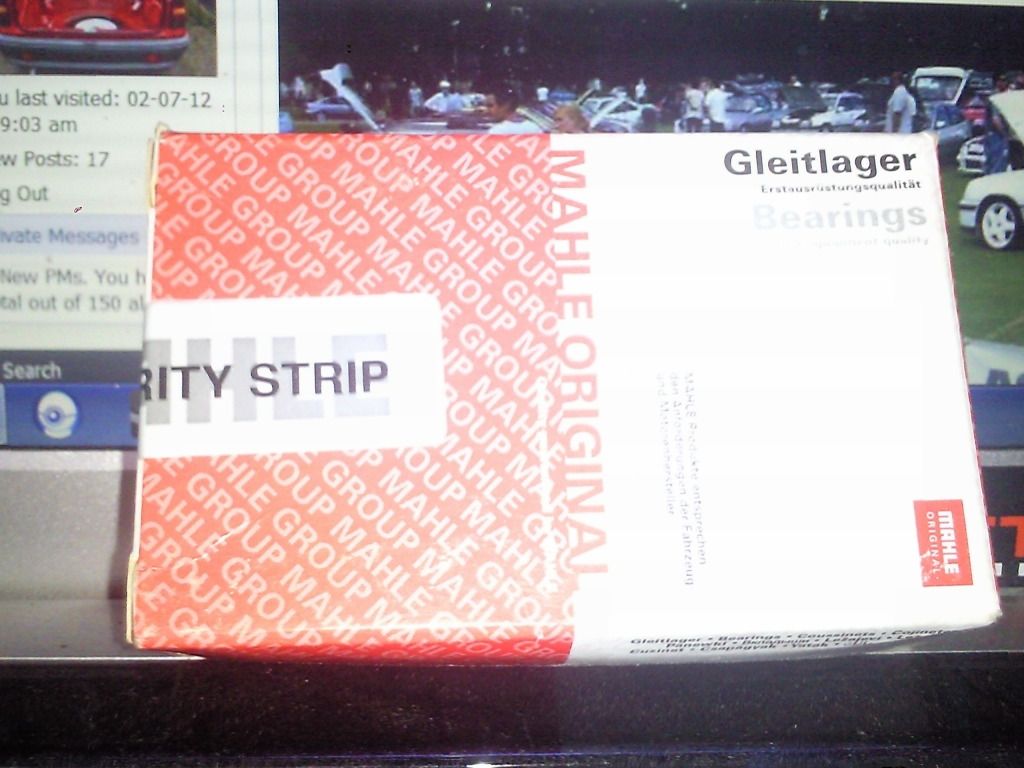
Then my parts arrived 24hr delivery well impressed with autovaux as usual so i got on with fitting the crank oil pump and crank seals
crank in

Big crank seal
Small crank seal and oil pump and housing
And thats all for today more to come soon
Then disaster struck on tuesday part of the cambelt cover decided to re-time the crank so had the car on the road for all of 5 days and the engine is dead.
But i have a couple of c20xe's in reserve so i decided to put the one i just stripped back together just a basic rebuild is needed on this one so i ordered all the gaskets and bolts i need from autovaux yesterday and got on with cleaning up my pile of redtop parts.
Block de-greased and painted
Then my parts arrived 24hr delivery well impressed with autovaux as usual so i got on with fitting the crank oil pump and crank seals
crank in
Big crank seal
Small crank seal and oil pump and housing
And thats all for today more to come soon
Thats some real bad luck with the x14 engine..
Yea cheers at least i didn't spend a fortune on it and its one i can tick off the list just to prove it actually ran i have a vid of the first start - exhaust
http://youtu.be/viVIUrVXd9g
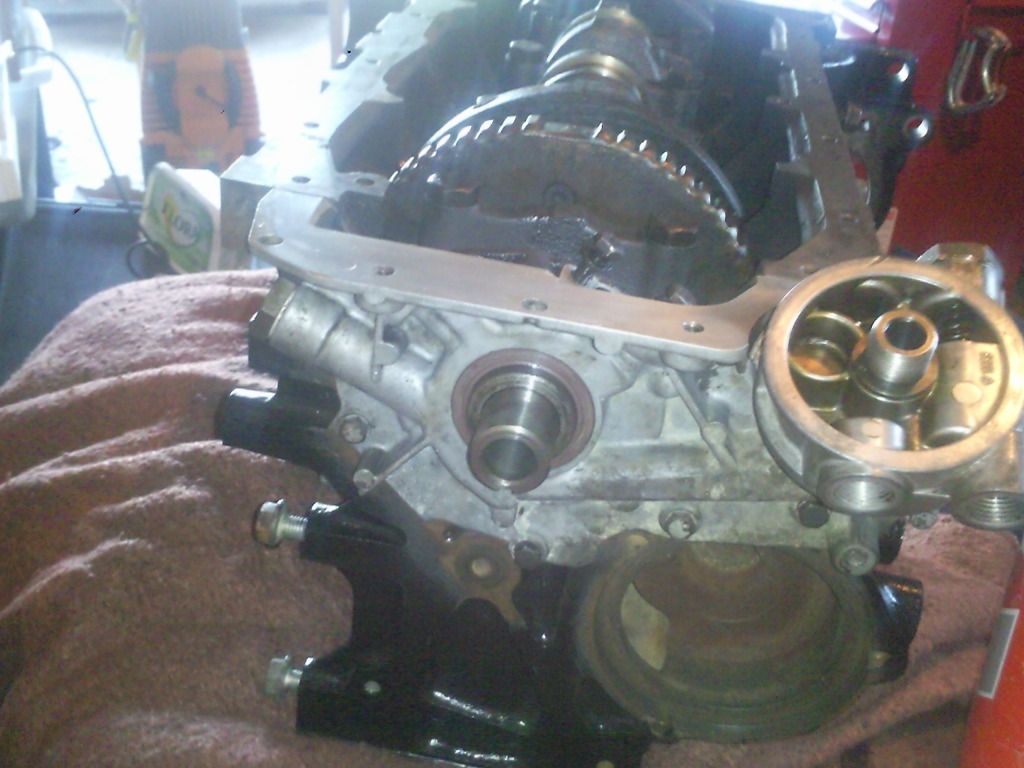
Made some good progress on the xe got the bottom end all built back up with new mahle main and big end bearings
Bottom end all built up ready for some good head
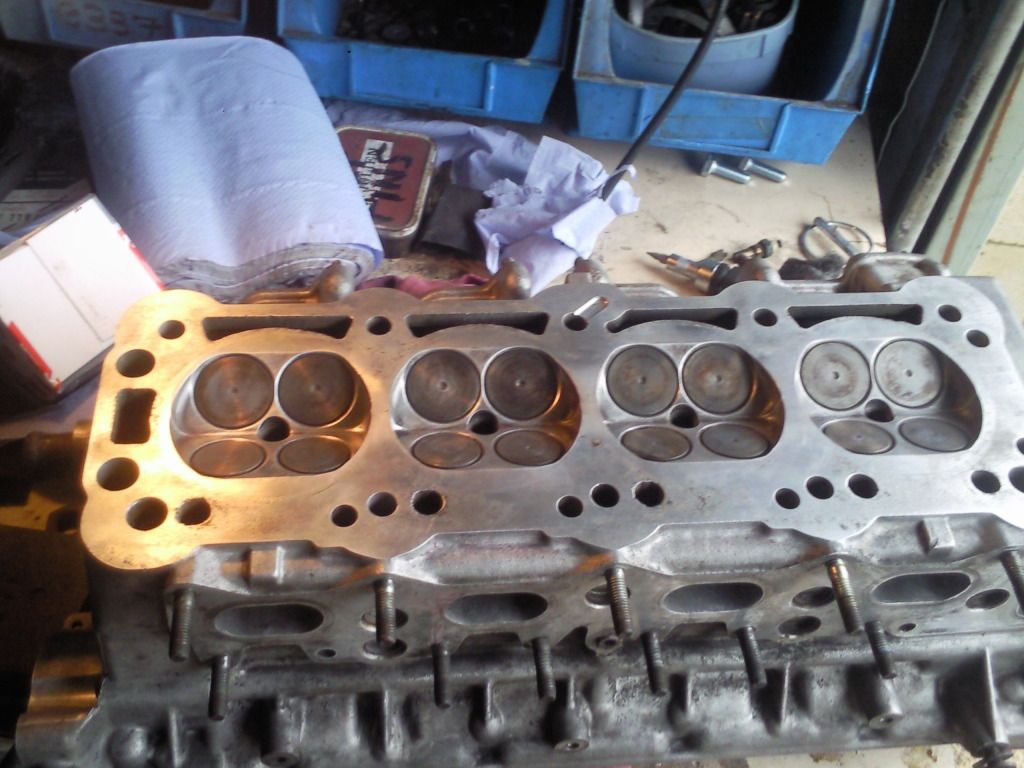
Cylinder head and valves all de-carbonized exhaust ports given a bit of smoothing too
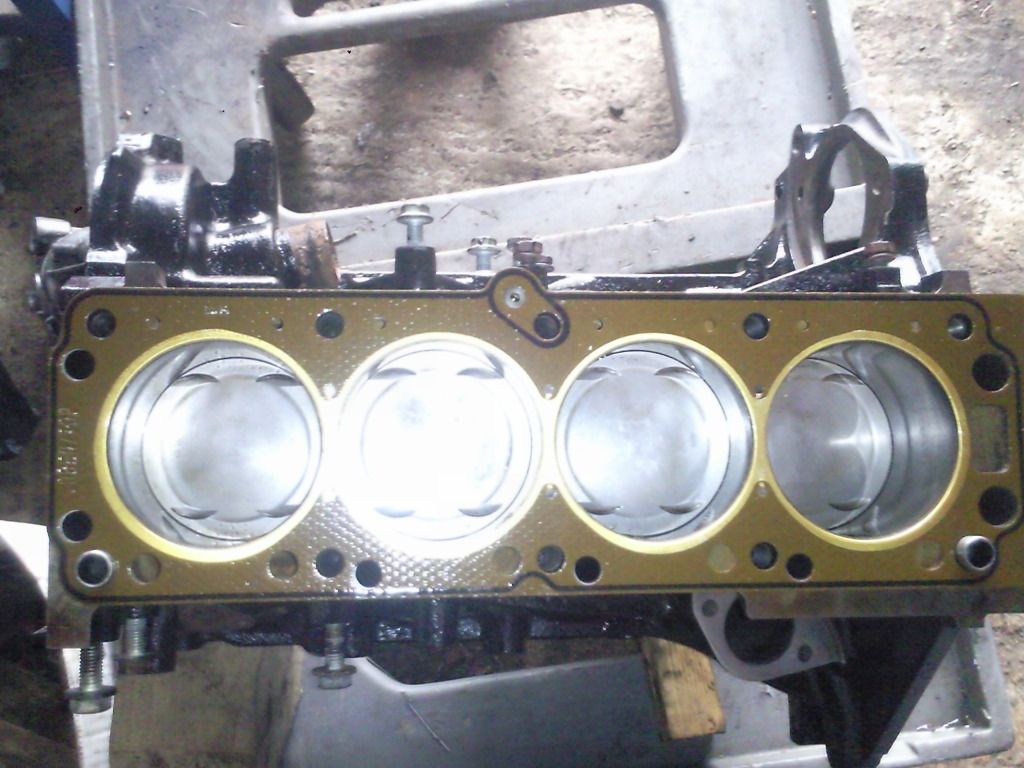
New Hg in place
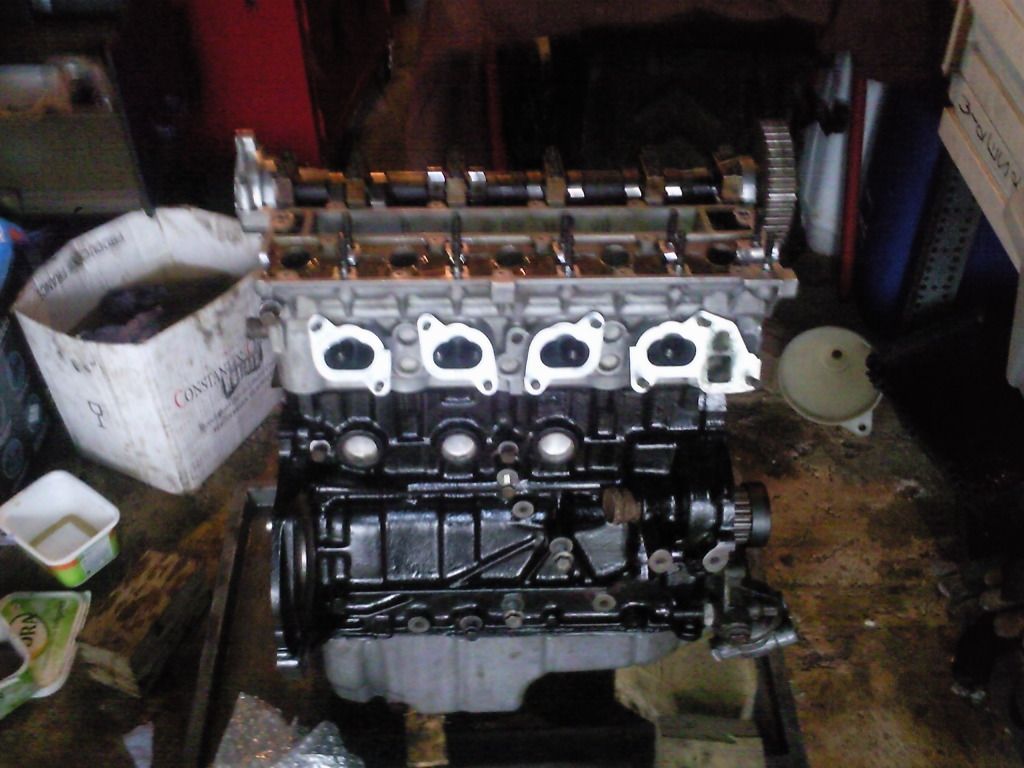
Last job of the day, head fitted and torqued and exhaust cam and caps fitted
Bottom end all built up ready for some good head
Cylinder head and valves all de-carbonized exhaust ports given a bit of smoothing too
New Hg in place
Last job of the day, head fitted and torqued and exhaust cam and caps fitted
Looks tasty. Can't wait to see it fire up!
Cheers guys!
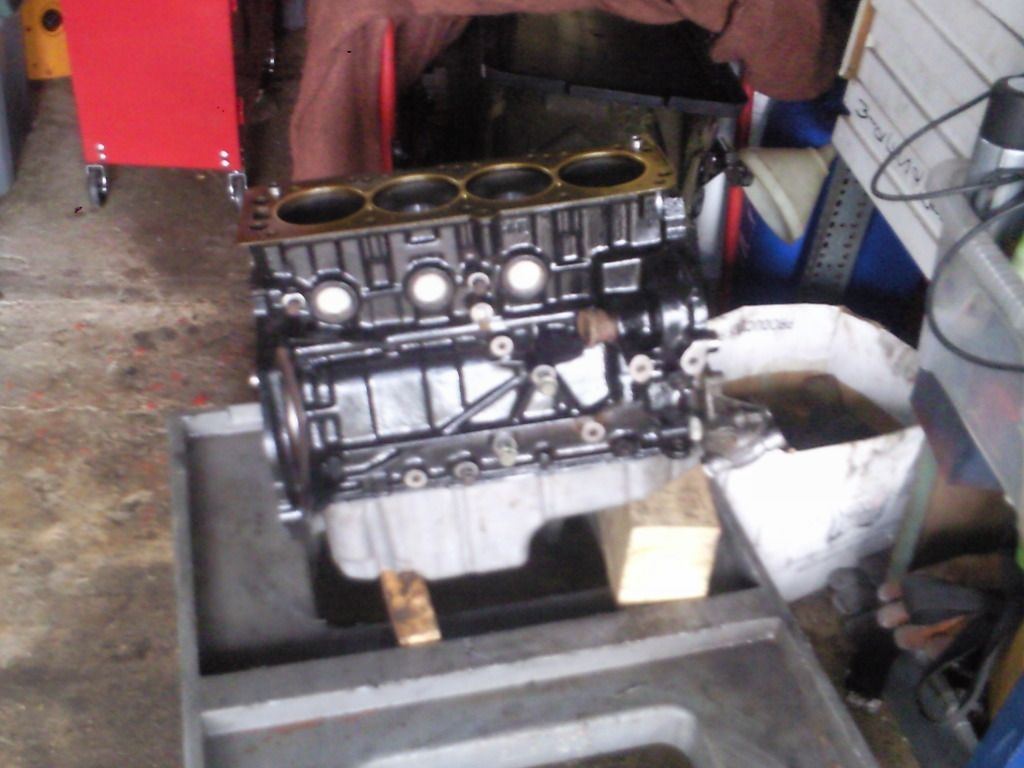
Got the xe all built up! Dragged my f18 cr out of storage and gave it a good clean then decided i wanted my dizzy shiney. I wish i hadn't started now but it will match my oil cap! Stayed up till 2 am last night smoothing the inside of the inlet manifold too you do one part and it starts to spiral out of control, but i will have the engine in by friday!
Got the xe all built up! Dragged my f18 cr out of storage and gave it a good clean then decided i wanted my dizzy shiney. I wish i hadn't started now but it will match my oil cap! Stayed up till 2 am last night smoothing the inside of the inlet manifold too you do one part and it starts to spiral out of control, but i will have the engine in by friday!
Picture time engine is not in yet but its ready to go been doing a few more cleaning and painting jobs just want the stupid rain to stop for a few hours.
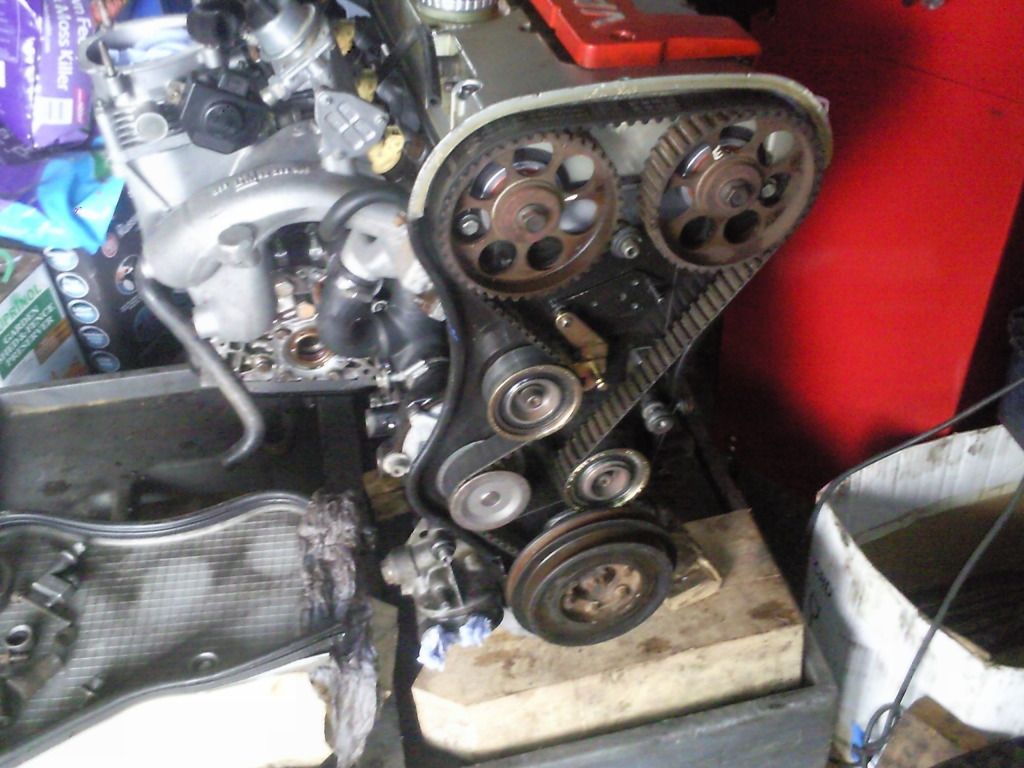
Cambelt and waterpump all on
The original and still the best")
Painted my belt cover satin black too as most of the original paint had flaked off going to do a spare cam cover to match but fed up with sanding at the mo
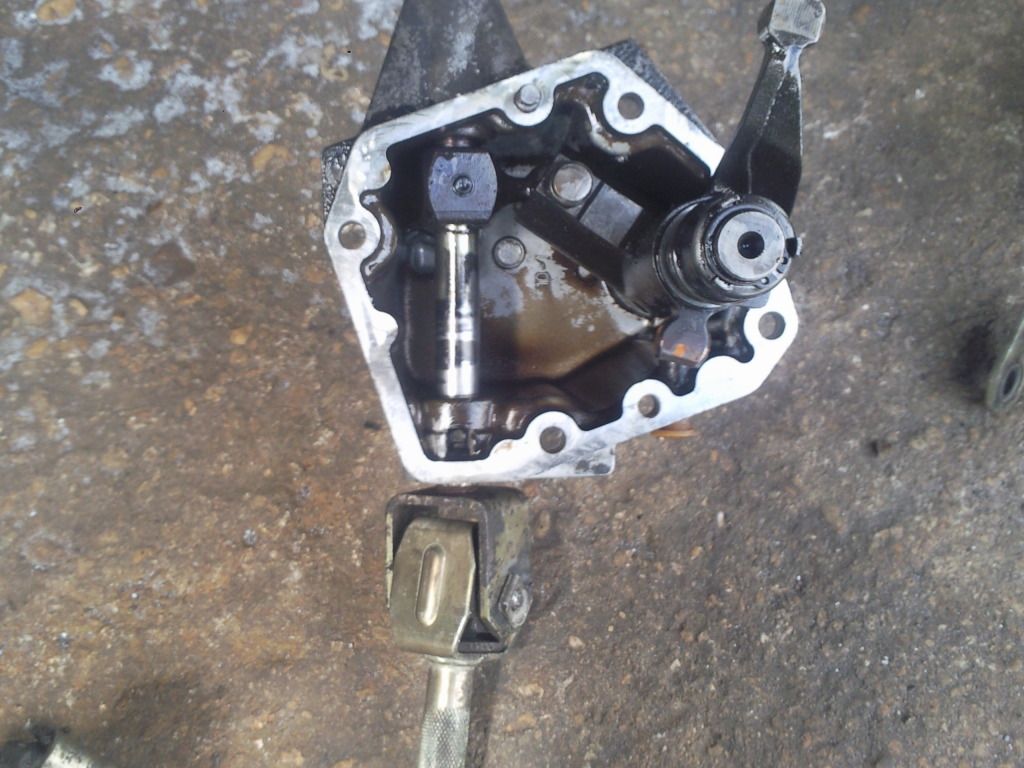
And fitted the f18 and mk2 8v selector which is much better than the over complicated mk2 16v/mk3 set up
Cambelt and waterpump all on
The original and still the best
Painted my belt cover satin black too as most of the original paint had flaked off going to do a spare cam cover to match but fed up with sanding at the mo
And fitted the f18 and mk2 8v selector which is much better than the over complicated mk2 16v/mk3 set up
looking good mate will be a true sleeper when its done
Cheers mate thats what i am going for just need some 15inch steelies to compleate the look. Got a 1300 s badge off a mk1 to go on the back toolooking good mate will be a true sleeper when its done
")
Engine no3 is in!!
Had a couple of issues with the f18 the rear engine mount fouls a lug on the box and also the drain plug so a couple of minutes with the grinder was required i cut the lug off the box and made a small indent on the mount so it fits with the drain plug. Got the 16v shafts on and most of it back together just got to fit the rad run the ecu wiring and change the clutch cable. Should be firing her up tomorrow.
Had a couple of issues with the f18 the rear engine mount fouls a lug on the box and also the drain plug so a couple of minutes with the grinder was required i cut the lug off the box and made a small indent on the mount so it fits with the drain plug. Got the 16v shafts on and most of it back together just got to fit the rad run the ecu wiring and change the clutch cable. Should be firing her up tomorrow.
Not started her yet had several issues like water pipes and radiator which i have managed to squeeze in a derv rad and fan just! Then the gear selector wouldn't move turns out the f18 had selected a gear all on its own and it needs to be in neutral to fit the selecter properly so i had to fiddle about inside the box to get it out of gear. While the 8v selecter was off i noticed a difference in f18 internals compared to the mk2 8v.
Mk2 f10 selecter on right f18 on left

So i decided to use the original f18 selecter modified to an 8v rod
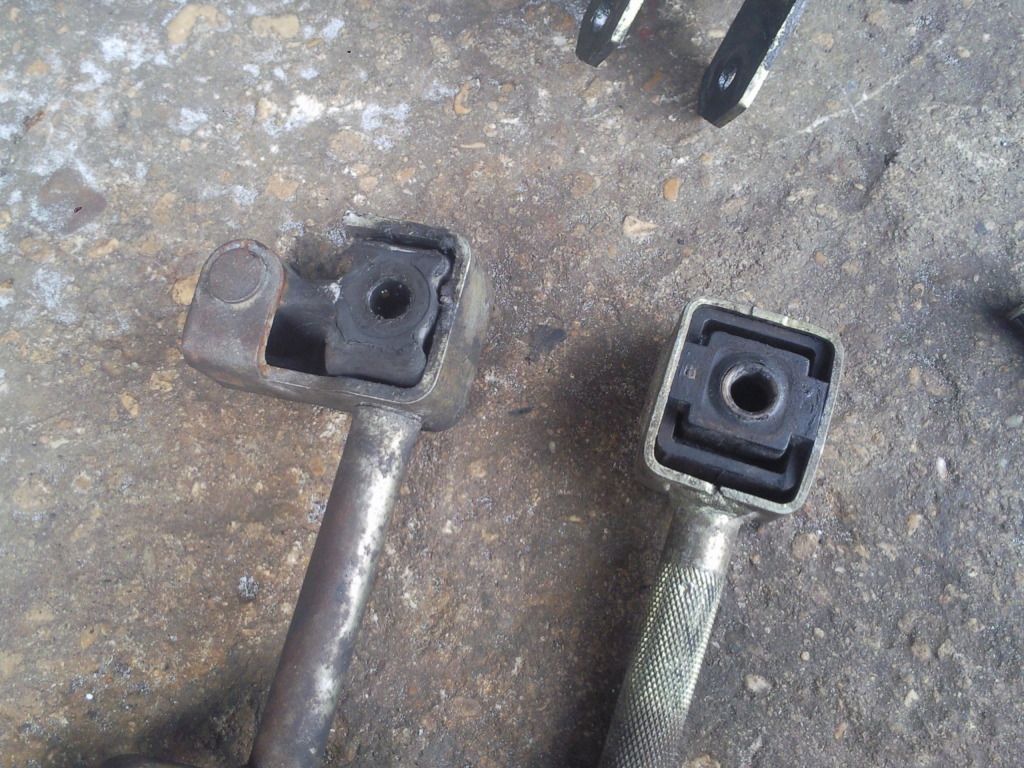
Fitted it set up the gears and all is at peace with the world once more.
Mk2 f10 selecter on right f18 on left
So i decided to use the original f18 selecter modified to an 8v rod
Fitted it set up the gears and all is at peace with the world once more.
Good progress! Good luck getting it all started 
Users who are viewing this thread
Total: 2 (members: 0, guests: 2)