Want to remove ads? Become a MK3OC Club Member today!

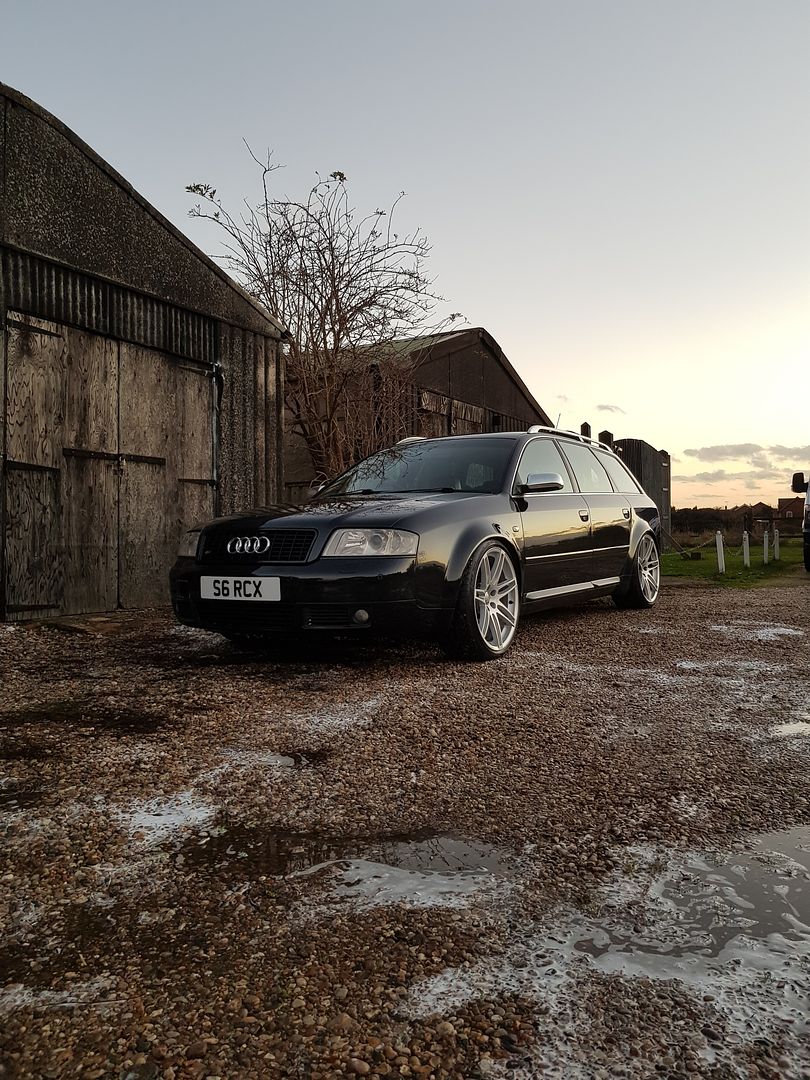
Ronnie's S6 Avant - V8 Family car

All has been good in Audi world, nothings gone wrong, just a maintenance update.

Had a lot of fun with this in the snow! Being the locked mechanical Quattro it was so predictable. I went out everywhere even in the blizzrds!

20180227_082630_zpsvyjoz6oq.jpg

20180227_082641_zpstoiqw1ly.jpg

20180227_082613_zpst9zmp5bs.jpg

20180301_091422_zpsv89xxasw.jpg

20180301_211317_zps2aas80vj.jpg

20180302_090244_zpscergejro.jpg

20180302_090233_zpsfqrxlsse.jpg

Once all that fun was out of the way it was MOT time again so got it in for a check over

20180308_175634_zpskk99huxw.jpg

With this puppy on full blast!

20180319_152345_zpsat1qmk4z.jpg

The front discs and pads were very low and a busy was knackered on the rear upper wishbone. I couldn't find anywhere that would just do the bushes so had to buy the whole wishbone, and low and behold... they're different on the V8 models to all other A6 and Passat Quattro. The joys of S6 ownership! :lol: TPS managed to get one in from Germany but it took 5 days!

20180308_175931_zps2keaifpv.jpg

It was due its service too so got a filter too and the 9 litres of oil needed!

20180308_175920_zps27dex1v5.jpg

Oil dumped... so much oil!

20180308_180805_zpsvfic69c6.jpg

On to the rear arm

20180308_192202_zpsmx2csvz4.jpg

Had to remove the coilovers to get to the inner bolts

20180308_200658_zpszedbww8i.jpg

And off

20180308_195613_zpsg4ovbo7b.jpg

Old vs new

20180308_201626_zpsd4vcgbem.jpg

And all back together

20180308_213735_zps5tq7gazz.jpg

And a delivery for the front

20180319_151725_zpsxi3zbxh8.jpg

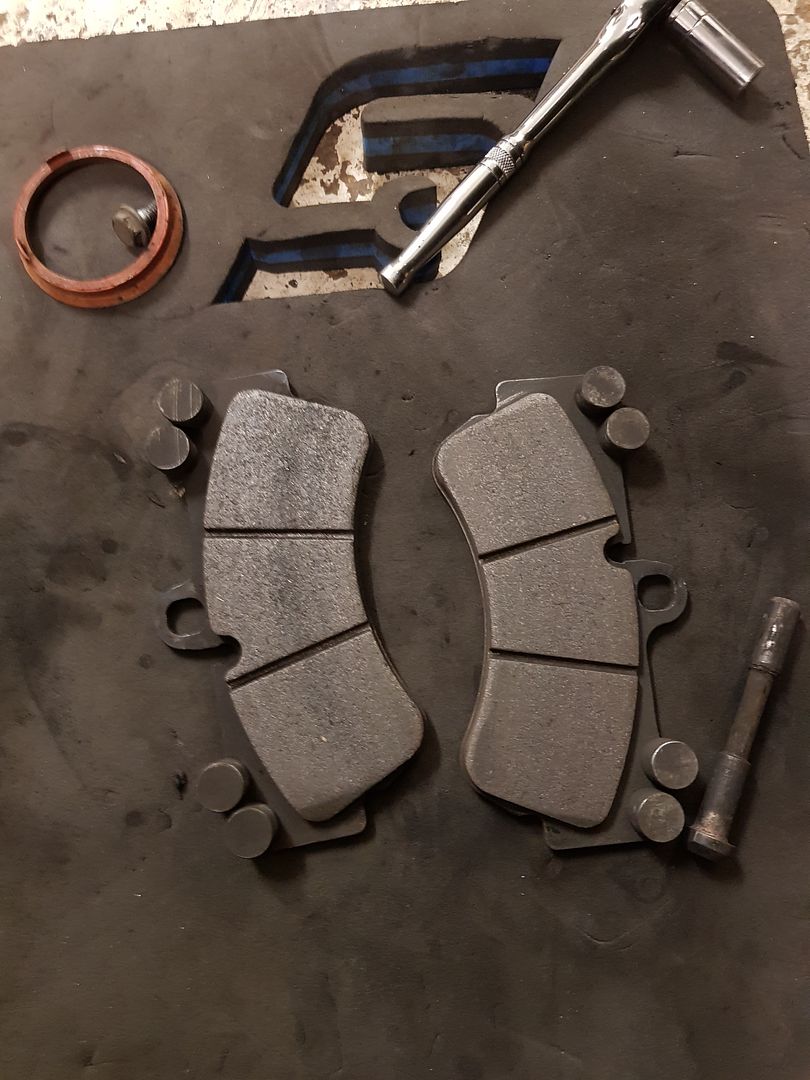
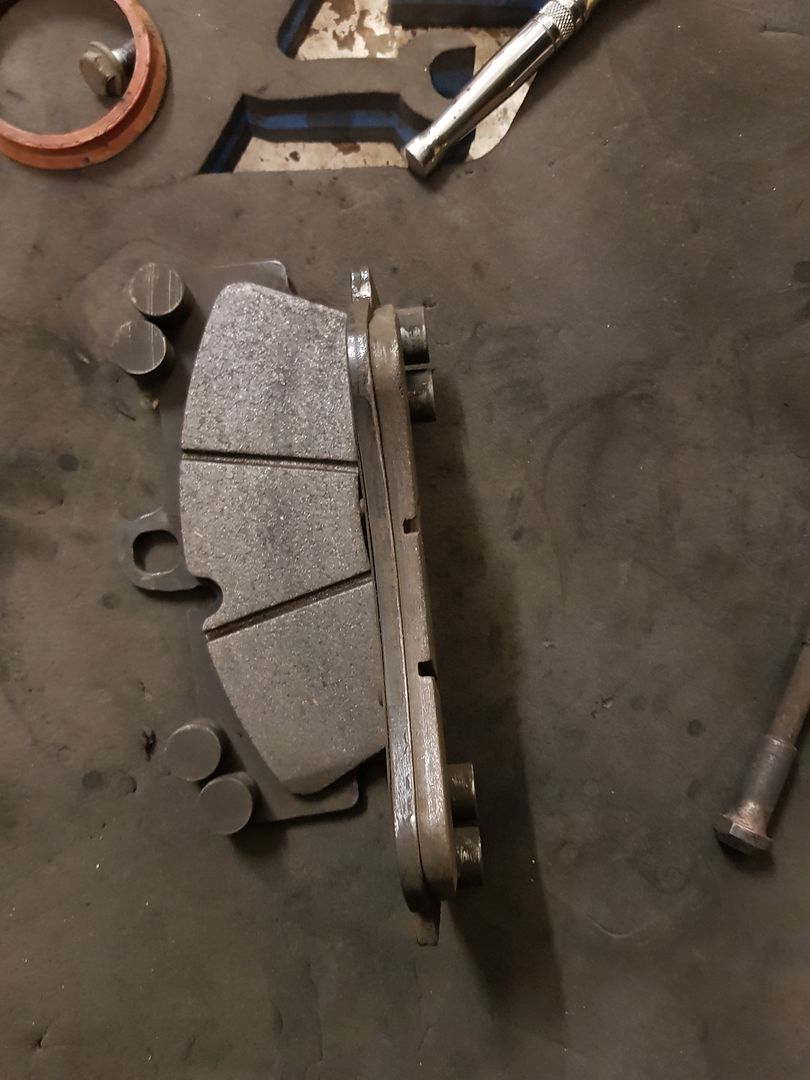
2006 Mercedes ML500 350x32mm discs and Porsche Cayenne 17z pads, is forgotten how huge these bloodly things were! And heavy!!


20180319_151955_zpsbcmzz81t.jpg

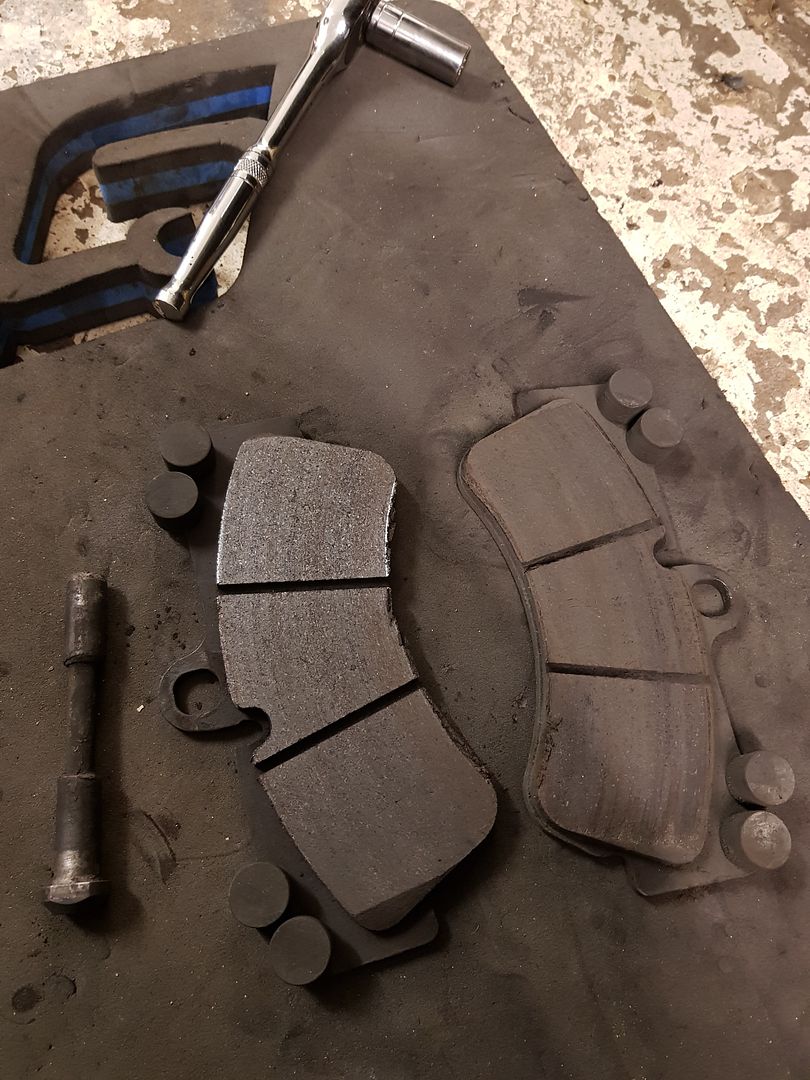
Pads were almost down to the backplates and discs have taken a hammering. I can't fault them. I drive this thing like a 2 ton hot hatch every day and it stops on the button every time. Discs aren't horrendous, only £99 from m-tec for the pair. They've lasted about 15k of hard miles!

20180319_152402_zpsm4nwjzbc.jpg

20180319_152443_zpscgy5ud8p.jpg


20180319_152437_001_zpsnprddloc.jpg

And all new!

20180319_155710_002_zpsyh1kl9eg.jpg

And the other side the same

20180319_160124_zpsju0k13wf.jpg

20180319_160836_zpscfuwvcqv.jpg

Flushed half a litre of brake fluid through but there wasn't any problems of what came out.

20180319_165321_zpsuqcxhlvq.jpg

And then it was MOT time :)

20180222_132342_zpssz35yzi2.jpg

The only thing I had forgot about was I take the side lights out as they look ****, looks loads better with just the projector beam..... but I'd forgot to put them back in lmao.

But flew through the emissions again with all the cats removed :) so green!

20180224_214611_zpsncmg7kcj.jpg

Good for another year :)
 
It's been quite a while since an update, but that's because all has been well with the car :)

It's been serving as a great family car and commuter racking up a few miles, popped up to snetterton to watch a few races

20180415_133443_zps1klbw8eh.jpg

And to Santa Pod too

20180617_115830_zpsf3cn6ibt.jpg

As well as a few trips to hospital with broken bones :lol:

20180328_233126_zpsnaimjslb.jpg

It's also the daily and one problem with working at a port is constant seagull **** :(

20180607_053338_zpsriek104n.jpg

20180613_130459_zpshqj21fxd.jpg

20180528_125818_zpskalxwpmw.jpg

This bugger left foot prints!

20180623_065829_zpso6chnmiy.jpg

So it gets washed very regularly and still looks good :)

20180616_091701_zps5bweqlcz.jpg

Last week I had to get a pair of tyres for the front so I spoke to a good friend of mine Graeme at We fit any tyres and he sorted me out with another couple of Super Sports

Screenshot_20180627-223726_zpsqgggfmnl.png

I had started to notice a few drips of oil on the drive lately so had a look underneath and found the engine sump was seeping

20180626_102626_zpsnpzlkknb.jpg

But more so the rear output shaft oil seal on the transfer box was leaking

20180626_102633_zpsuy11dqjn.jpg

So called TPS and got a new oil seal and fluid for the transfer box and new sealer for the sump

20180626_102647_zpsk9xltqjs.jpg

Started at the front and dropped the sump

20180626_105842_zpshvqqj9yu.jpg

Cleaned everything up ready for the gasket sealer

20180626_112325_zpslzrn5u9m.jpg

20180626_113500_zpsdb6cayoz.jpg

Cleaned up all the bolts as they were covered in sealer


20180626_113603_zpskcjuhf58.jpg

And on


20180626_120221_zps1nmxbyfi.jpg

Next I had to drop the exhaust to get to the prop

20180626_104413_zps31xjkdqk.jpg

20180626_120515_zpsmwx5x5l7.jpg

20180626_120801_zps1x9zlaki.jpg

Prop off

20180626_124748_zpsnn3yxfrw.jpg

Flange off and new seal fitted

20180627_111508_zpsf4xqpojv.jpg

And going back together with new bolts

20180627_115011_zpsvc4uzkxj.jpg

Heat shields cleaned and refitted


20180627_115700_zpsxgbo7vnp.jpg

Some thing I'd noticed before in the past is that my rear suspension bolts had been loose, I think the niloc nuts had worn so I got a new set

20180627_095624_zpsltuxtyup.jpg

Lubed it all up

20180627_095646_zpsfhkhvt6e.jpg

And fitted the new nuts

20180627_115746_zpsb4zbj93n.jpg

One of the camber adjusted bolts was seized solid so am going to have to look into sorting that.

With those on I could refit the exhaust

20180627_120533_zpsruvnhxtm.jpg

And one of my flexys was a bit dodgy and had ripped open when removing the exhaust so had to cut it out


20180627_124150_zpssassexlt.jpg

And banged in a temporary piece


20180627_133604_zpsjmpqesvp.jpg

The decats have been on there since I've had the car and are pretty ghastly, so I've booked it in with a local company to have some nice stainless replacements in a couple of weeks.

I've still got a few things to do but all in all everything is going well :)
 
Nice work mate.. that seagull **** is nasty lol. Good job you're on the ball keeping on top of these little jobs, it's those little things that can build up and make for one huge repair bill if left!
 
As you saw in the previous update one of the exhaust flexys had fallen apart so I temporarily fixed it with a bit of pipe.

The whole decat area was a bit of a bodge, it was already done before I bought it, varied from 1.5inch to 2.5 inch, one corner actually went down to 1.25inch.

20180708_142648_zpslkyiuvow.jpg

20180708_142657_zpsedfiaqnh.jpg

20180708_142725_zpsrevn2jbh.jpg

20180708_142713_zpshcqxzbyx.jpg

So instead of just getting the flexy replaced I took it to a local powerflow to have some replacement decats made up. 2.5 inch all the way through to match the rest of the system

20180710_124453_zpsehylvu18.jpg

Much better

20180730_173534_zpsfegn7m8y.jpg

I also had a remap put on the car by Palmer Performance at the same time, the engine management light had always been on because of the decats, so got that mapped out, and secondary air injection pump got rid of too as it was pointless now. He removed the speed limiter too :cool: the power was upped from 344bhp to 365bhp which is bloody impressive on a normally asperated car, the the torque went up from 320lbft to 340lbft.

It has transformed the car! The throttle response it the biggest difference, is so responsive it's unbelievable. It pulls so much harder, the torque is much more useable, and it's always been fast on the motorway, but now it bloody flies!

Very happy, it's given the car a huge new lease of life! :)
 
Can't believe how much of a mess that exhaust was. It's something you might expect on a shitty old Astra, not an Audi A6 :lol:

I watched your youtube video last night, was great! Making bloody good power now too, amazing gains on N/A!
 
Another thing I got sorted was the passenger side front door had the C5 common problem of sitting on the second latch. It's actually been doing it for the last 2 or 3 years , but I got divorced 2 years ago so no one really sits in the front :lol:

20180902_150350_zpsuylhmref.jpg

I got new catch off eBay, unbranded but £19.99

20180902_150331_zpshan06aje.jpg

Got it out

20180902_152032_zpsz25hpswk.jpg

And solved the problem straight away :) all this time people have been jumping in and never being able to close the door, 20quid and half an hour it's fixed :lol:

I gave this task a little go at vlogging and editing to see how much hassle it was


Didn't come out too bad :)
 
Enjoyed the vlog its what I like to watch! How many and what cameras did you use? Editing takes a ages doesn't it :lol:
 
Enjoyed the vlog its what I like to watch! How many and what cameras did you use? Editing takes a ages doesn't it :lol:

I've got a Sony hx80 and gopro hero4 silver. The gopro seems to have a clearer pic in the video but worse audio. Maybe it's in the settings as the hx80 is supposed to be a fairly decent vlogger. I've got everything just set on auto at the mo :lol:

It makes everything take loads longer thinking about camera angles and filming, very Hollywood, but it is fun. I did spend a long time on the editing, same with everything I do, I get carried away with trying to make it perfect :laugh: I'm happy with the editing for a first go though.
 
Something else that needed attention was the drivers side front wheel bearing. It had been getting noisier and noiser to the point where it over droned the exhaust, and that's saying something on this thing, we had a camping trip in Norfolk coming up so wanted to get it done before the journey.

Got onto TPS for a new wheel bearing.

20180815_201833_zps3wggnfle.jpg

And rolled the Audi in the unit

20180815_191731_zpse6iqwfzy.jpg

Strip down

20180815_192422_zpsv7ioesb5.jpg

20180815_194213_zpsnl24dmr4.jpg

20180815_202042_zpscpeomolt.jpg

It all pretty much fell apart without a lot of effort

20180815_202948_zpsetiz8jtr.jpg

Grinded the inner race off

20180815_203935_zpsg43zsagc.jpg

And tapped the new bearing on

20180815_204943_zpstjf4v8b3.jpg

All went really well untill..........

20180815_221527_zpsncg4r2ug.jpg

I did up the pinch bolt and it suddenly went loose, I thought it'd snapped the bolt, but turned out it had cracked the leg itself :cry:

20180818_123815_zpsgr03g3ok.jpg

20180818_123920_zpsvosu4mi2.jpg

Years of it coming on and off on and off had finally taken it's toll!

This put me in a real shitter, I was supposed to be off on holiday in a few days, and I knew S6 parts were hard to get hold of at the best of times :cry:

I did a bit of research and part number goofing to see what else the legs were fitted to, I know there was different types as Euro car parts sent me arms with the wrong size ball joints before. It looked like the S6 and RS6 get their wide body track from wider wheel bearings, it shares the legs them selves with other V6 quattro A6's. And the part numbers confirmed this.

So got on to eBay and there were a few V6 alloy legs, but hundreds of pounds and miles away! But then spotted a A6 3.0 quattro breaking about 40 mins away, quick message and he said he still has it for £40! I sent my dad on a little road trip while I was at work and he returned with this

20180818_104104_zpssxl06kbw.jpg

So stripped everything down, luckily the wheel bearings are bolt on, so could take the new ones off

20180818_124337_zpsb9hgzxs0.jpg

20180818_130907_zpsoymzlg0a.jpg

The V6 A6 hubs compared to the V8 S6. So that confirms it, the wide body get their extra track from the hub flange.


20180818_124240_zpscdixq3lq.jpg

20180818_124313_zpsxakdfk69.jpg

Something I remembered from when Jordan fitted the 18z Porsche 6pots was he had the shave down the caliper mounting lugs a few mm as the offset is slightly off.

20180818_131213_zpsmvsmisit.jpg

The new leg

20180818_131327_zpsl9rdaoqa.jpg

The old leg

20180818_131316_zpsenpqsfhu.jpg

And he had to shave a bit off the leg for disc clearance at the bottom

20180818_131417_zpspcgbfmzk.jpg

Like so

20180818_132257_zpsnm1oytfy.jpg

20180818_133136_zpsrjuduiic.jpg

Then on to the offset problem, here you can see how much over one side it is, it's actually touching the disc

20180818_140334_zpsbgf9fbc0.jpg

A lot of filing and measuring later, as these need to stay dead flat


20180818_143220_zpsarbirytp.jpg

And we have clearance both sides again

20180818_143944_zpsajhjp2cv.jpg

And back together


20180818_154518_zps0l3wrrku.jpg

And made it to camping :)

20180819_162326_zpshwzgsbdq.jpg

And a trip to London as well, stayed in good company :D

20180829_185700_zpsglyne28y.jpg
 
With a big car show coming up locally I wanted to spruce the Audi up as it is my daily it does get used and abused everywhere and anywhere.

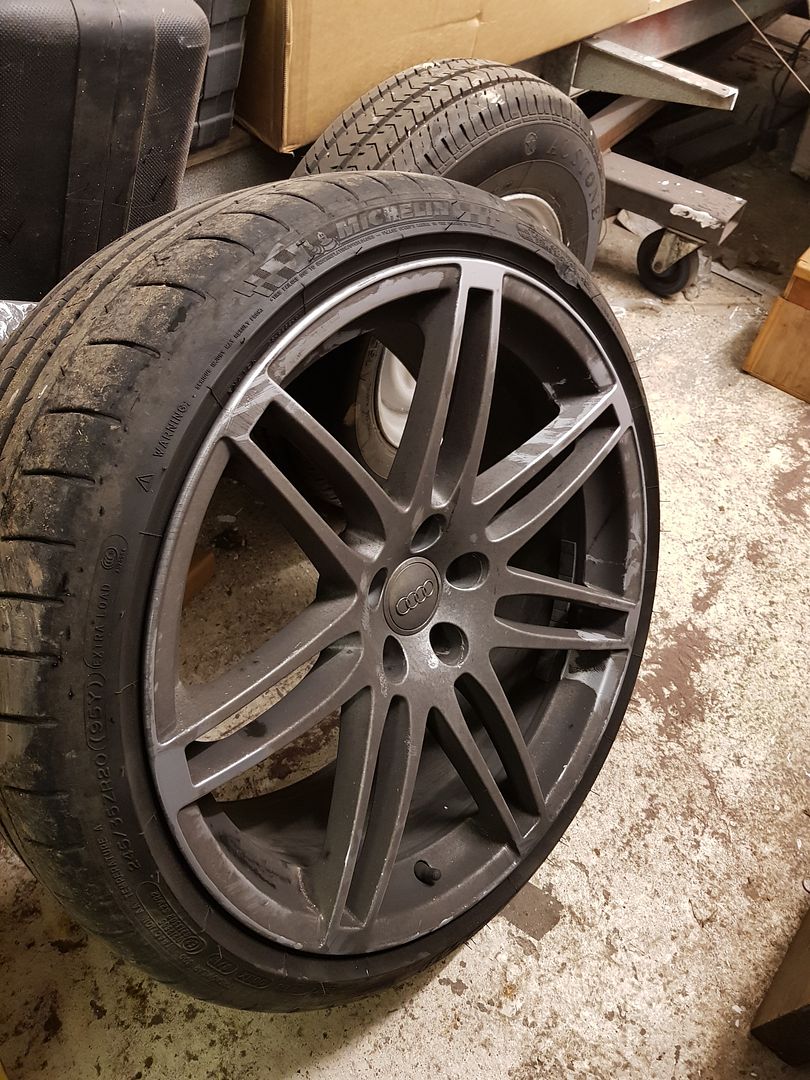
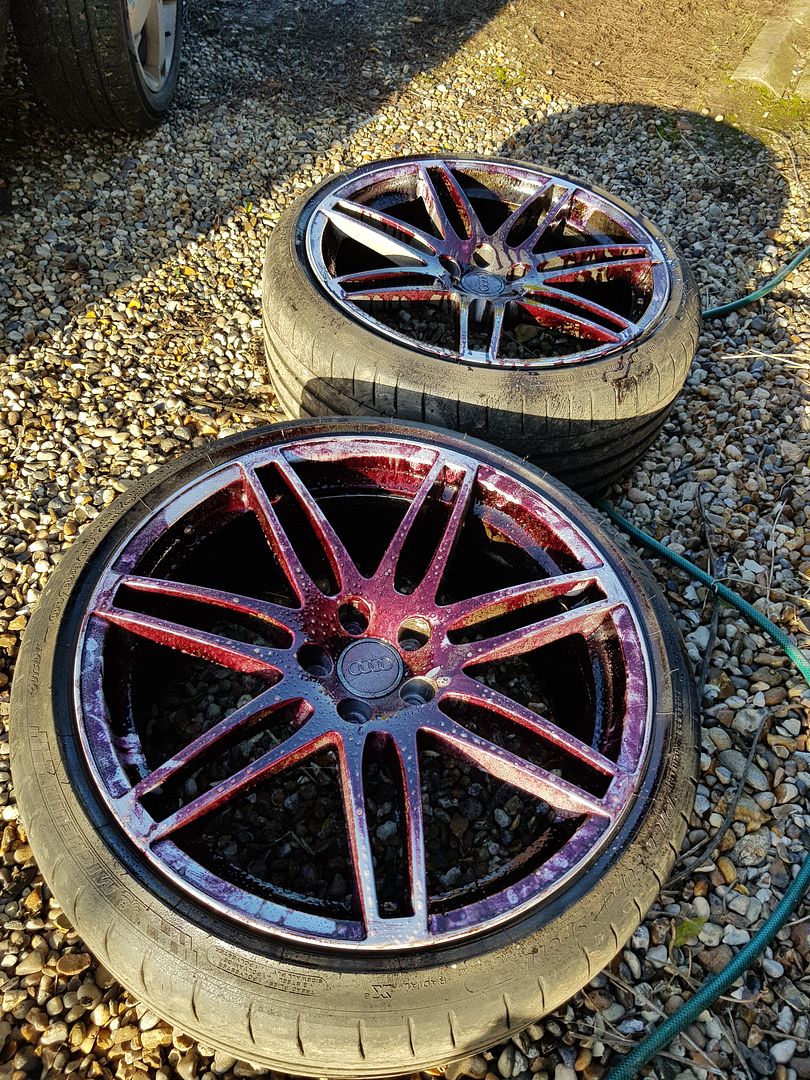
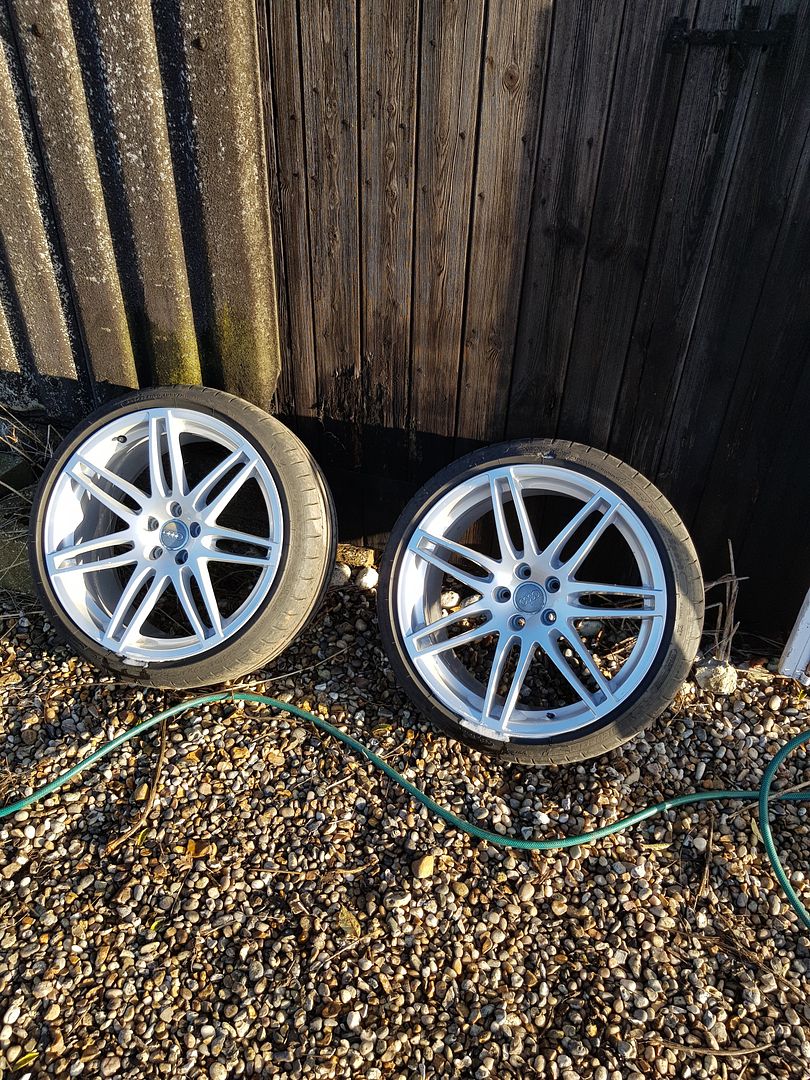
First off I had caught the wheels a couple of times, nothing bad, but still annoyed me

20180828_130139_zpsqj7ttwvj.jpg

So a good mate of mine has just opened a wheel referb shop so I paid him a visit to get them sorted

20180904_161101_zpszqw3tp0e.jpg

And then it was time to sort the paintwork. Even though it was only re sprayed a year ago, it sits at my work down the docks for 12hours 4 times a week getting covered in fallout. Diesel pollution, dust, and bird ****. It wasn't scratched or scuffed any where, but quite rough to the touch

Taped it all up

20180908_130035_zpsrtpyk2sk.jpg

Here's the roof, this is still the 18 year old audi paint, the reflection is ok, but a bit fuzzy

20180908_130356_zpsptriafmo.jpg

After a hard cut with the machine polished and a buff up and I had the desired effect

20180908_152447_zps0tvee2sh.jpg

Next I flatted the headlights down

20180908_155505_zpsmn2x02oy.jpg

20180908_155750_zpsldqpkneb.jpg

And machine polished up

20180908_160927_zpsqifszmp9.jpg

20180908_160940_zpszq8a7ipn.jpg

Then it was time to do the rest of the car!

20180908_154617_zpsvhskbbzk.jpg

Stage 1 complete

20180908_174929_zpsuxs5iaxb.jpg

And then a waffle

20180908_192620_zpsxcafxp0u.jpg

Which took a long time :lol:

20180908_200412_zpsfaxinneq.jpg

And complete

20180908_202423_zpsfarkncrz.jpg

Wheels and brakes cleaned inside and out

20180908_224252_zpsgwe4rrur.jpg

Also got some new number plates as mine had gone a bit off white

20180908_230400_zps9tjq23fo.jpg

And then the next day it was the Low Collective show :)


20180909_142836_zpscvrhdyh2.jpg

20180909_142843_zps6kdjzwex.jpg

20180909_142828_zps1kingbb4.jpg

20180909_142815_zpswr2lfbvm.jpg

20180909_142911_zpsd9m66aji.jpg

20180909_153341_zps3apvz4xo.jpg

20180909_142755_zpssqefr0bm.jpg

20180909_142743_zpsbbw5y1t4.jpg

20180909_103018_zpsg8qlhbat.jpg

I'd forgotten how black it was :lol:
 
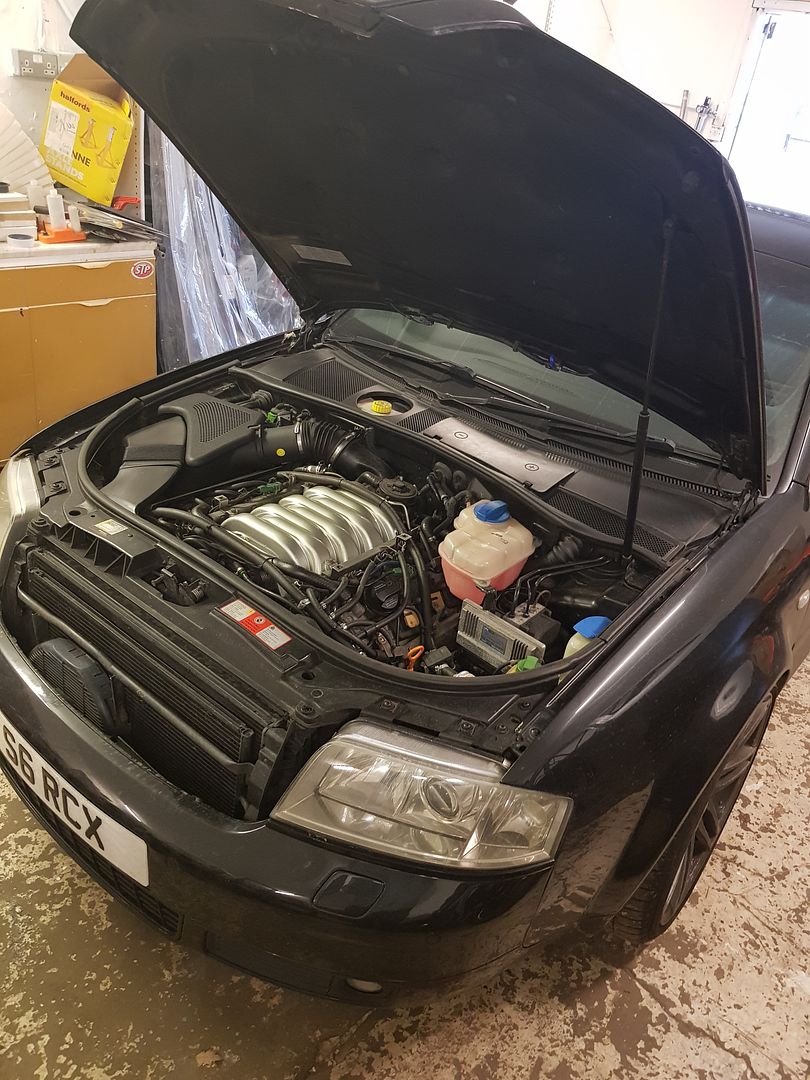
After a long trouble free time enjoying the S6, as always it has come to a brief end. The last week or so I'd noticed a little bit of a chain rattle on start up, only for about a second, and a bit of rough idle, then it was fine. I'd put it down to the weather suddenly turning colder.

HOWEVER.... started it up the other day and it was wrattking and clanging like an old rotorvator! I knew straight away what had happened. Long term readers will remember 3 years ago I had the drivers side cam chain tensioner let go. Followed by a whole load of problems with the wrong side cam tensioner being supplied, oil cooler water pipe leaking and a whole load of drama, it deserved a thread of its own really!
Back then I did removed and inspect the passenger side tensioner too and inspect it but there was hardly any wear so I didn't replace it at the time.
So I knew what to expect, and unfortunately I knew the price of the parts.

It still ran so I drove it down to my unit.


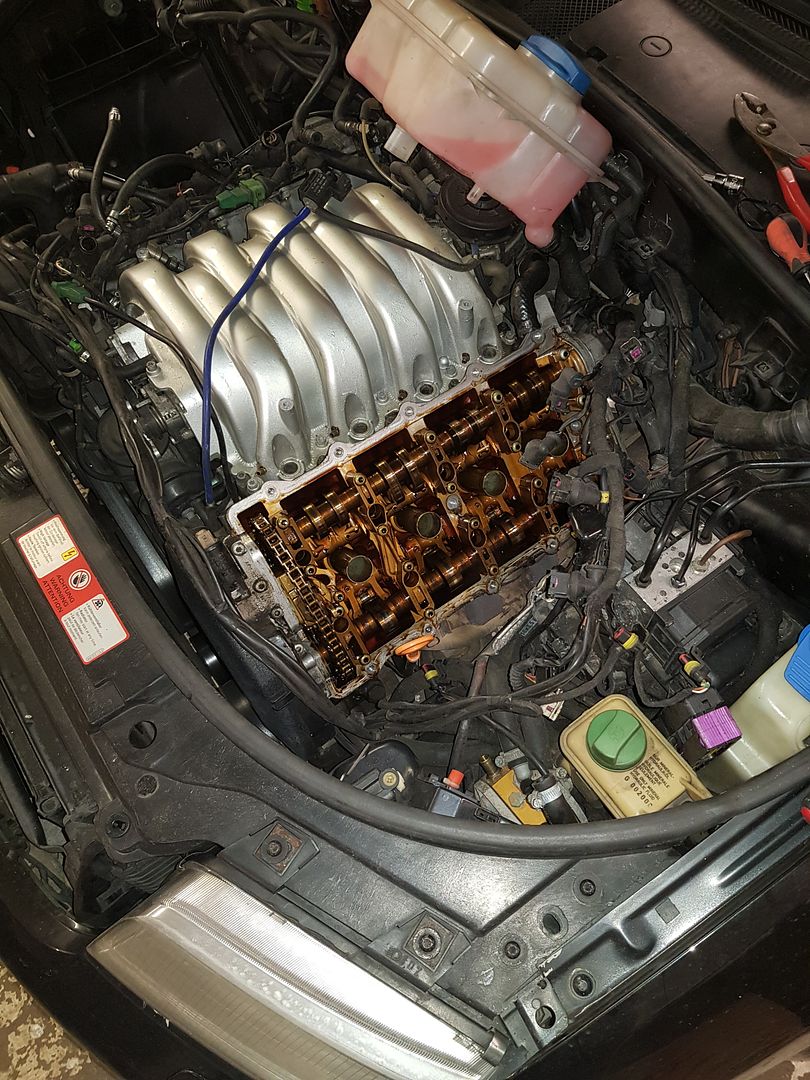
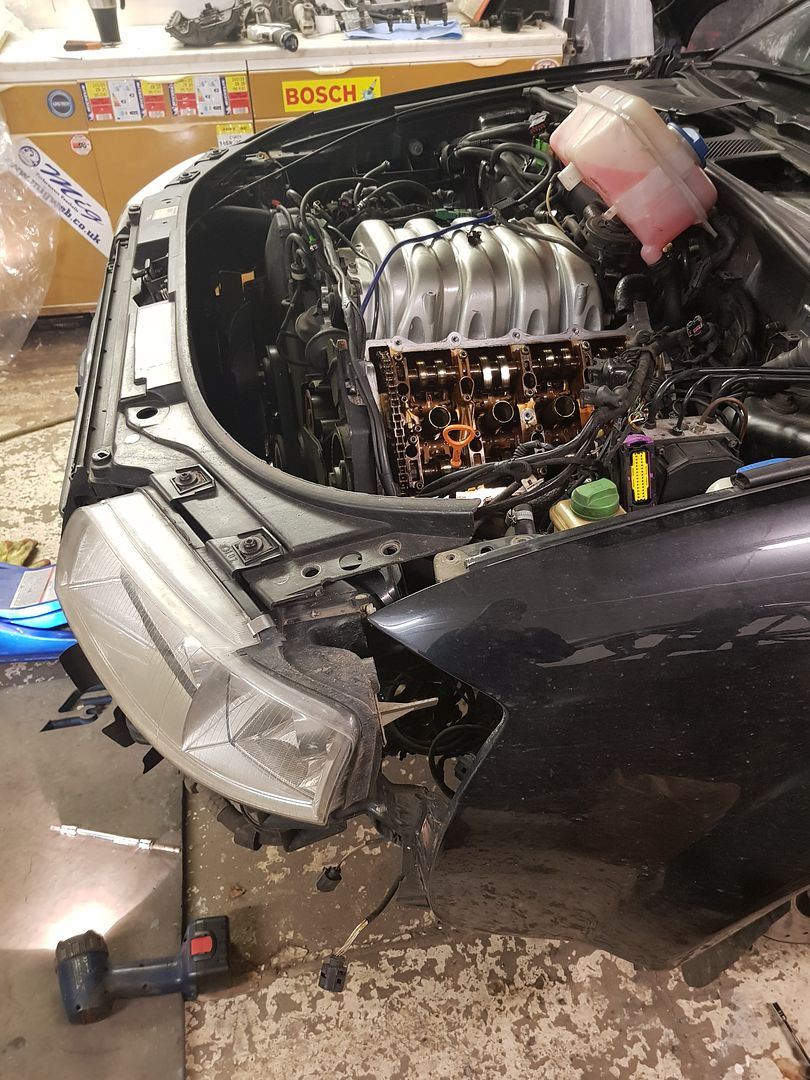
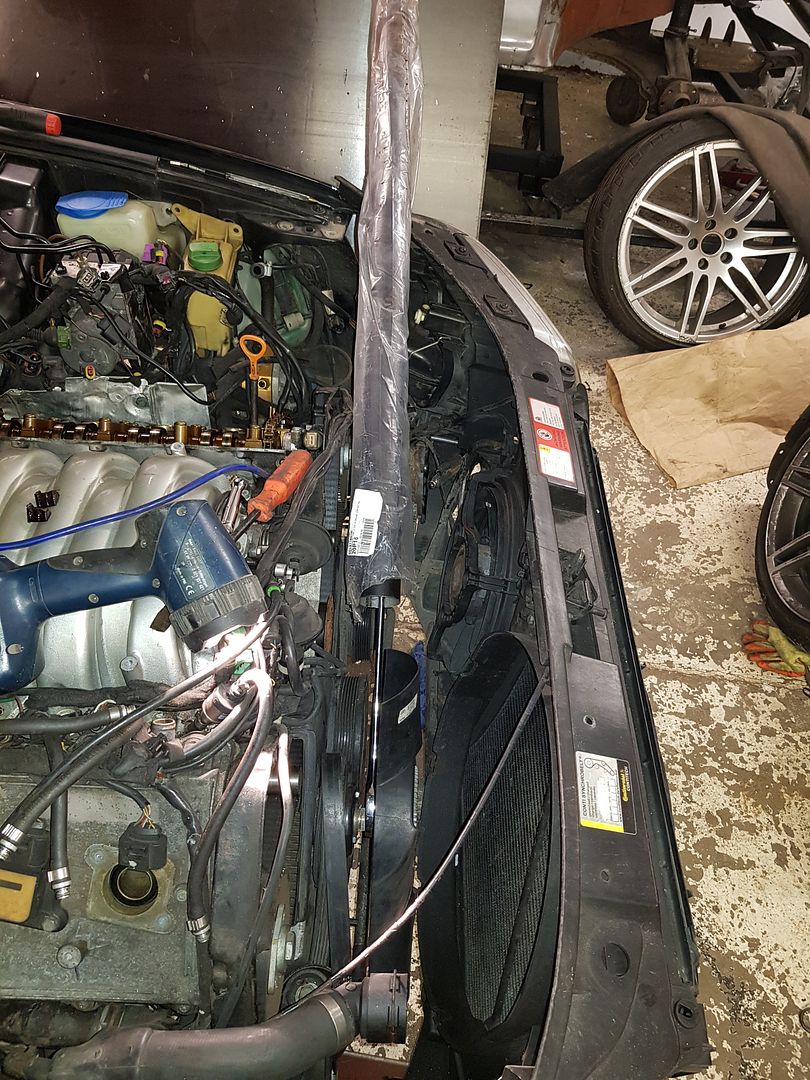
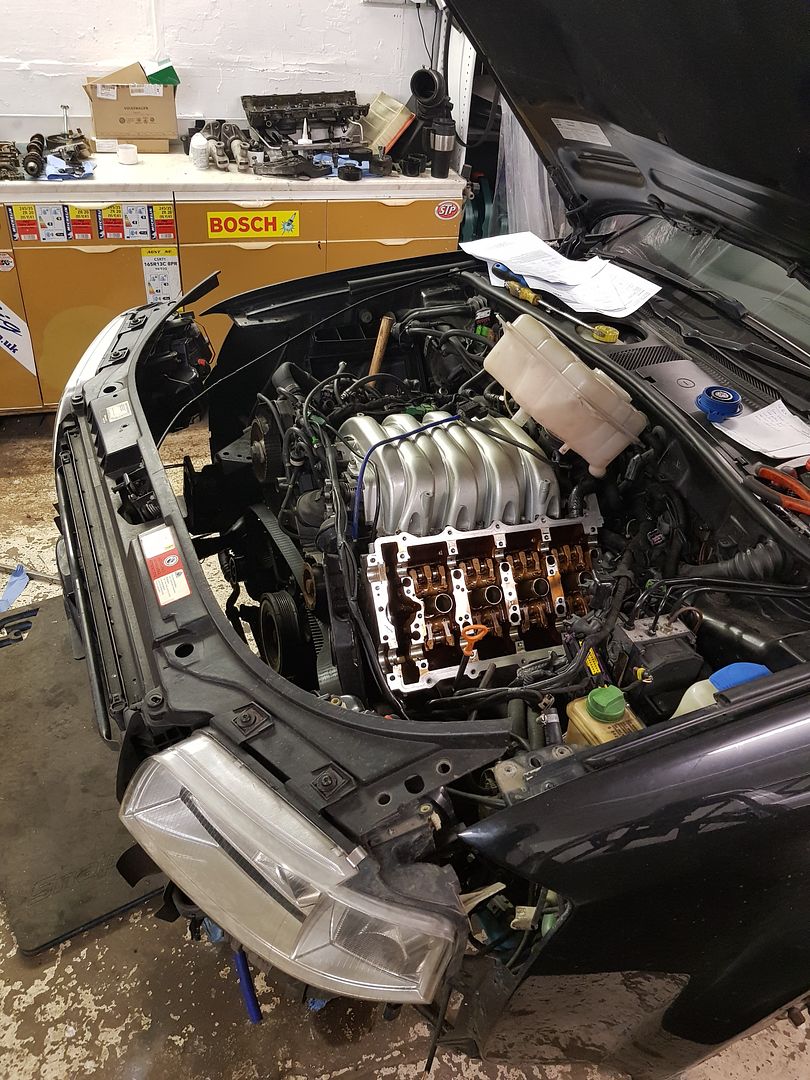
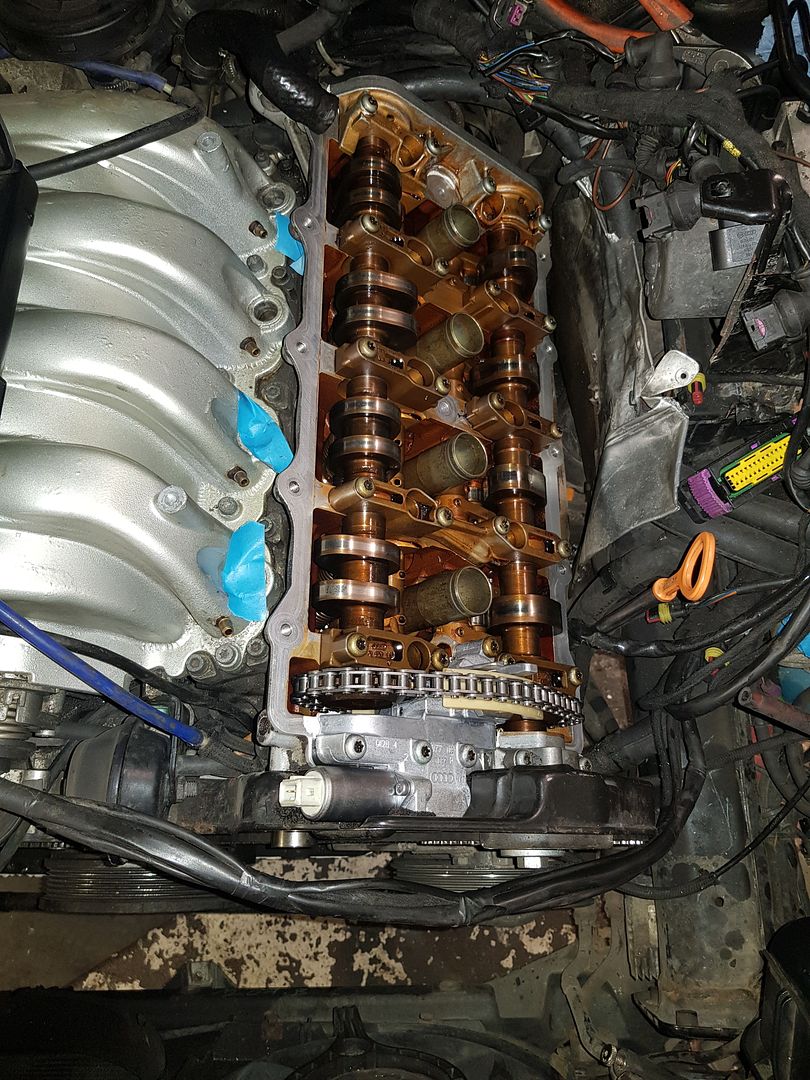
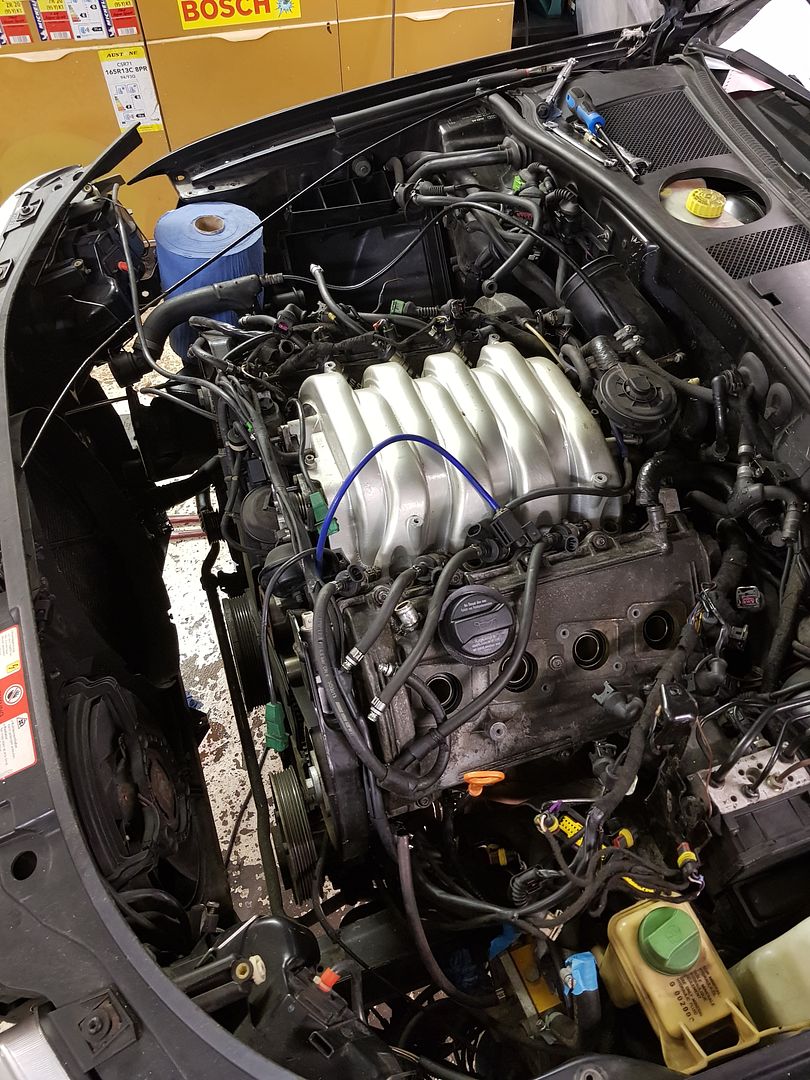
Stripped off all the LPG and everything else to uncover the cams


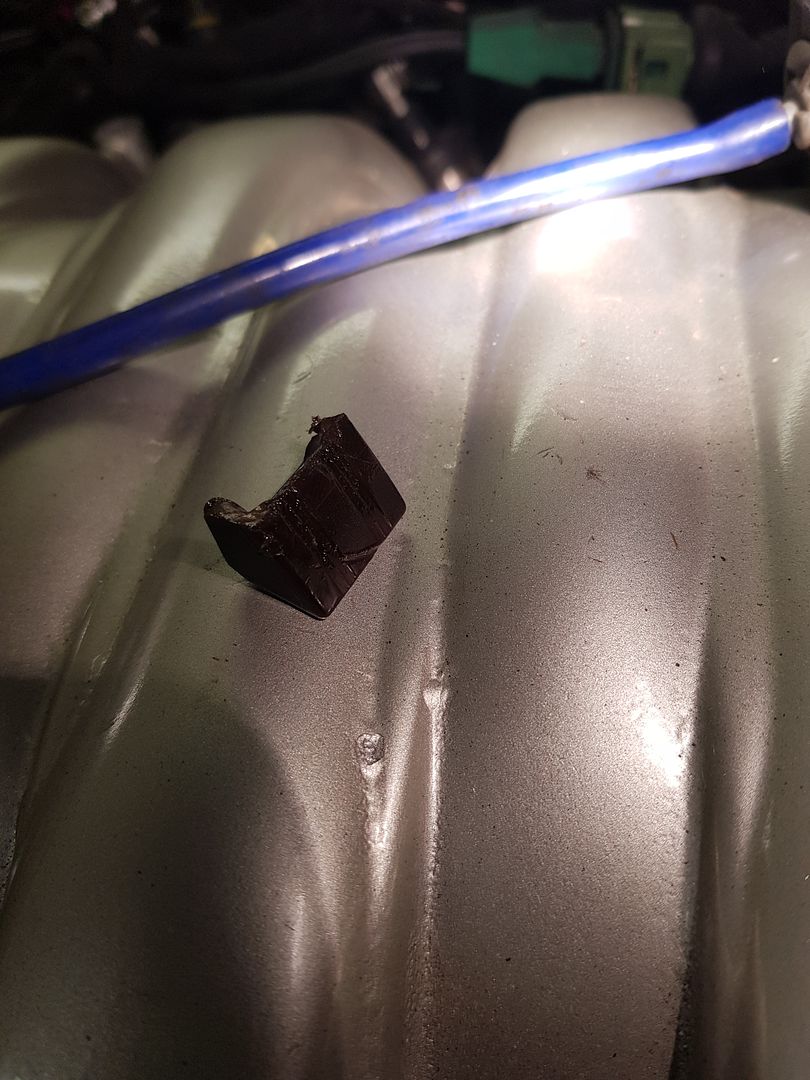
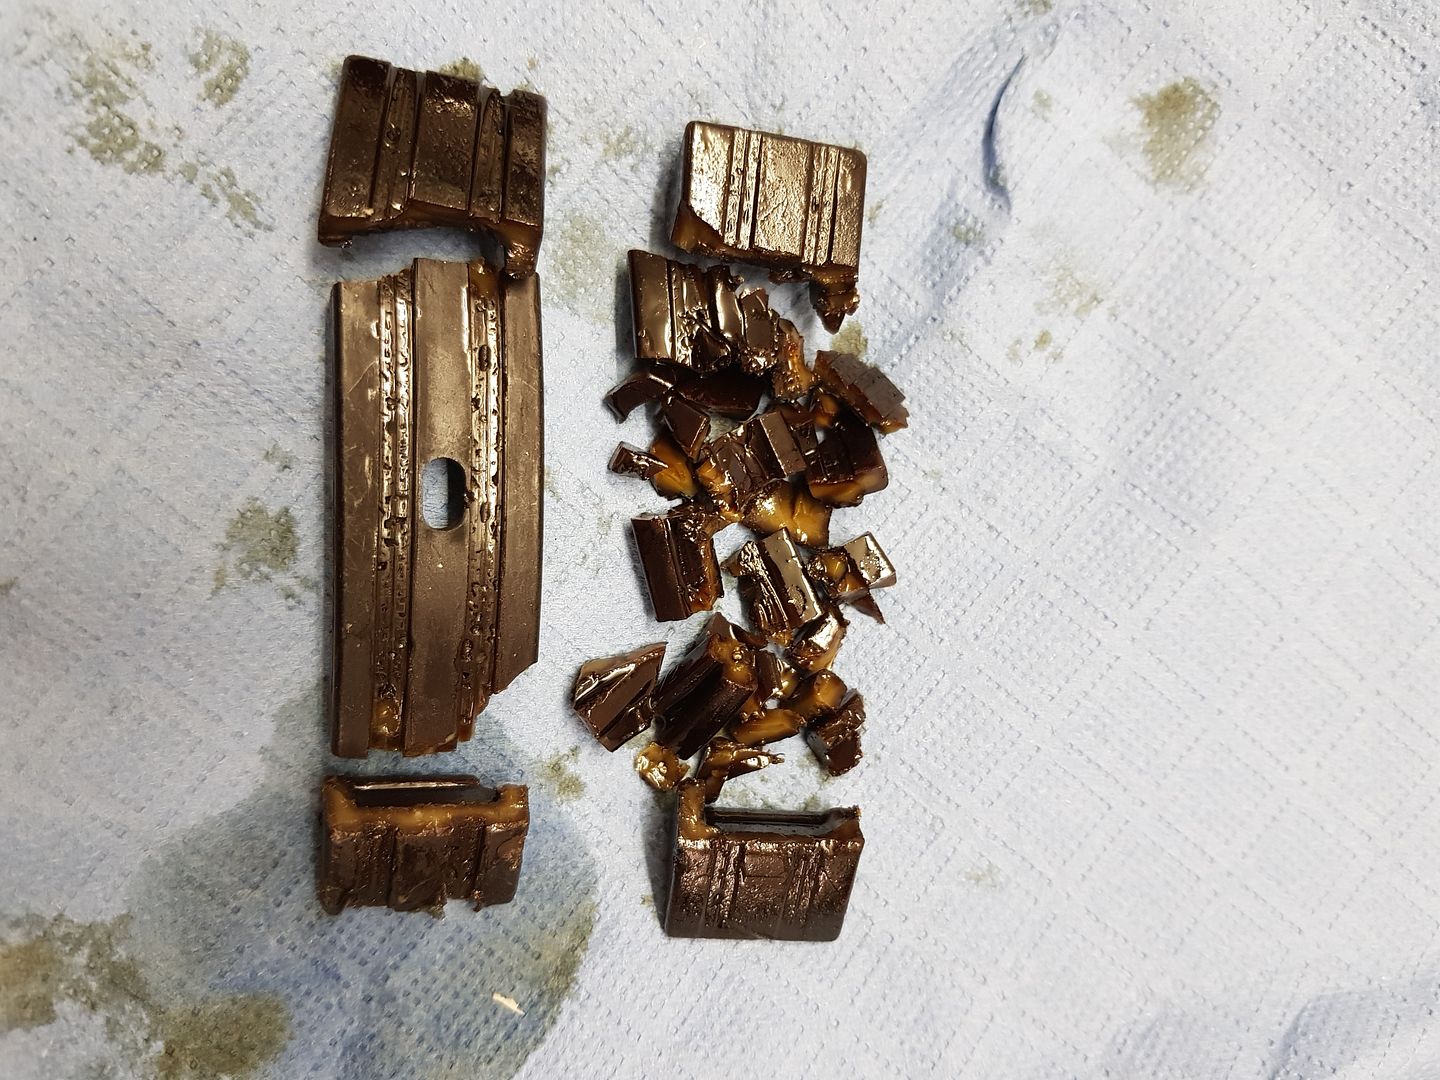
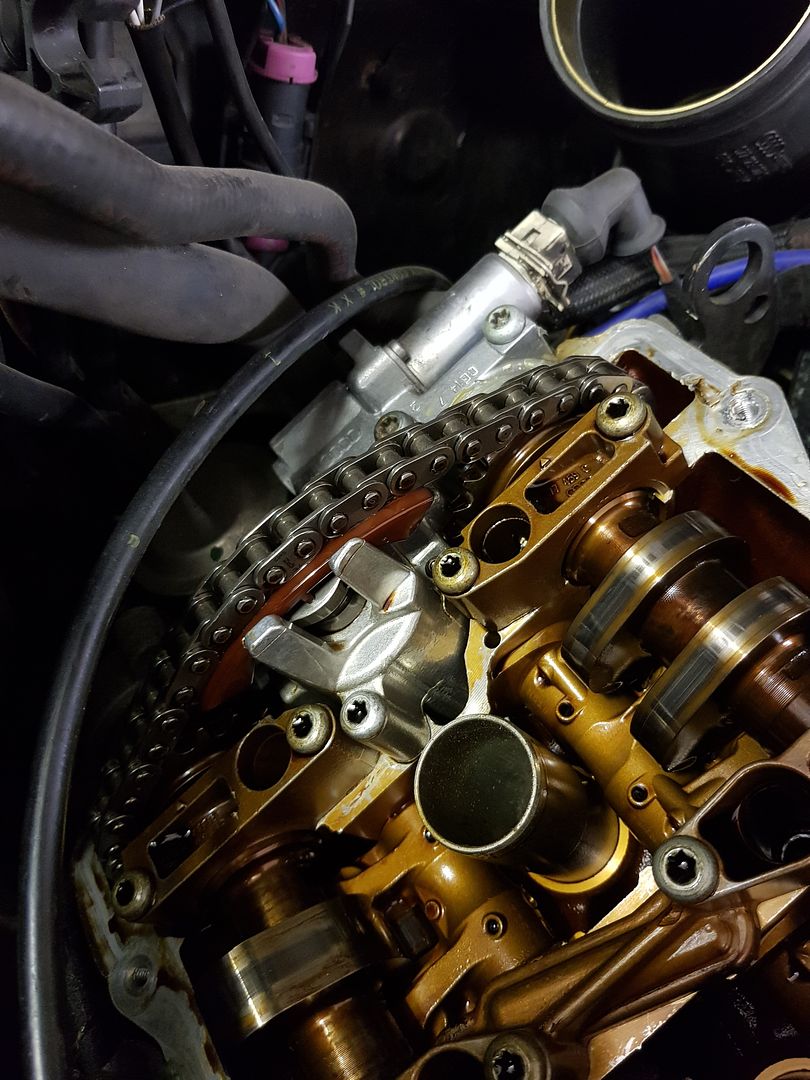
And sure enough greeting me was part of the slider


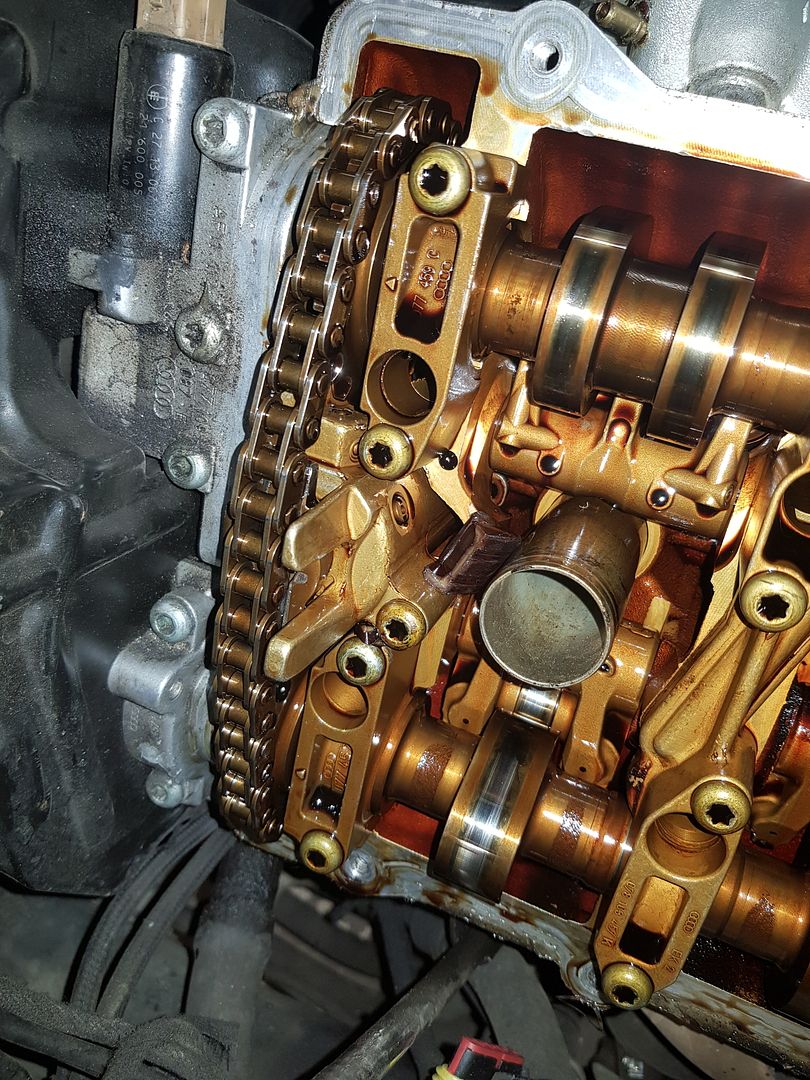
And metal on metal on the chain


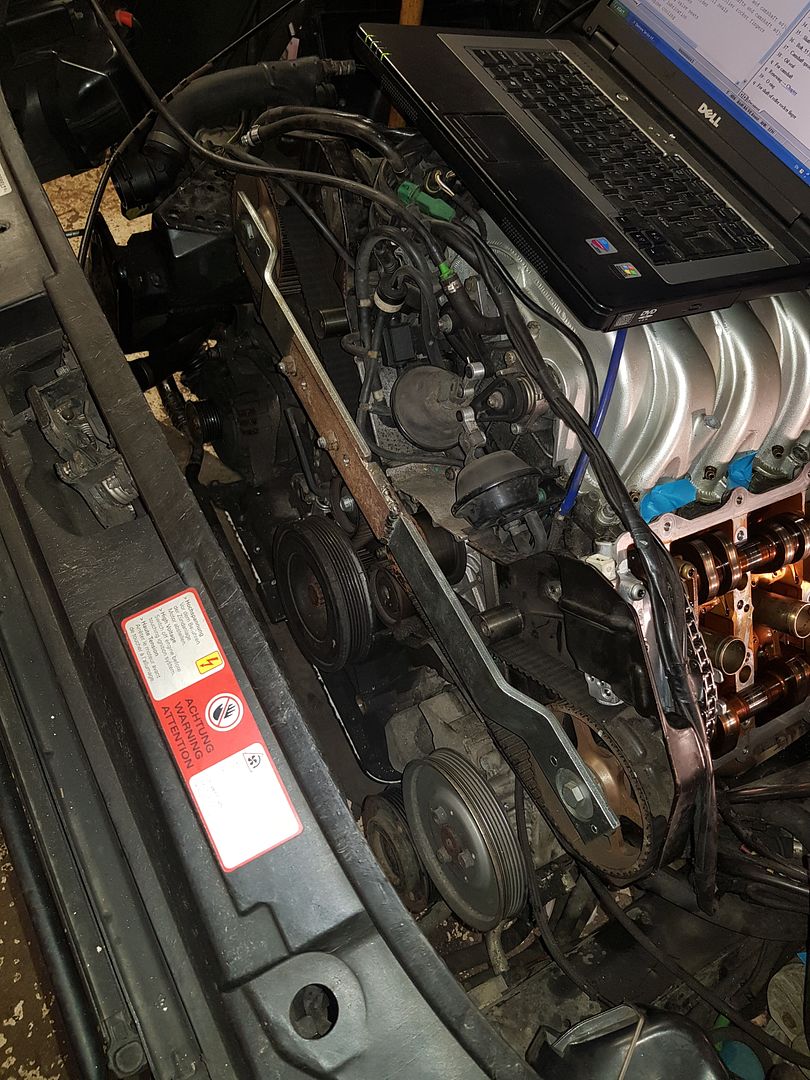
Slid the front out to gain access to the cam belt


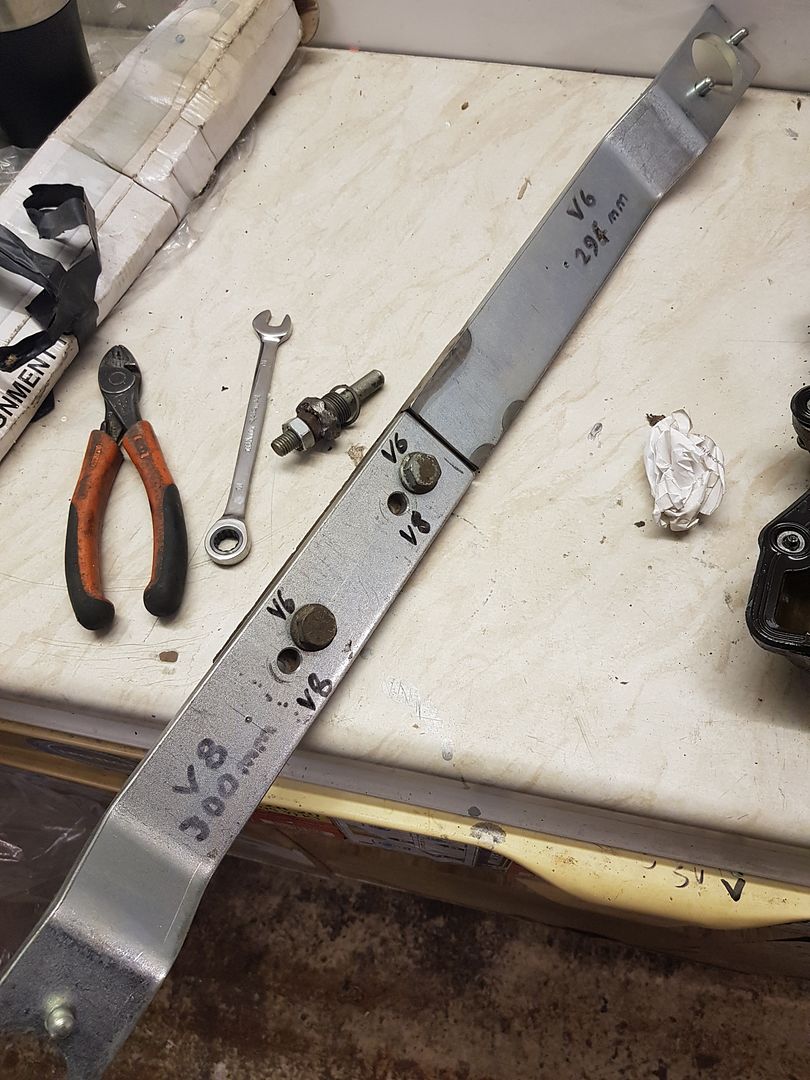
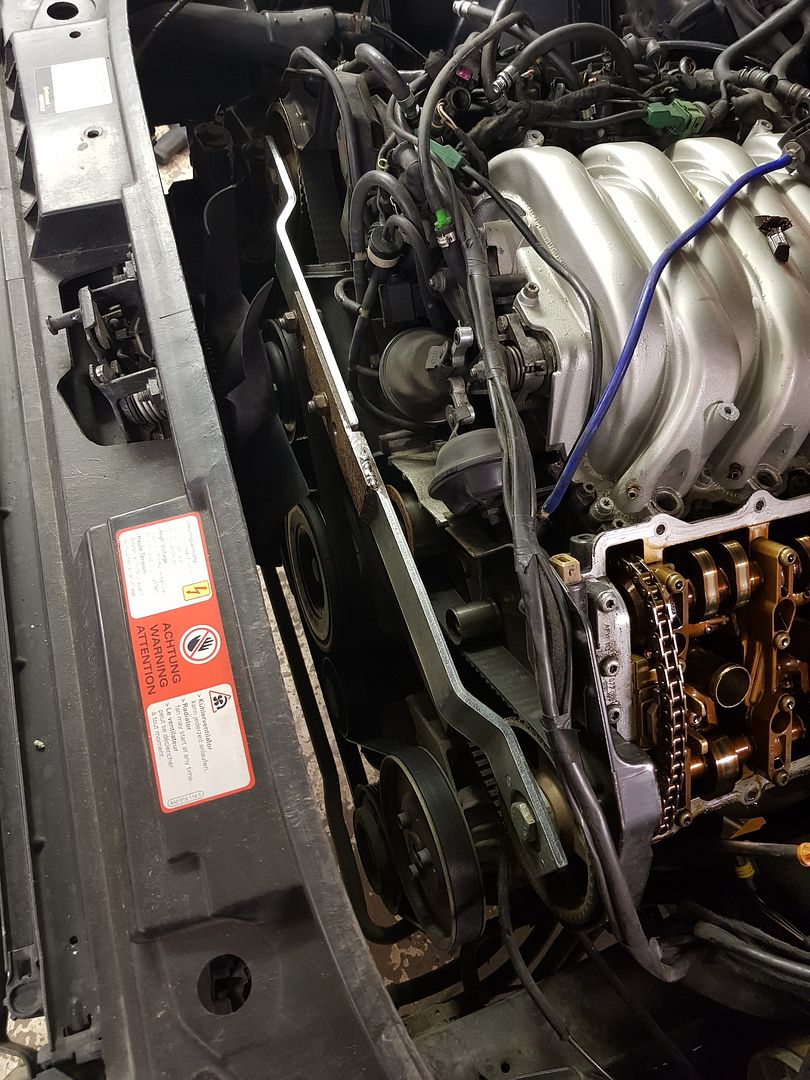
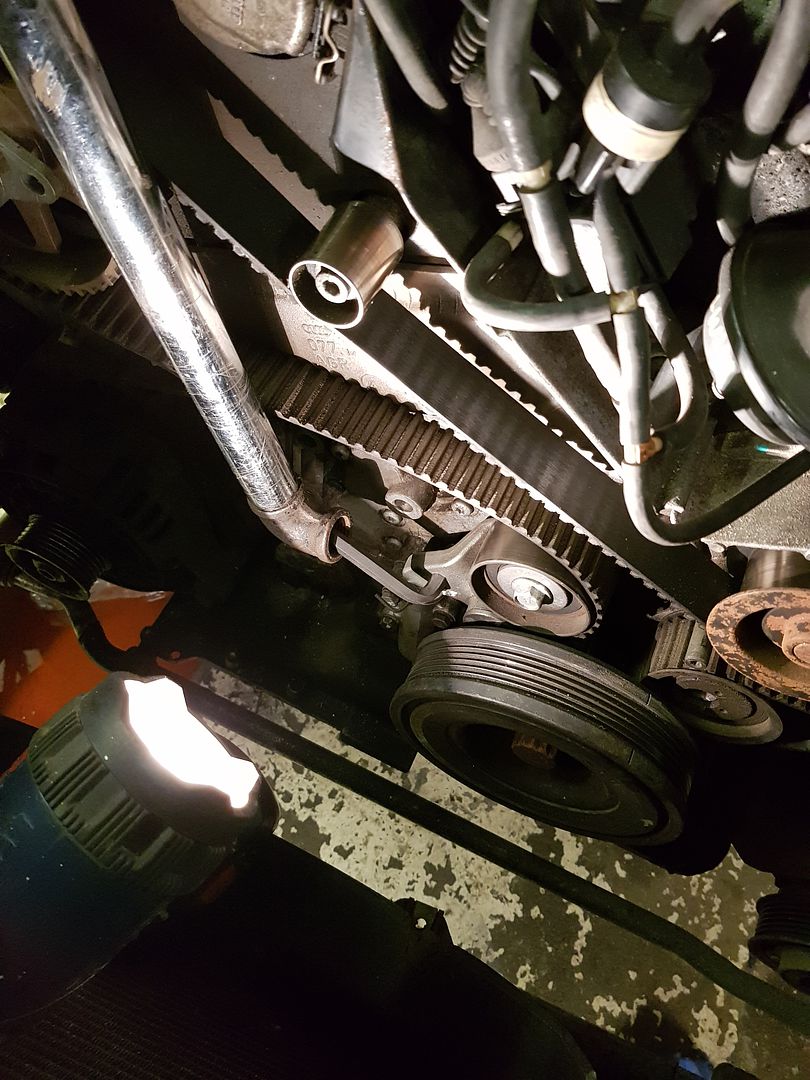
Still had the locking bar. My dad had modified it for when he did the cam belt on his 2.8 V6 4motion Passat. The V6 and V8 are almost identical but the V6 is a few mm narrower than the V8 so we had to put in an extra pair of holes.


And it slotted straight in, no resistance at all which is reassuring after 3 years hard use.


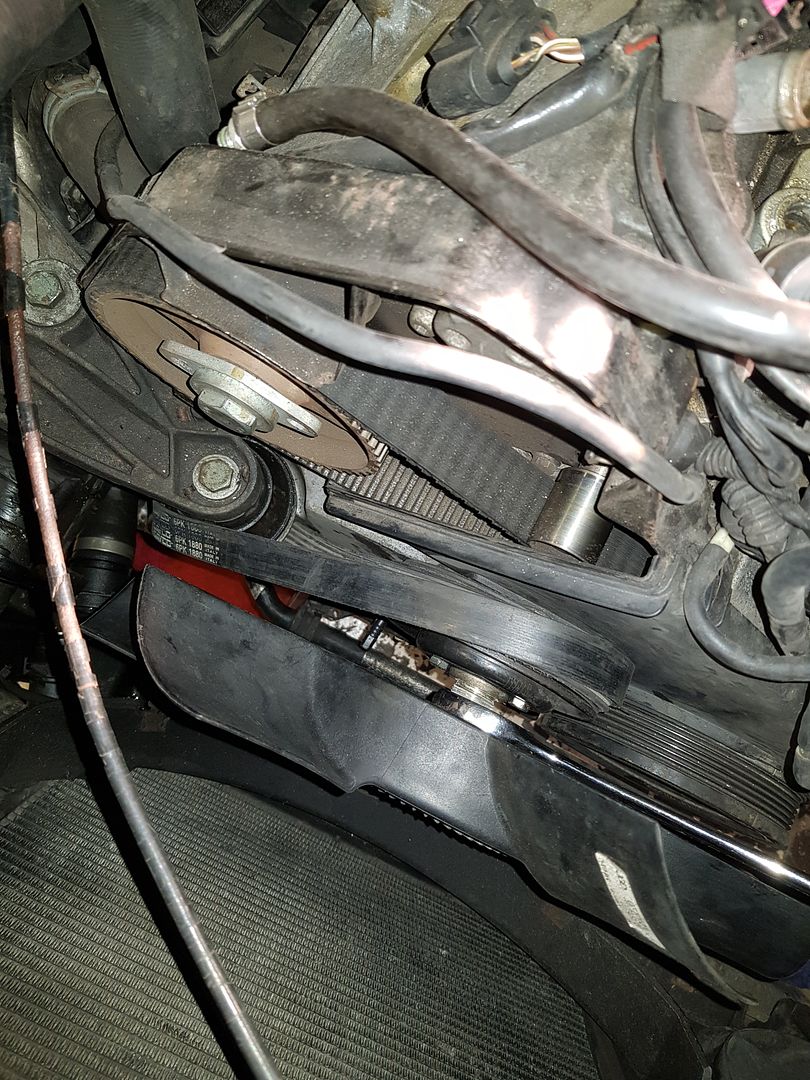
The fan was a bit bloody tight to get off, had to wind a old belt around the pulley and get a extra pole on the already big 32mm spanner


Had to get a bit of extra leverage on the cam belt tensioner too as was very tough!


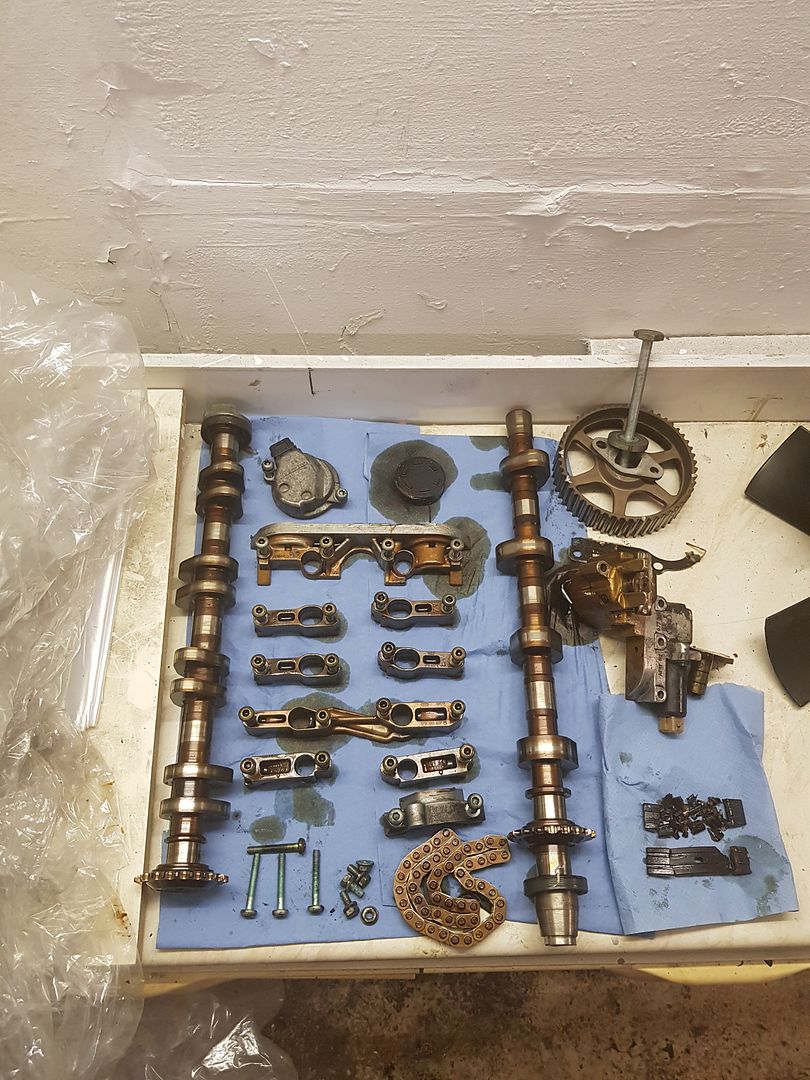
With the cam belt off I could then get the cams out


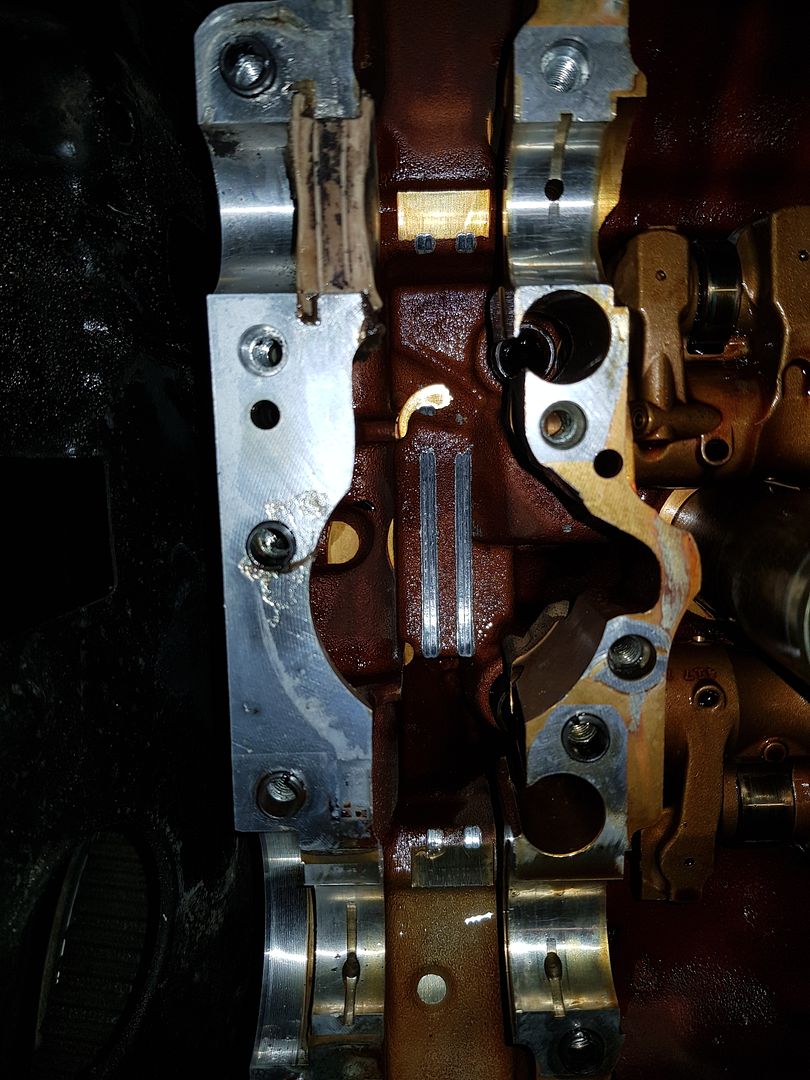
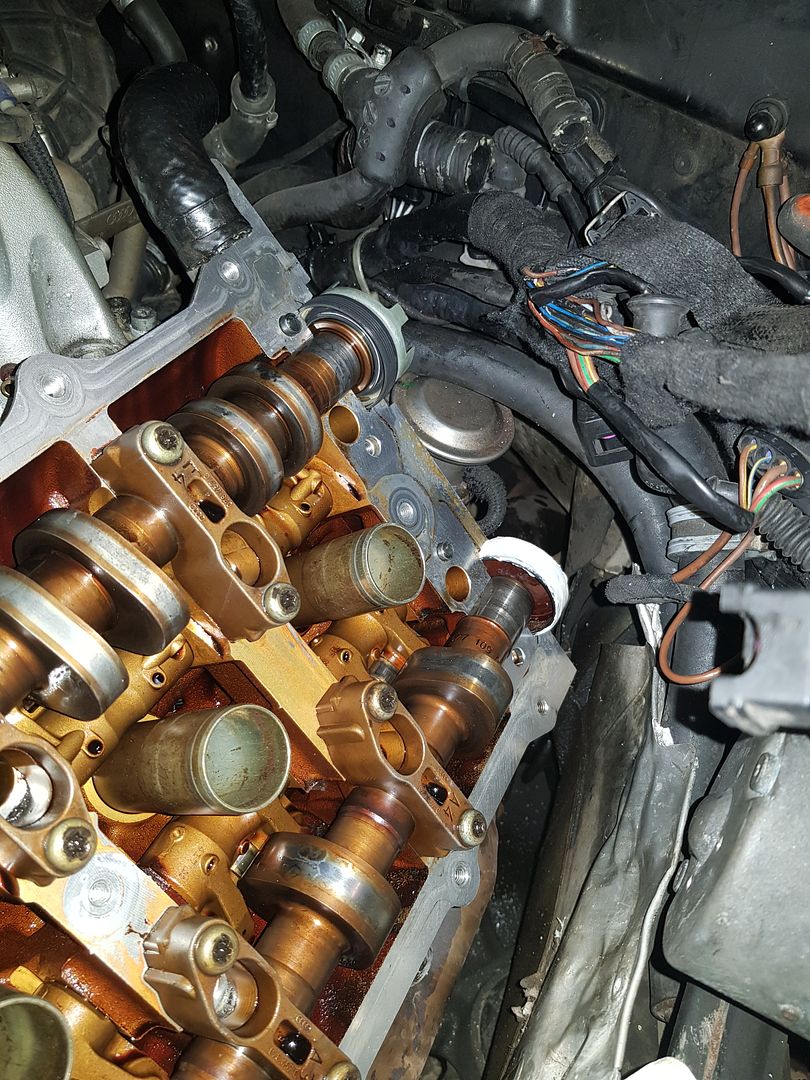
Revelling the chain has made quite a groove in the head whilst rattling around!


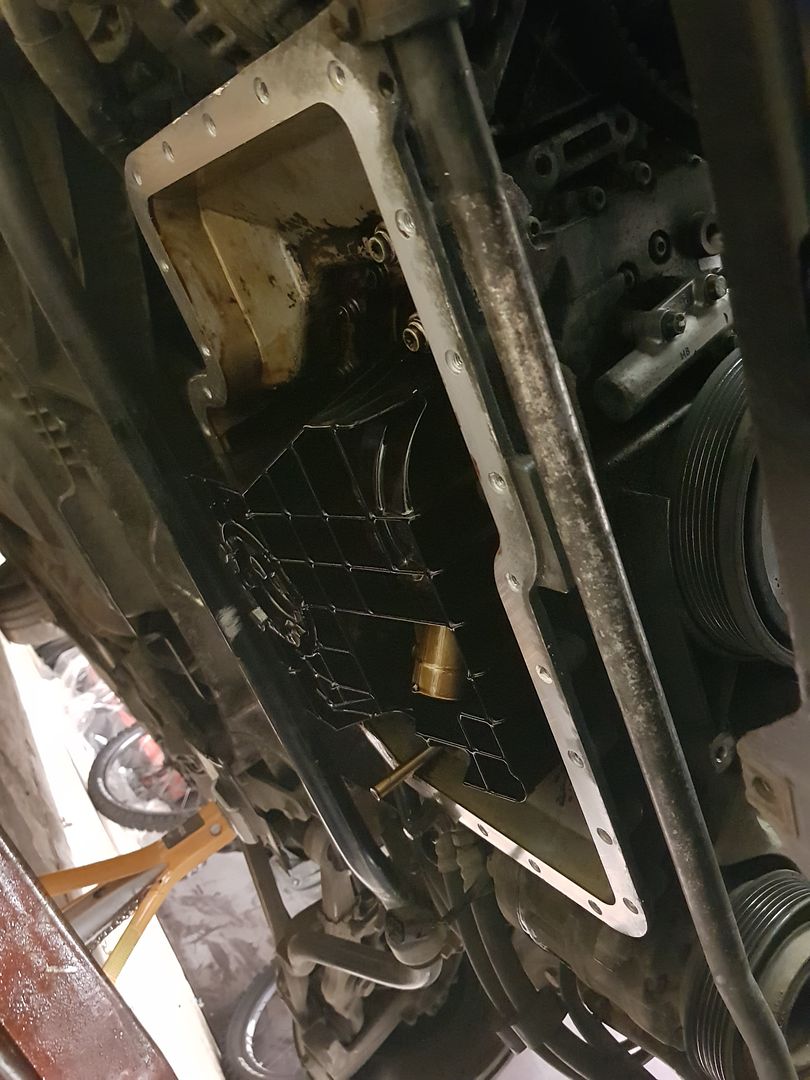
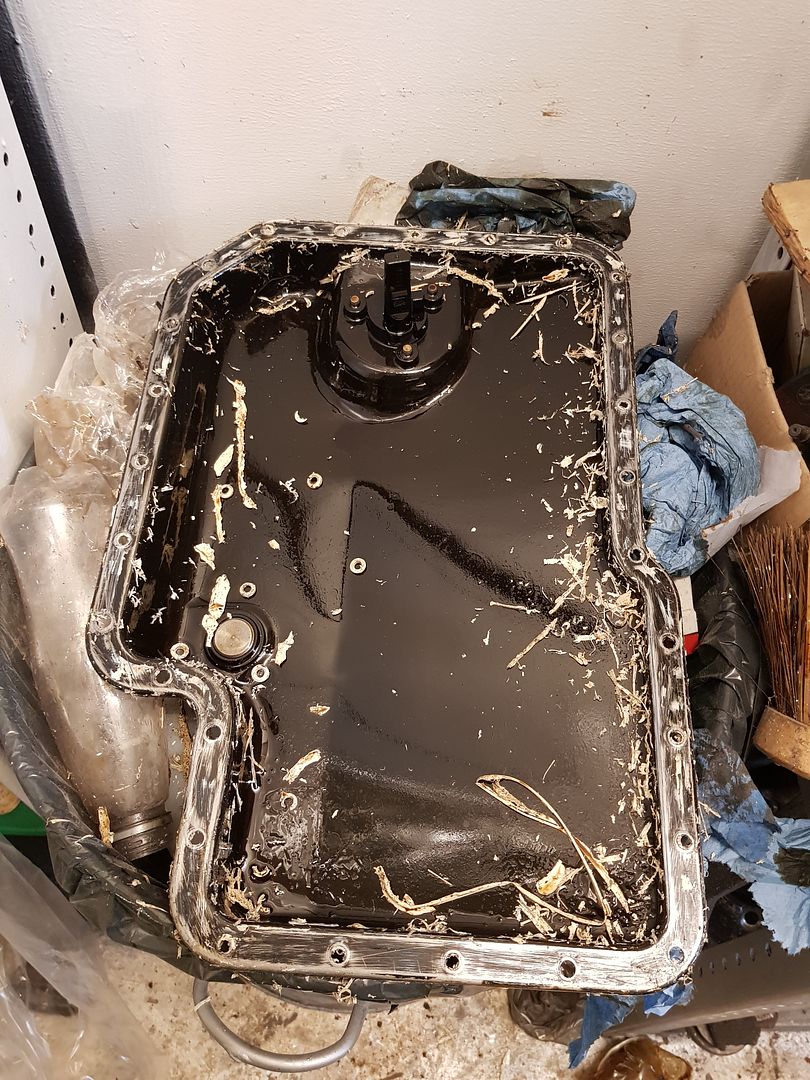
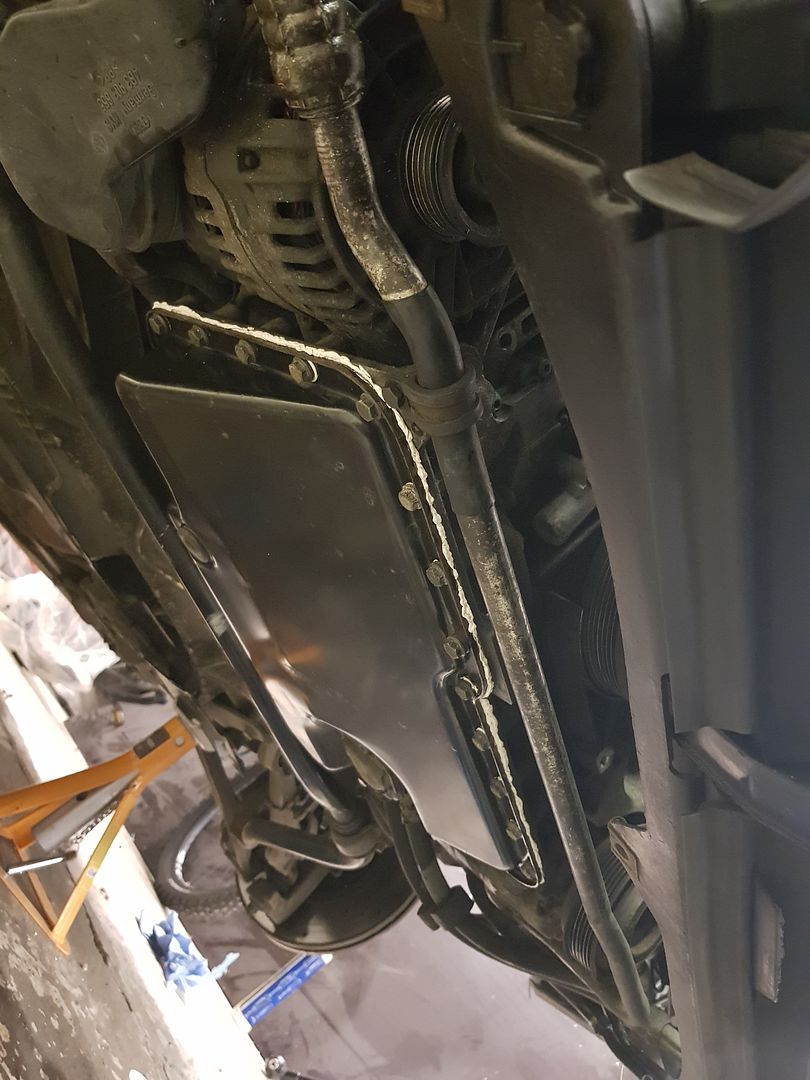
Last time I remembered most of the cam guides ended up in the sump so I dropped that off


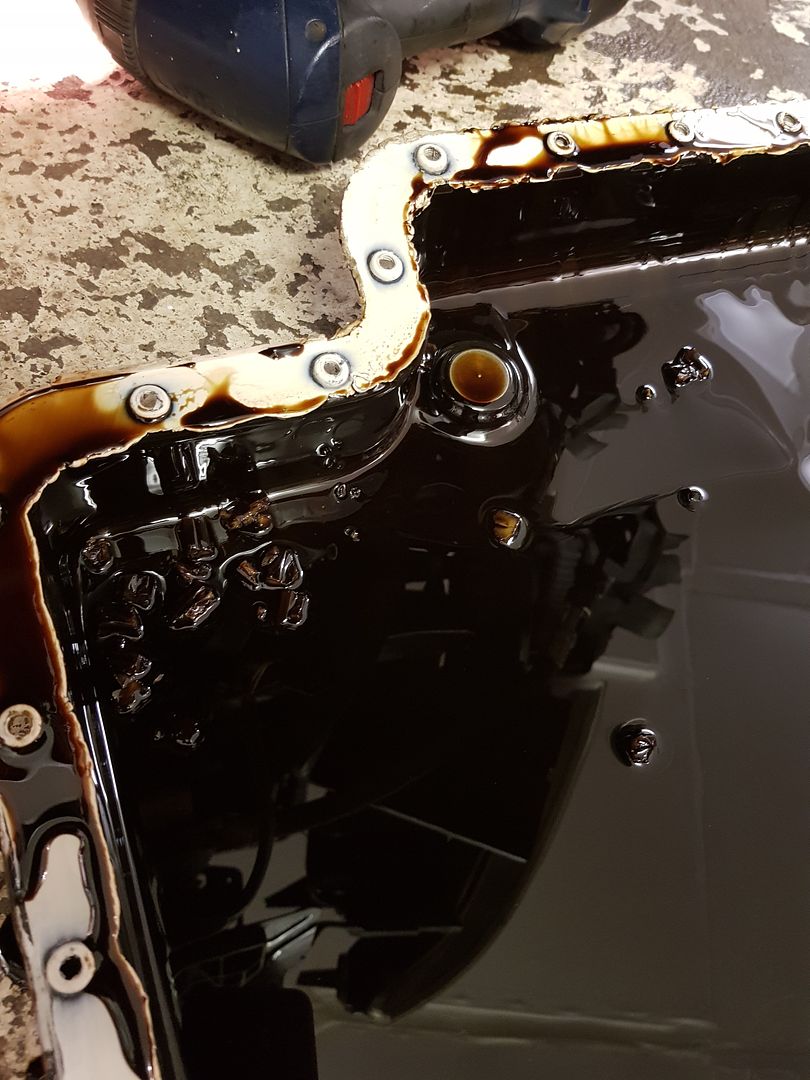
And sure enough


I'm fairly happy I've recovered all the bits


So next to get the bits Monday! I remember last time the tensioner alone was about £500!
 
That's all damn expensive that
 
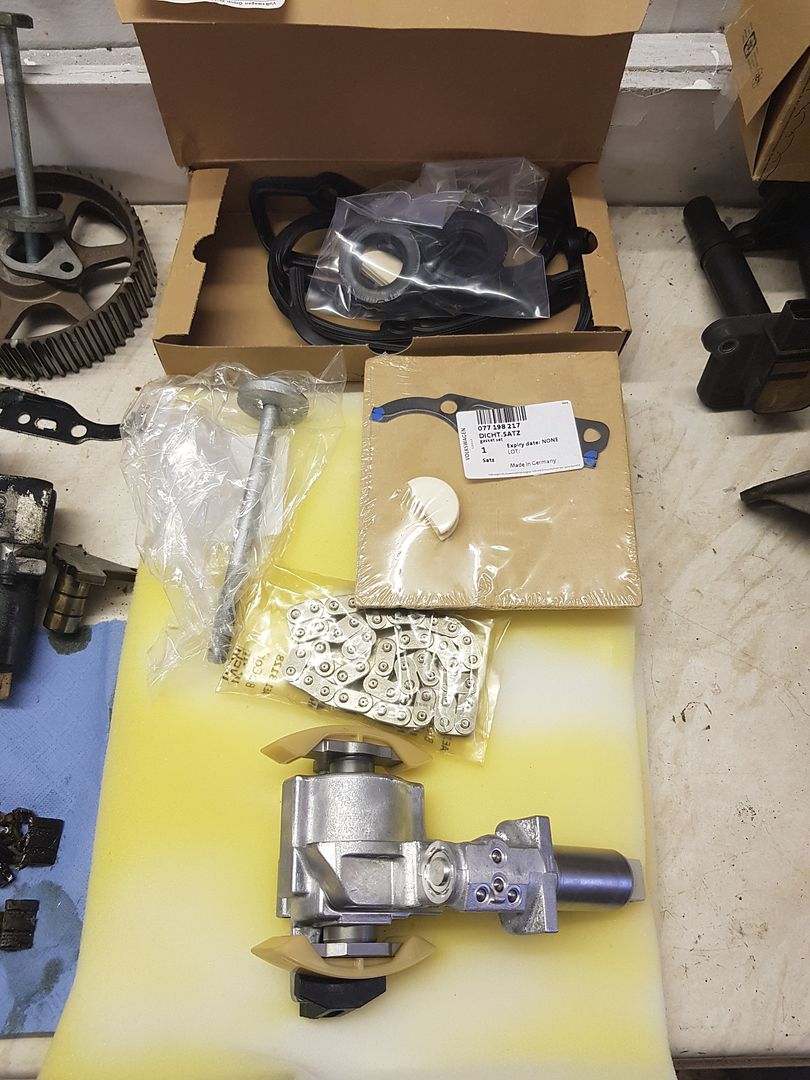
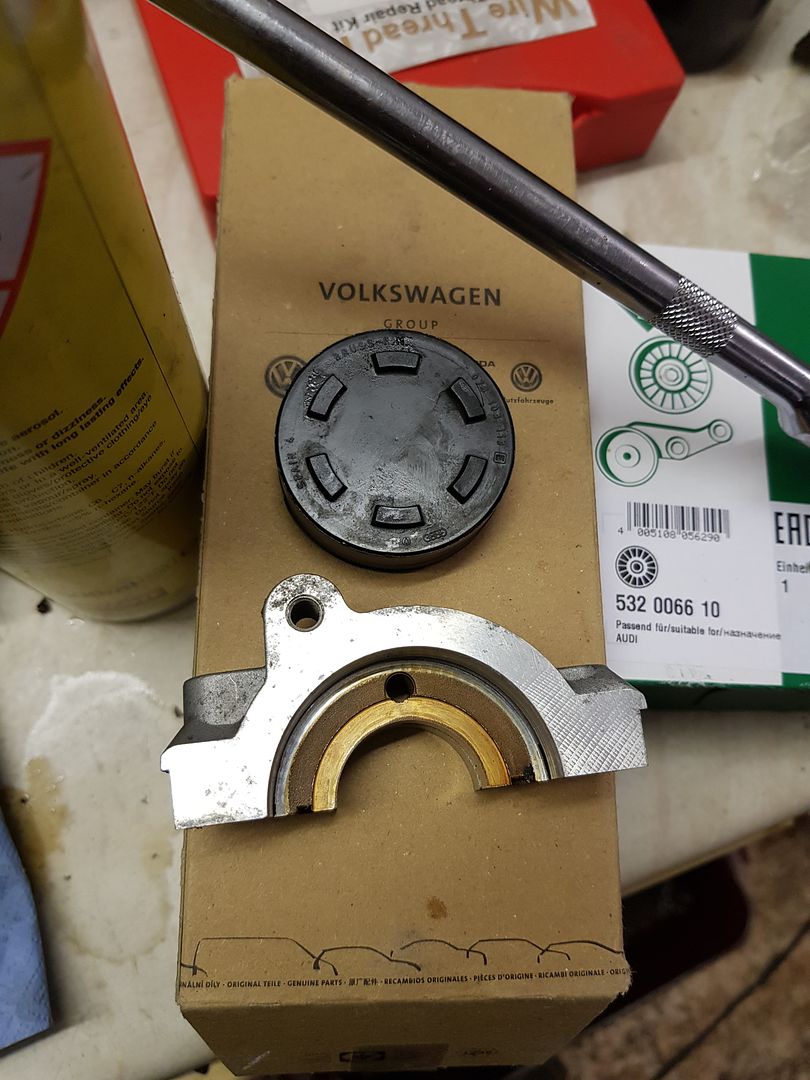
So this is what £700 looks like :(


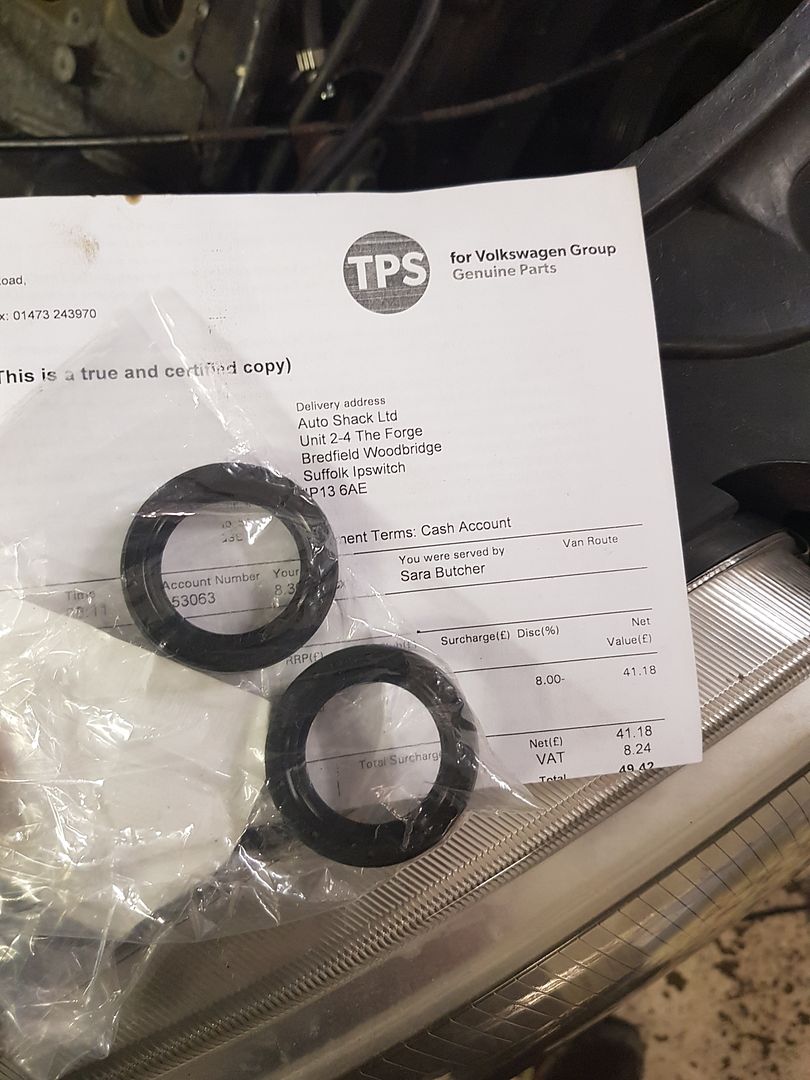
Apparently it's the last tensioner in the country so I was lucky :lol: I'm still waiting for the cam seals but they should be here tomorrow, but of a pain as they are pretty much the first thing to go on.

Got the other bits prepped ready as I couldn't crack on.
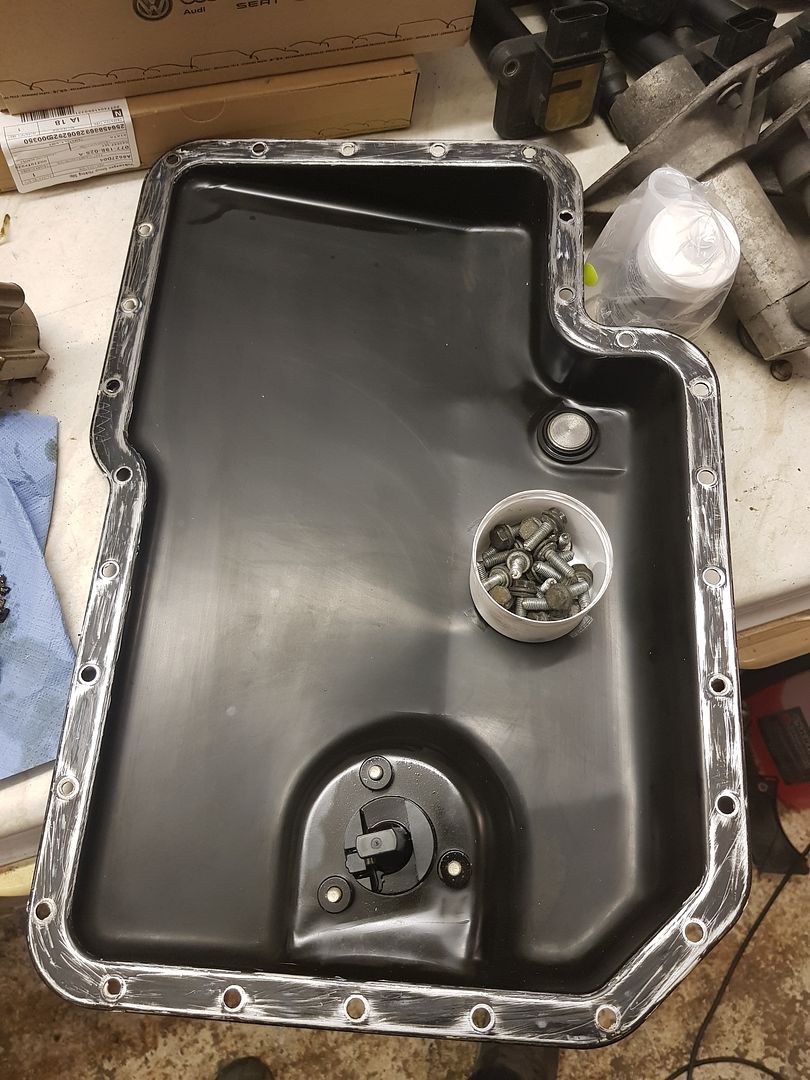
Cleaned up the sump, but of a pain as i'd only had that off 6 months ago to reseal it.


Cleaned all the sealer out of the bolt threads


And clean!


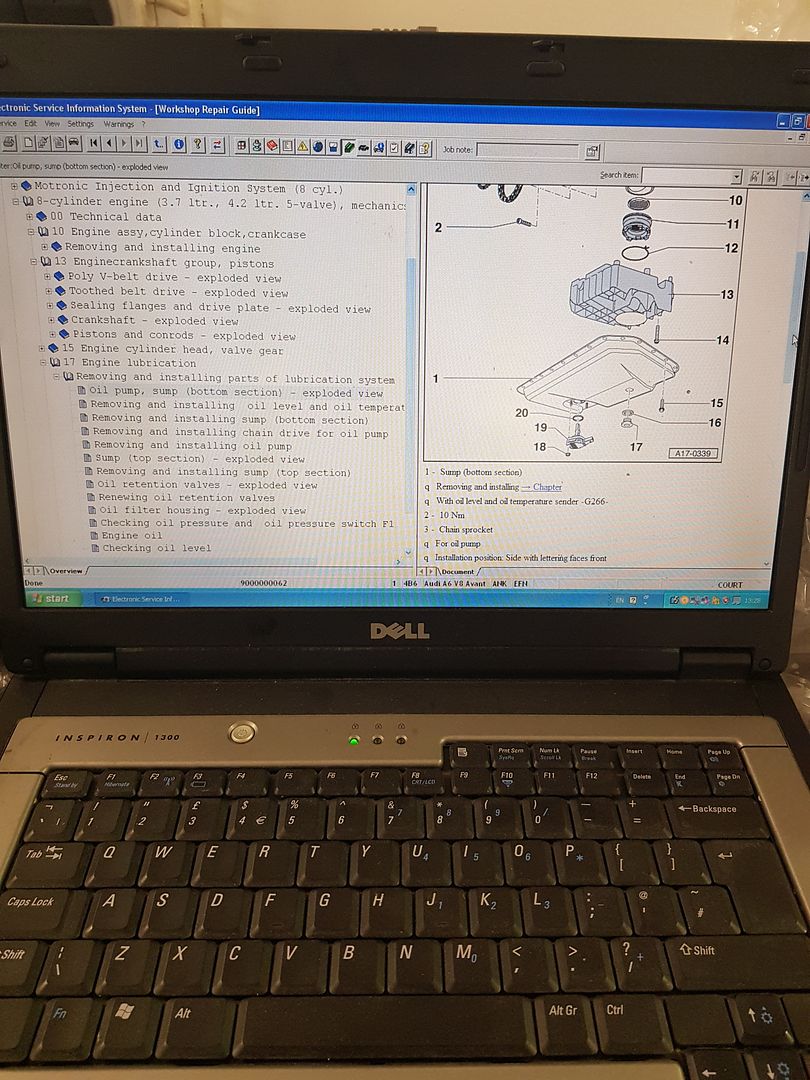
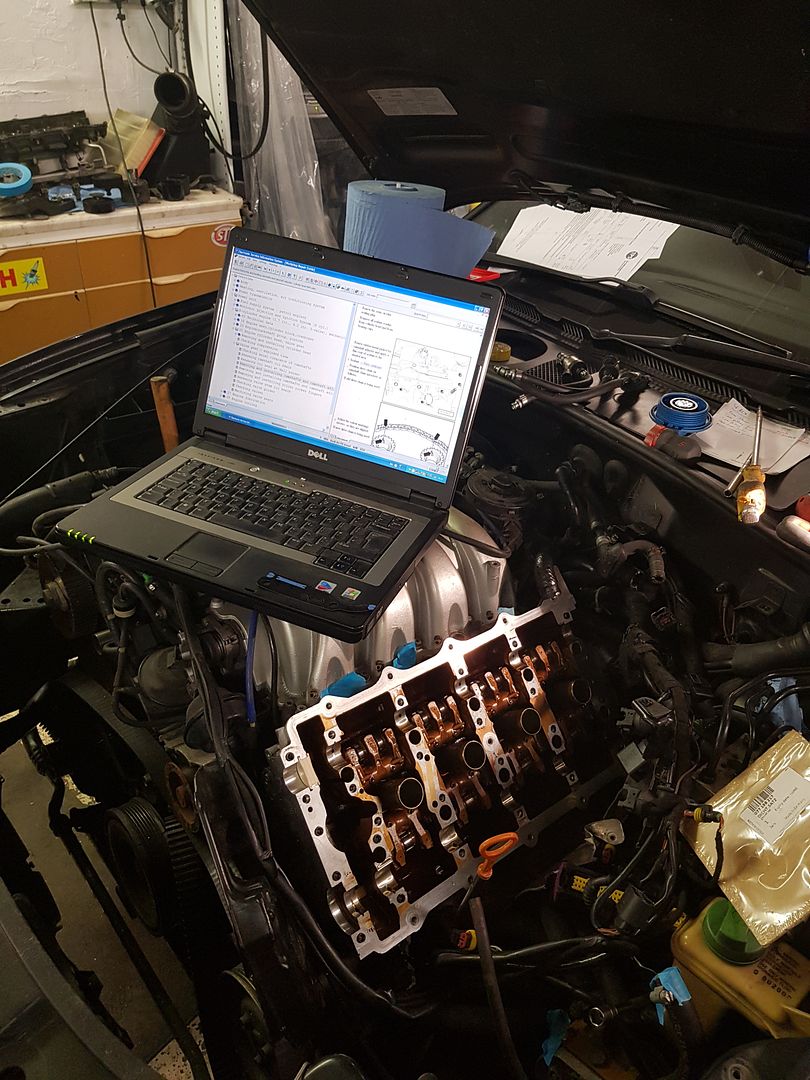
Fired up the old steam computer with elsawinto remind me the torque settings


And refitted with new audi sealant


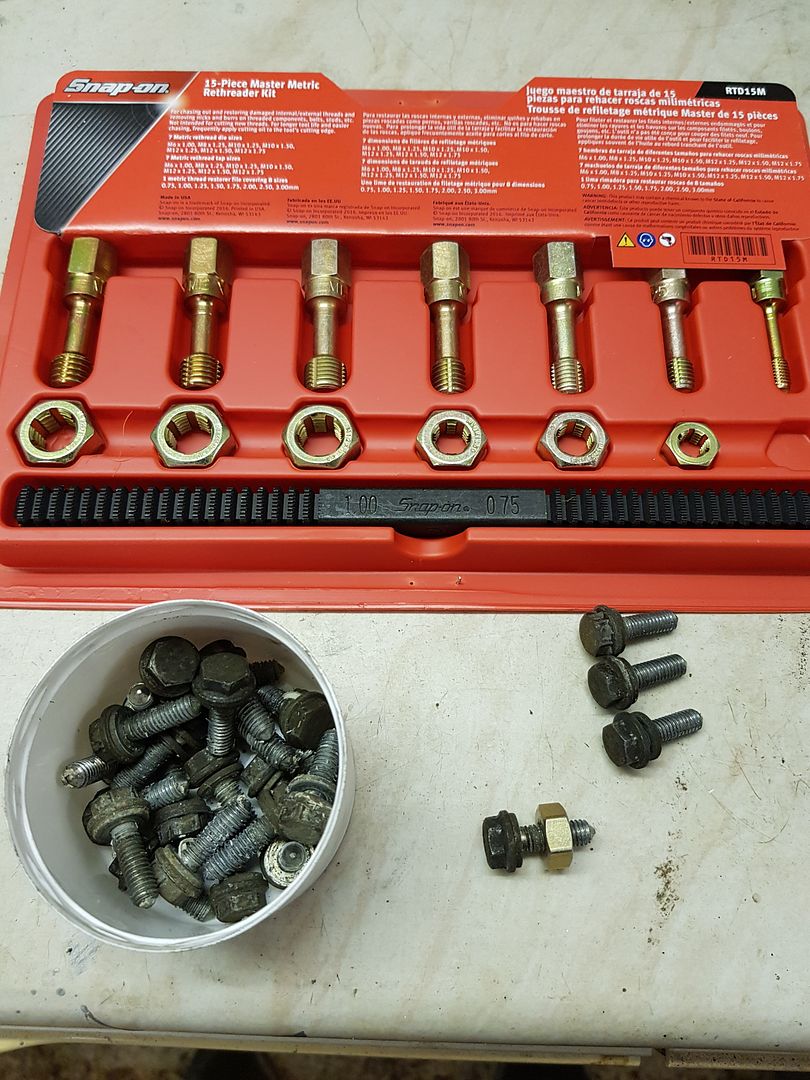
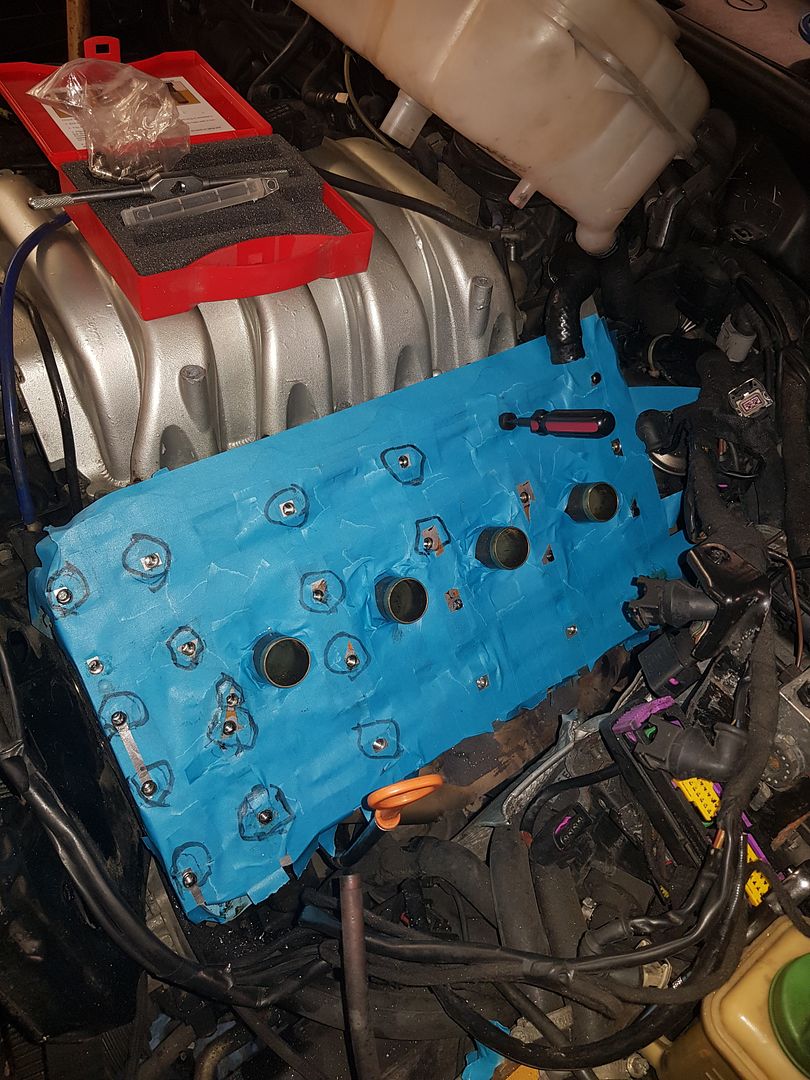
A problem I remember having last time was when torquing the cam caps down (about five times in a week :rolleyes: ) the threads started pulling out of the head, so I had to helicoil a few.


I wasn't going to mess around this time so I helicoiled the lot in preparation

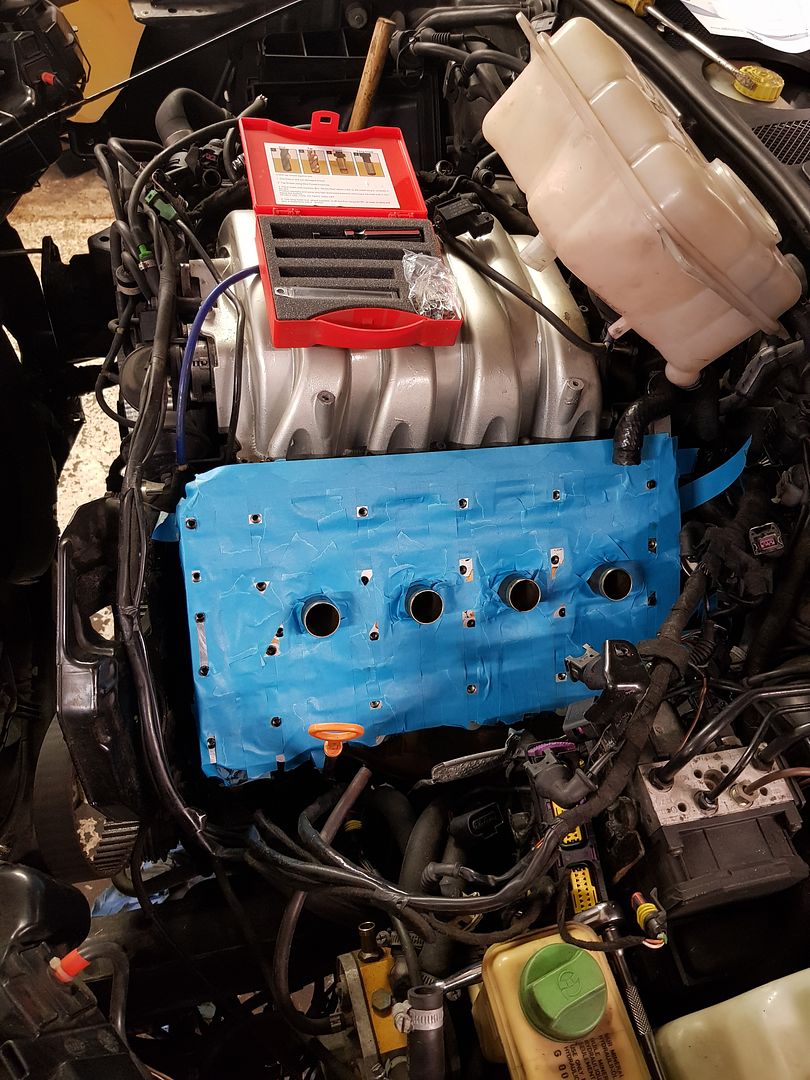
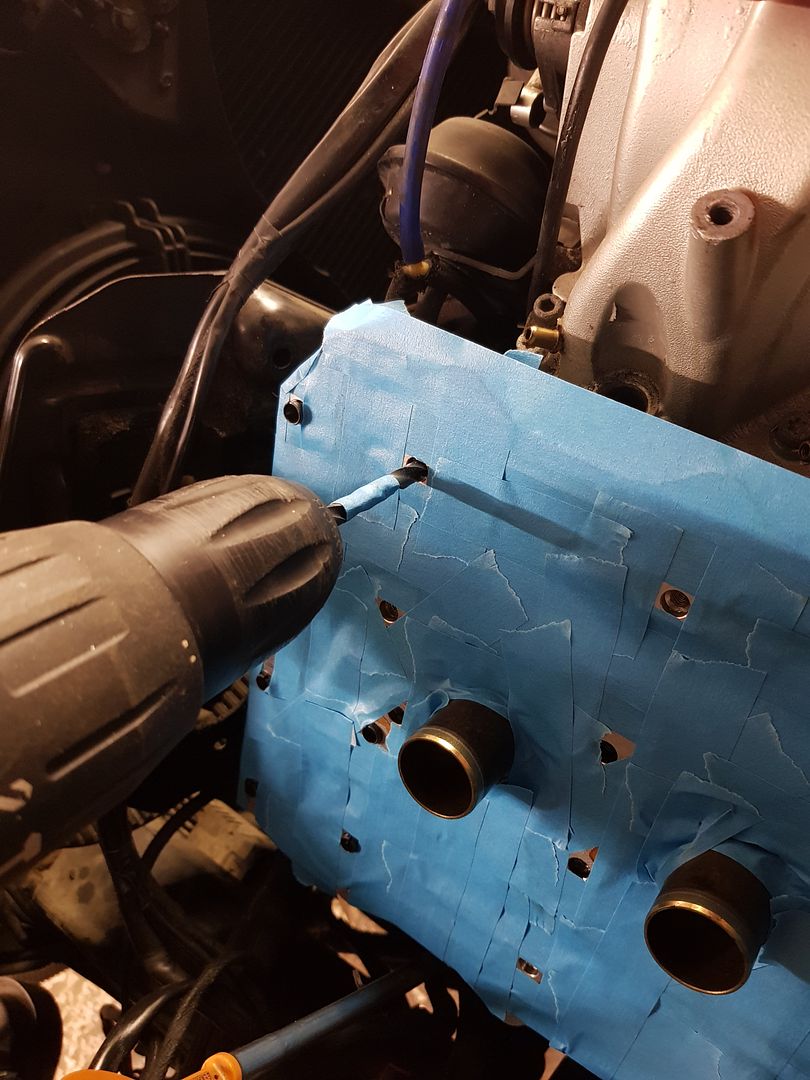
Masked it all up


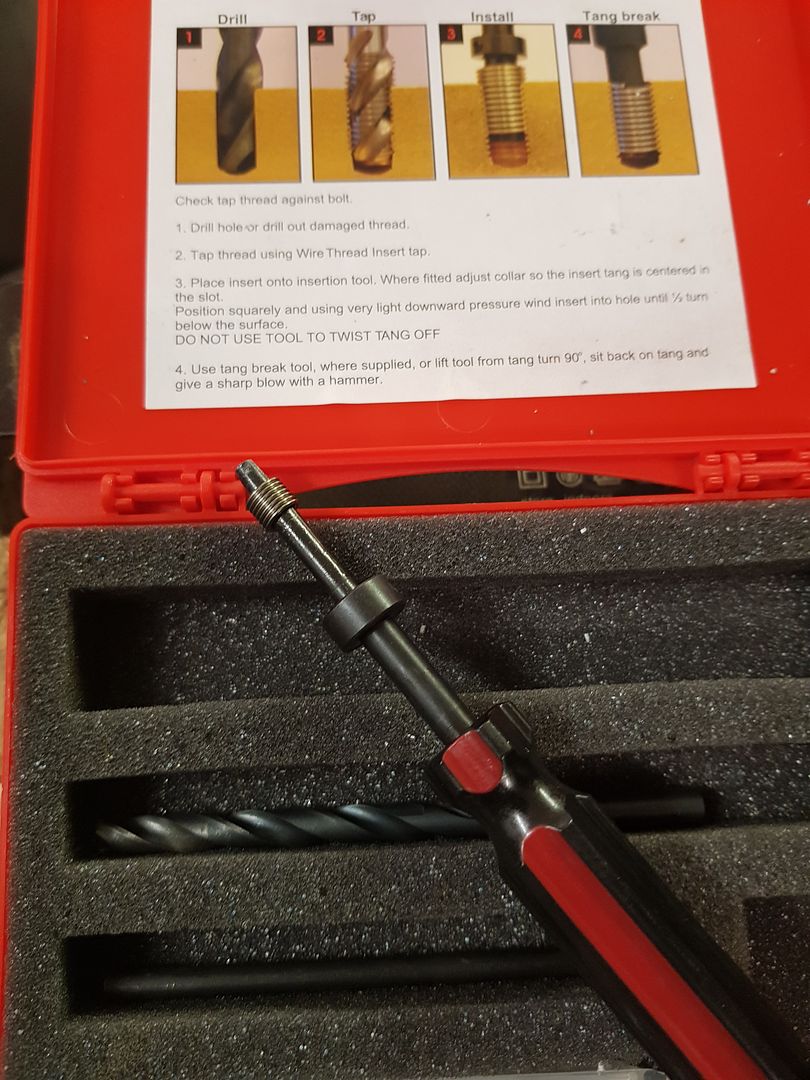
And I still had the helicoil kit from last time


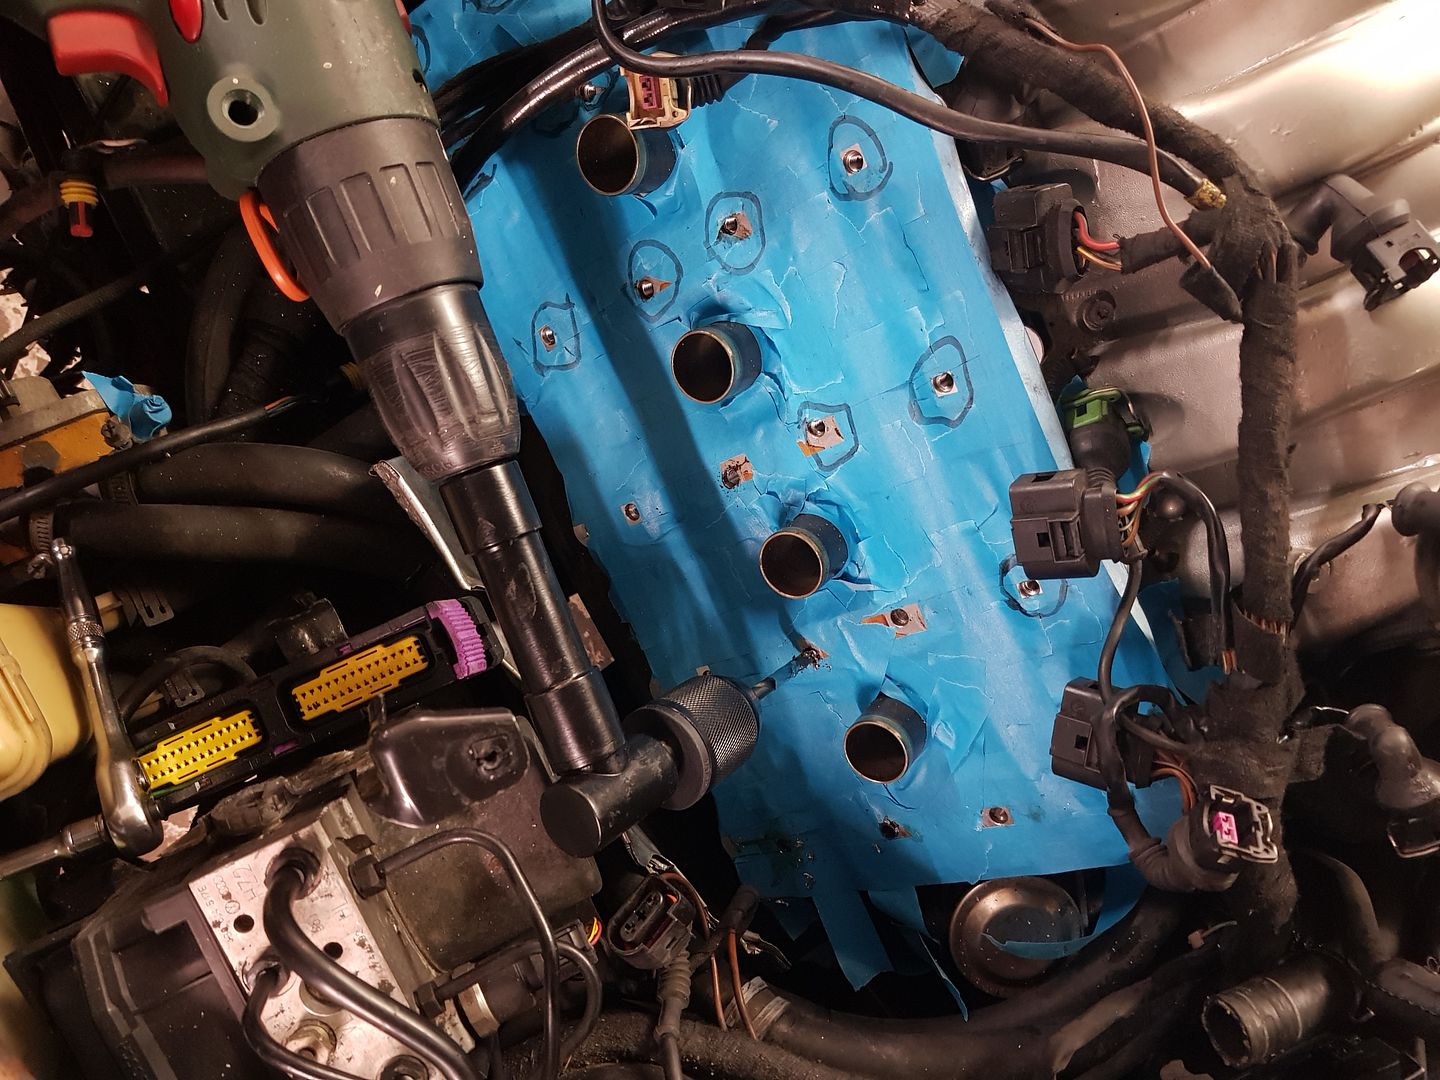
Drilled them out


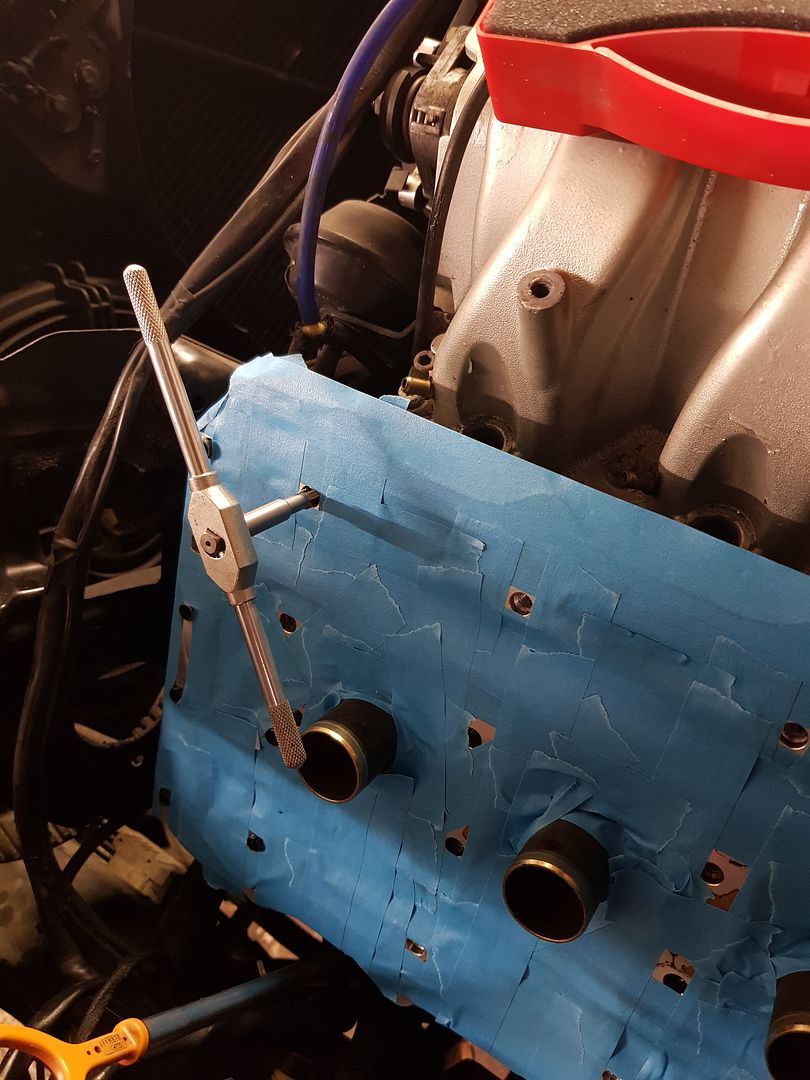
Tapped them out


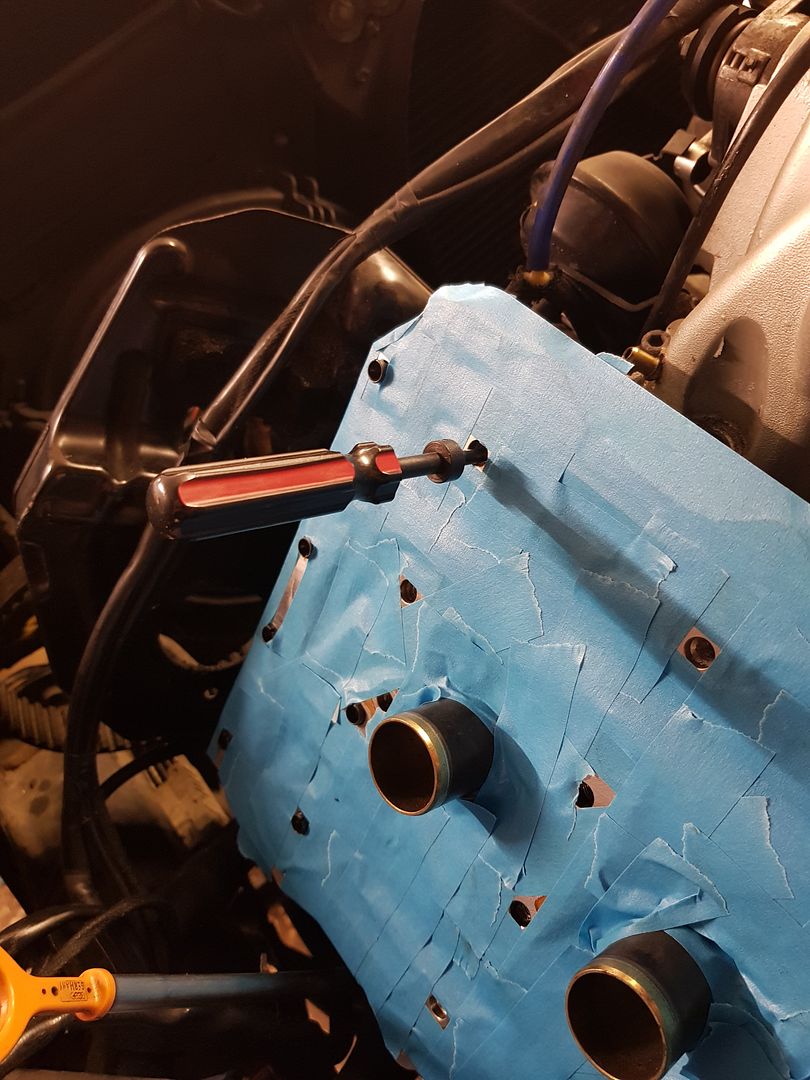
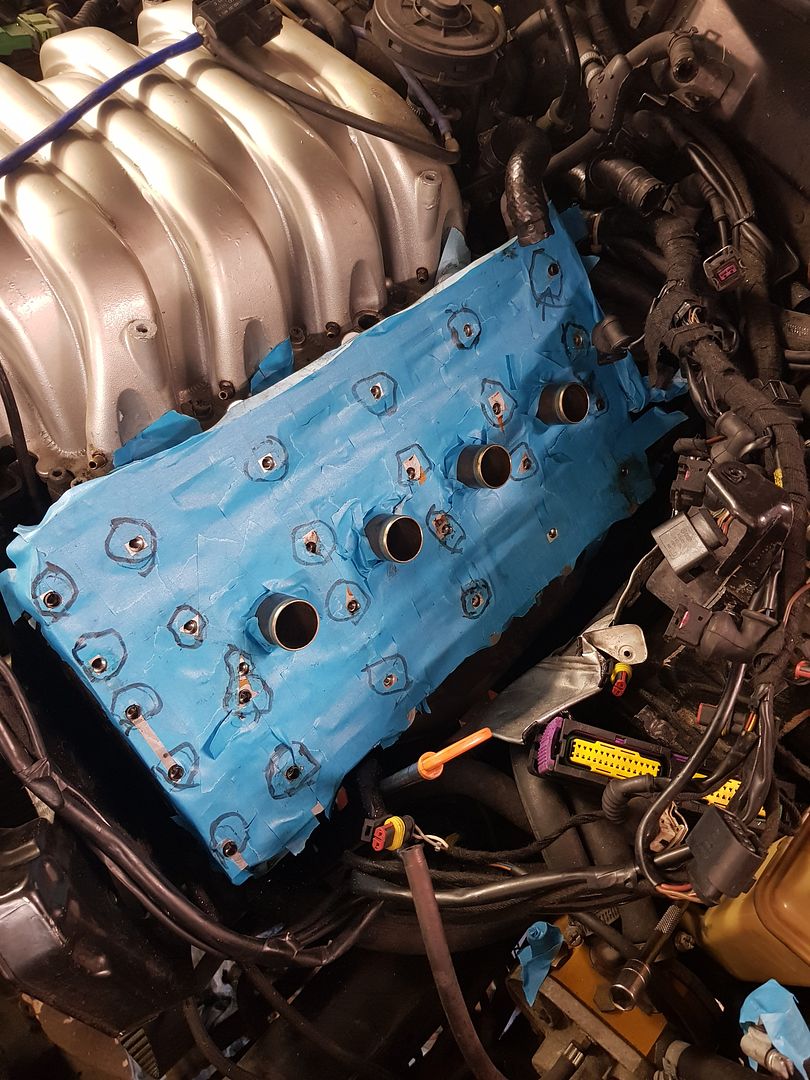
And wind in the insert


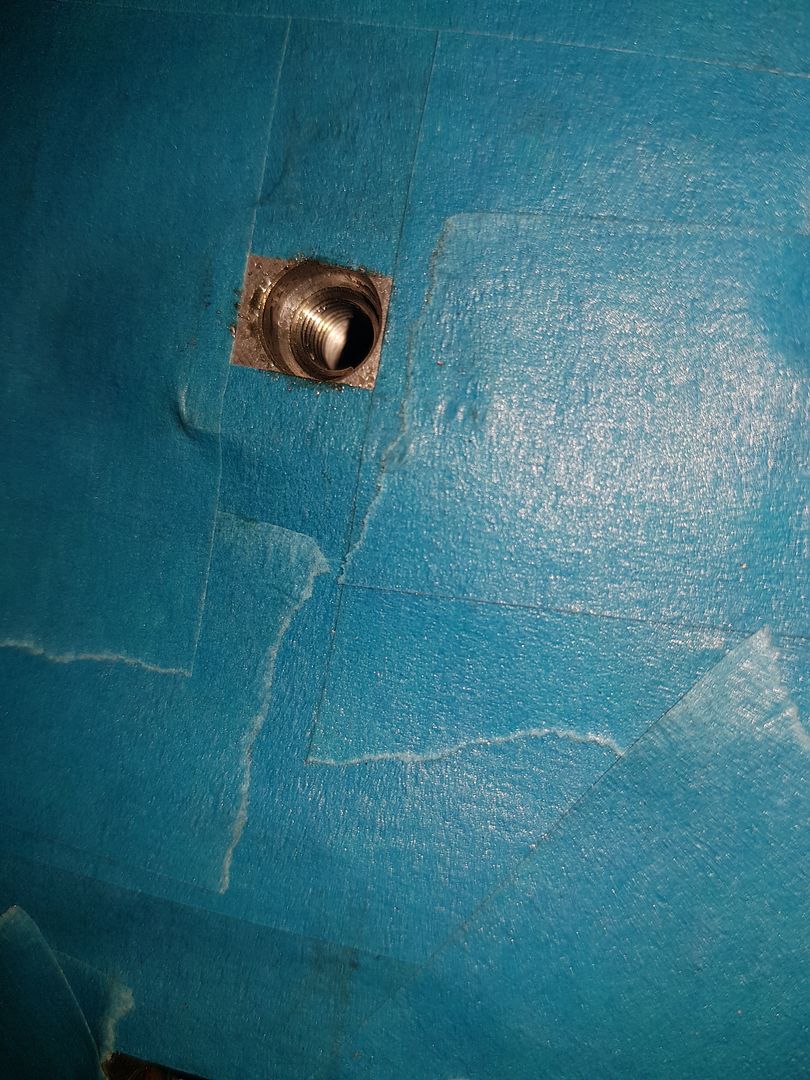
Wallah


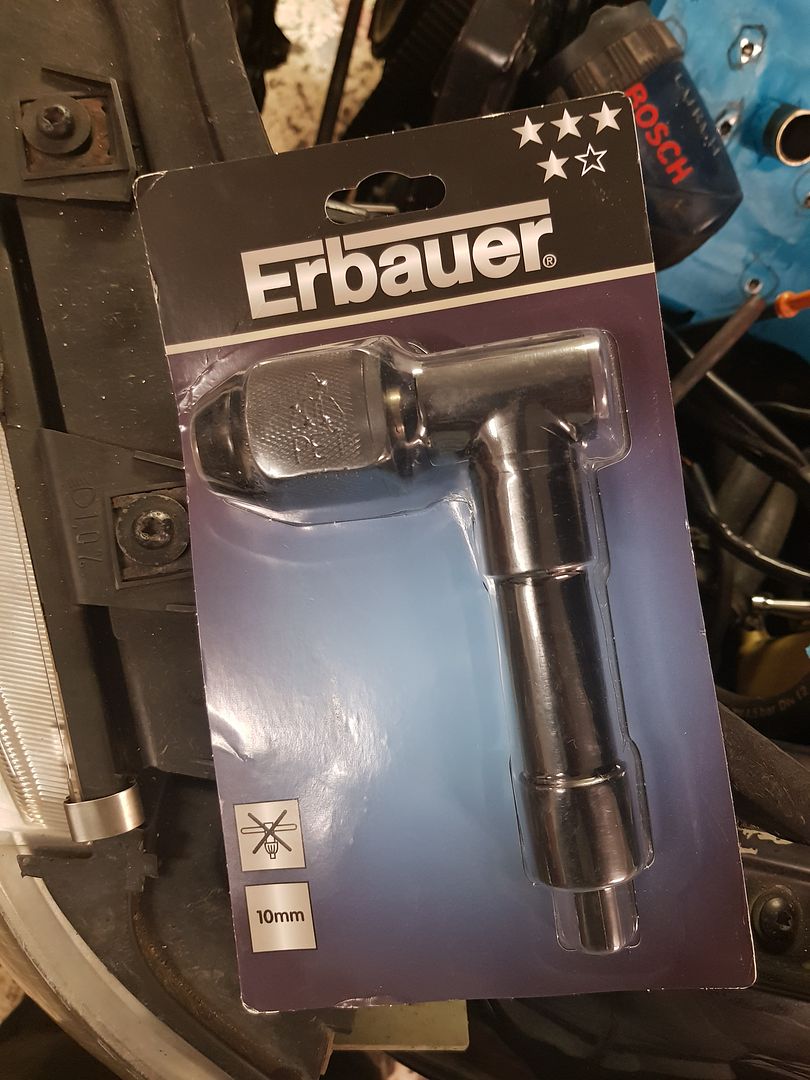
Got this far but couldn't do any more as I couldn't get the drill in


Quick trip to screwfix


And could carry on


I got them all done apart from the very back bottom two. I've cleaned out the threads so hopefully they'll be fine


I whipped off the other rocker cover as it was seeping at bit at the back, and I had the good sealer out from the sump


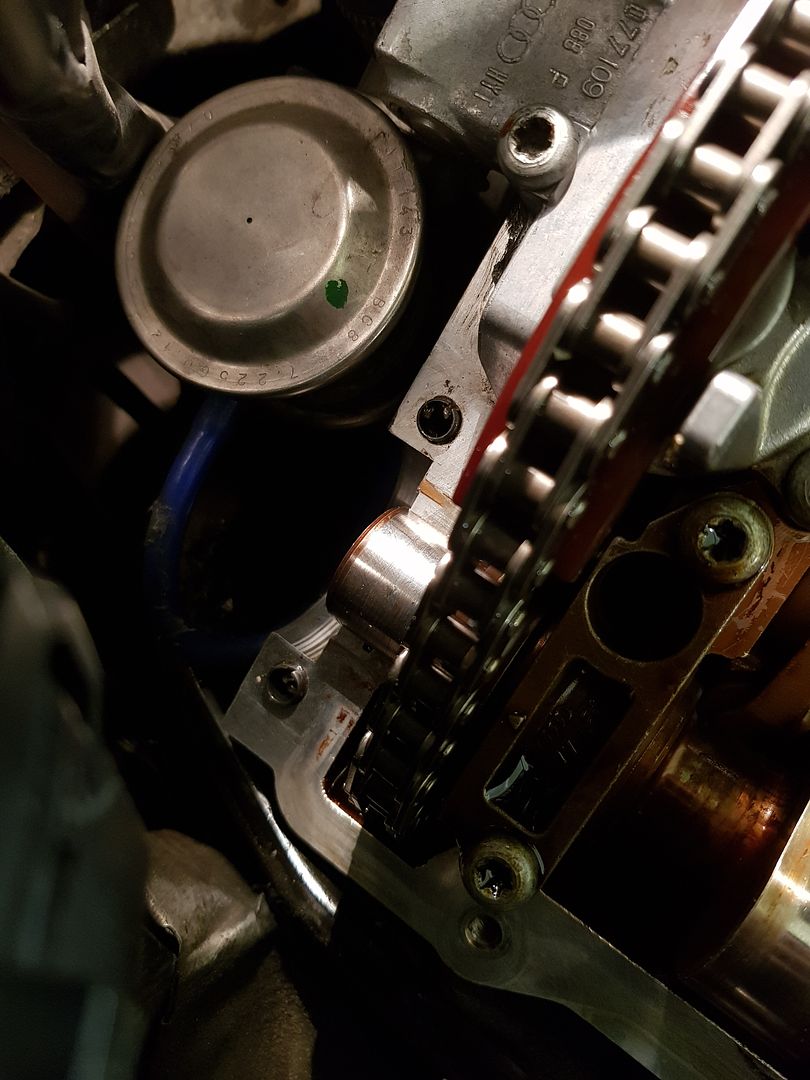
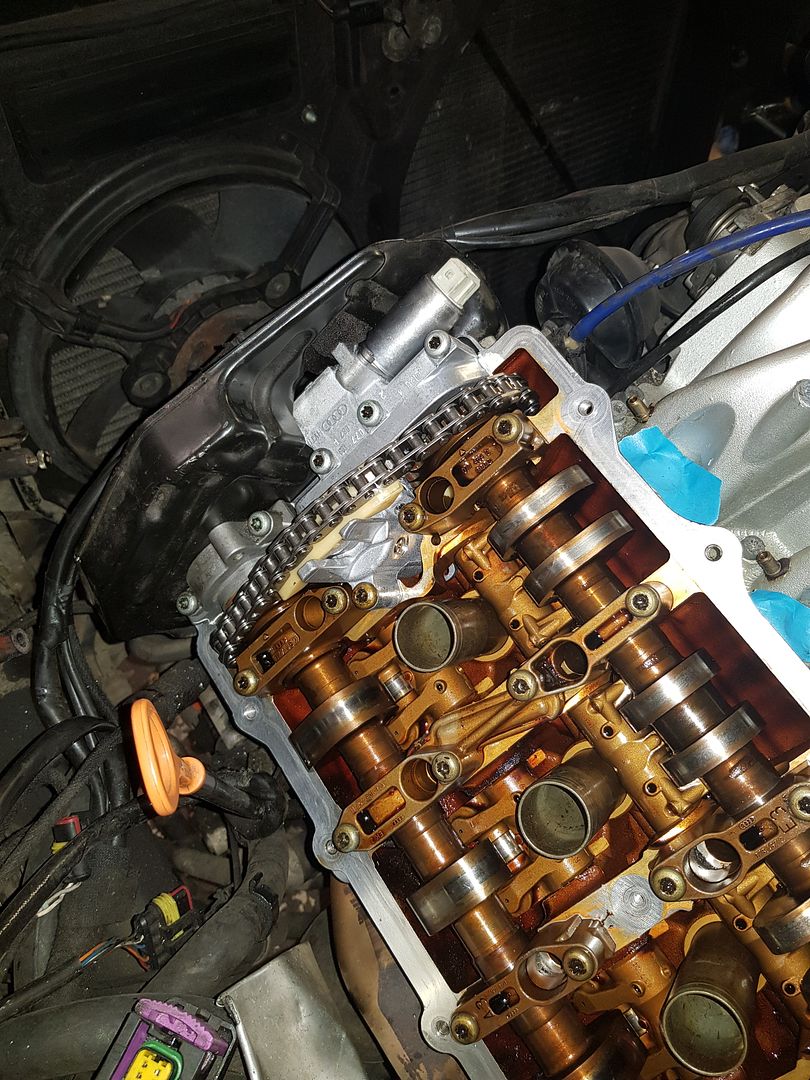
The other tensioner is still looking good 3 years later


Took the end core plug out


And sealed it all up with the sump sealer. This is how tight it is, this is the biggest thing you can get in the bottom bolts. Luckily the torque setting is an angle one.


Like I said, hopefully I will get the cam seals tomorrow and can crack on after work :)
 
Got the cam seals (£50 for the pair!)


Got elsawin back out


And could get the cams in, glued up the core plug this side too


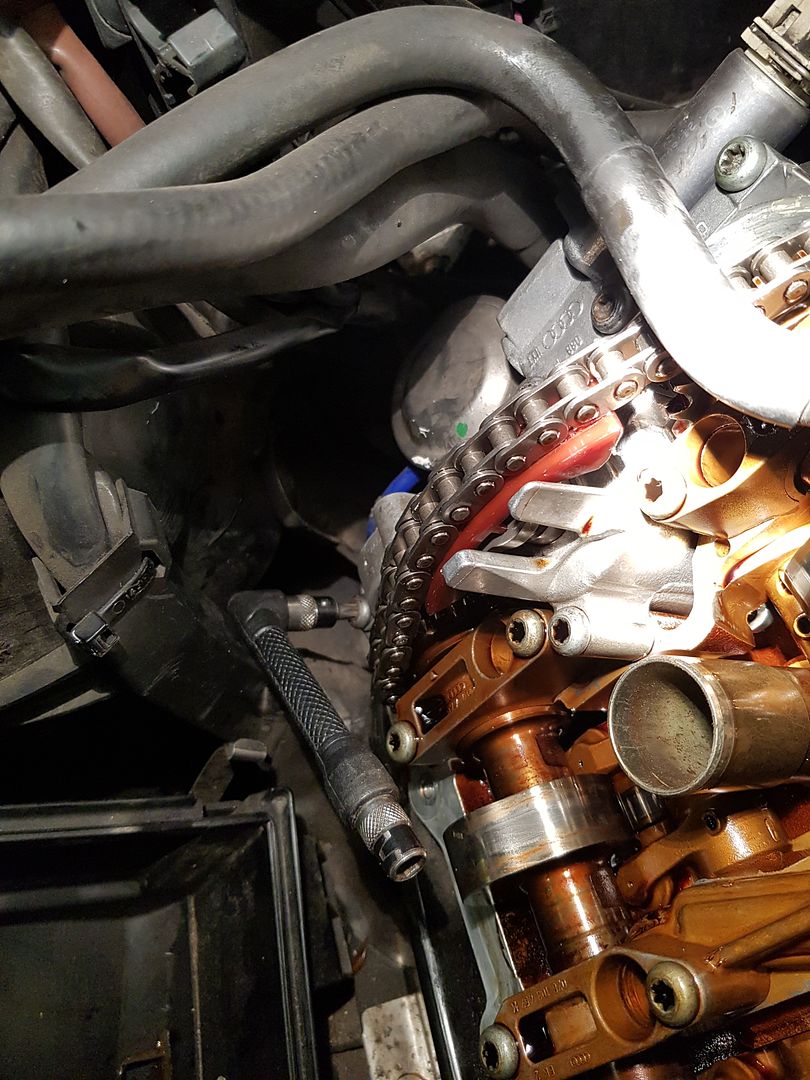
And got the tensioner in


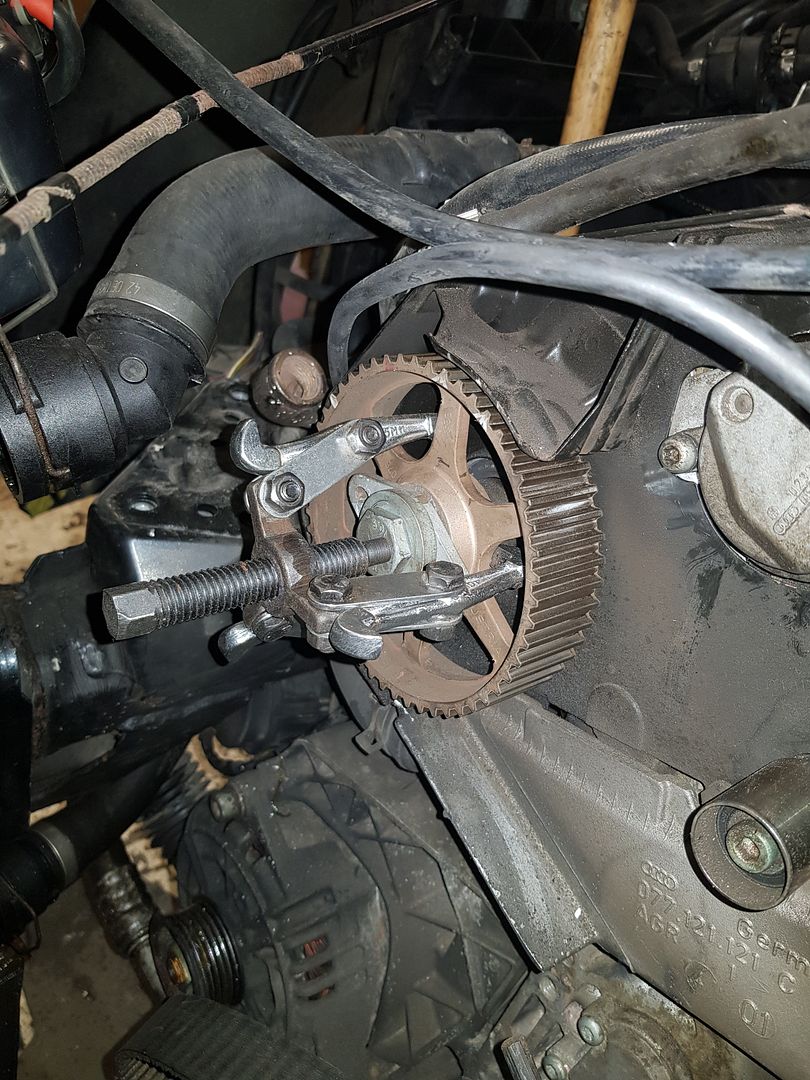
Popped the other side pully off


An could time it all back up


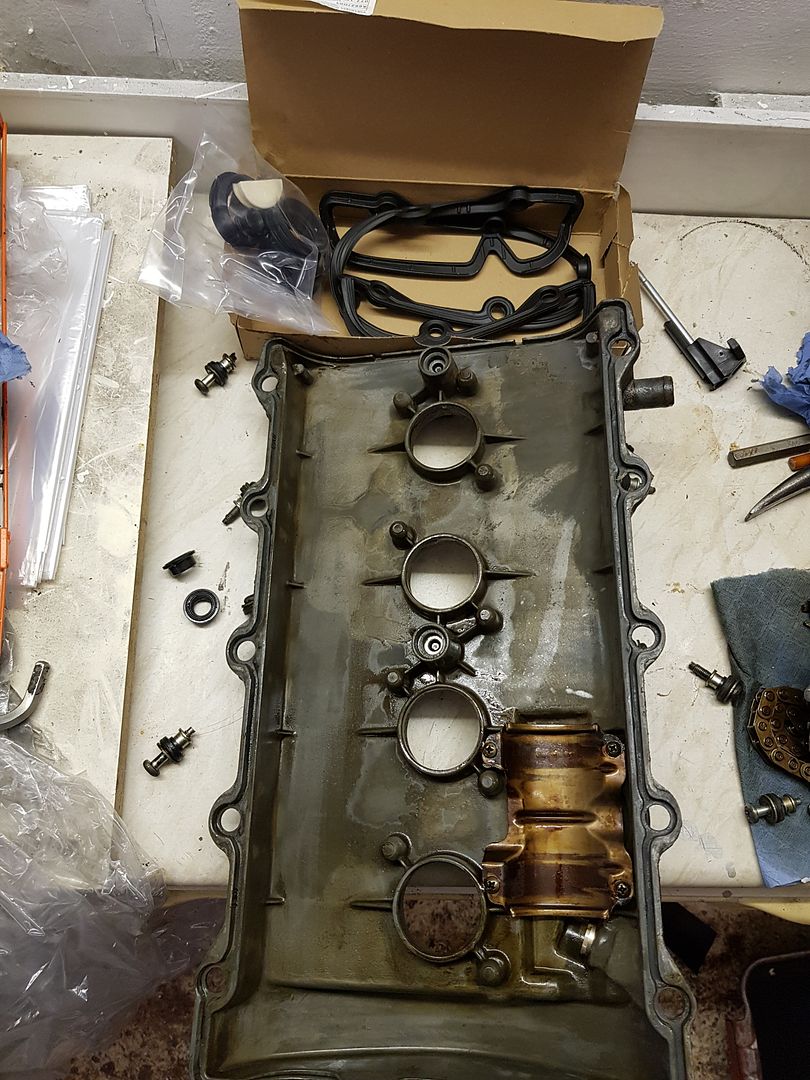
New seals for the cam cover


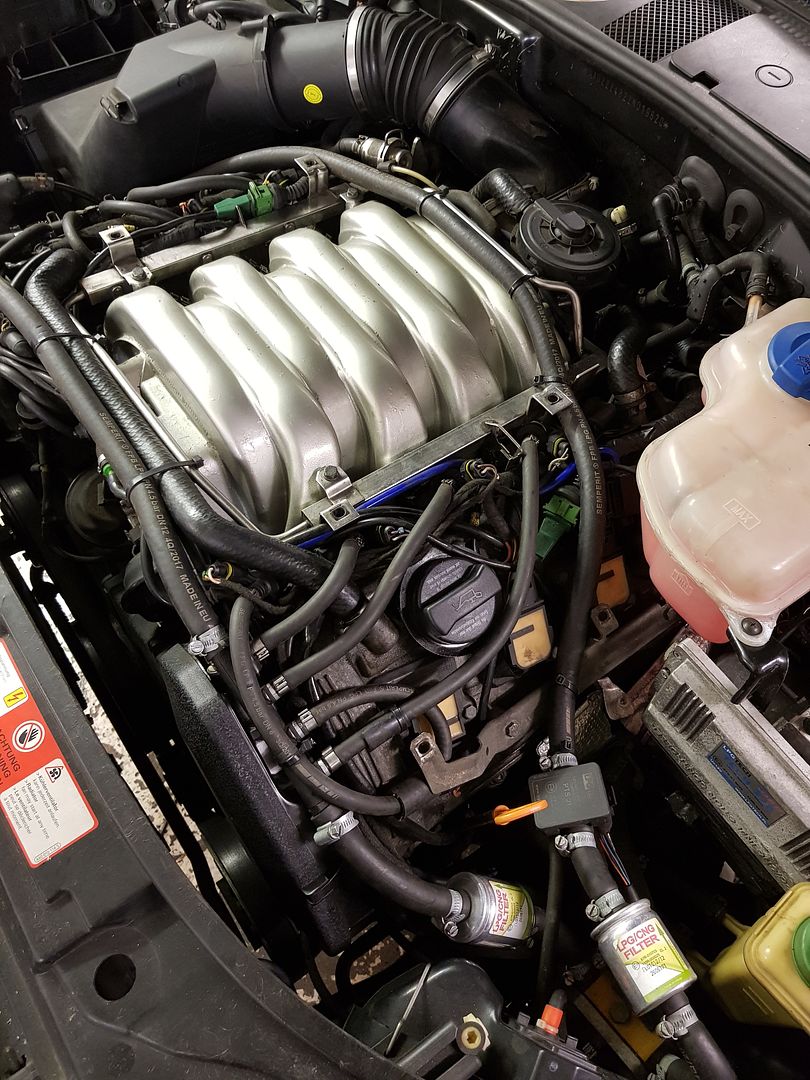
And started putting it back together


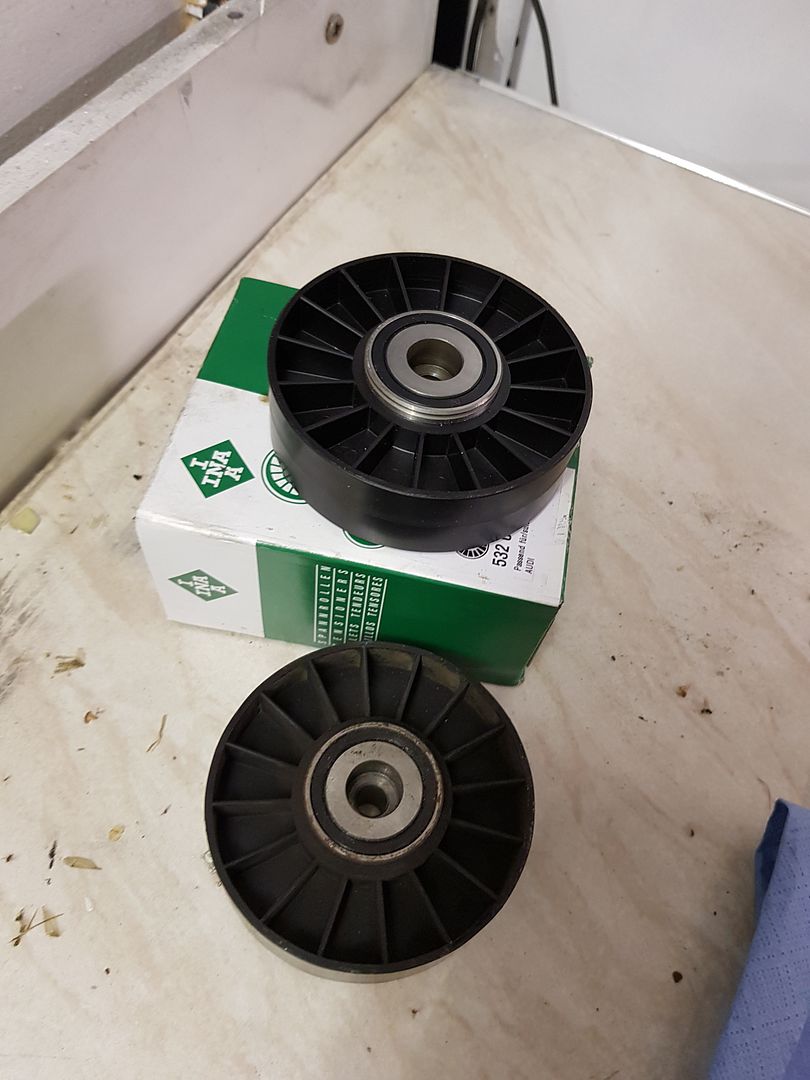
I found one of the aux belt idlers had a knackered bearing, which is what the annoying squawking it used to chirp was, so got a new one of them


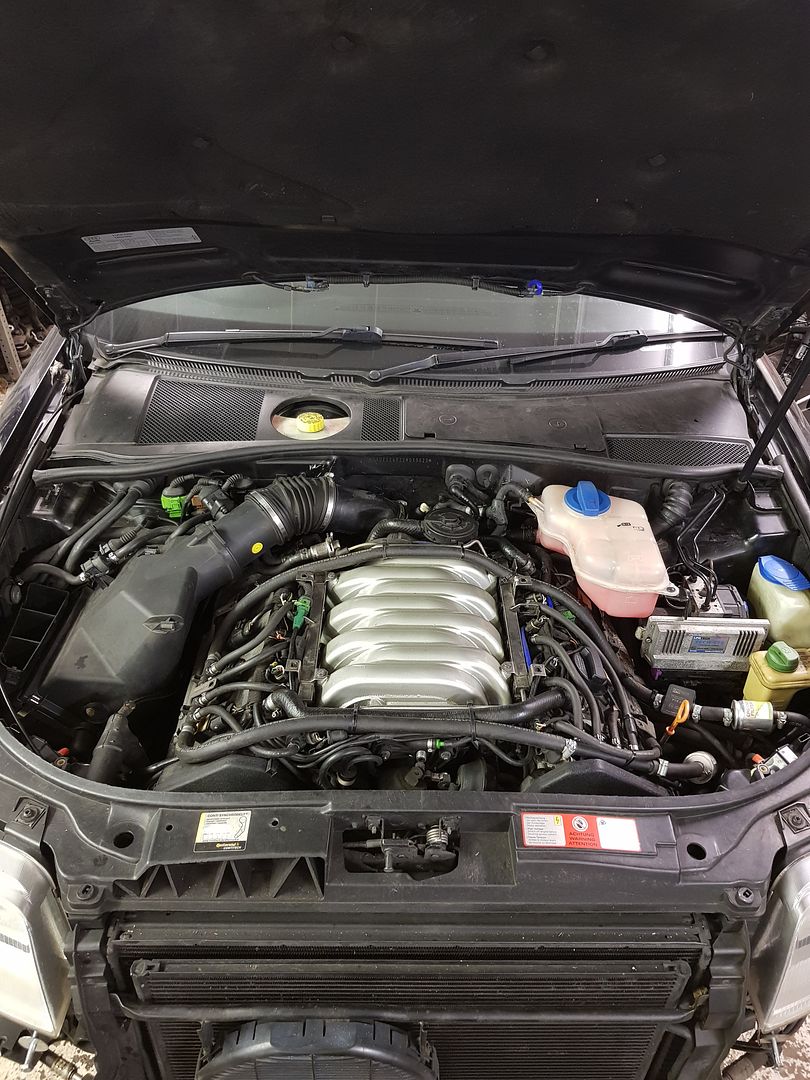
All built up, and you can't even see the £500 tensioner :(


And do finished


While it was up in the air I whipped the front pads out as every now and then I have to take the burr off the edge or they start to squeak


Quick rub over


Pads don't last long on this thing, or that might be my driving :lol:


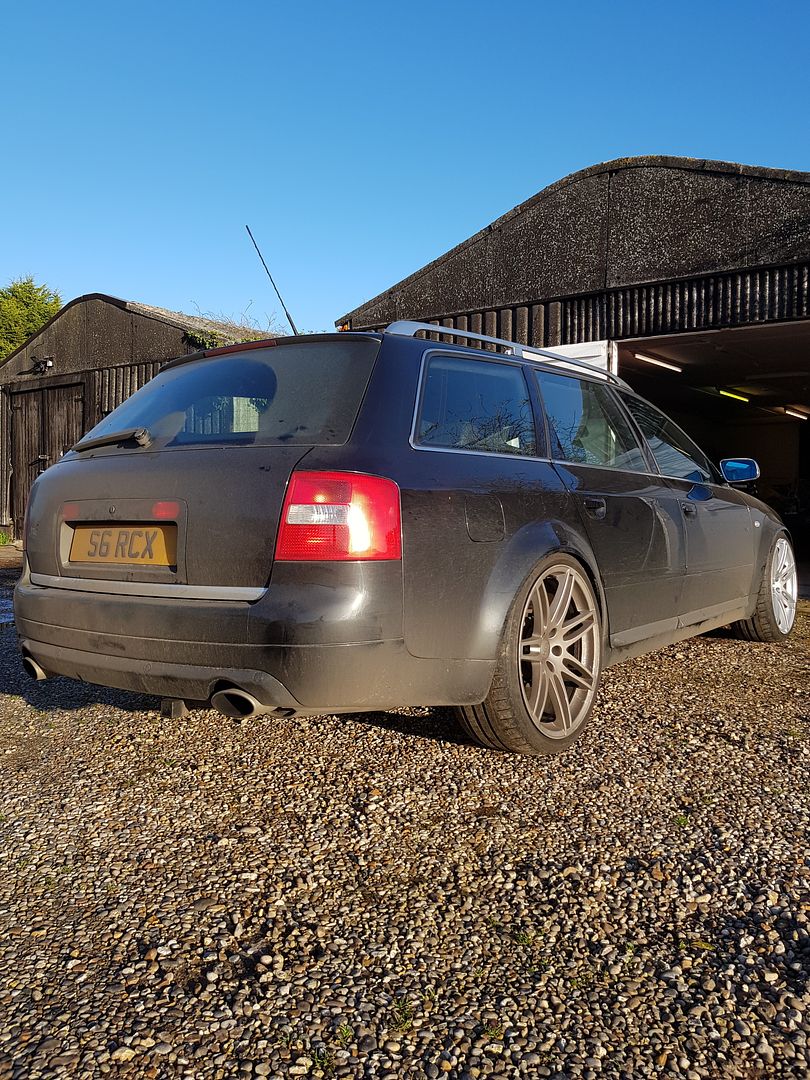
As I live in the countryside black cars don't stay black for long do I just leave it dirty


Wheels were filthy


So as they were off I gave them a good clean


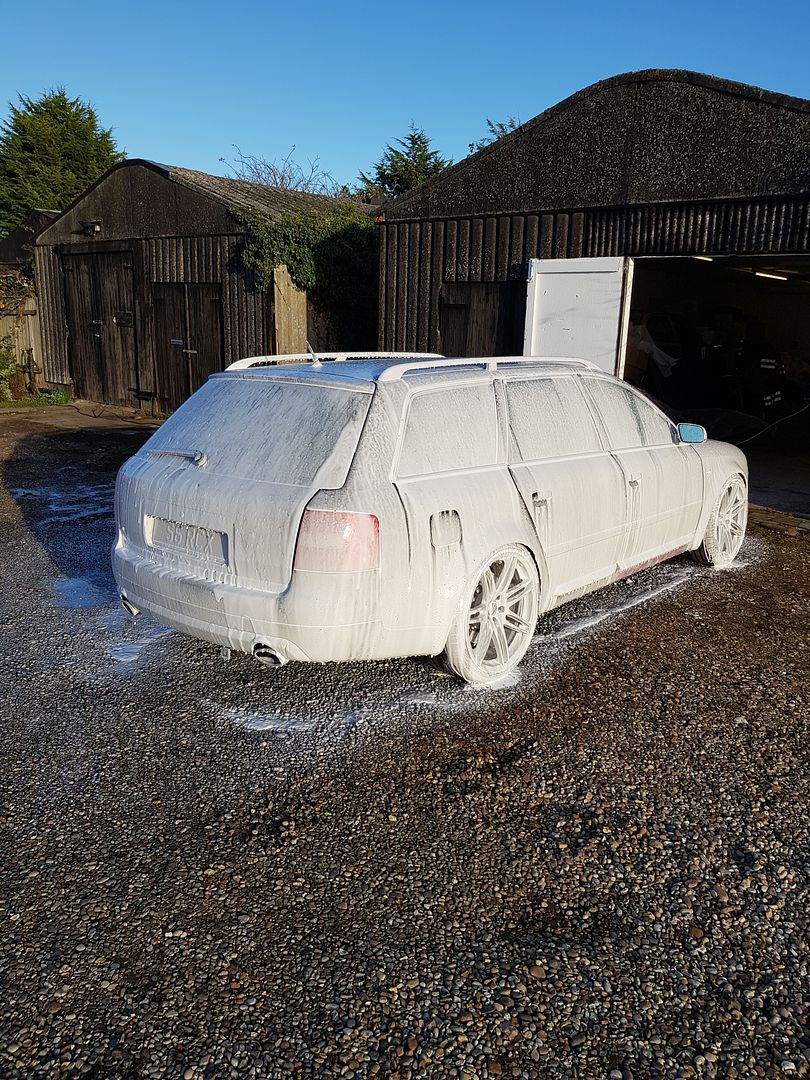
And then the rest of the car


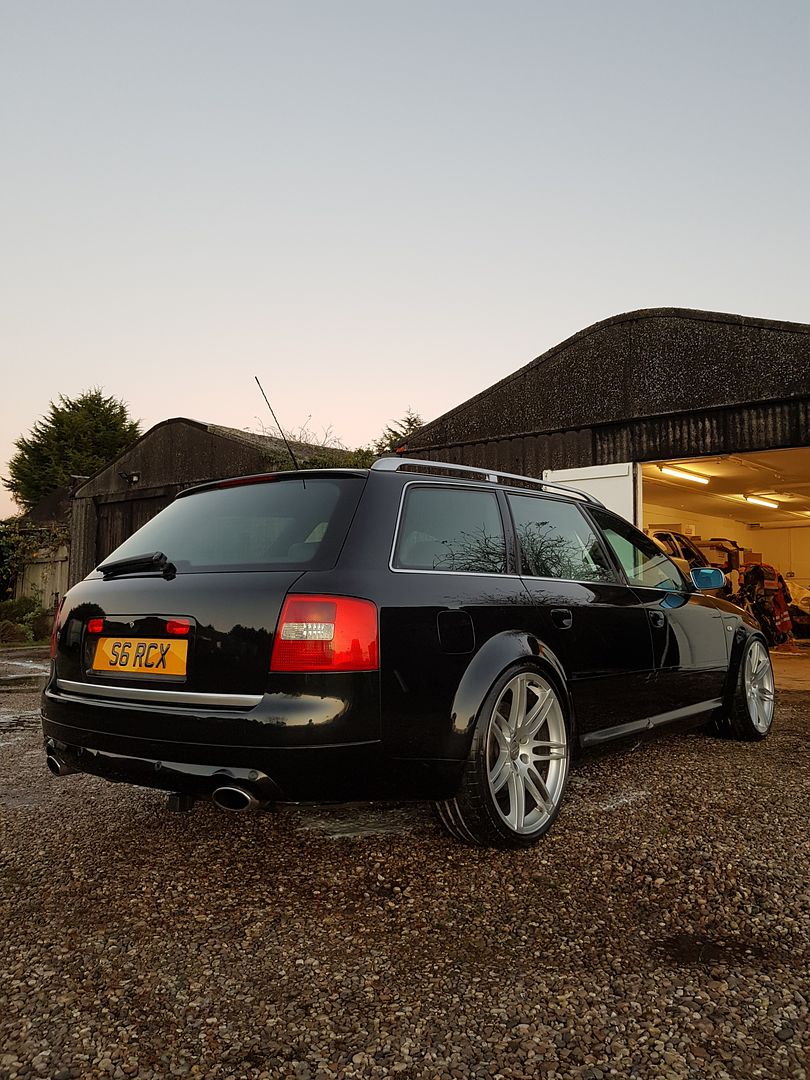
And it's BACK!


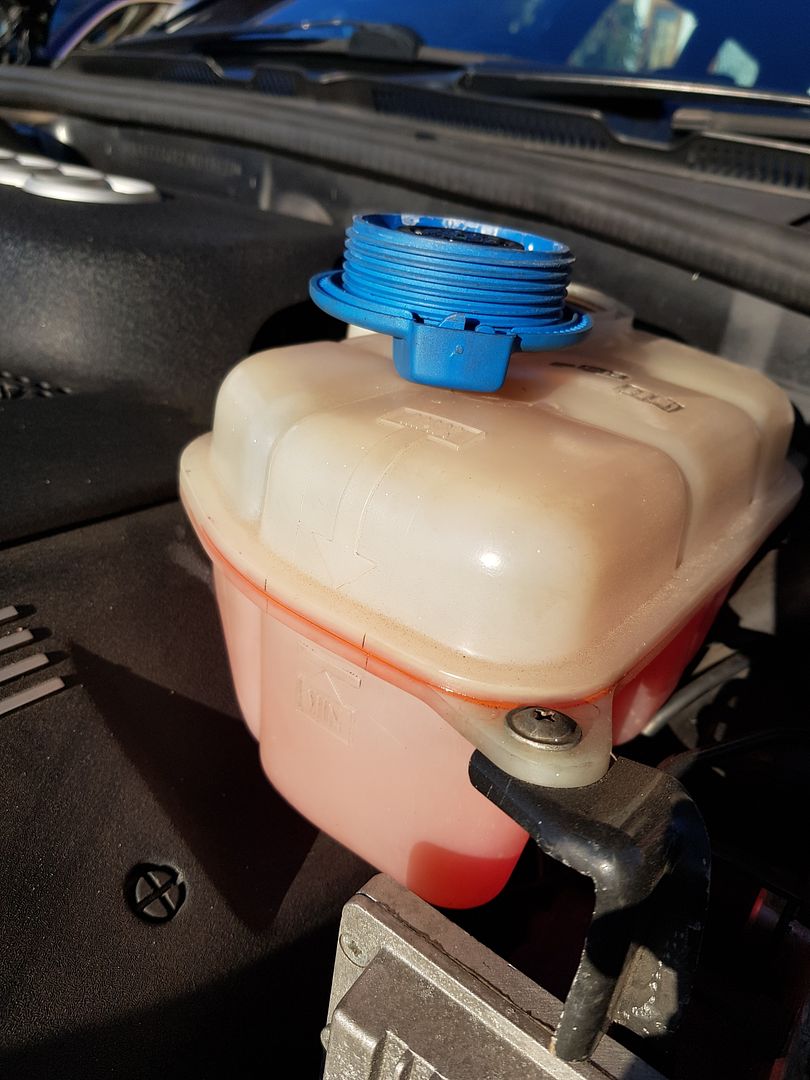
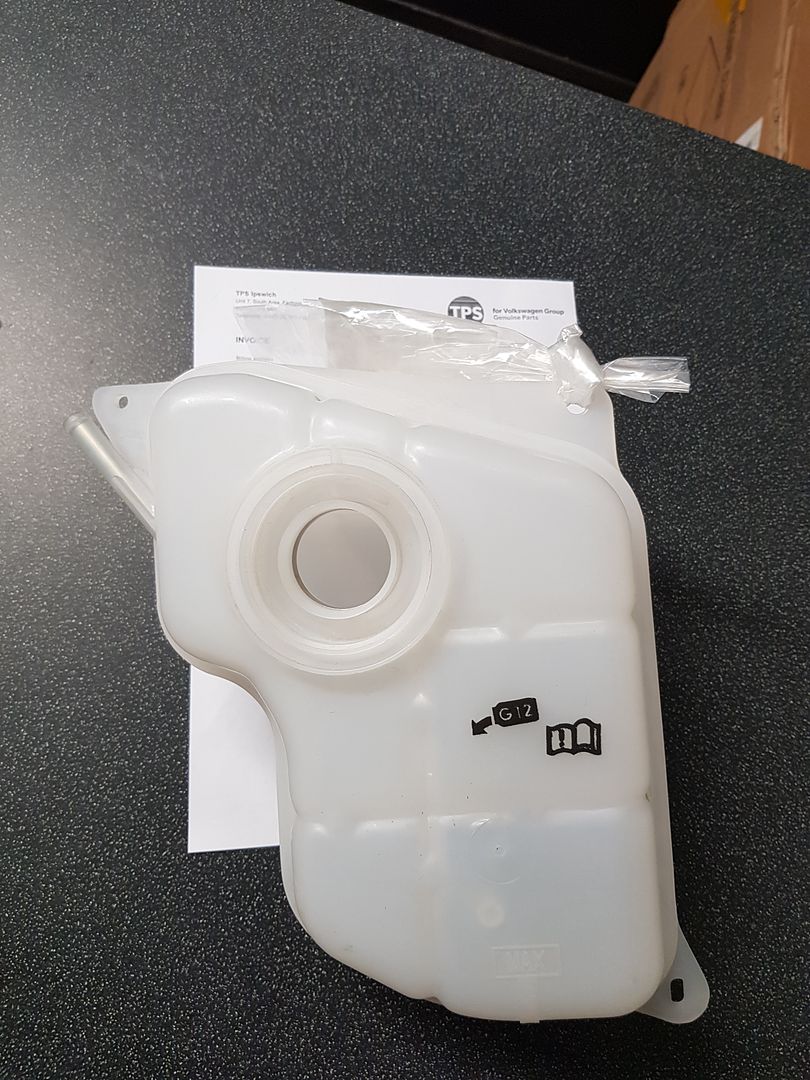
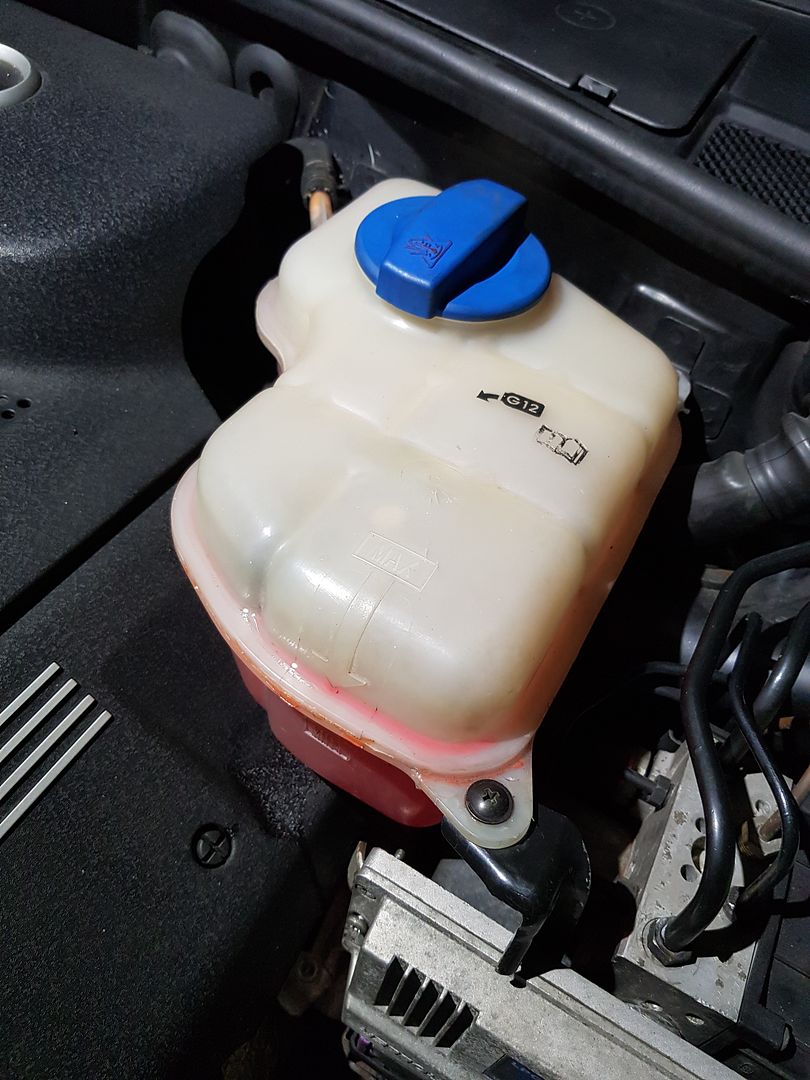
Whilst carrying out the previous repairs I noticed a bit of coolant staining on the head and it was wet around the seam of the header tank


I couldn't find an aftermarket header tank anywhere so had to go back to TPS again for another £50


The leak had got quite a bit worse at the seam


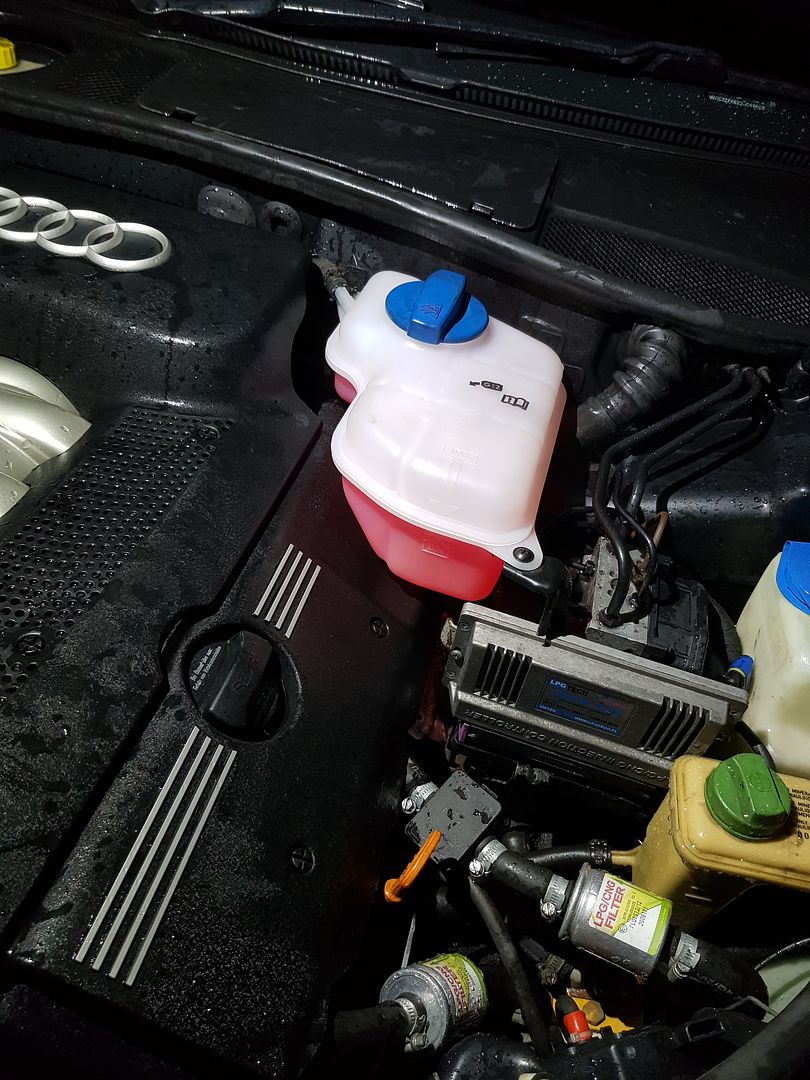
But now good as new :)


Everything wet as i gave it a hose down because everything was sticky with antifreeze
 

Users who are viewing this thread

Back
Top