Want to remove ads? Become a MK3OC Club Member today!

Dave b's VXR Powered Gsi Diary

So the paper came off

full

full


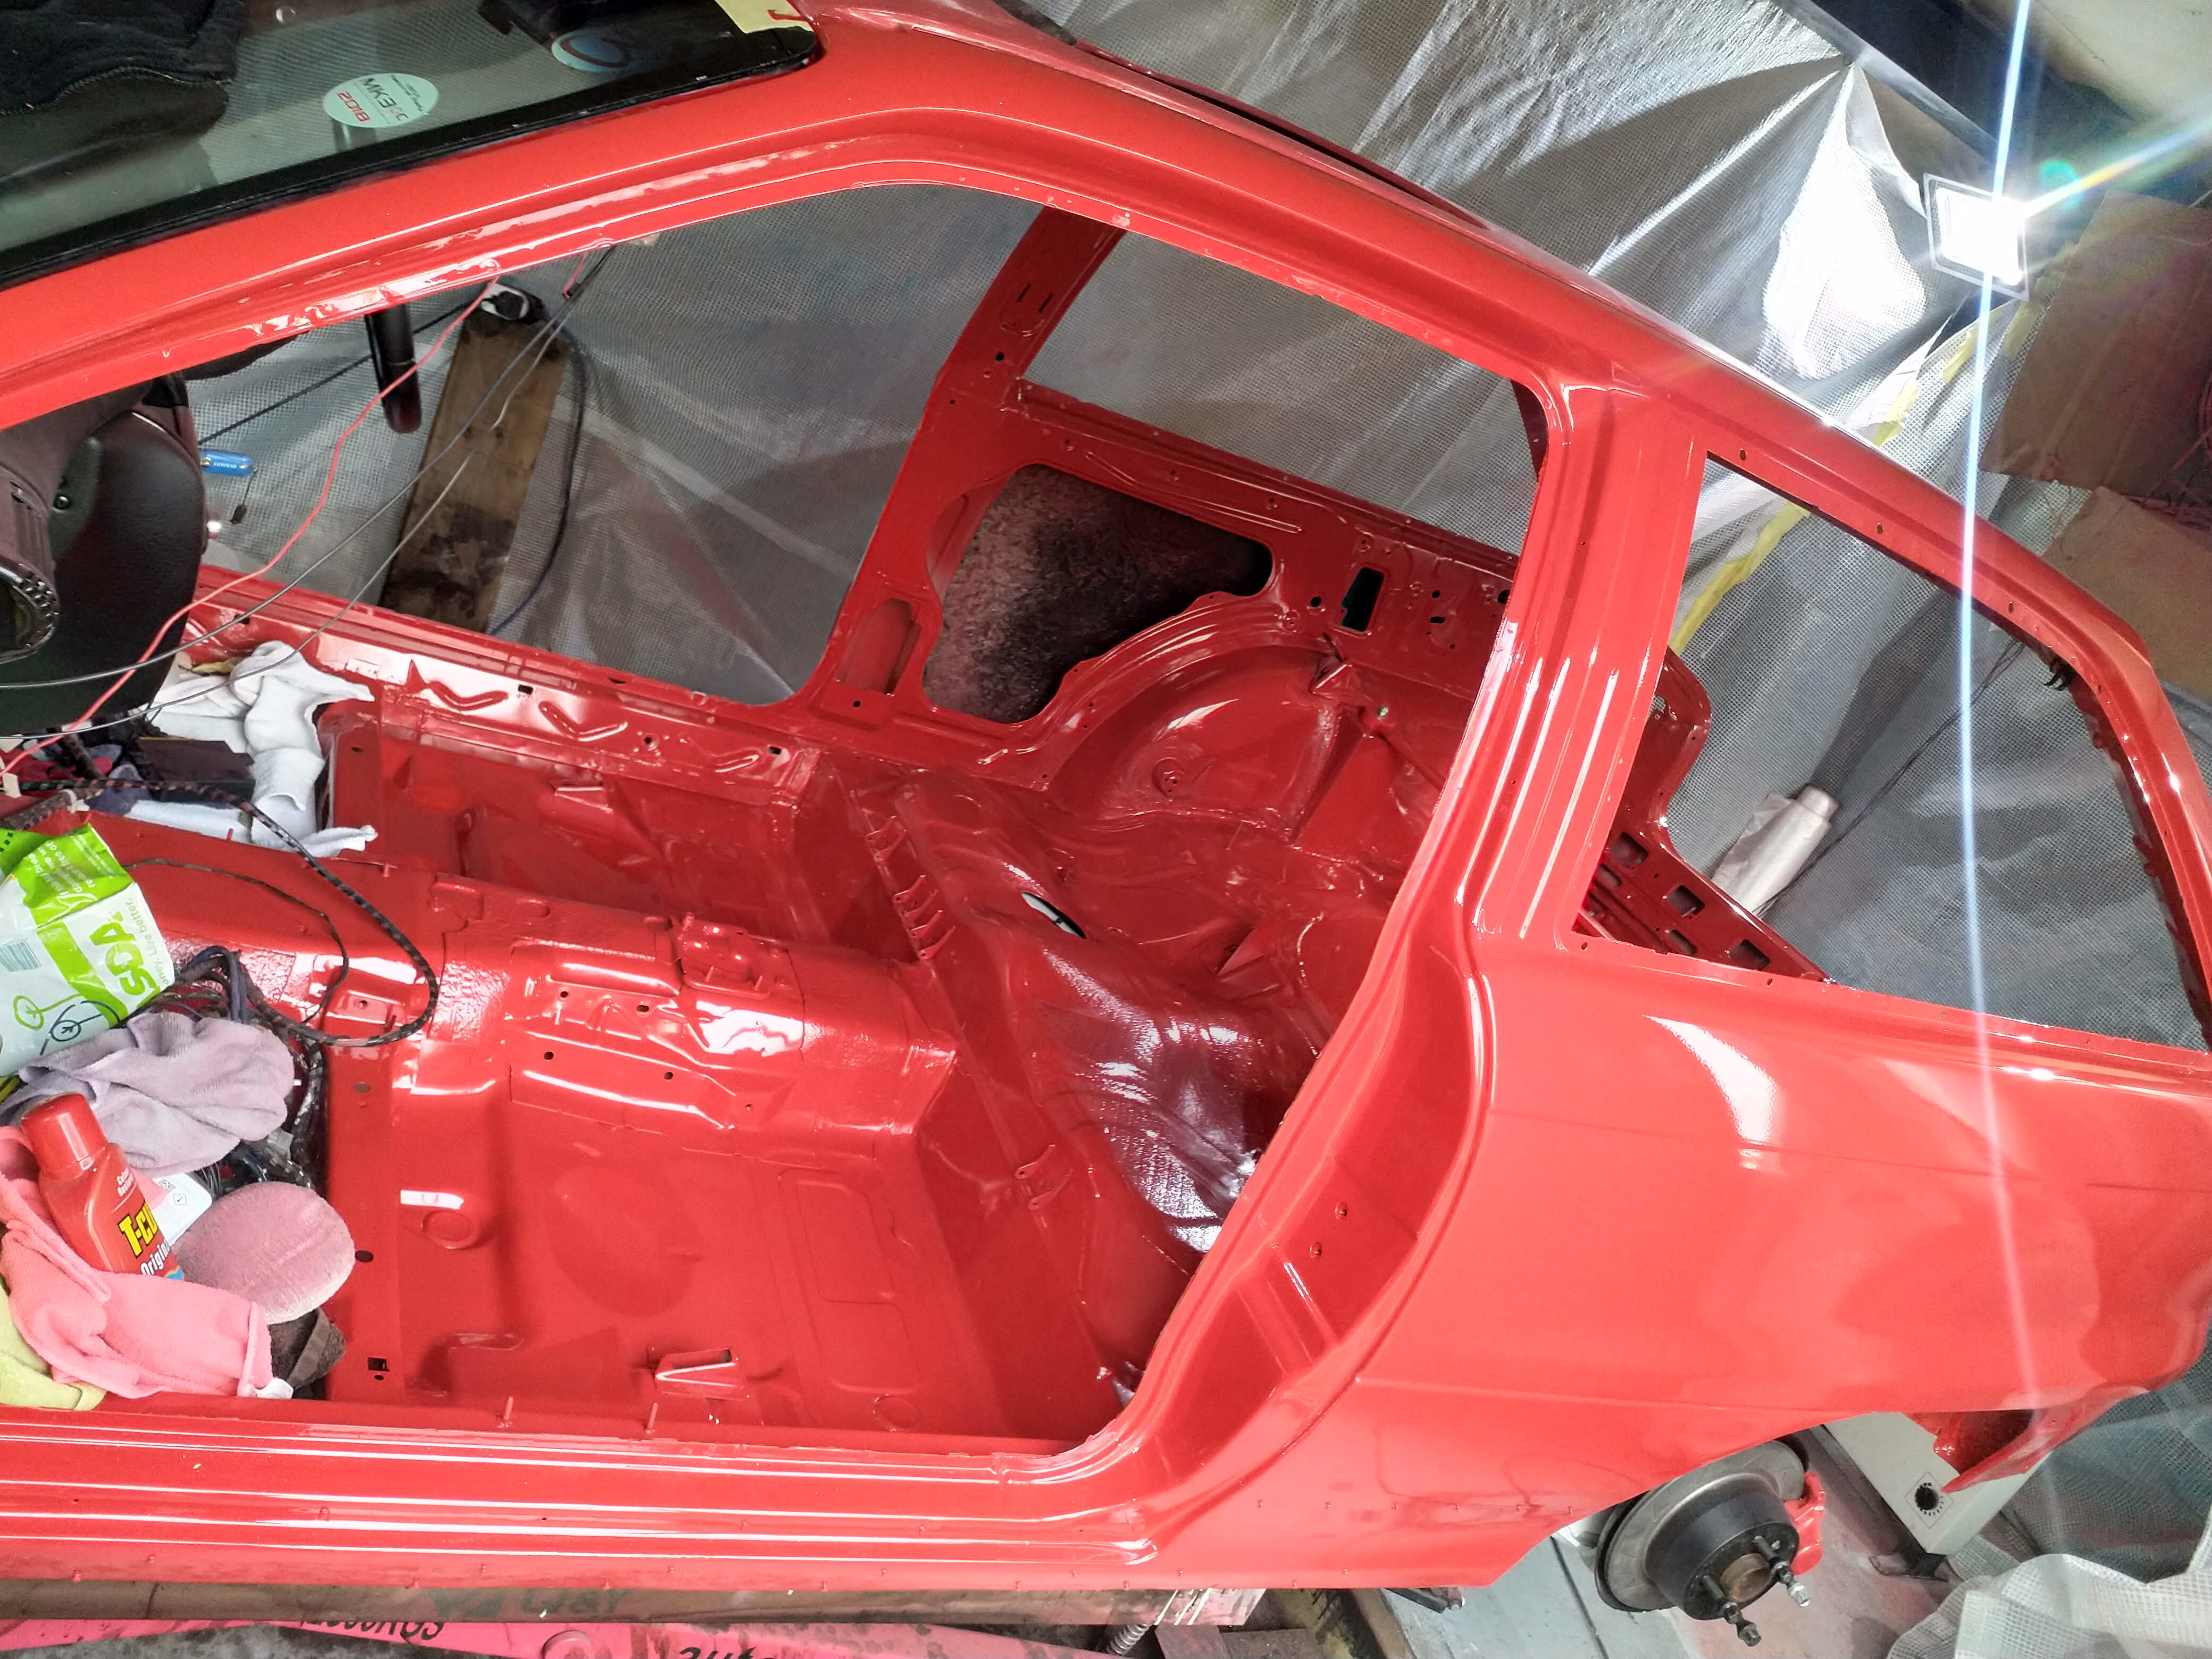
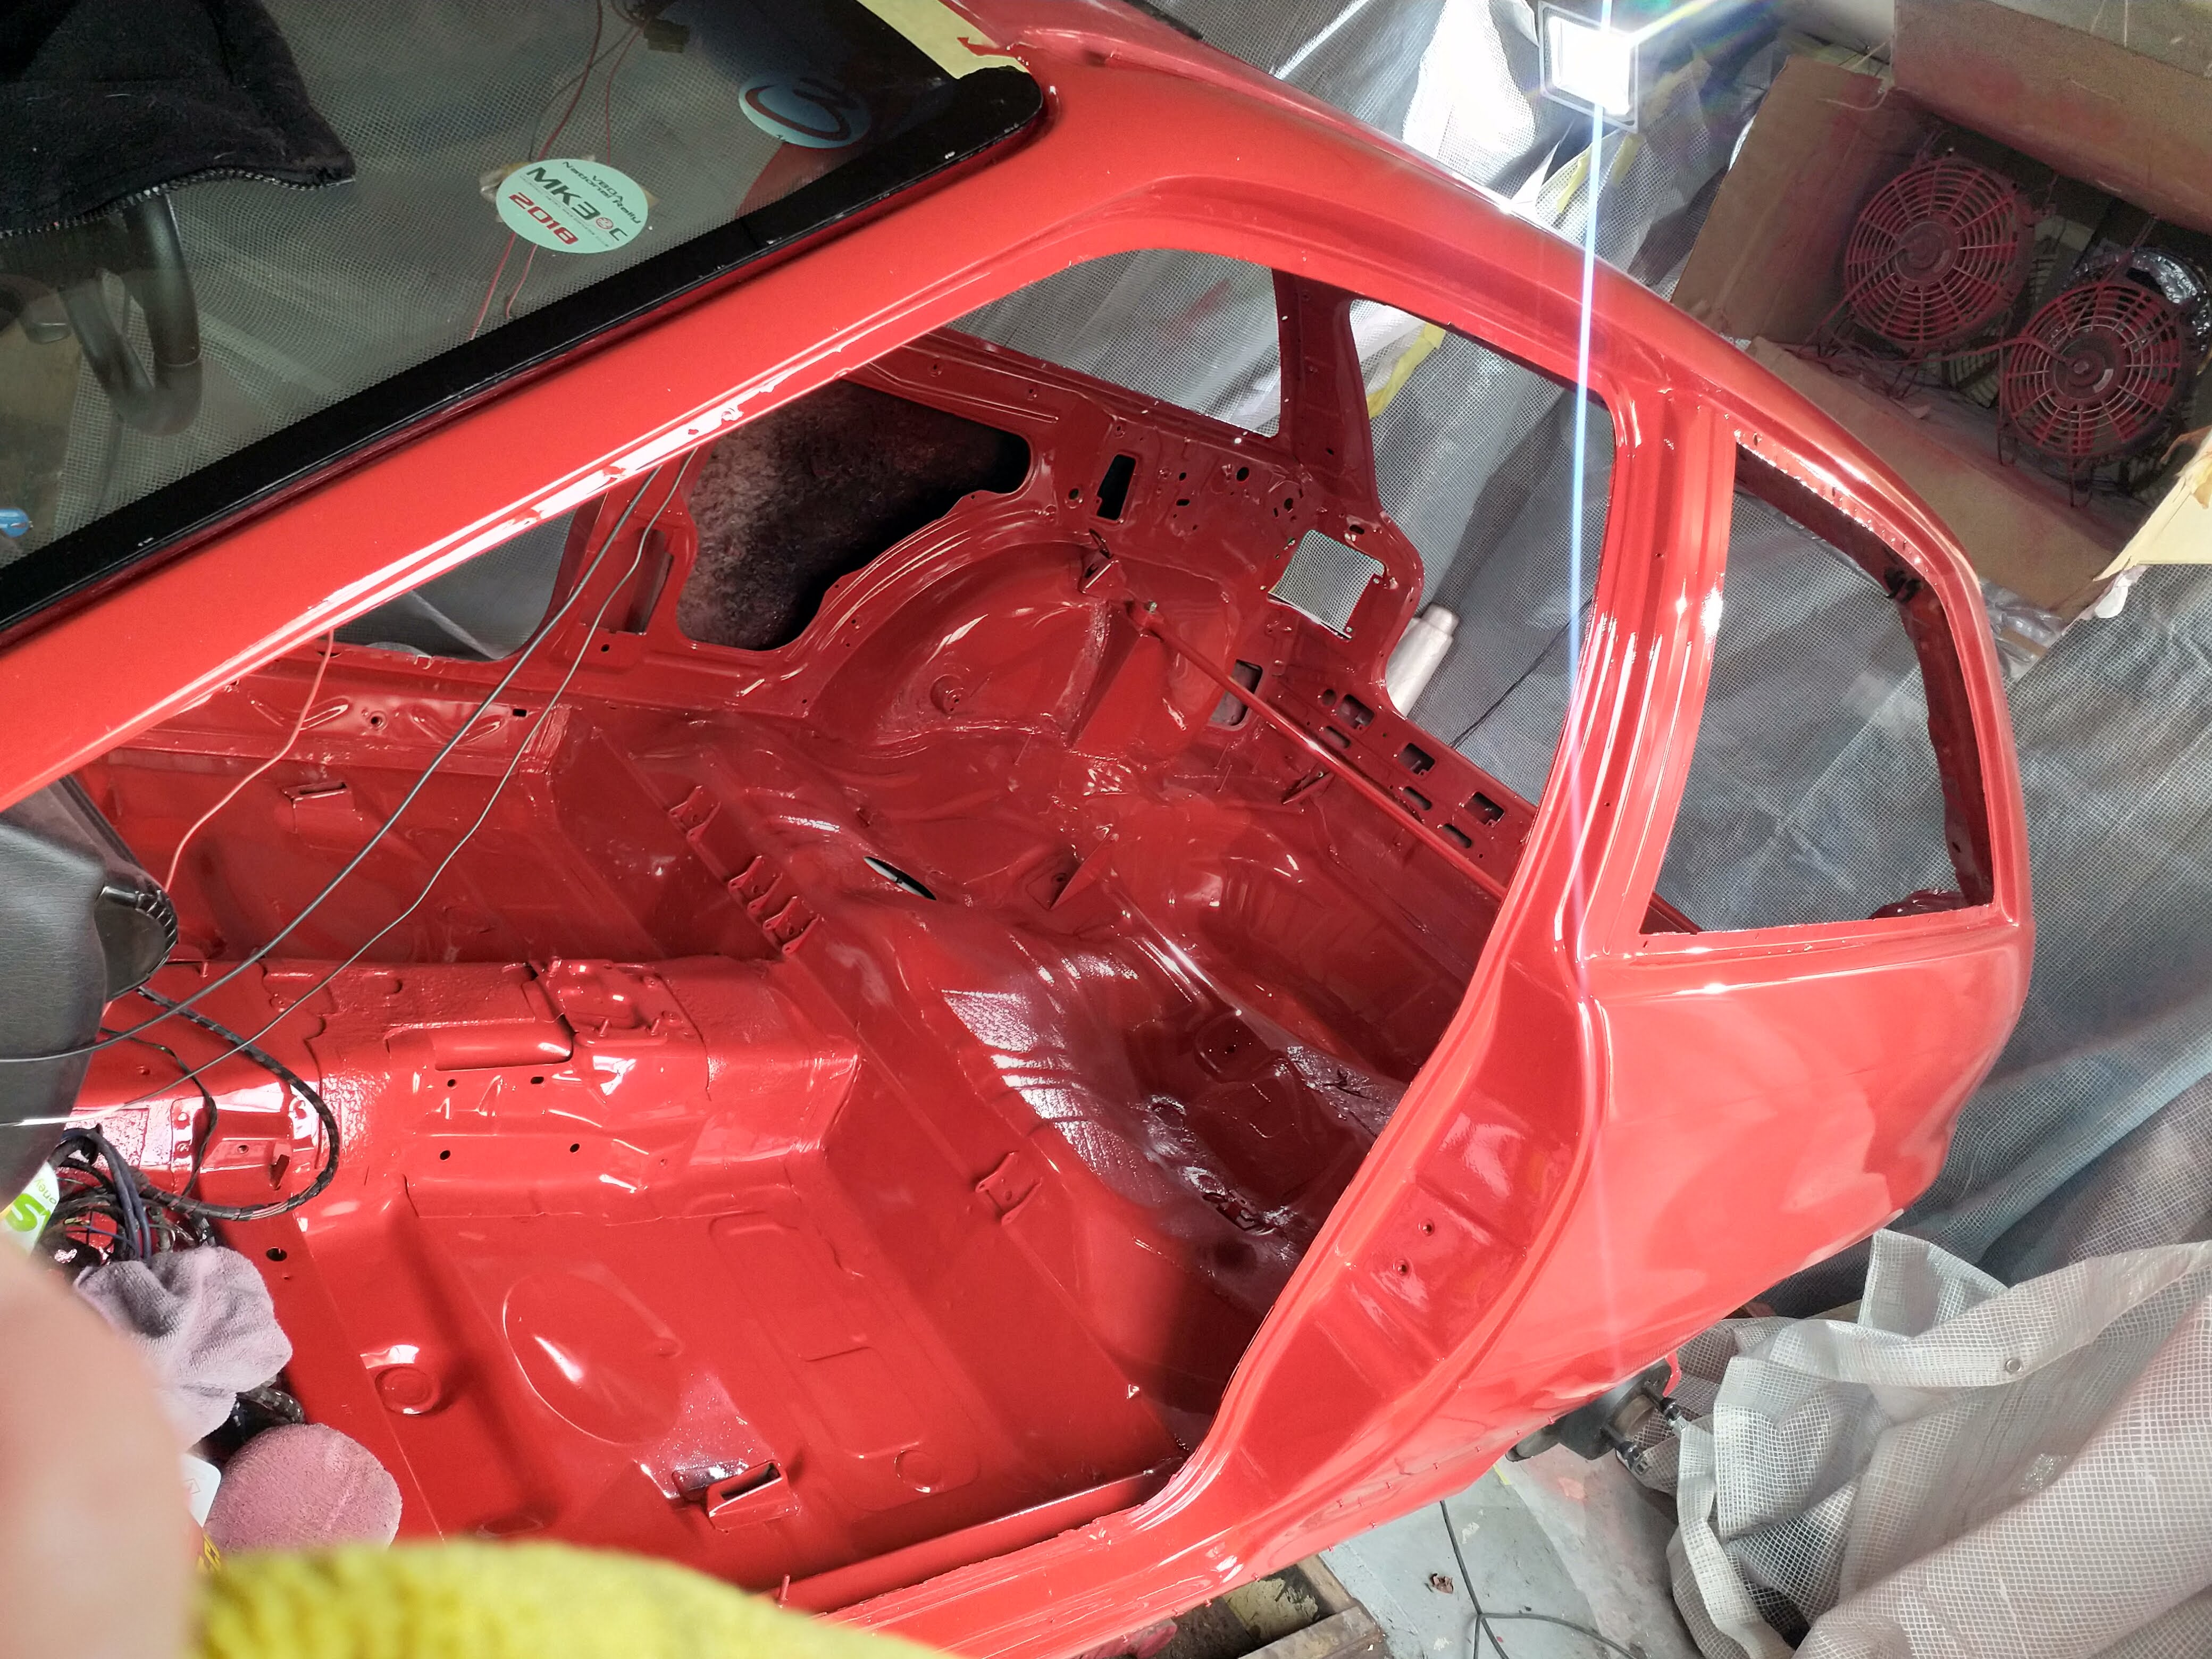
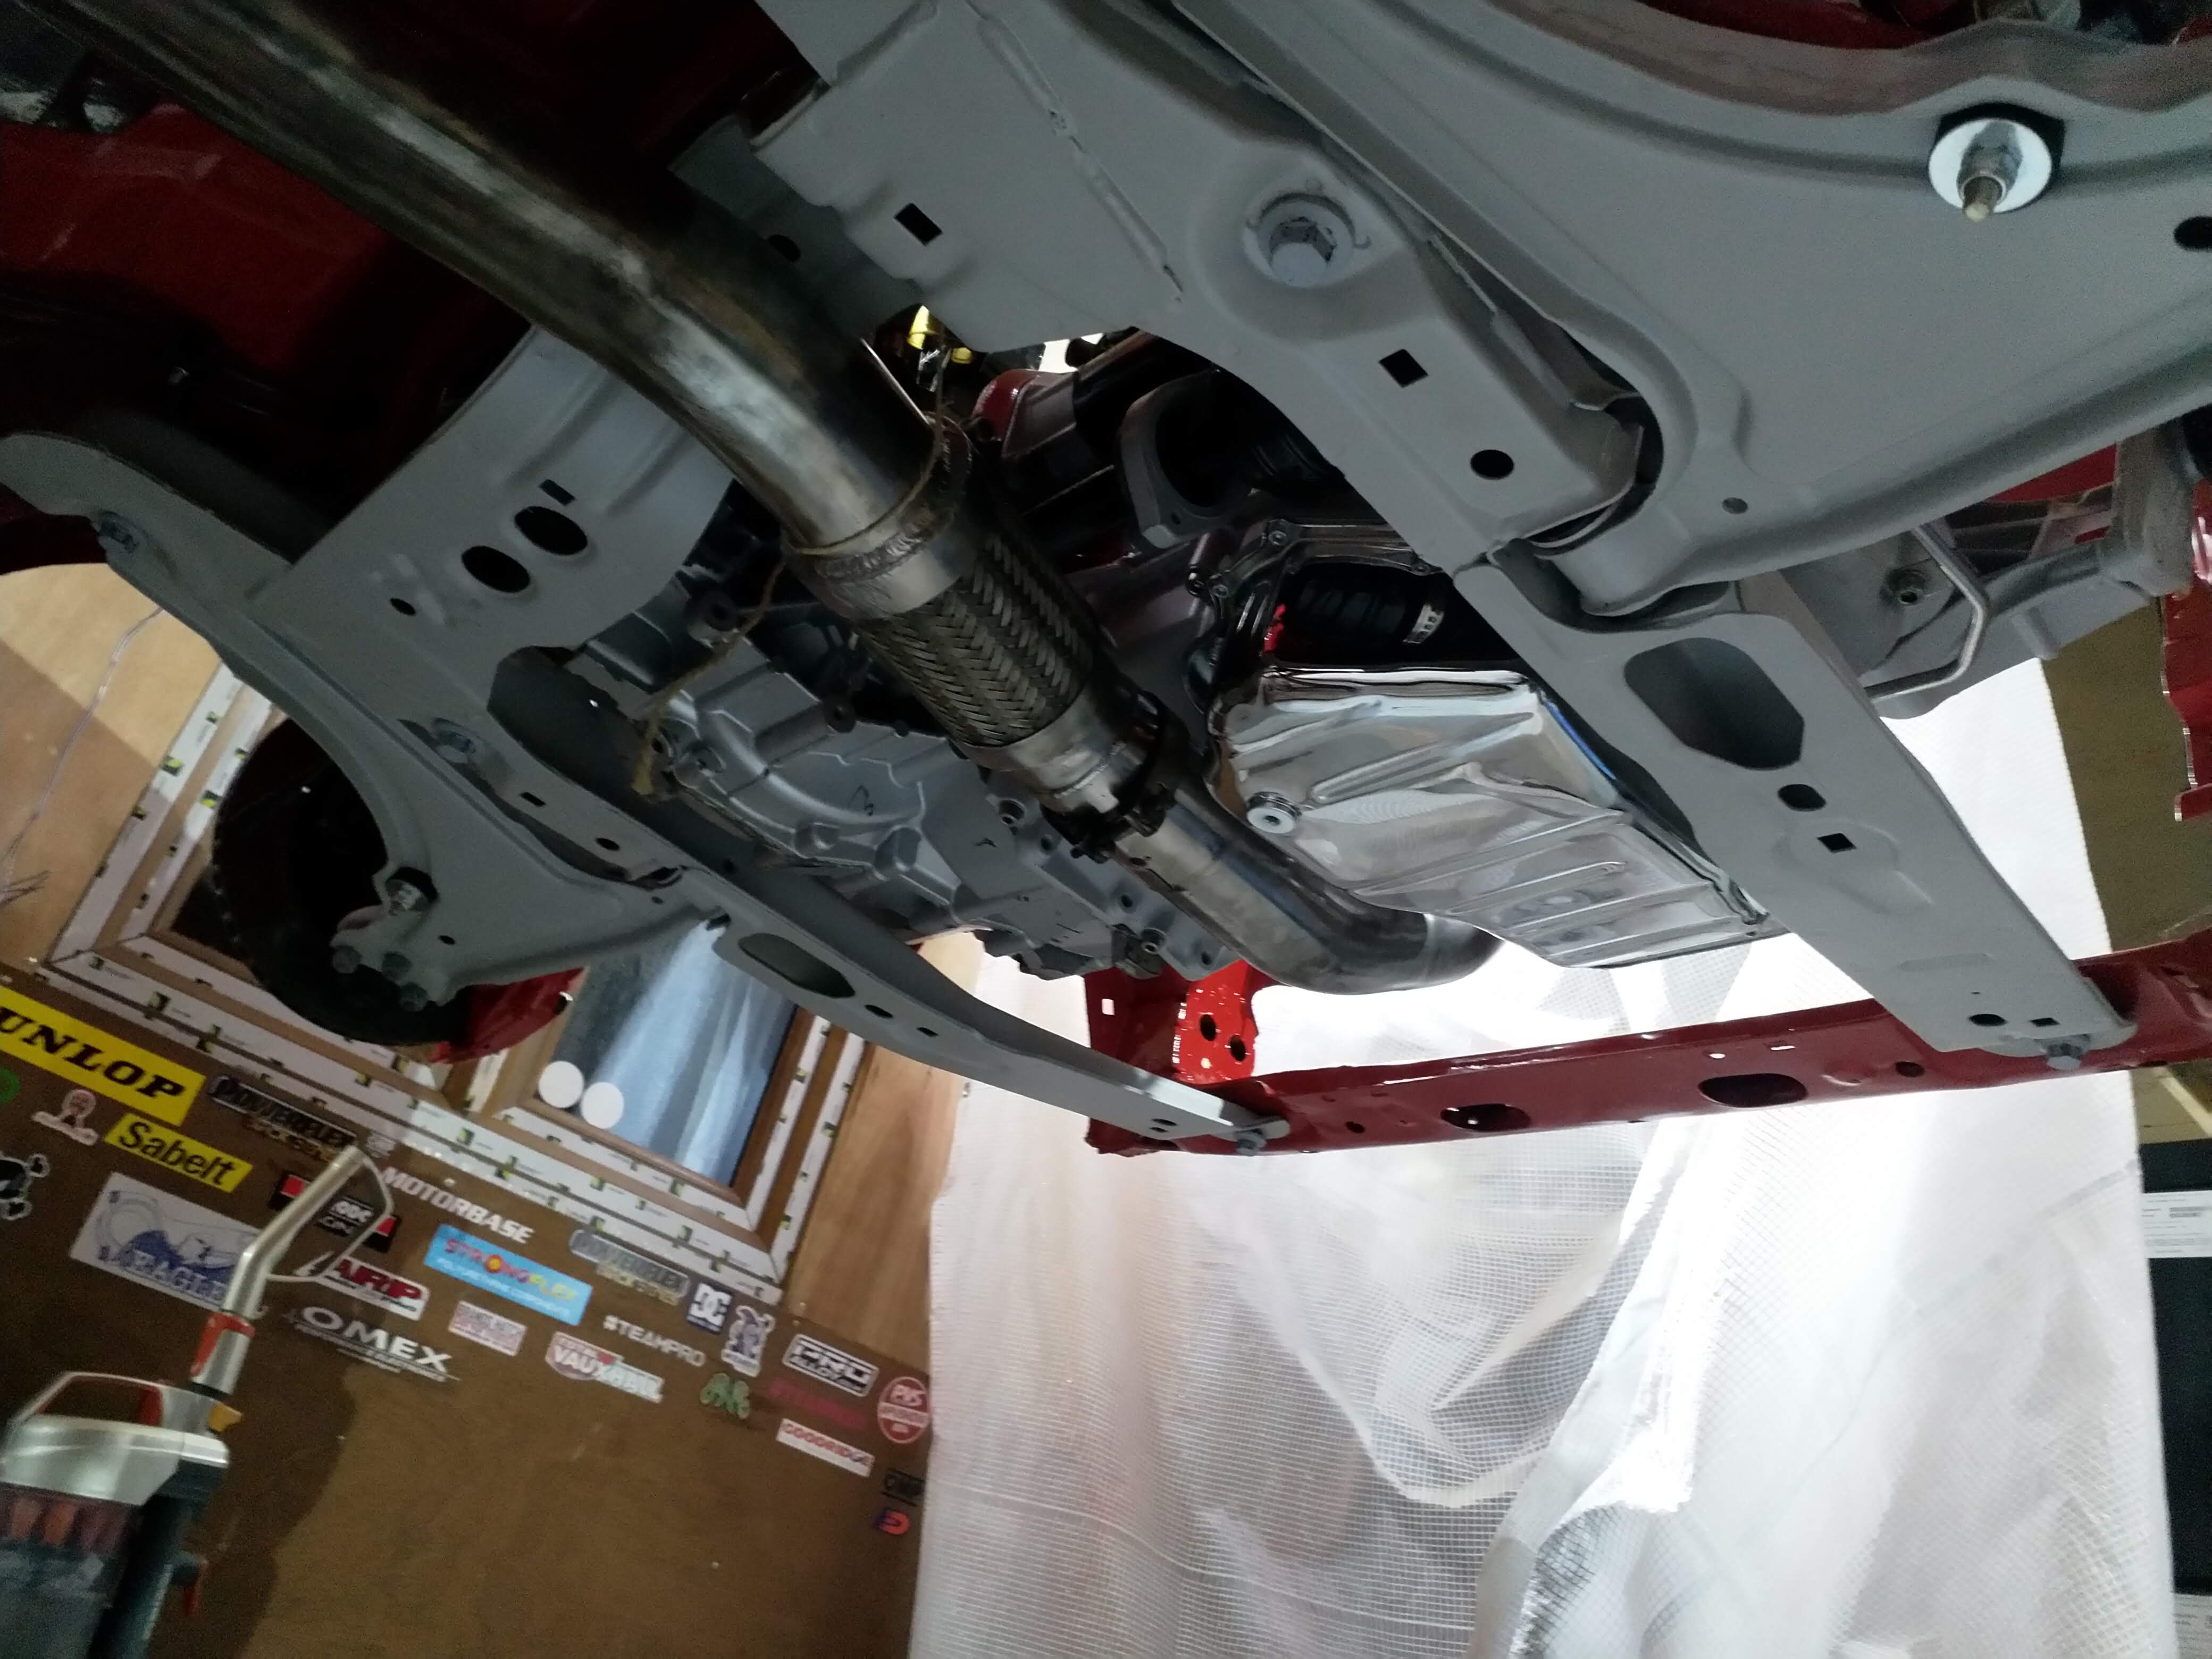
So first thing to get on with, I fancied a change of pace. So i took the up, put it on high axle stand on top of wood, get it as high as I could then dropped the ramp down so I could lay under the car.
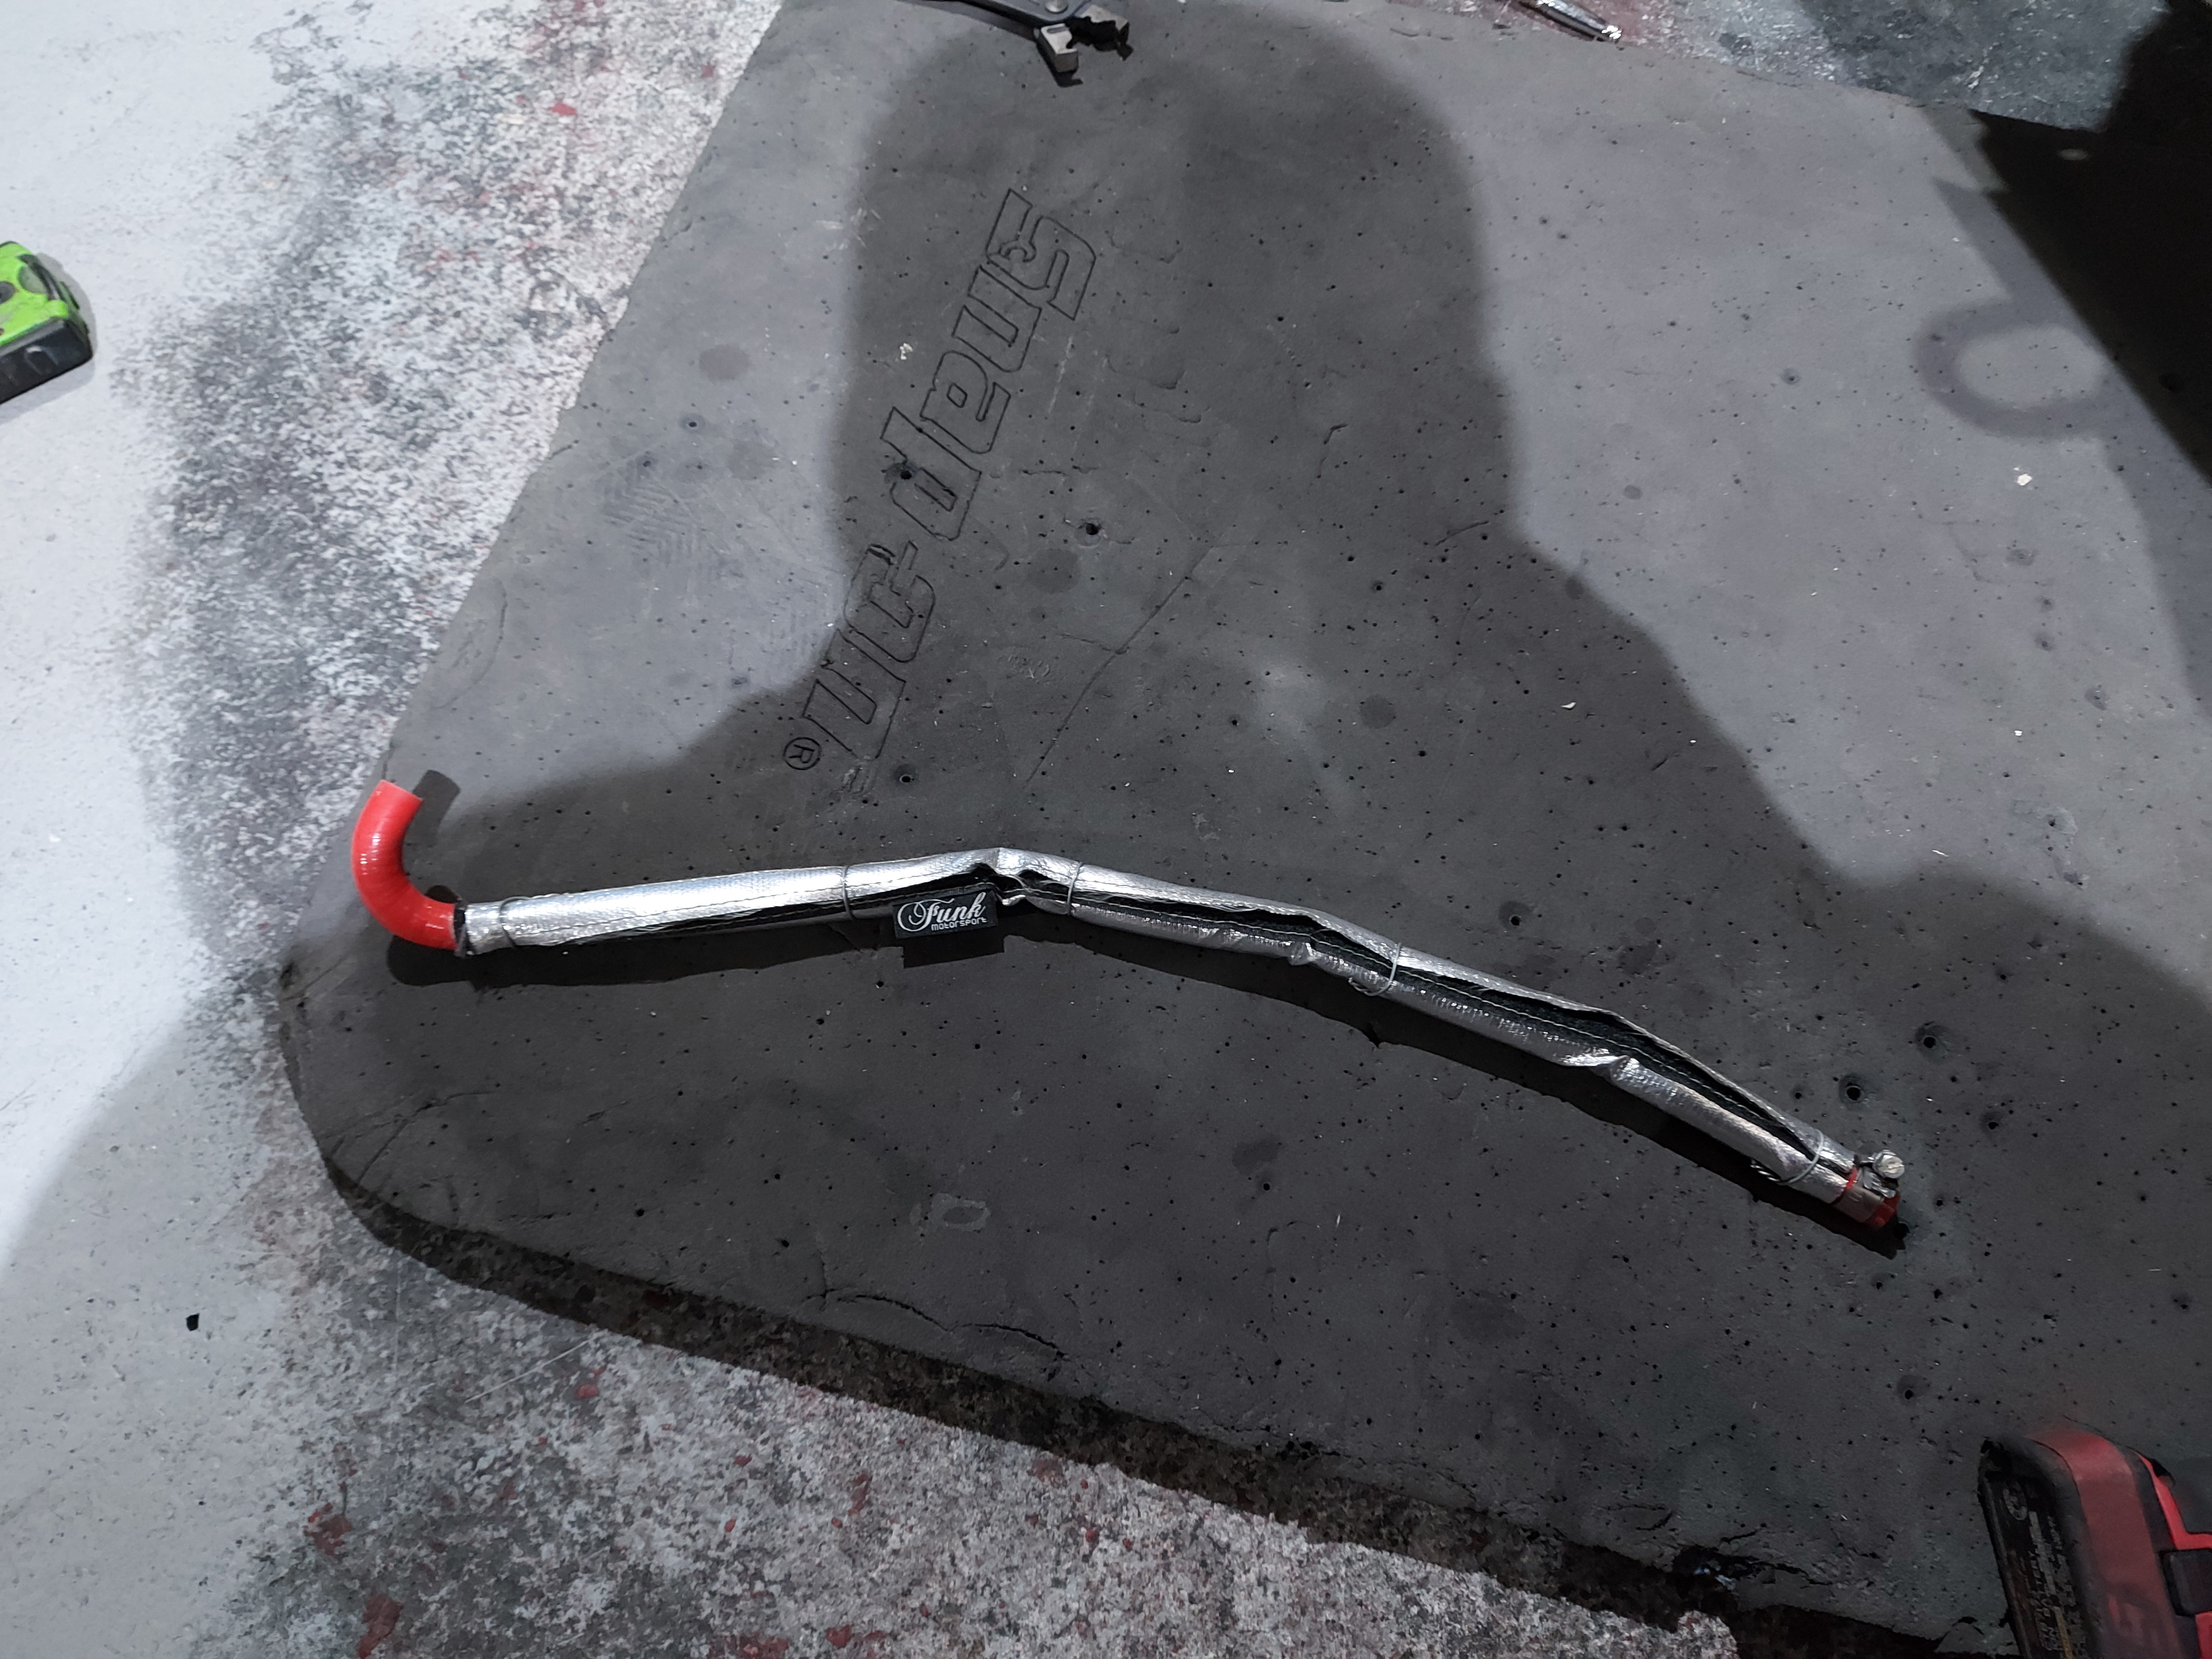
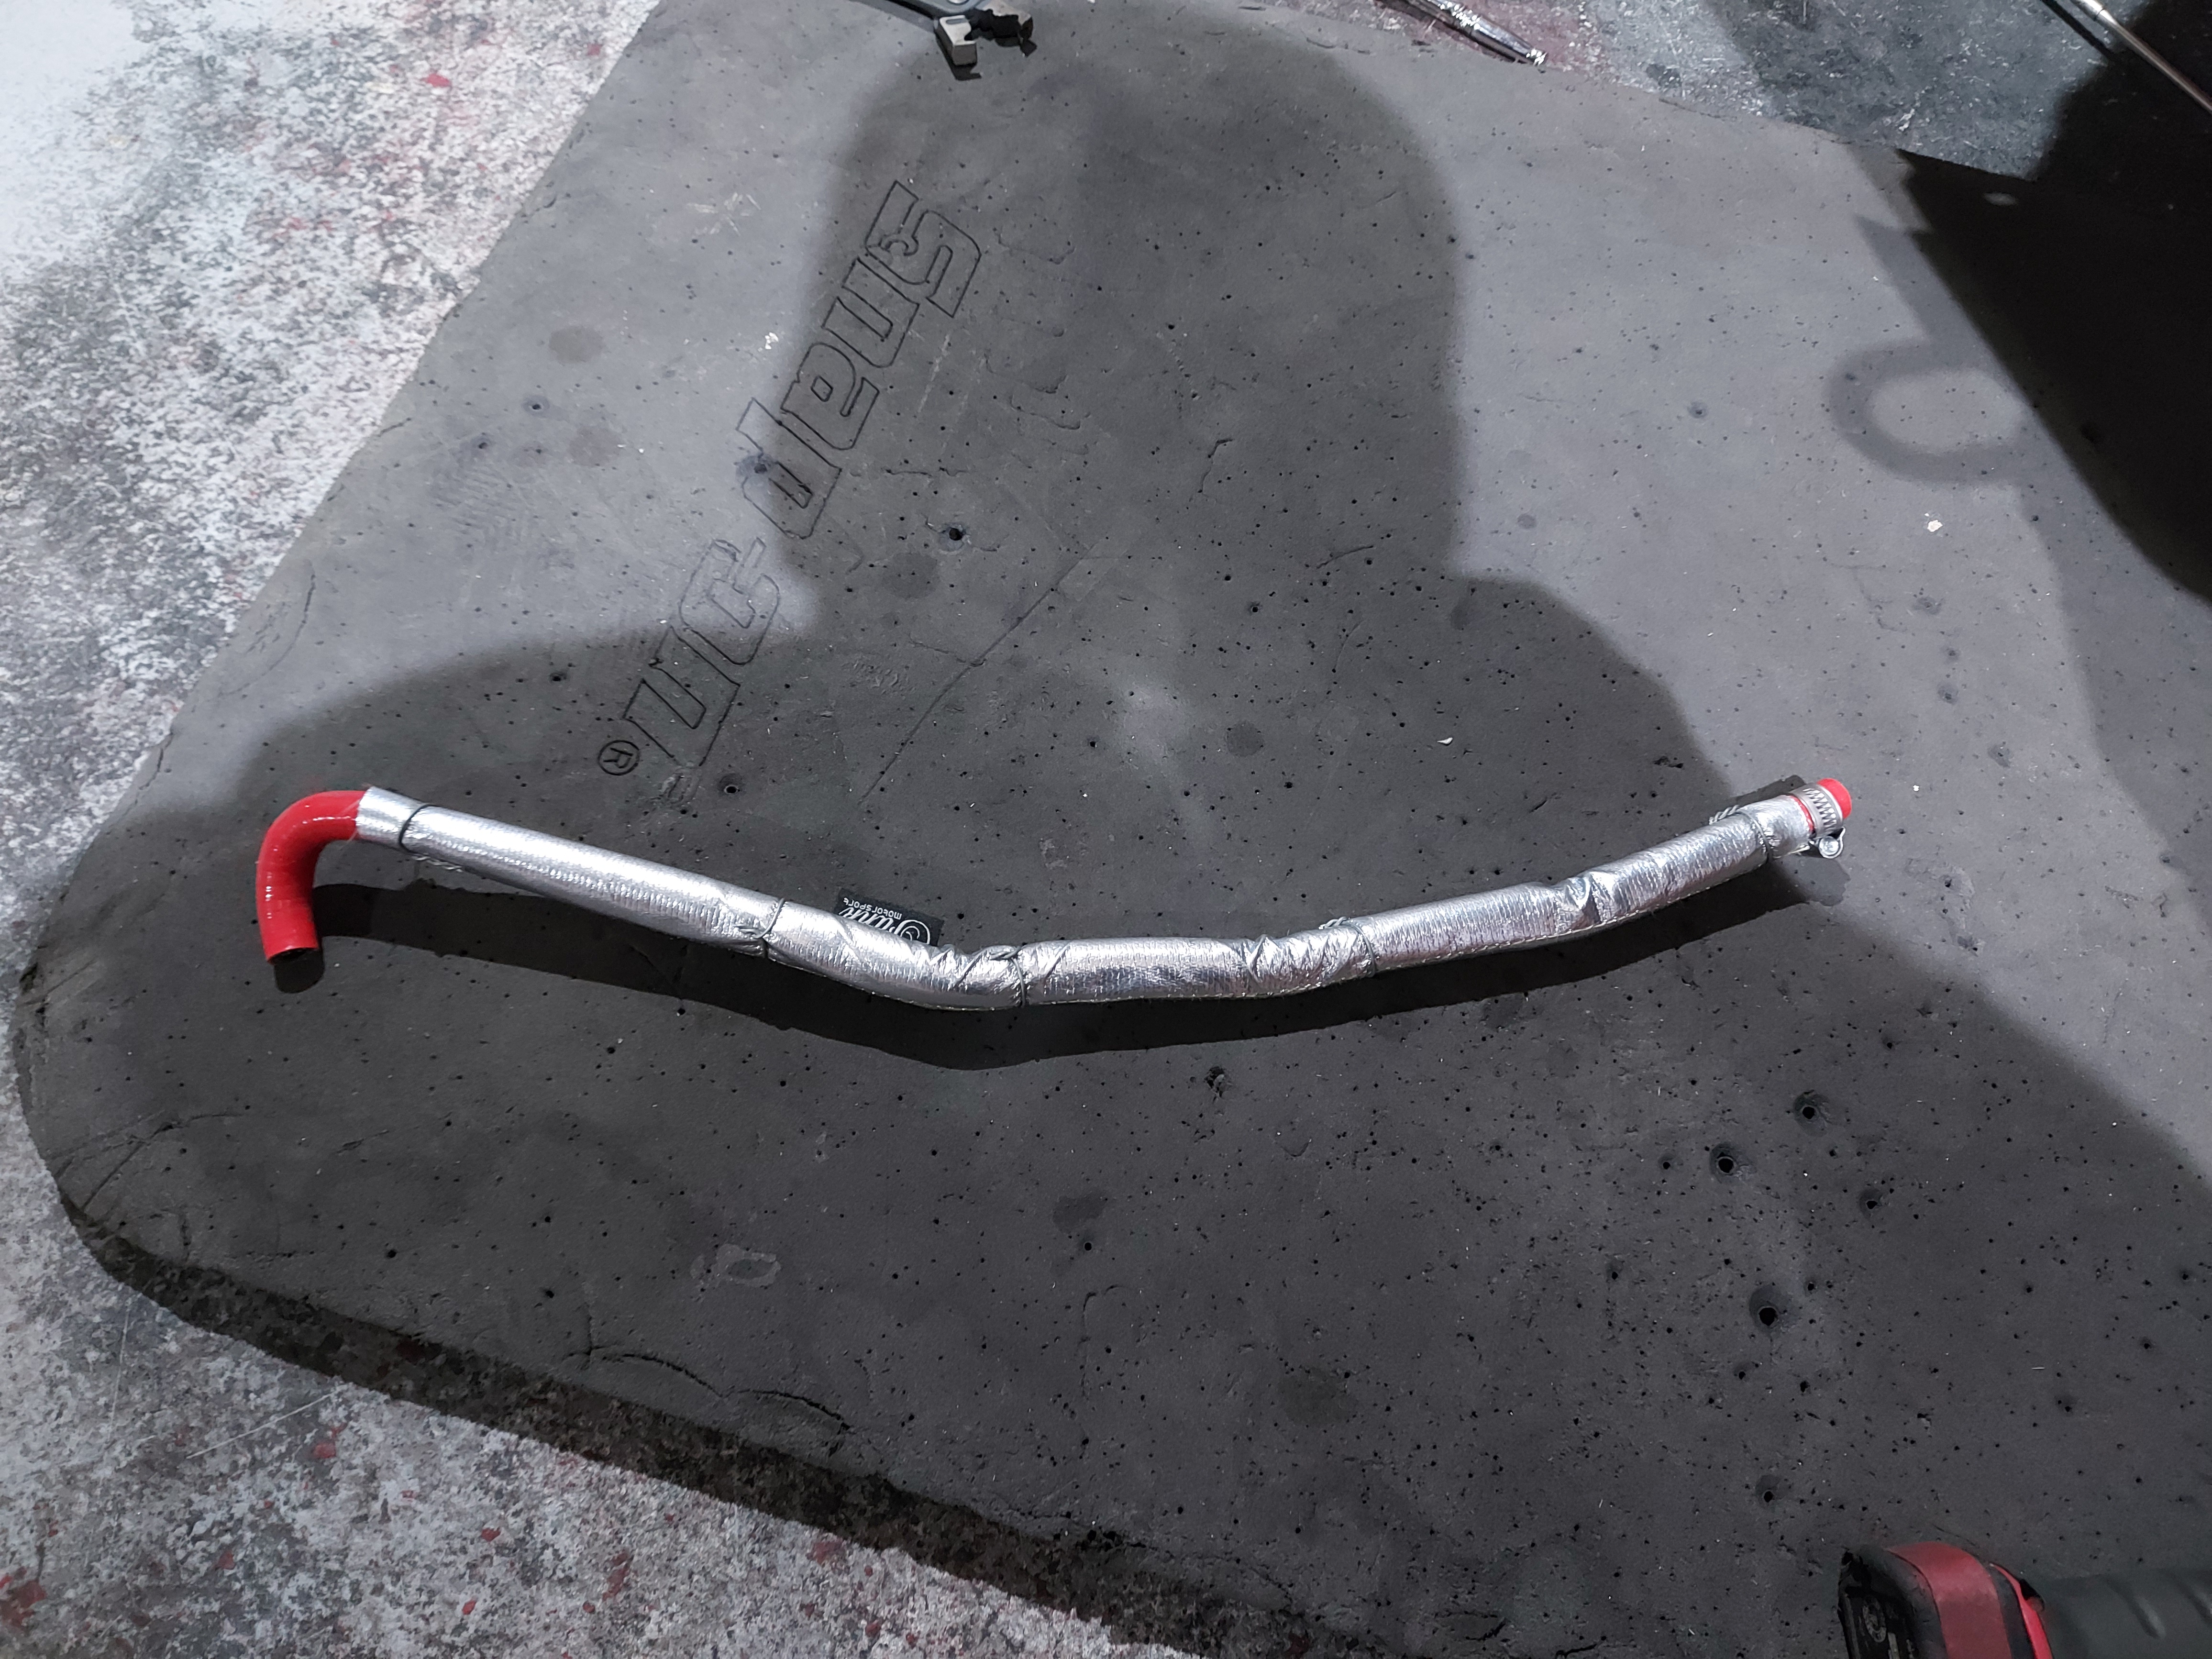
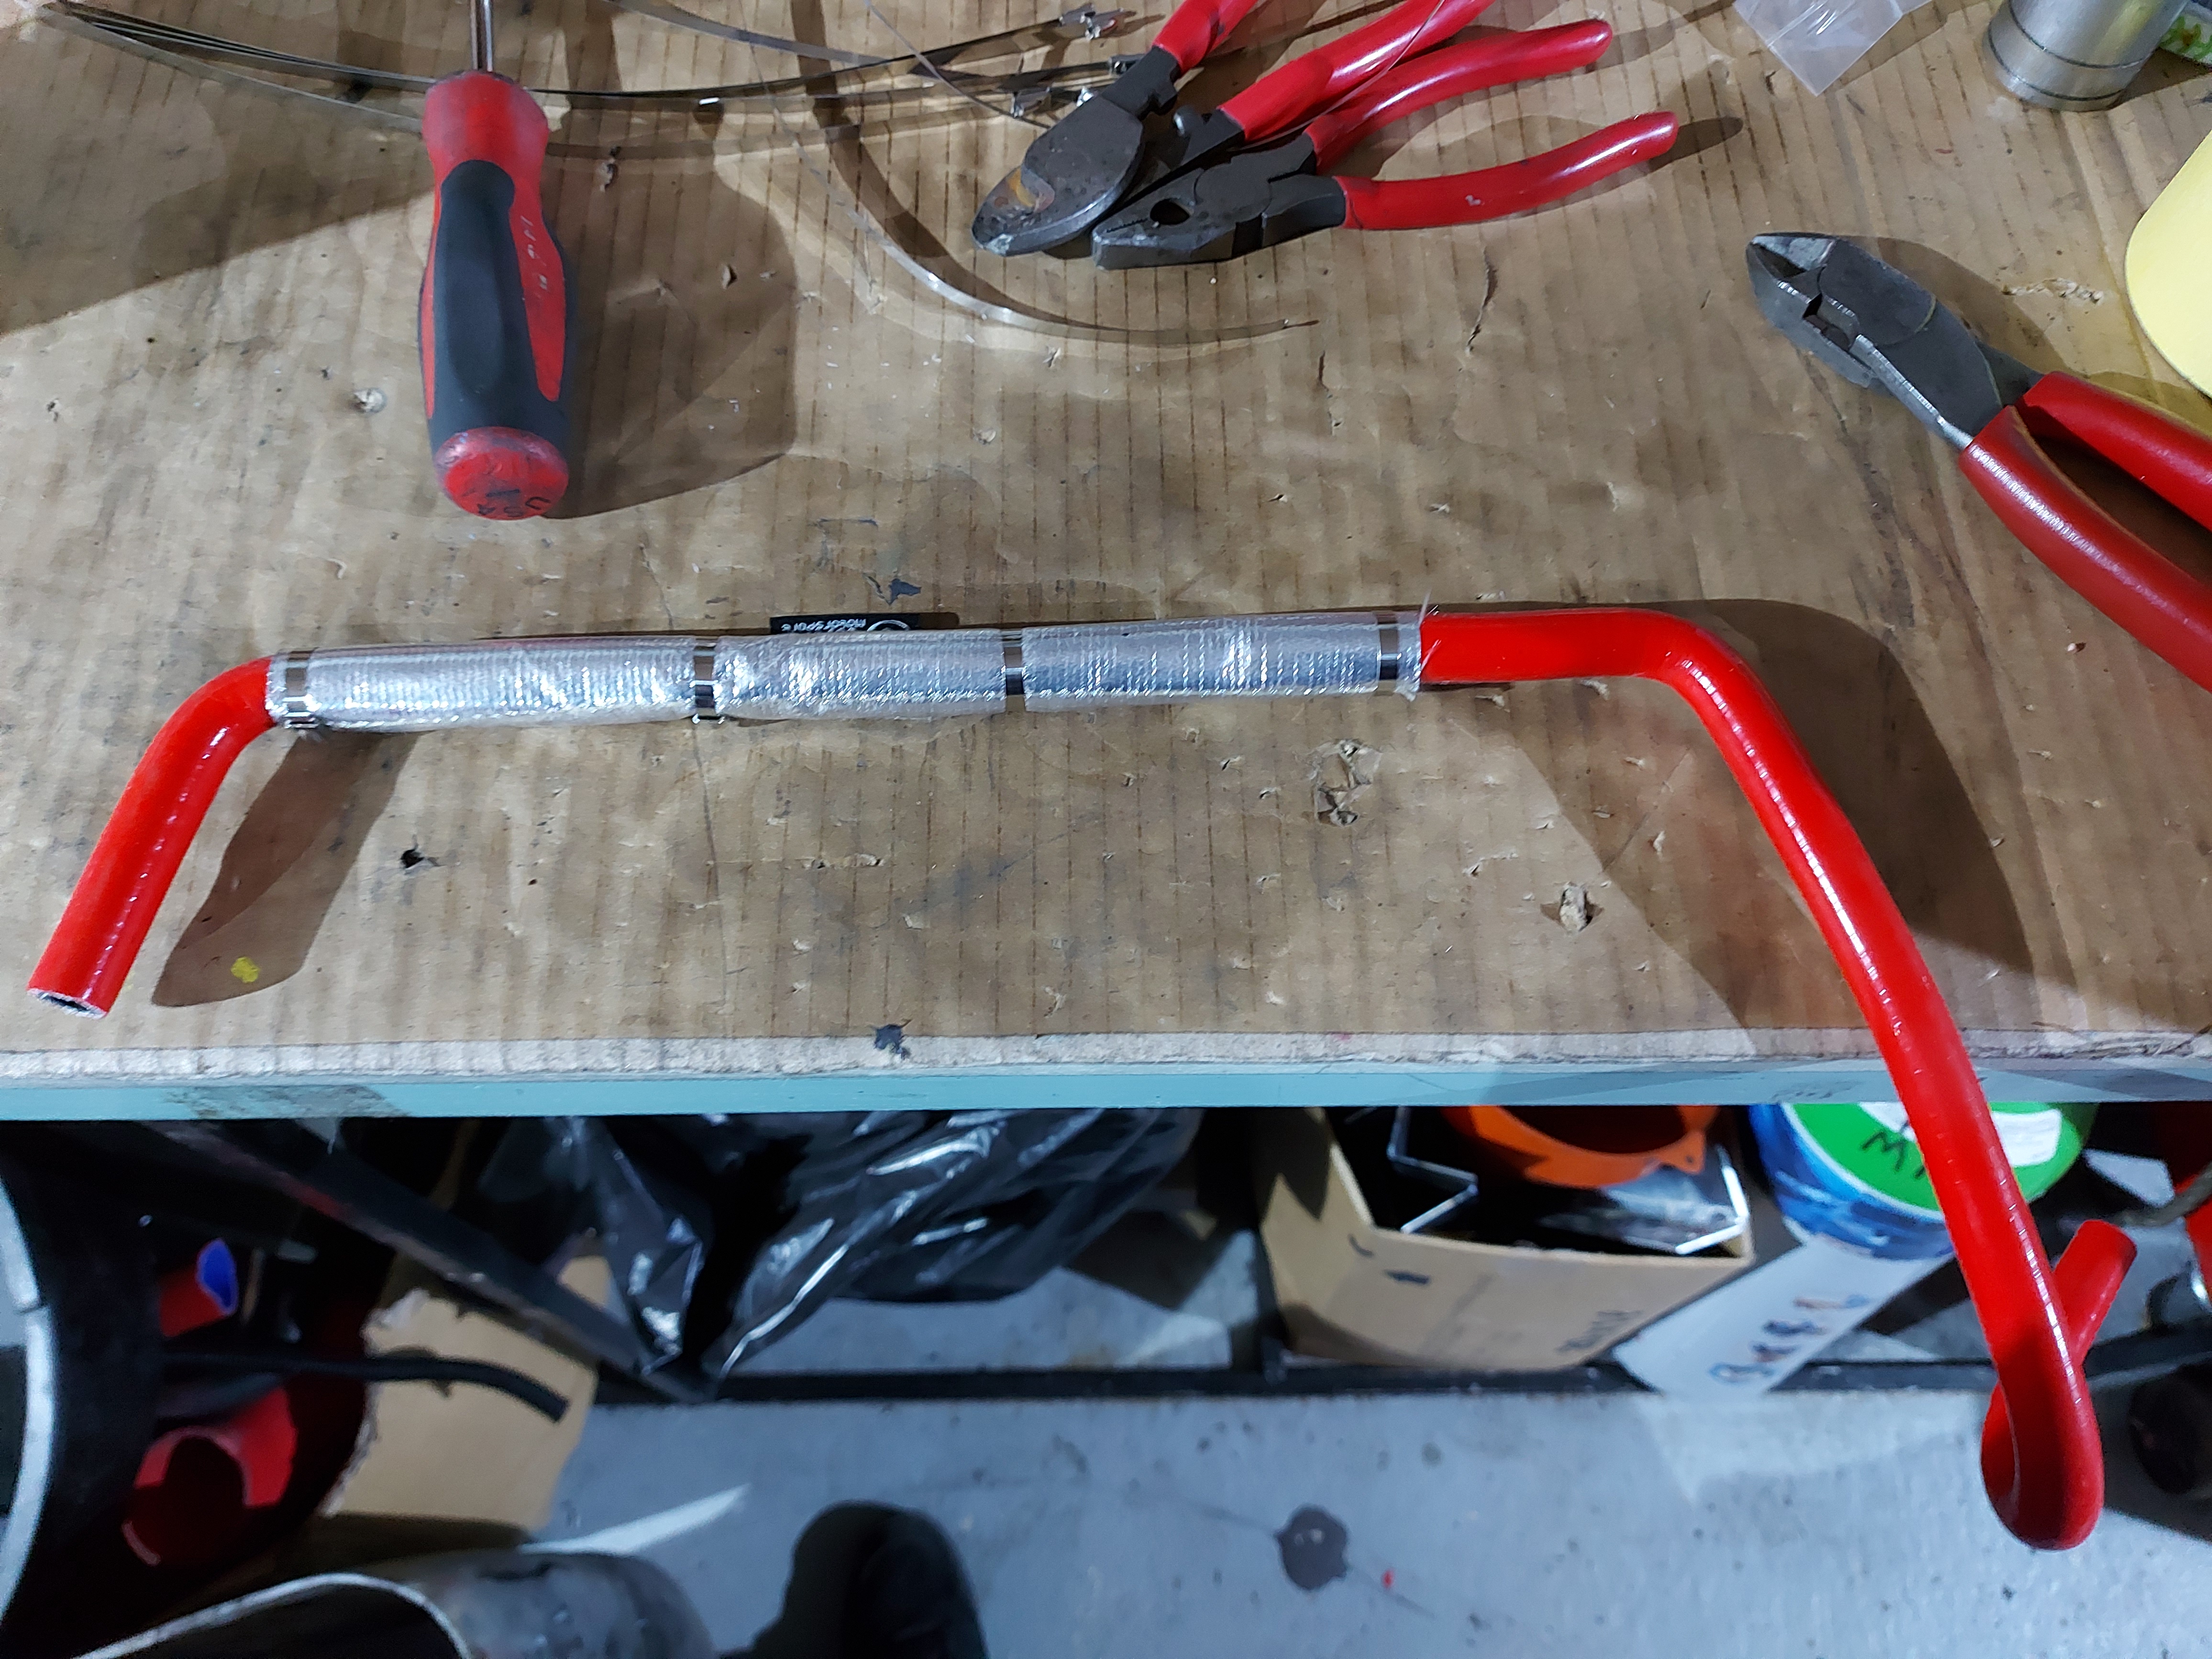
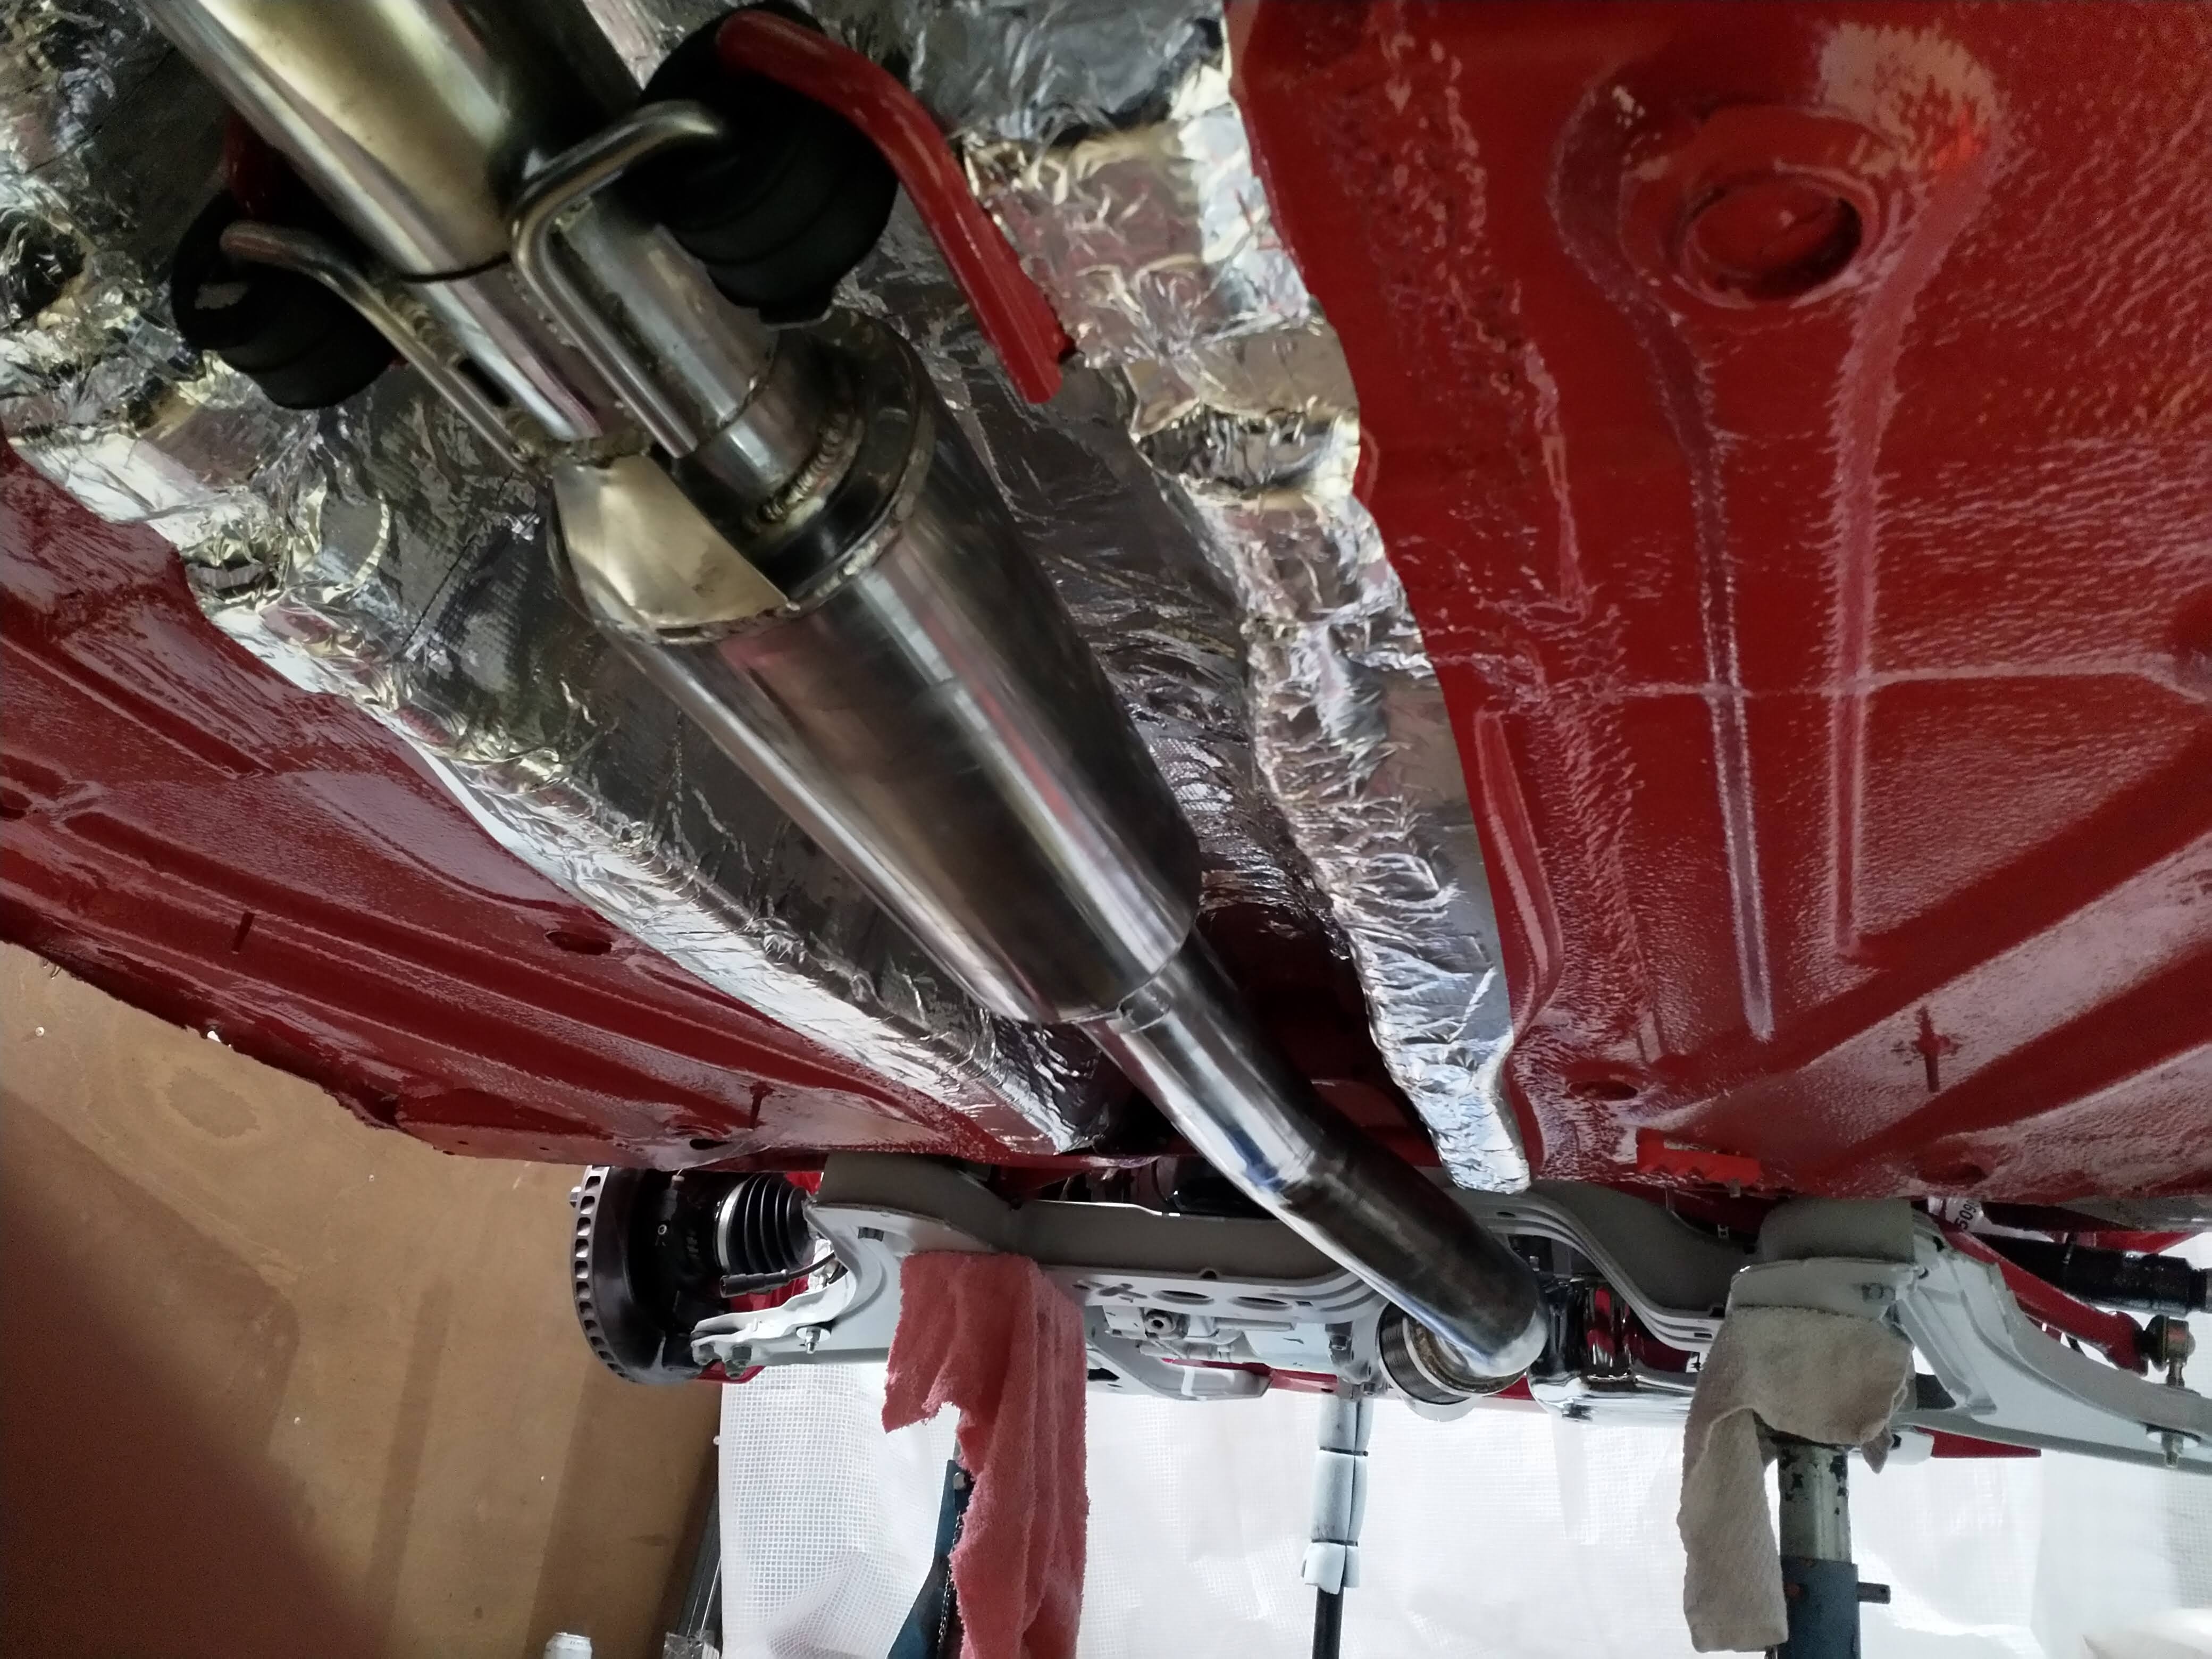
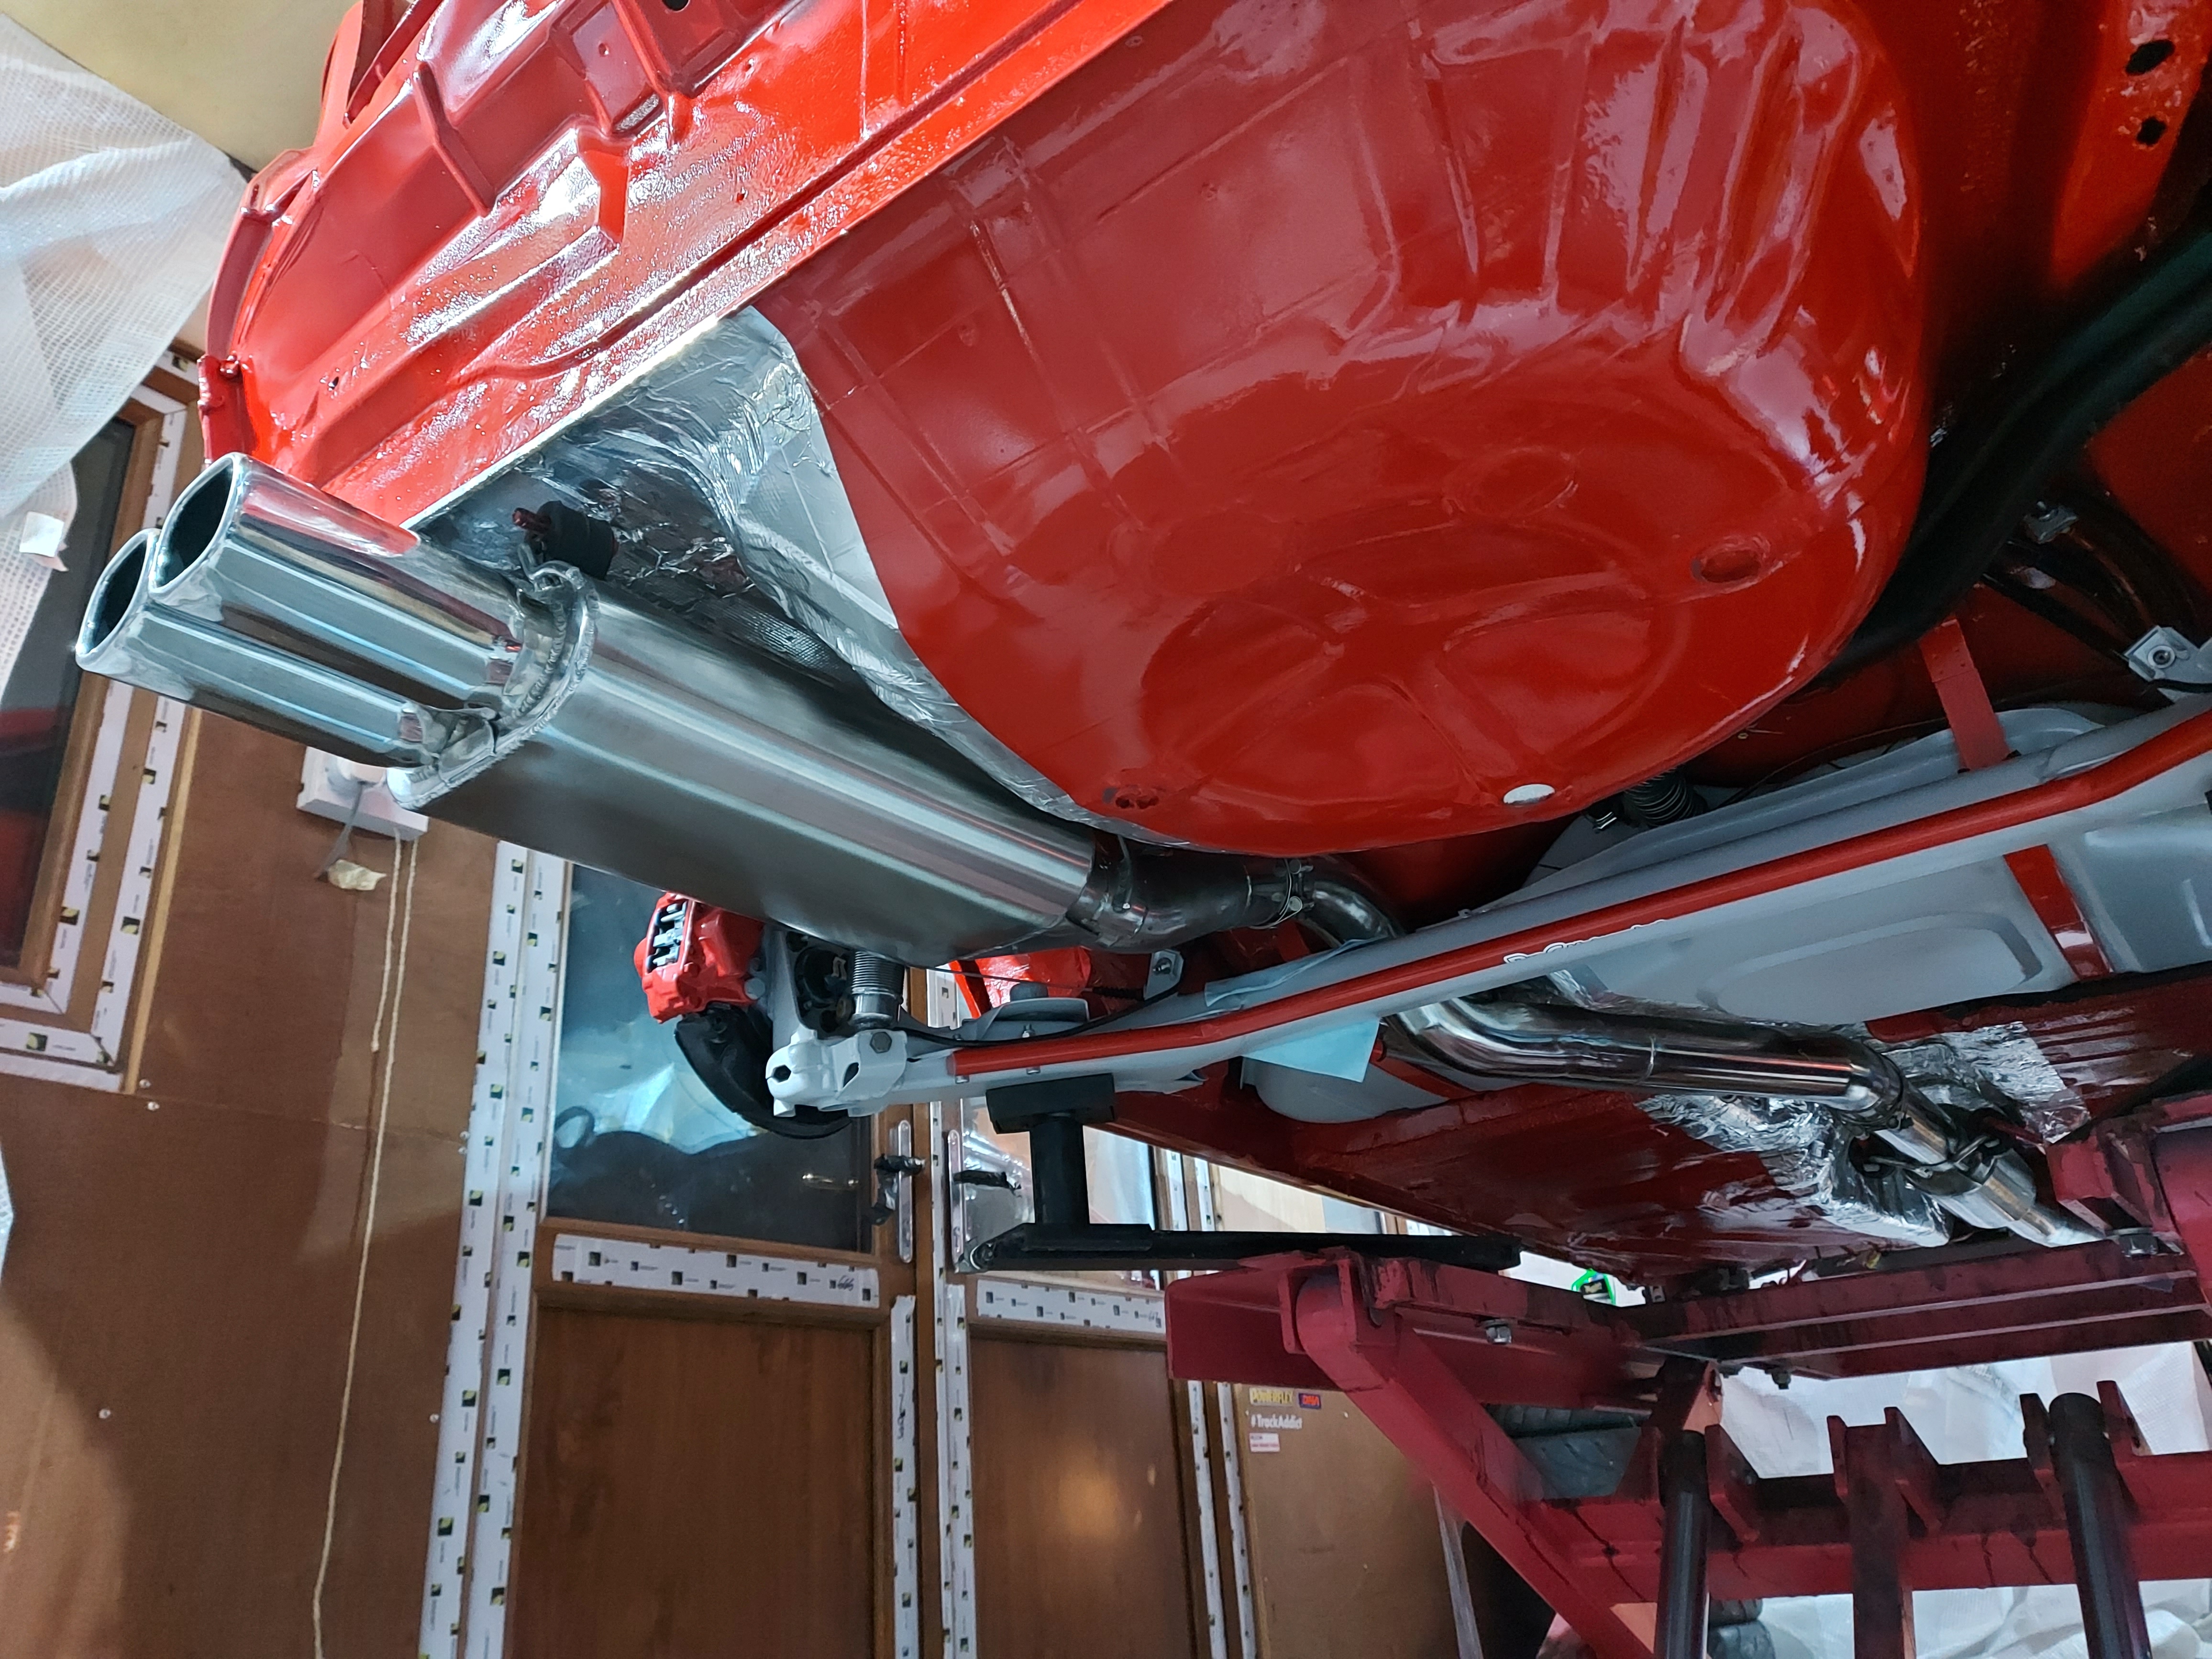
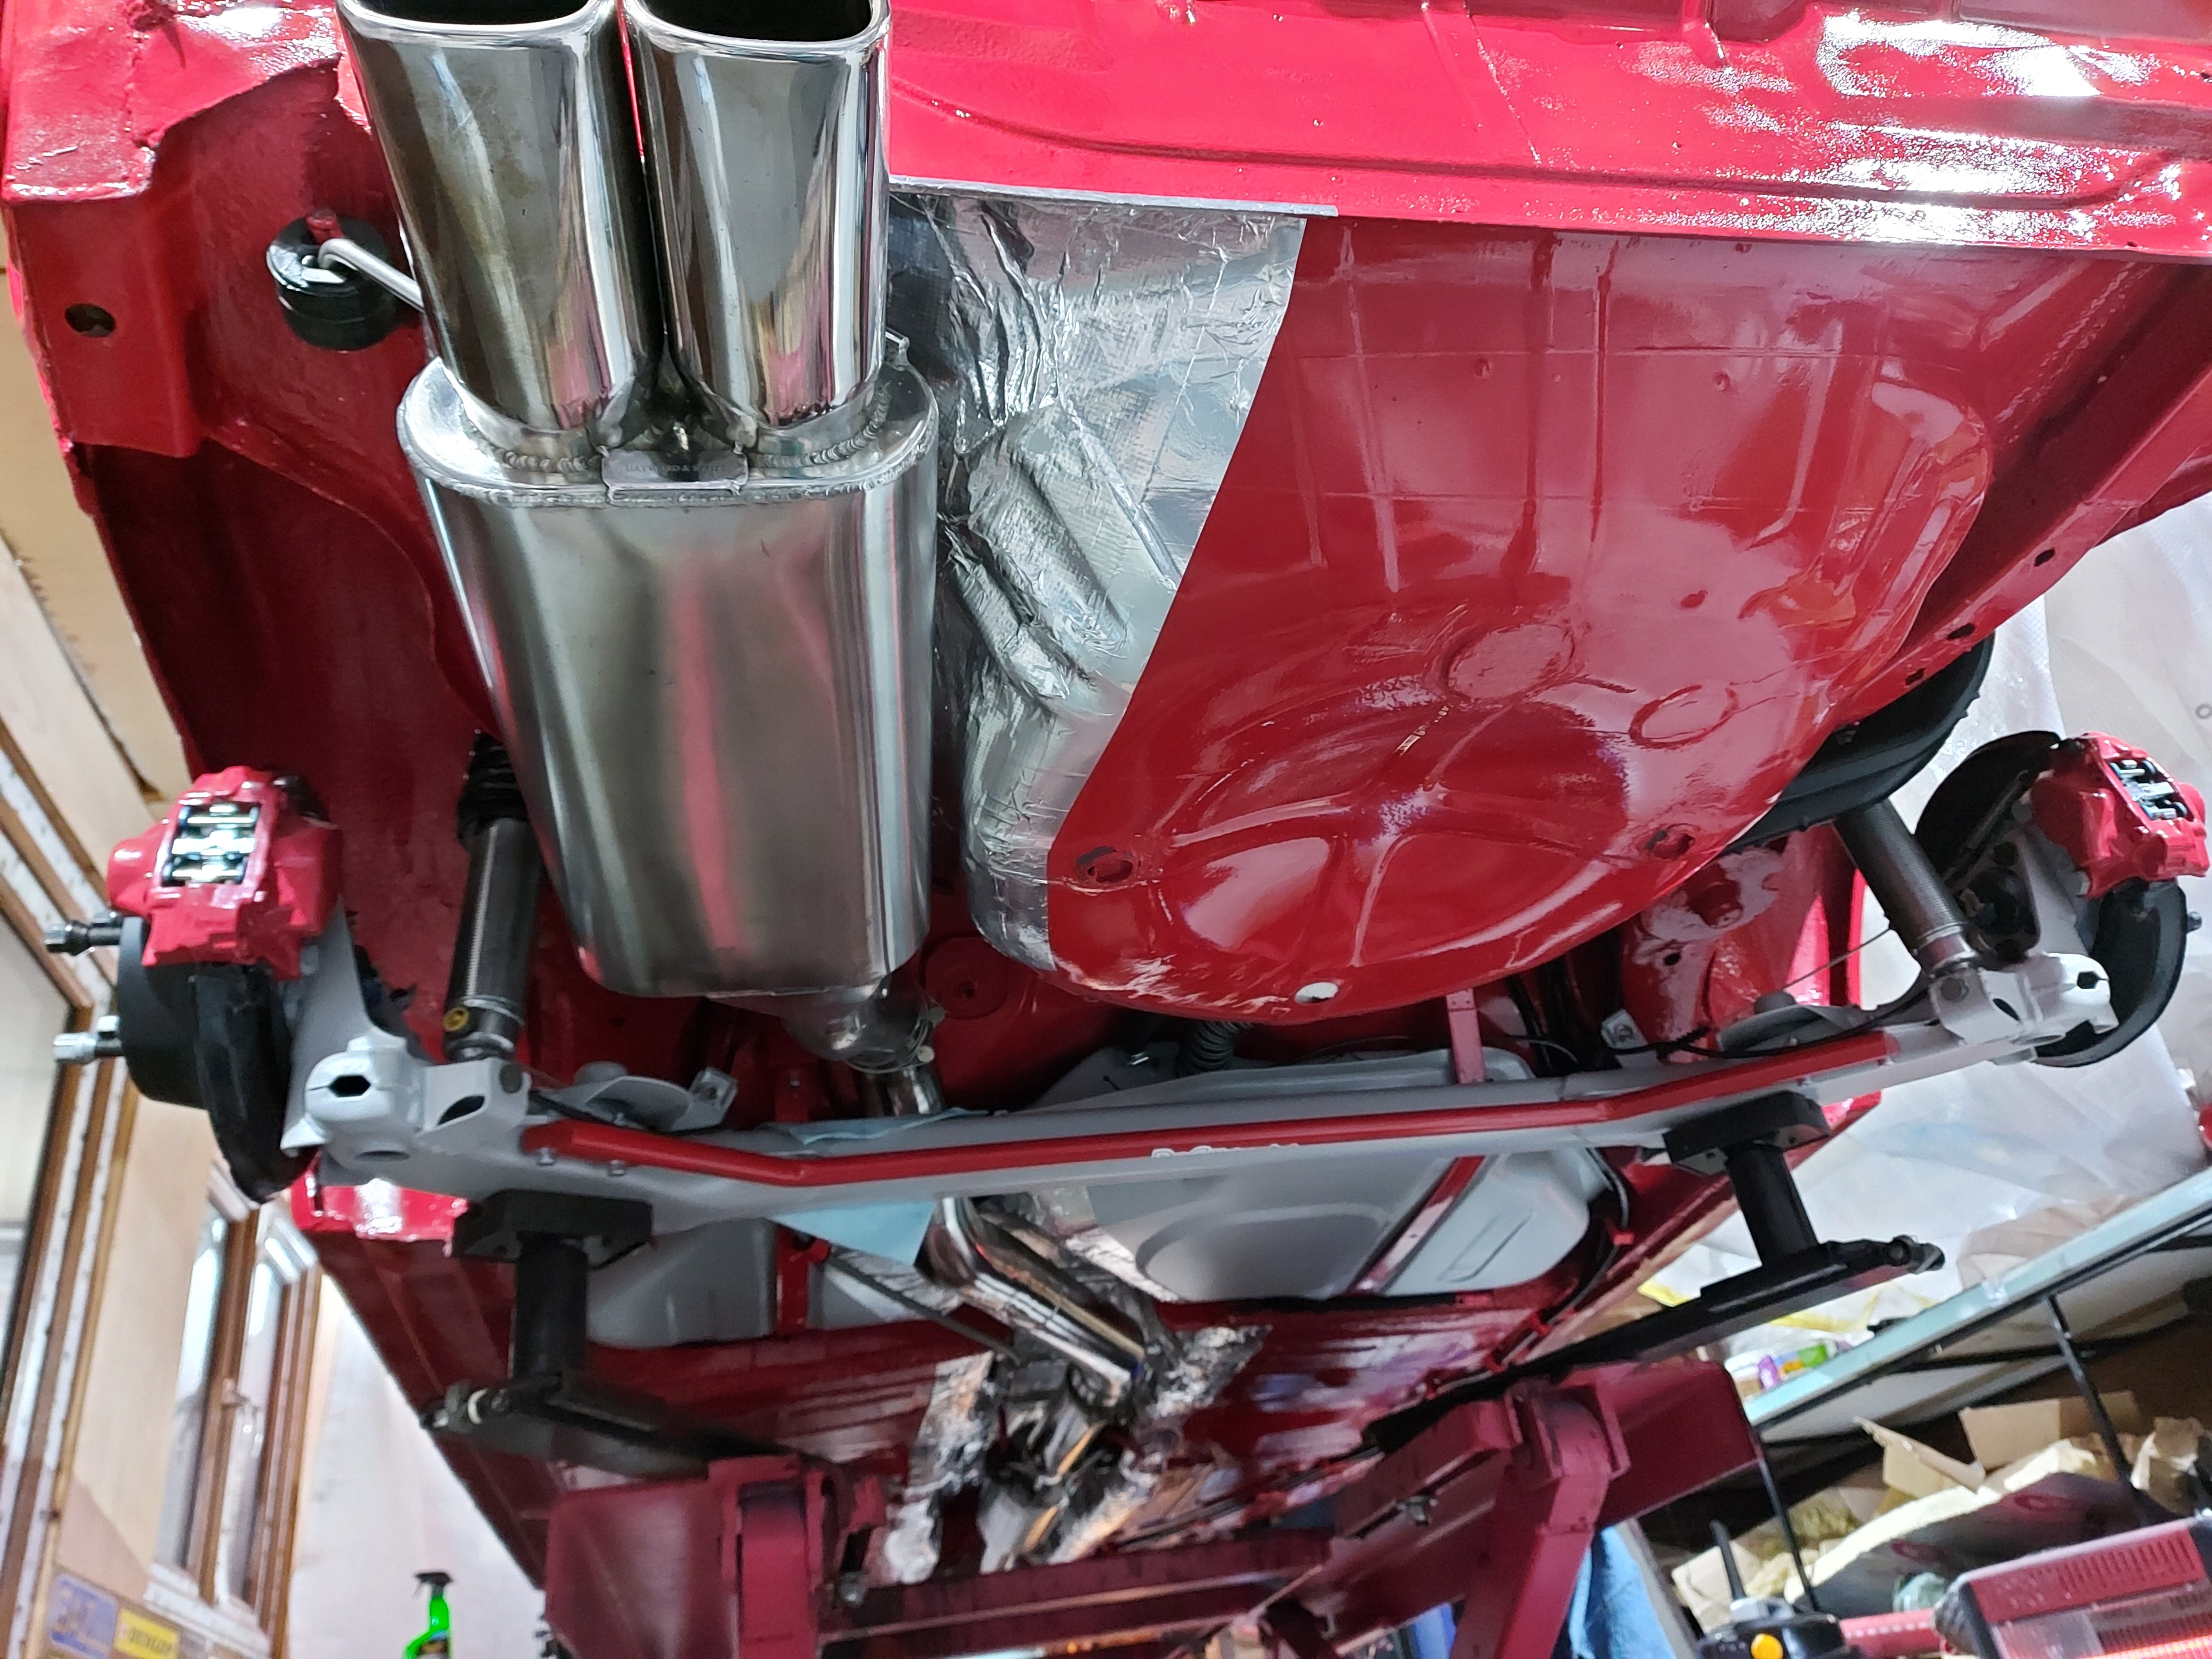
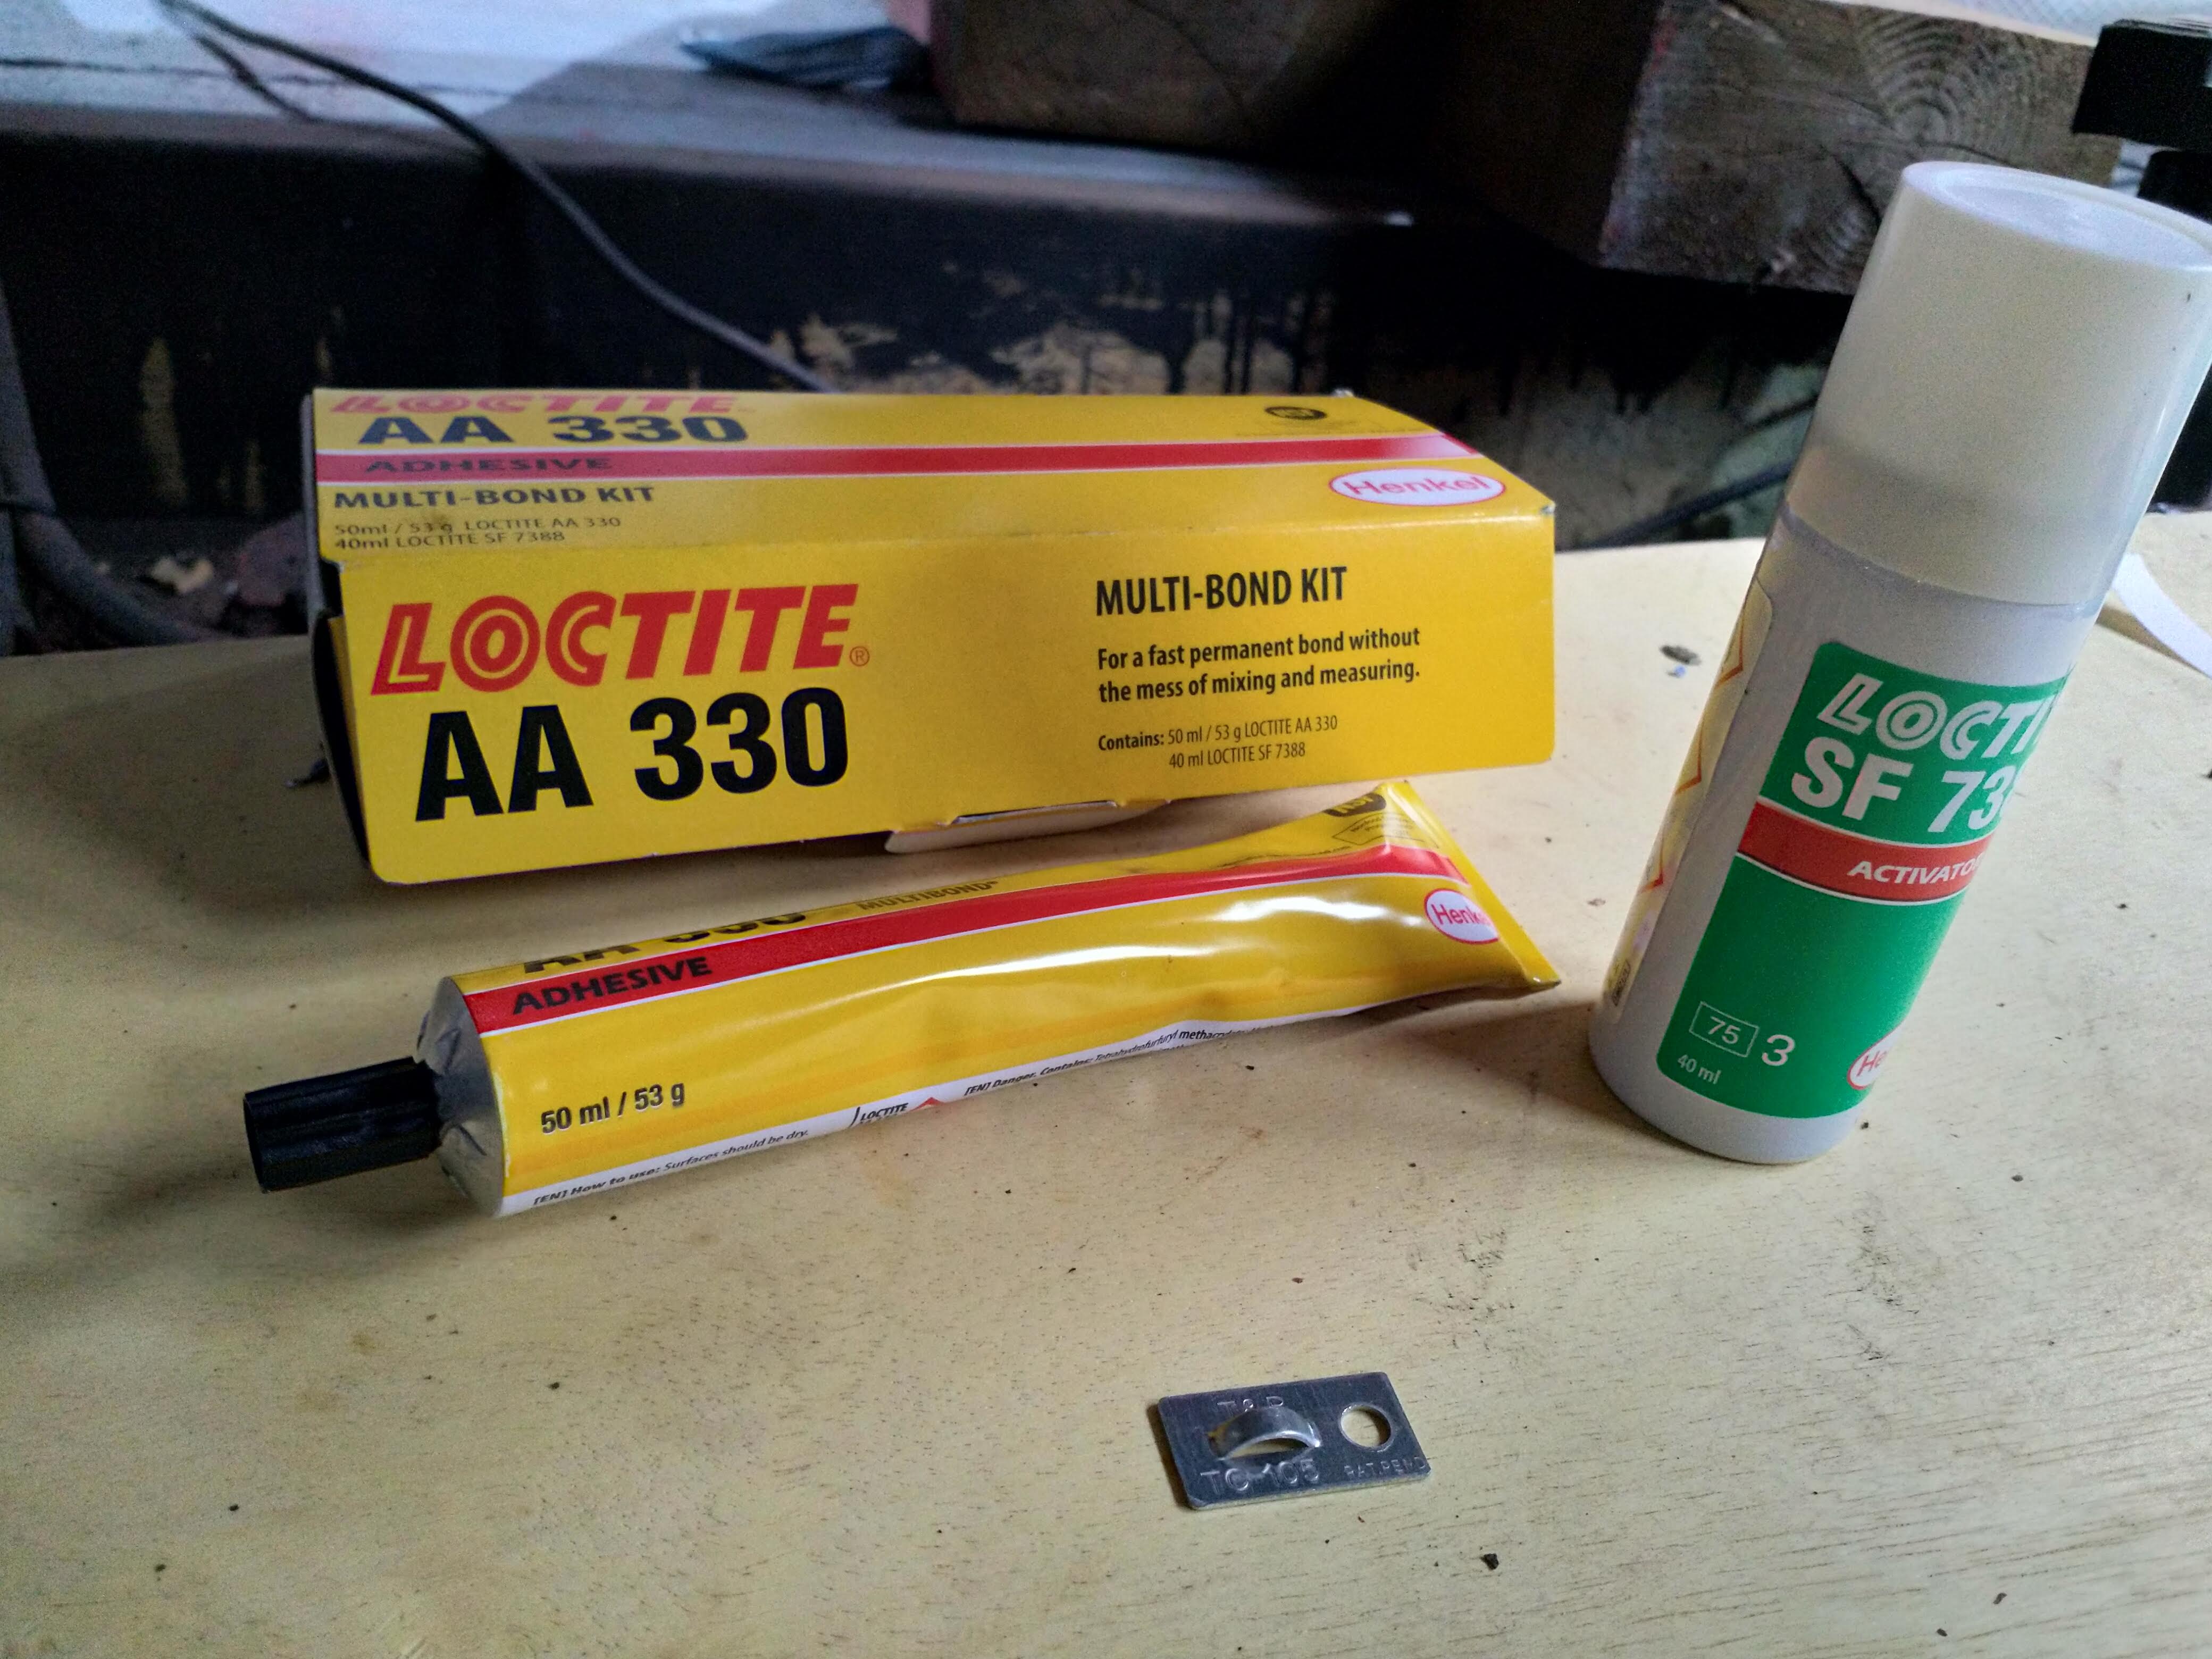
Ive had this stuff a fair while, so thought I should put it on.... heat shielding!

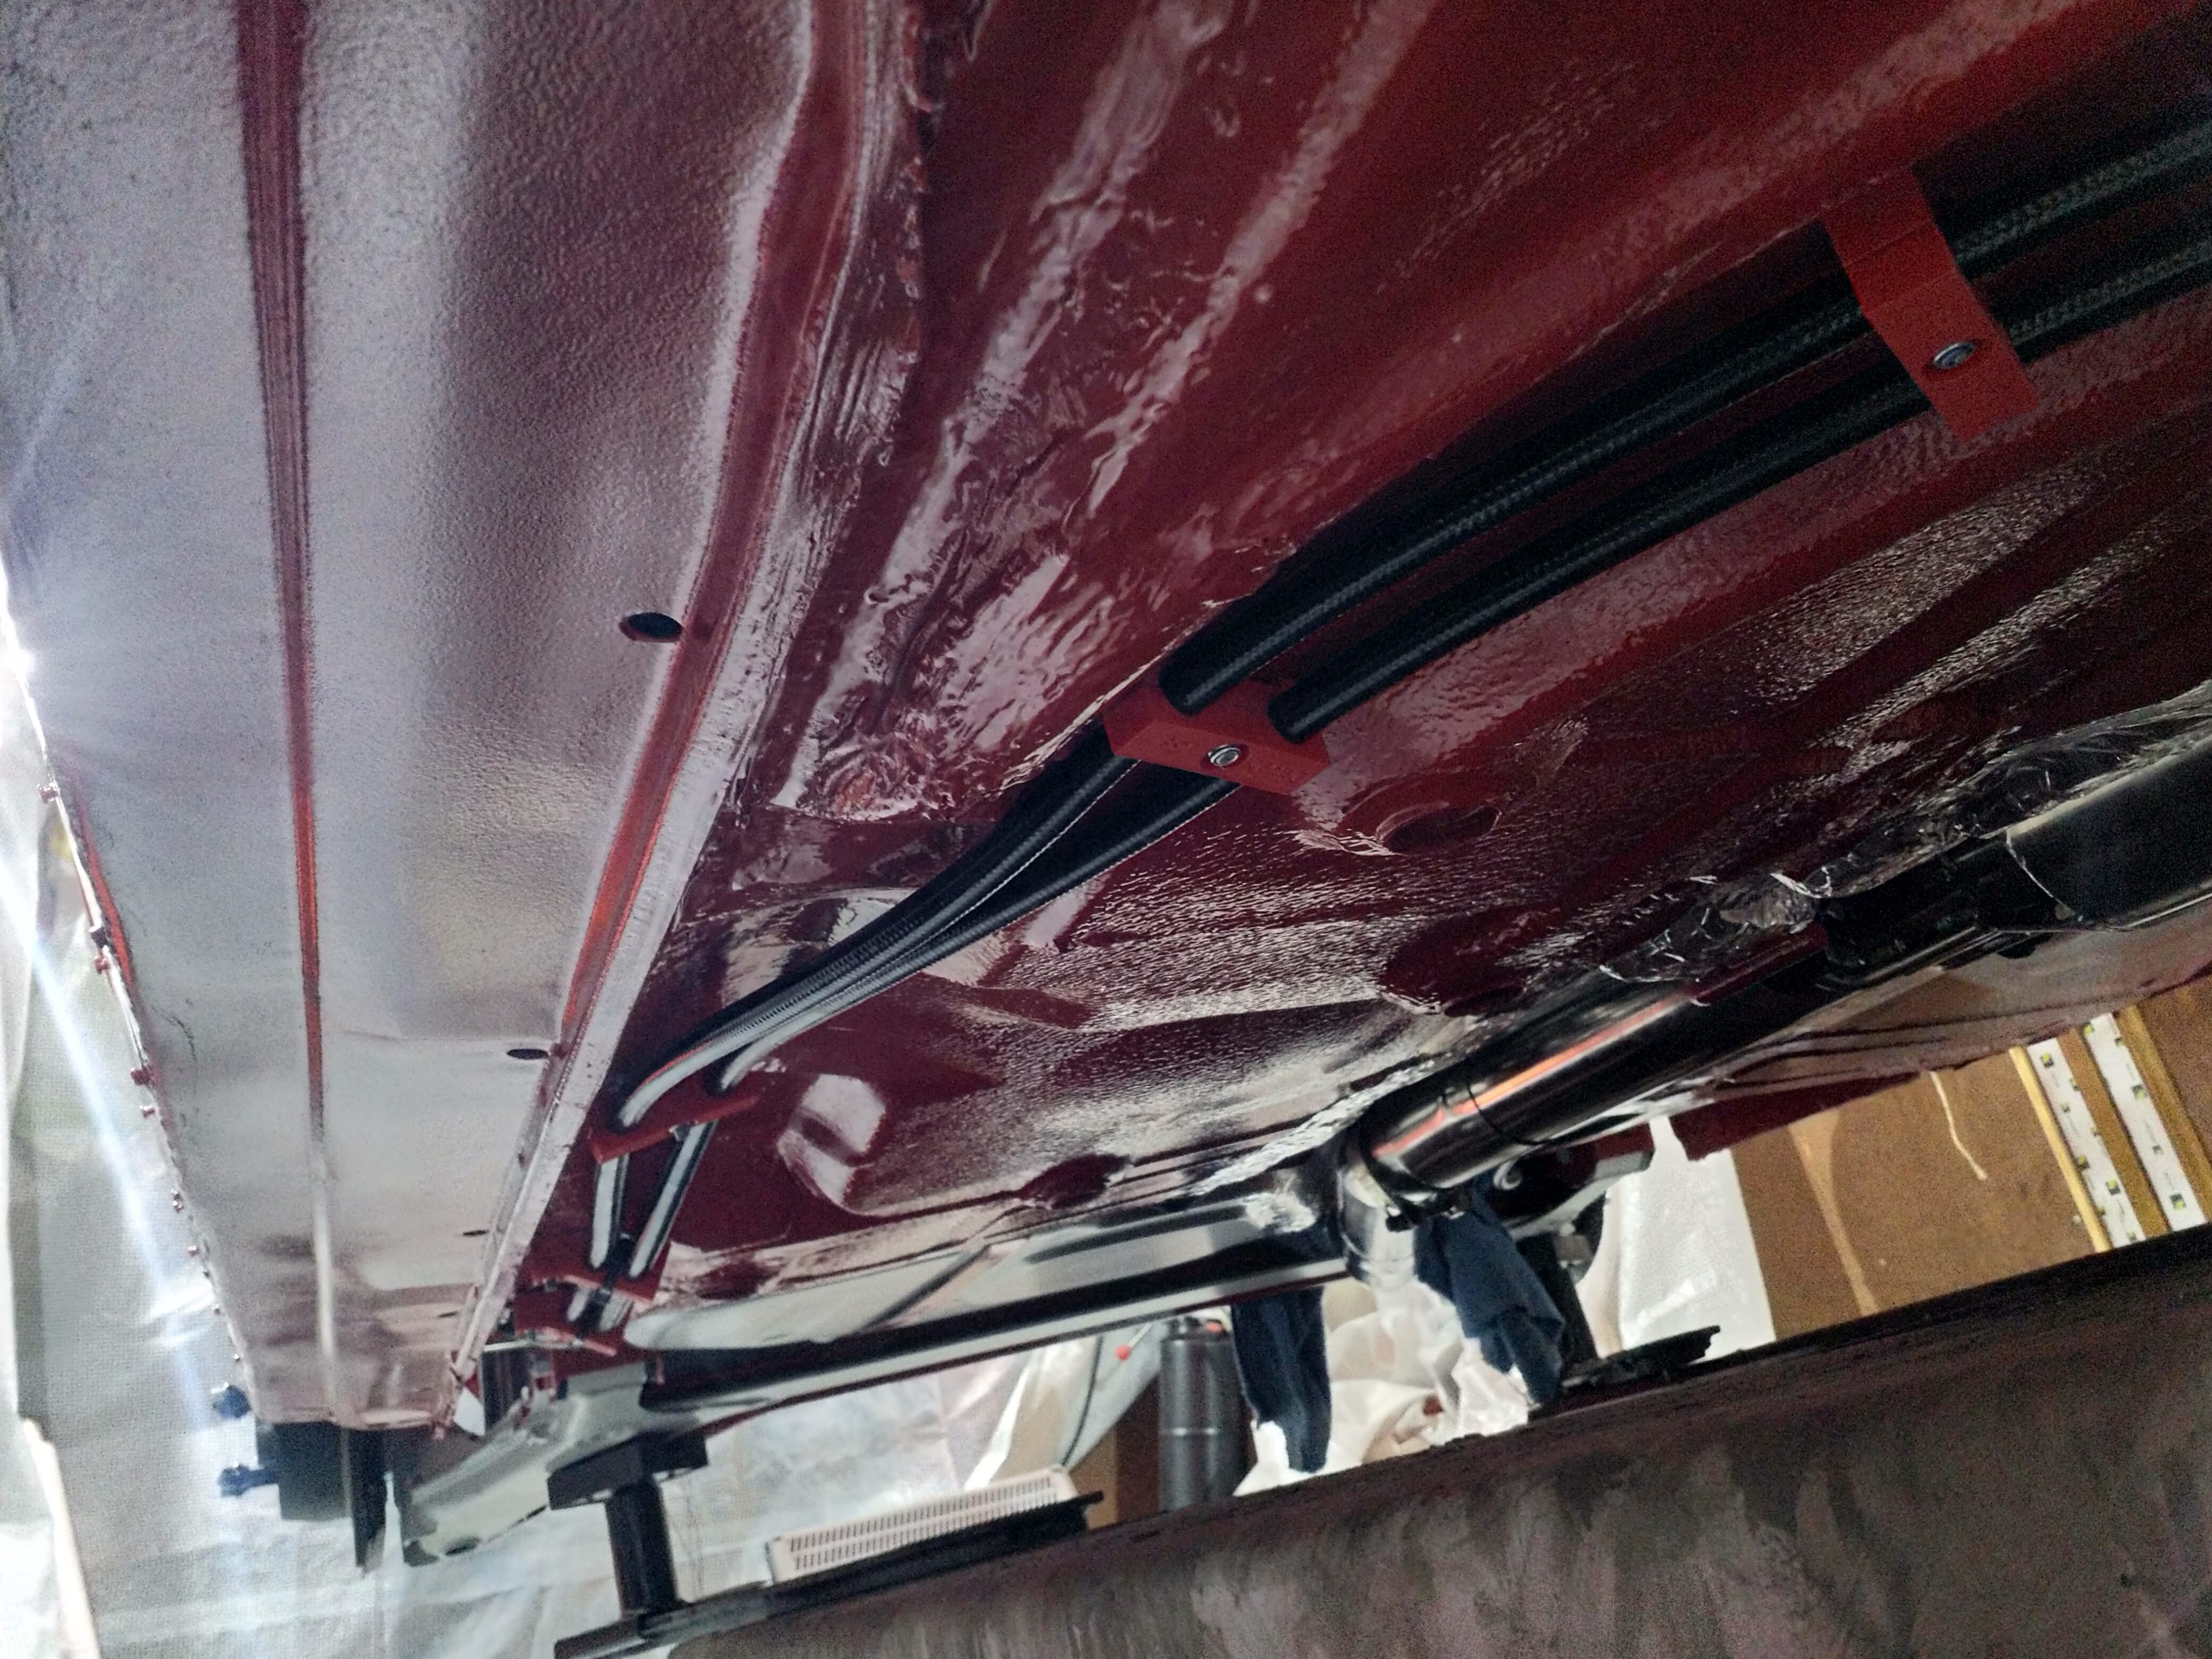
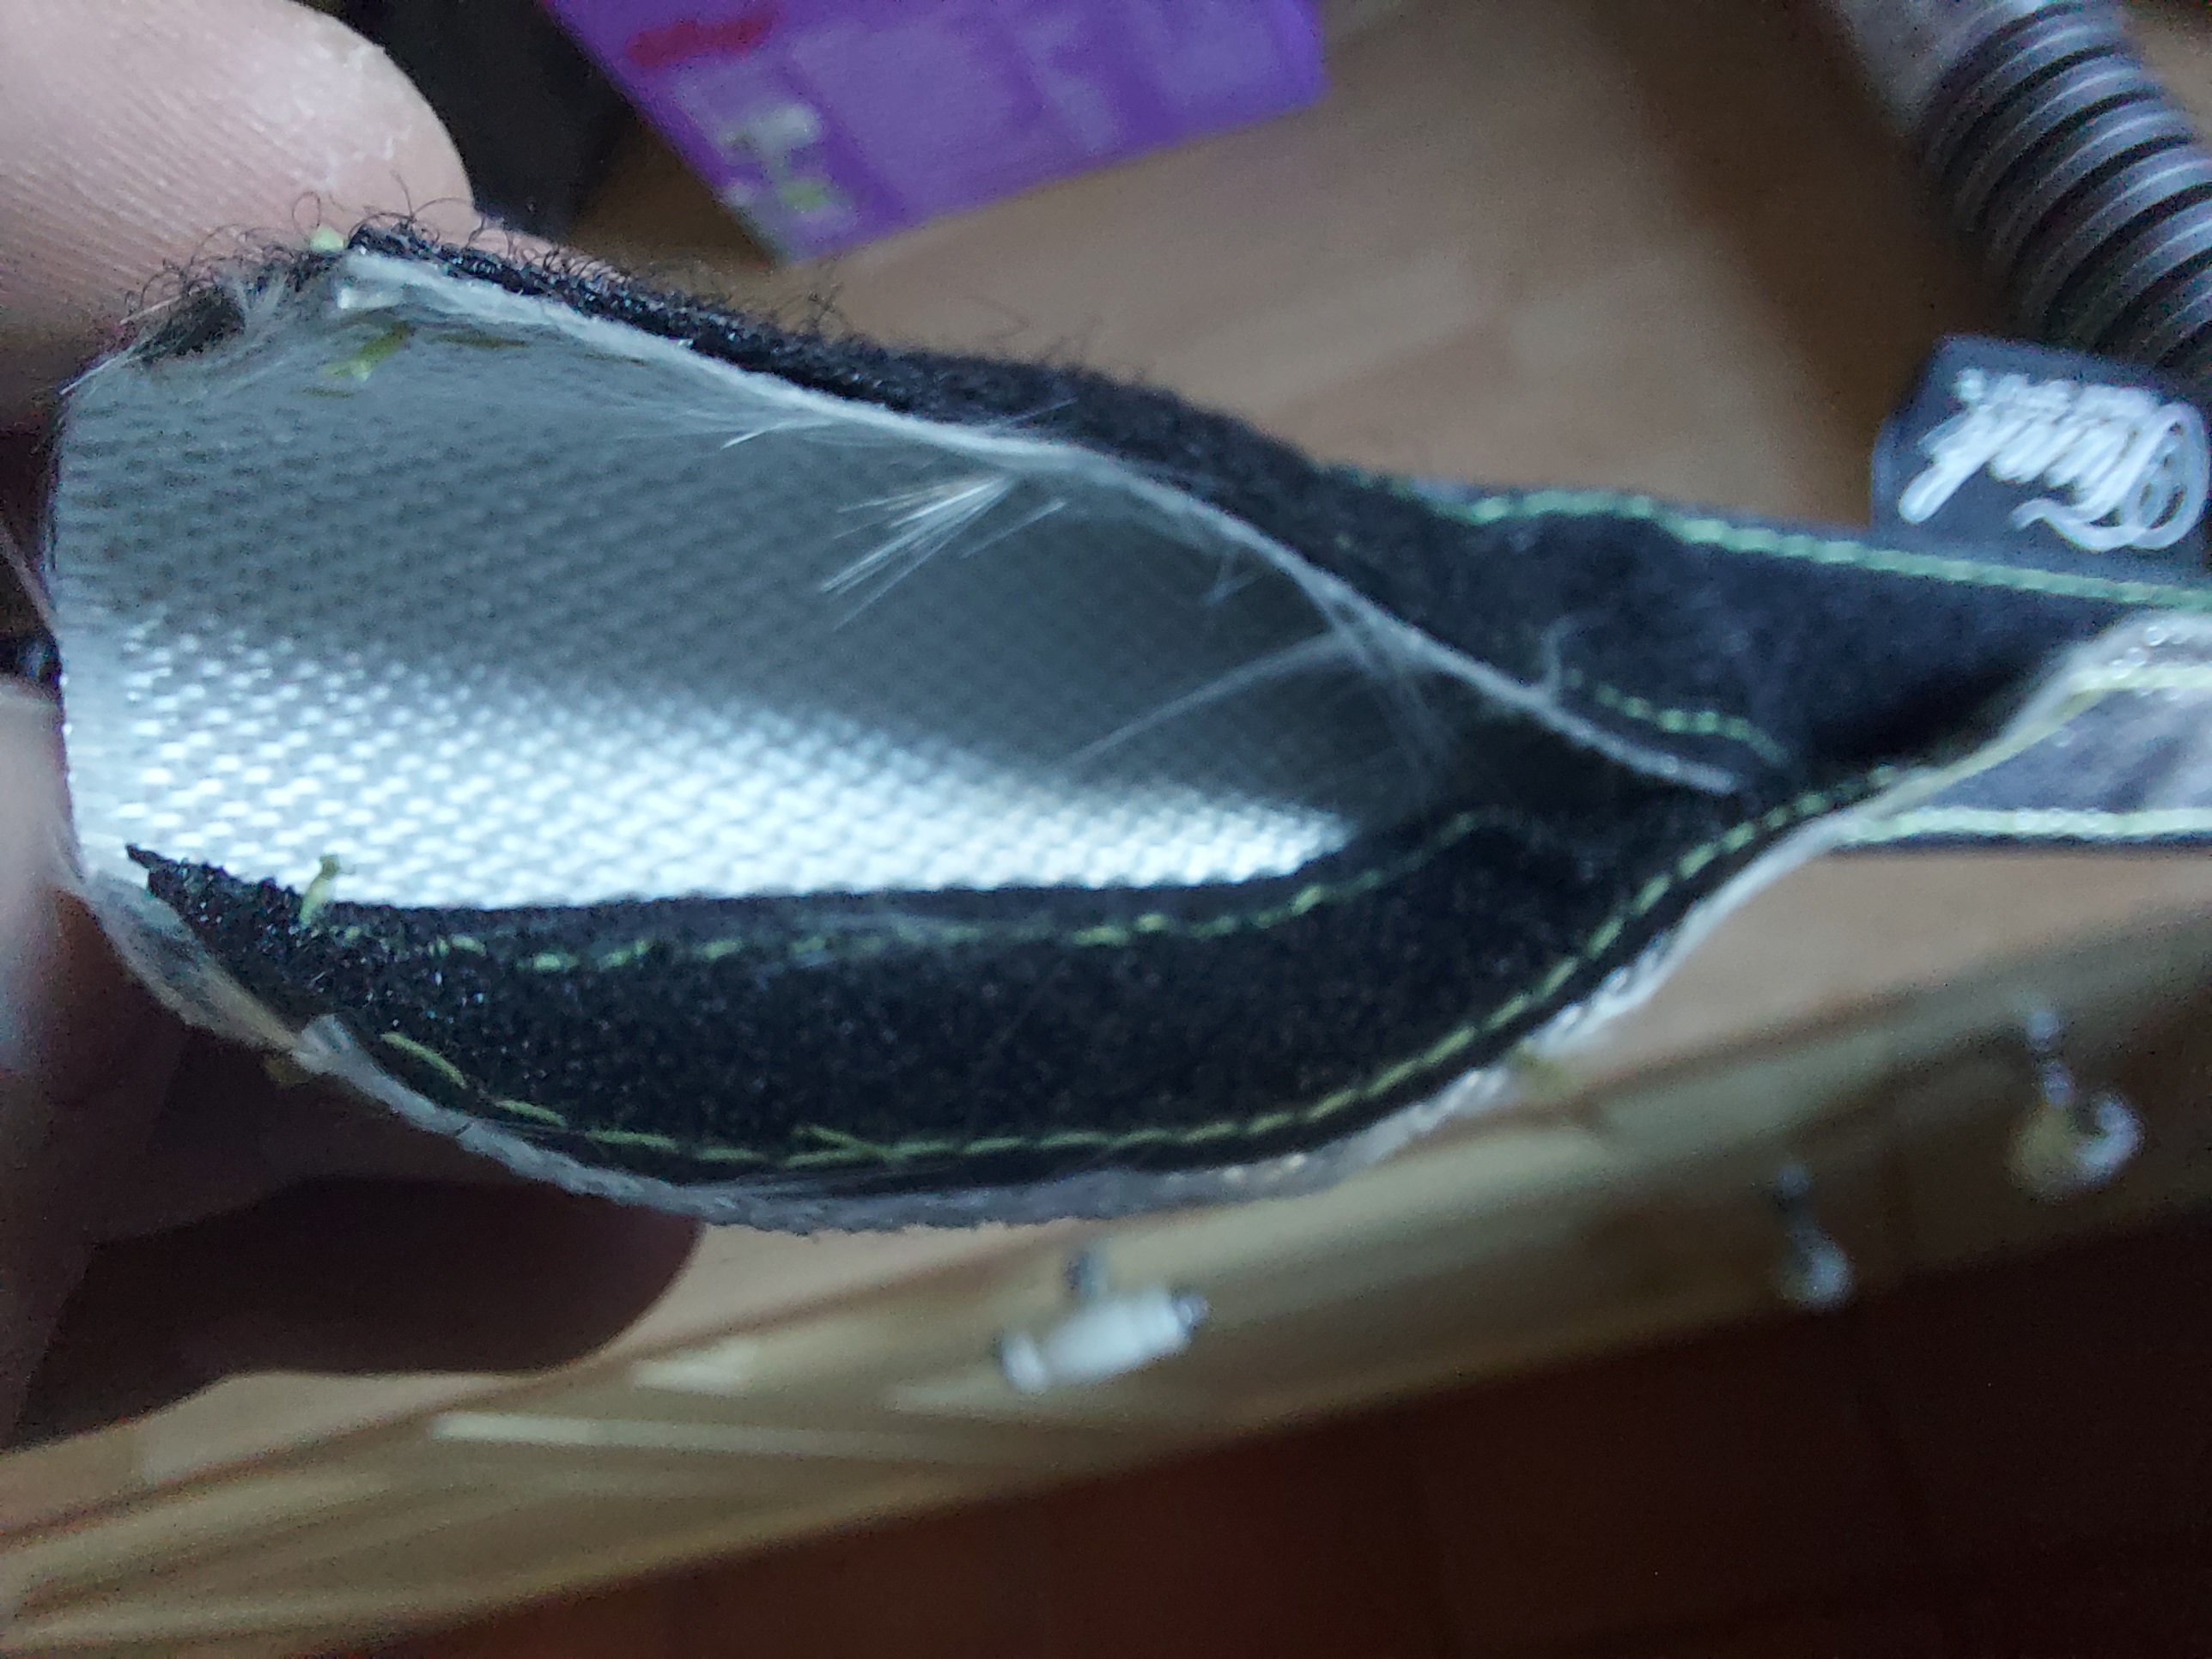
now my OE heatshields were in a bad way, but so bad that they were beyond a clean up and spray, they had rotted away, So i took the decision early on to use zircoflex heat shielding, self adhesive and flexiable. This stuff is heat proof to 550c..... that should do haha Its the ideal solution as making replacements would be impossible.
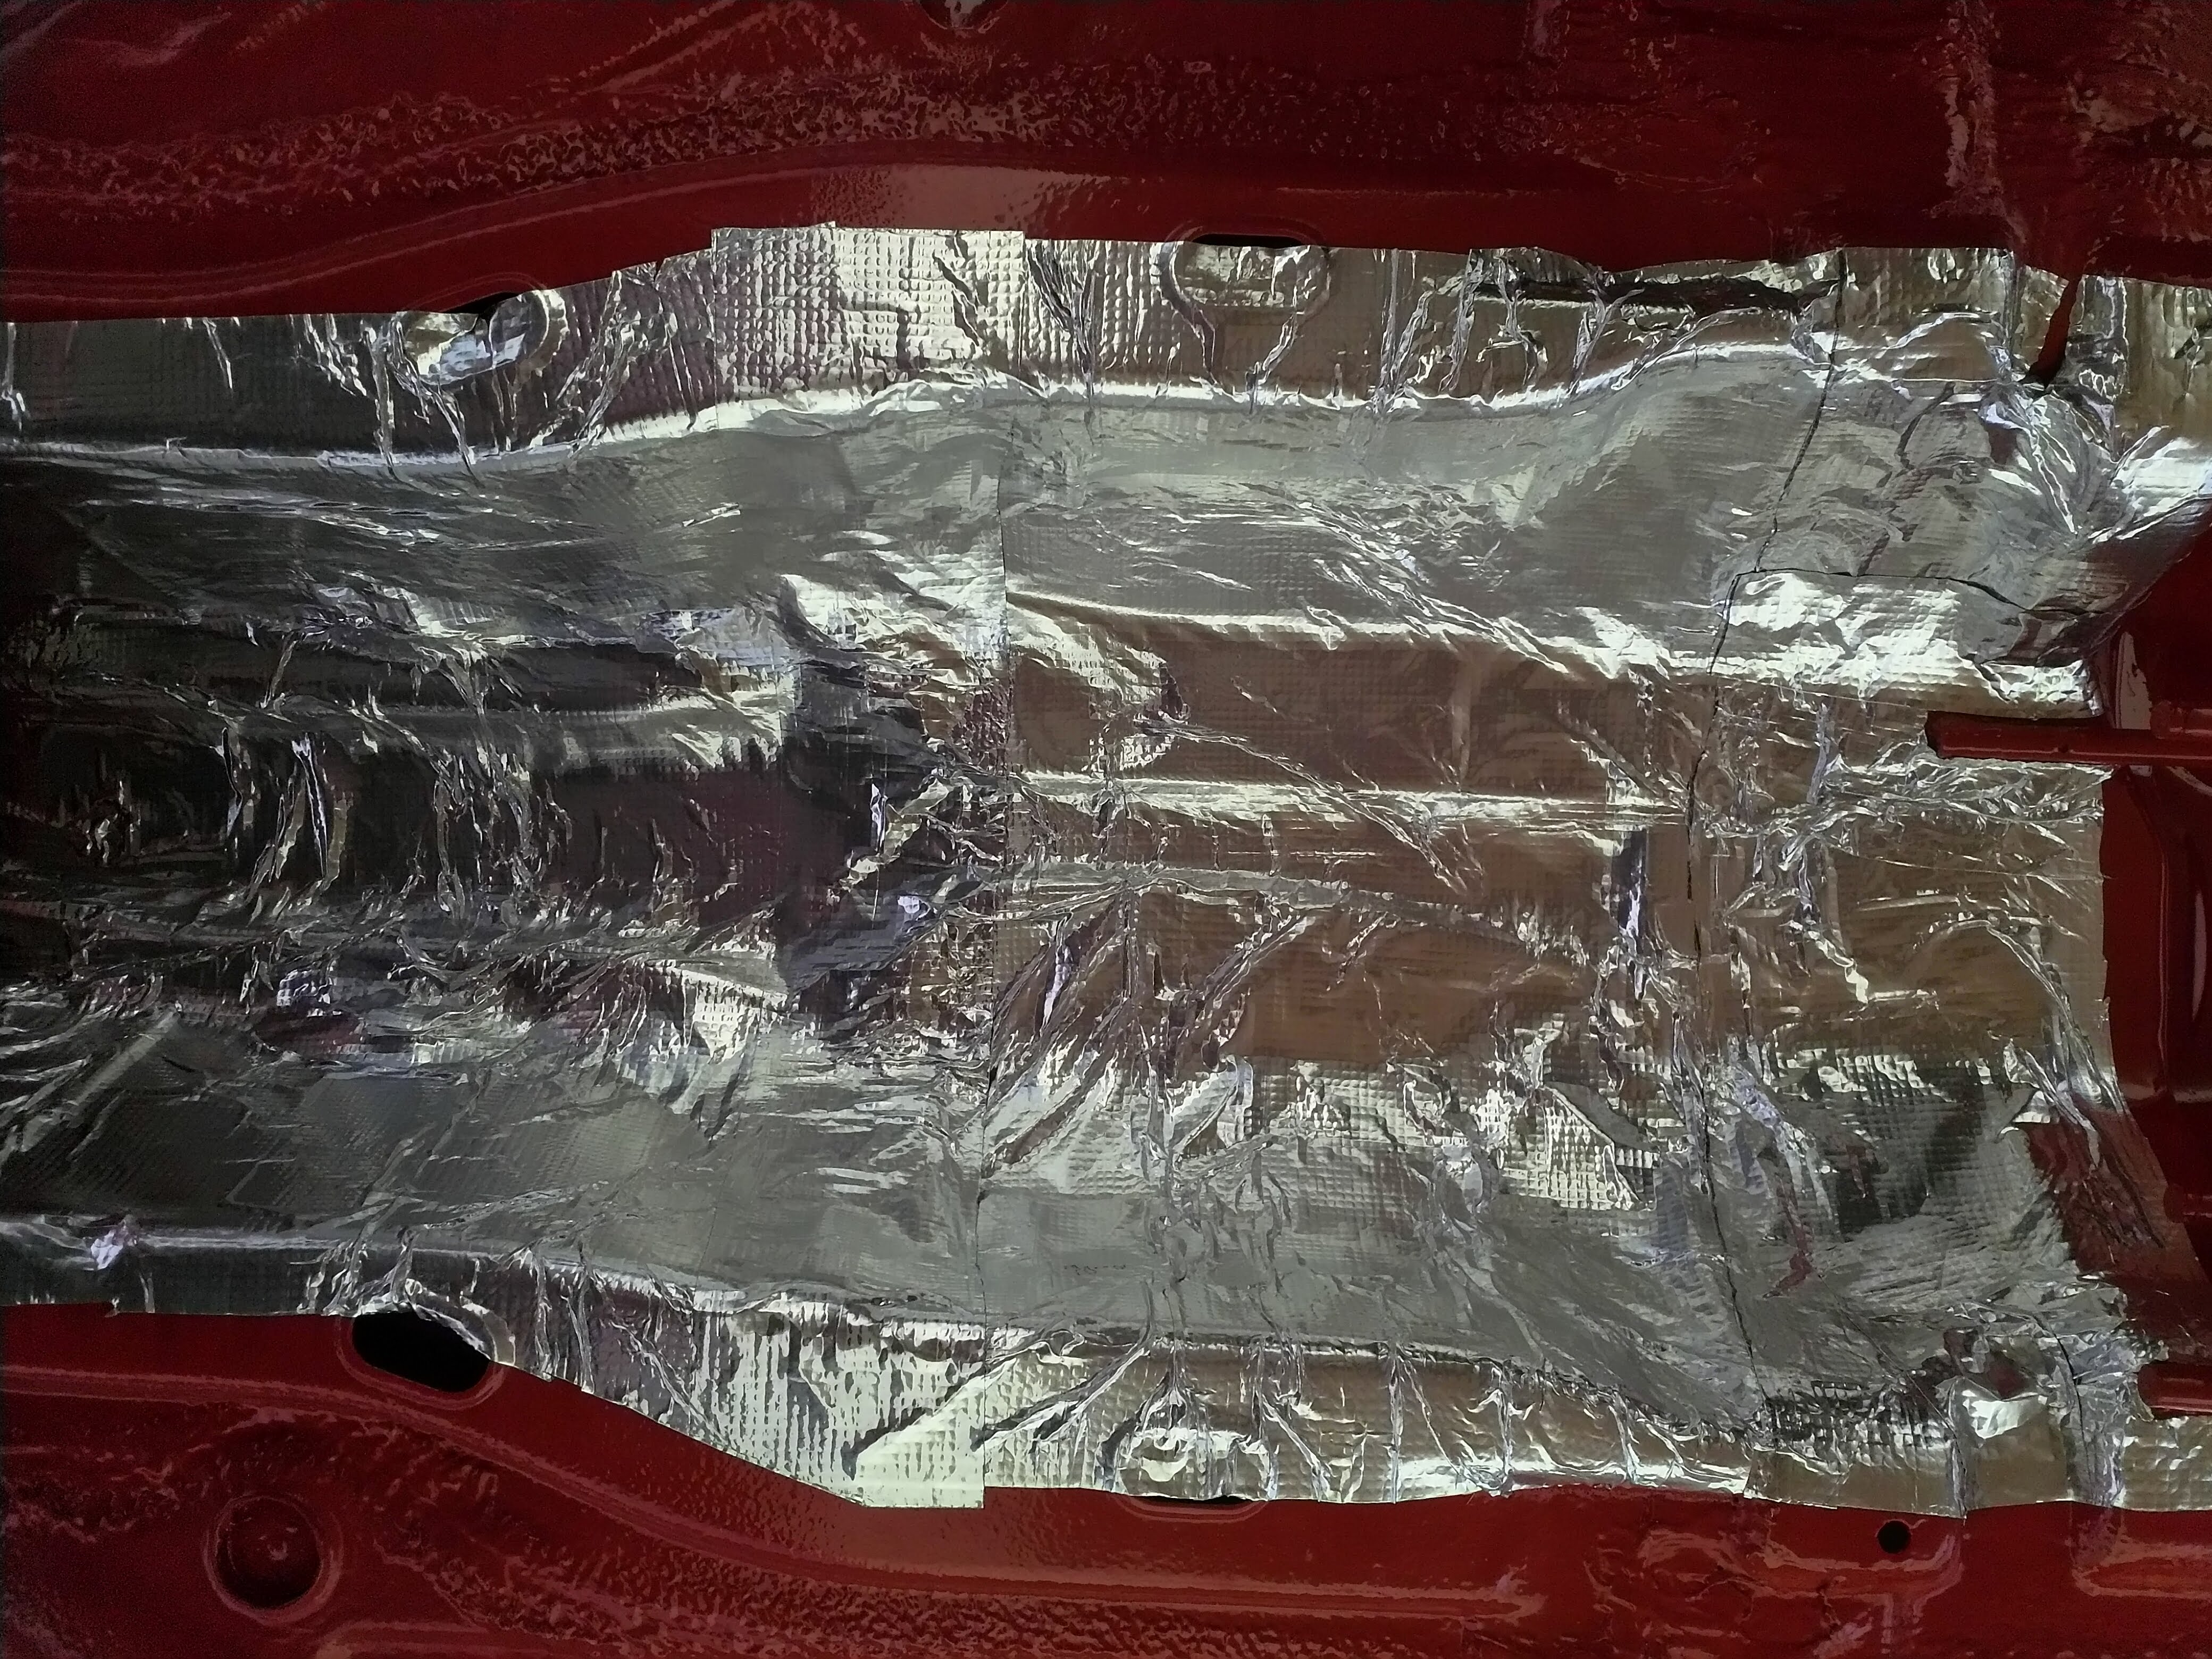
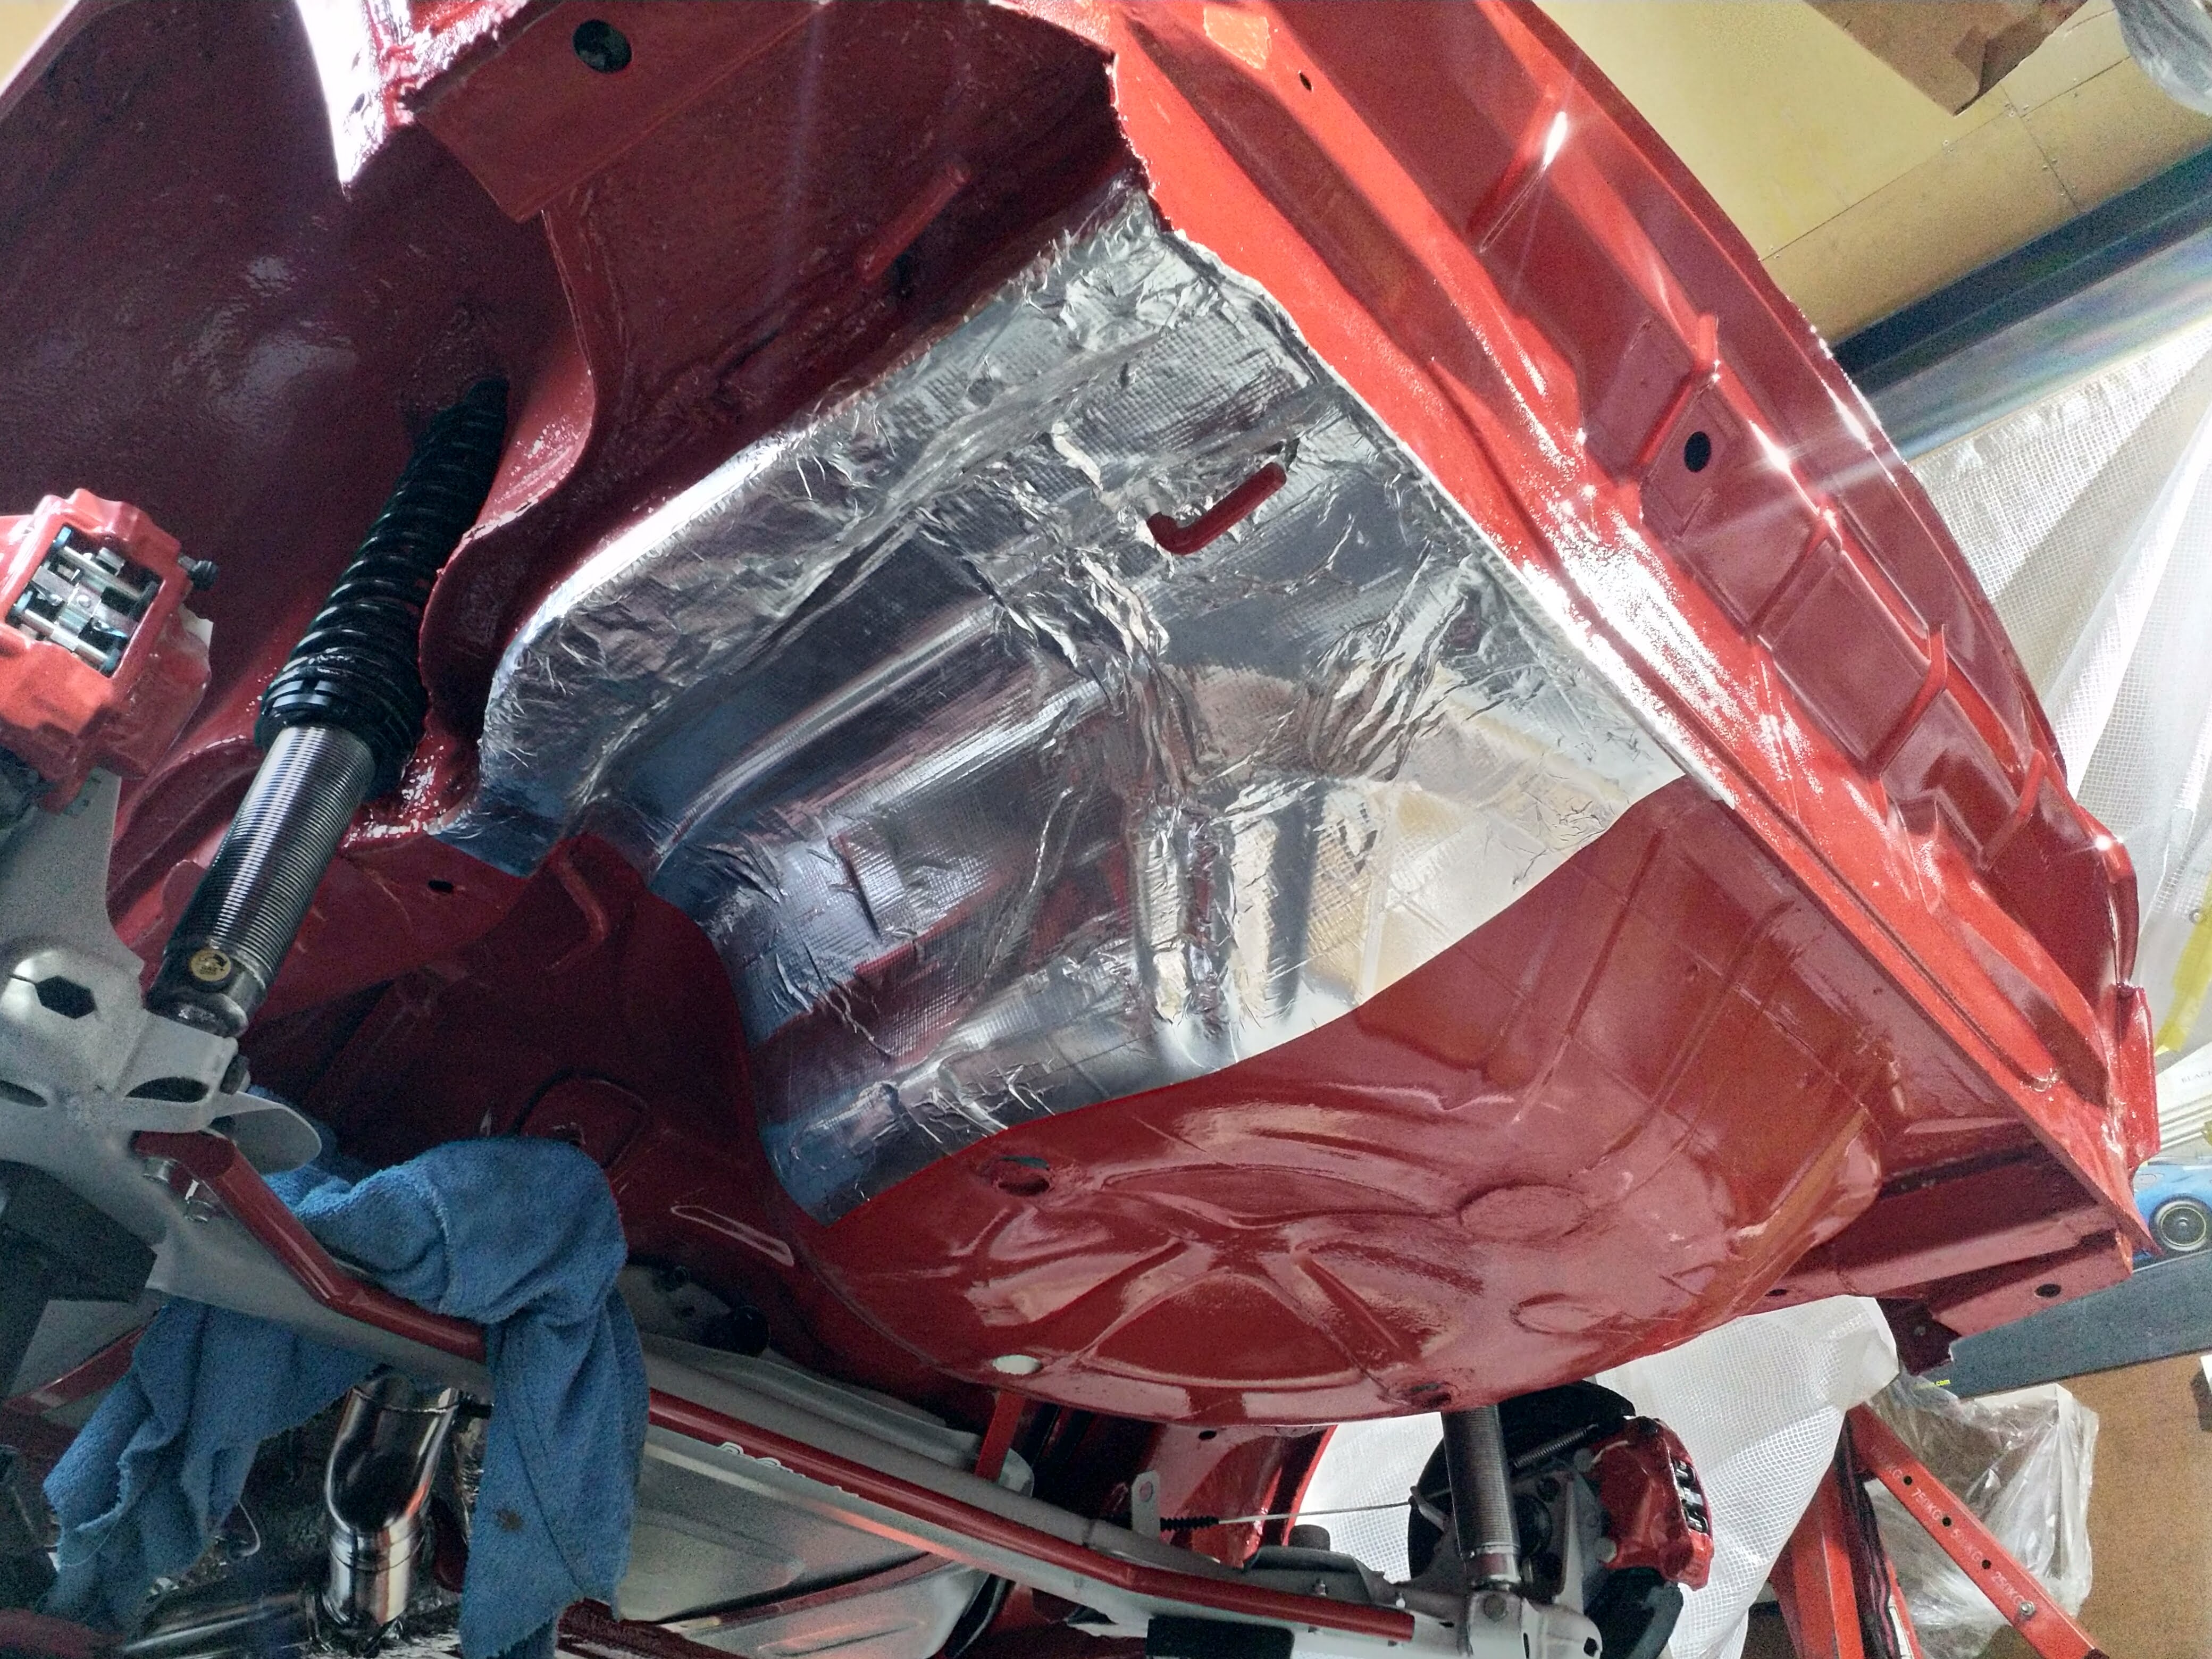
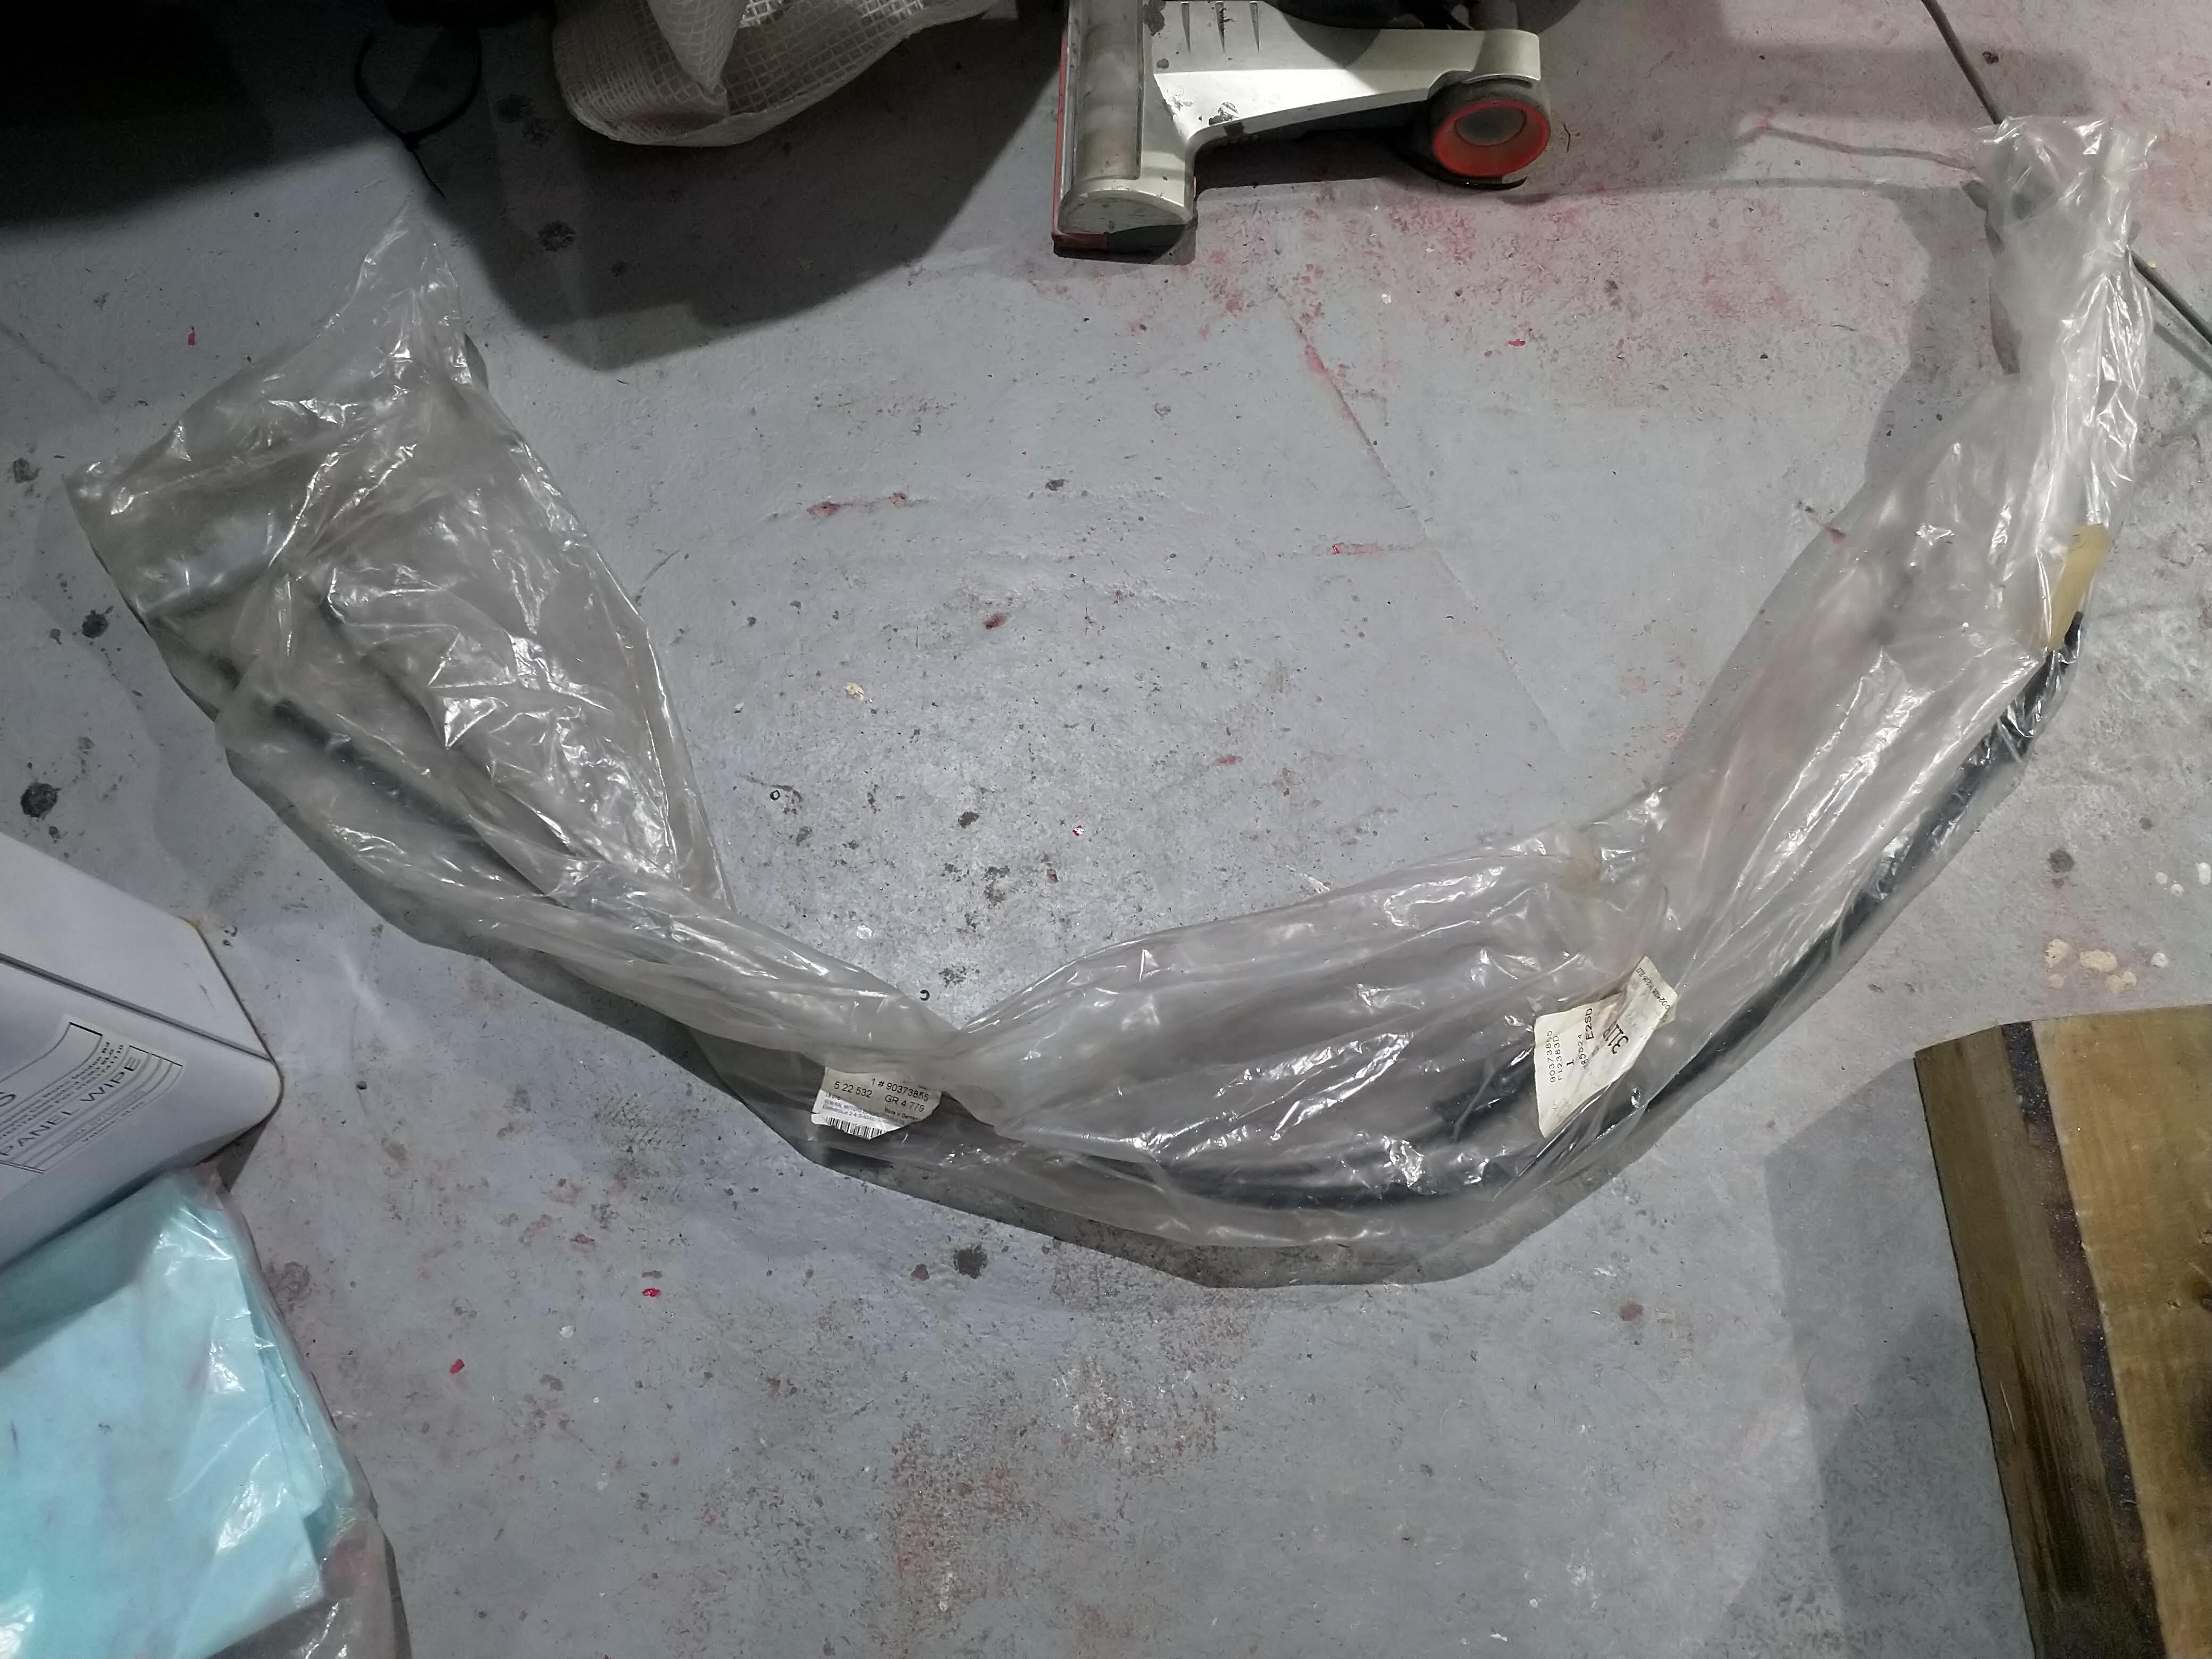
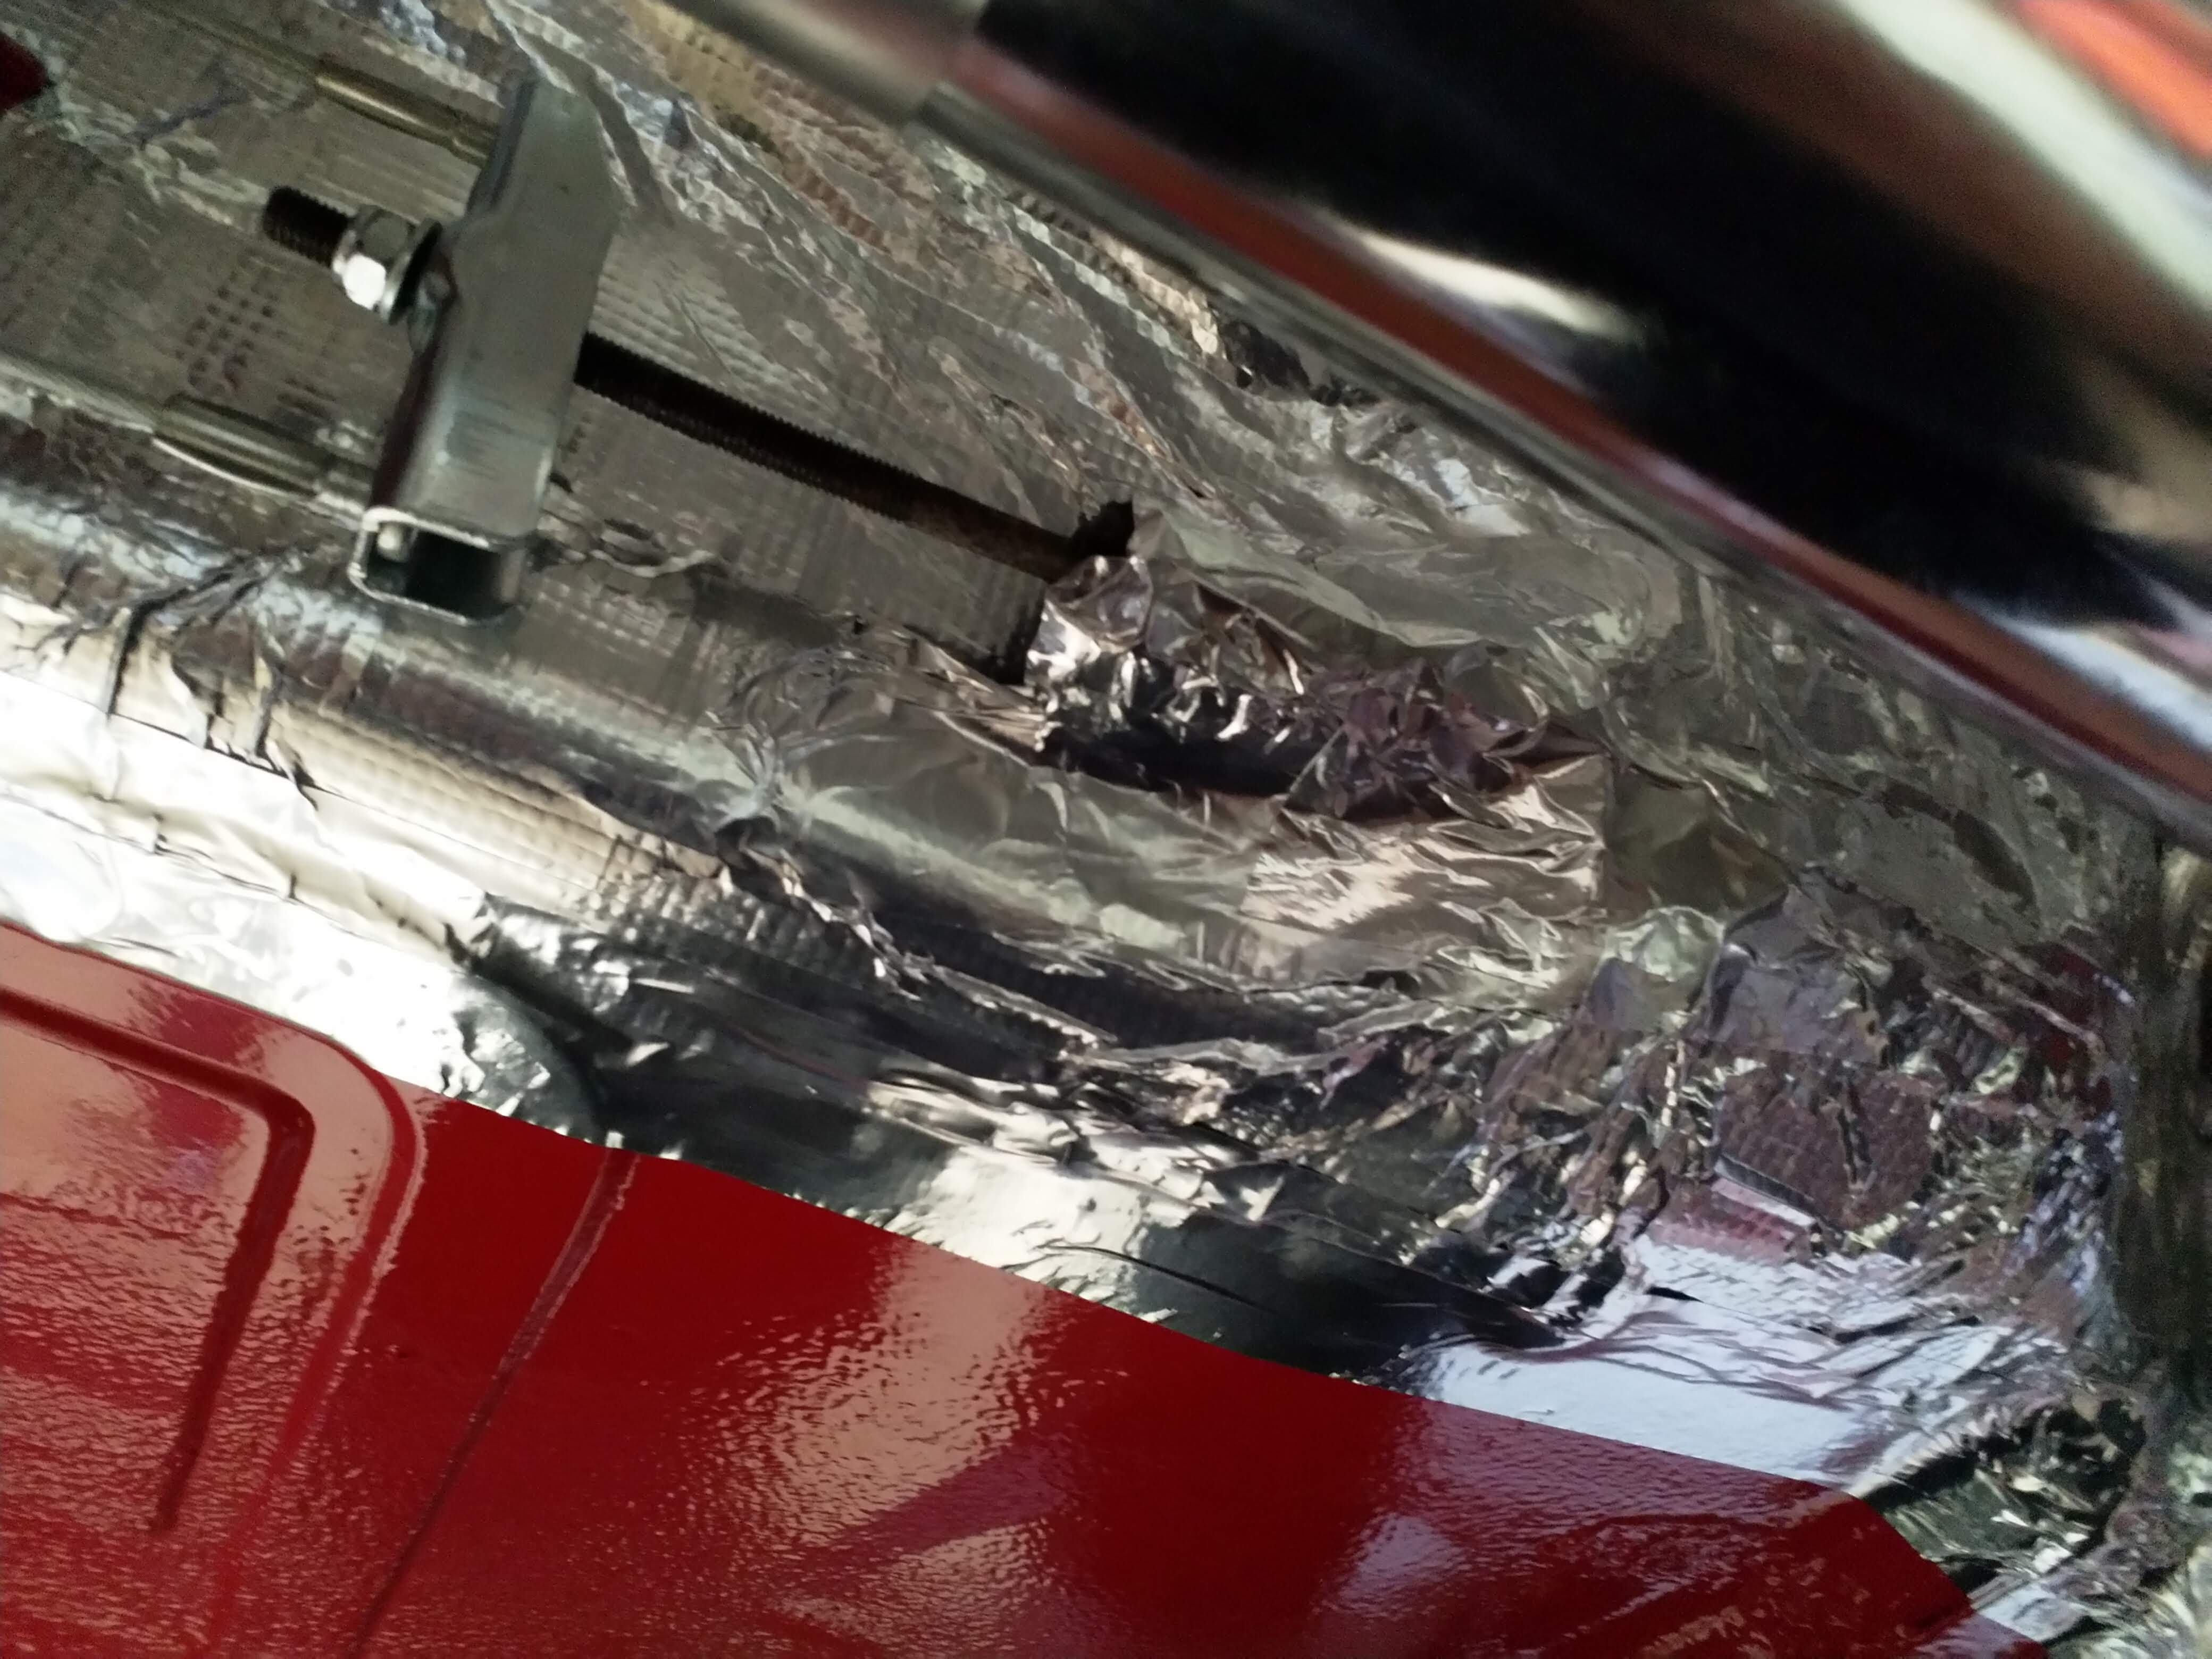
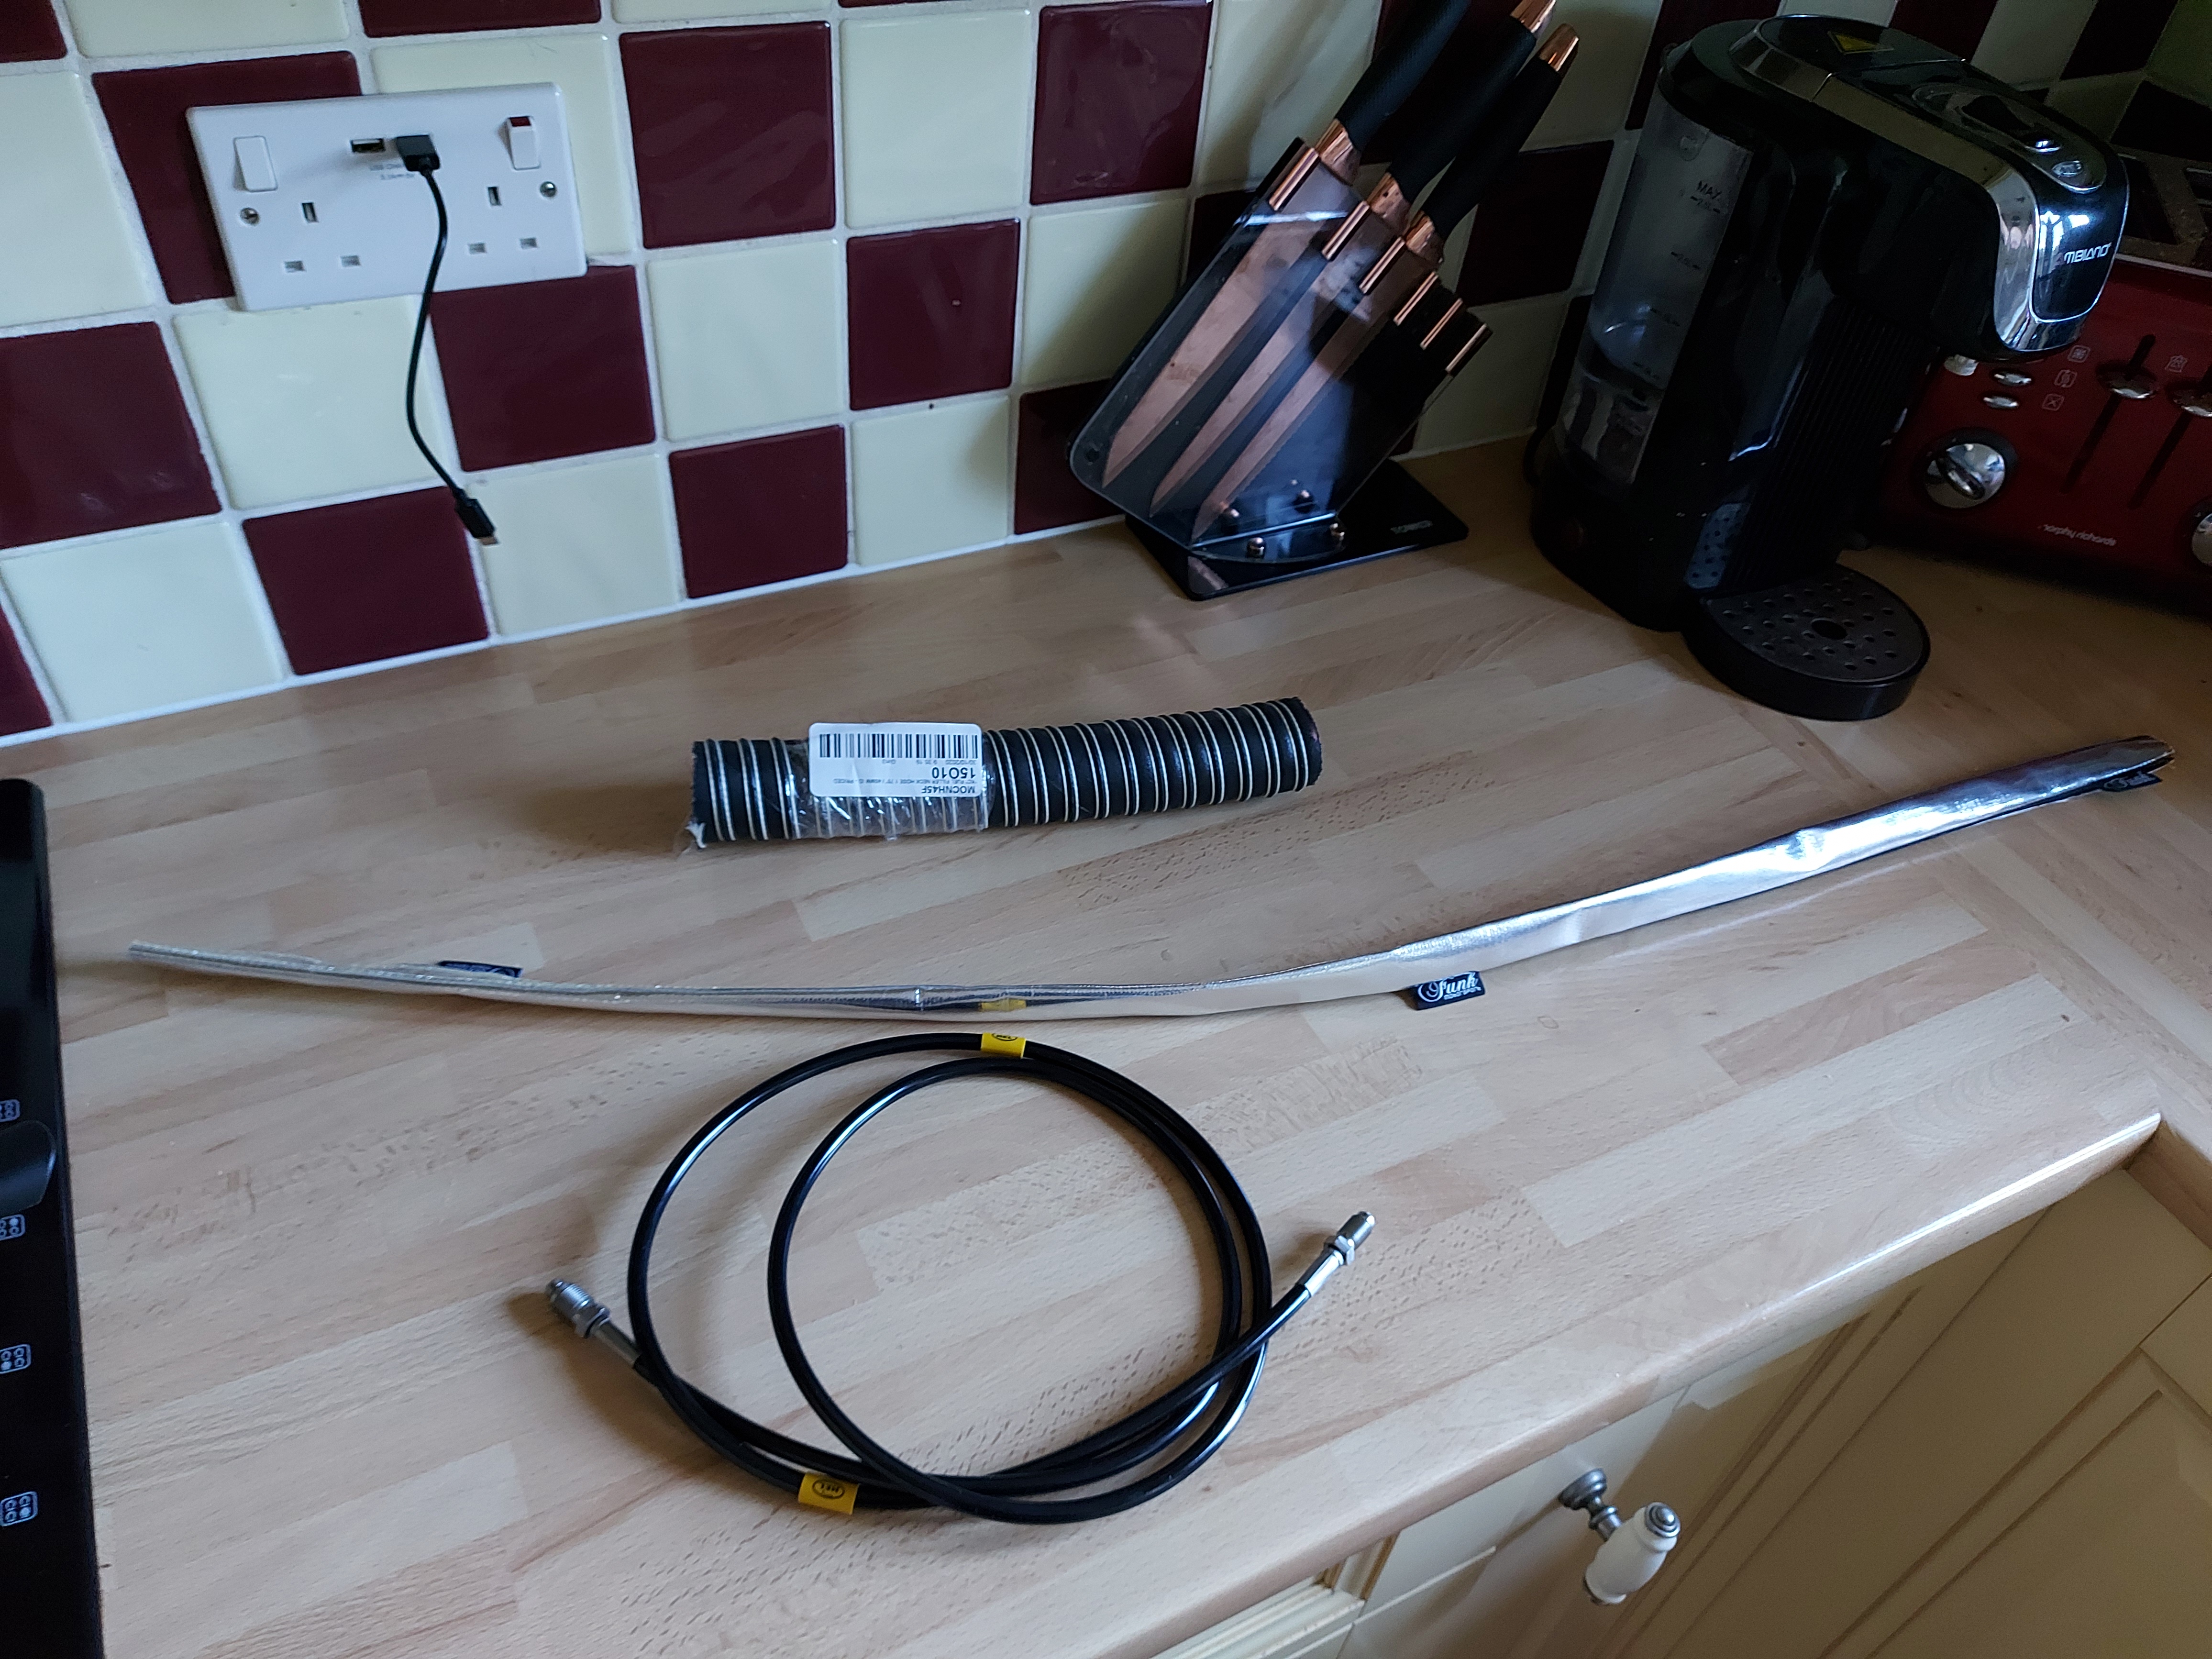
So today it was time to attack it. I ordered 2 big sheets and this turned up folded up in a bag... kinda annoying.... but then it became apprent very quickly that this stuff is impossible to put on without there being massive creases all over it lol.

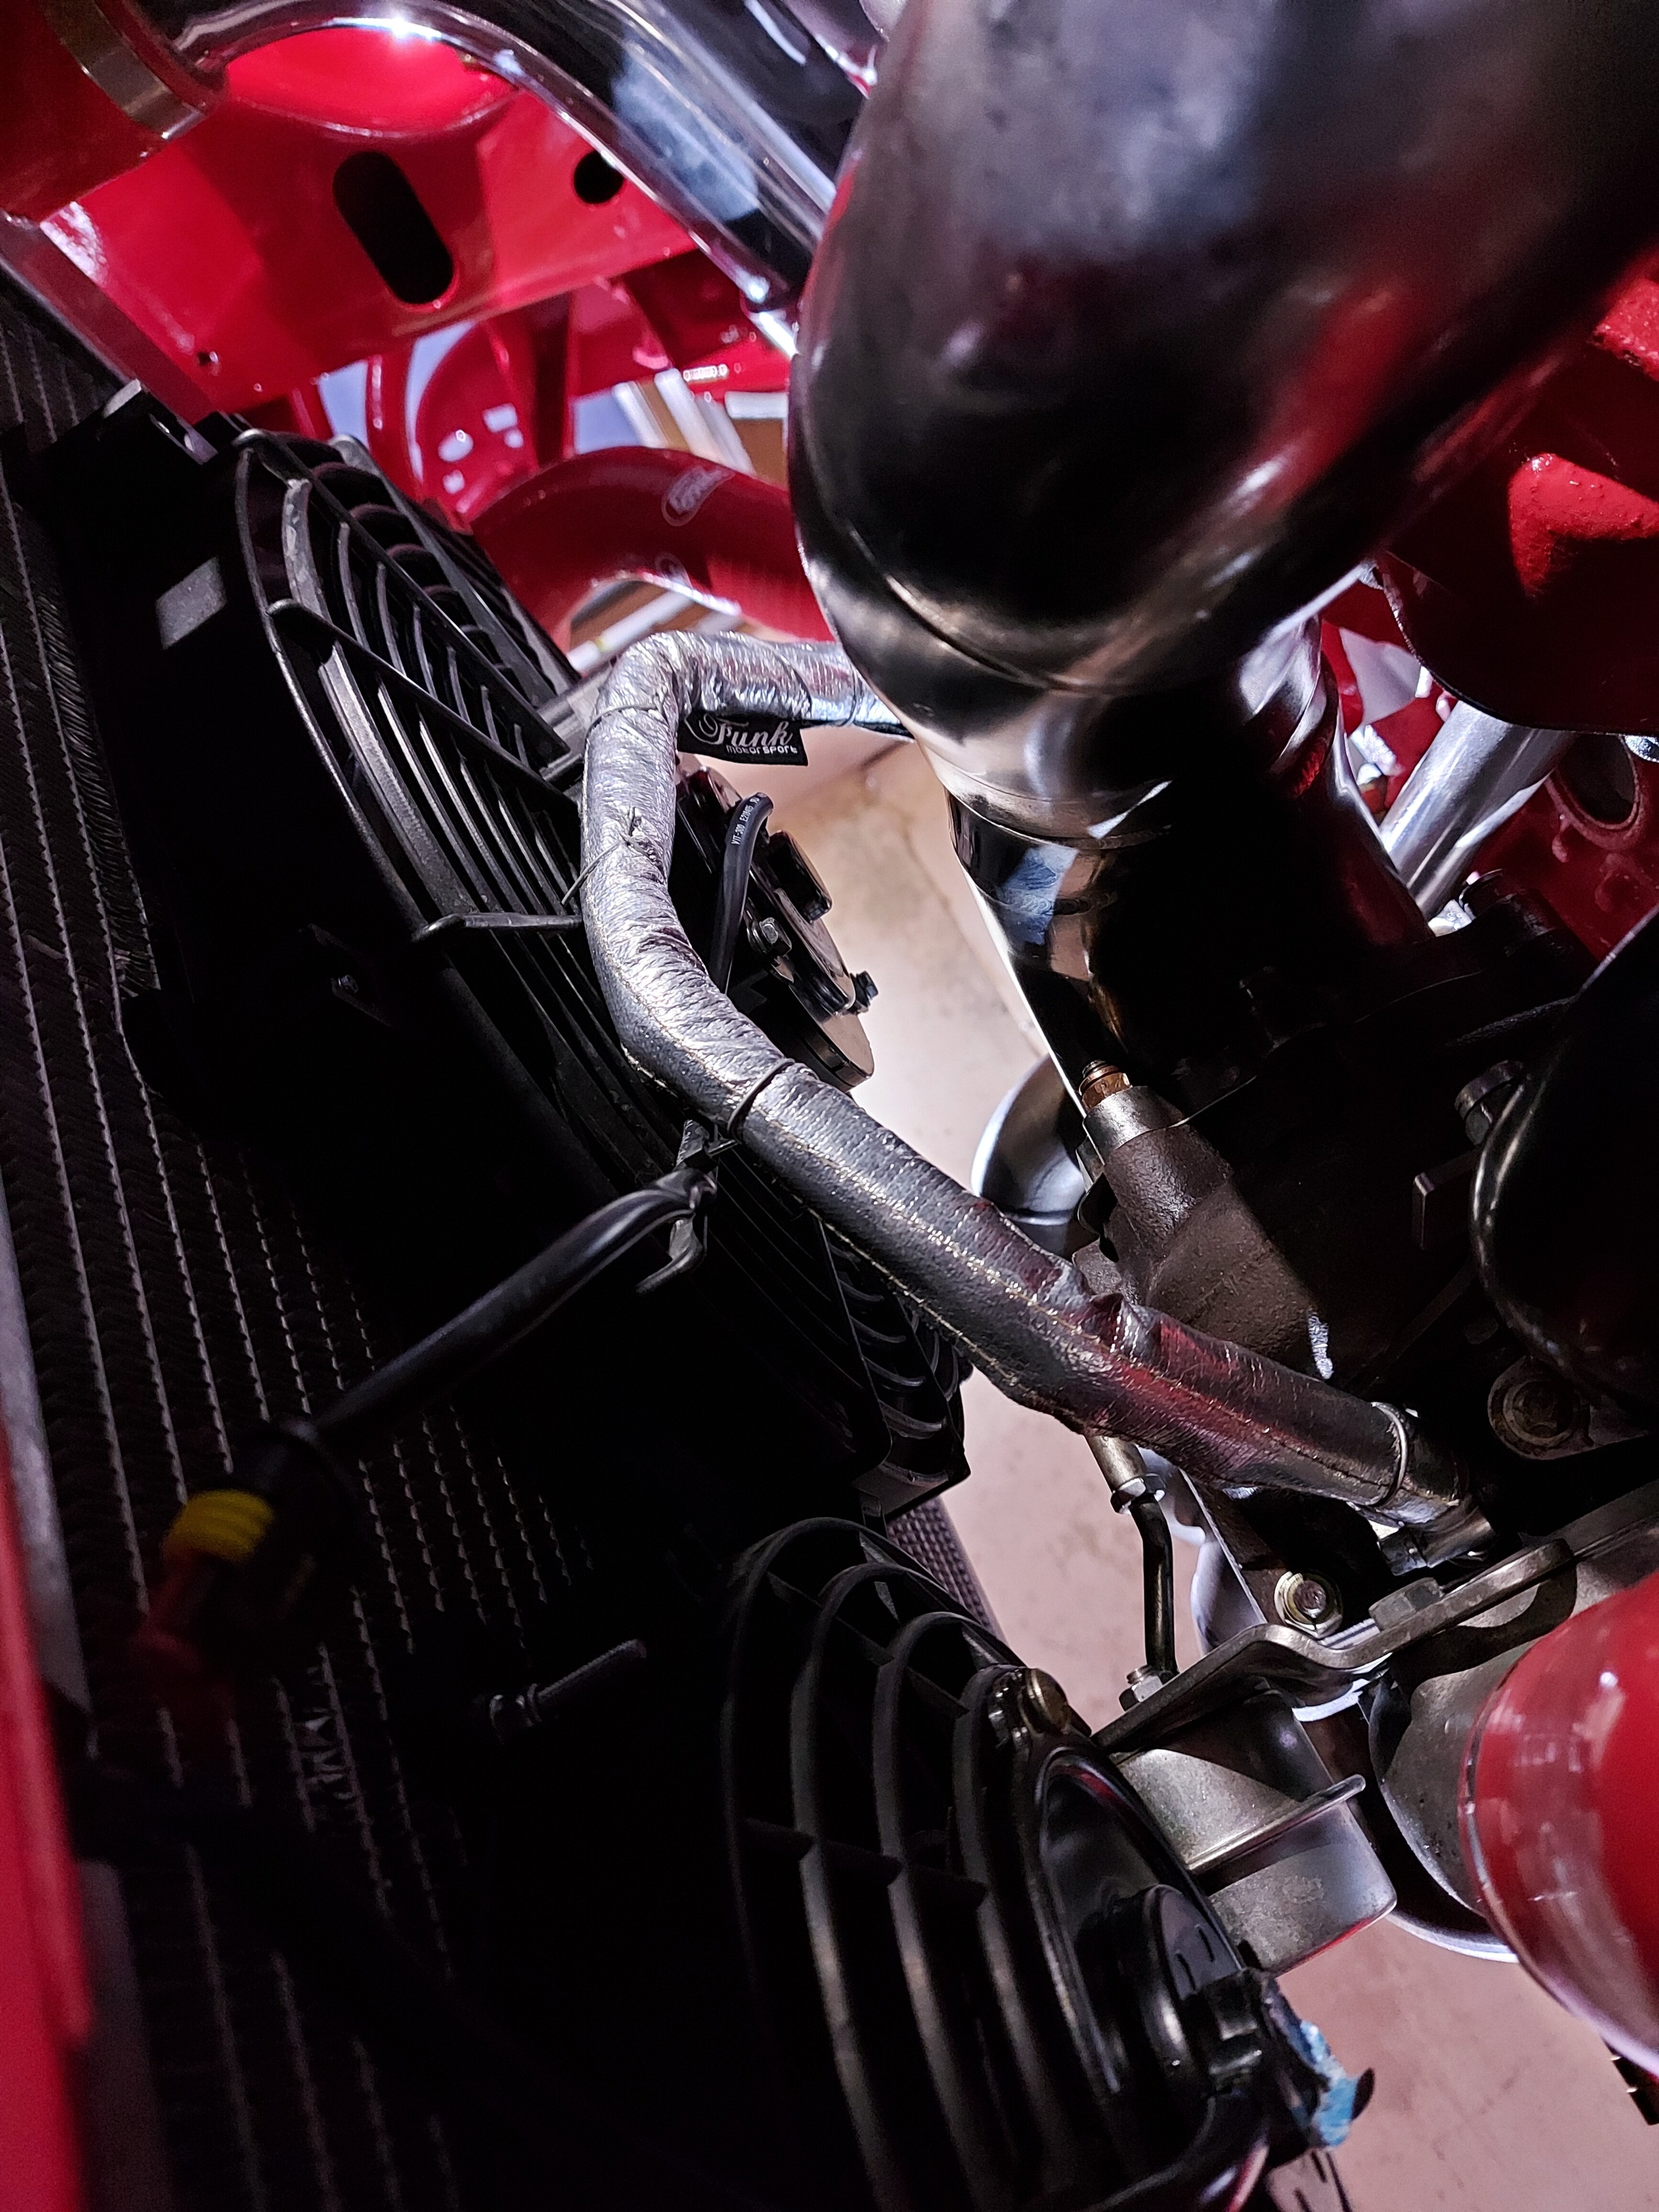
Because of this I made my peace with it quickly and cracked on. Its definatly function over form, but once it was done, I really liked the look of it anyways!

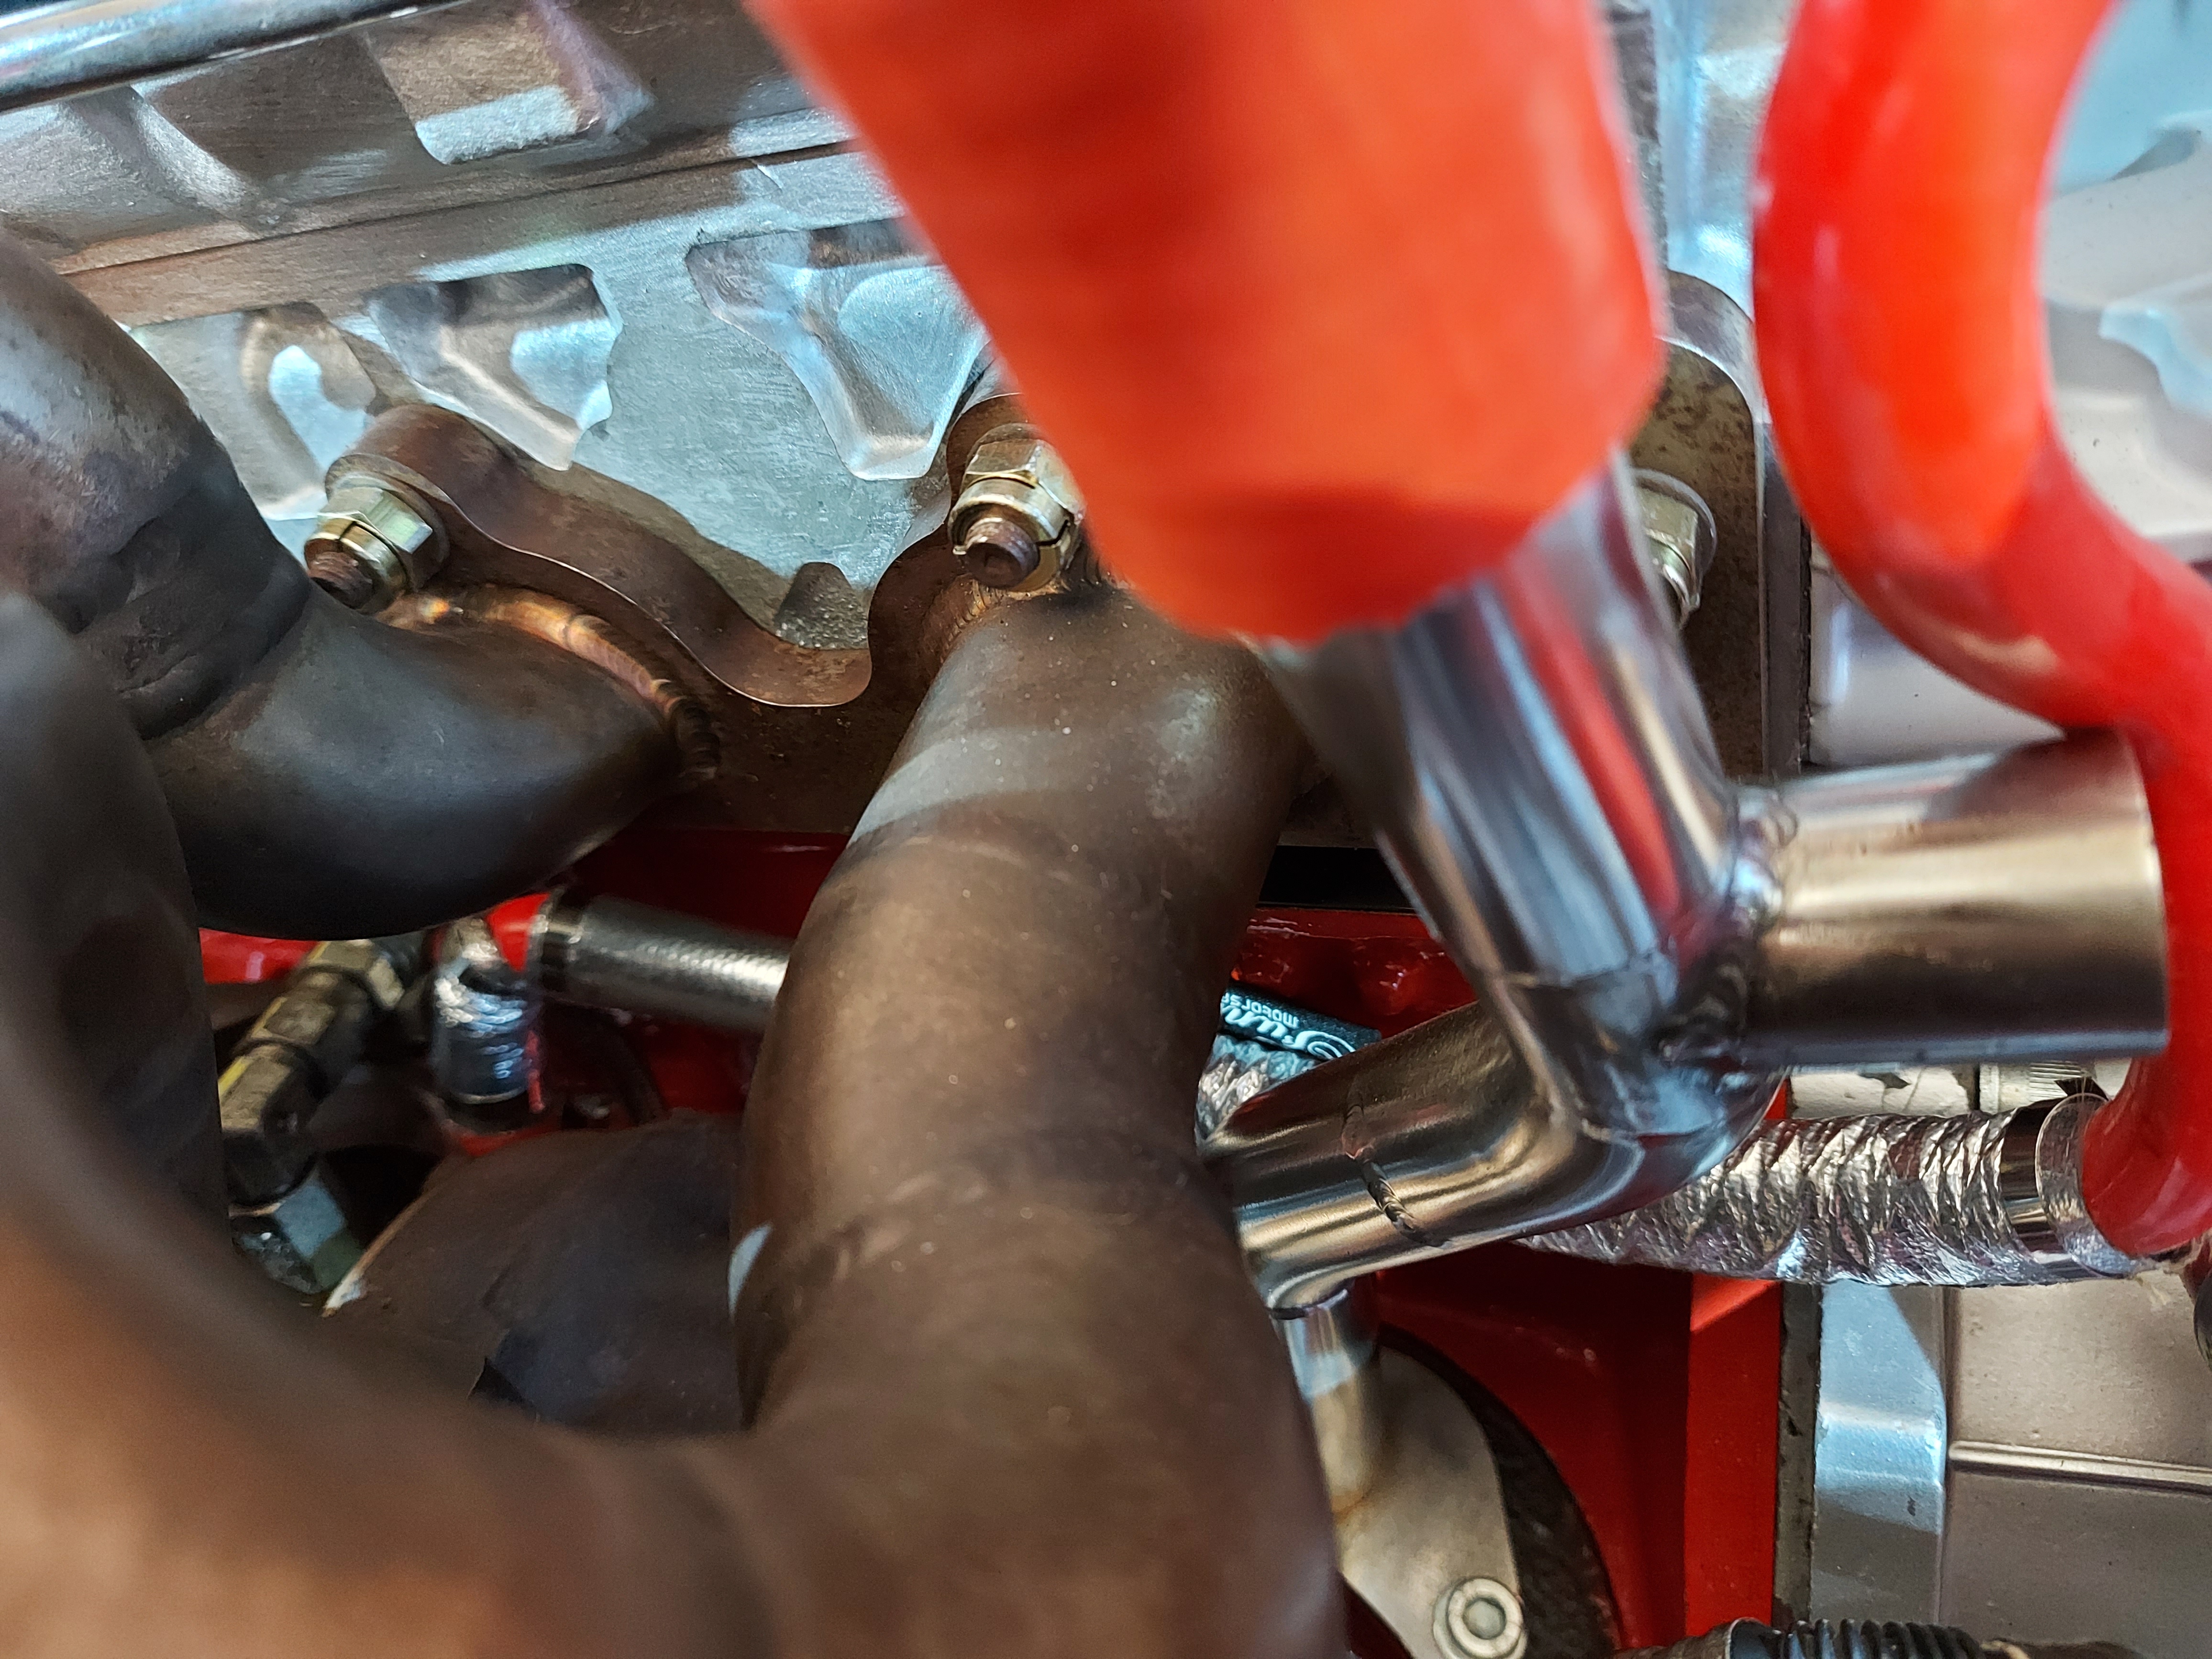
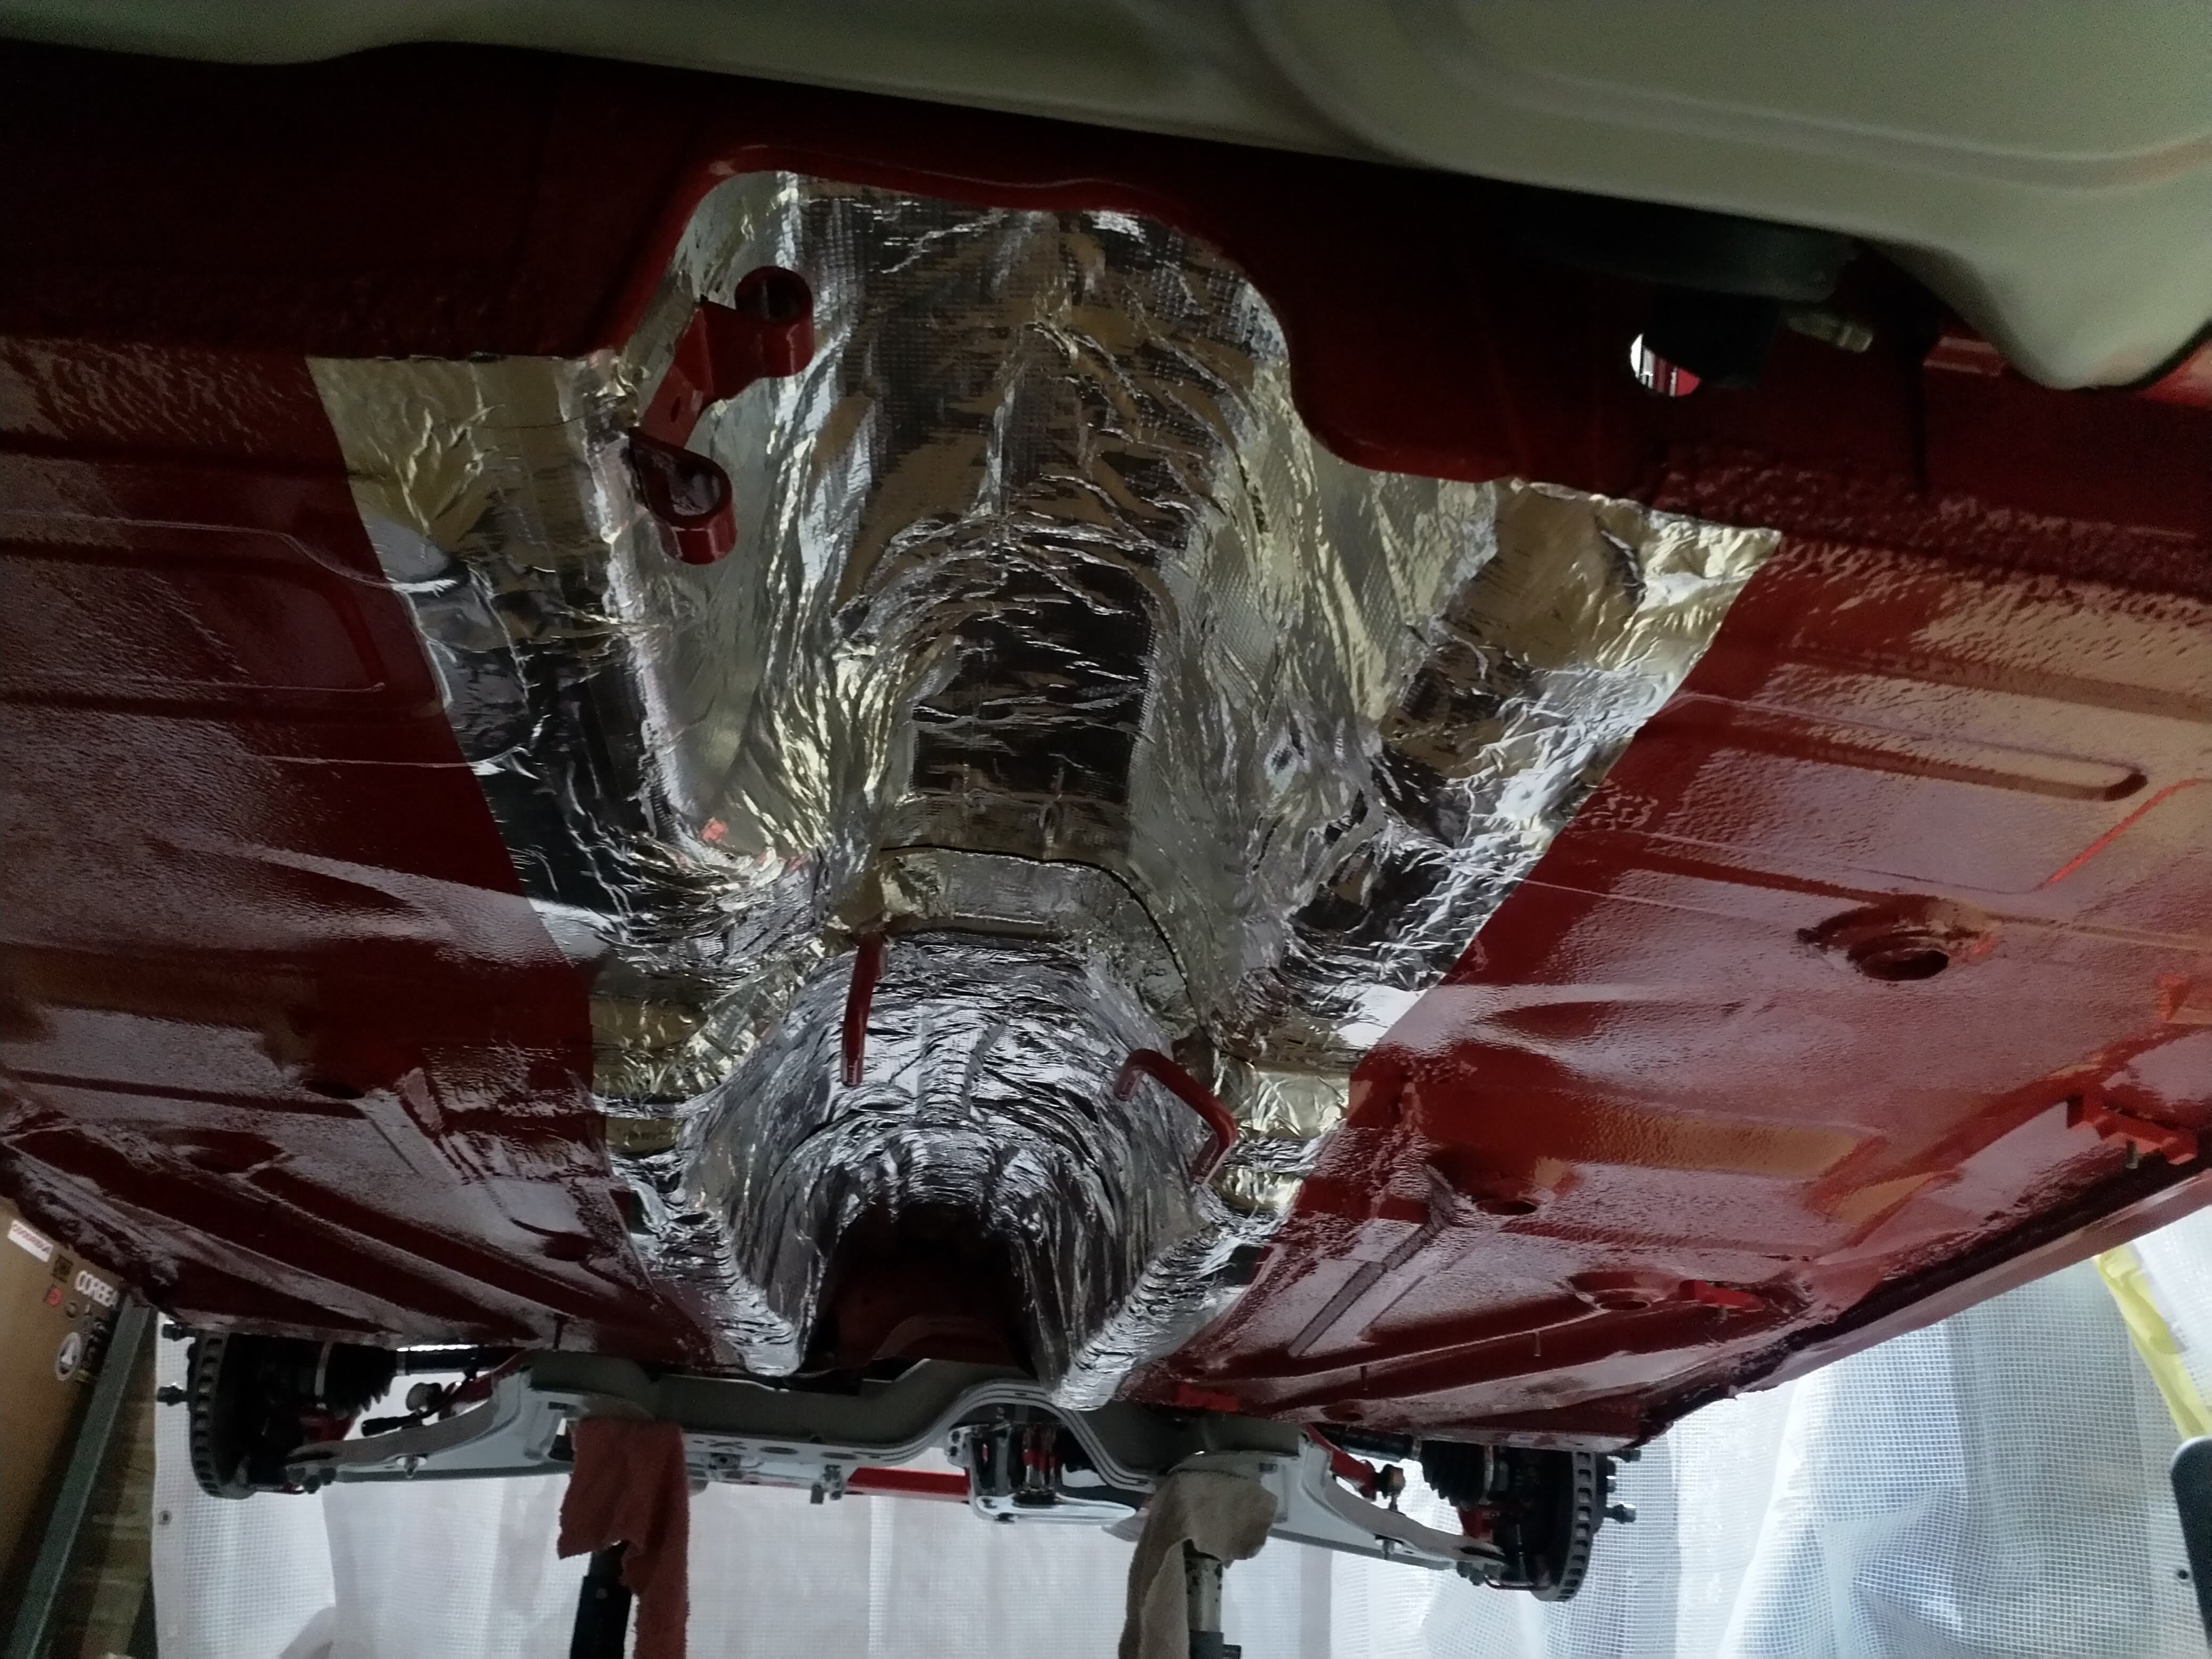
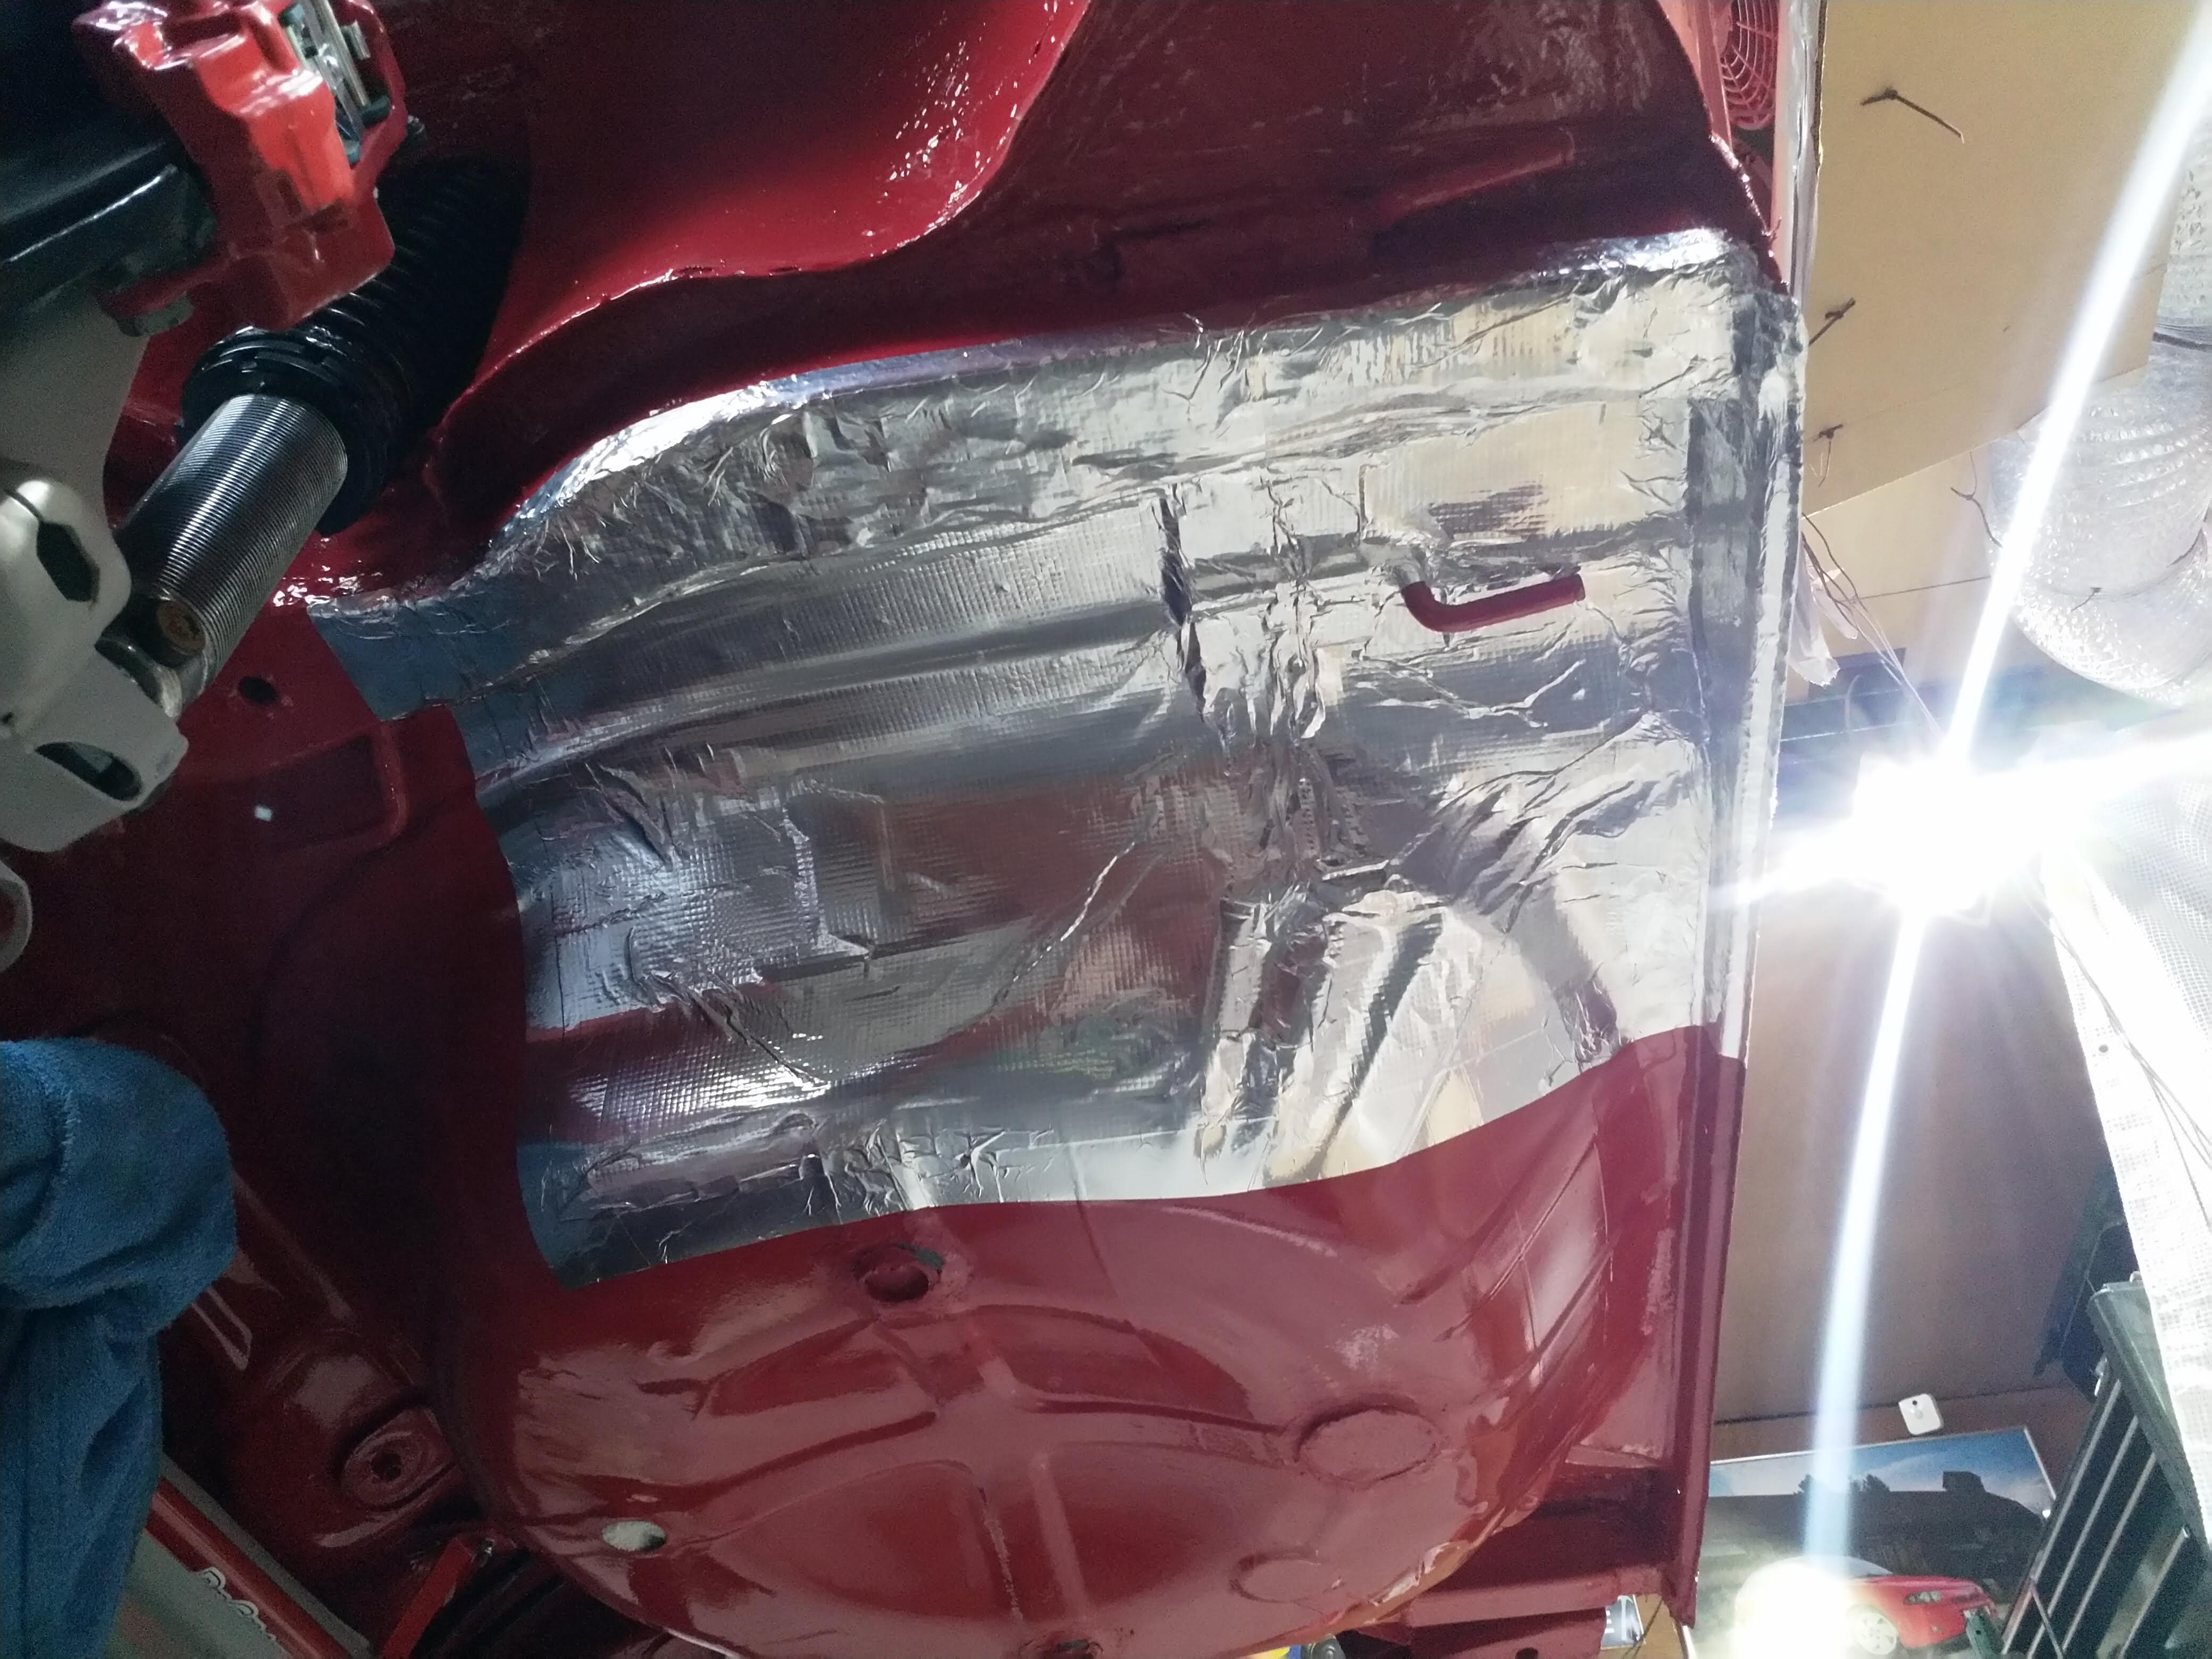
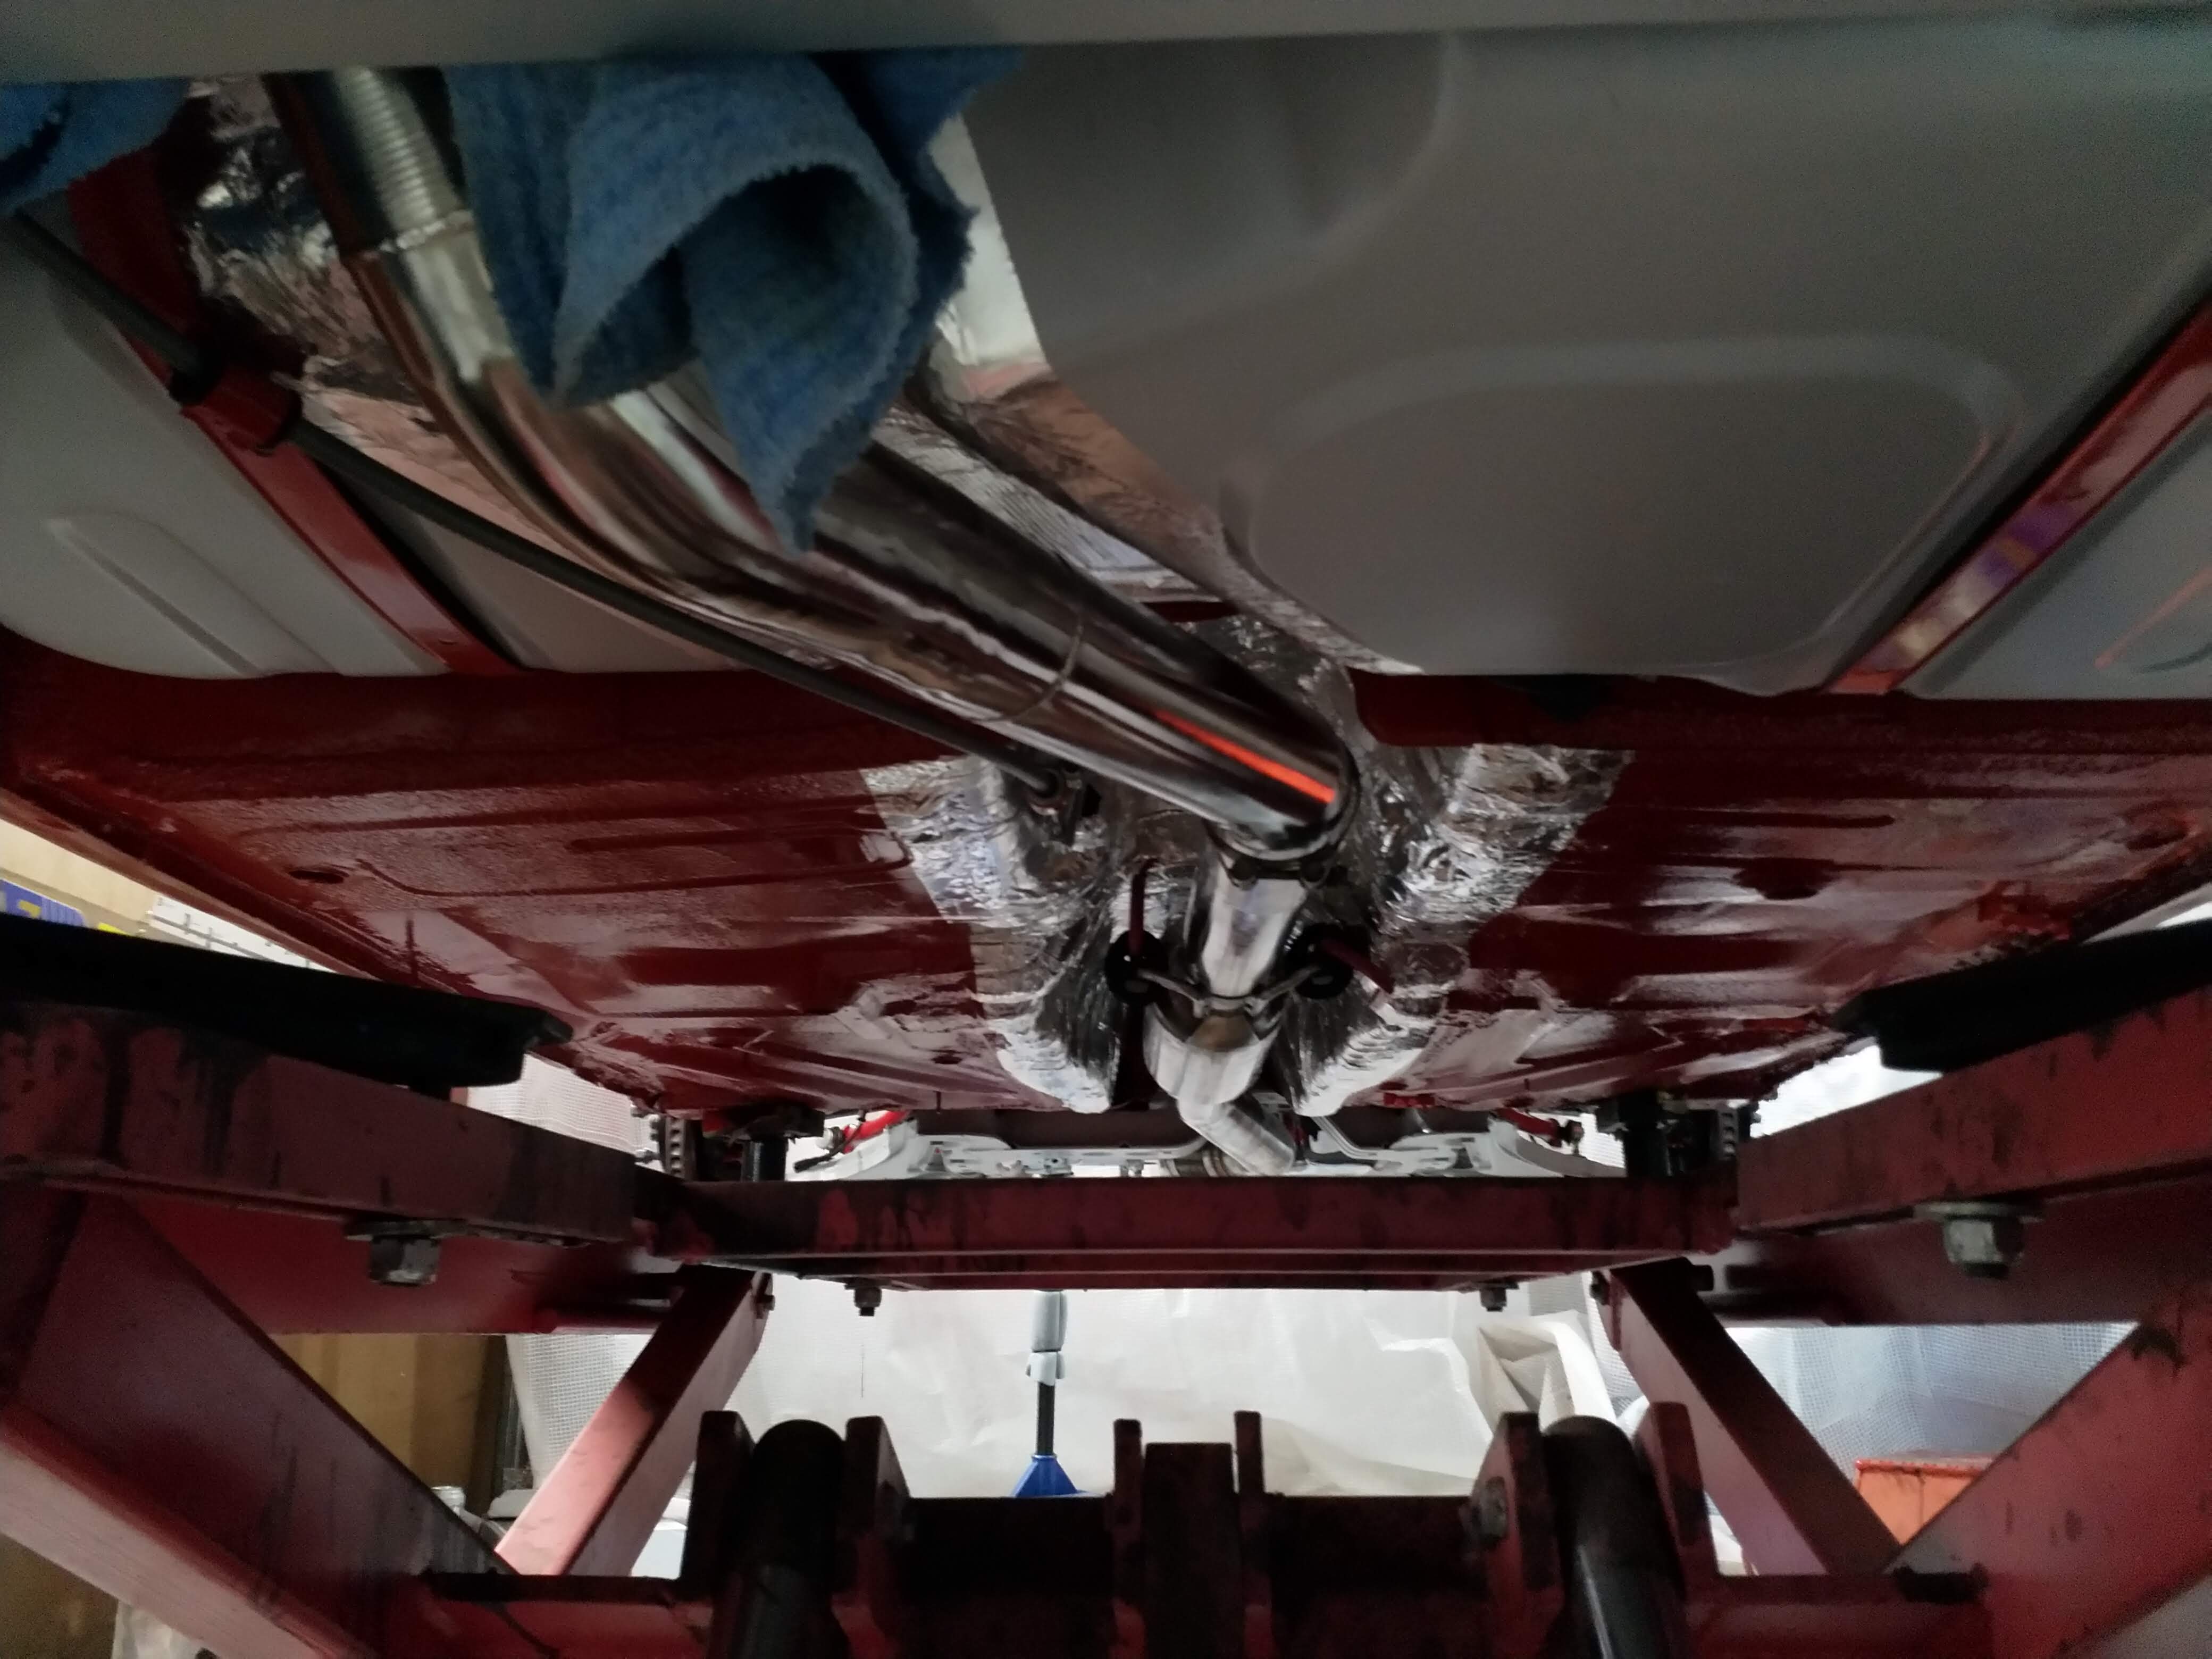
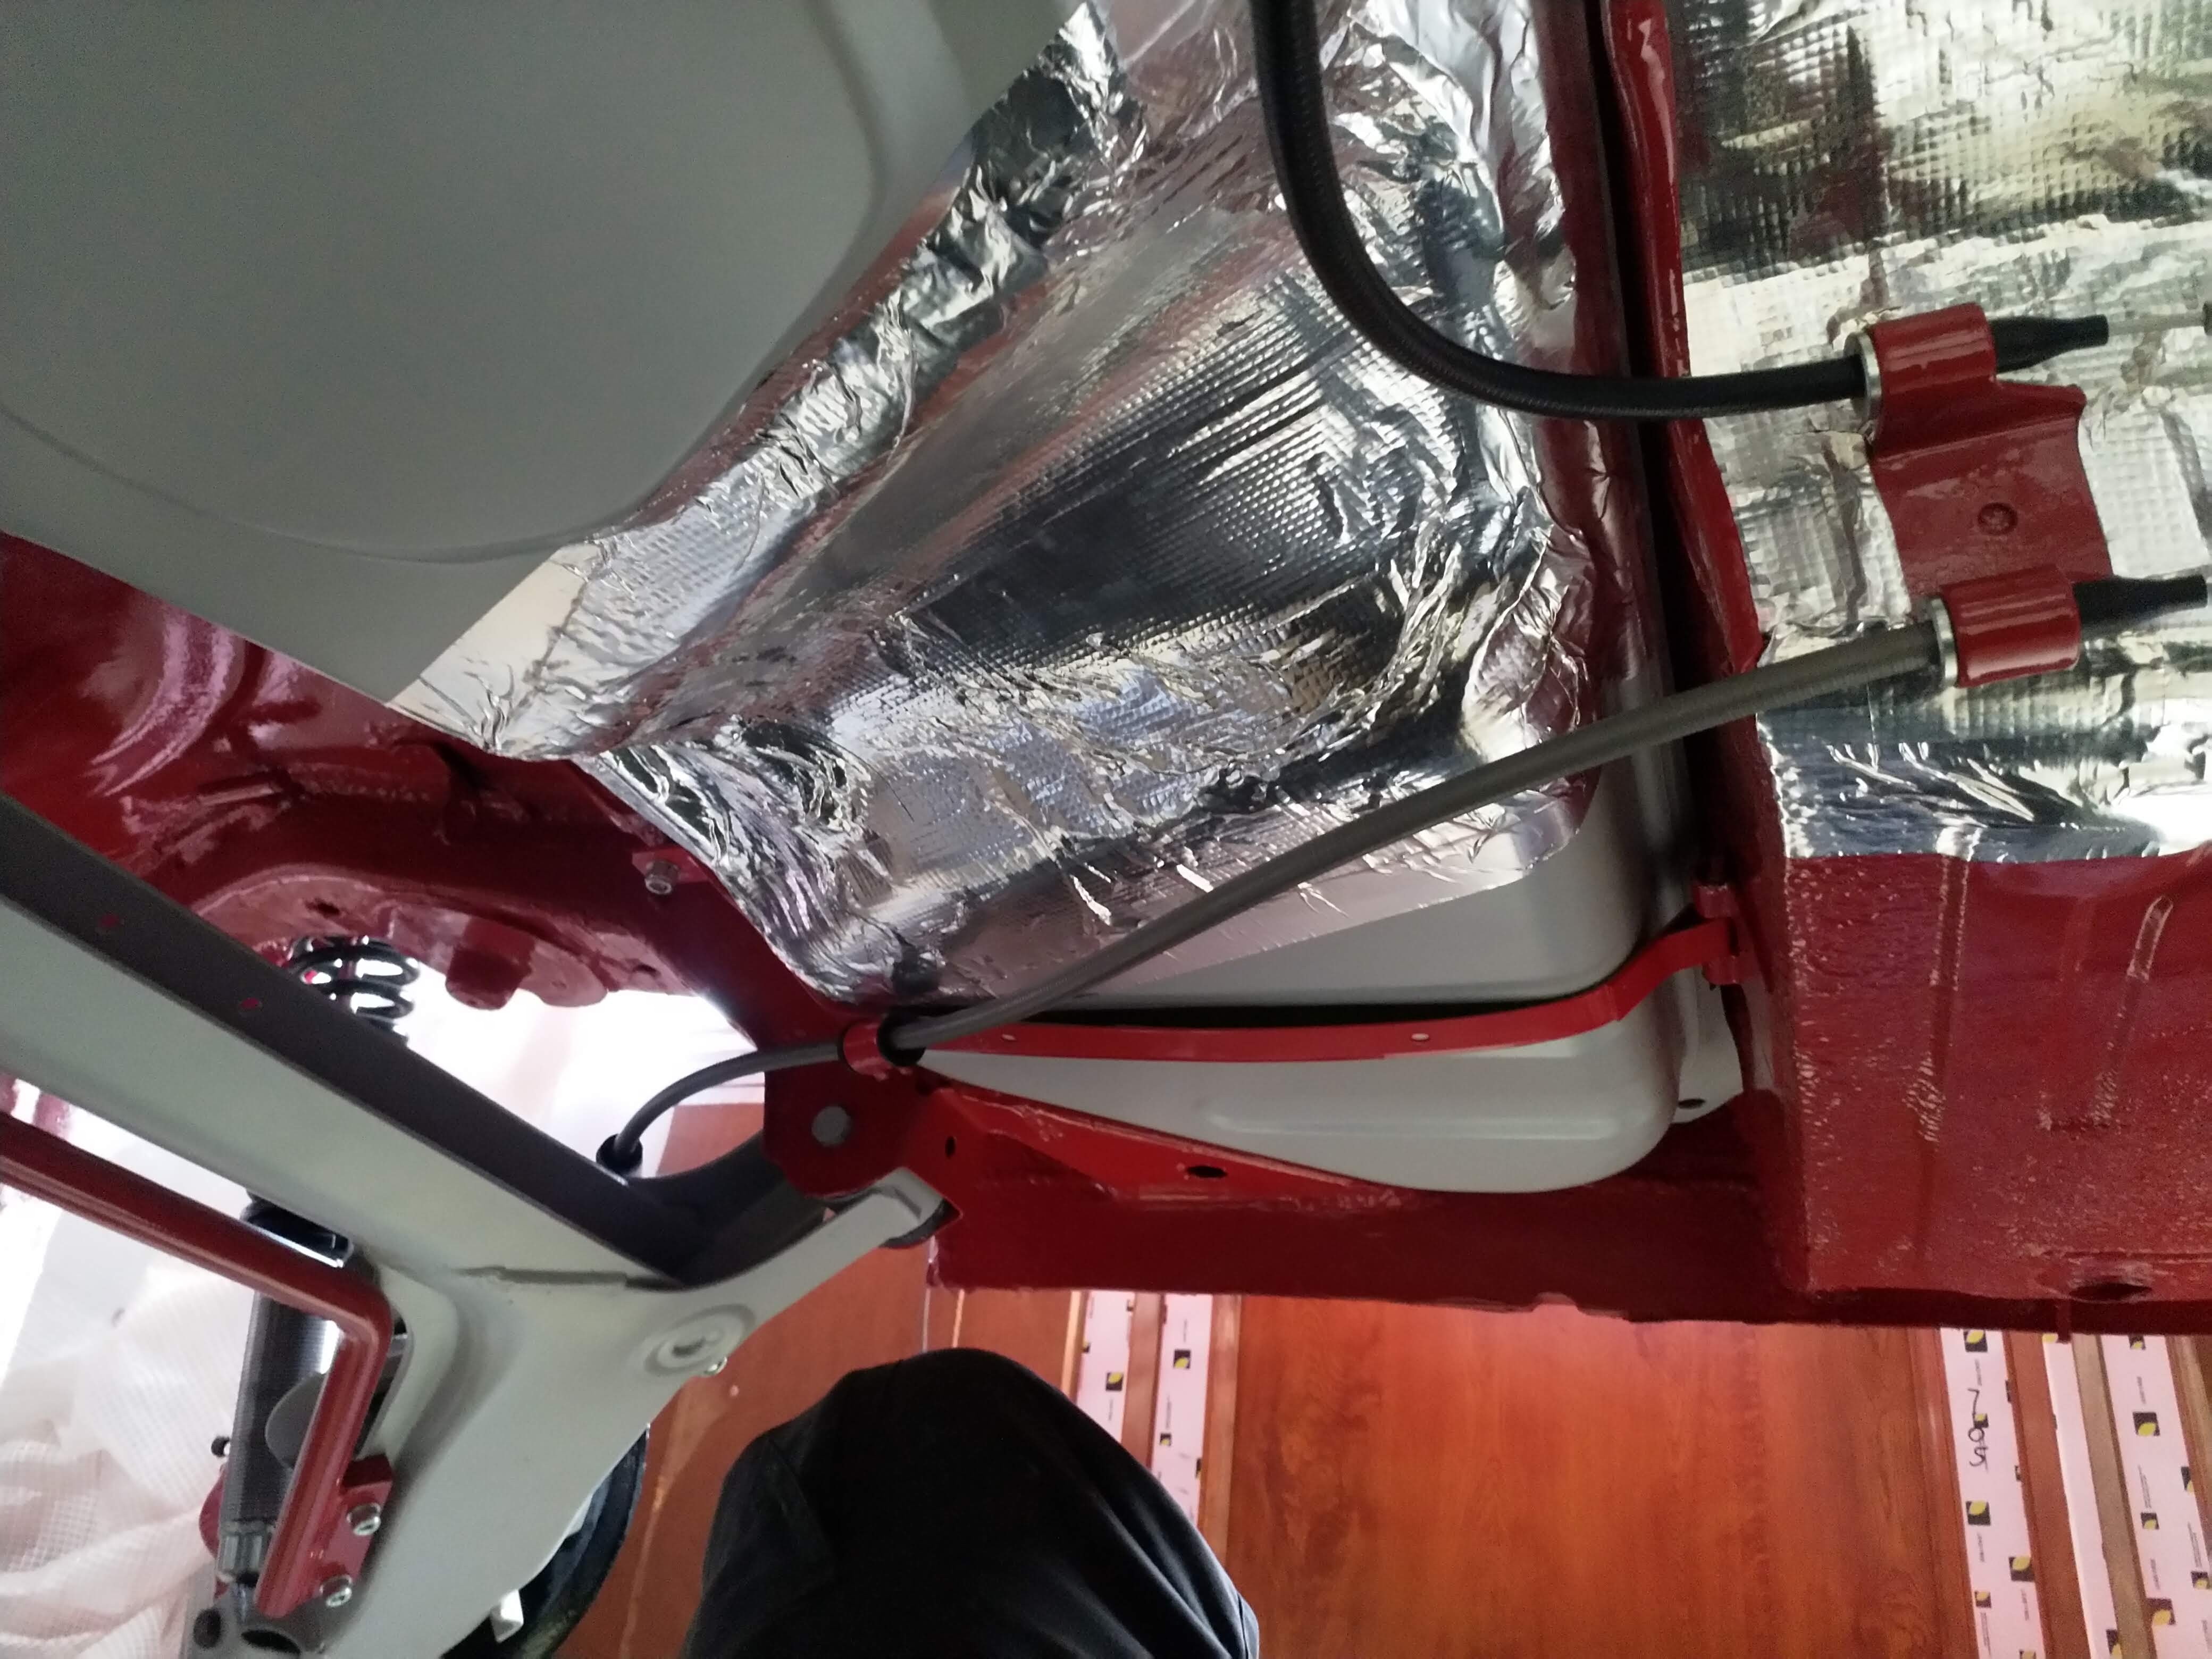
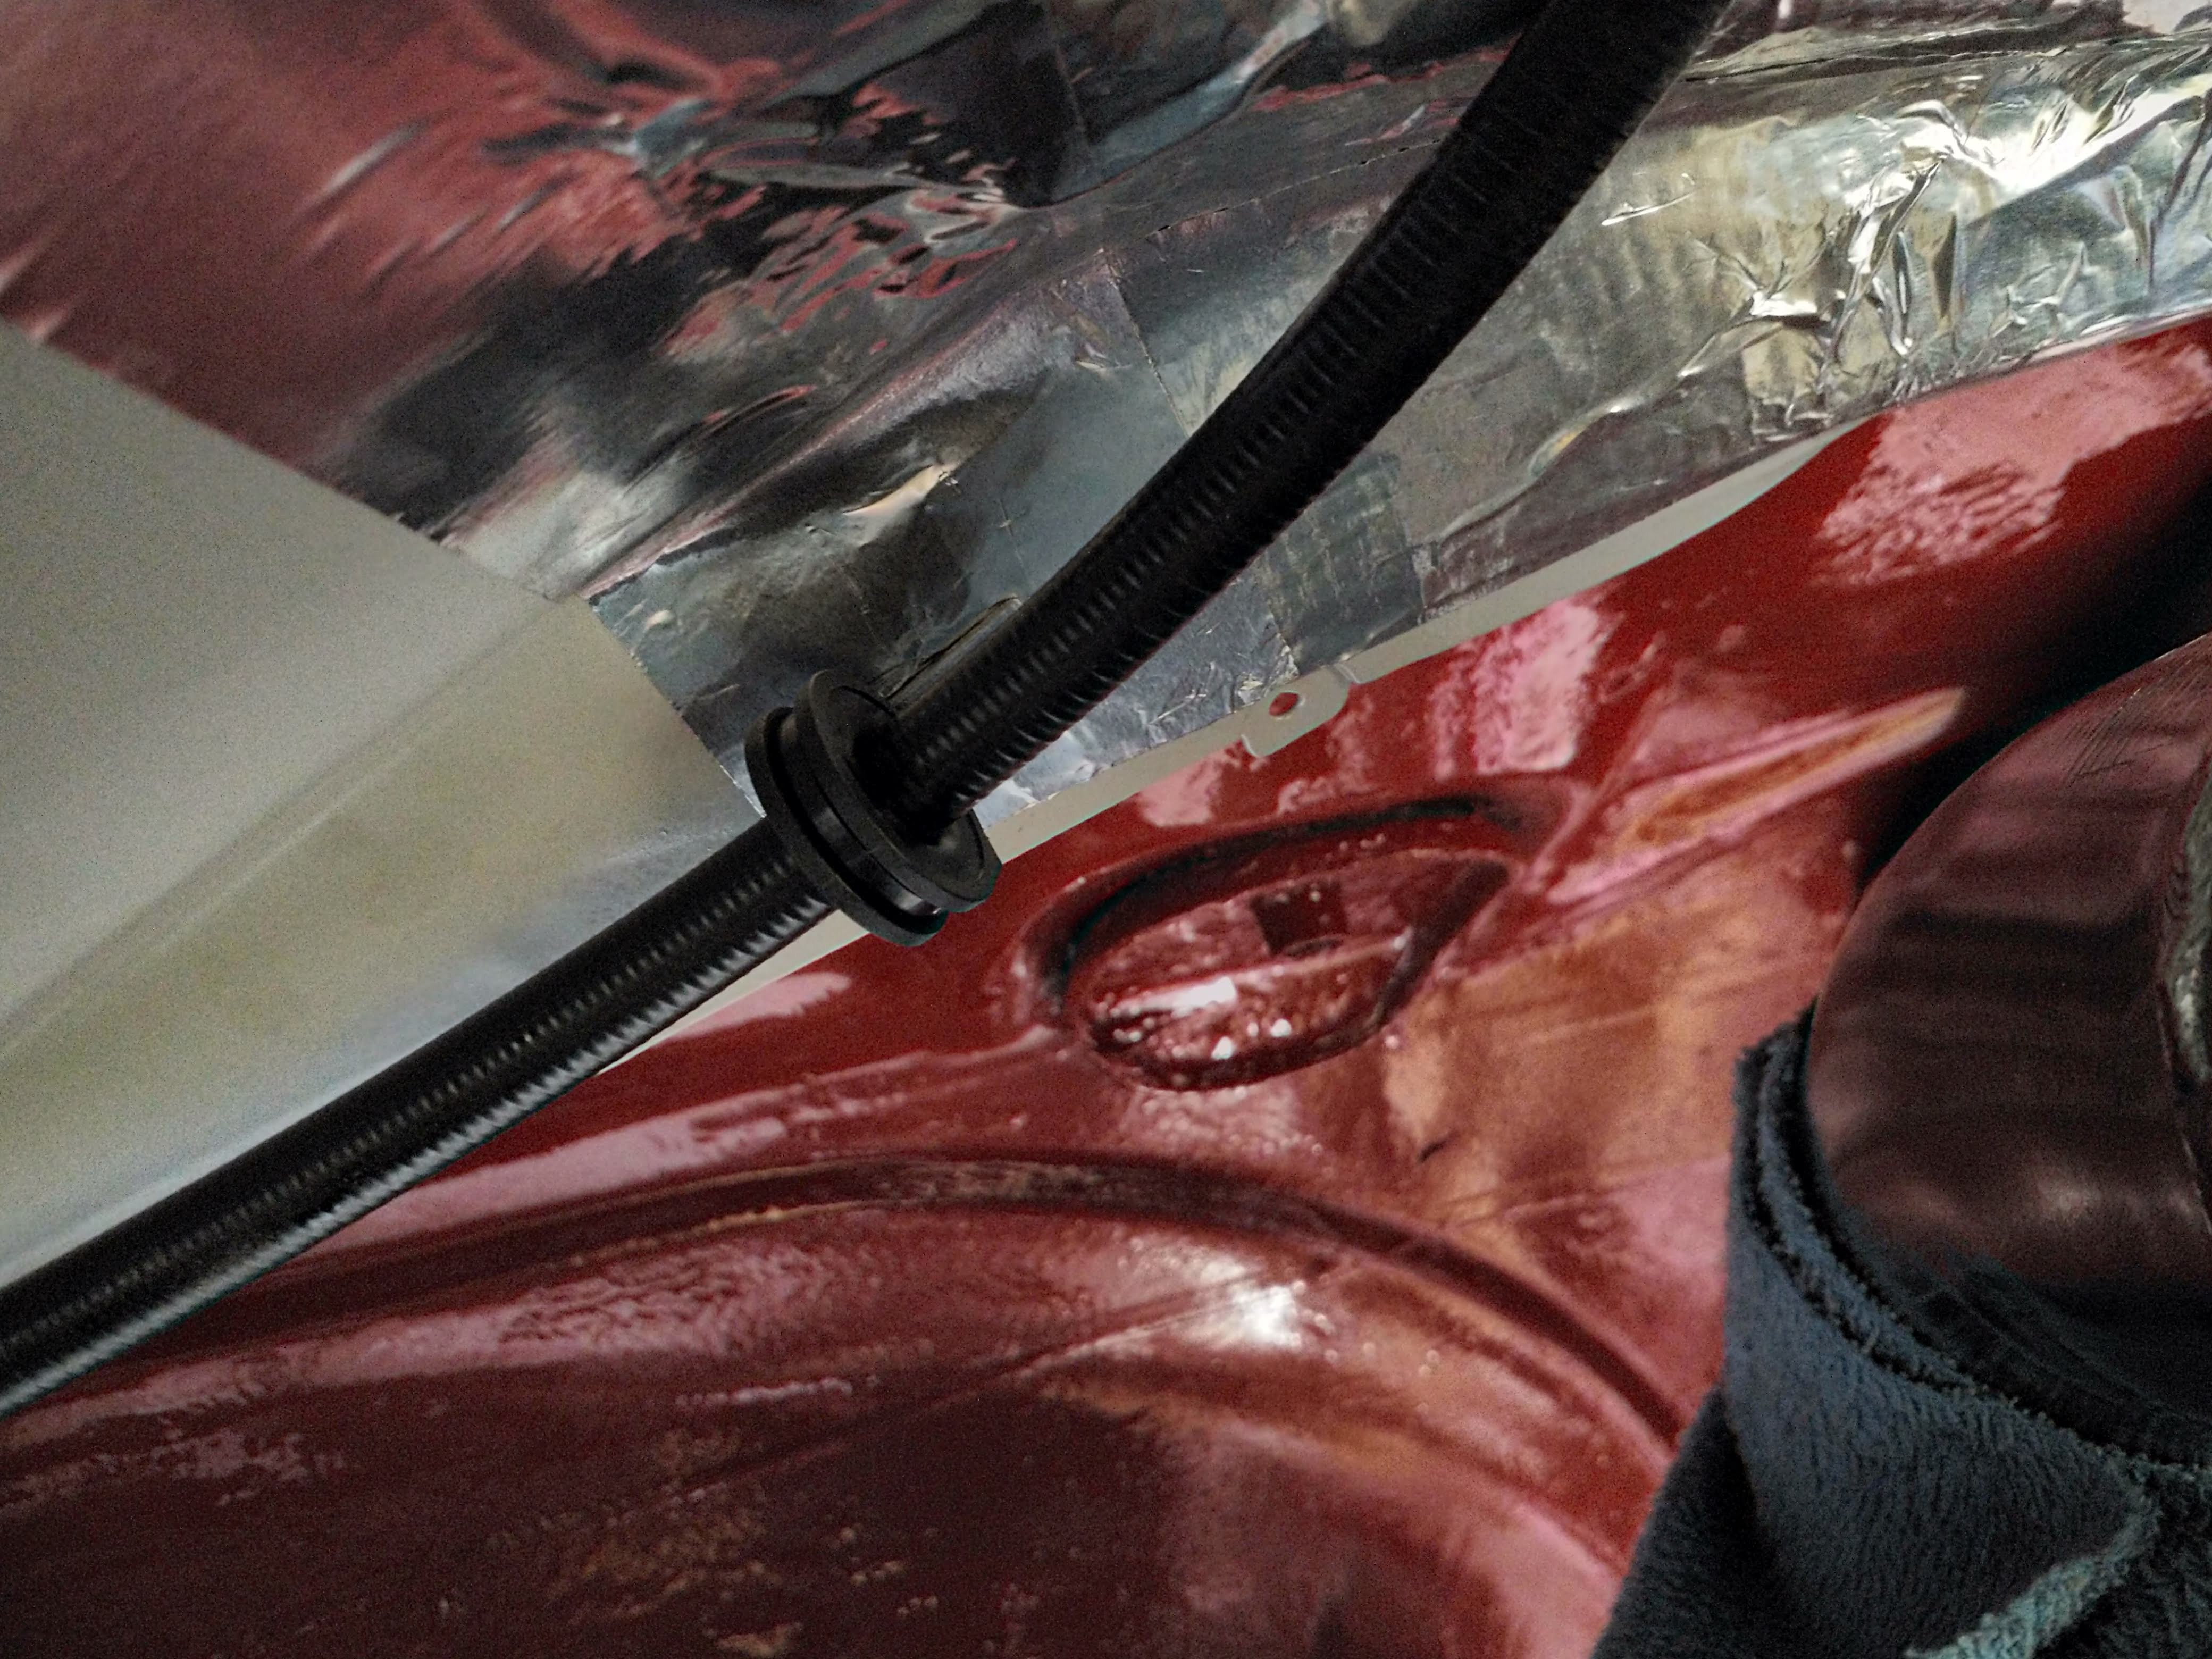
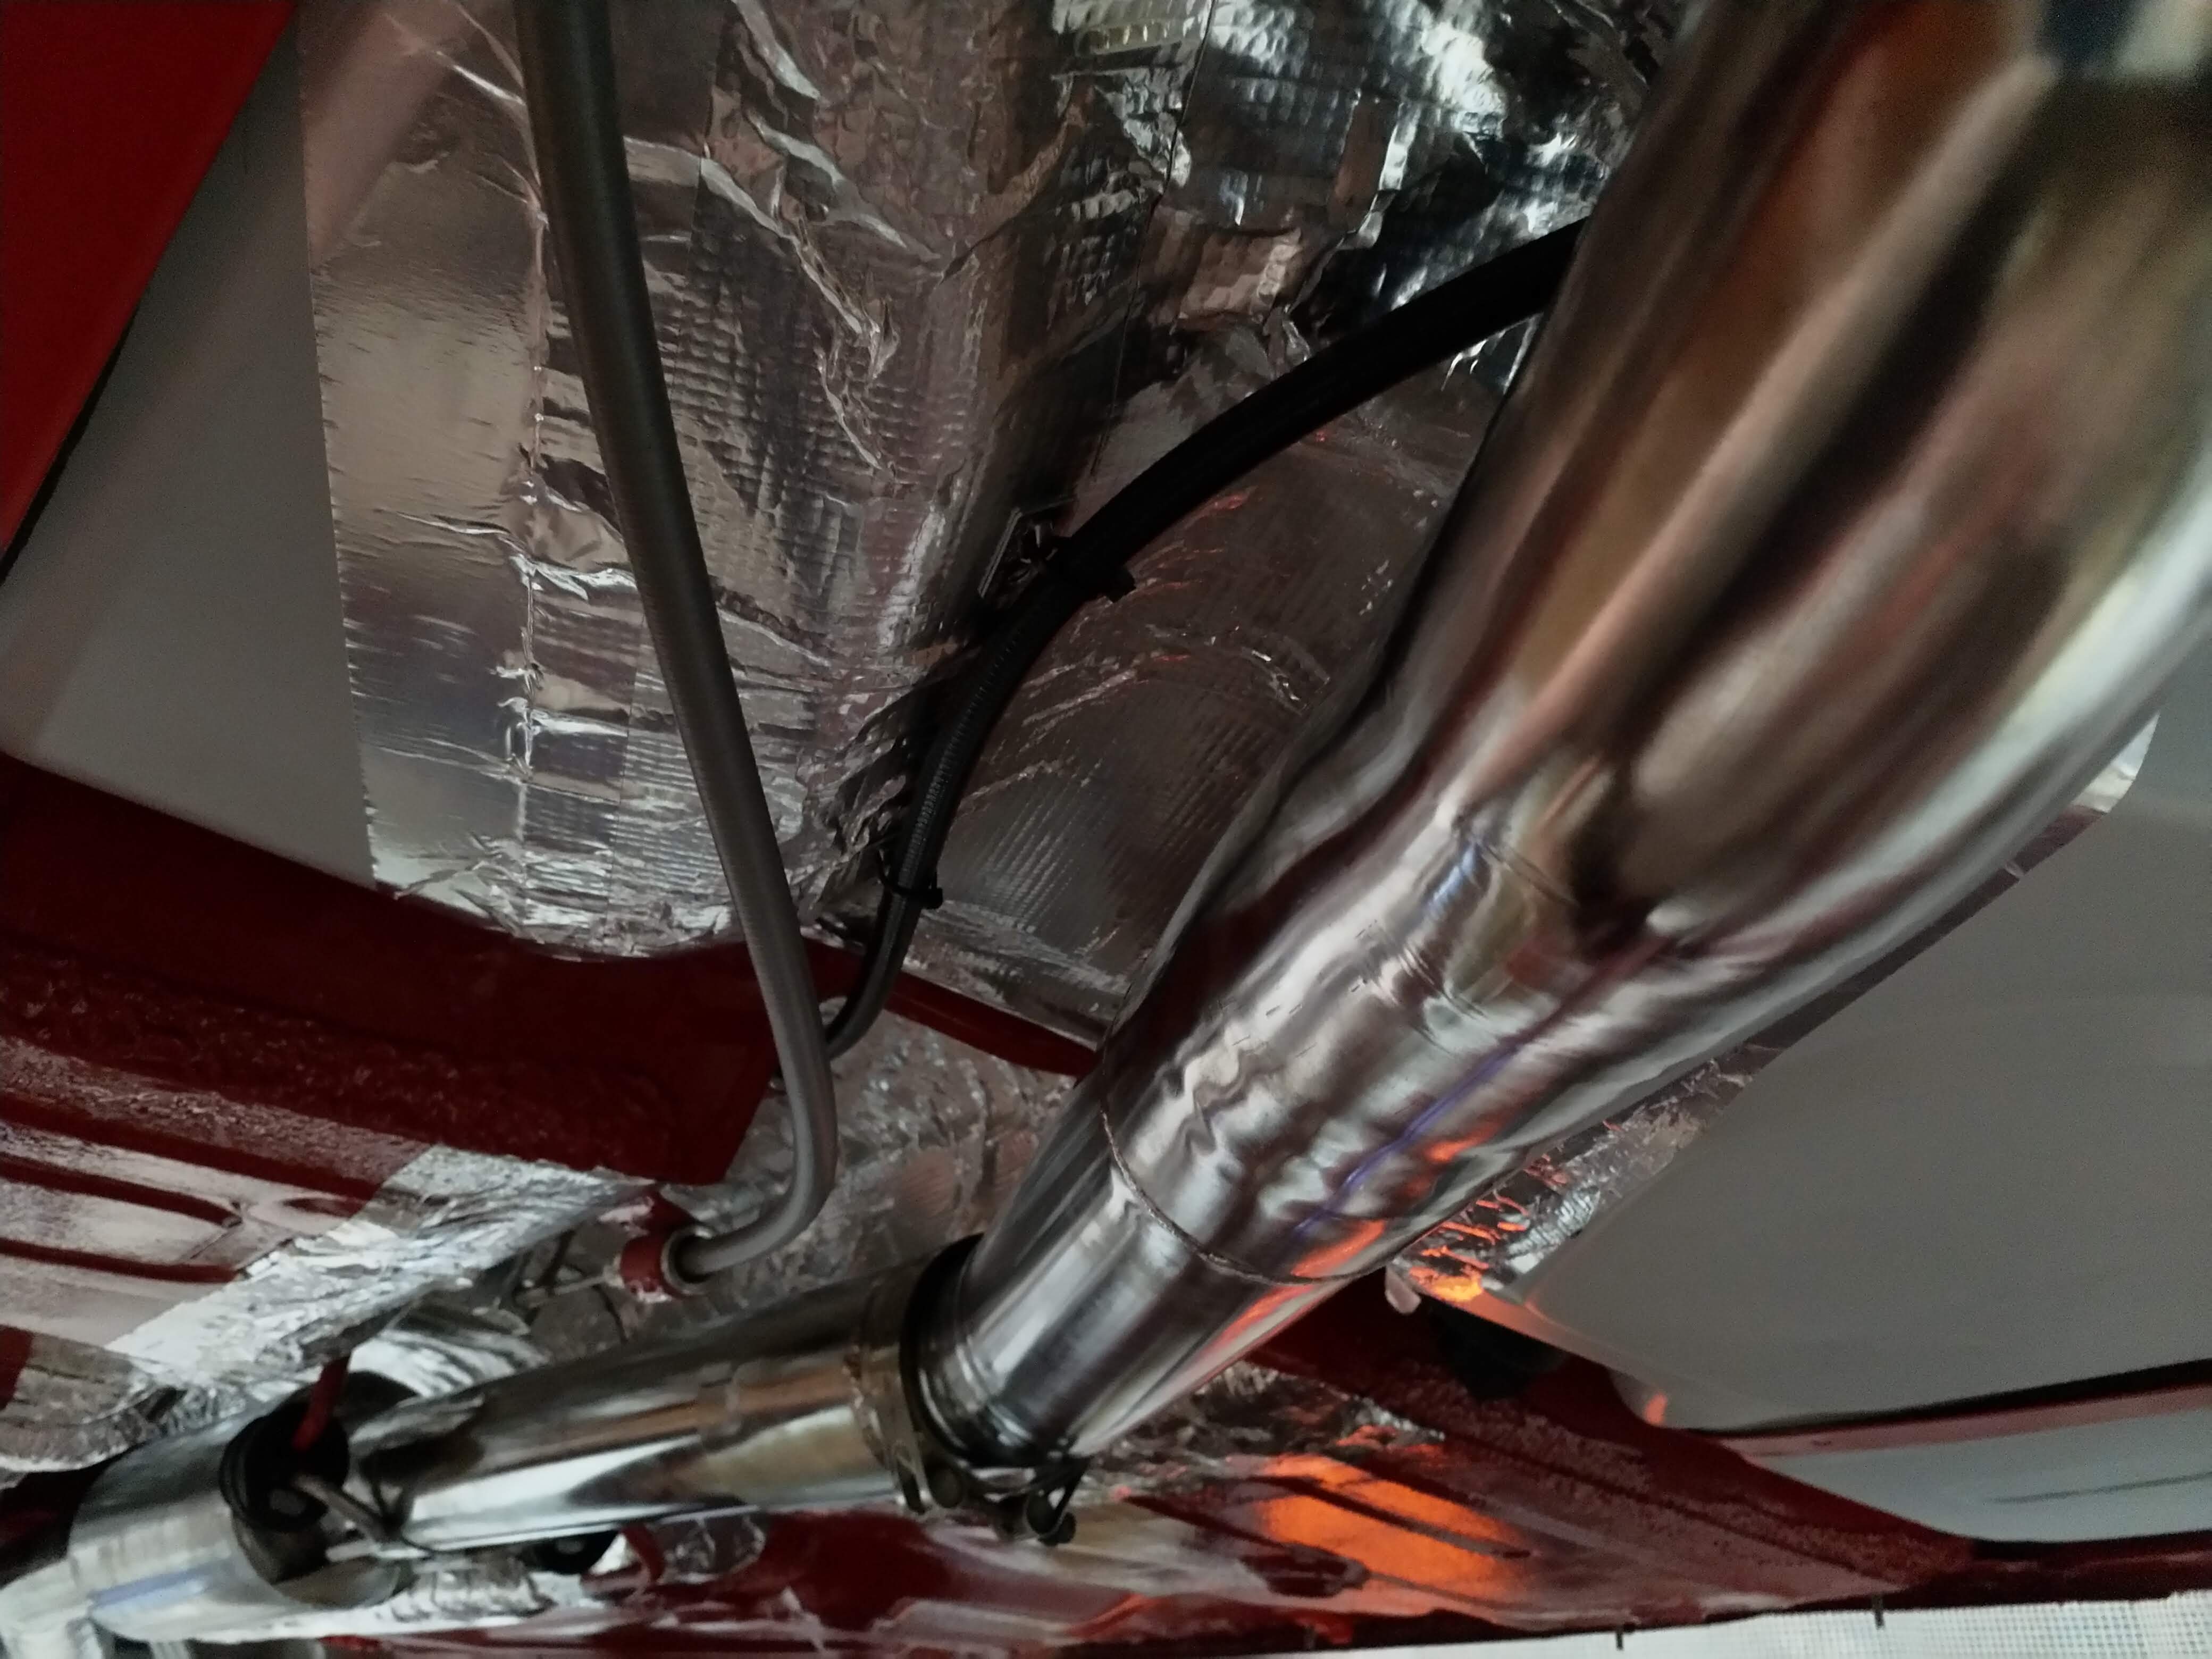
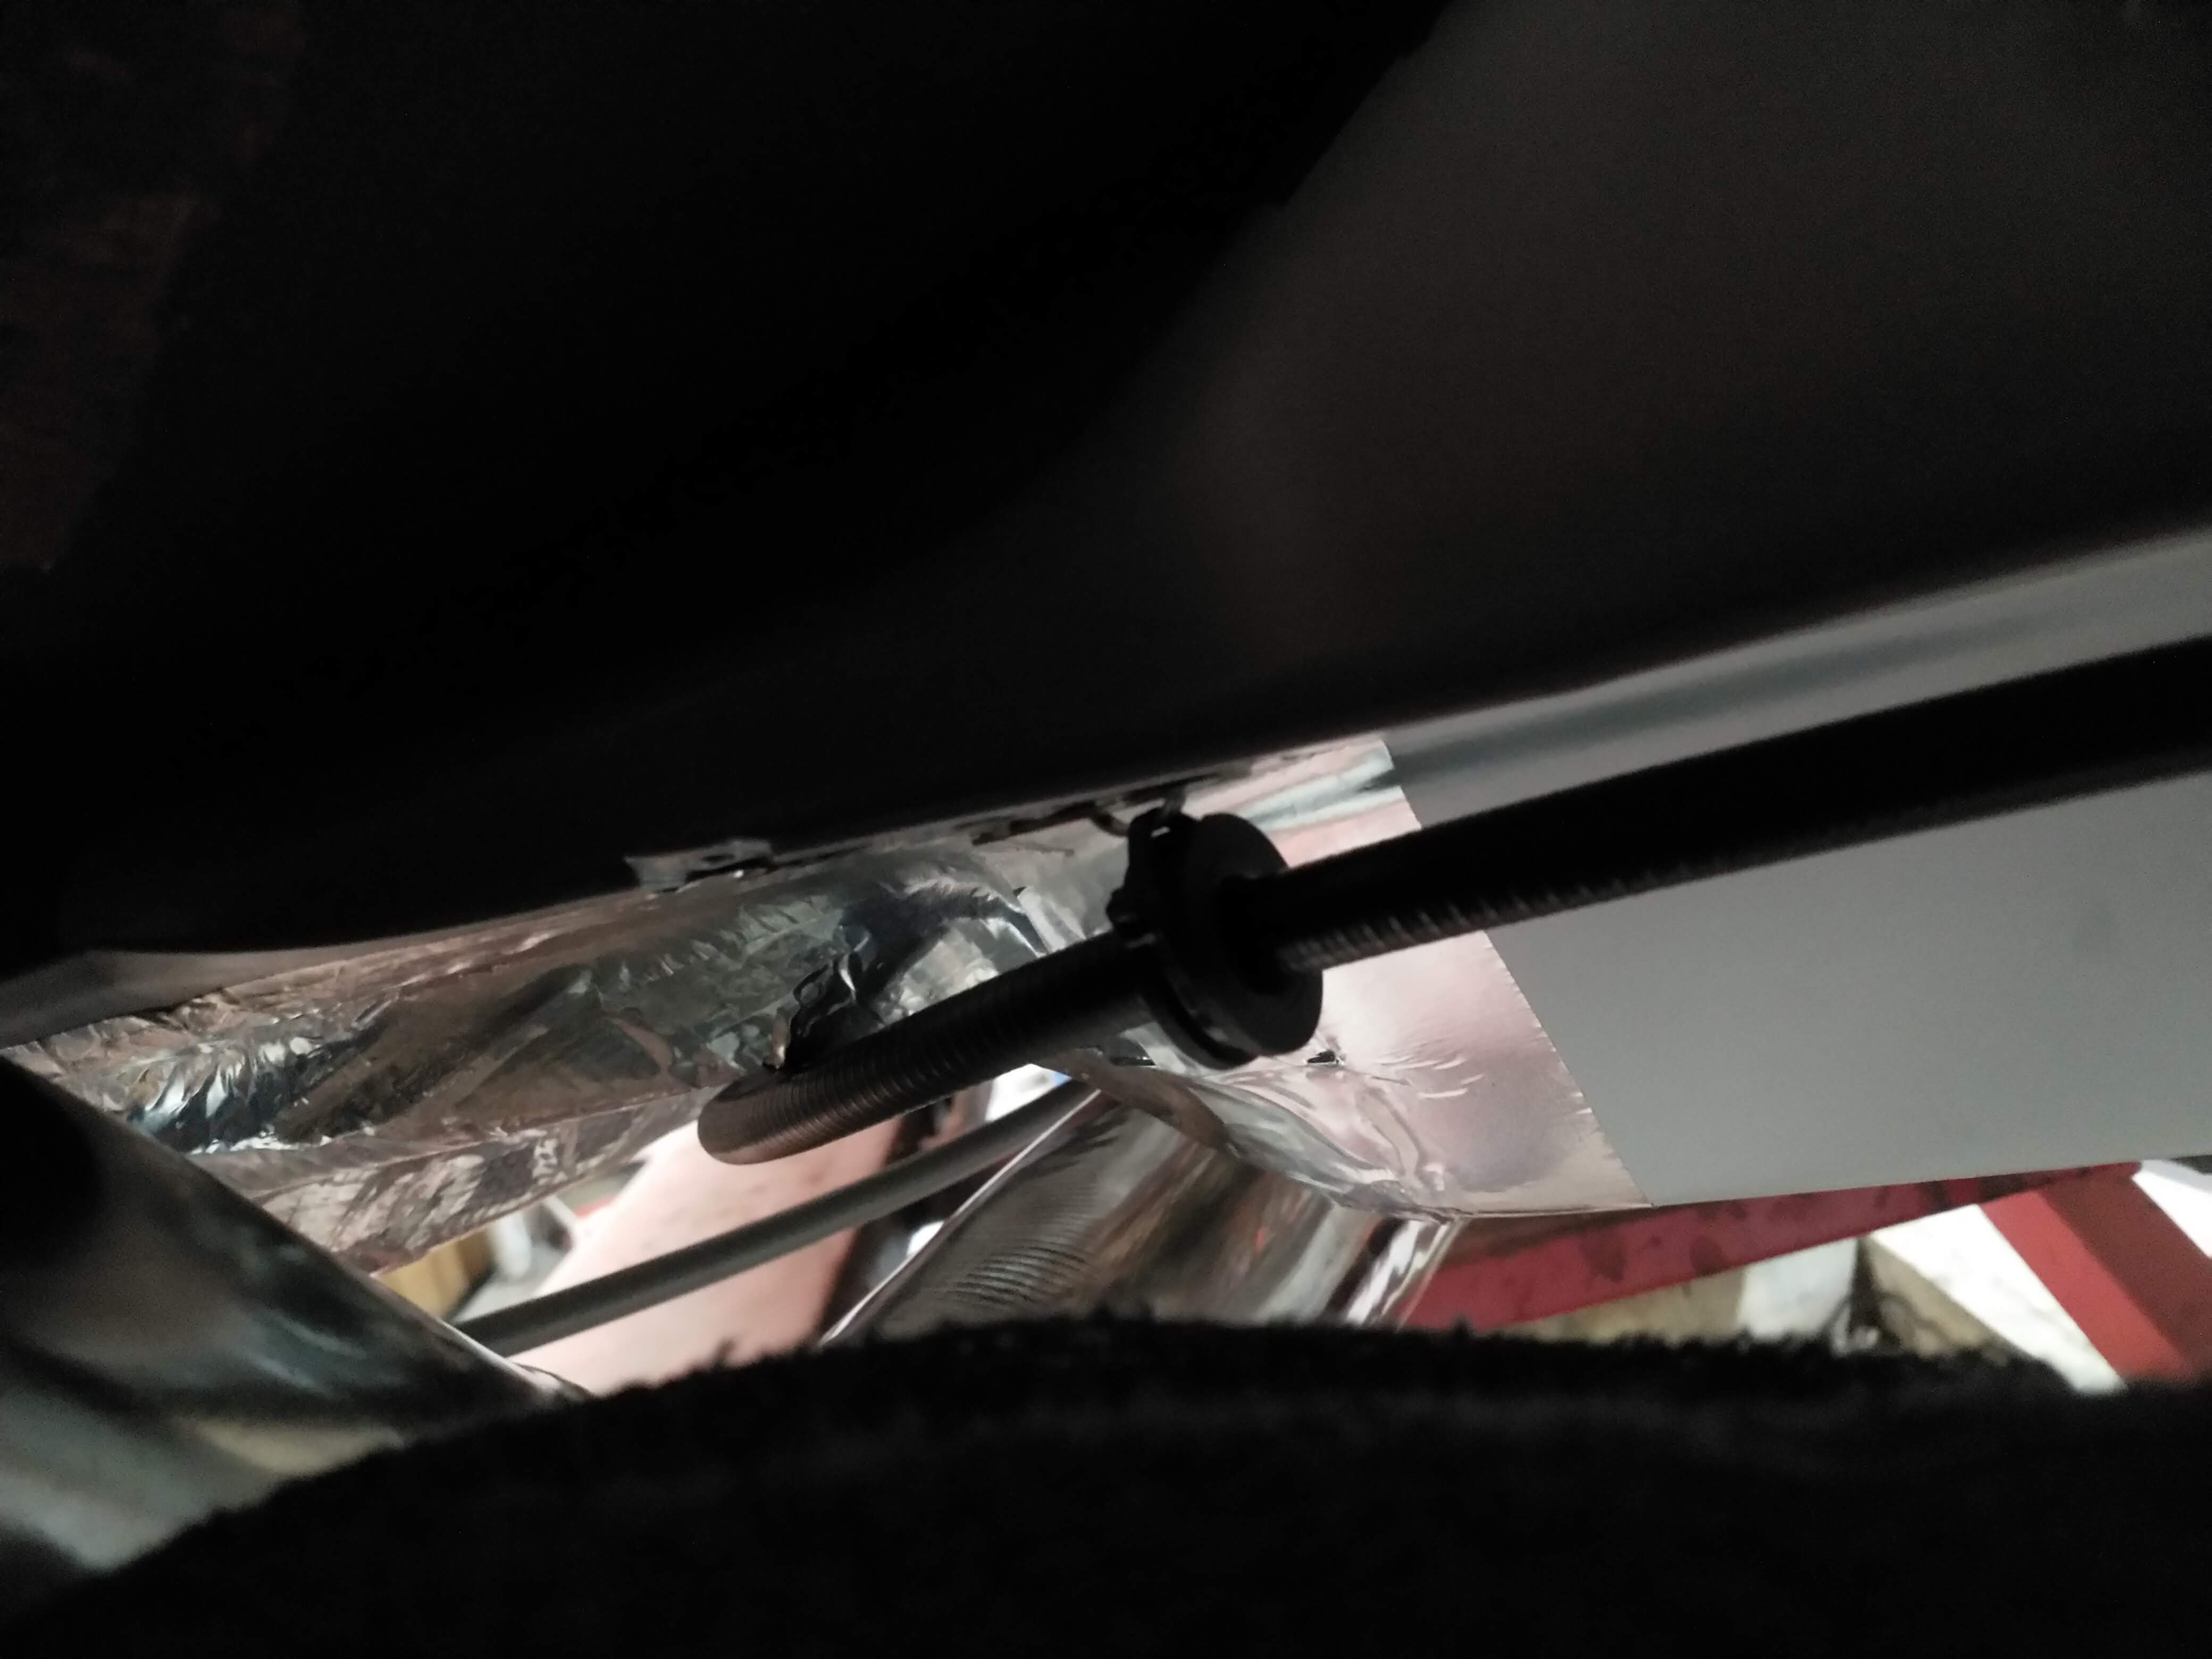
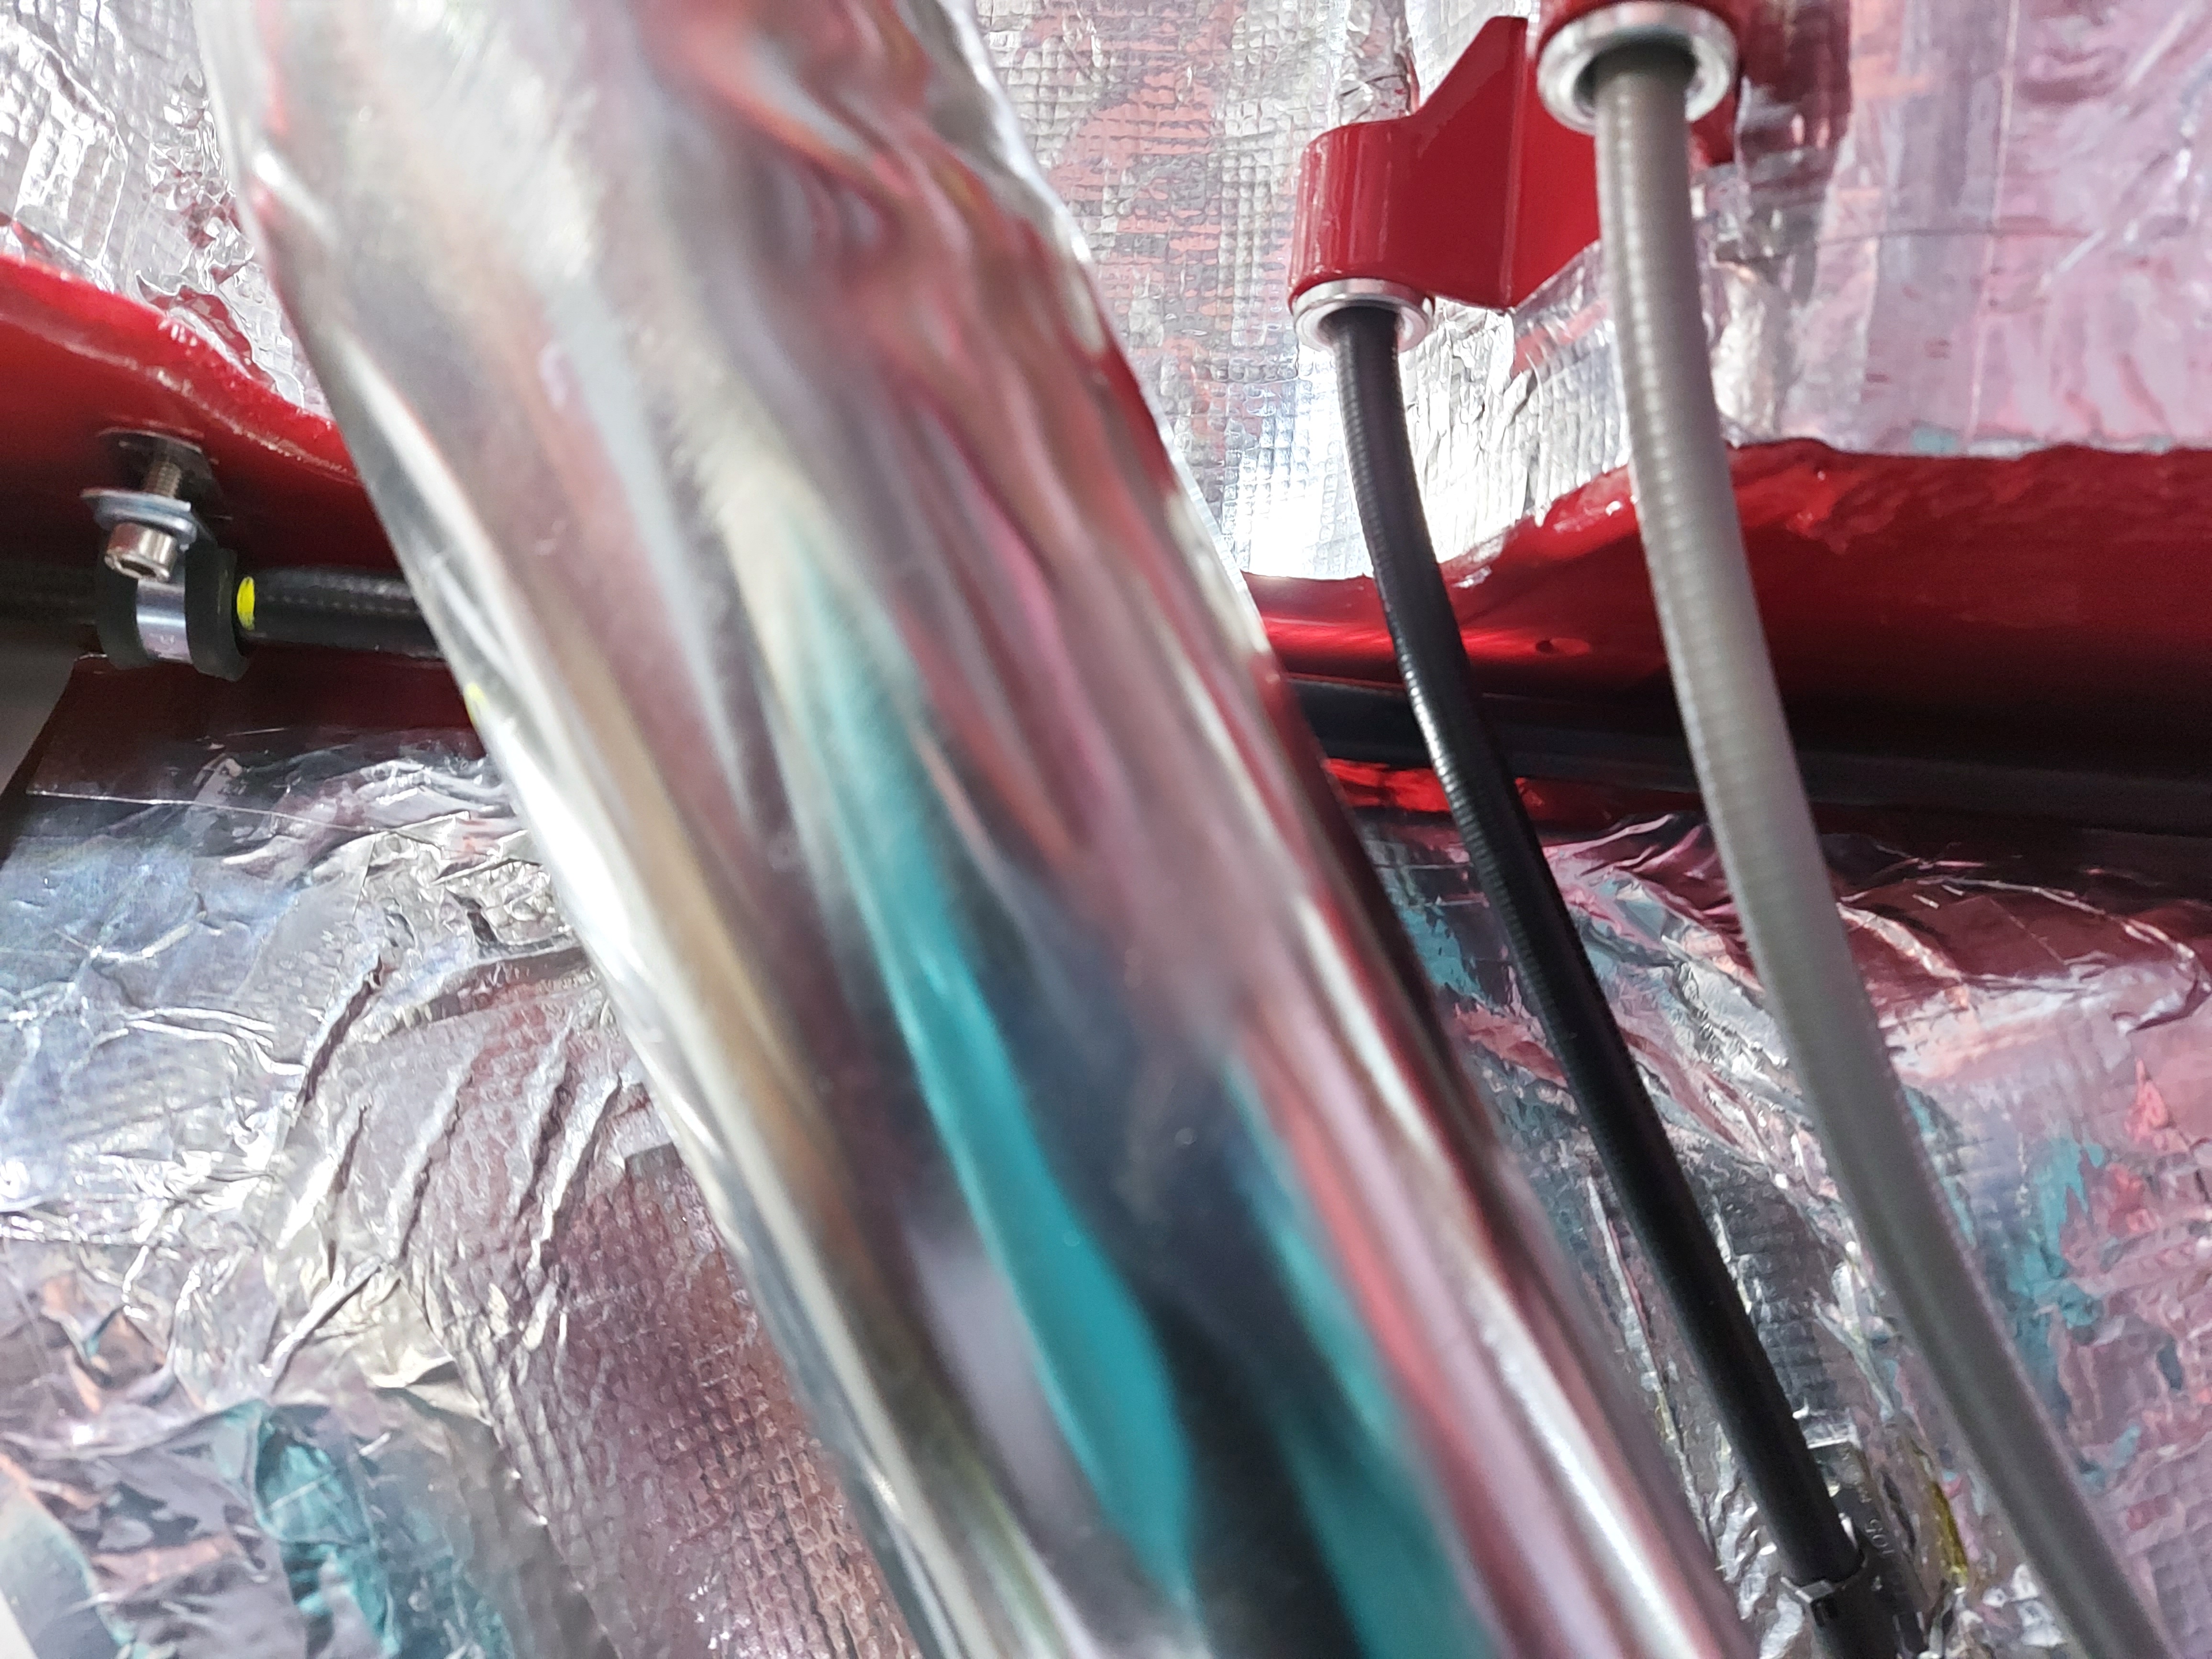
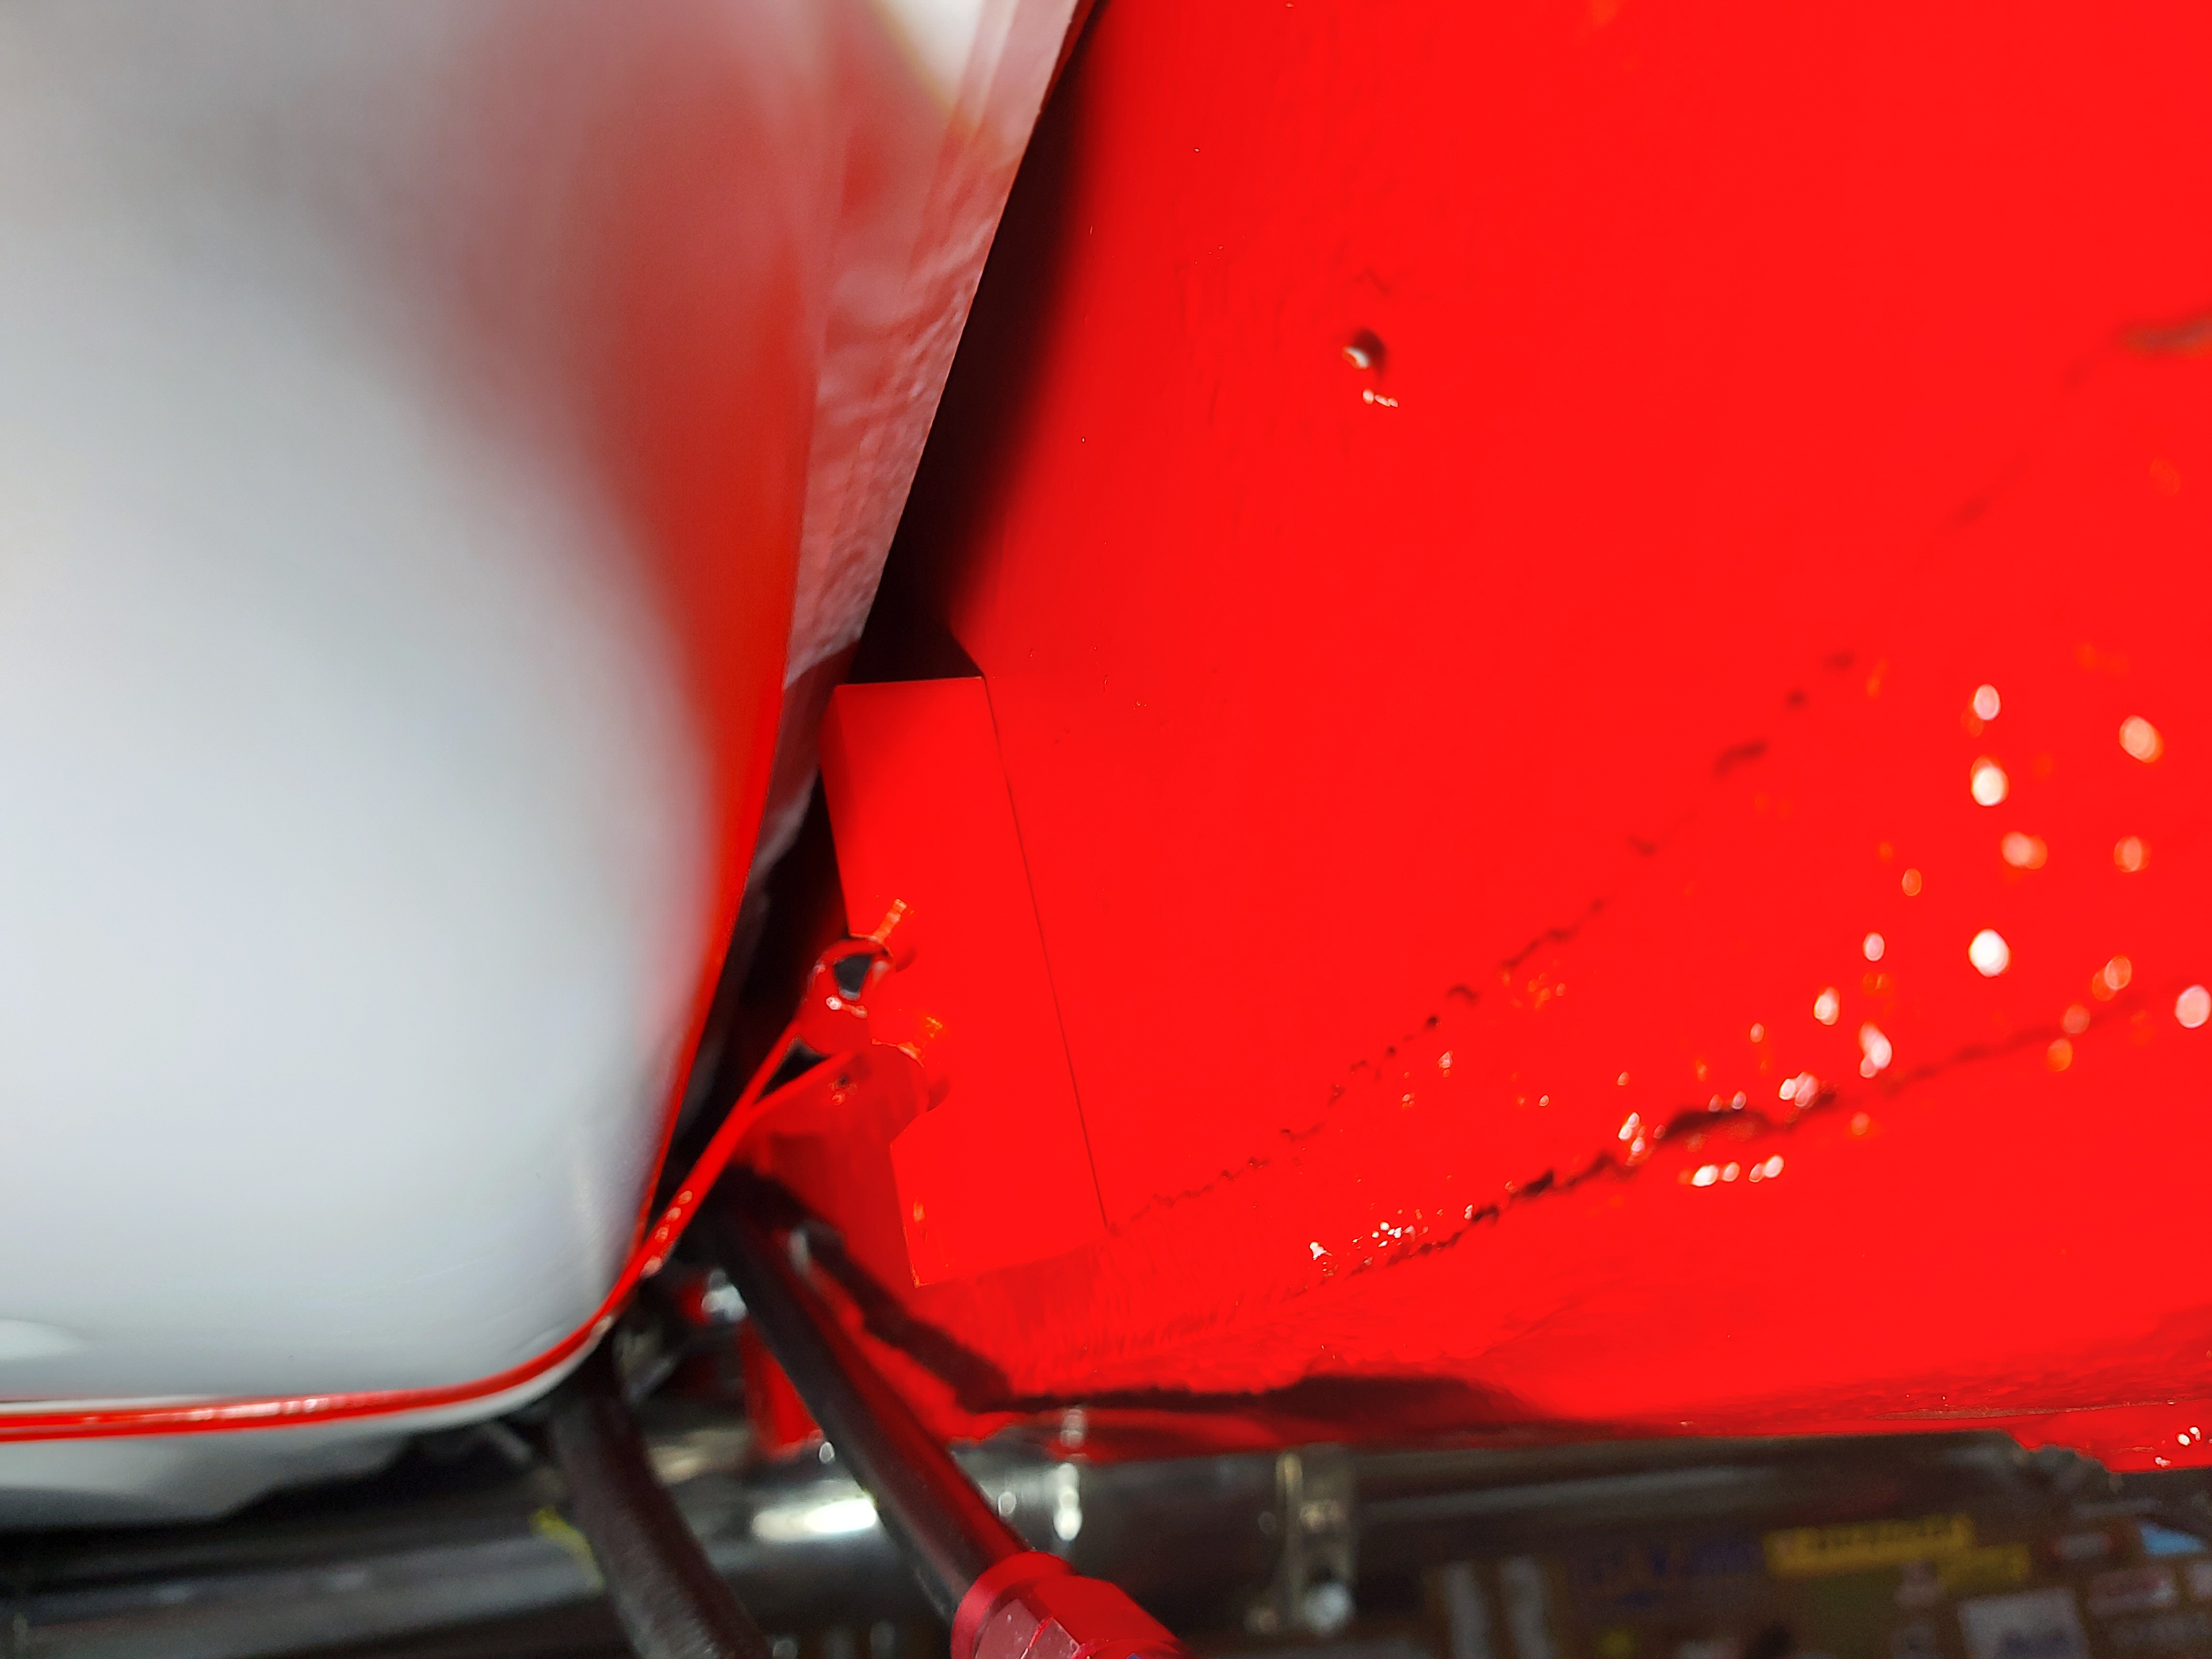
So I got the first sheet on there

full


full


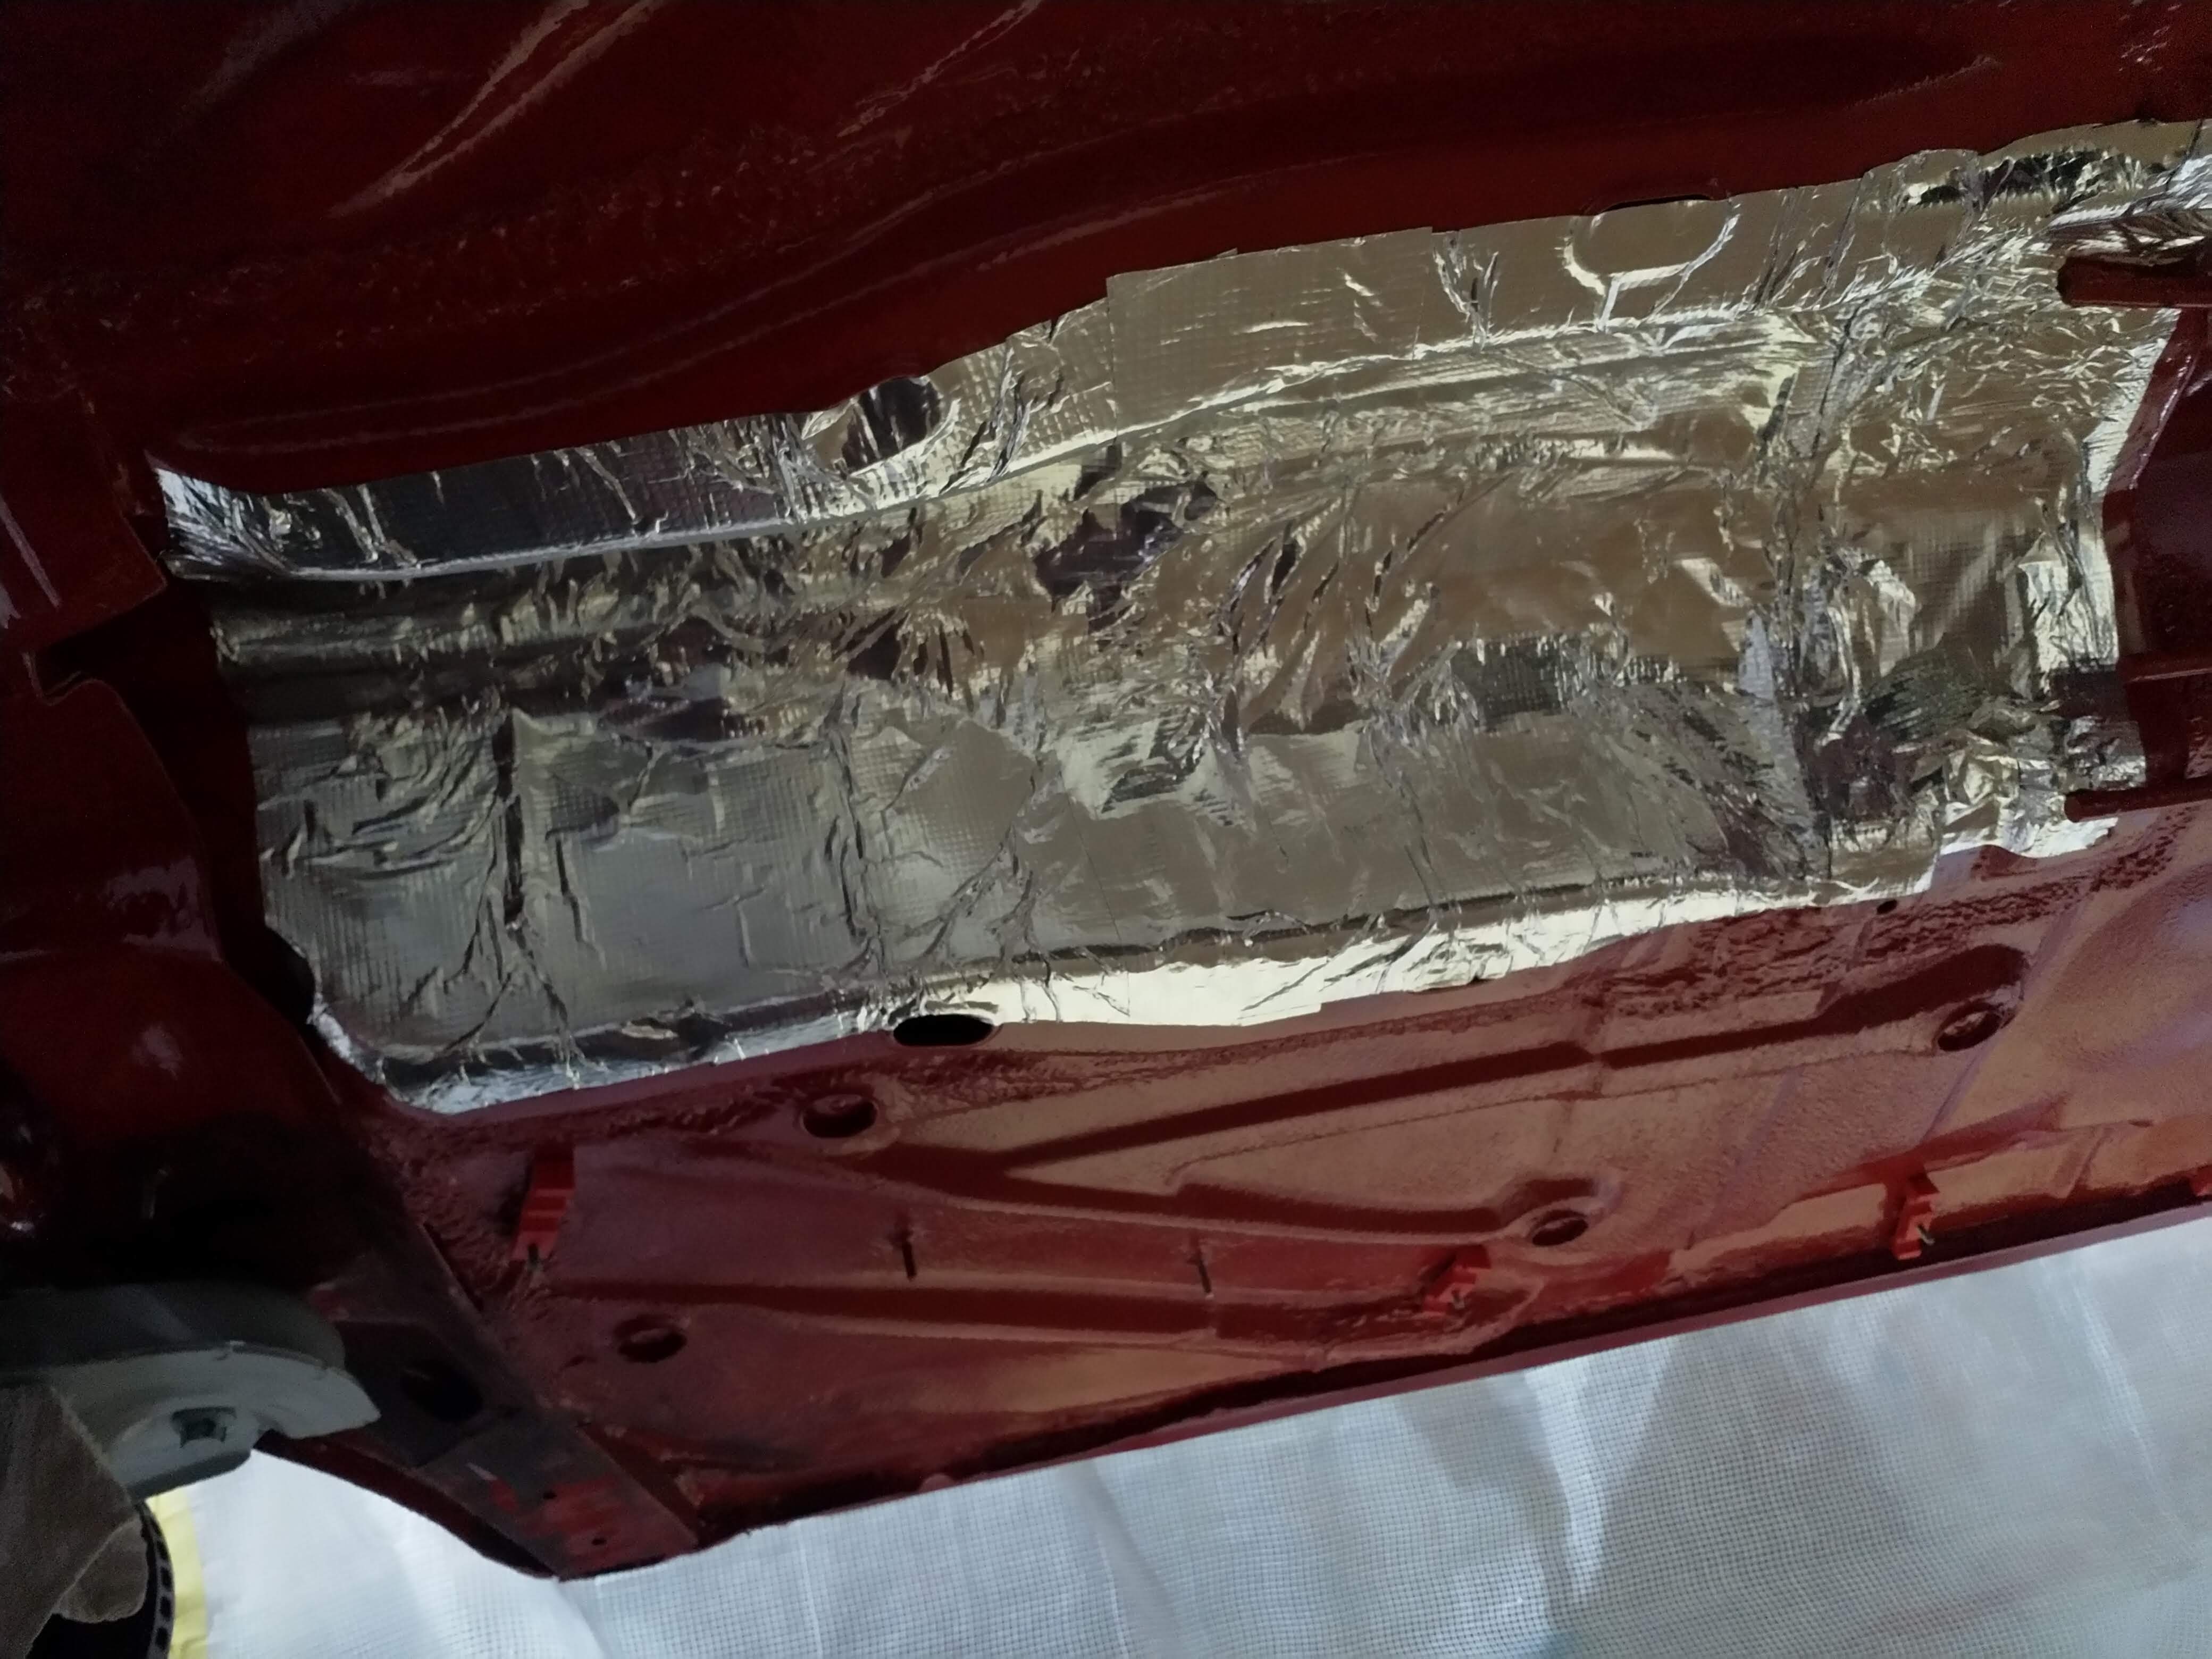
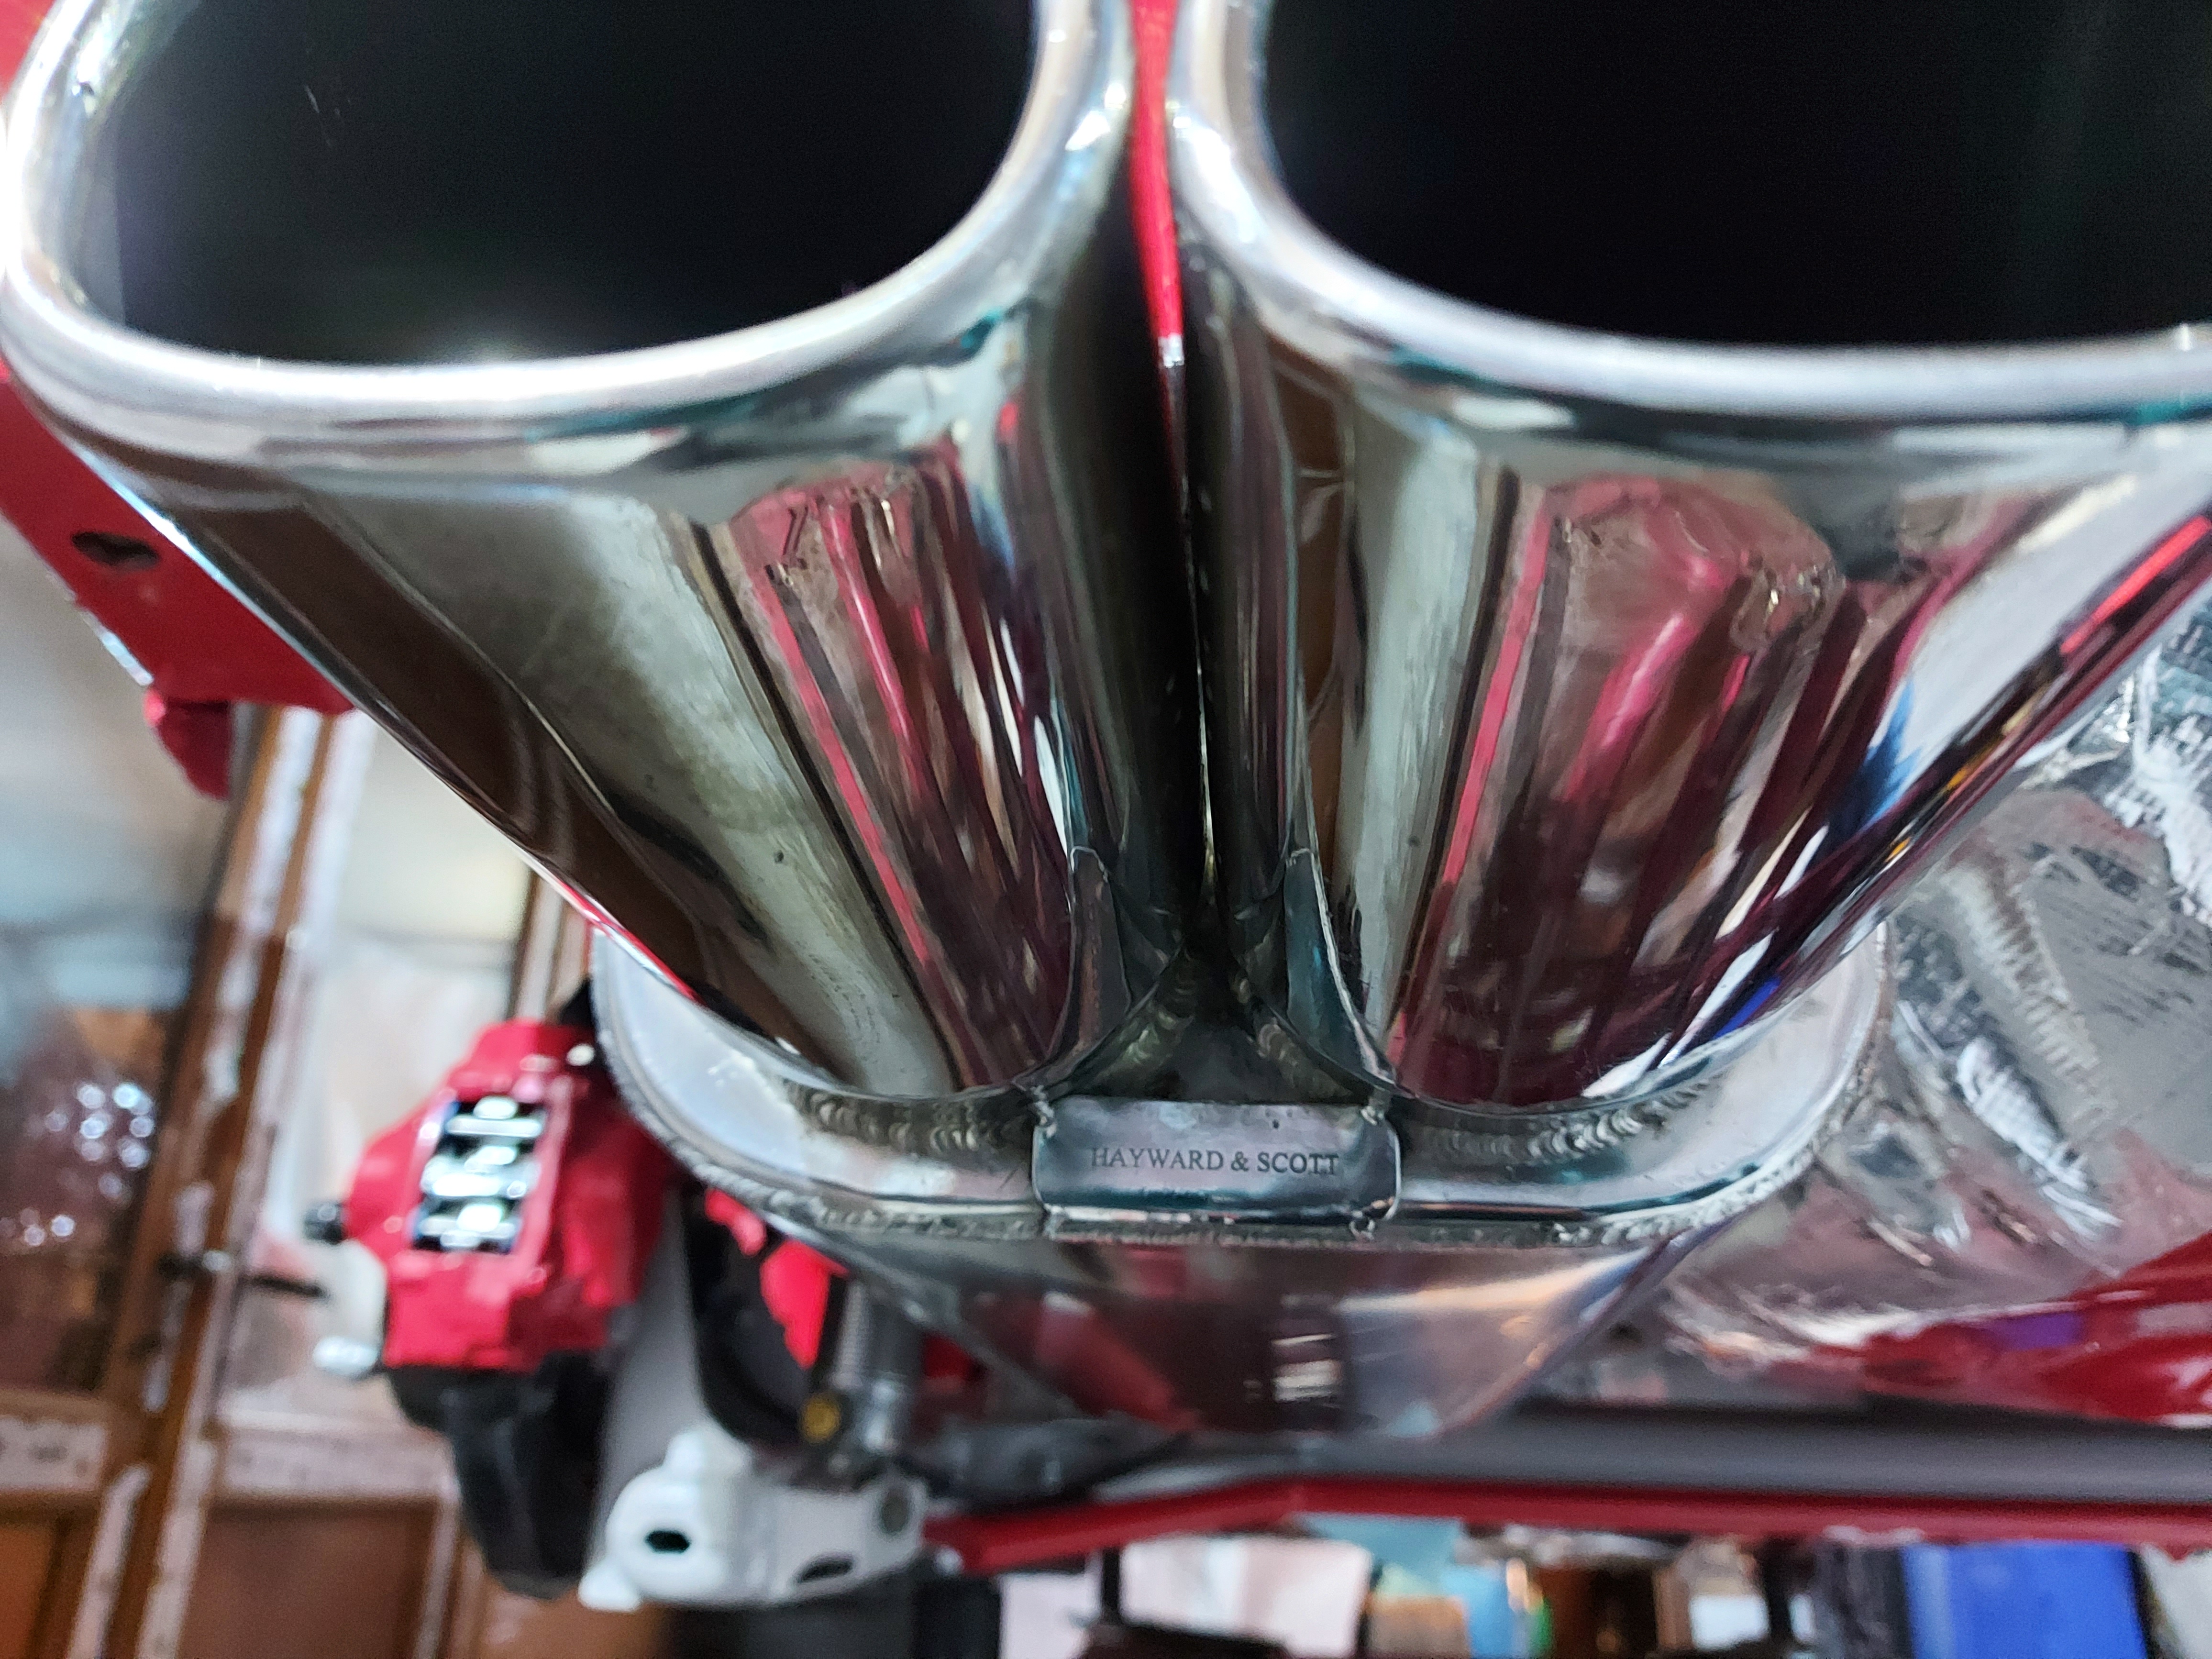
There in some crazy shaped in the exhaust tunnel it turns out lol

full


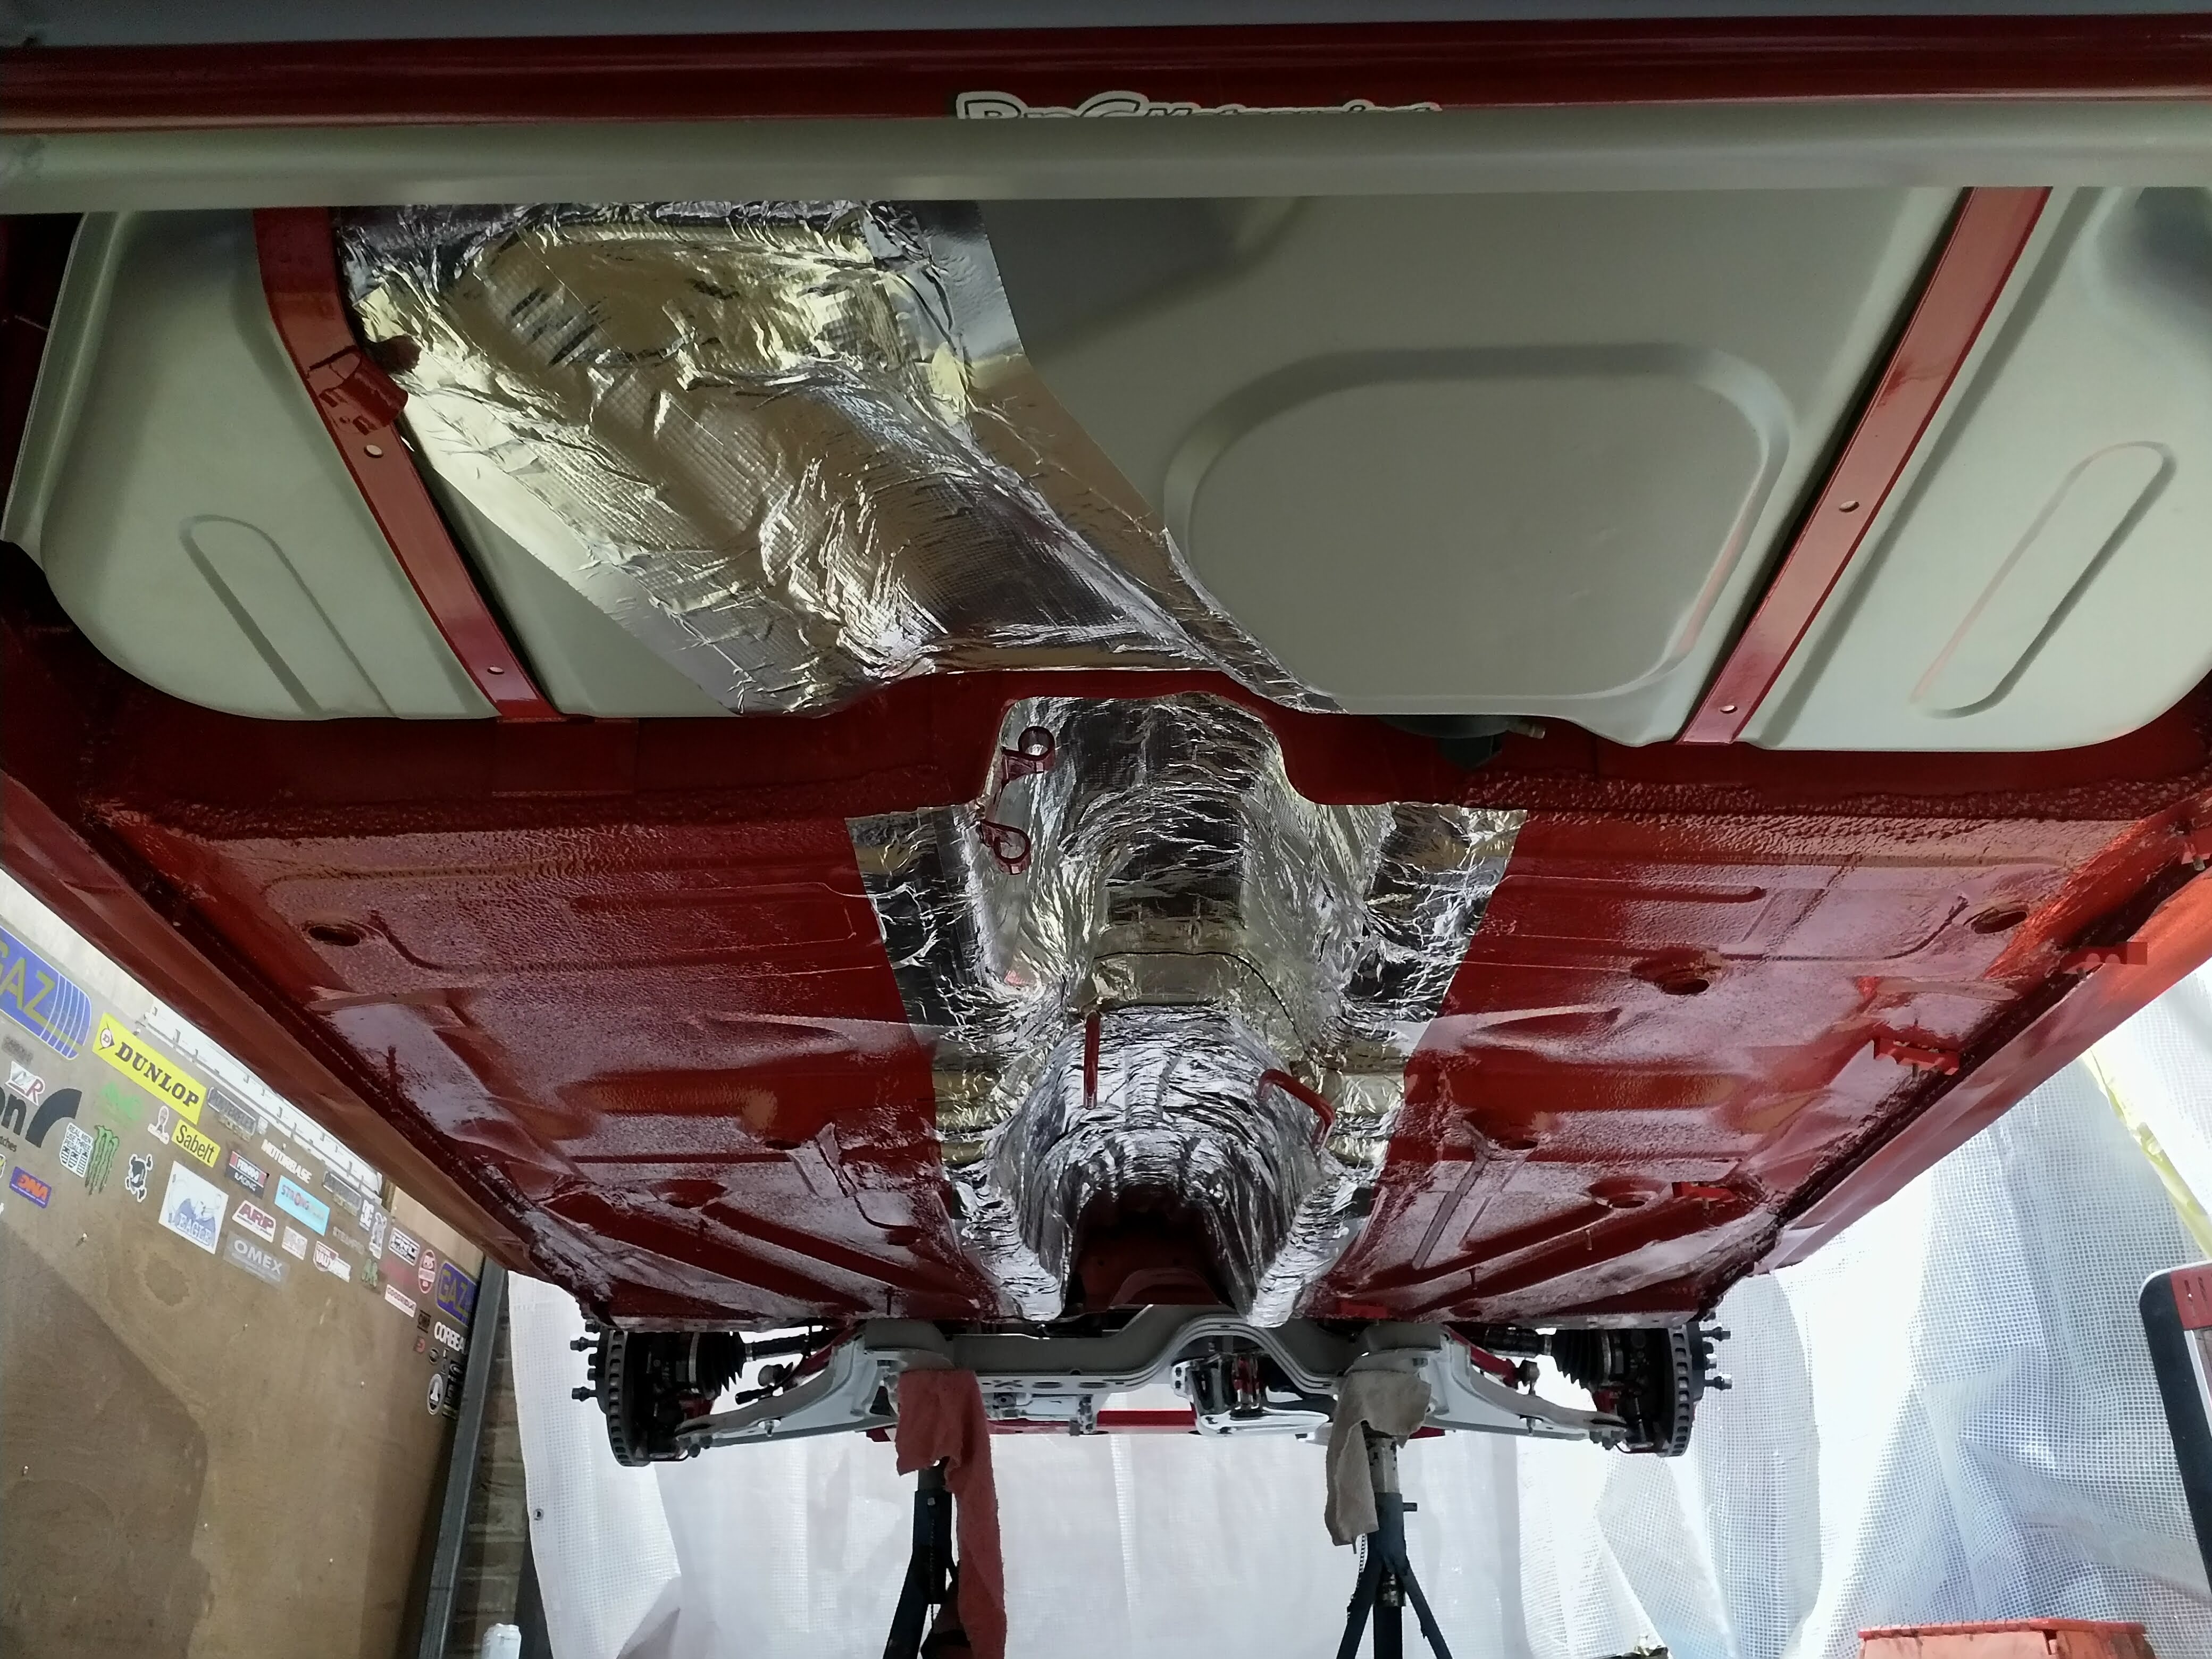
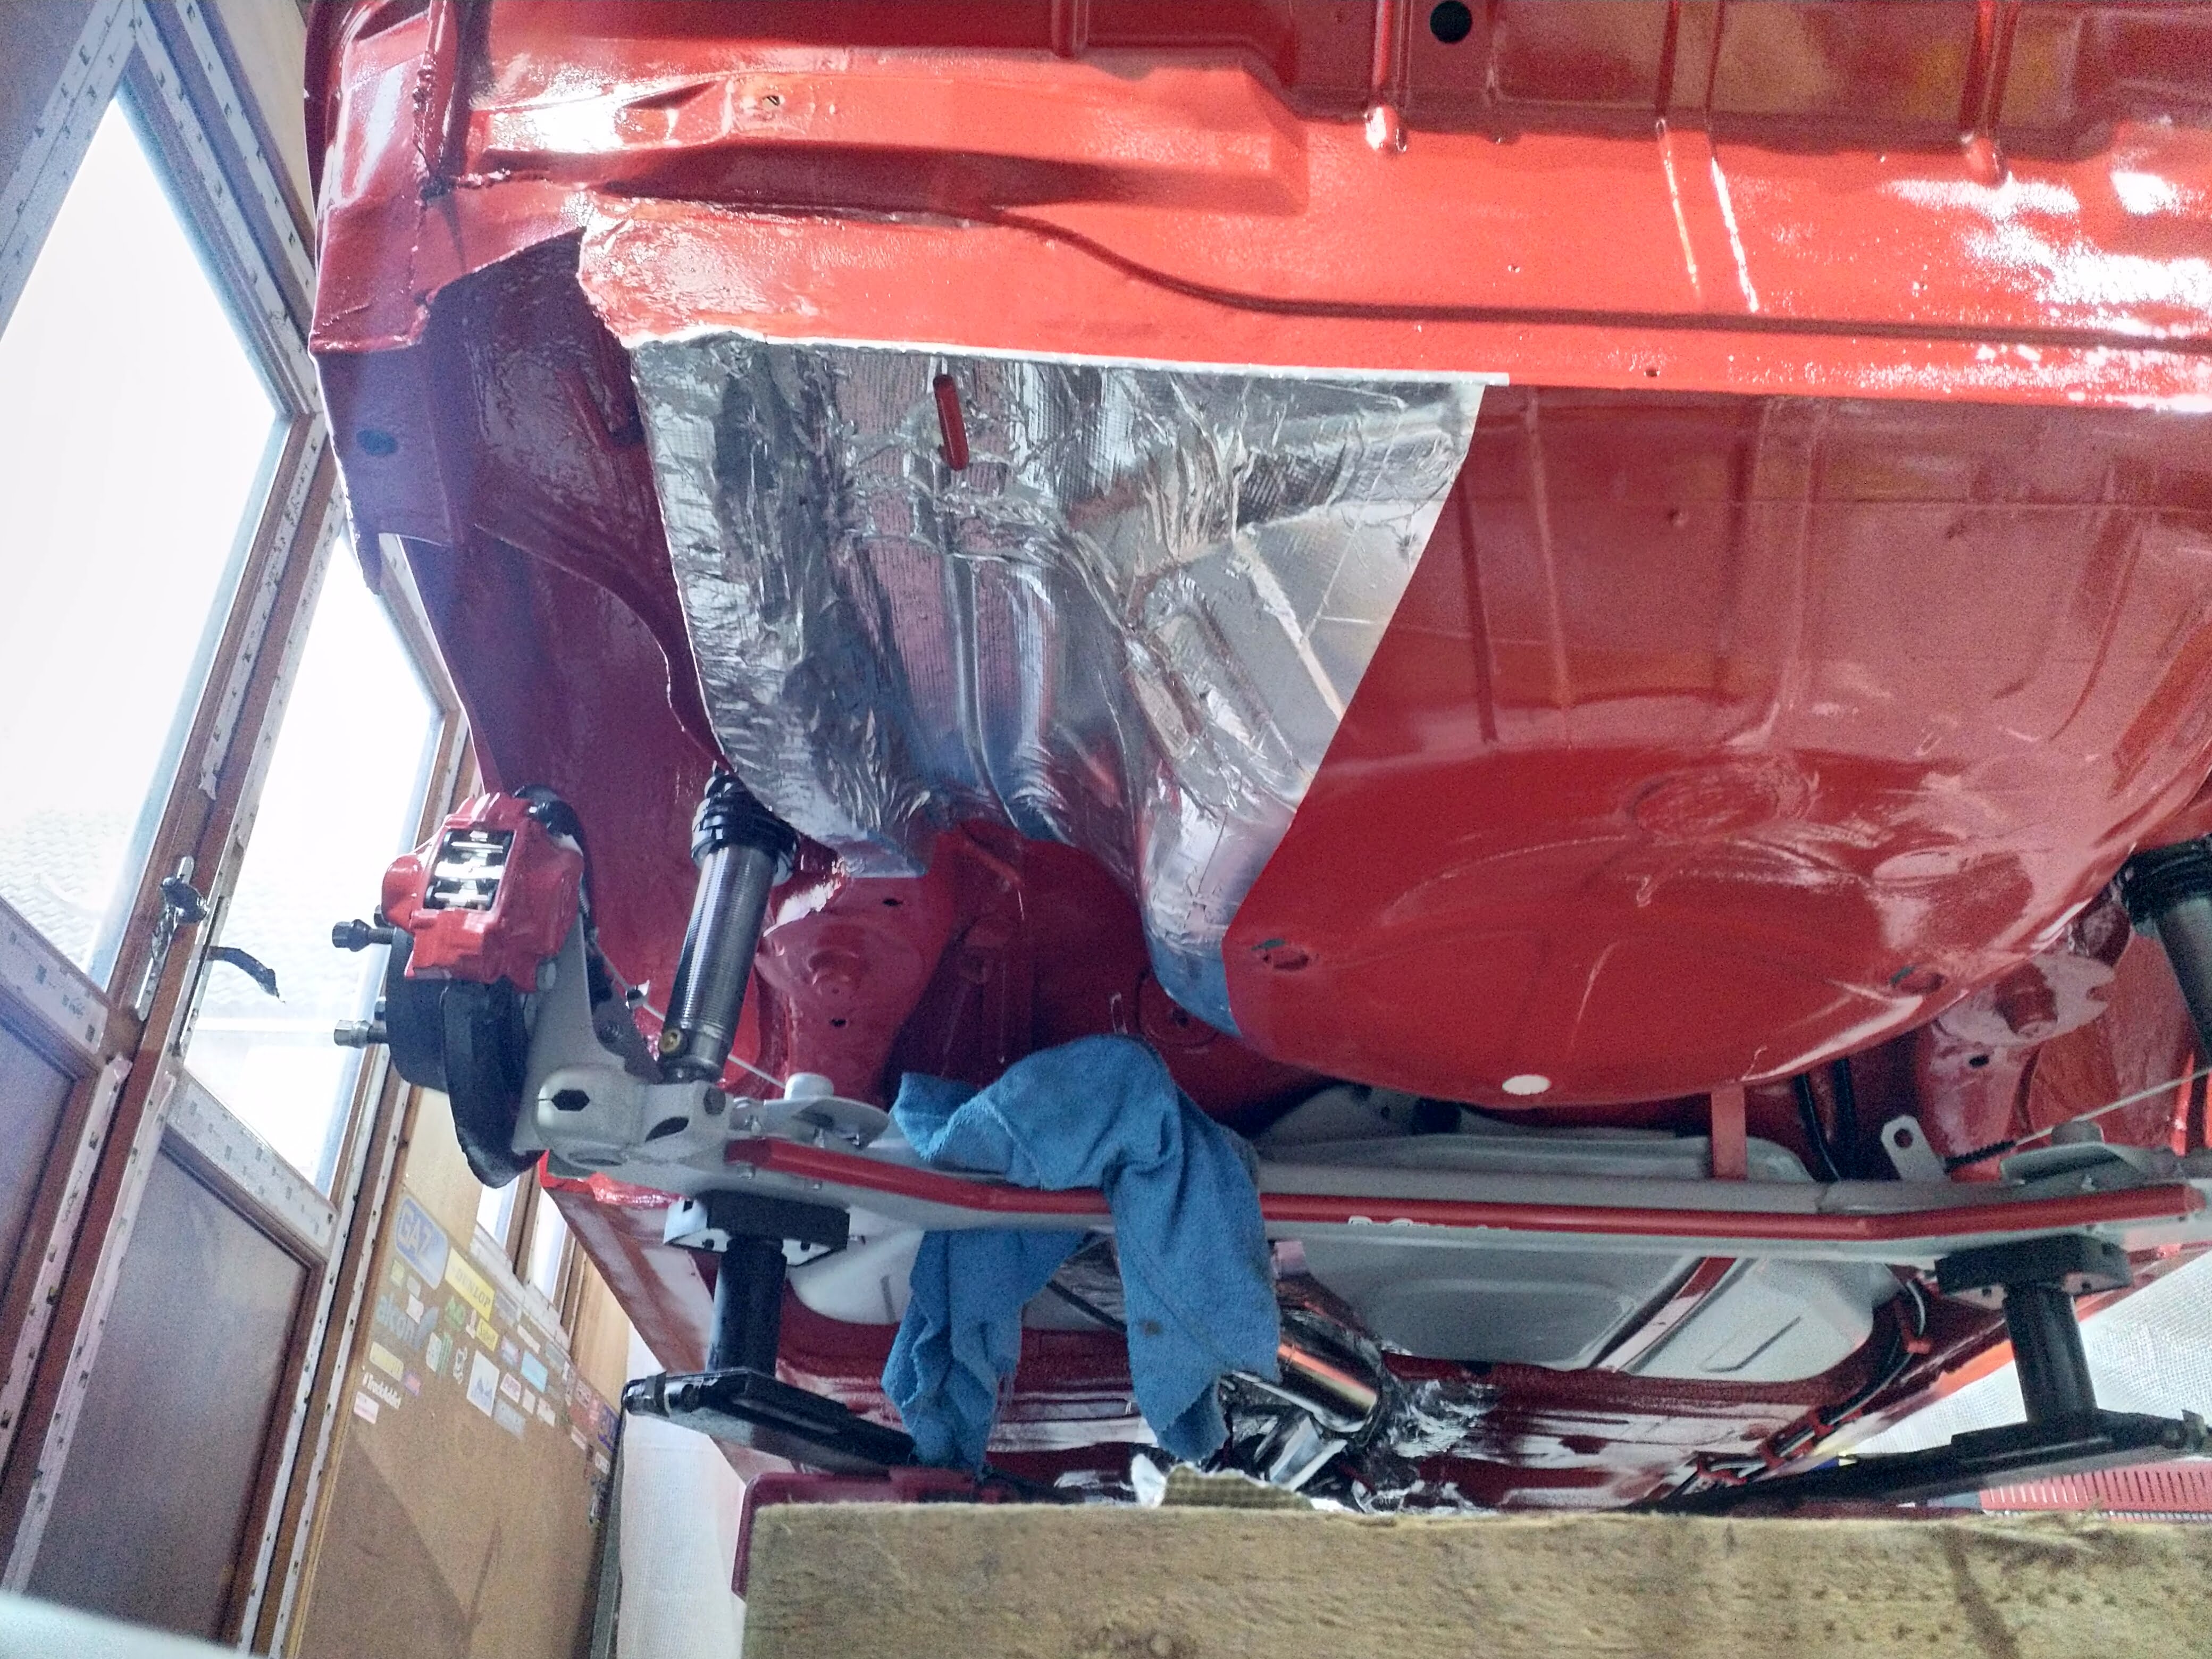
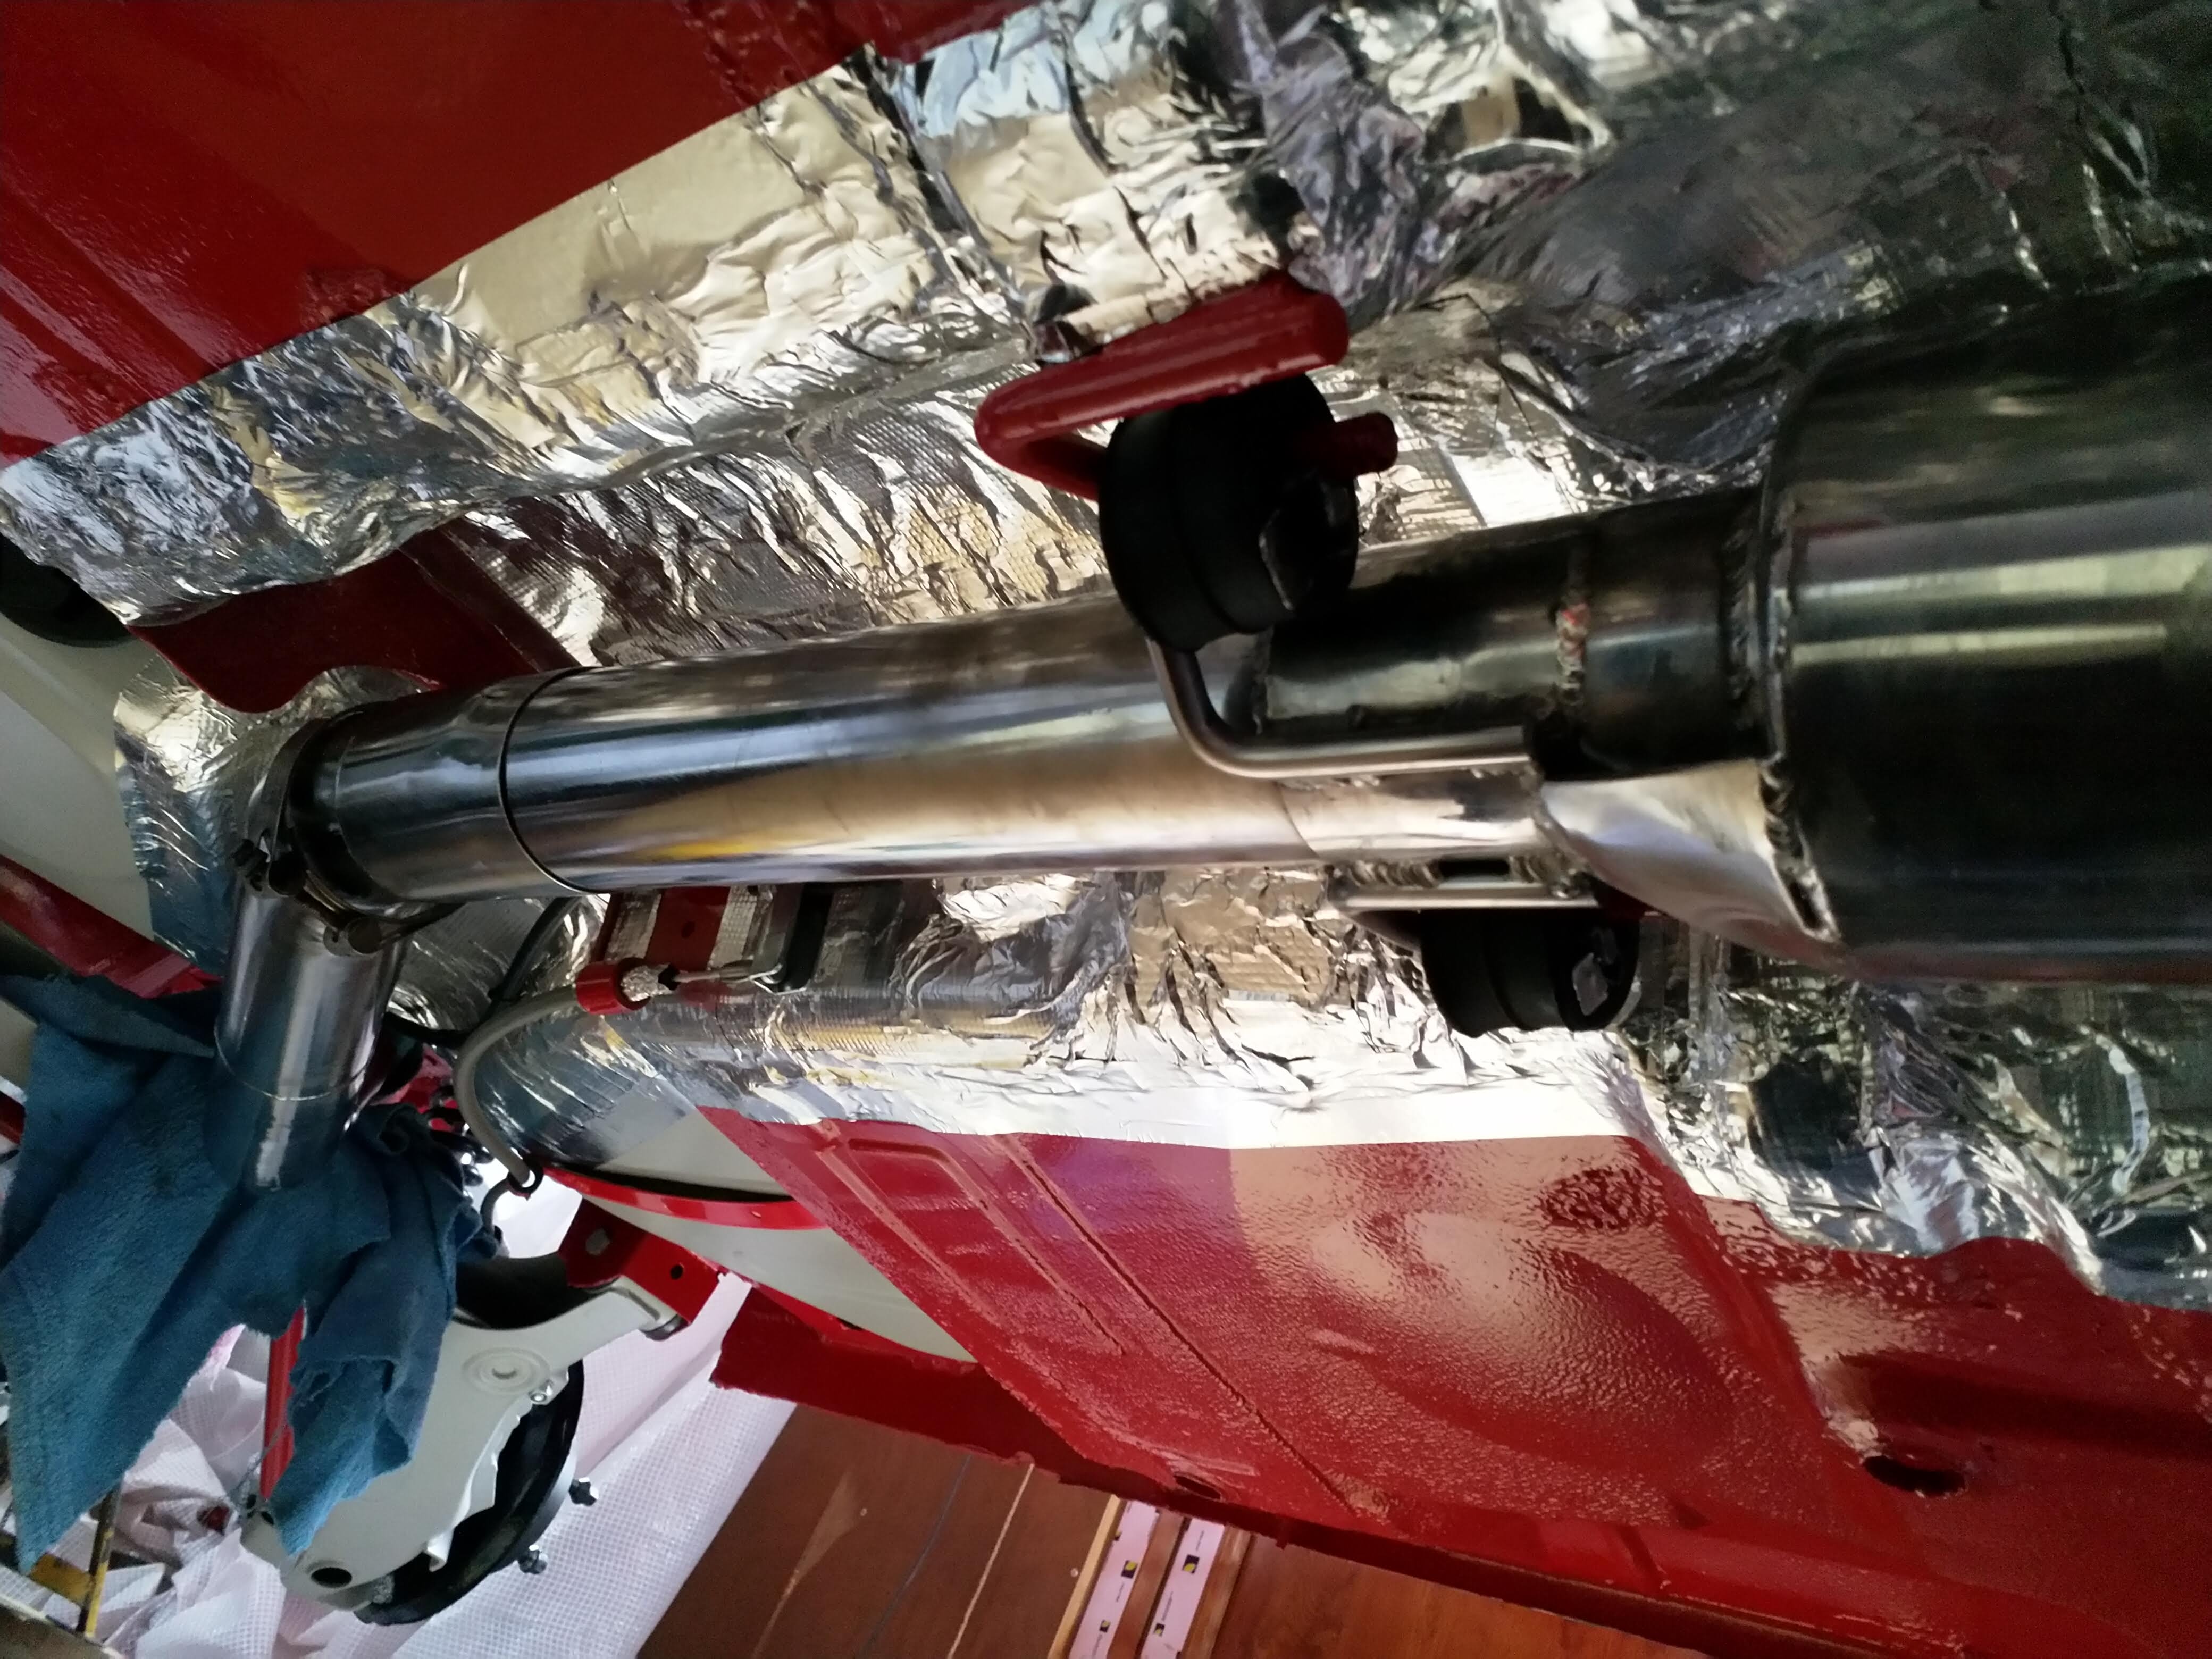
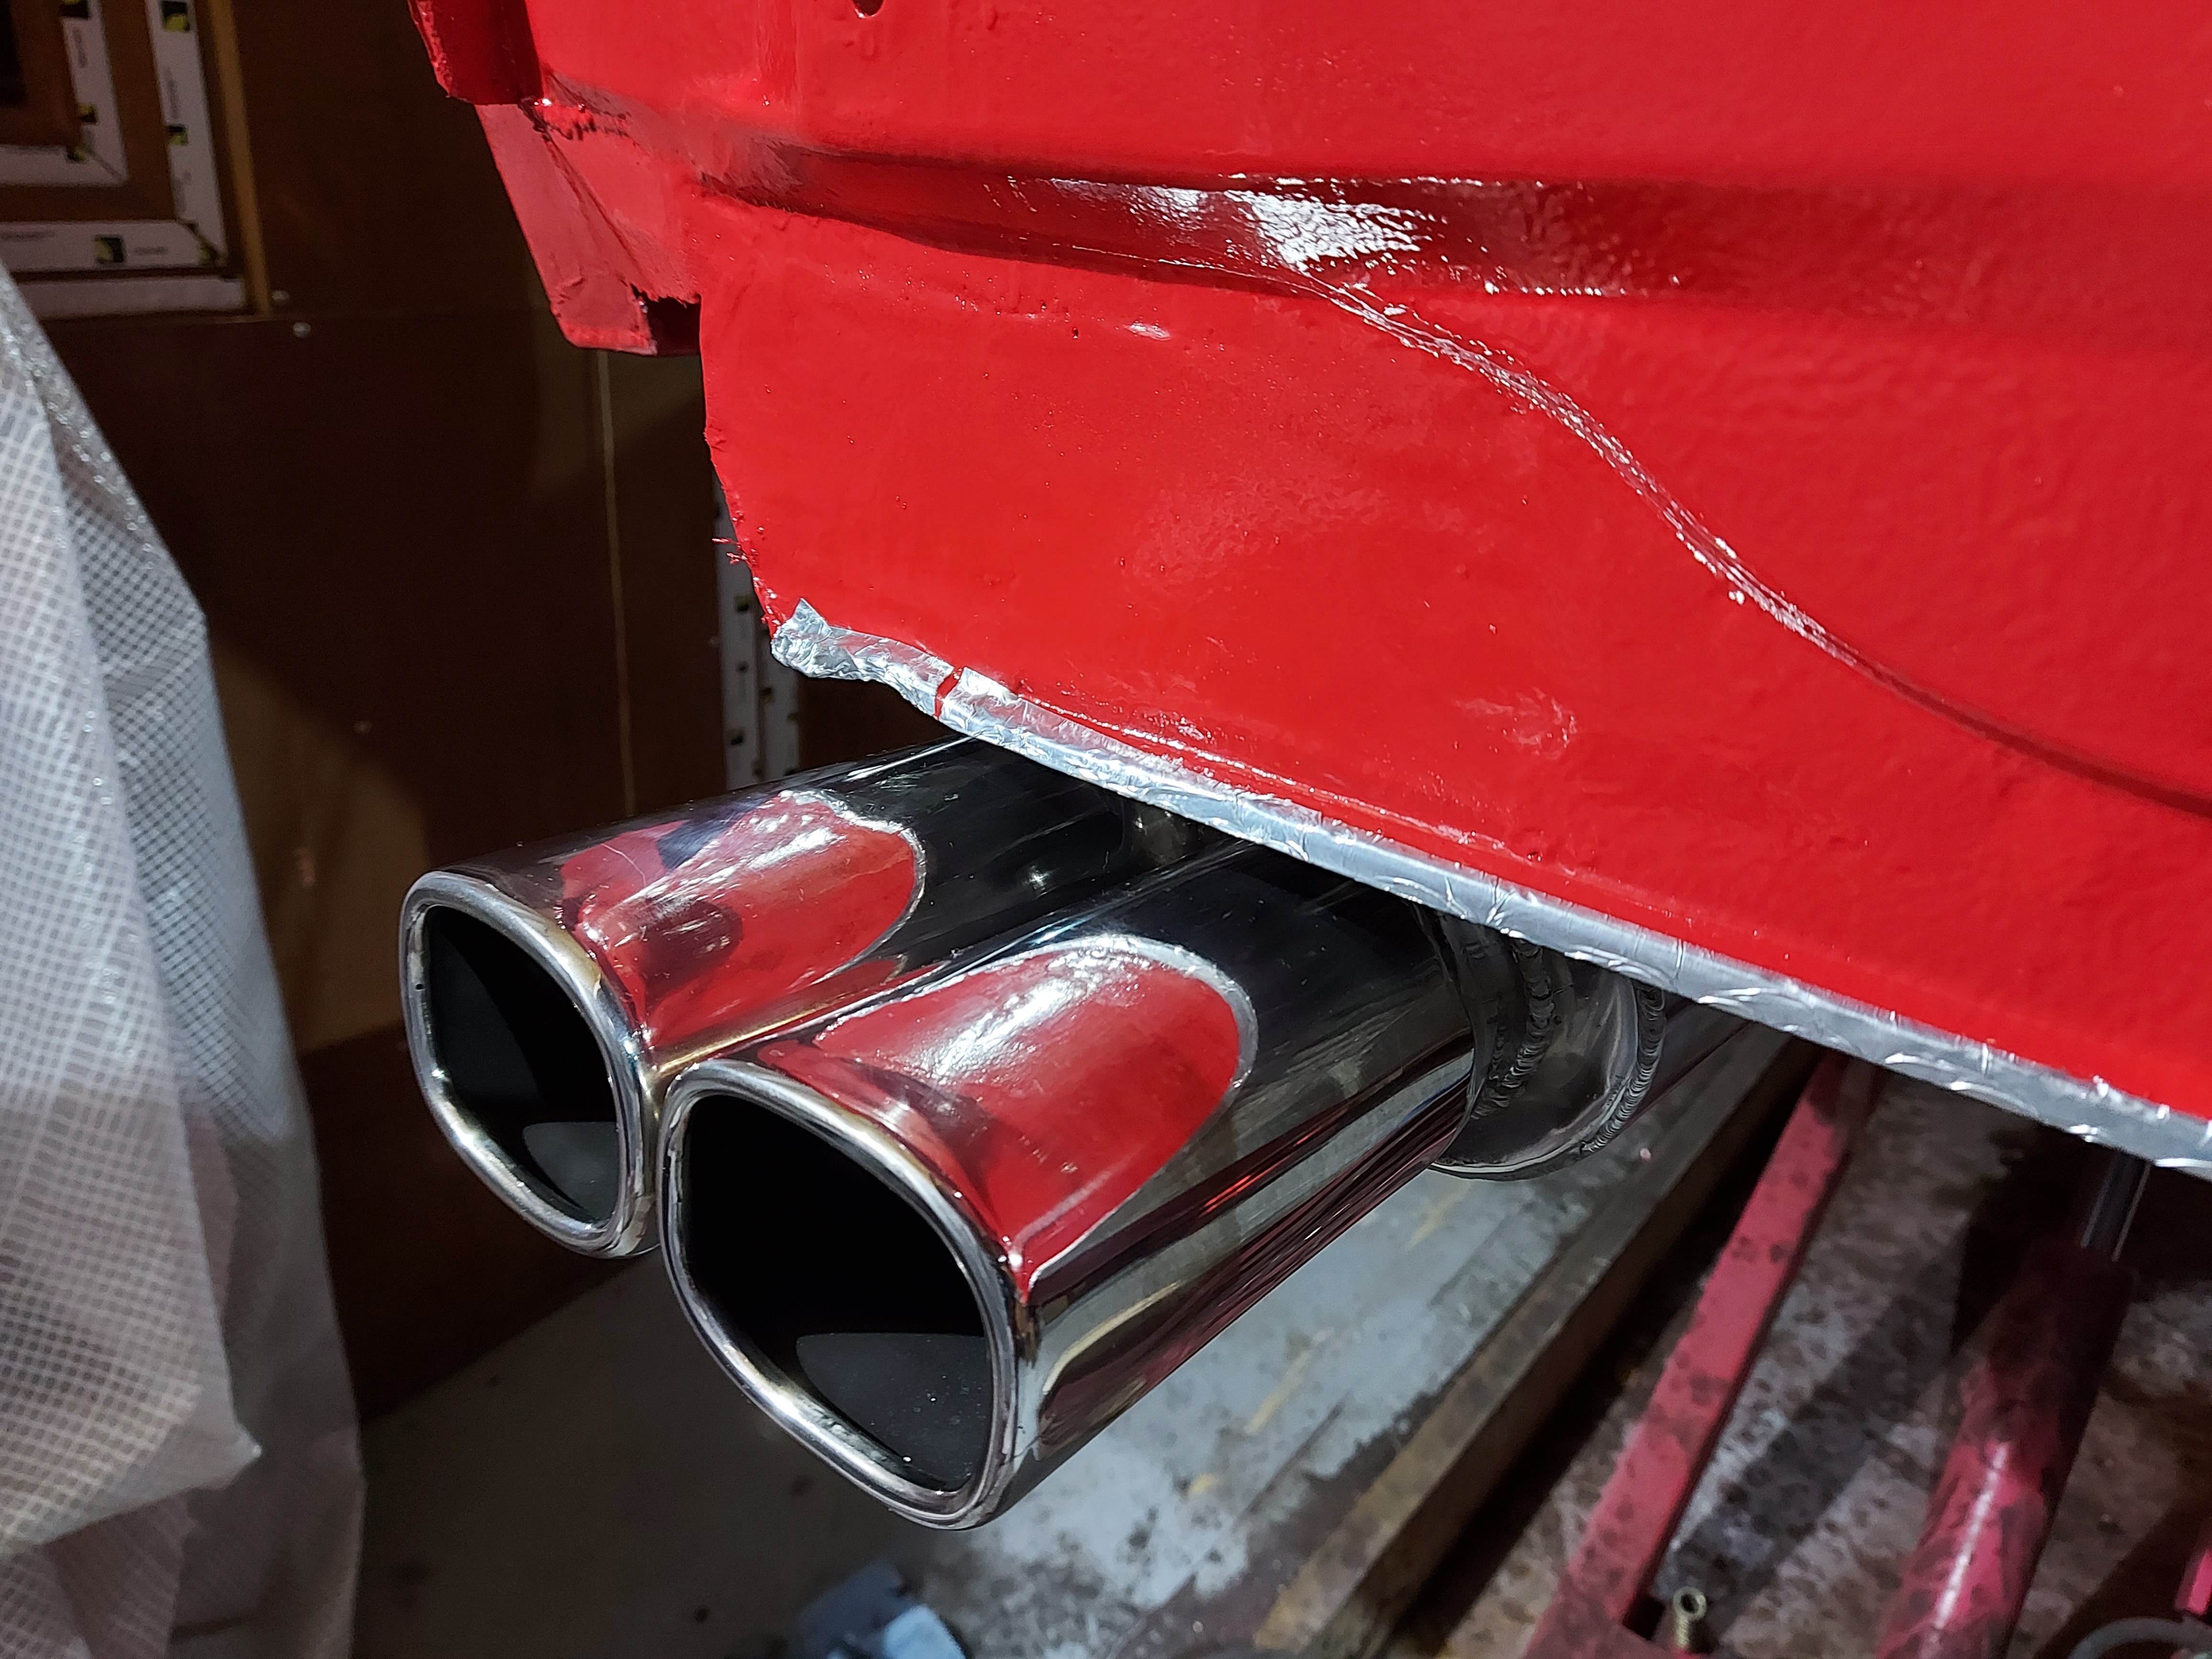
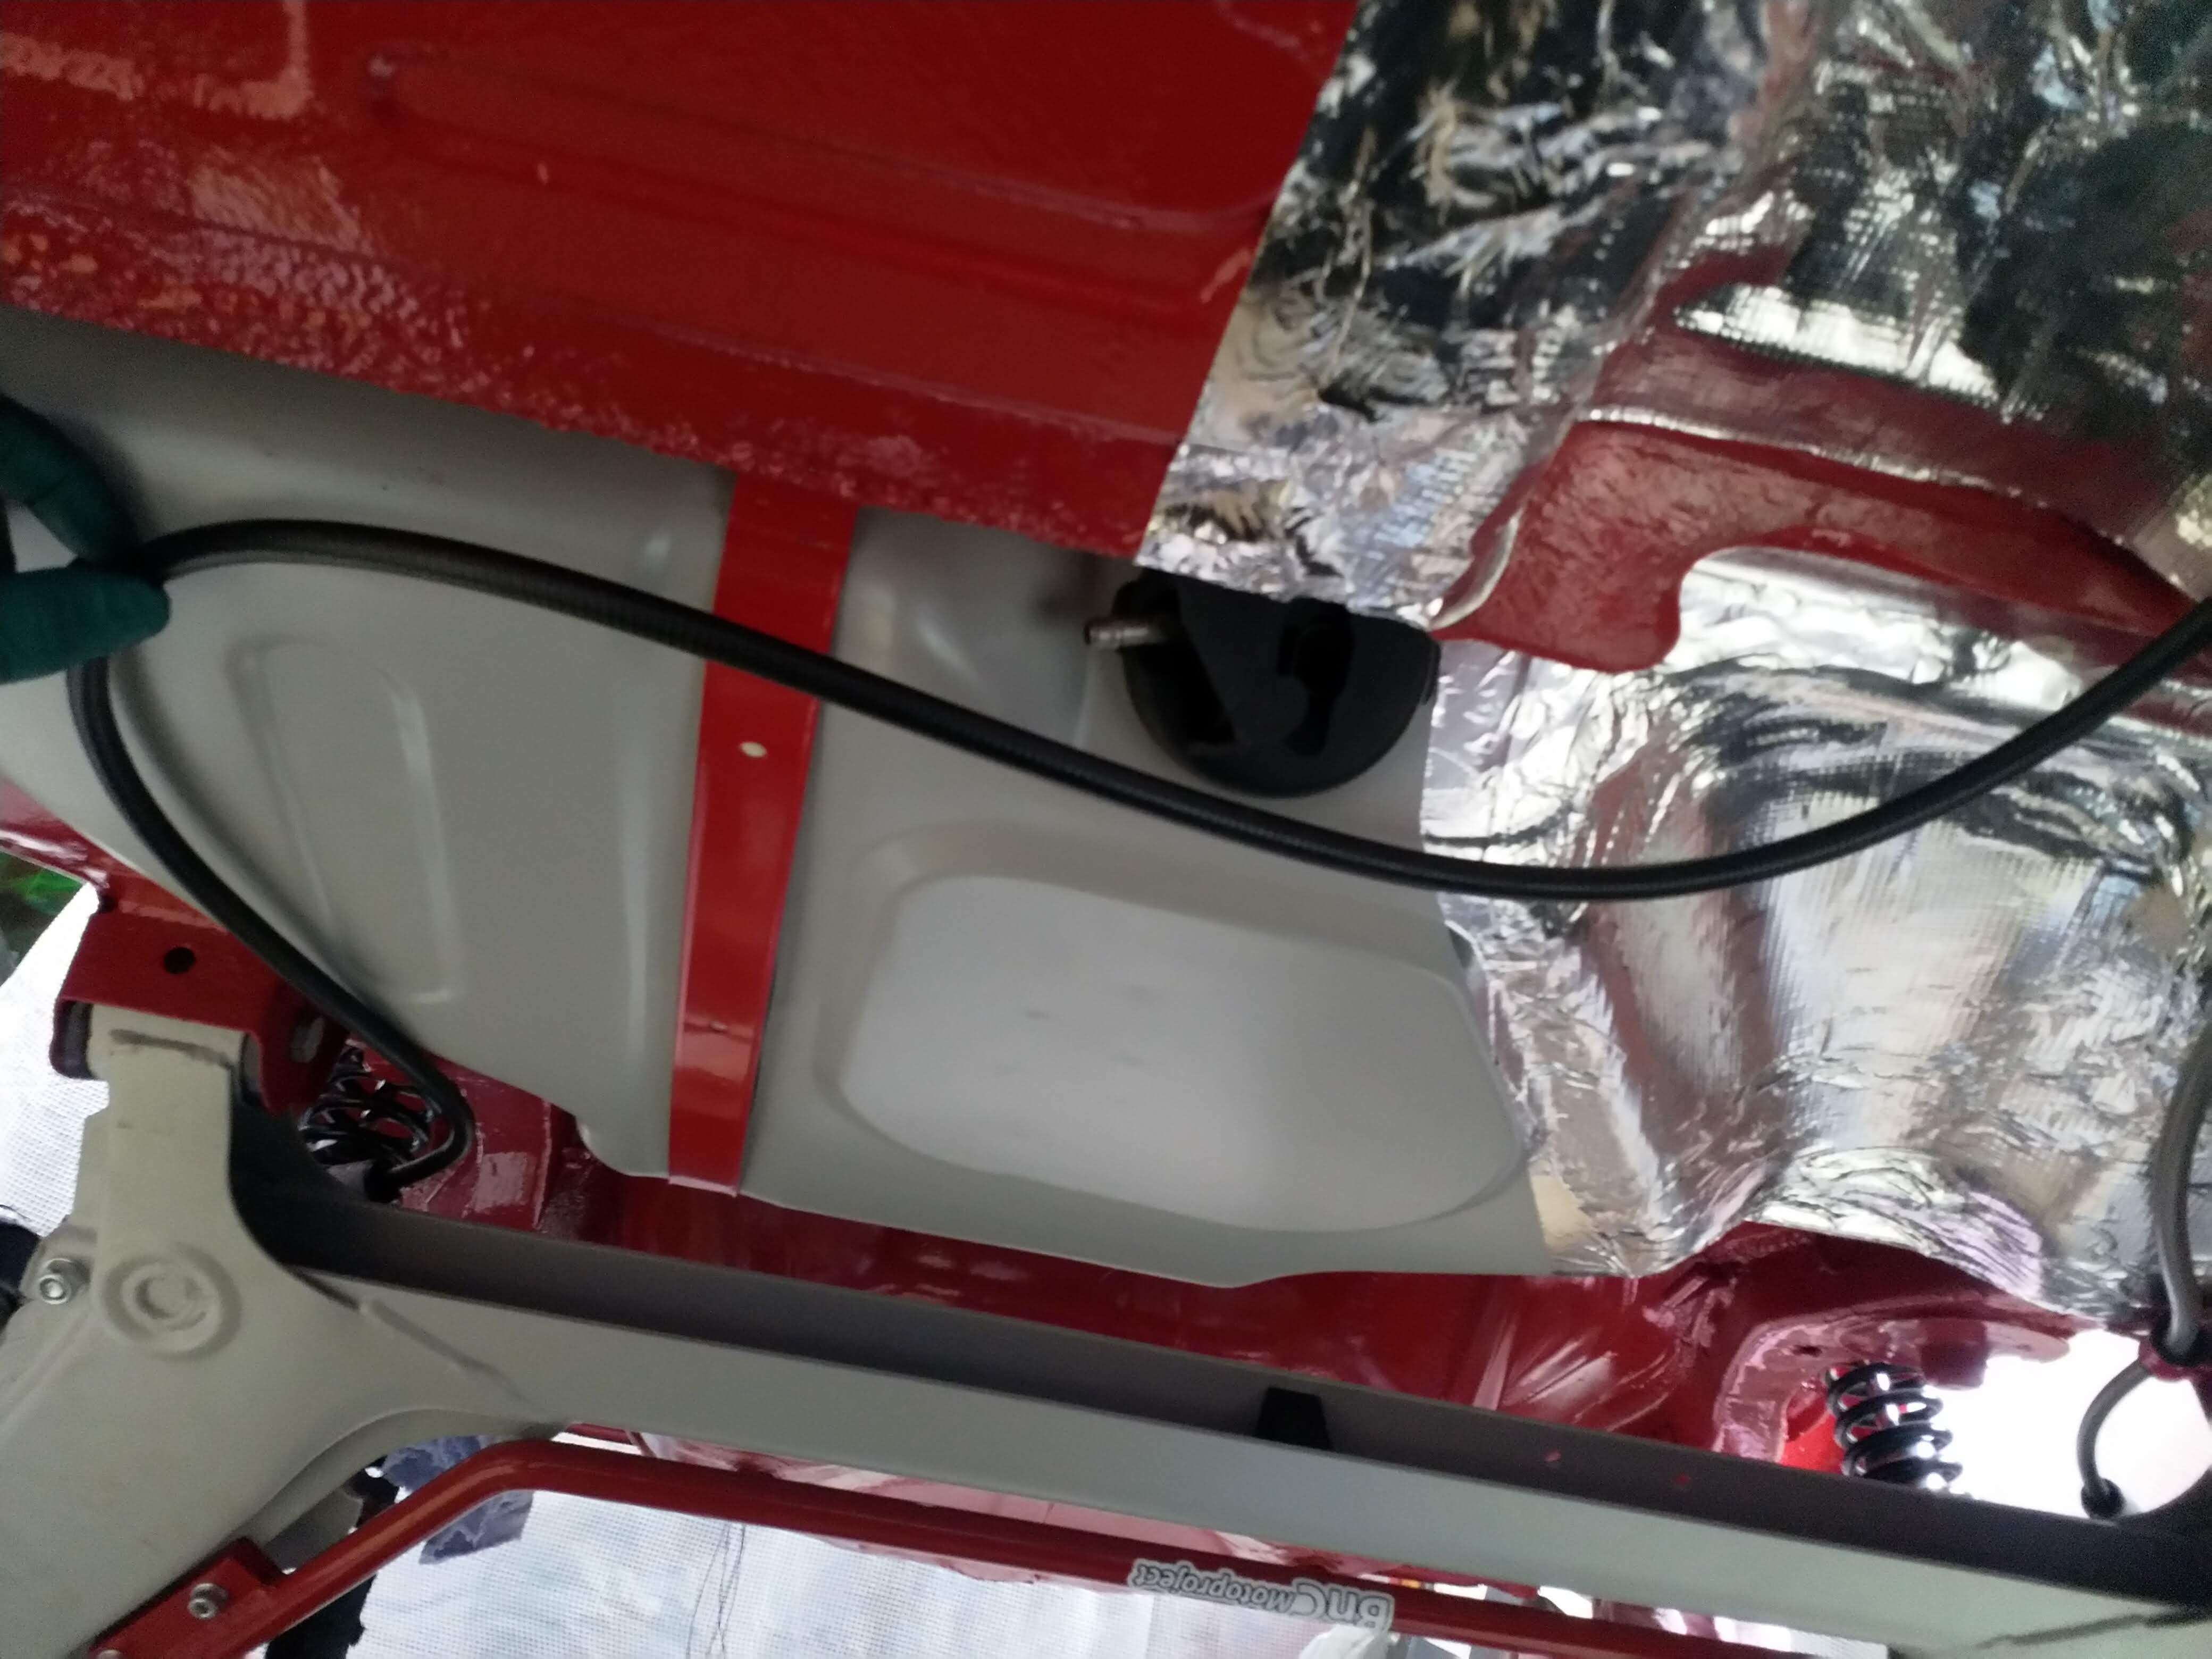
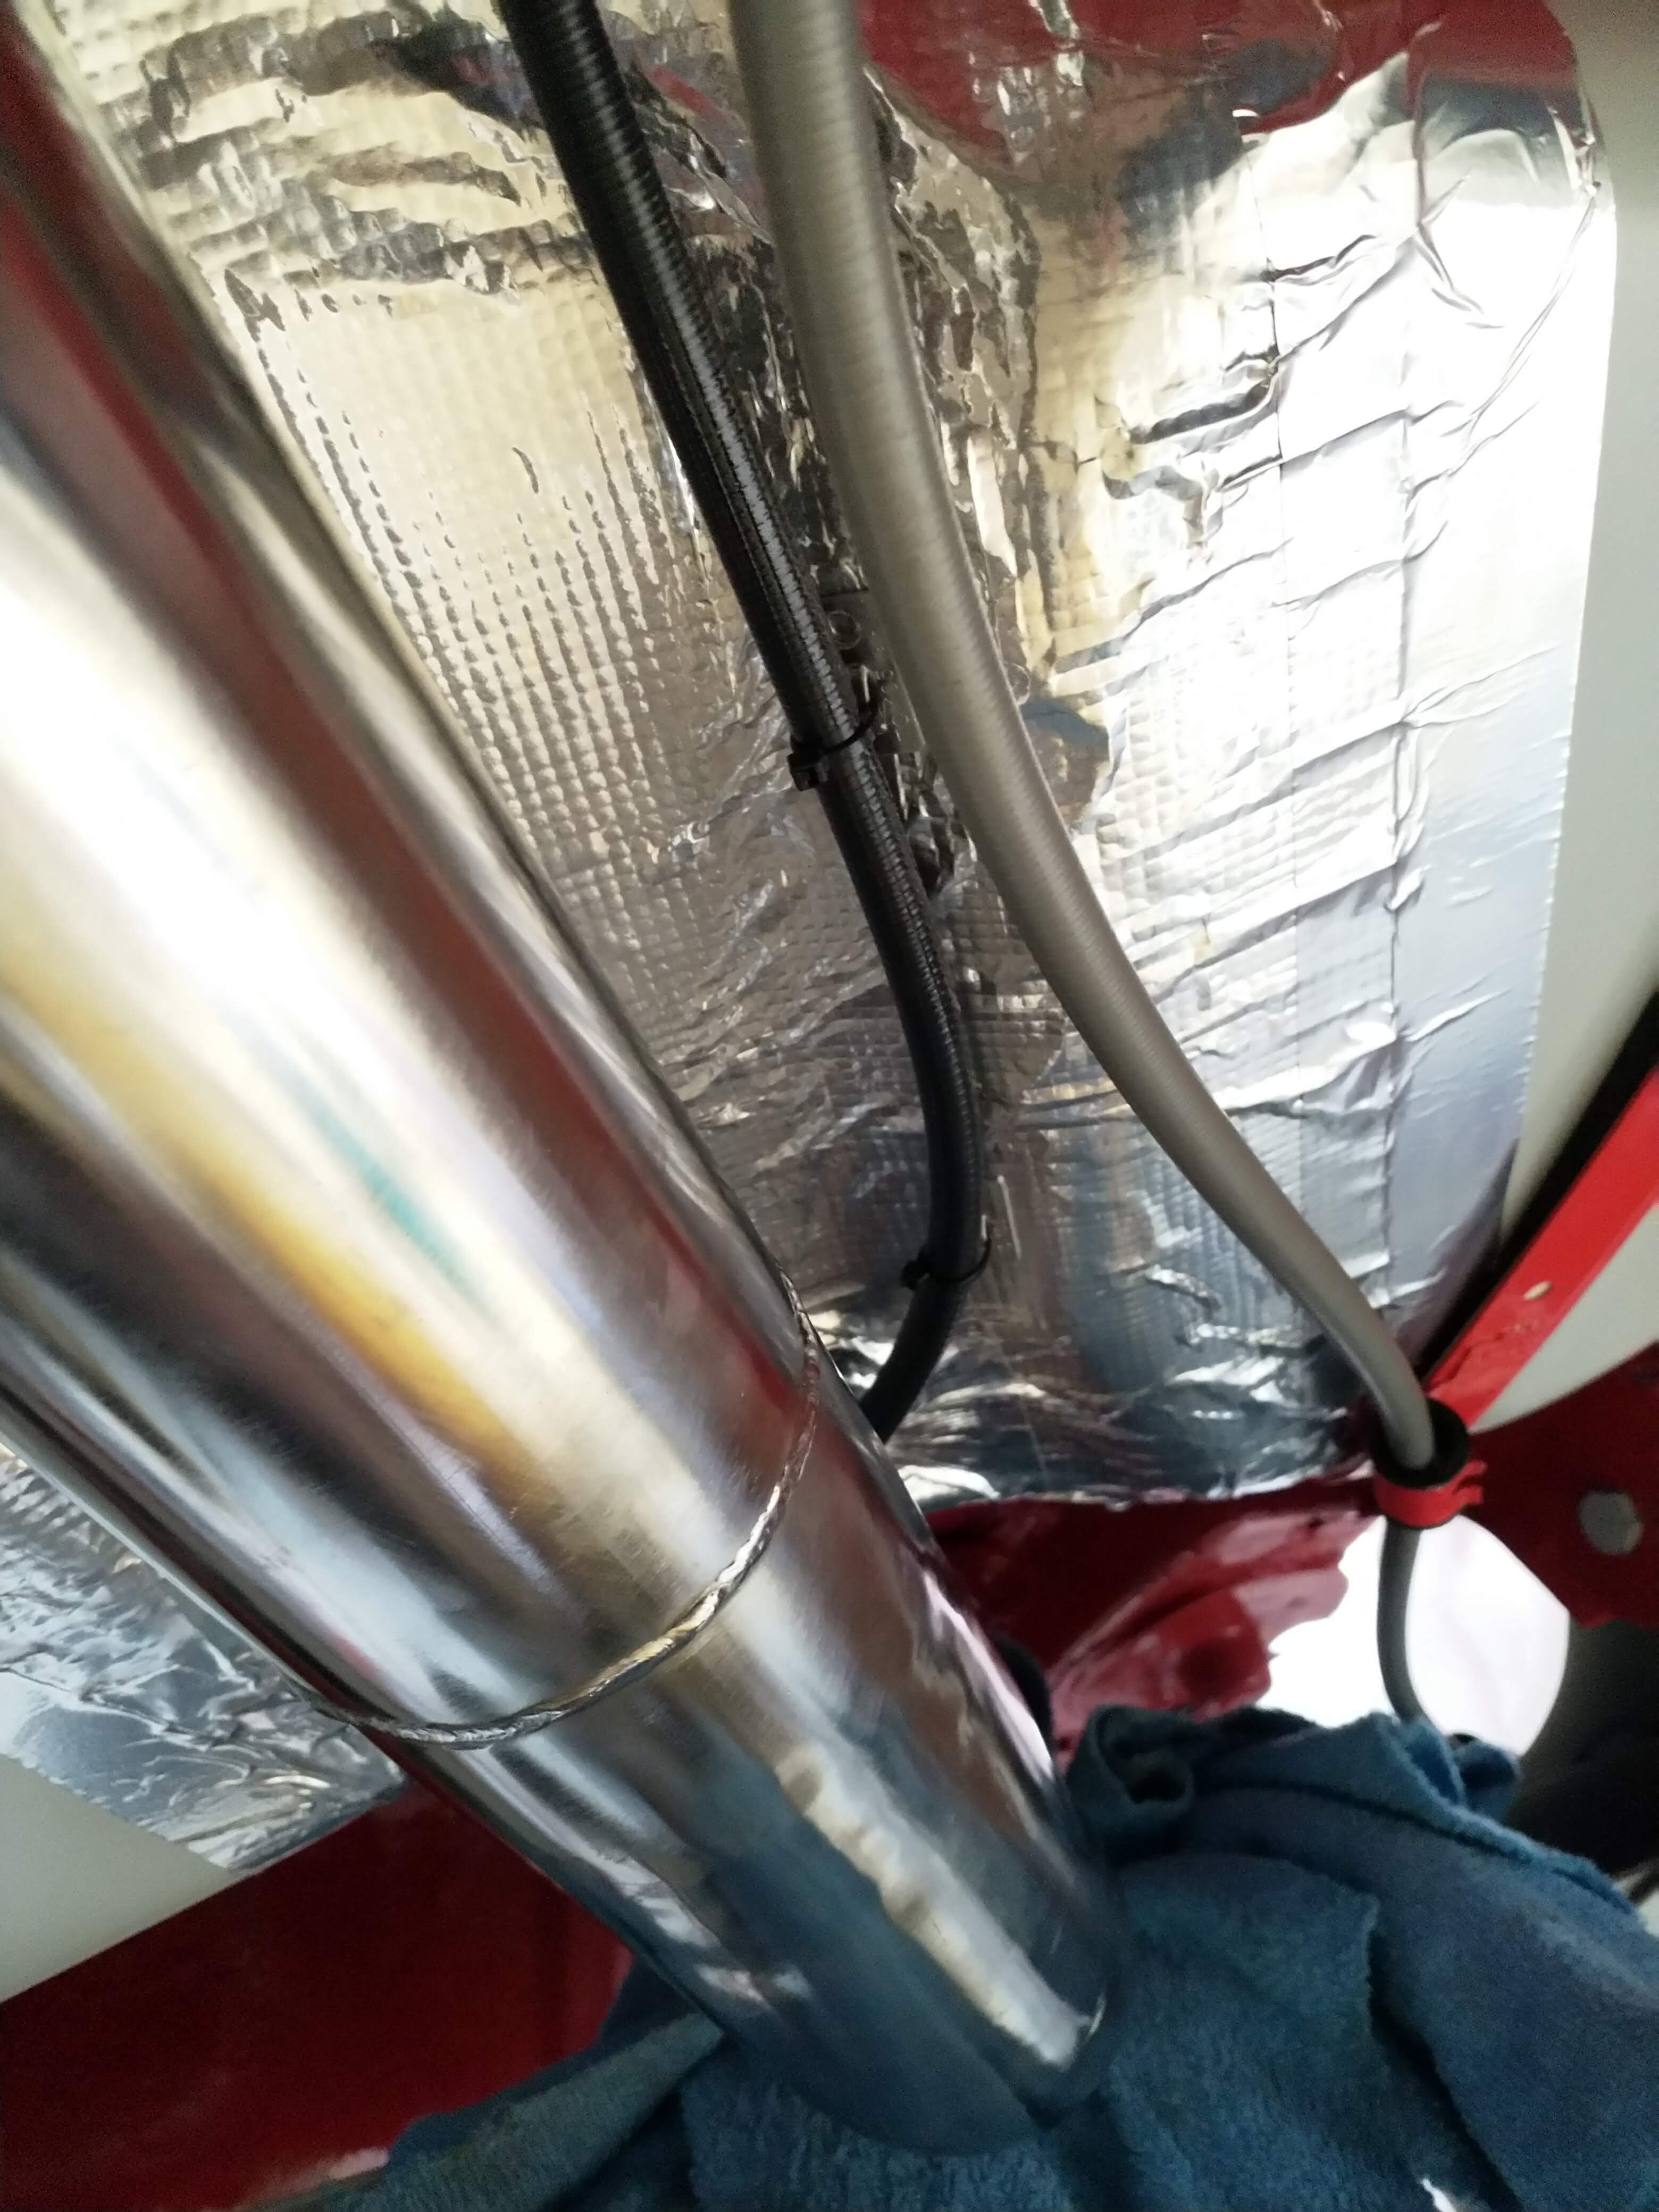
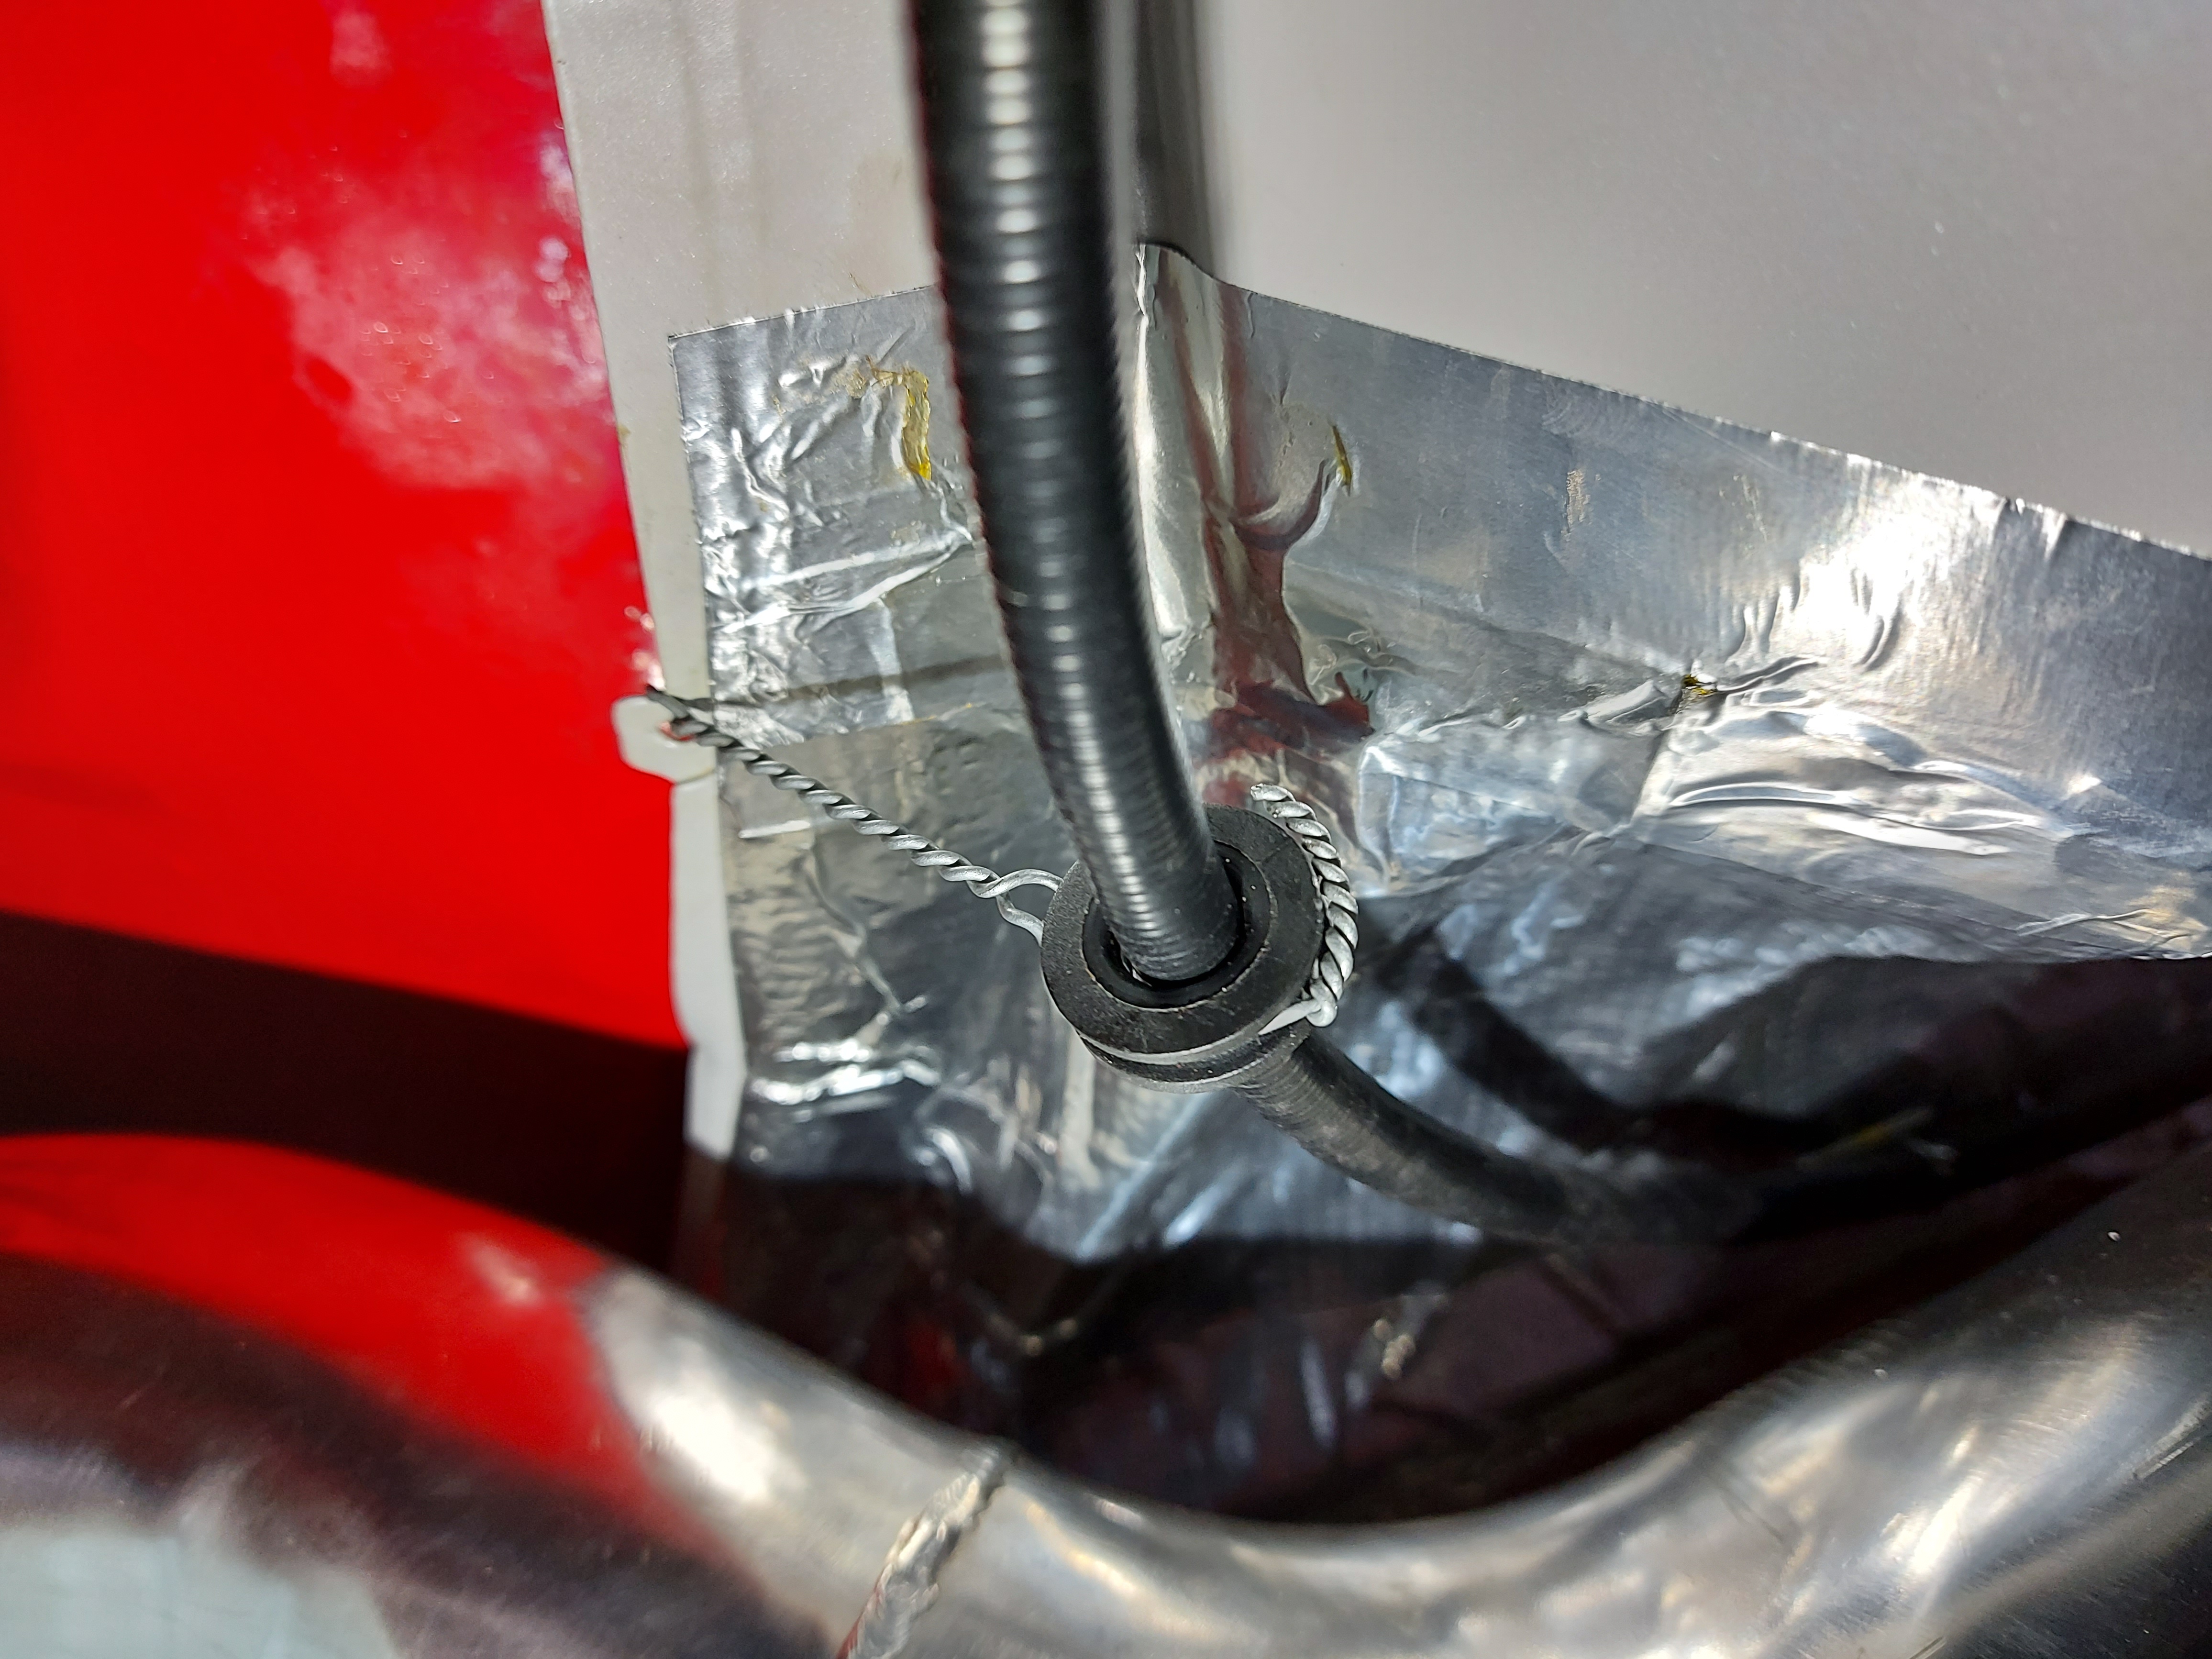
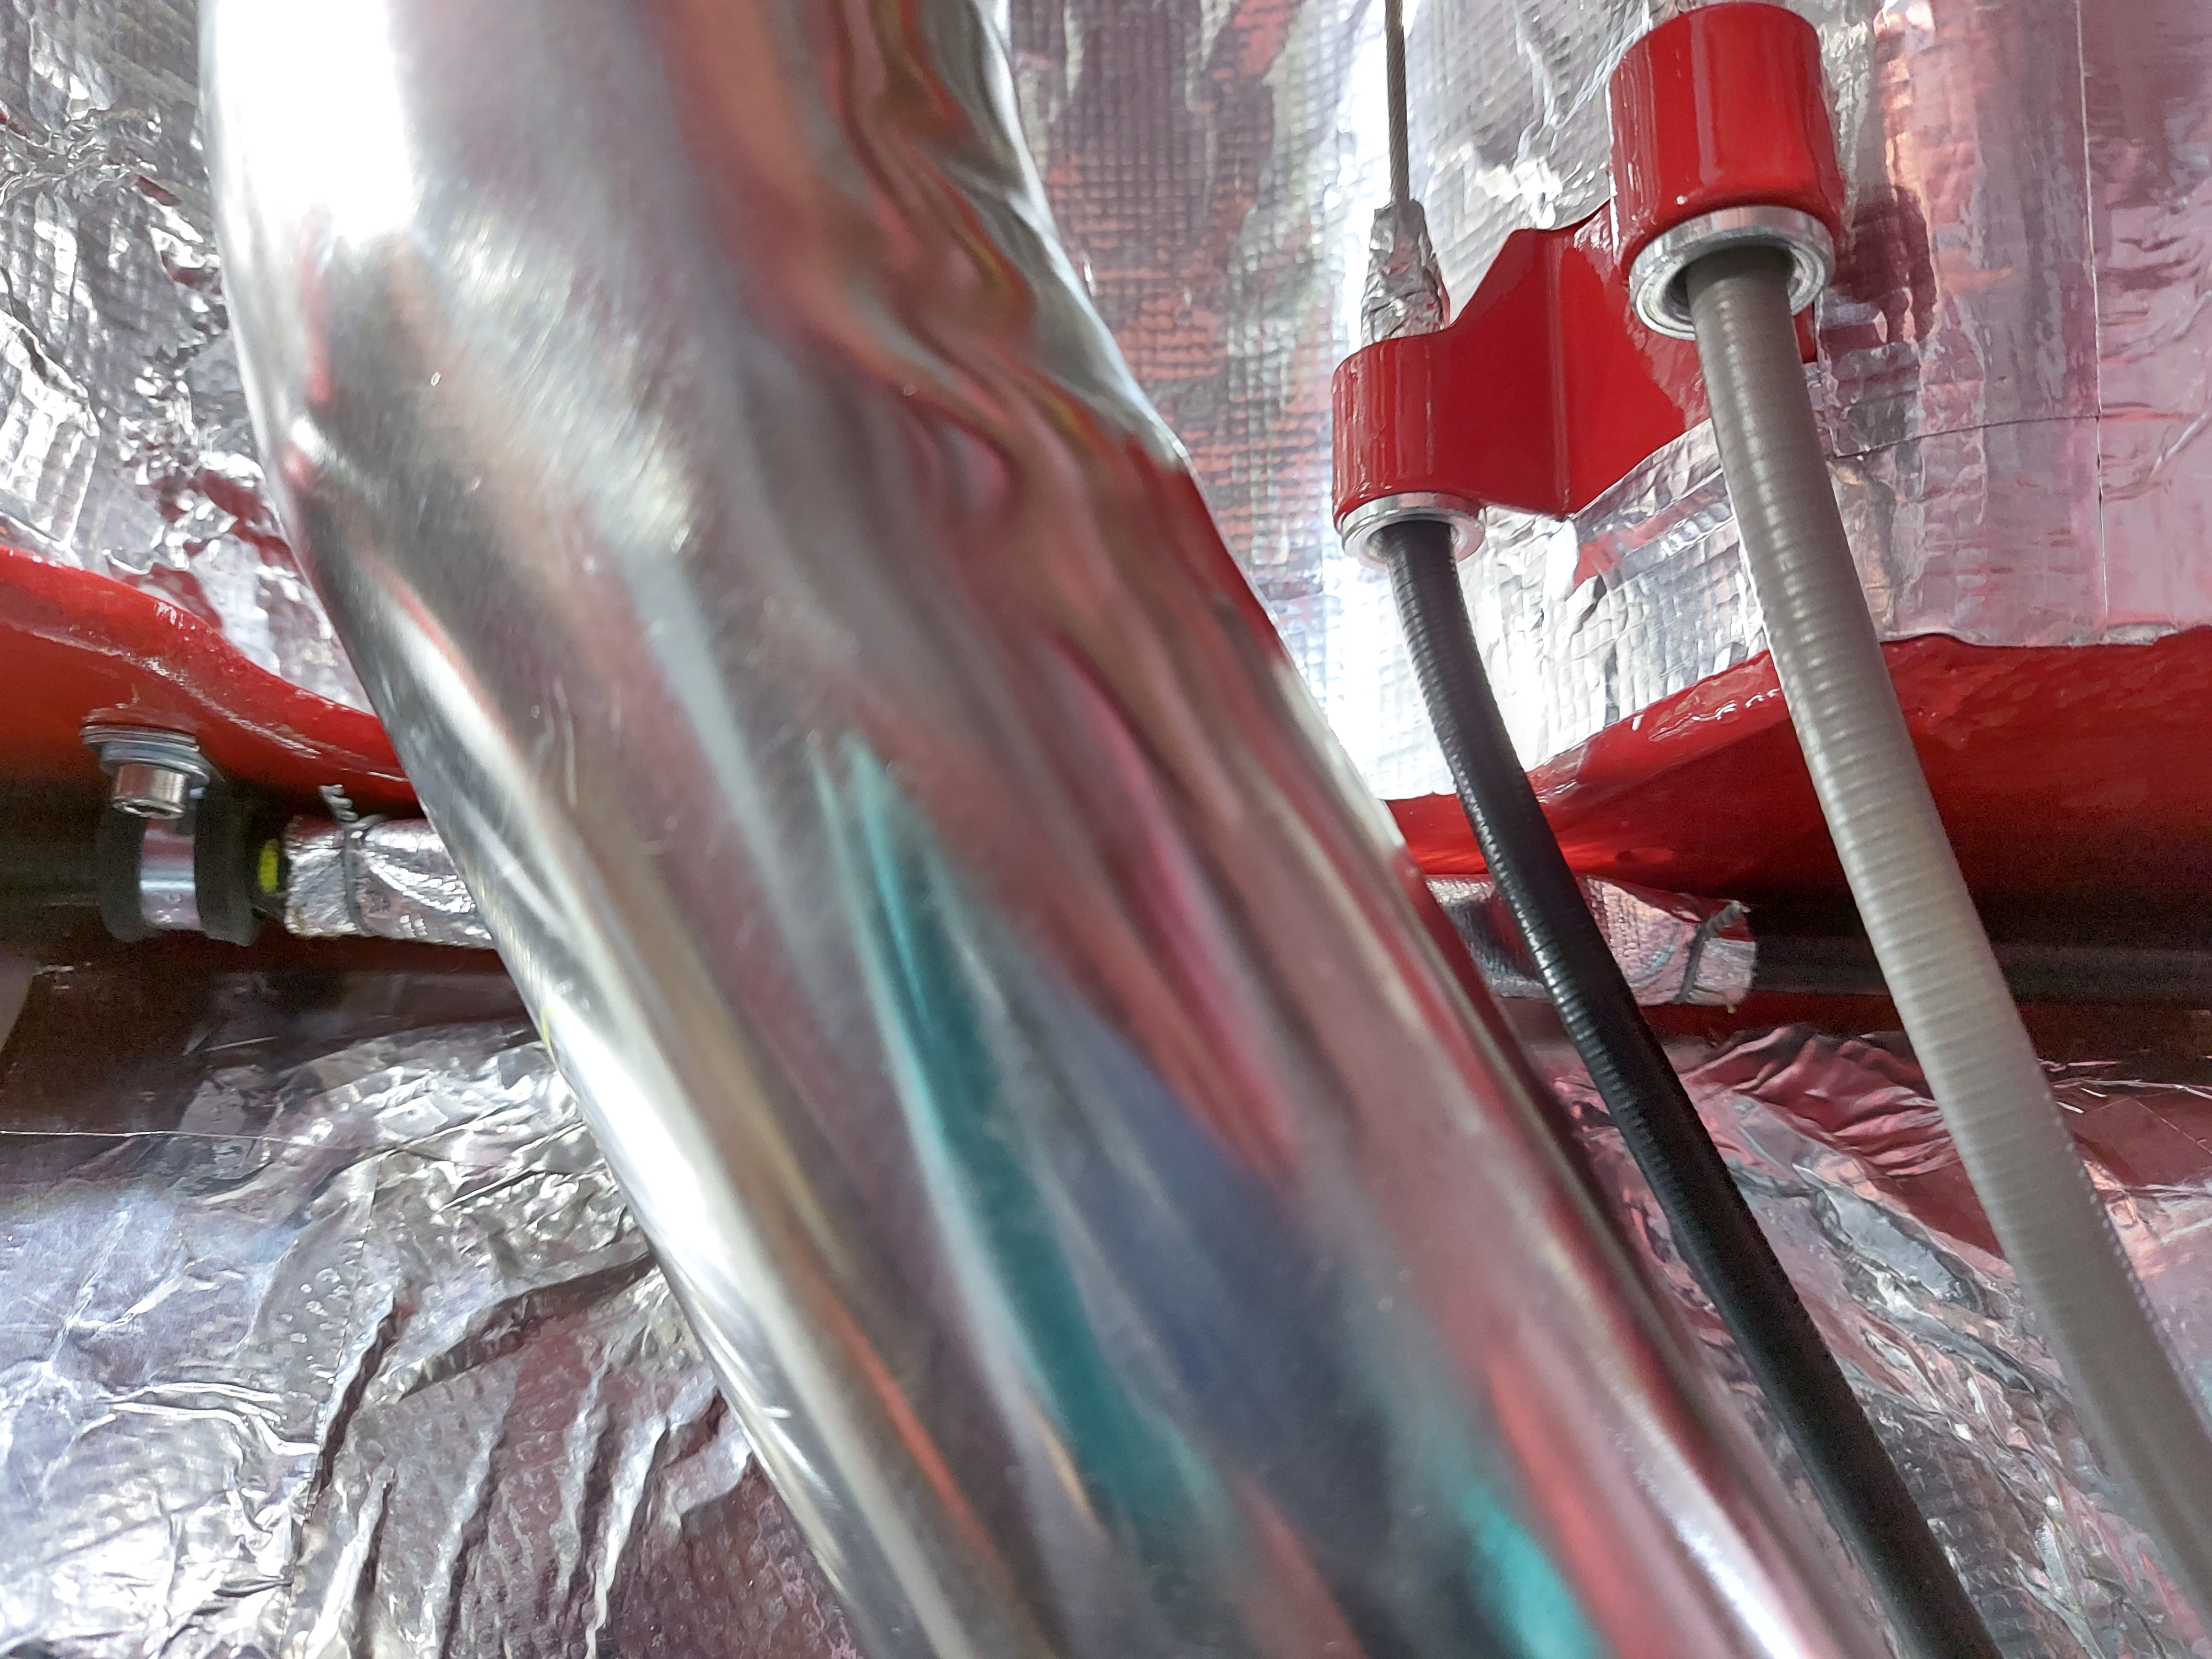
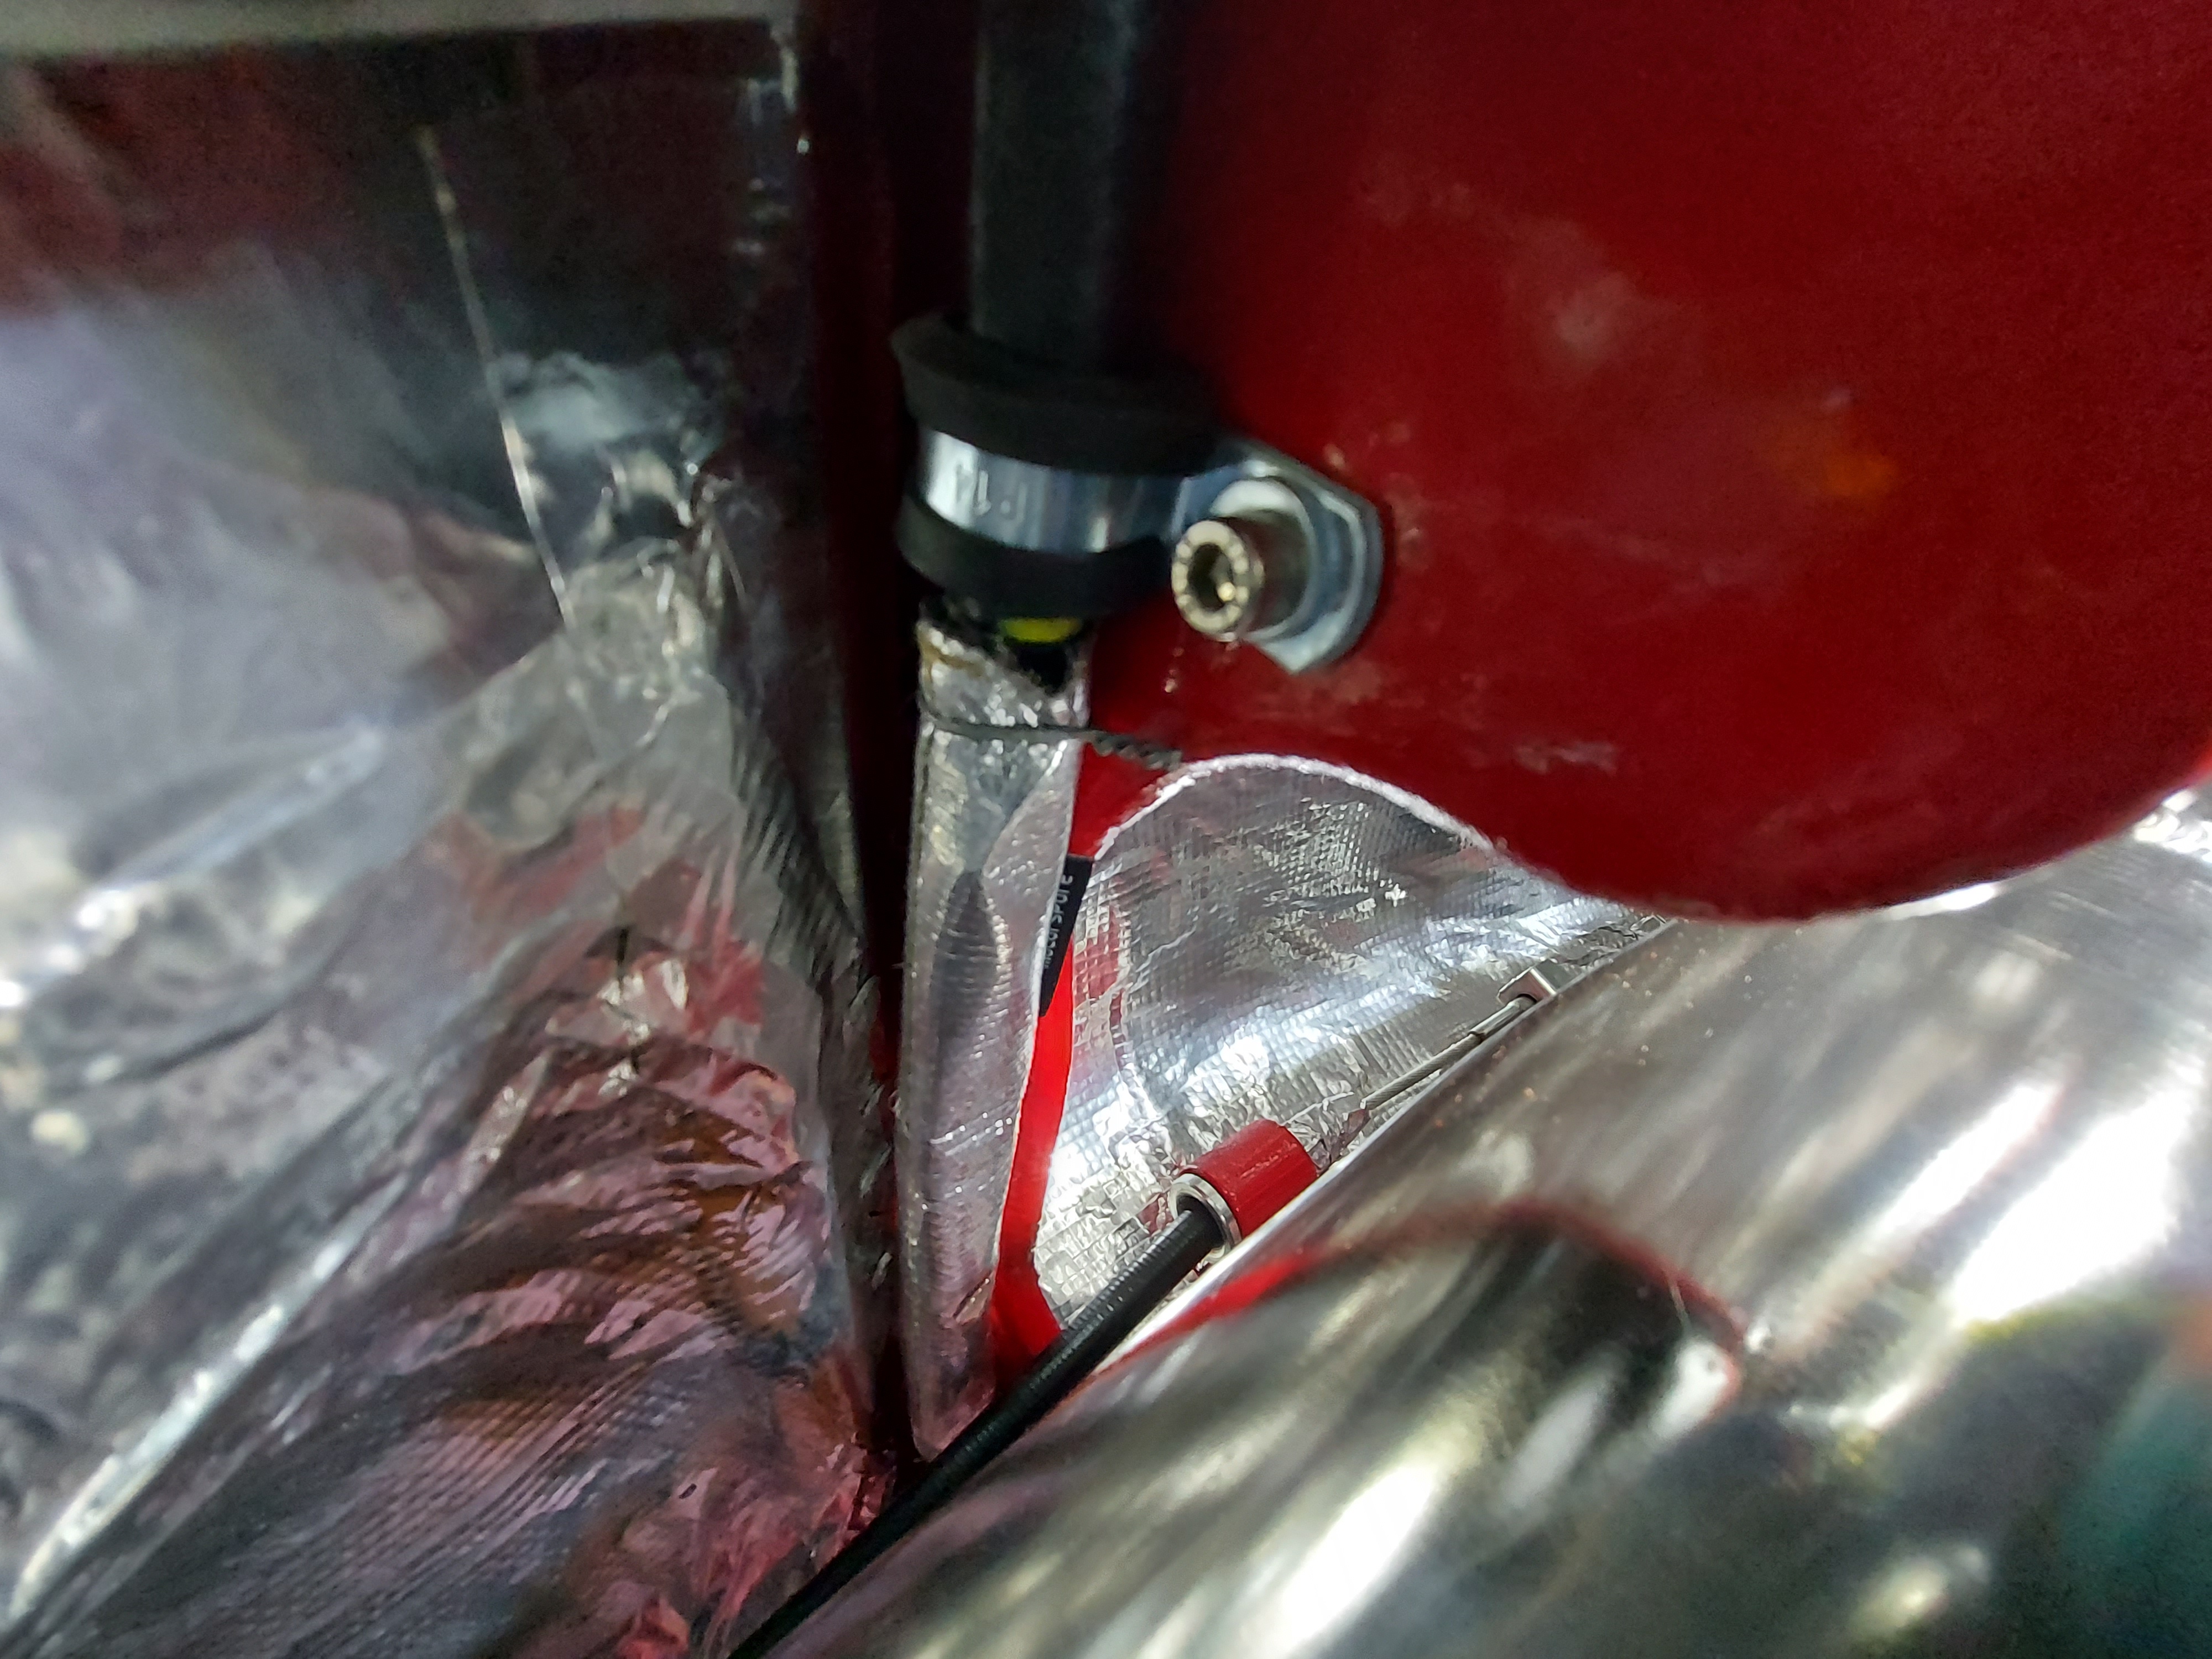
But then I finished the edges with aluminium tape. This made the whole thing alot nicer finish to look at, but also will stop water getting under the tape and lifting it..... should I ever get caught in the rain...... which i hope not :Cry:

full

full


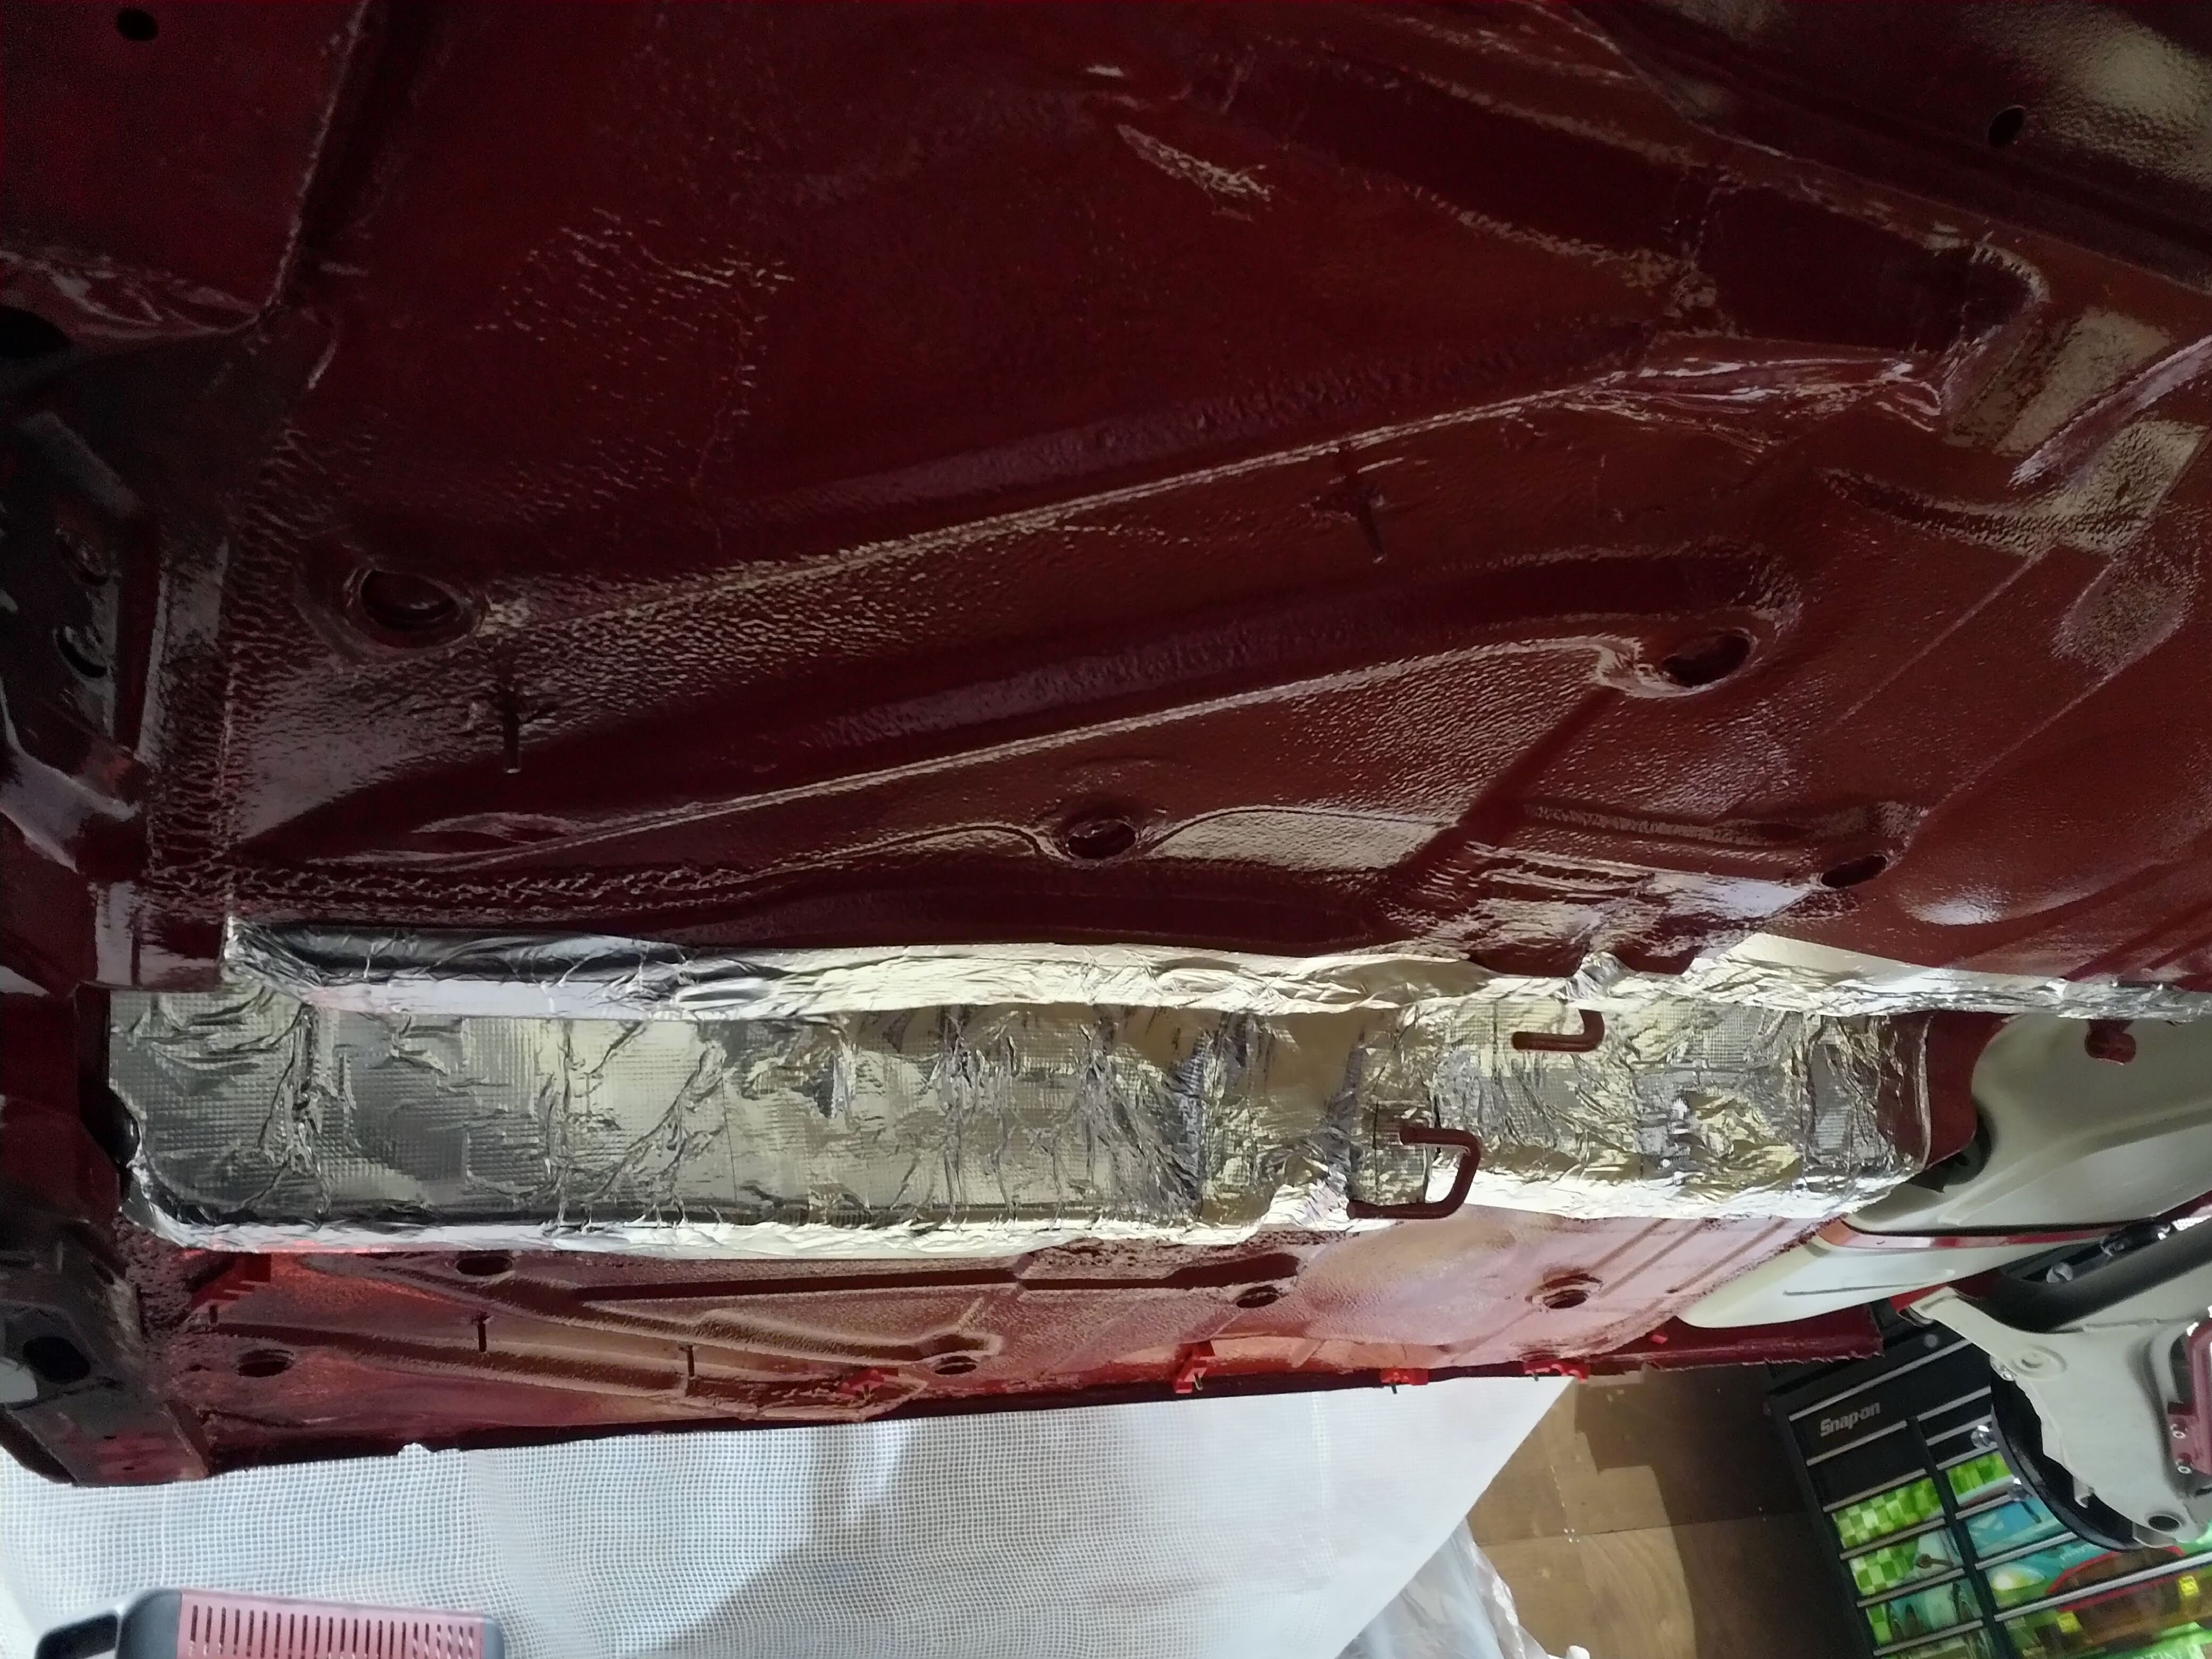
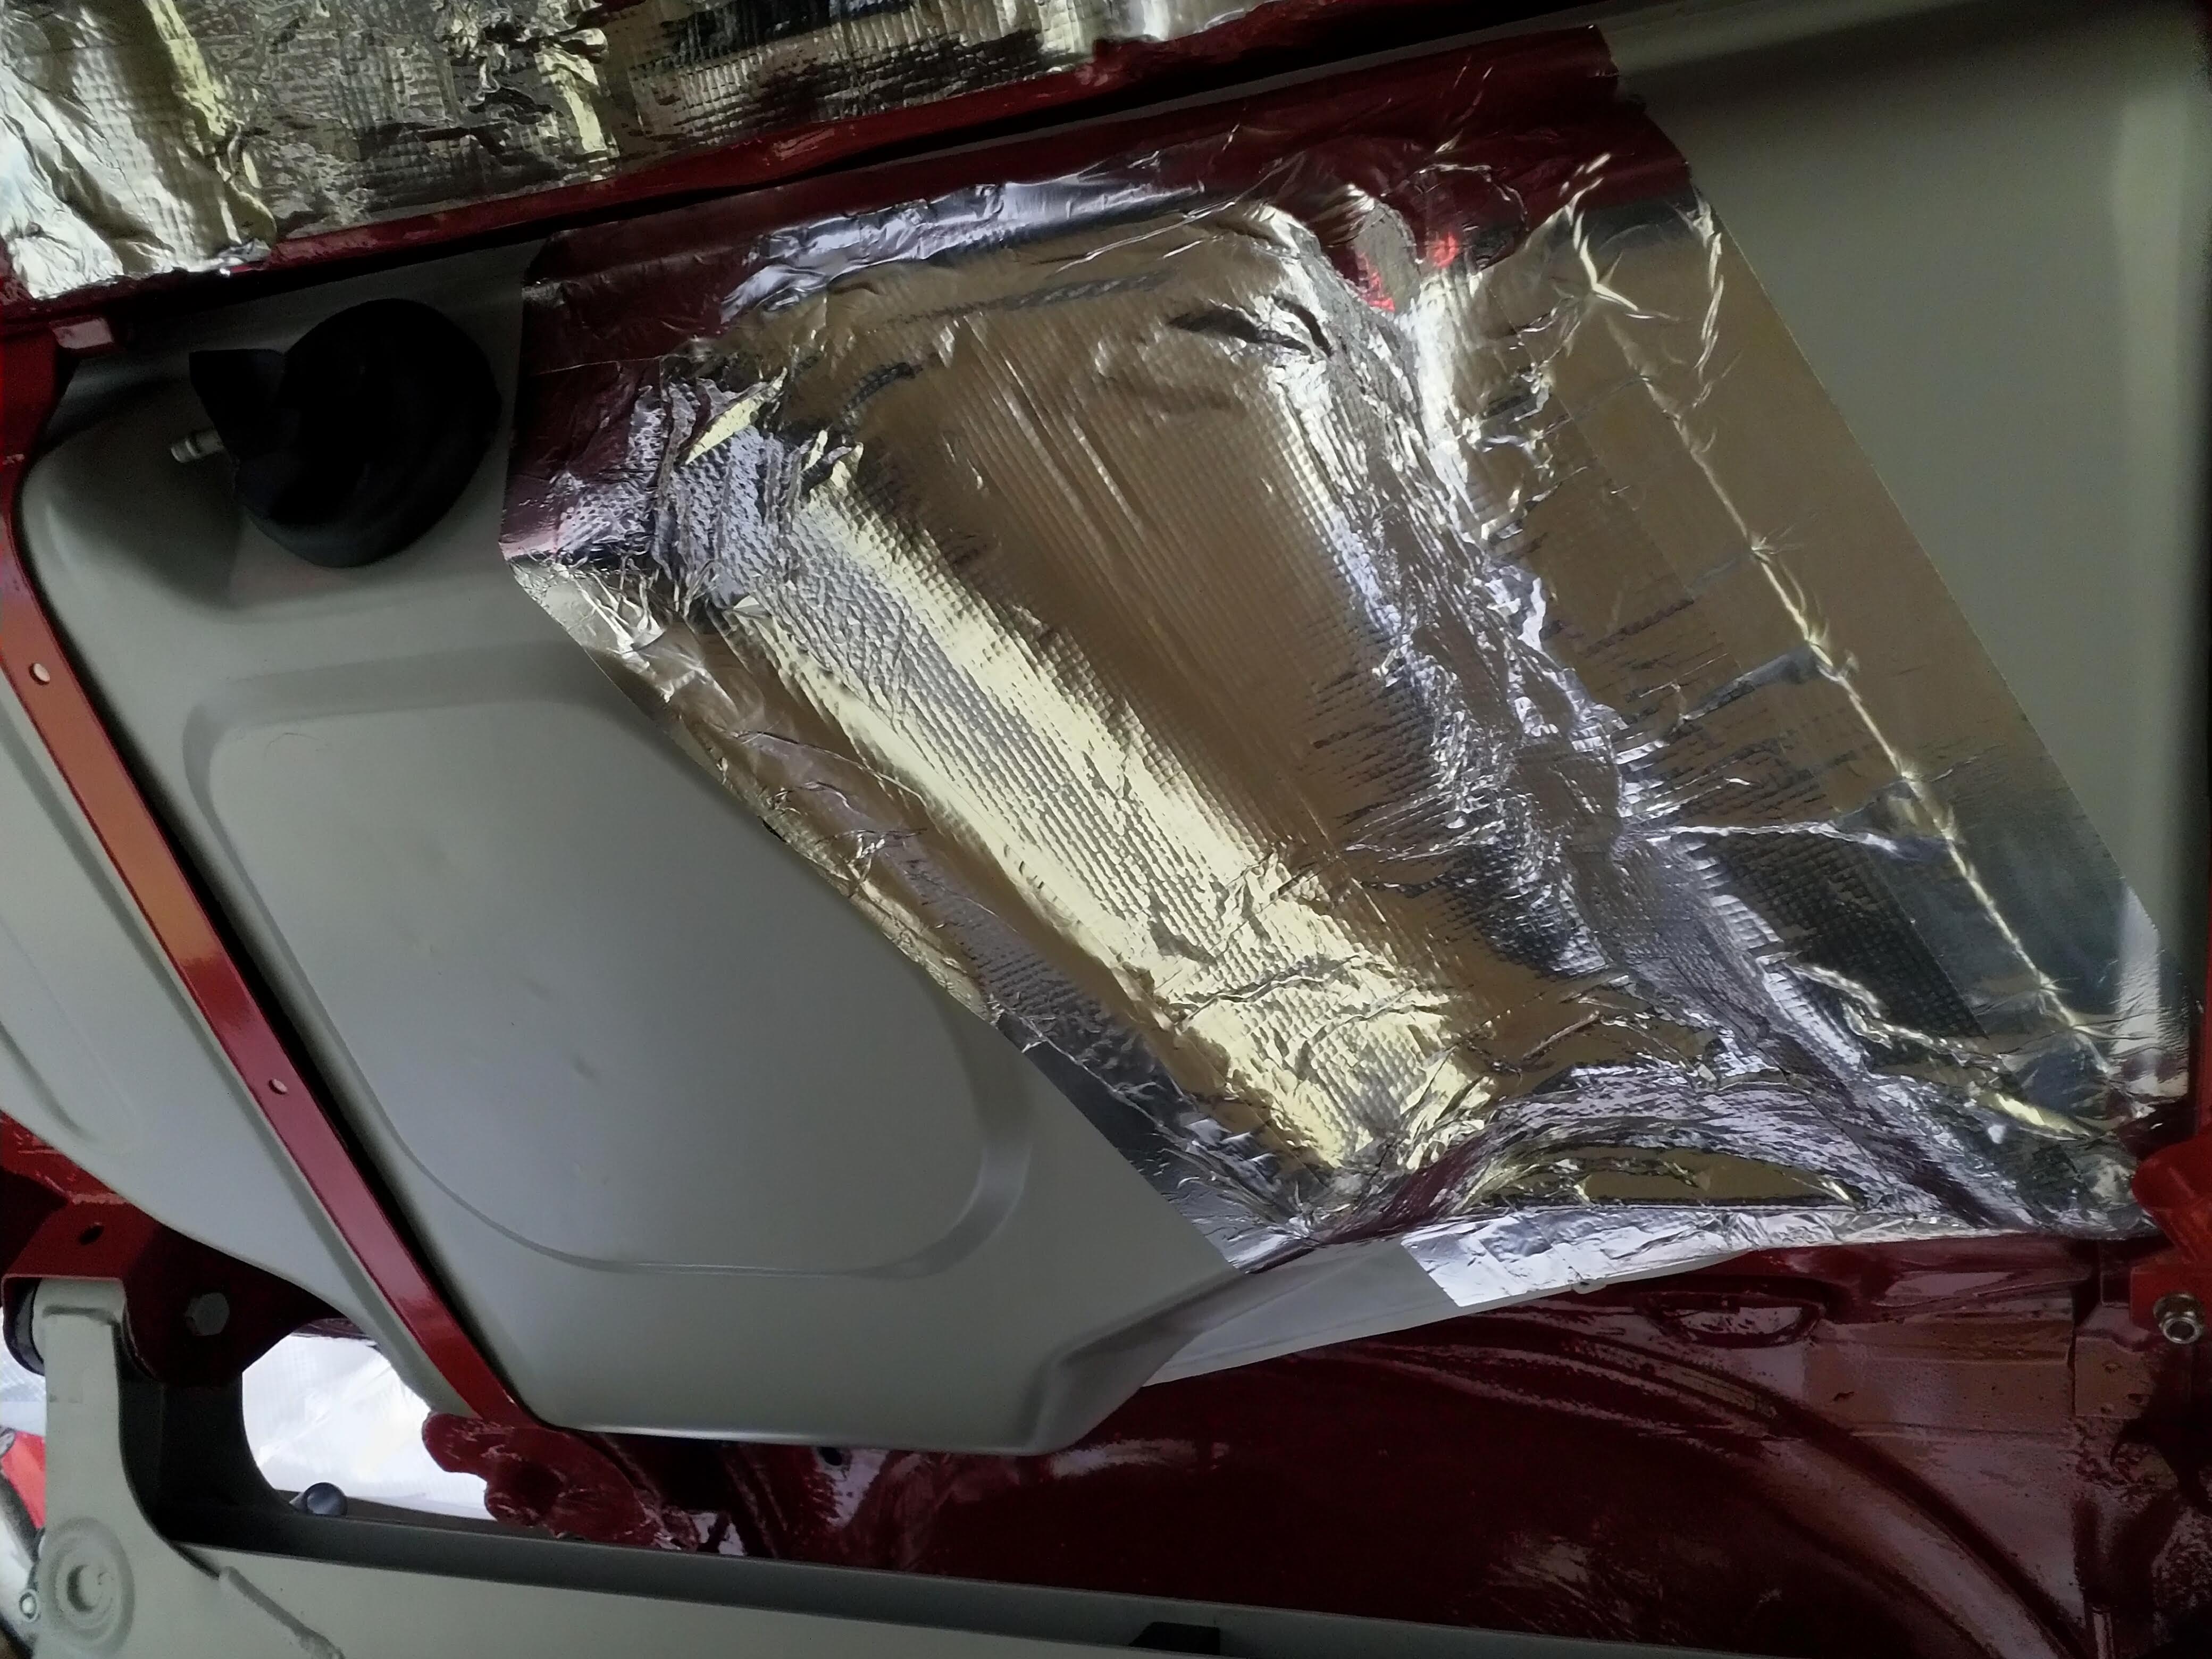
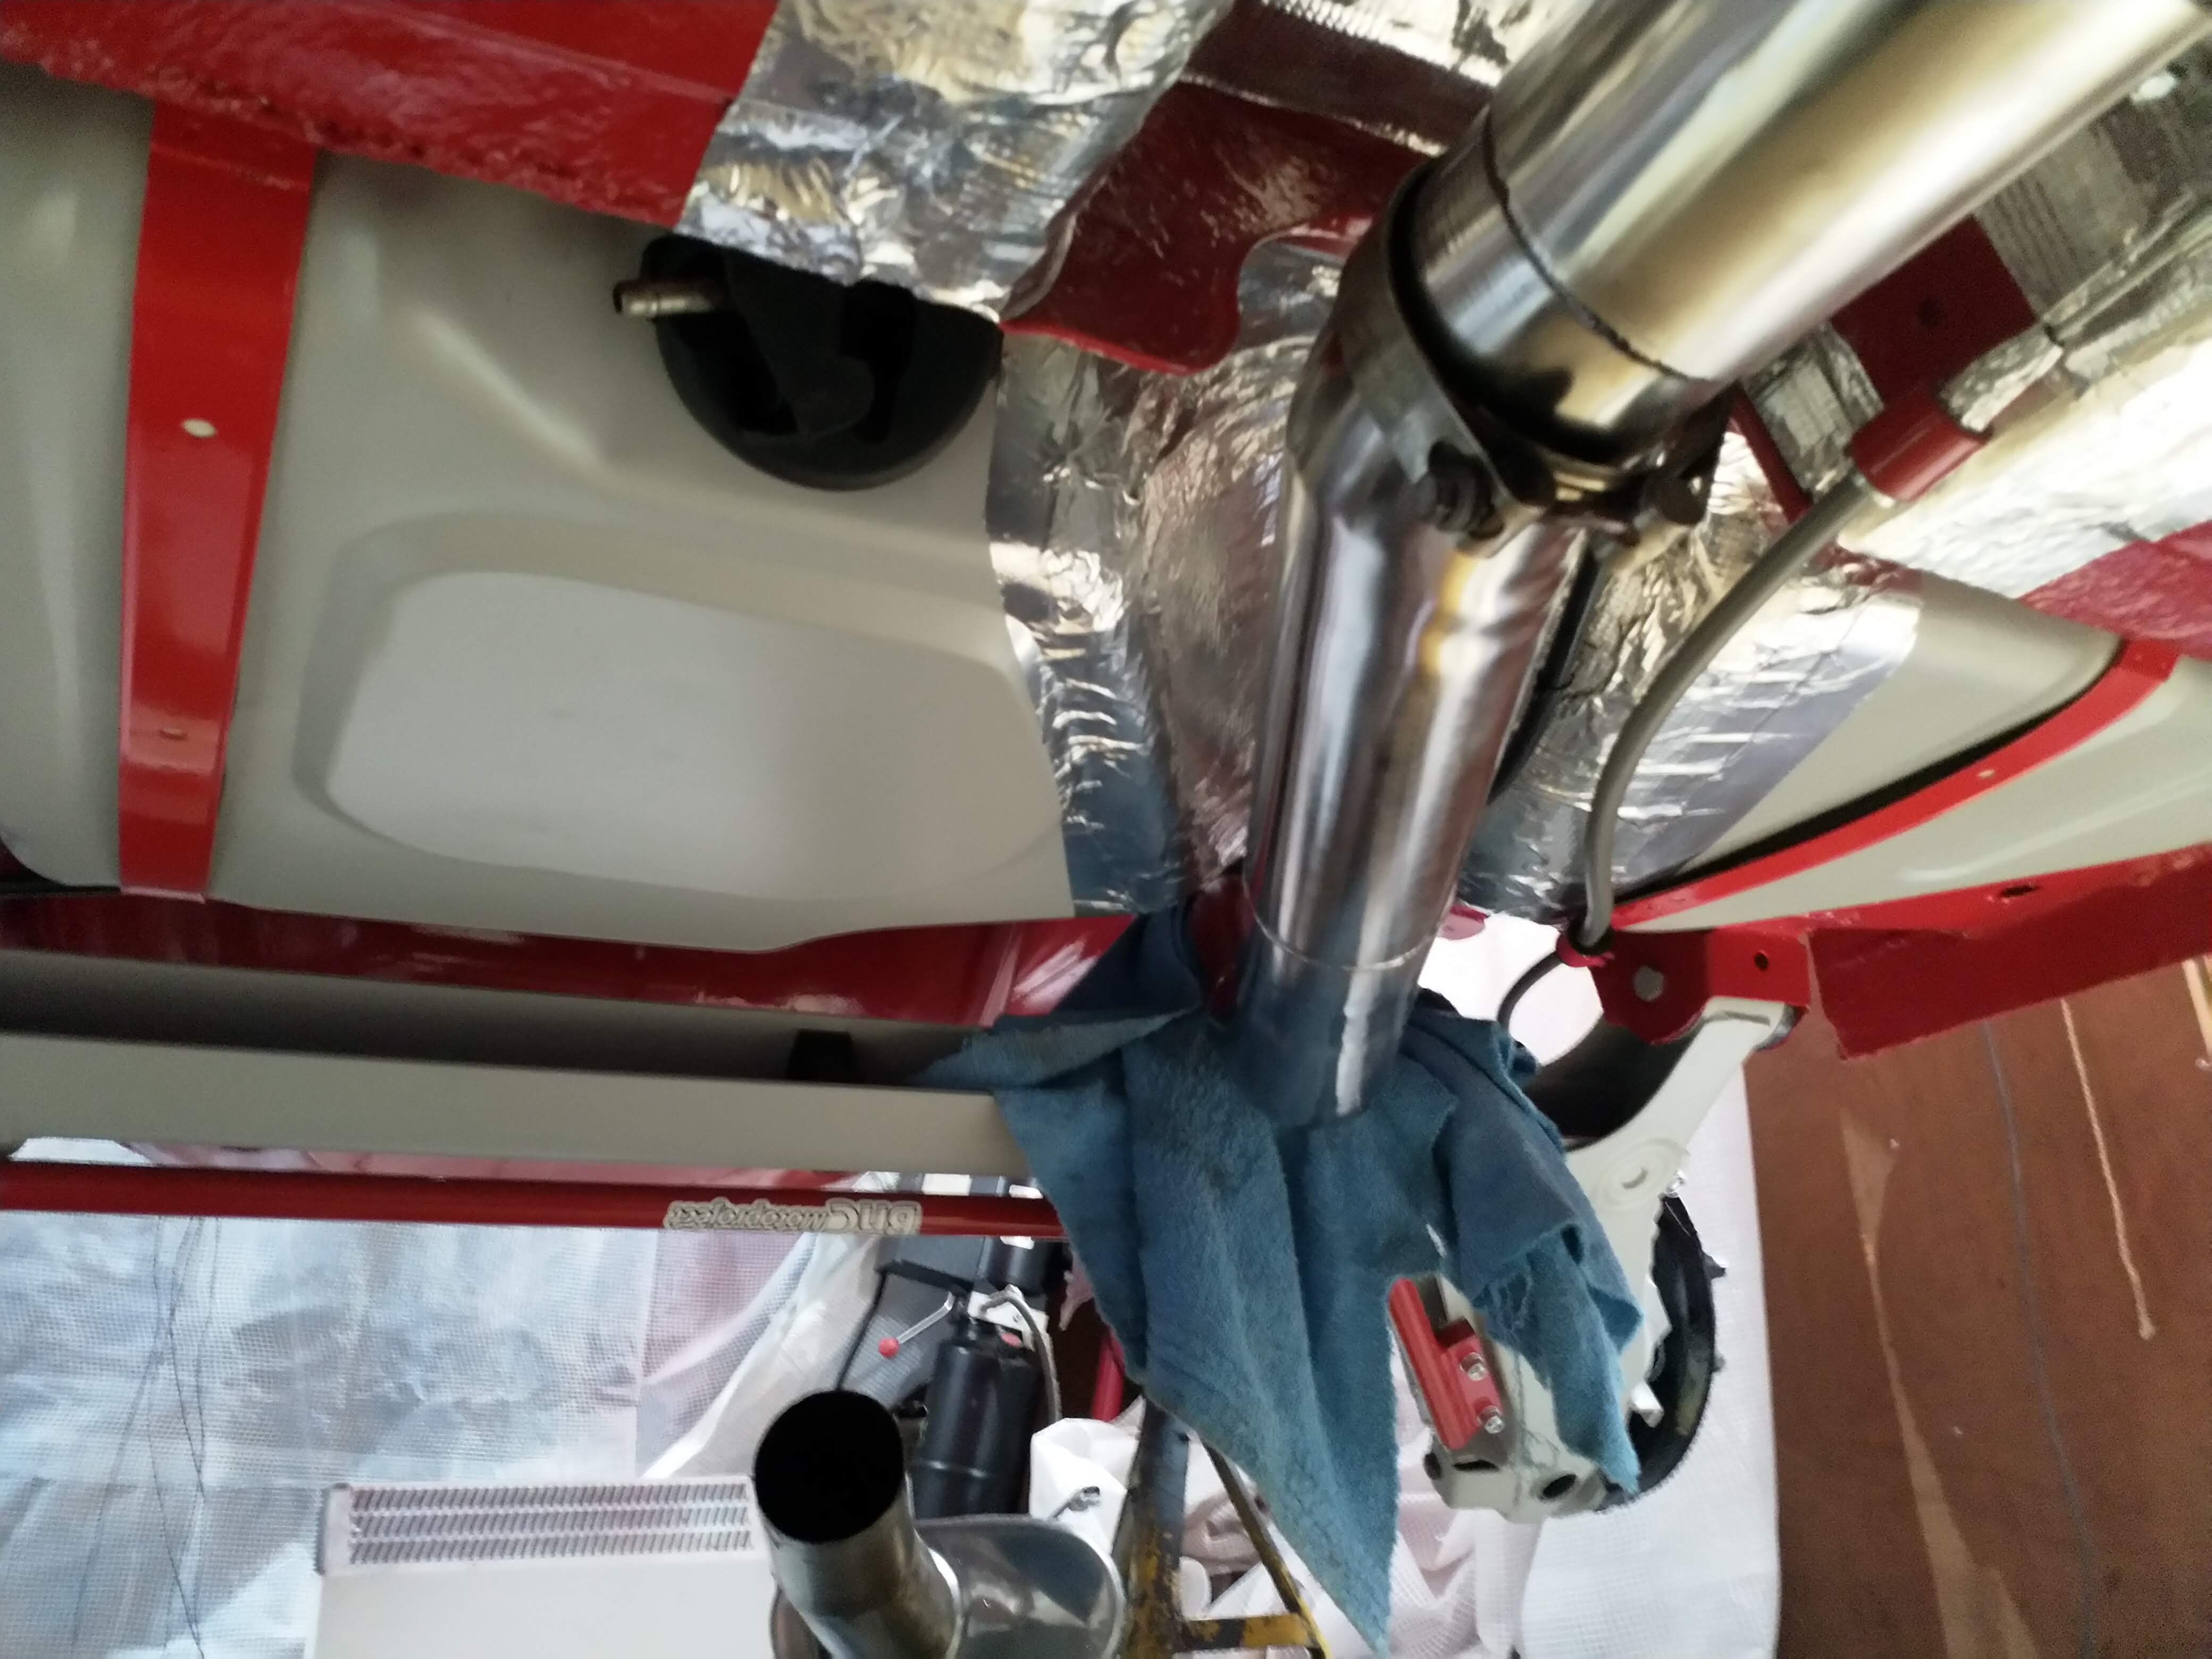
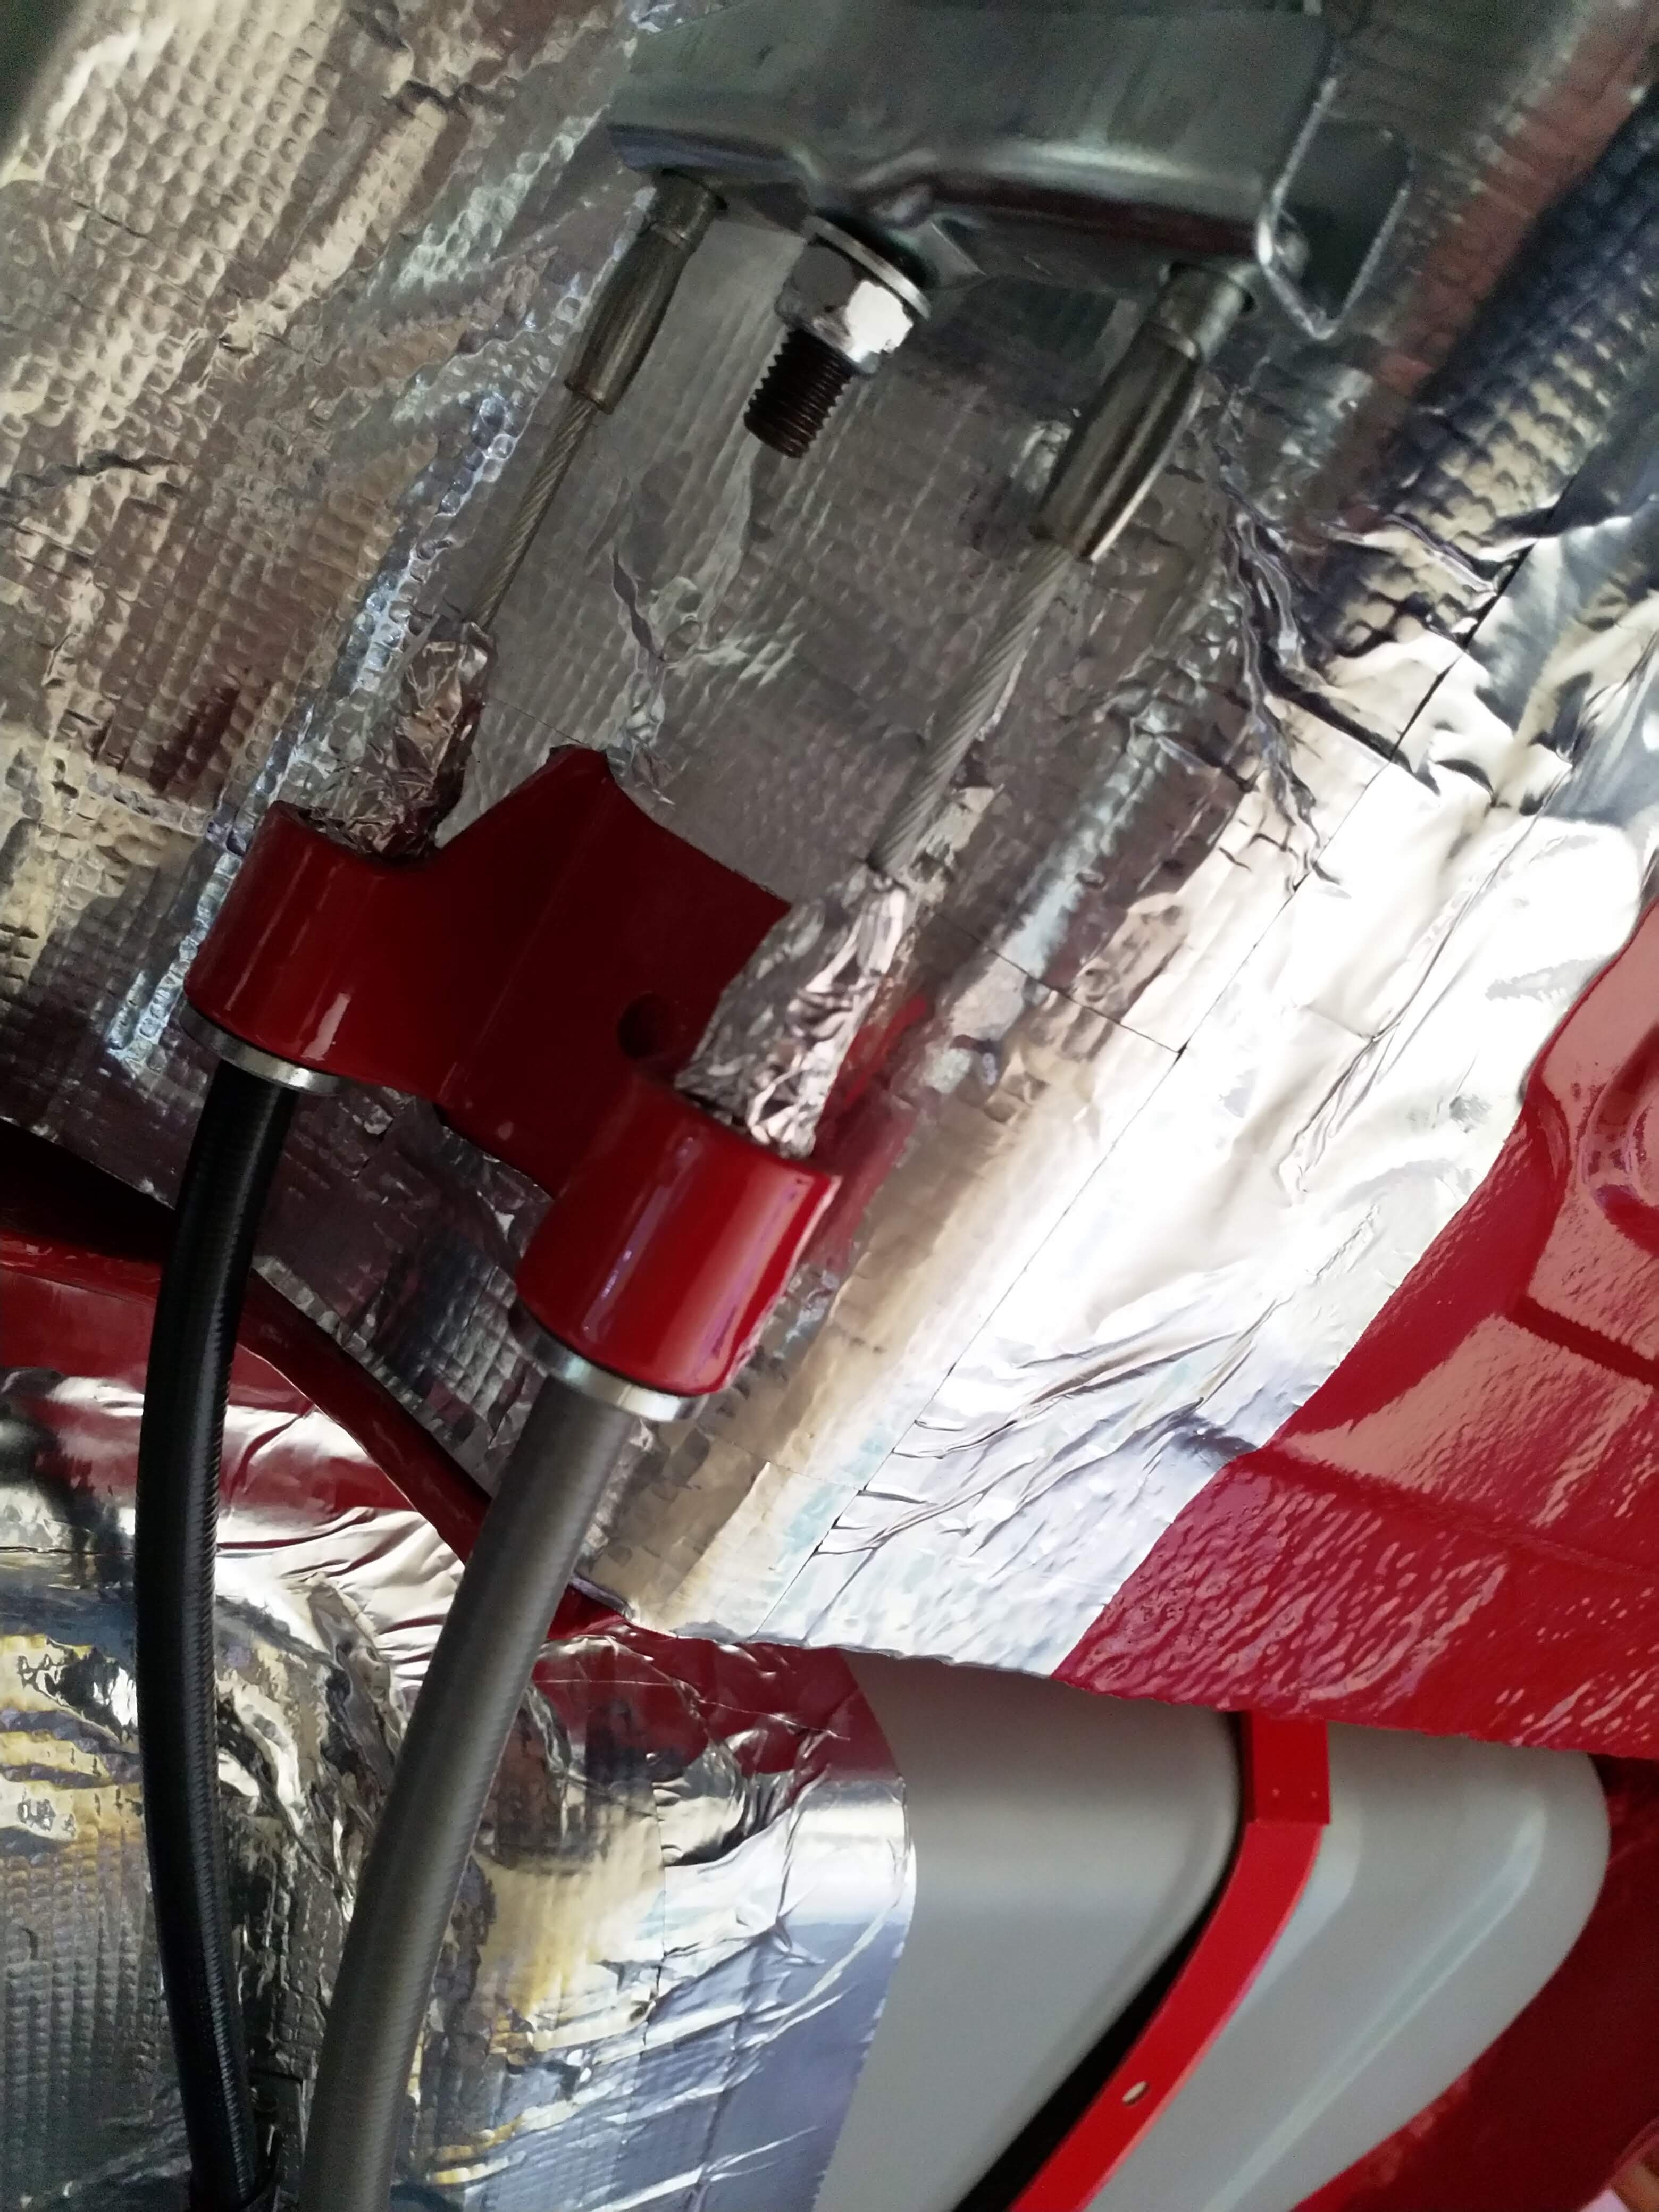
I also did the fuel tank which doesn't actualy have a heatshield from factory but seemed like a good idea

full


and all done

full


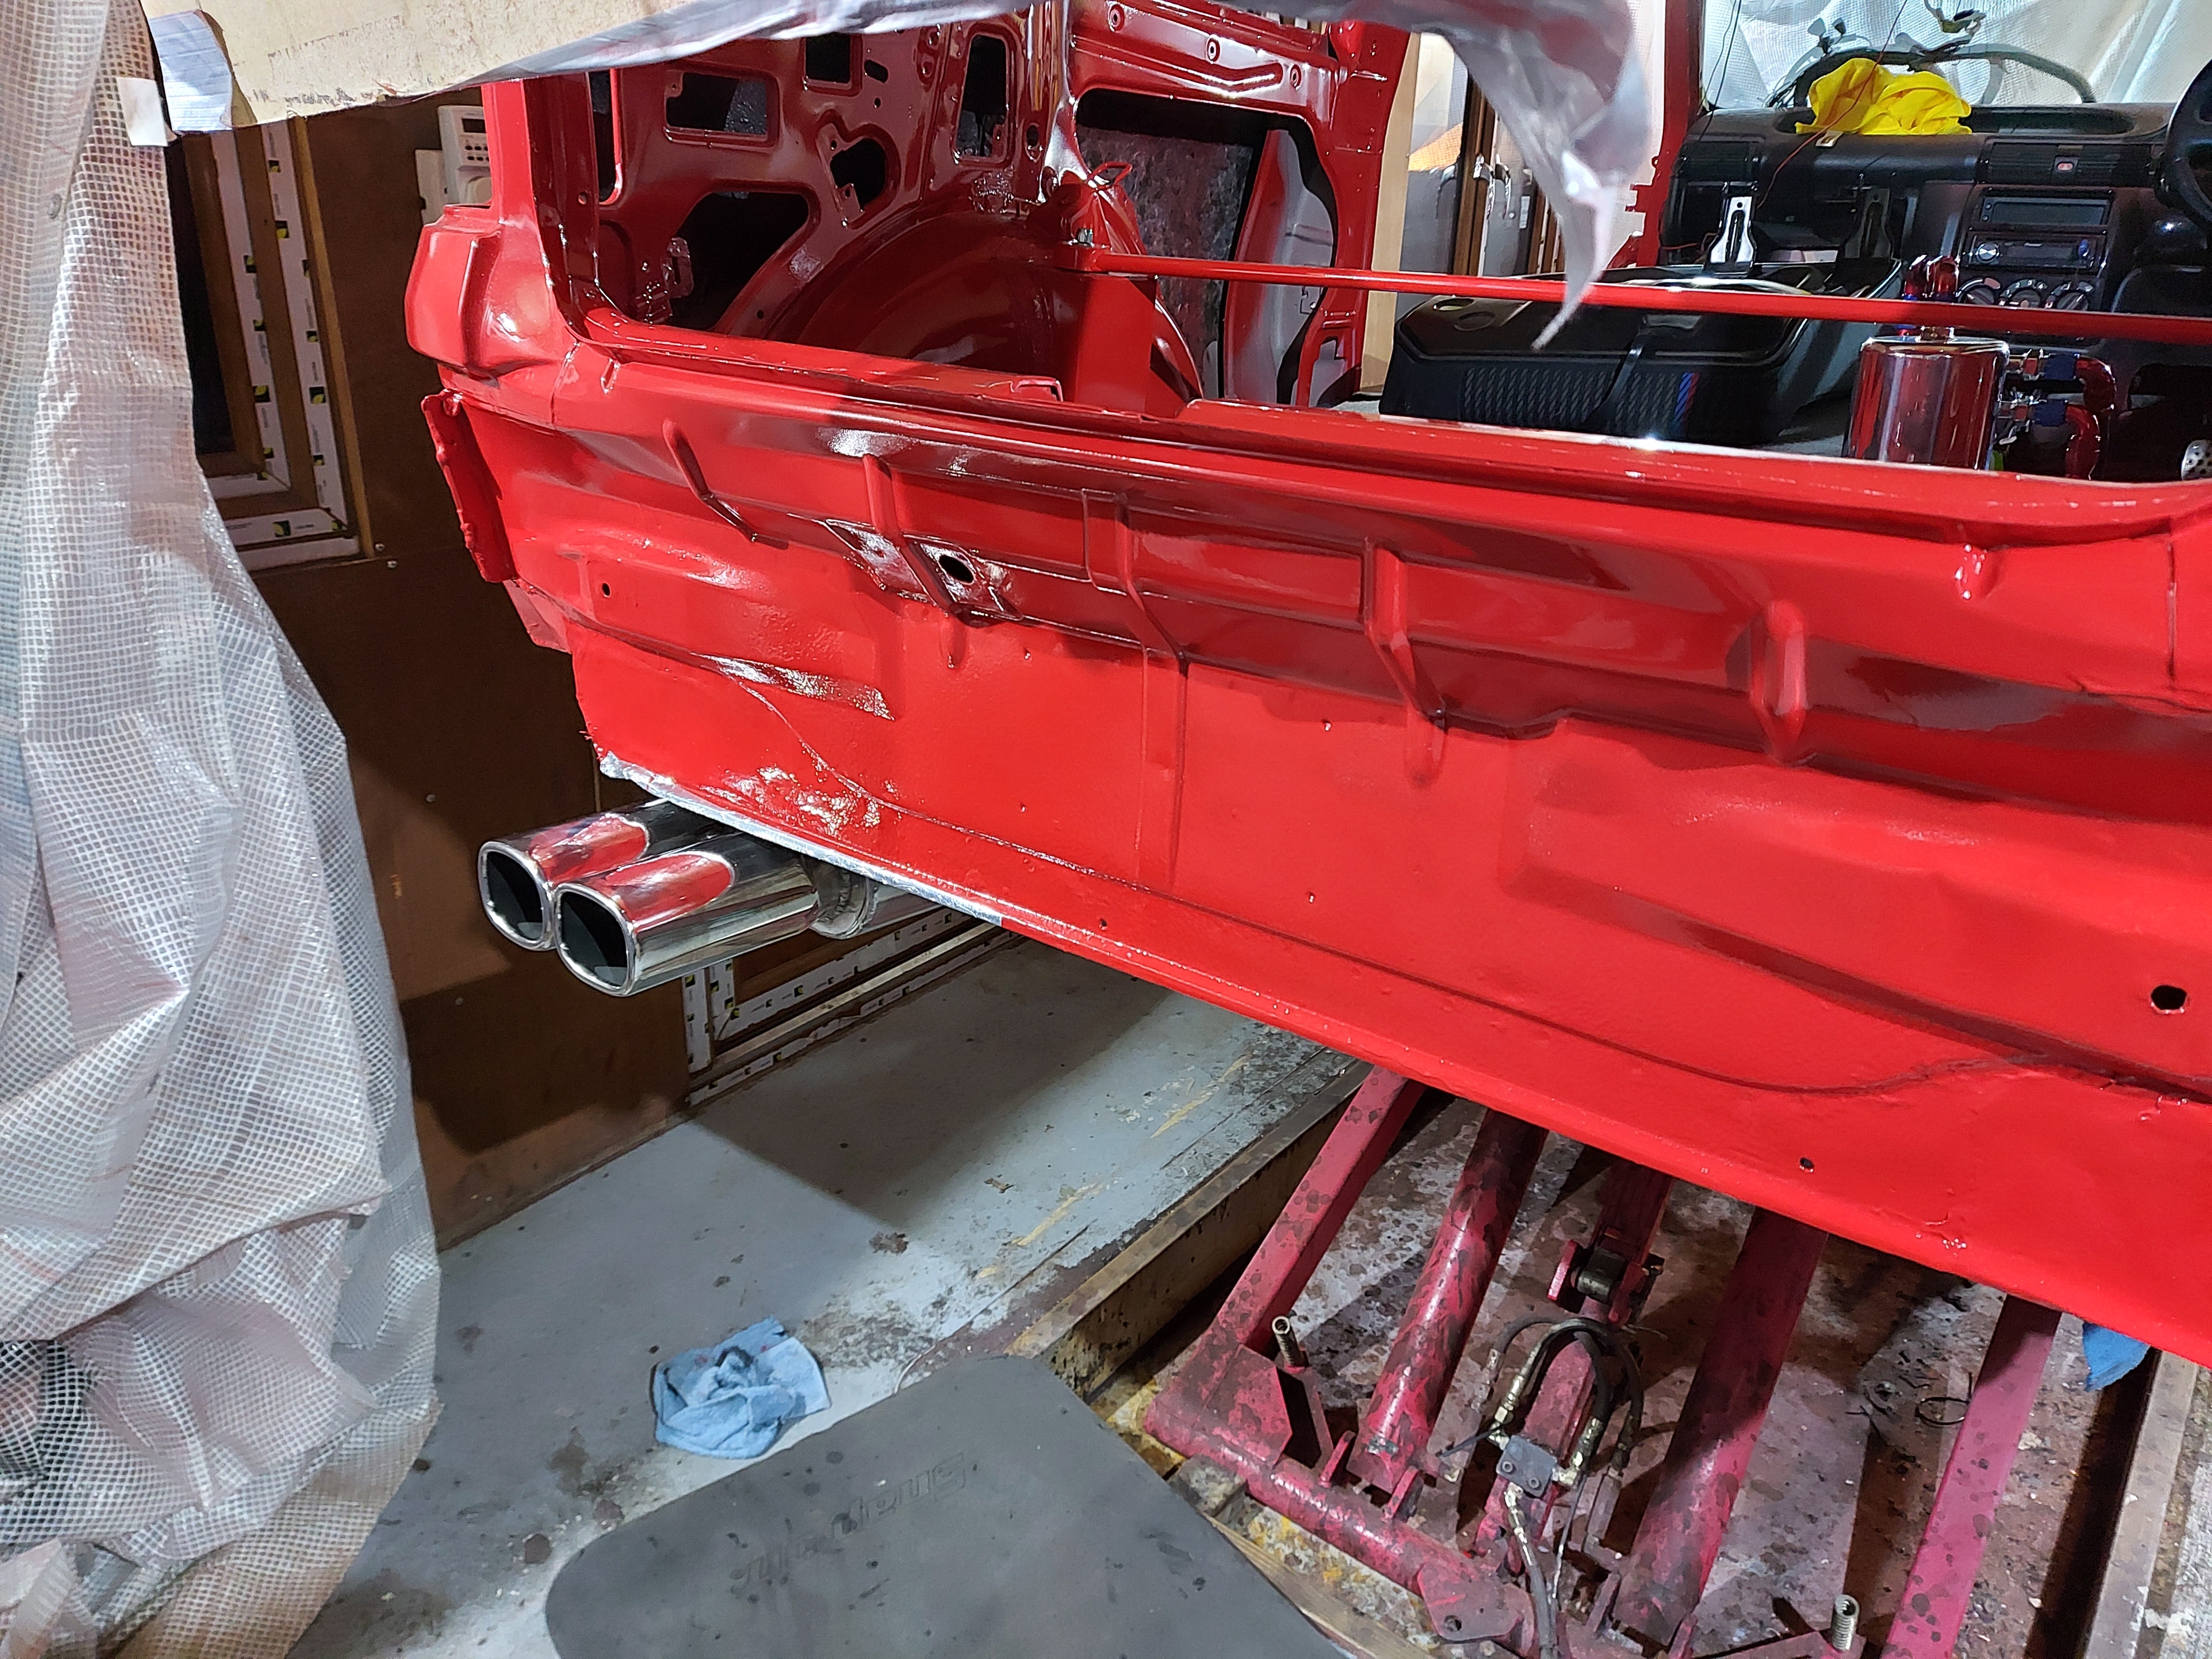
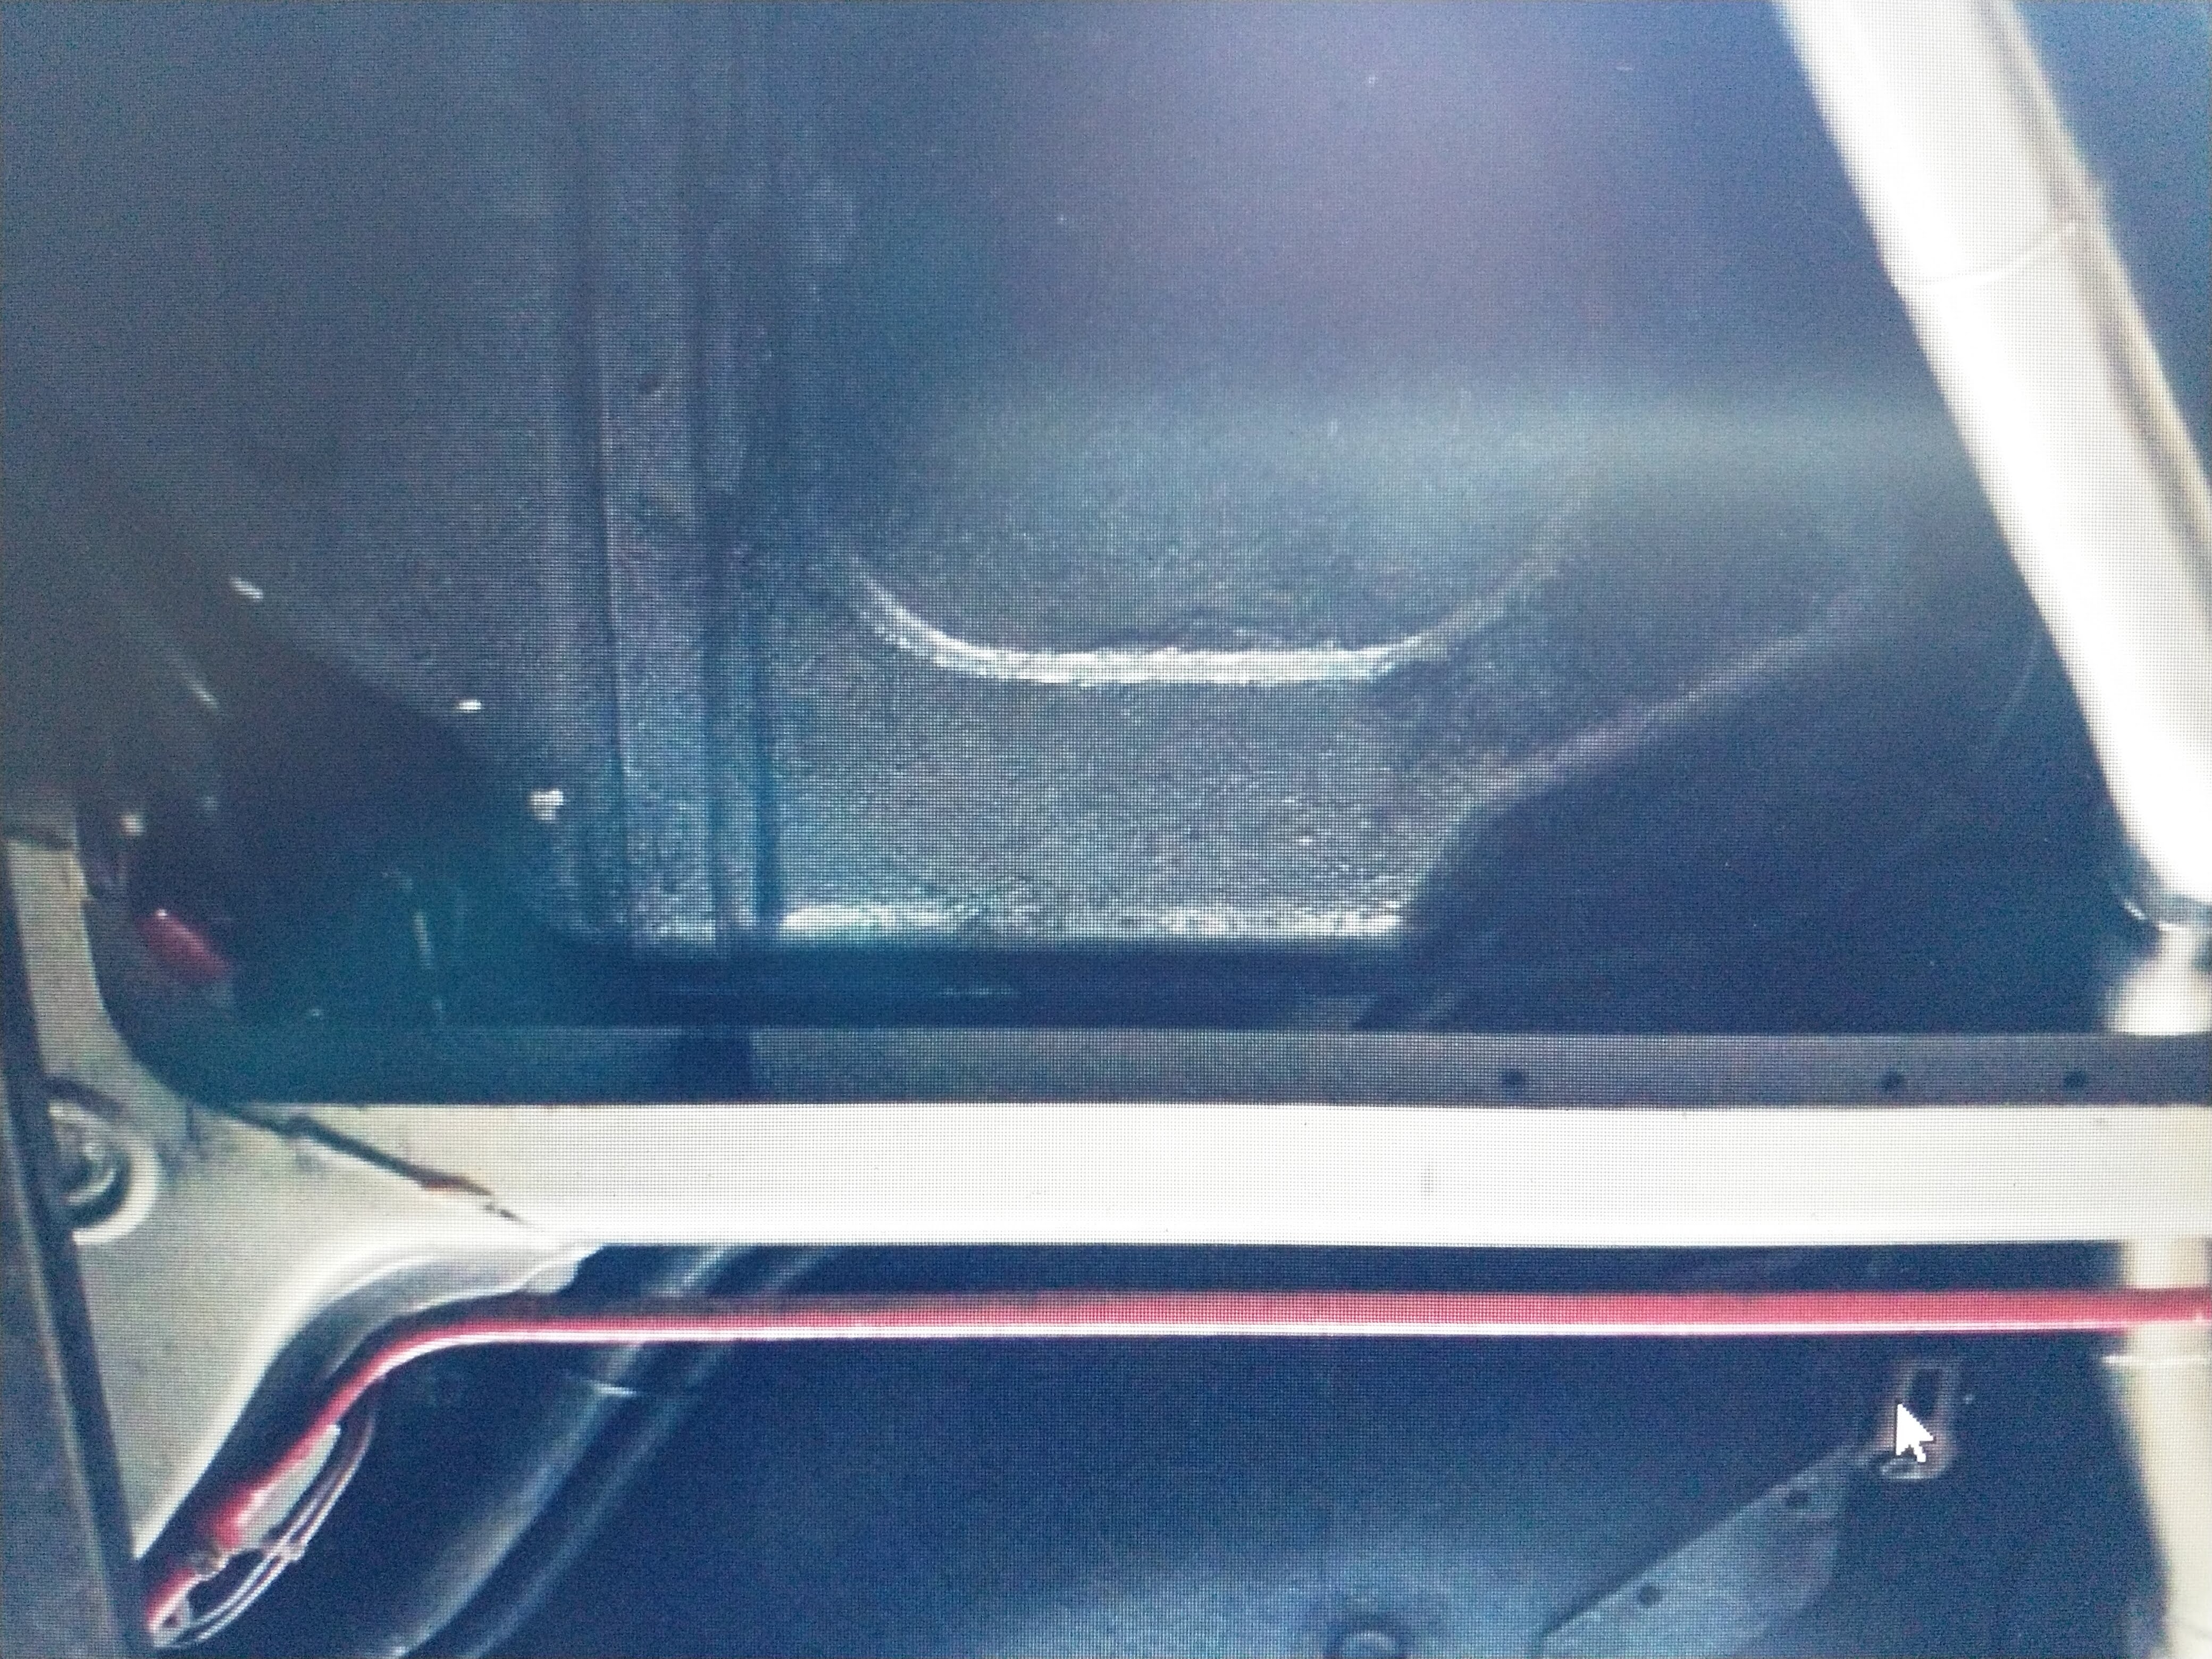
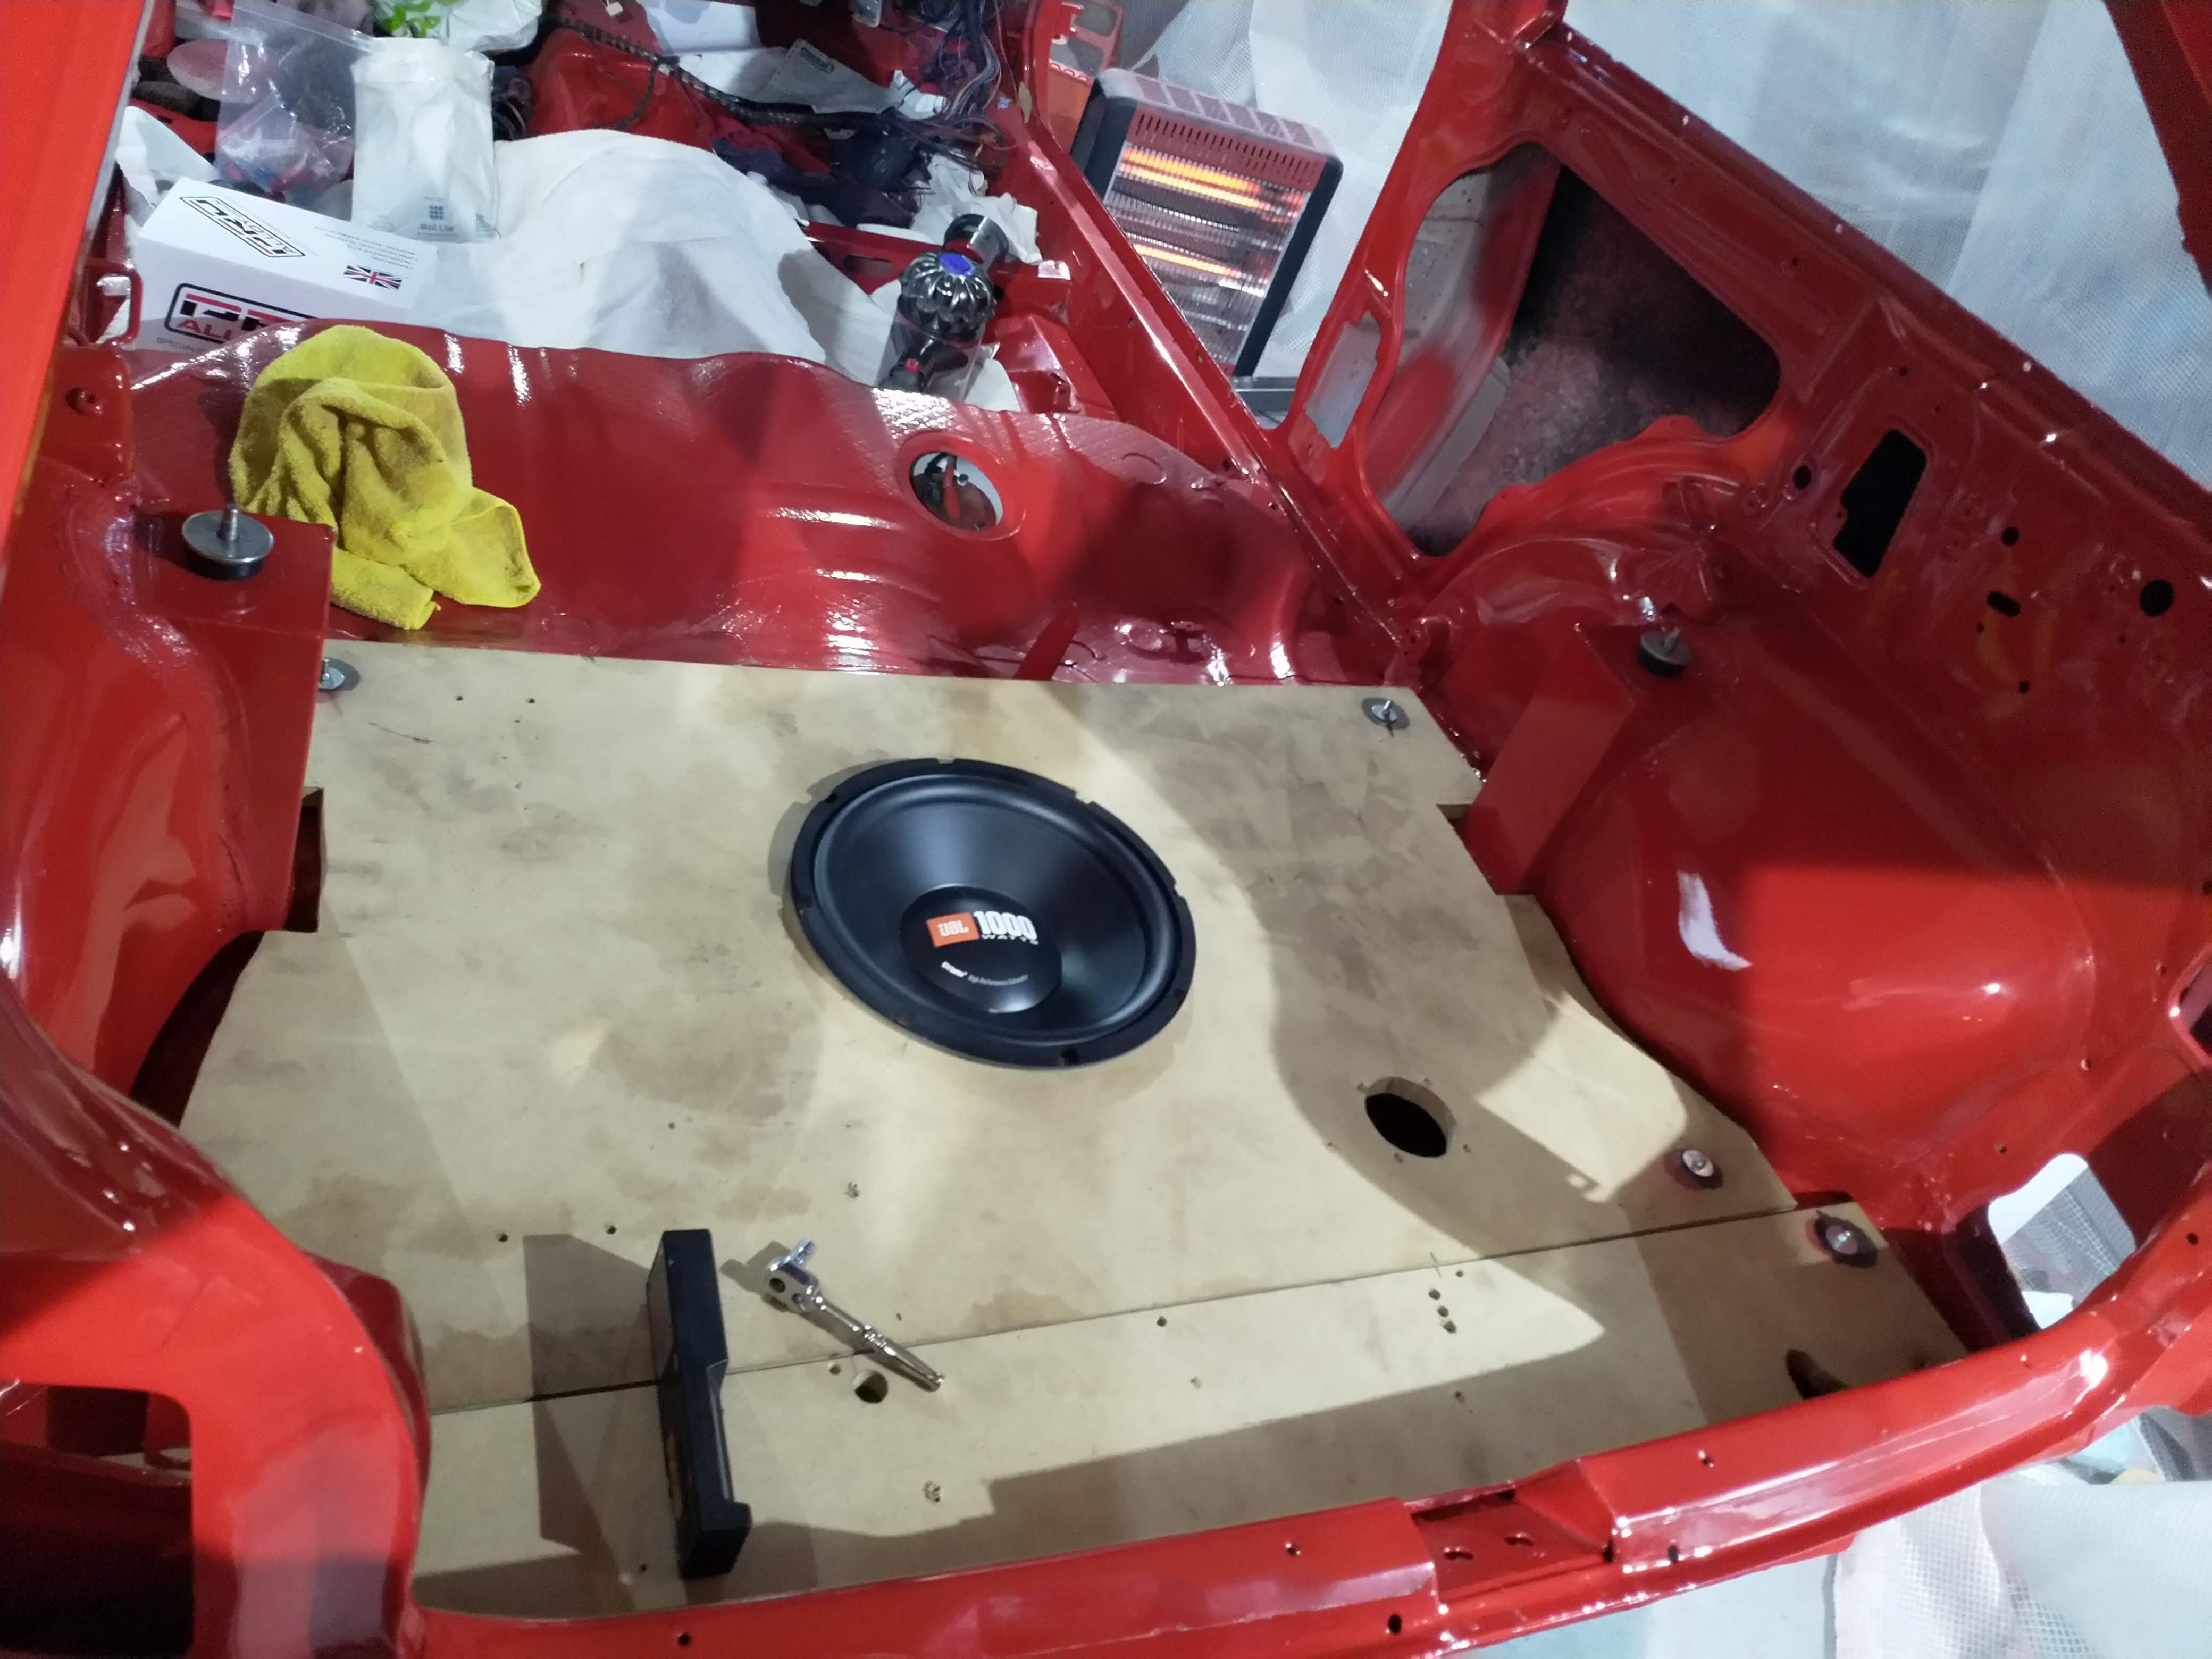
all that is left is to do is where the back box goes....

full


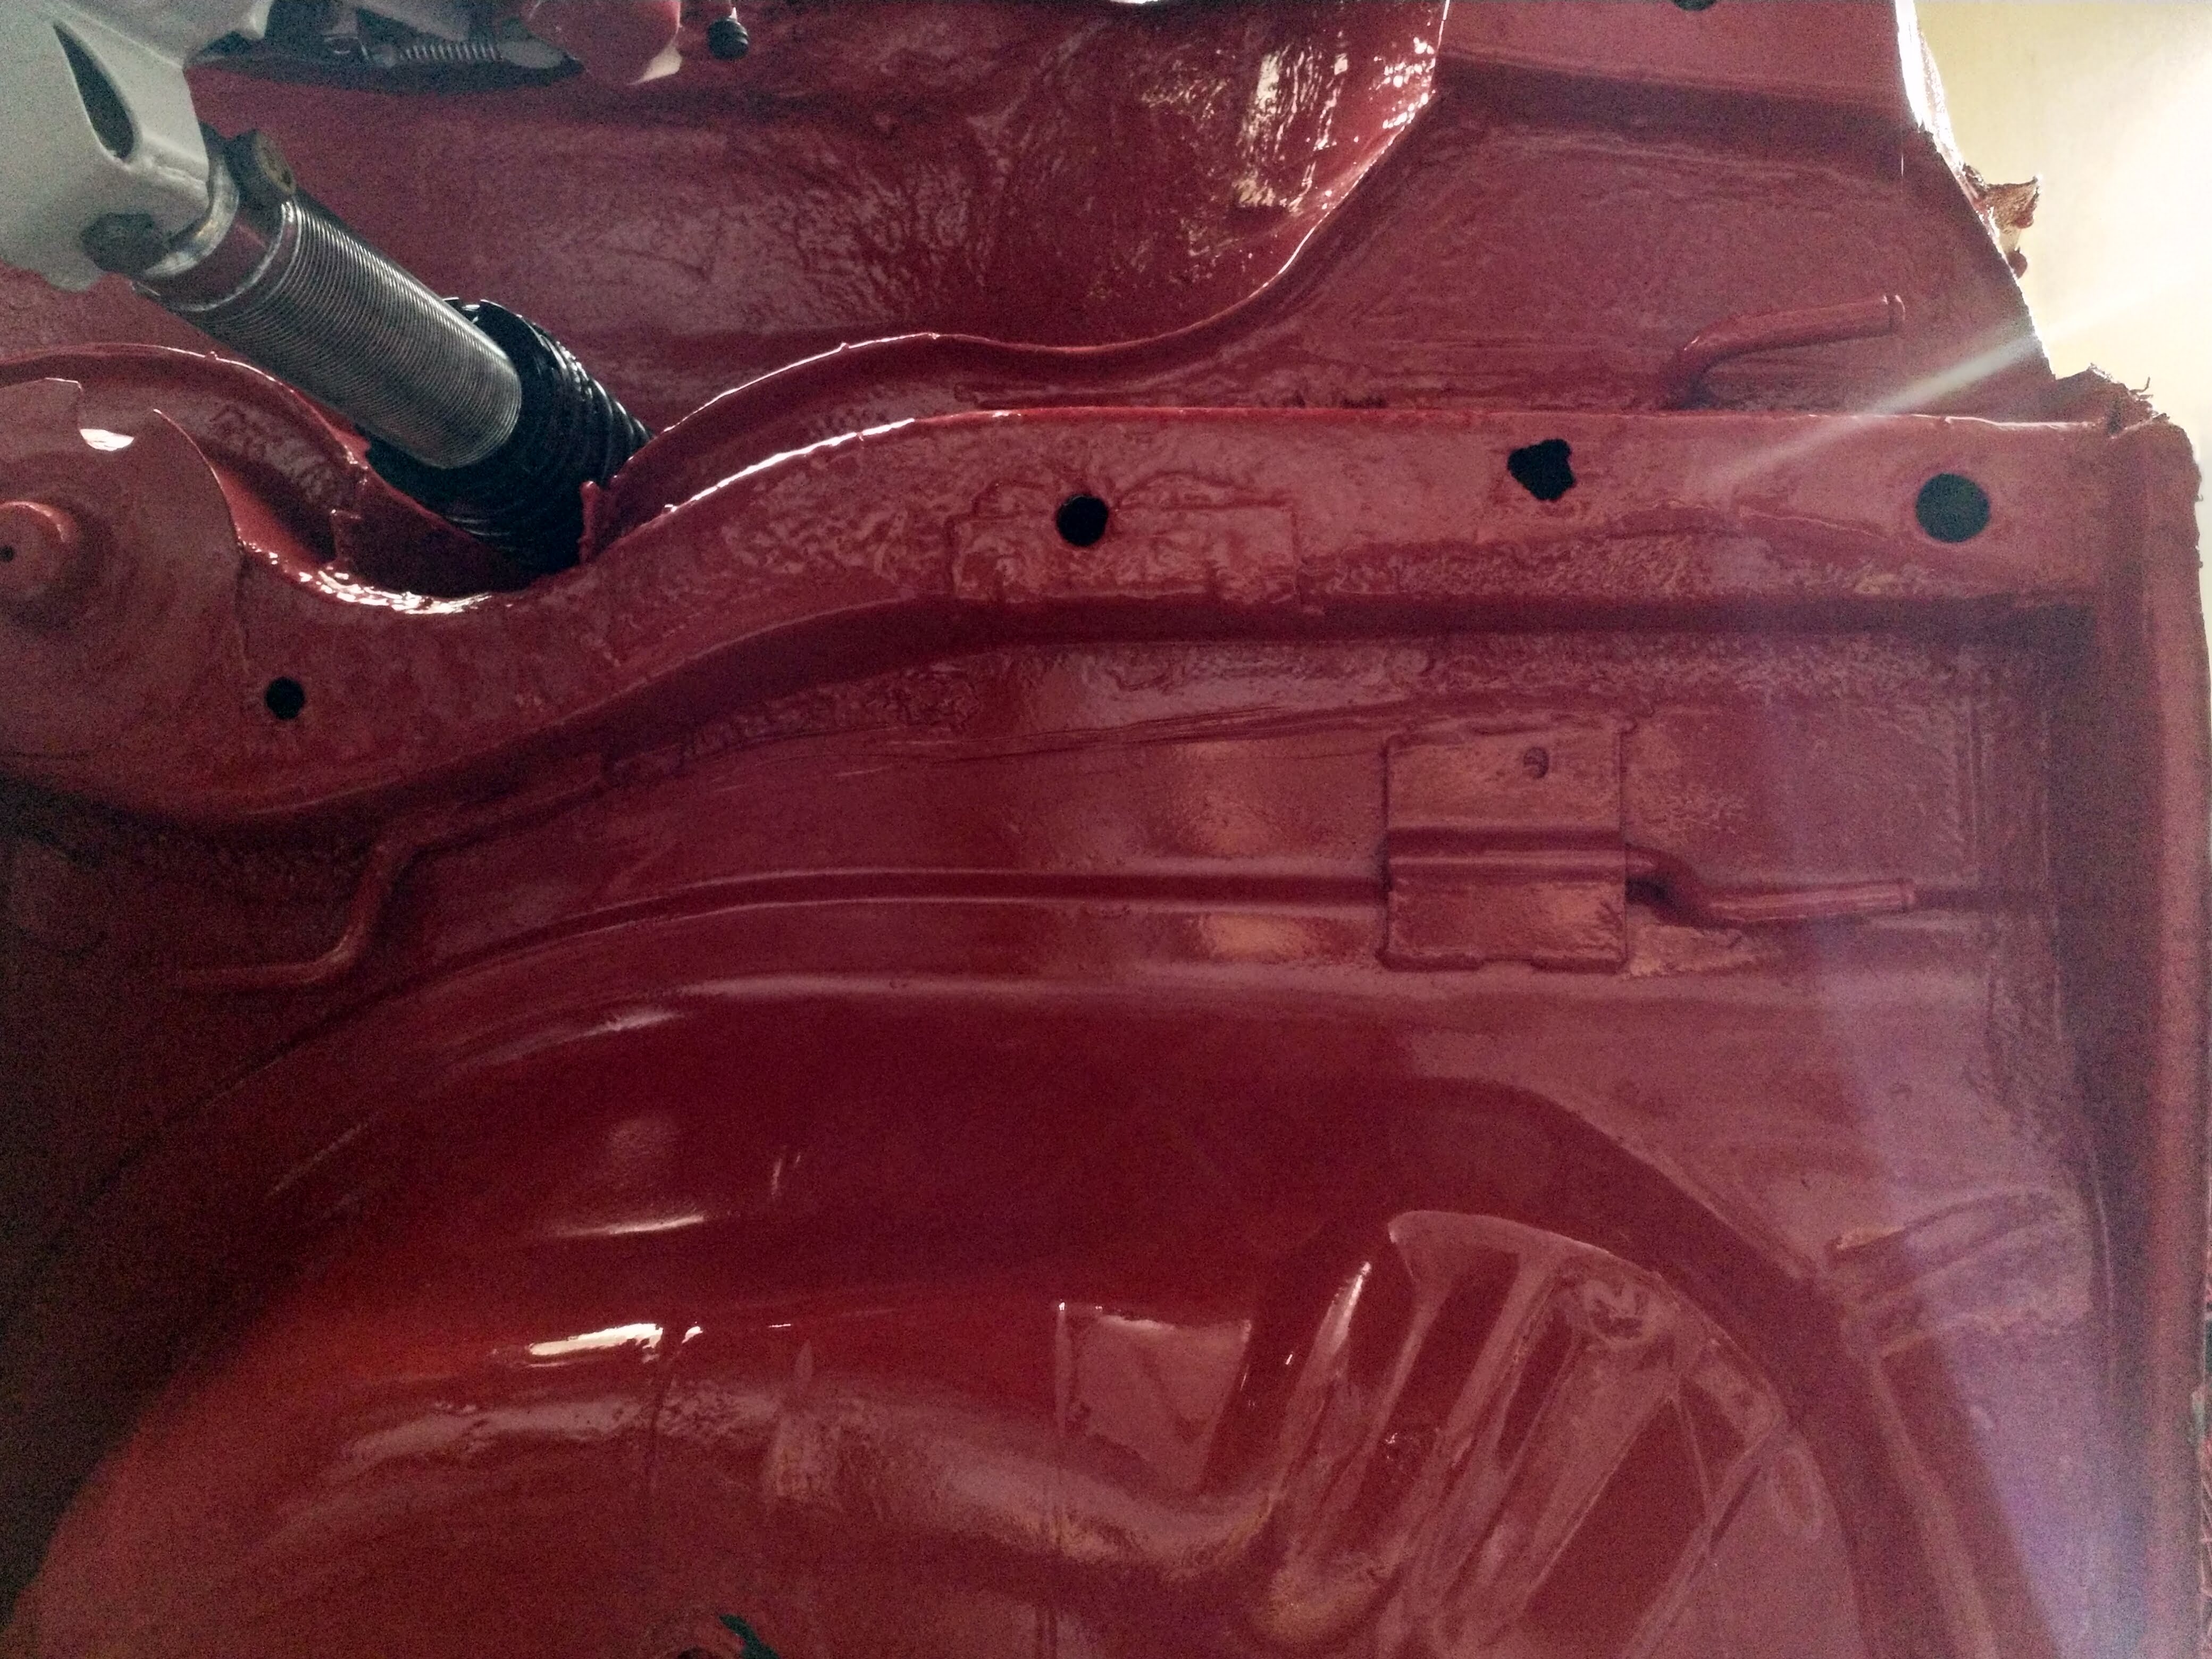
I didn't order this straight away incase i wasn't convinced, but the stuff seems really good and it's mega mega sticky! So that should turn up soon!
 
Been a while since I have done an update! It has been soooo long trying to get something finished, and its all happened now!

Heatshielding finished...


full

full

full


Next up, time to fit the exhaust..... but it was dirty....... hold my beer.......

In all seriousness, this took days lol

full

full

full

full

full

full

full

full

full


Next up was the downpipe. The turbo had some snapped studs which I sorted a while ago, the downpipe wouldn't fit because one of the new studs was literally 3mm too long..... That is seriously tight tolerance downpipe!! :tape:


full

full

full

full

full

full

full


and finally the back box.....

full

full

full

full

full

full


:love::love::love::love::love::love::love:
 
Last edited:
Next up, get the handbrake cables fitted,

Brand new OE handbrake cables... I bought these 15 years ago I reckon when I have my 1.4LS and I was going to do a rear brake disc conversion on it lol

full

full

full


We will ignore the fact the exhaust magically disappears in some of these pictures...

full


I couldn't figure out how the drivers side handbrake cable routed......

full


Surely it doesn't go above the exhaust??.....

Found this on my diary

full


Hot damn, literally, it does go over the exhaust! Gonna have to do something about this, Introducing The TC105...

full


Little tiny Metal tags that can be bonded with the 2 part loctite to the body of the car and a cable tie put through the middle of it so anything can be secured anywhere. Can't hold a massive amount of weight, more for making things neat and tidy but can be used to hold things away etc. Made from stainless steel aswell so never rust.
So the first job of these is to hold the handbrake cable away from the exhaust

full

full

full

full

full

The last part which needs sorting is a little mount which originally had a metal S hook thing holding it on. I was going to make one but decided lockwire would be better and neater.

full


Lovely.

I'll have to keep an eye on these, make sure they don't melt or anything.
Heat wrapped certain parts of the handbrake cables to stop them from melting.

full

full

full


Adjusted The handbrake and all good! In the next installment, Fuel system.
 
Last edited:
Super detailed work Dave, it's such a pleasing feeling when you know you're nearly there. Keep at it and I like those ikle metal tags you've stuck on to hold the h/brake cable clear from the exhaust.
 
Super detailed work Dave, it's such a pleasing feeling when you know you're nearly there. Keep at it and I like those ikle metal tags you've stuck on to hold the h/brake cable clear from the exhaust.

Cheers buddy, they are in all sorts of hidden places on the car now haha, We use them on the BTCC cars and the day i saw them i thought ' i'm having some of that' :lol:

Another update tonight hopefully
 
Dave do you have a link for the metal things holding the cable away? Mines long since rotted off, cable tied it last year but it didn't hold for long, and I'll need a new cable for the mot this year I reckon, dont want it burning away again.
 
Dave do you have a link for the metal things holding the cable away? Mines long since rotted off, cable tied it last year but it didn't hold for long, and I'll need a new cable for the mot this year I reckon, dont want it burning away again.


sorry mate, only just seen this!


then get some of the loctite glue off ebay aswell, their good stuff! be interesting to see how they handle the heat
 
Sorry for the lack of update! Been a very busy boy on the car! Buy the time i get in from the garage I just want to sleep haha.

So next up is the fuel system! MK3's suffer badly with fuel starvation on track so I've decided to run a swirl pot and fuel pot. I'm not sure if this car will ever go on track again, but tbh they do look cool and helps keep the fuel pressure to the rail and my new expensive engine in check lol

First things first, get my false floor and subwoofer back in! It's a 90's car, it's gotta have a sub and amp lol

Cleaned up the threads i welded in, no more dirty self tappers through the floor!


Just a quick note, This first picture gives a real first hand look at just how much fabrication was required to rebuild the boot floor lol.

full


wooden floor in, mounted on rubber mounts

full

full

full

full


So I want it to look something like this...

full


Time to line up and drill some holes

full

full

full


Rubber gromits in the floor for the pipes to go through

full

full


Welding wires to find the holes

full


All Bolted down, Its going to look like this when done

full


Now I was going to go for normal rubber hose, braided a while ago, but then I did some research and found out teflon lined hoses keep the smell outside of the car, which is definatly a must :lol: so cause I went for these, they were a different OD, so back to design, and back to the 3D printer! Thank Andy_Mk3 for his help designing these.

full


And ran the new lines under the car, with plenty spare for fittings etc, these will need removing again to put the fittings on, but this now reveals why I welded m5 studs all over the bottom of the car, in place of the crappy self tapping thread things that come OE

full


Perfect, now to build all the lines!
 
Last edited:
So after parting with ALOT of hard earned money, this lot arrived

full


FYI, I still had to order more after this...

I started at the fuel rail, weirdly this is the only picture I got of this end, but basically this goes onto the rail with anodised adapters on the rail. Secured with TC105's and a cable tie. But i used a small cut off of silicone to not only space the adaptor away from the the inlet mani, but to act as a damper aswell for the fuel line away from any engine vibration. tastey.

full


Did have an issue though, the fuel lines are pretty fat, so they were touching the roll bar

full


I ended up buying a new phone, some of these pictures are terrible. So I made, A BRACKET!

full


There is an existing stud which can be used, Ideal!

full

full


Drilled holes in the bulkhead join, and welded some m5 stud to the bracket for a pipe clamp

full


Splash of spray paint

full


Foam on the back stop it rubbing my lovely paint off

full


Done

full


Missis the rollbar now

full


Next up, start sorting the back end out, I ran my first pipe from the swirl pot through the floor.....

full


anddddd then i stopped.... I realised that this was actually a bit pants. The pipes were a nightmare to get though the floor and keep the gromit in place but worse that that, because braided hose is stiff, the bend angle of it under the car was massive and not only did it look rubbish, it actually was pretty dangerous.

So back to the drawing board and a load more money later, I had a load of bulkhead connectors turn up.....

full


Much better, more secure and more compact.
So I made in the in boot fuel lines

full

full


These 3 lines are.....

Feed from tank to pot
Feed from pot to rail
Return from rail to pot

full


All that was left to run was Pot overflow to tank return, This is tricky as I ran out of room for fuel lines on the Drivers side, so I had no choice by the head toward the passenger side, then come back across

full


Silicone to stop it rubbing,make it a tight fit in here which is nice too

full


Now the only issue is I need to come back across over the exhaust, fuel return, exhaust.... yea a little bit naughty. So first thing, proper mechanical fix, Drilled the tunnel and P clip to secure the hose

full


But also I don't want the fuel gettin hot, or the pipe. So I looked at heat management and came across funk motorsport who a friend of mine had used before. The silver heatshielding cam be bought in alot of different sizes, but best of all, velcro, so it can be added at any time! This might make its way onto the handbrake cable to!

full

full

full


Secured with Lockwire

full

full


Which allowed me back over here to do a U and go into the return! tis all coming together!

full


Designed 1 more clamp, Did this myself and it was pretty damn close first time! just needed a bit of fettling with a soldering iron, but you will know how this goes on....

full

full

full

full

full


Yep you guessed it...

full


slots onto the little rivets on the body!

full


Then I went round the whole system and retightend every fitting, yellow dots are to quality control myself... But they are on the back side so can't be seen.

full


The final product...

full

full

full

full

full


I can't describe how happy I am with the system, it was a mega challenge, but I have wanted to look like this for years, and no amount of effort was gonna stop me! Buzzing
 
Last edited:
So the final part of this puzzle, how to get the fuel out the tank!

Teflon lines can only be used in teflon connectors which have olives in them. They cannot be jubilee'd. So the tank sender needed to be redesigned, but still fit under the OE seats! Not easy. I tried alot of different stuff but finally got to this design, bulkhead connector, raised up as high as i could. I basically swapped the wiring and fuel outlets to achieve this! I'm not joking when I saw there is literally a couple of MM in this.... Its that tight.

full


This doesn't look good

full


Raised the bulkhead connector up and rotated the pump, alot more like it....

full


Ended up with this, The angle is a bit sharper than normal, but the pick-up sock is hard against the tank floor so its perfectly fine.

full

full


Done!, thats it, twisted some wires, put them all on a battery, flushed each line 1 by 1 through a gauze by taking the end of the each section of line off, it did pick some crap up so well worth it!

full


A overview video


Let me know what you think guys!
 
Looking good mate, the black lines you used look the same as what I used, real pain to fit as the nuts really tight with the extra outer layer over the braid.
 
Looking good mate, the black lines you used look the same as what I used, real pain to fit as the nuts really tight with the extra outer layer over the braid.

Yea i found this, untill I realised you are supposed to removed the black pvc once you have put it through the nut :doh: 
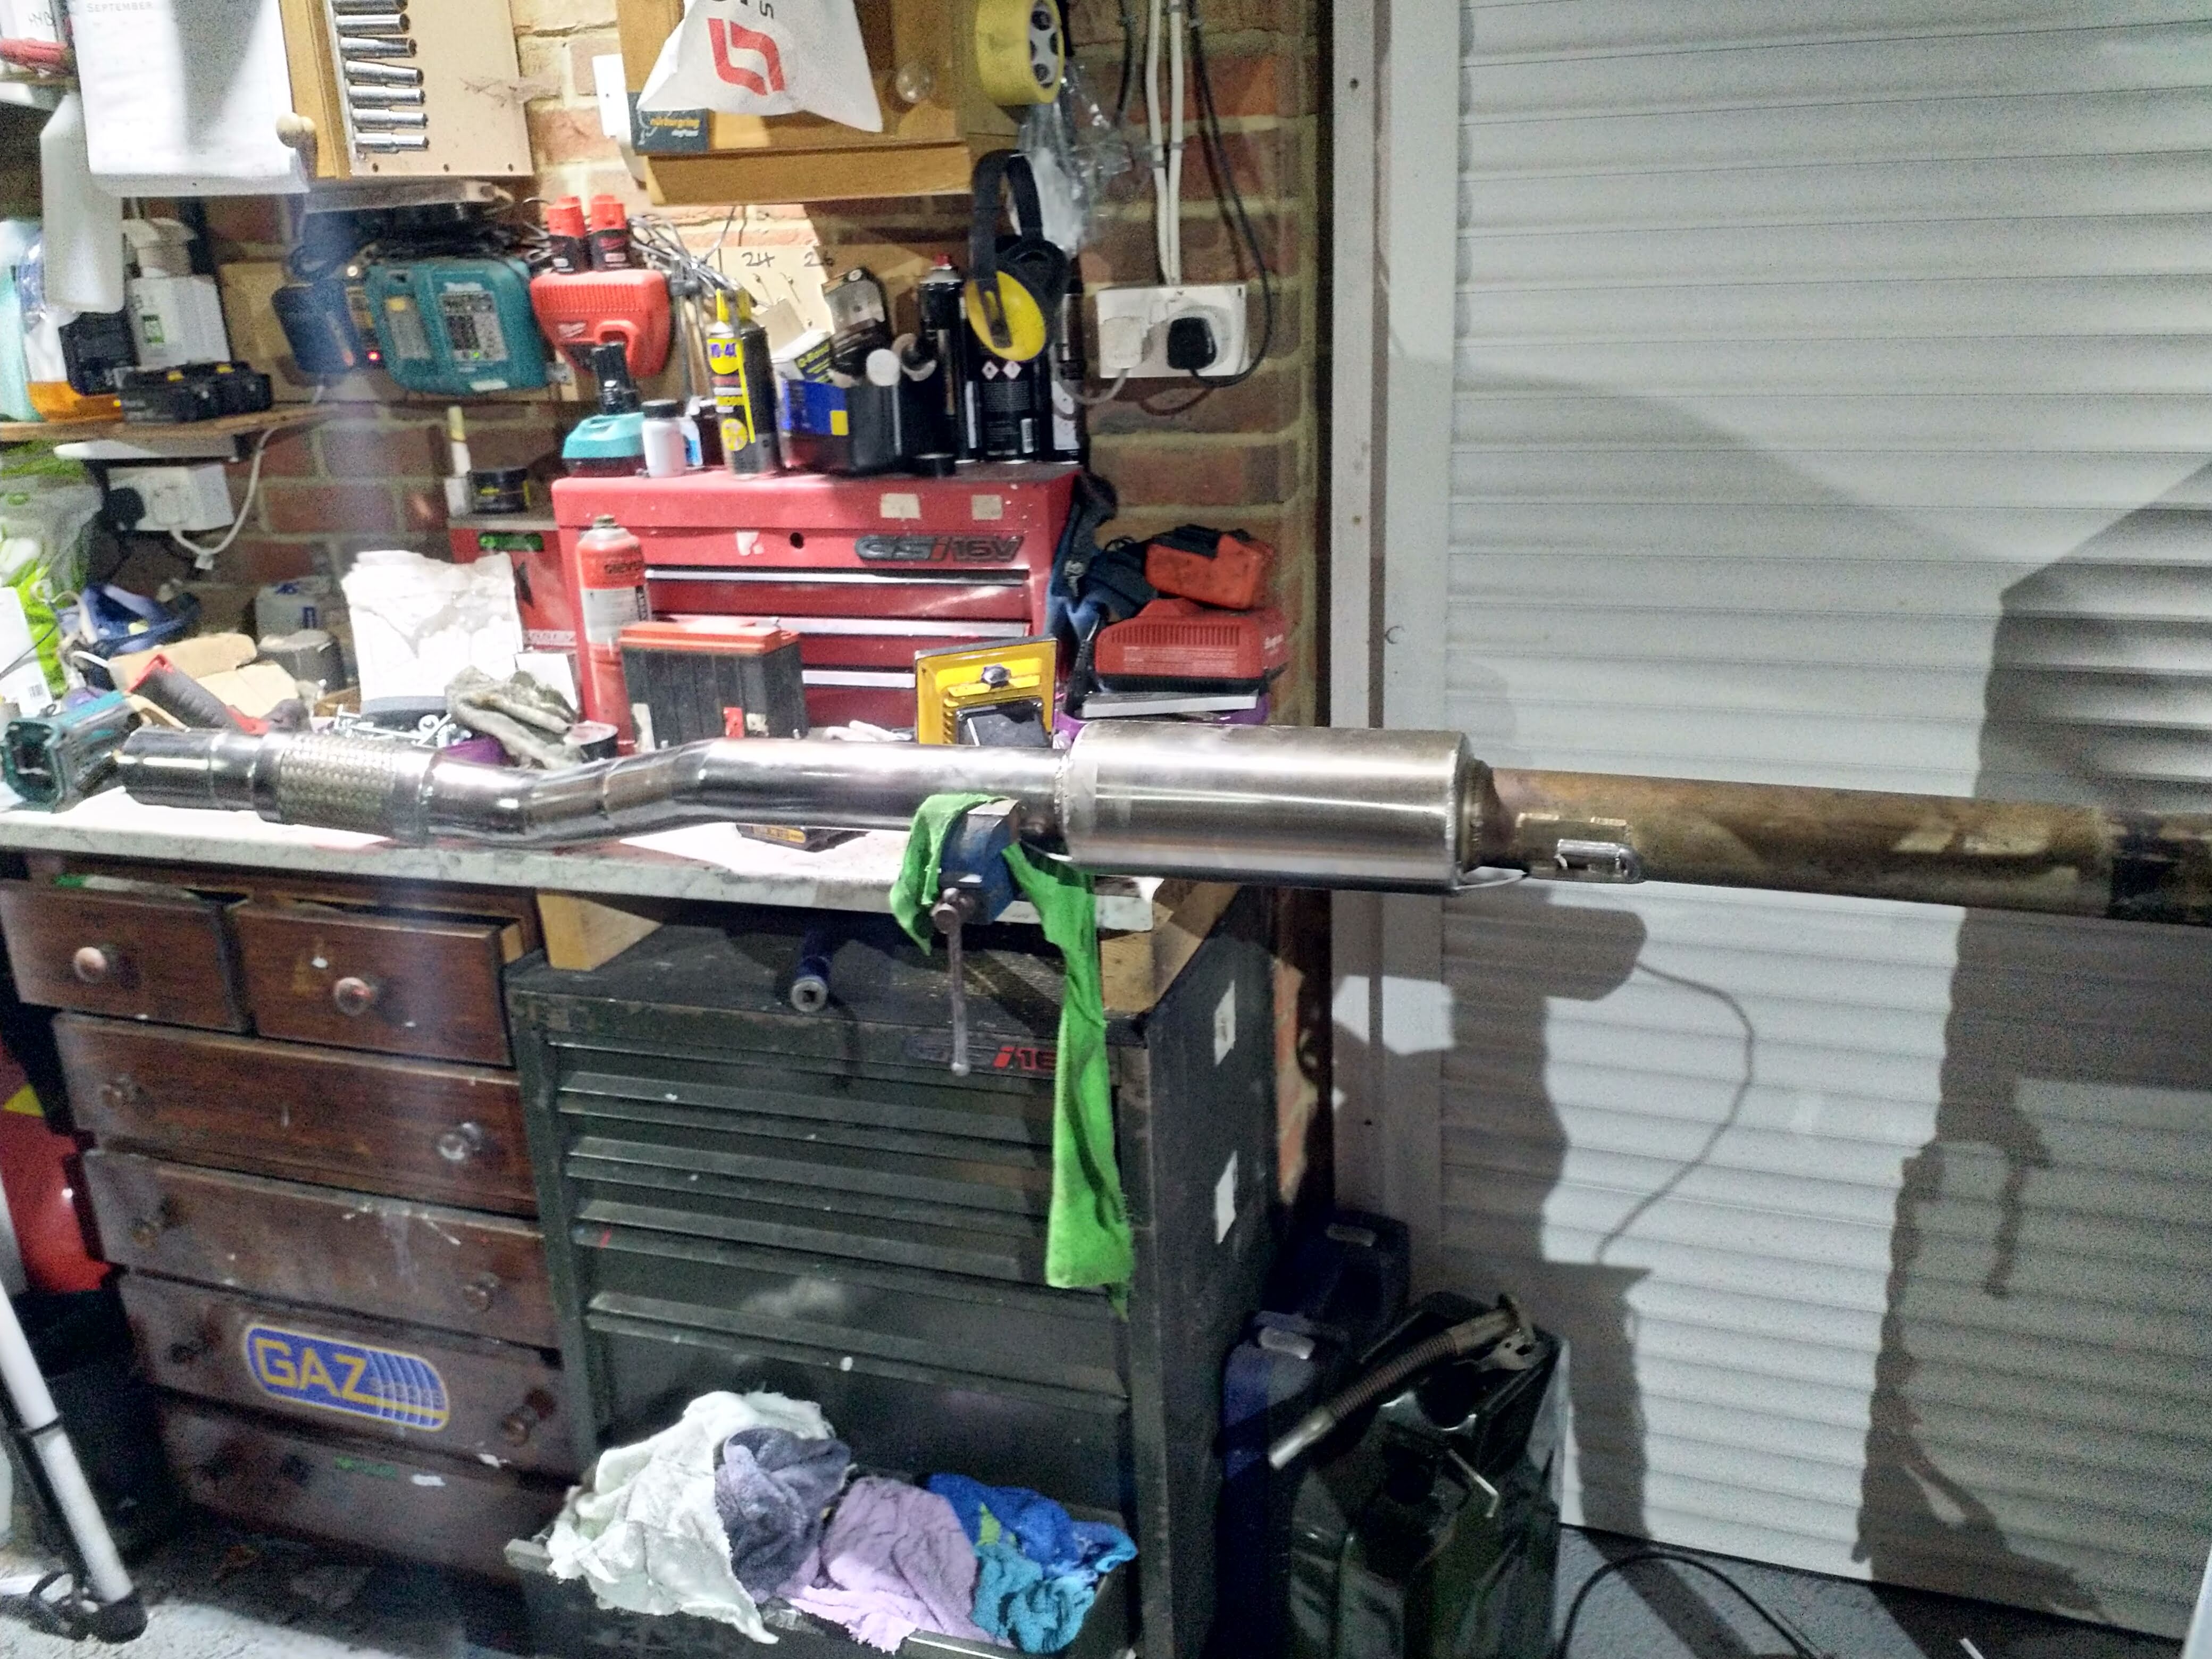
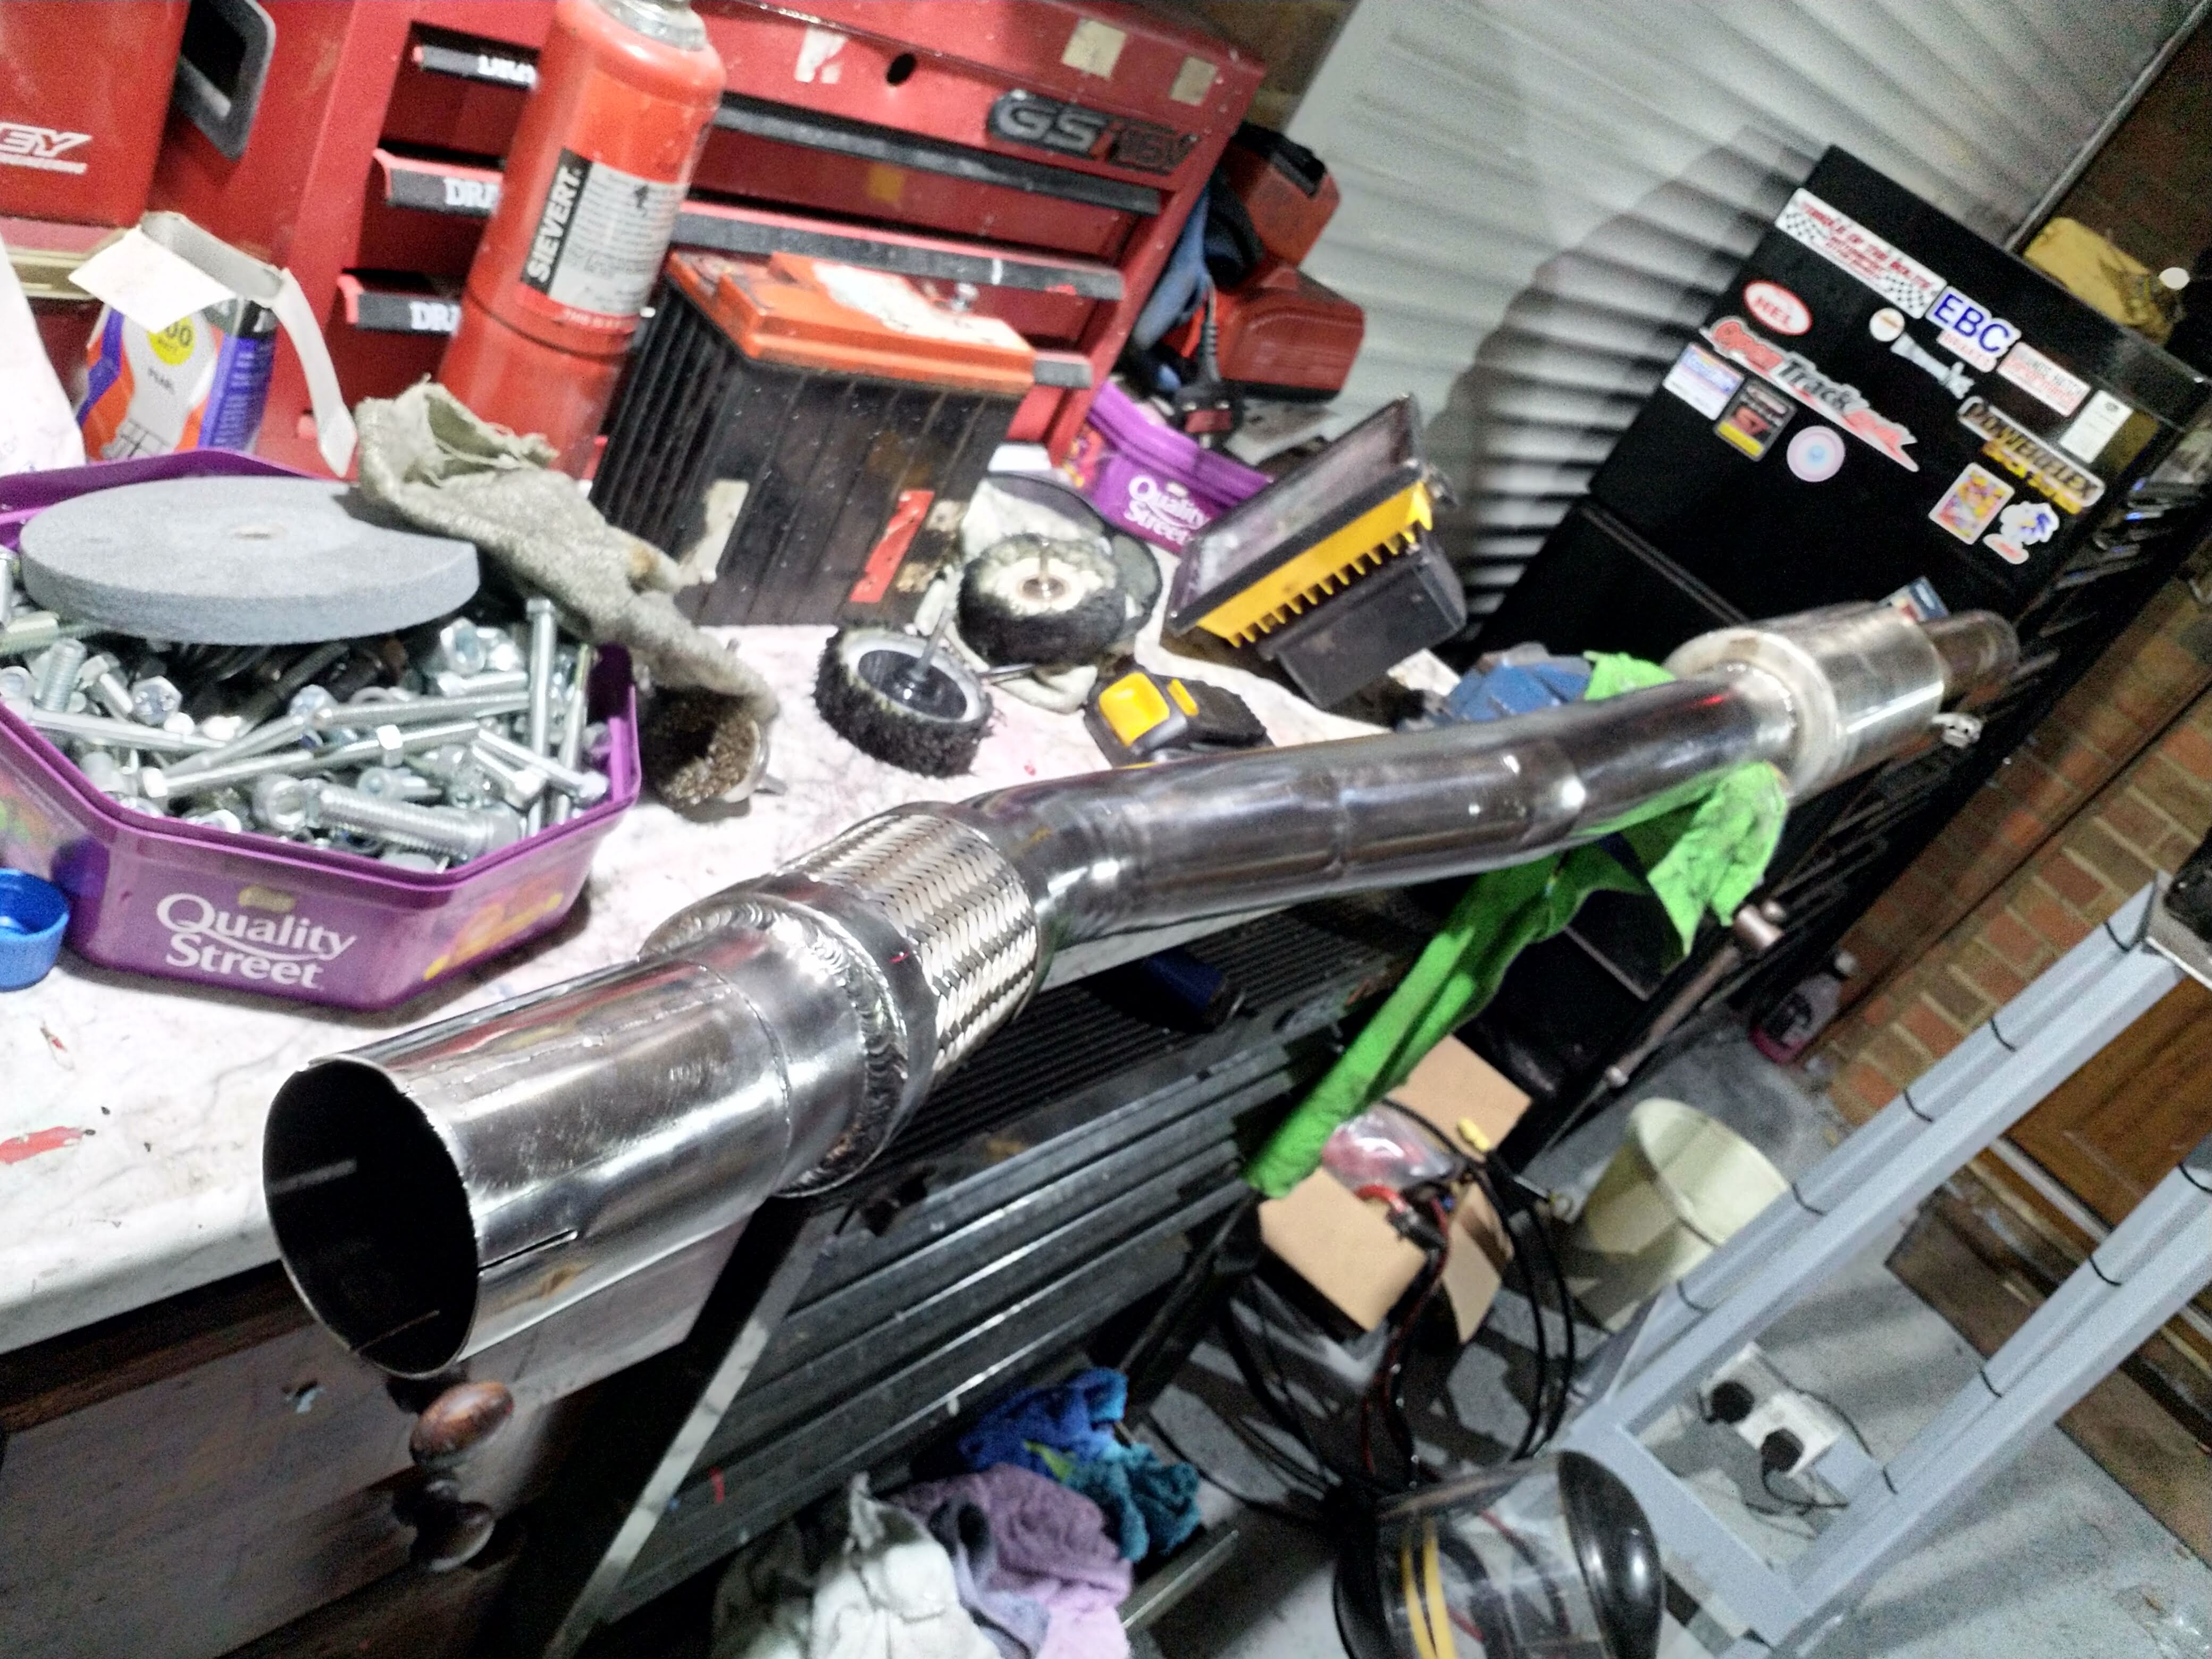
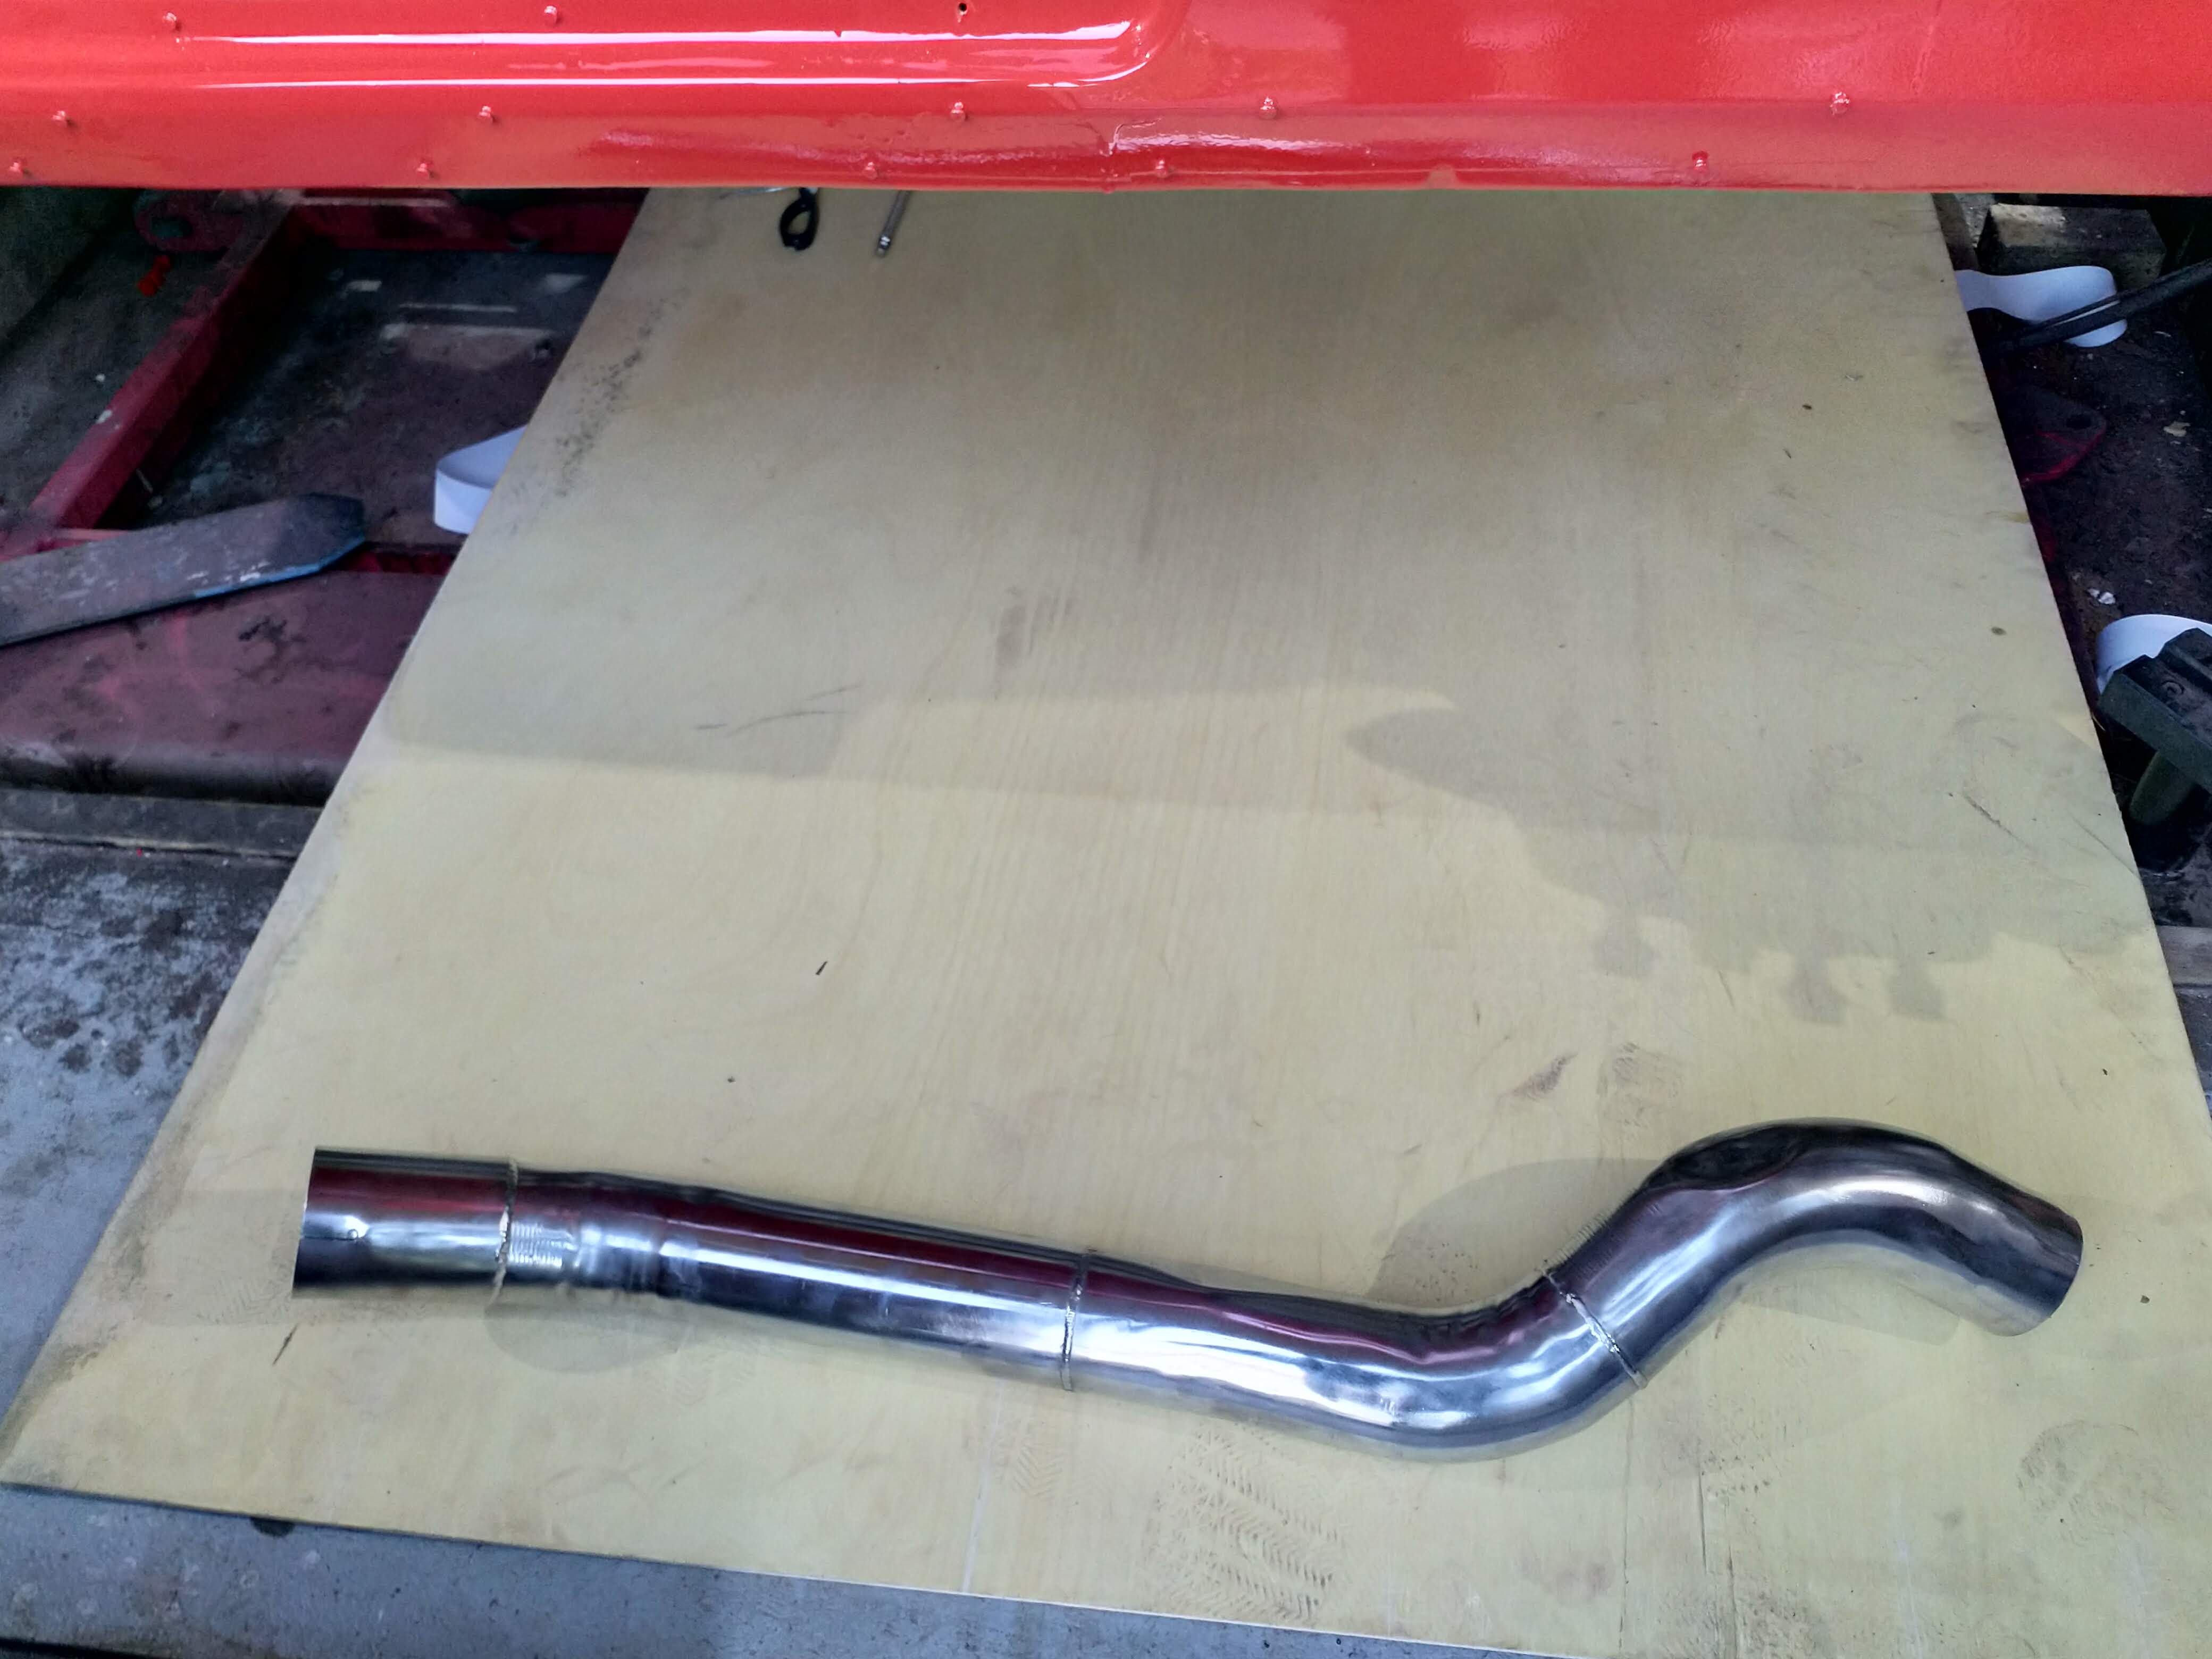
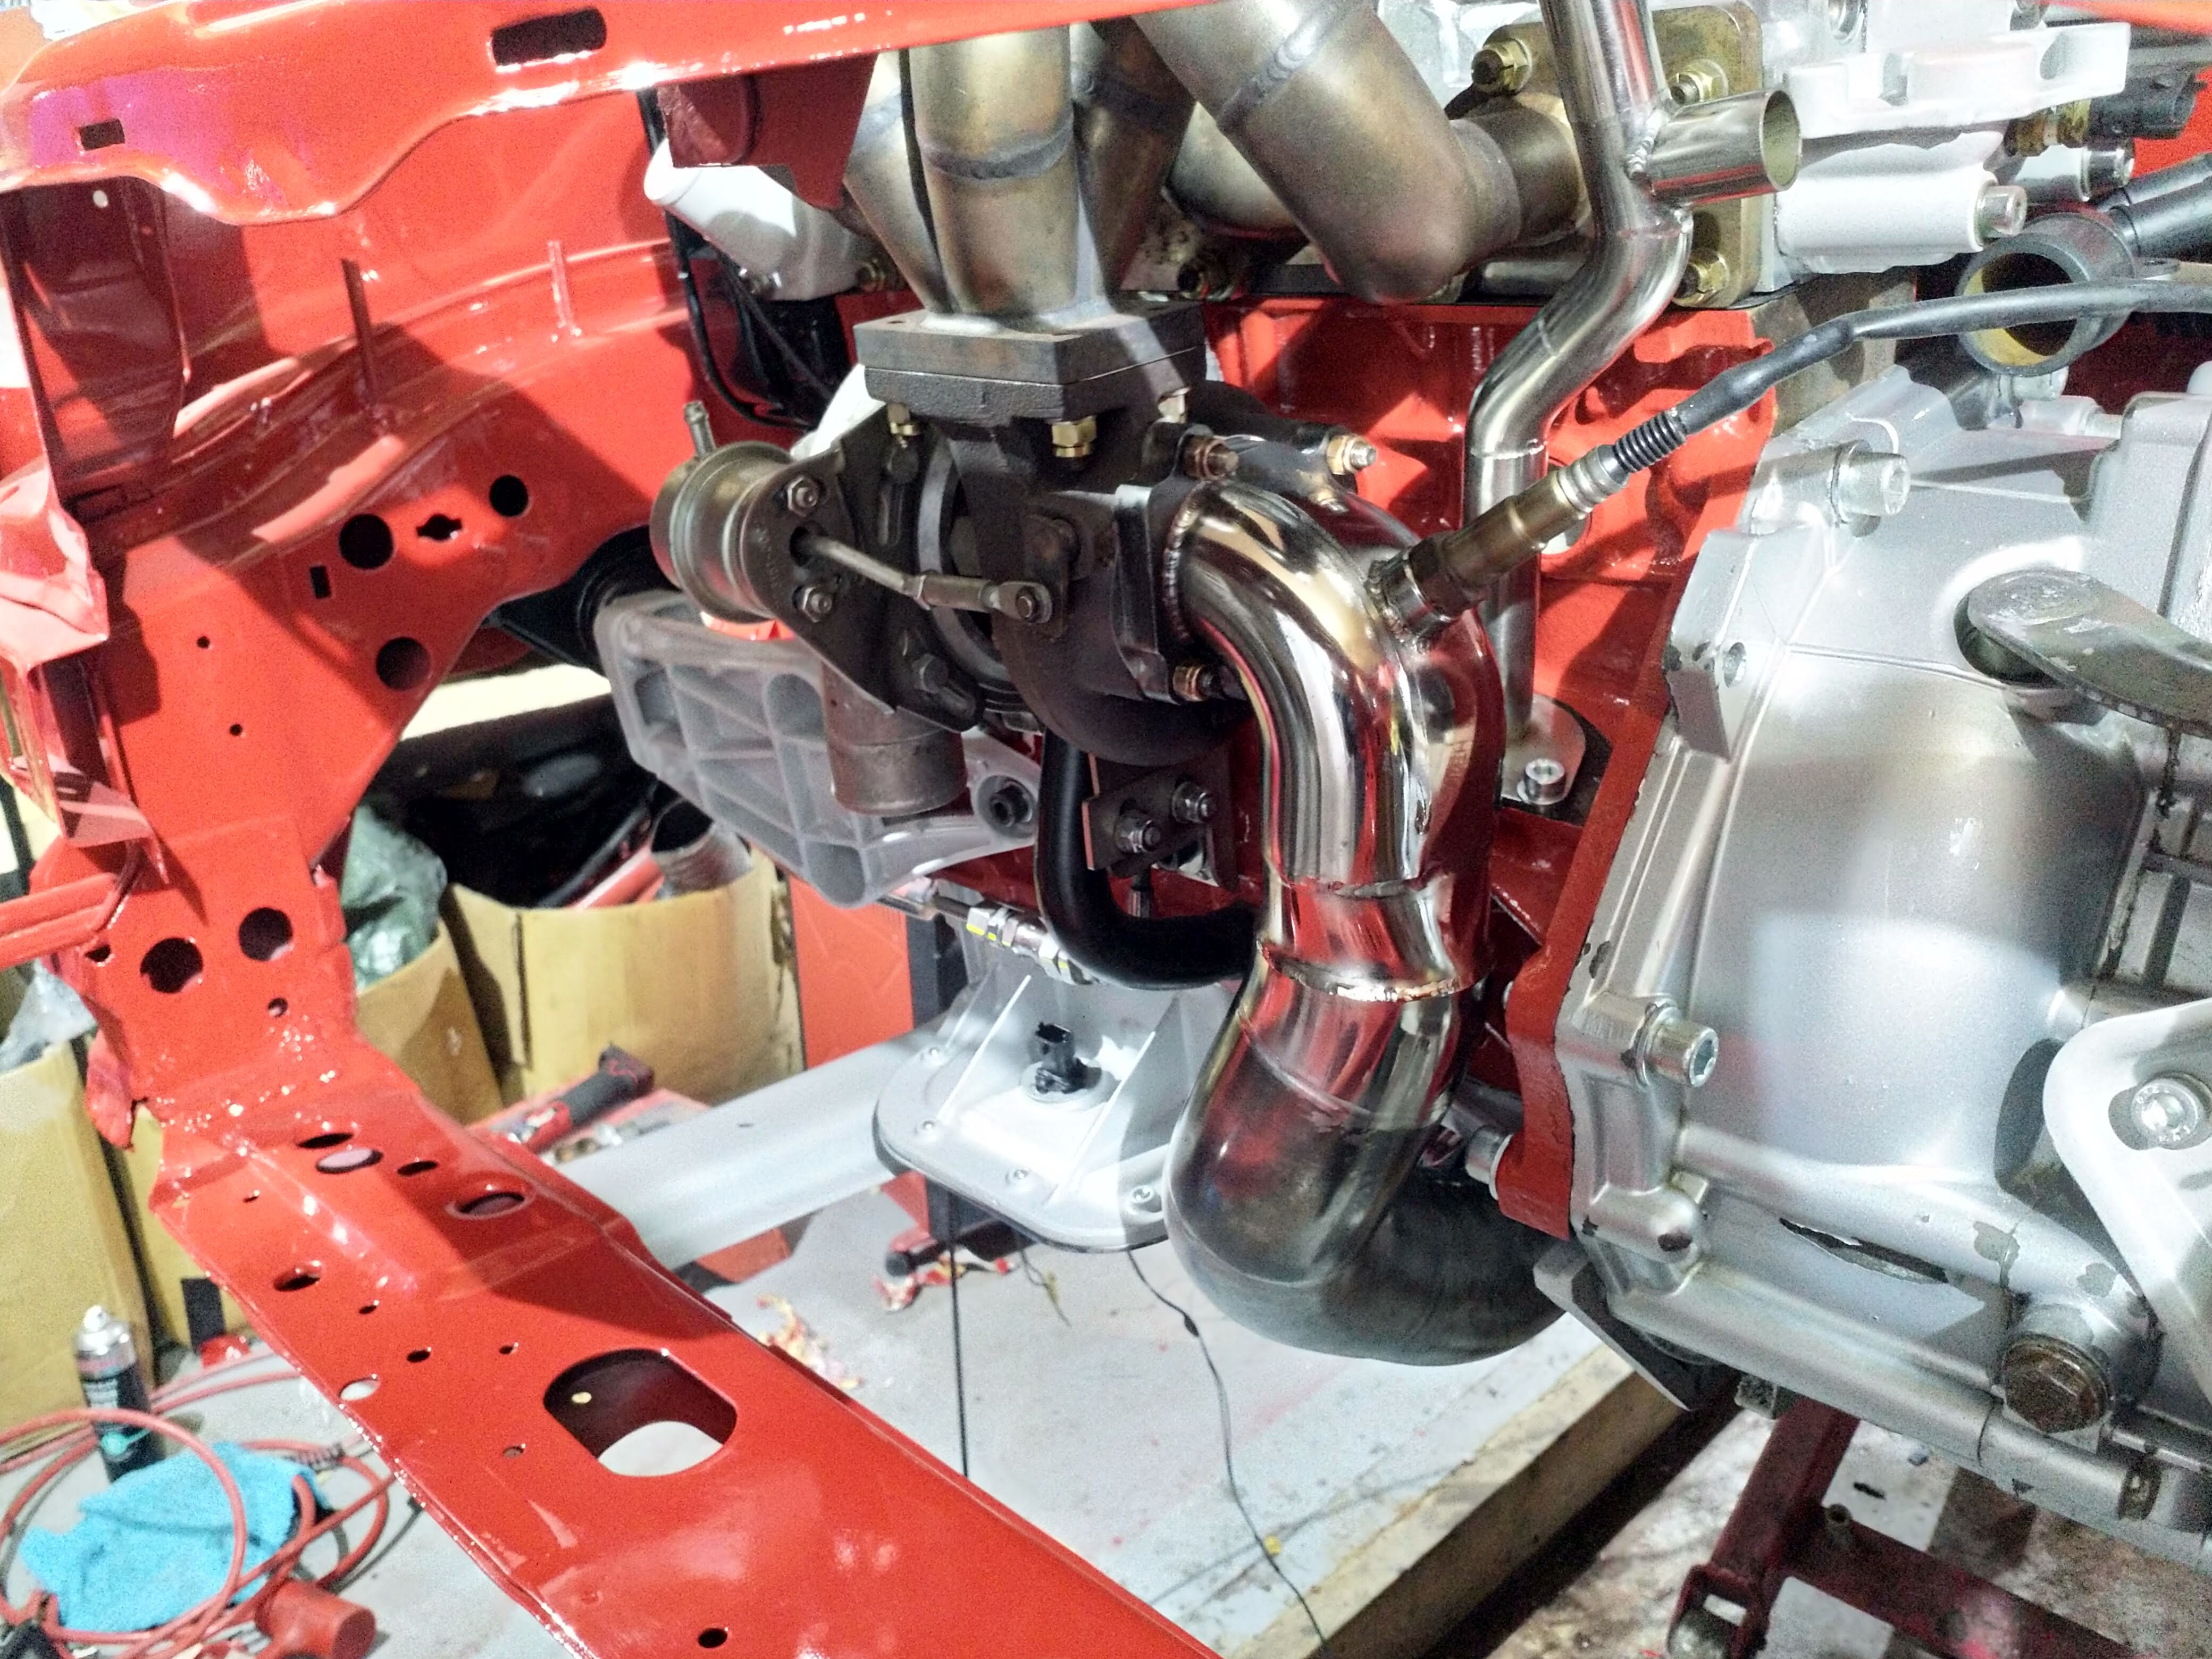
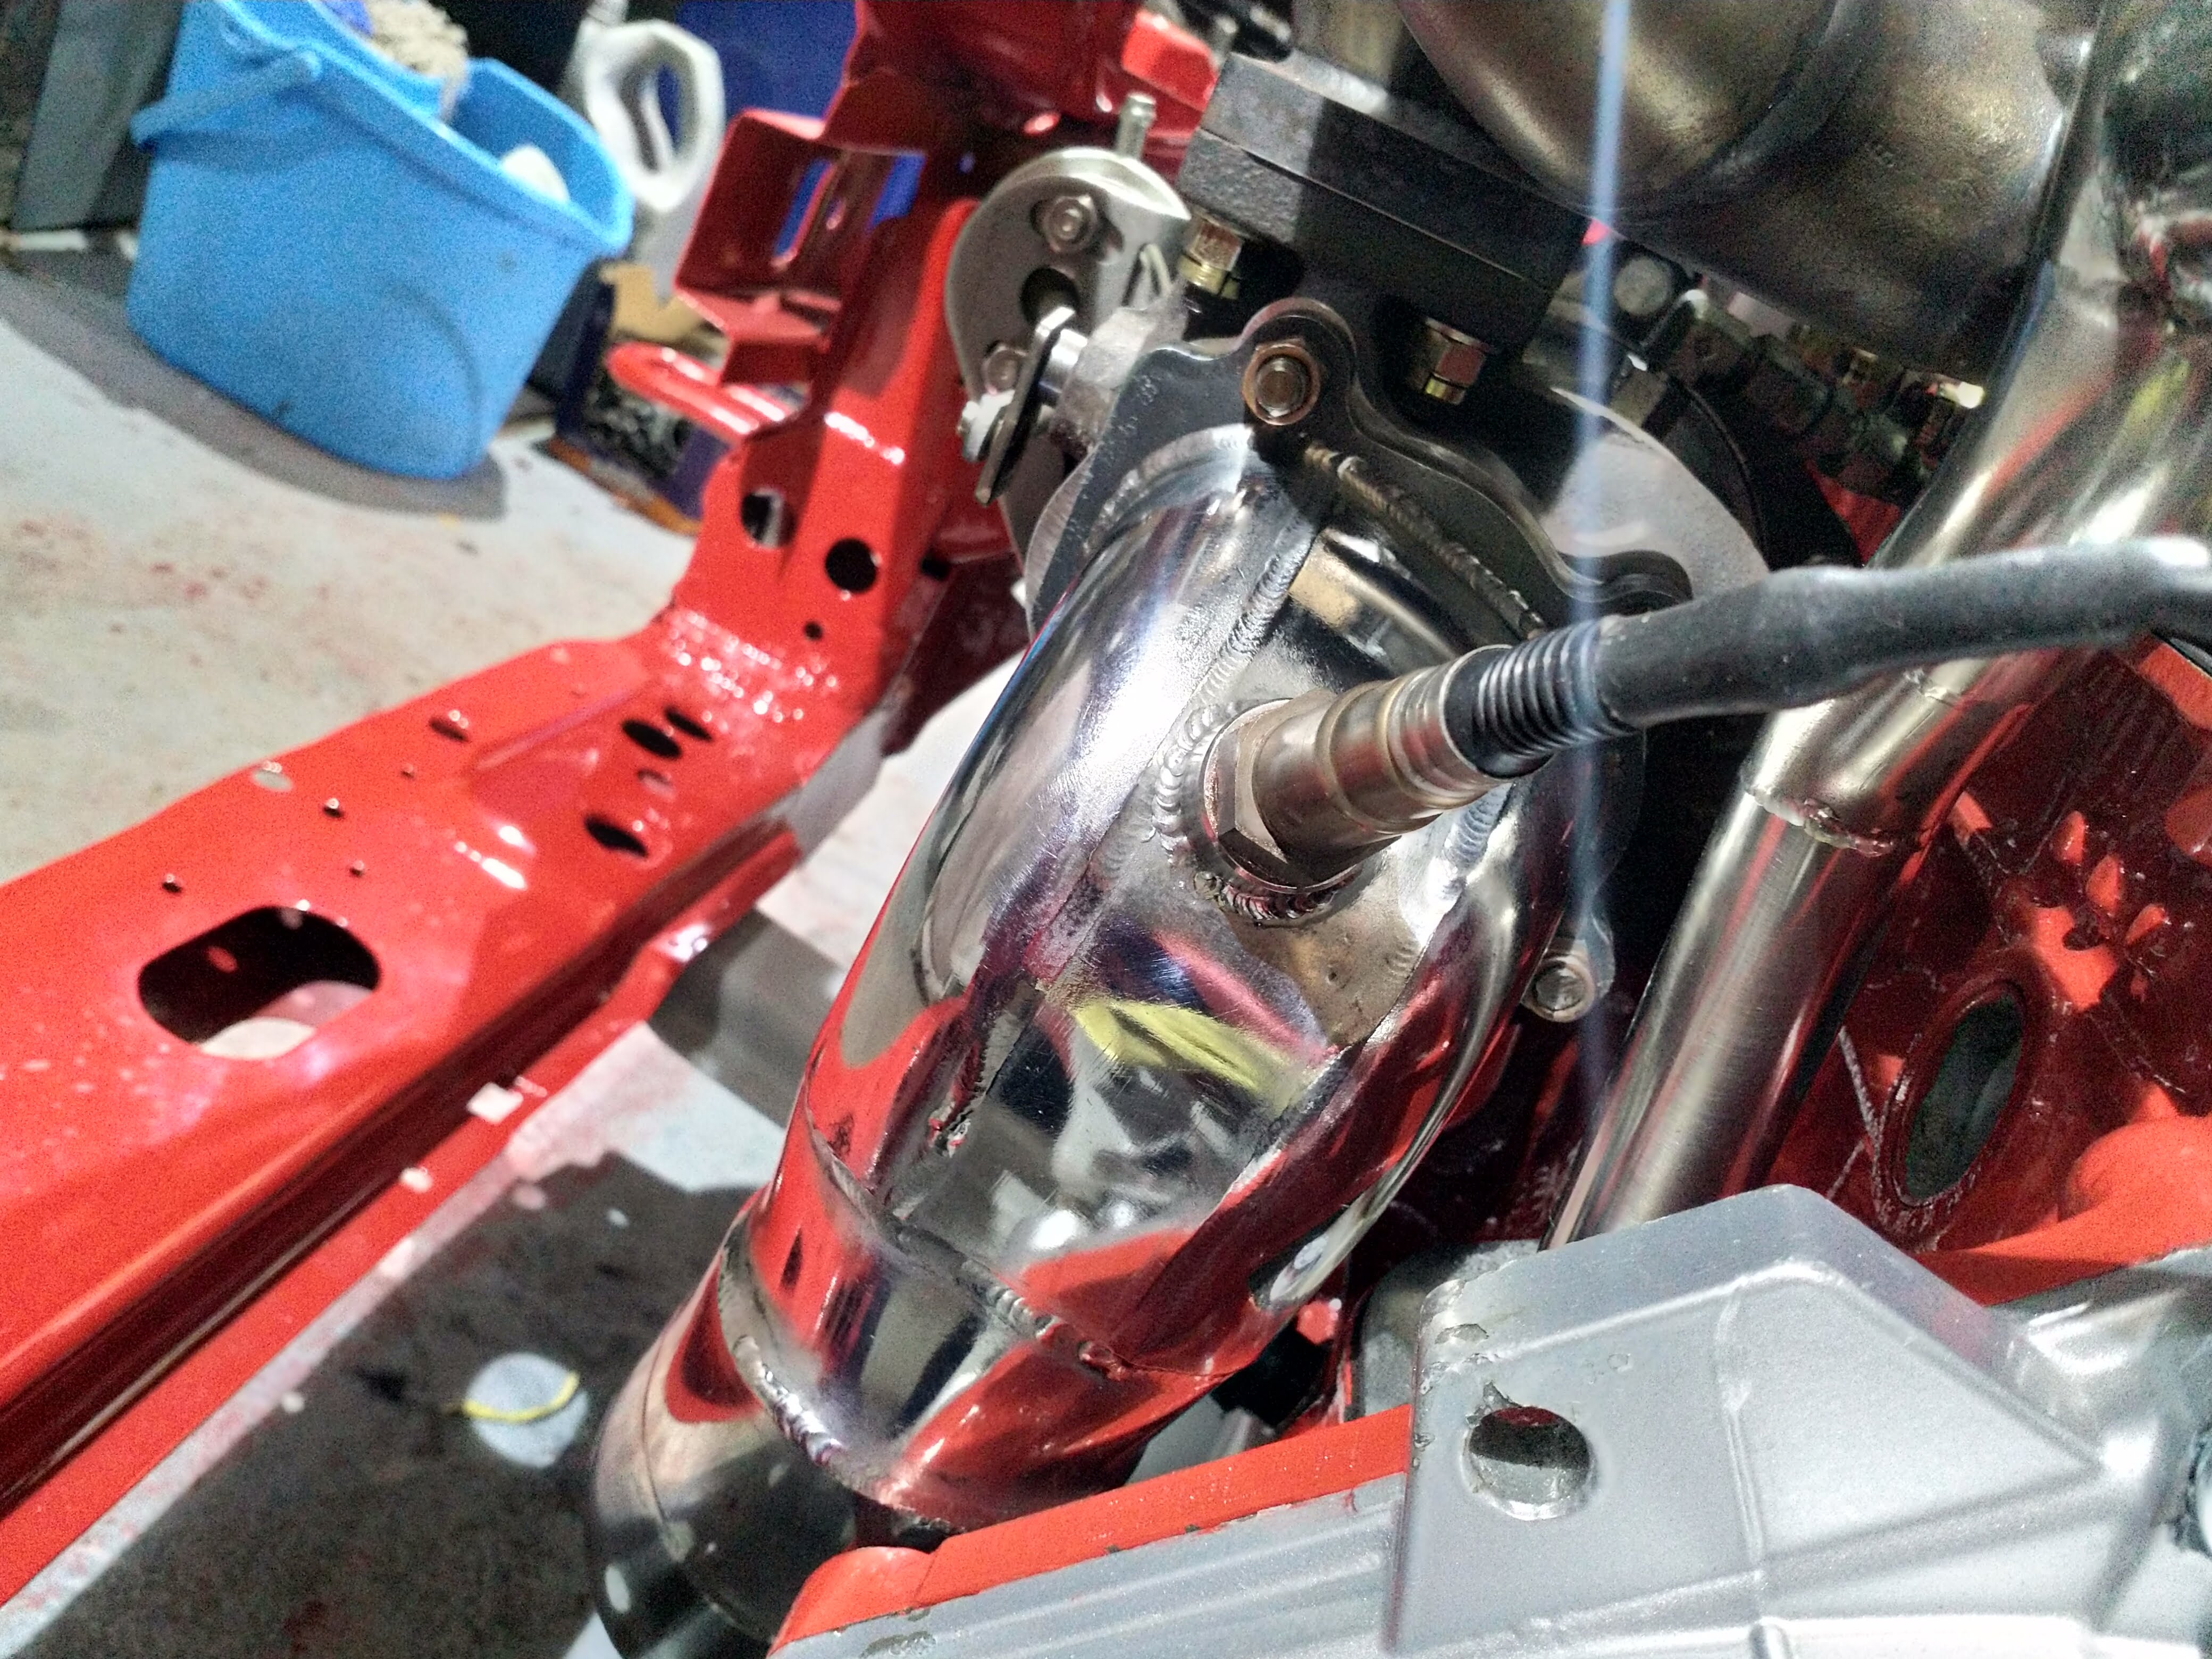
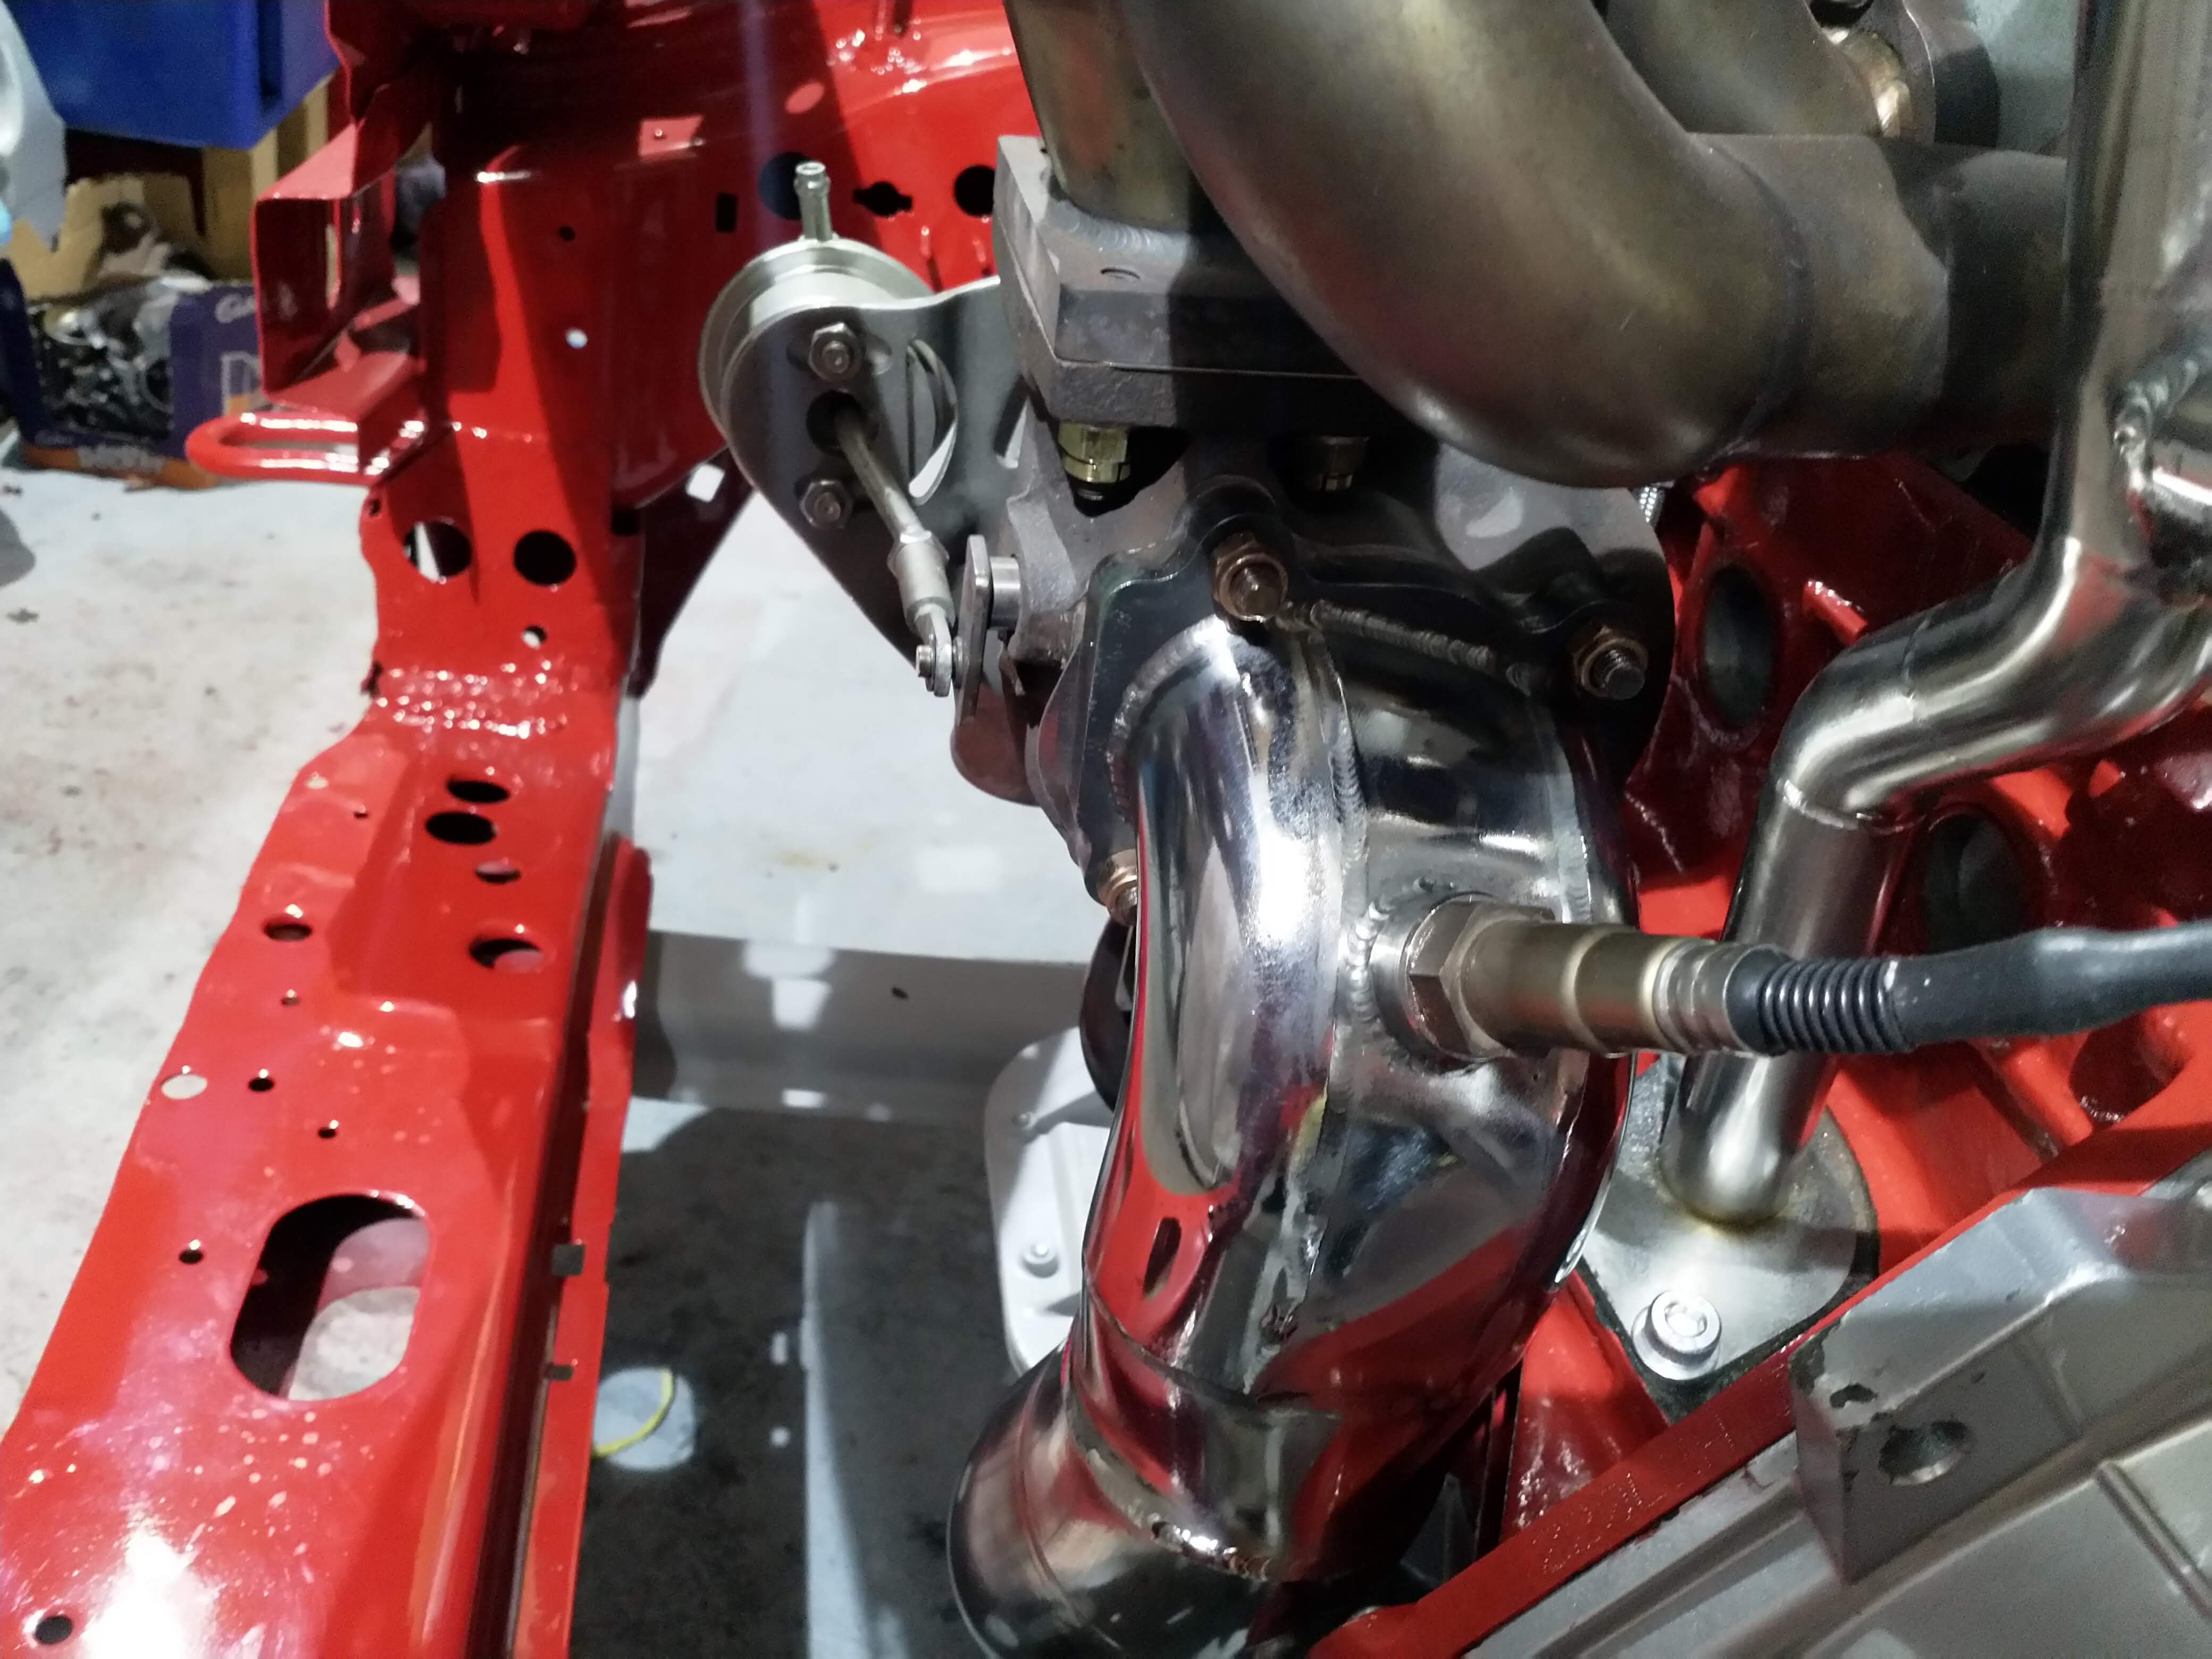
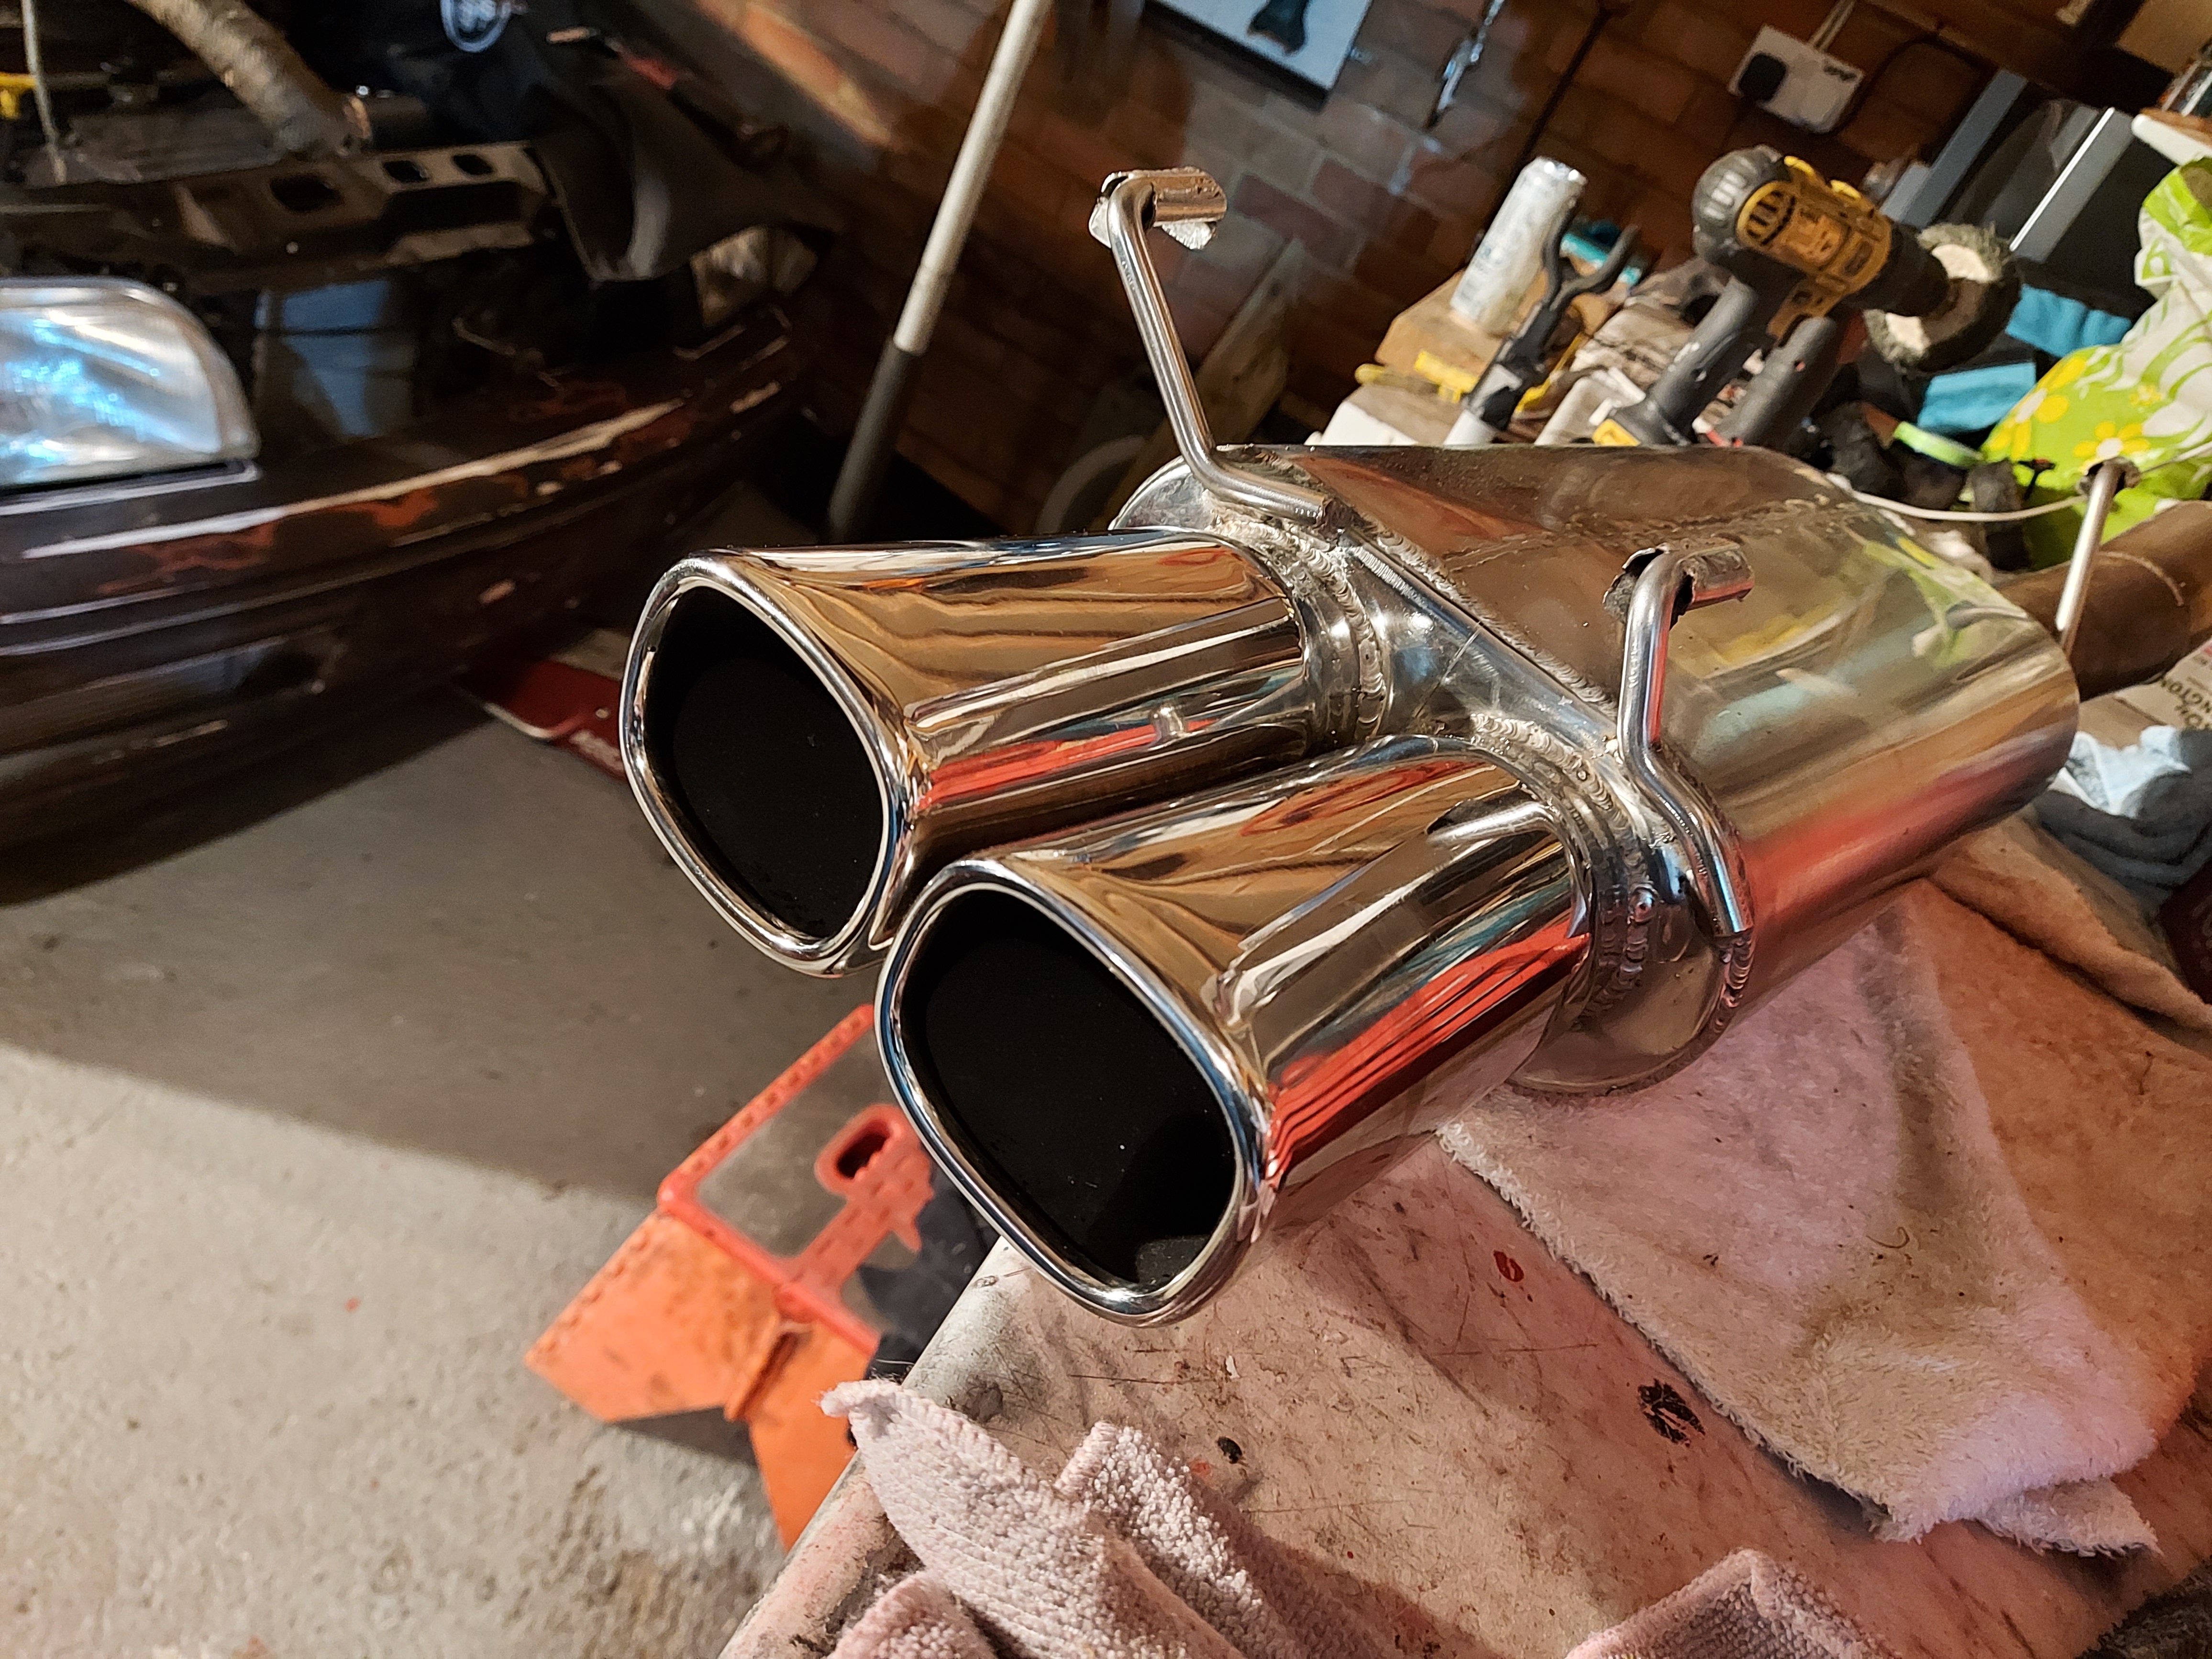
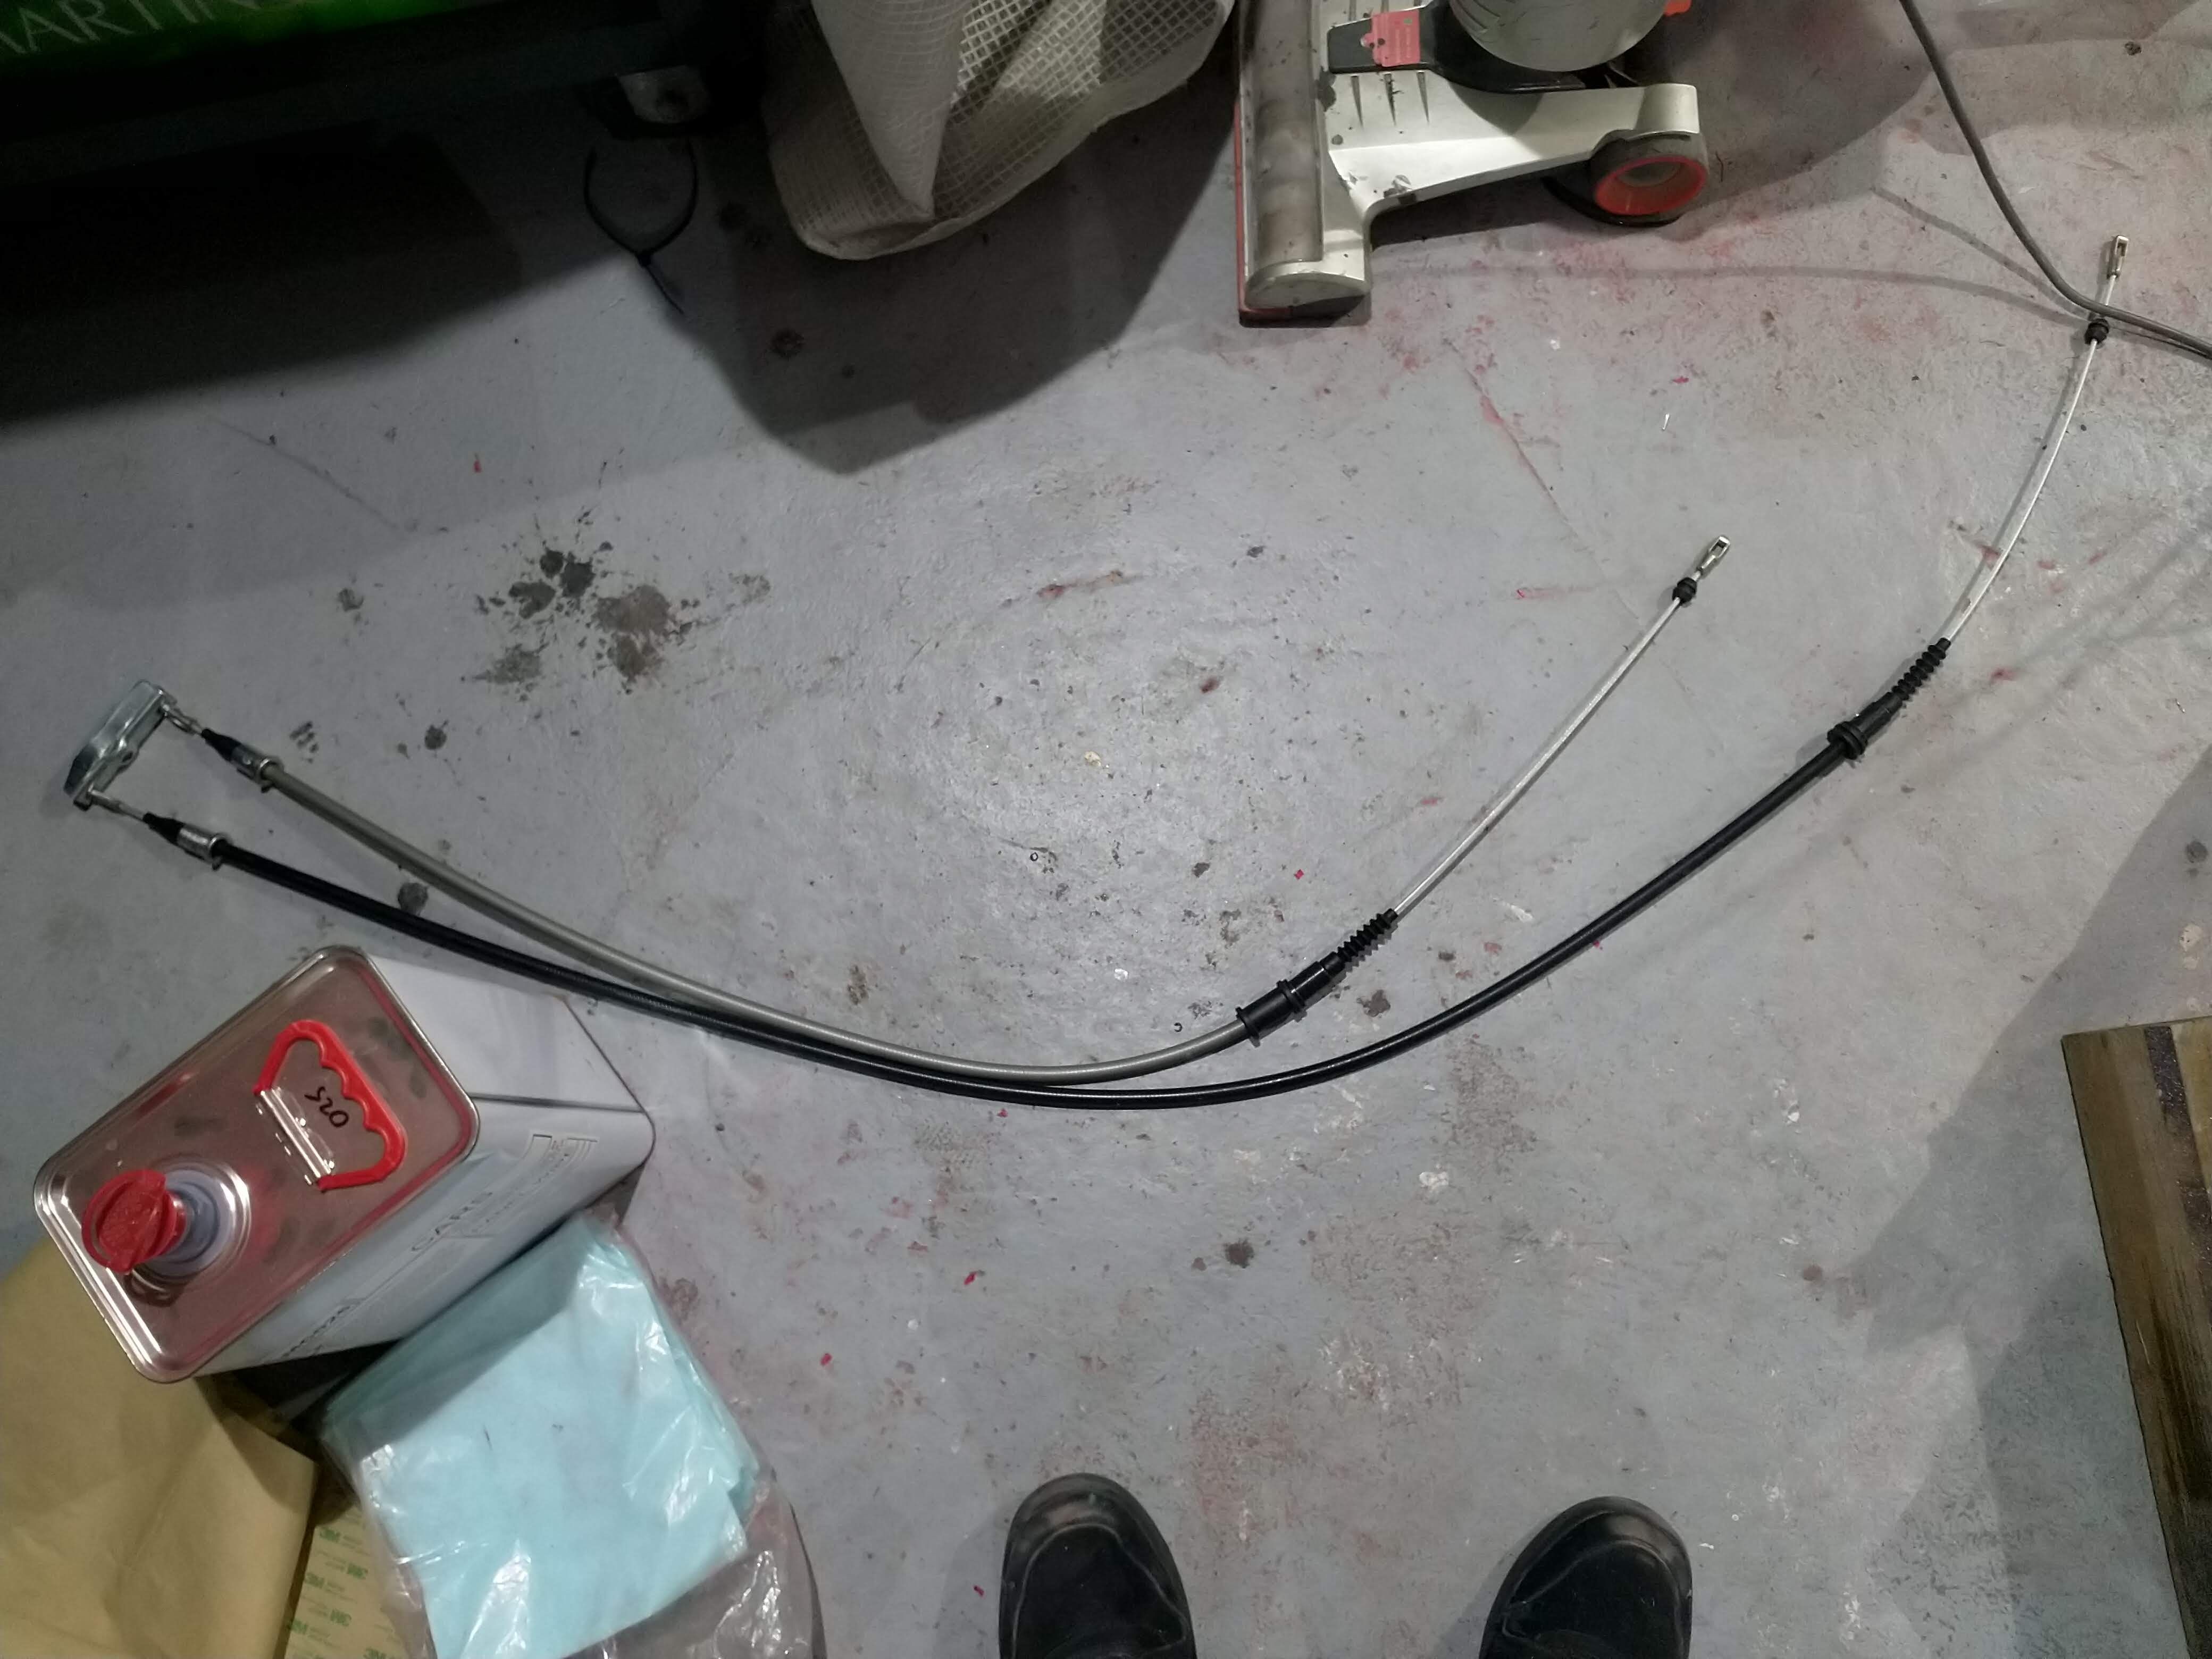
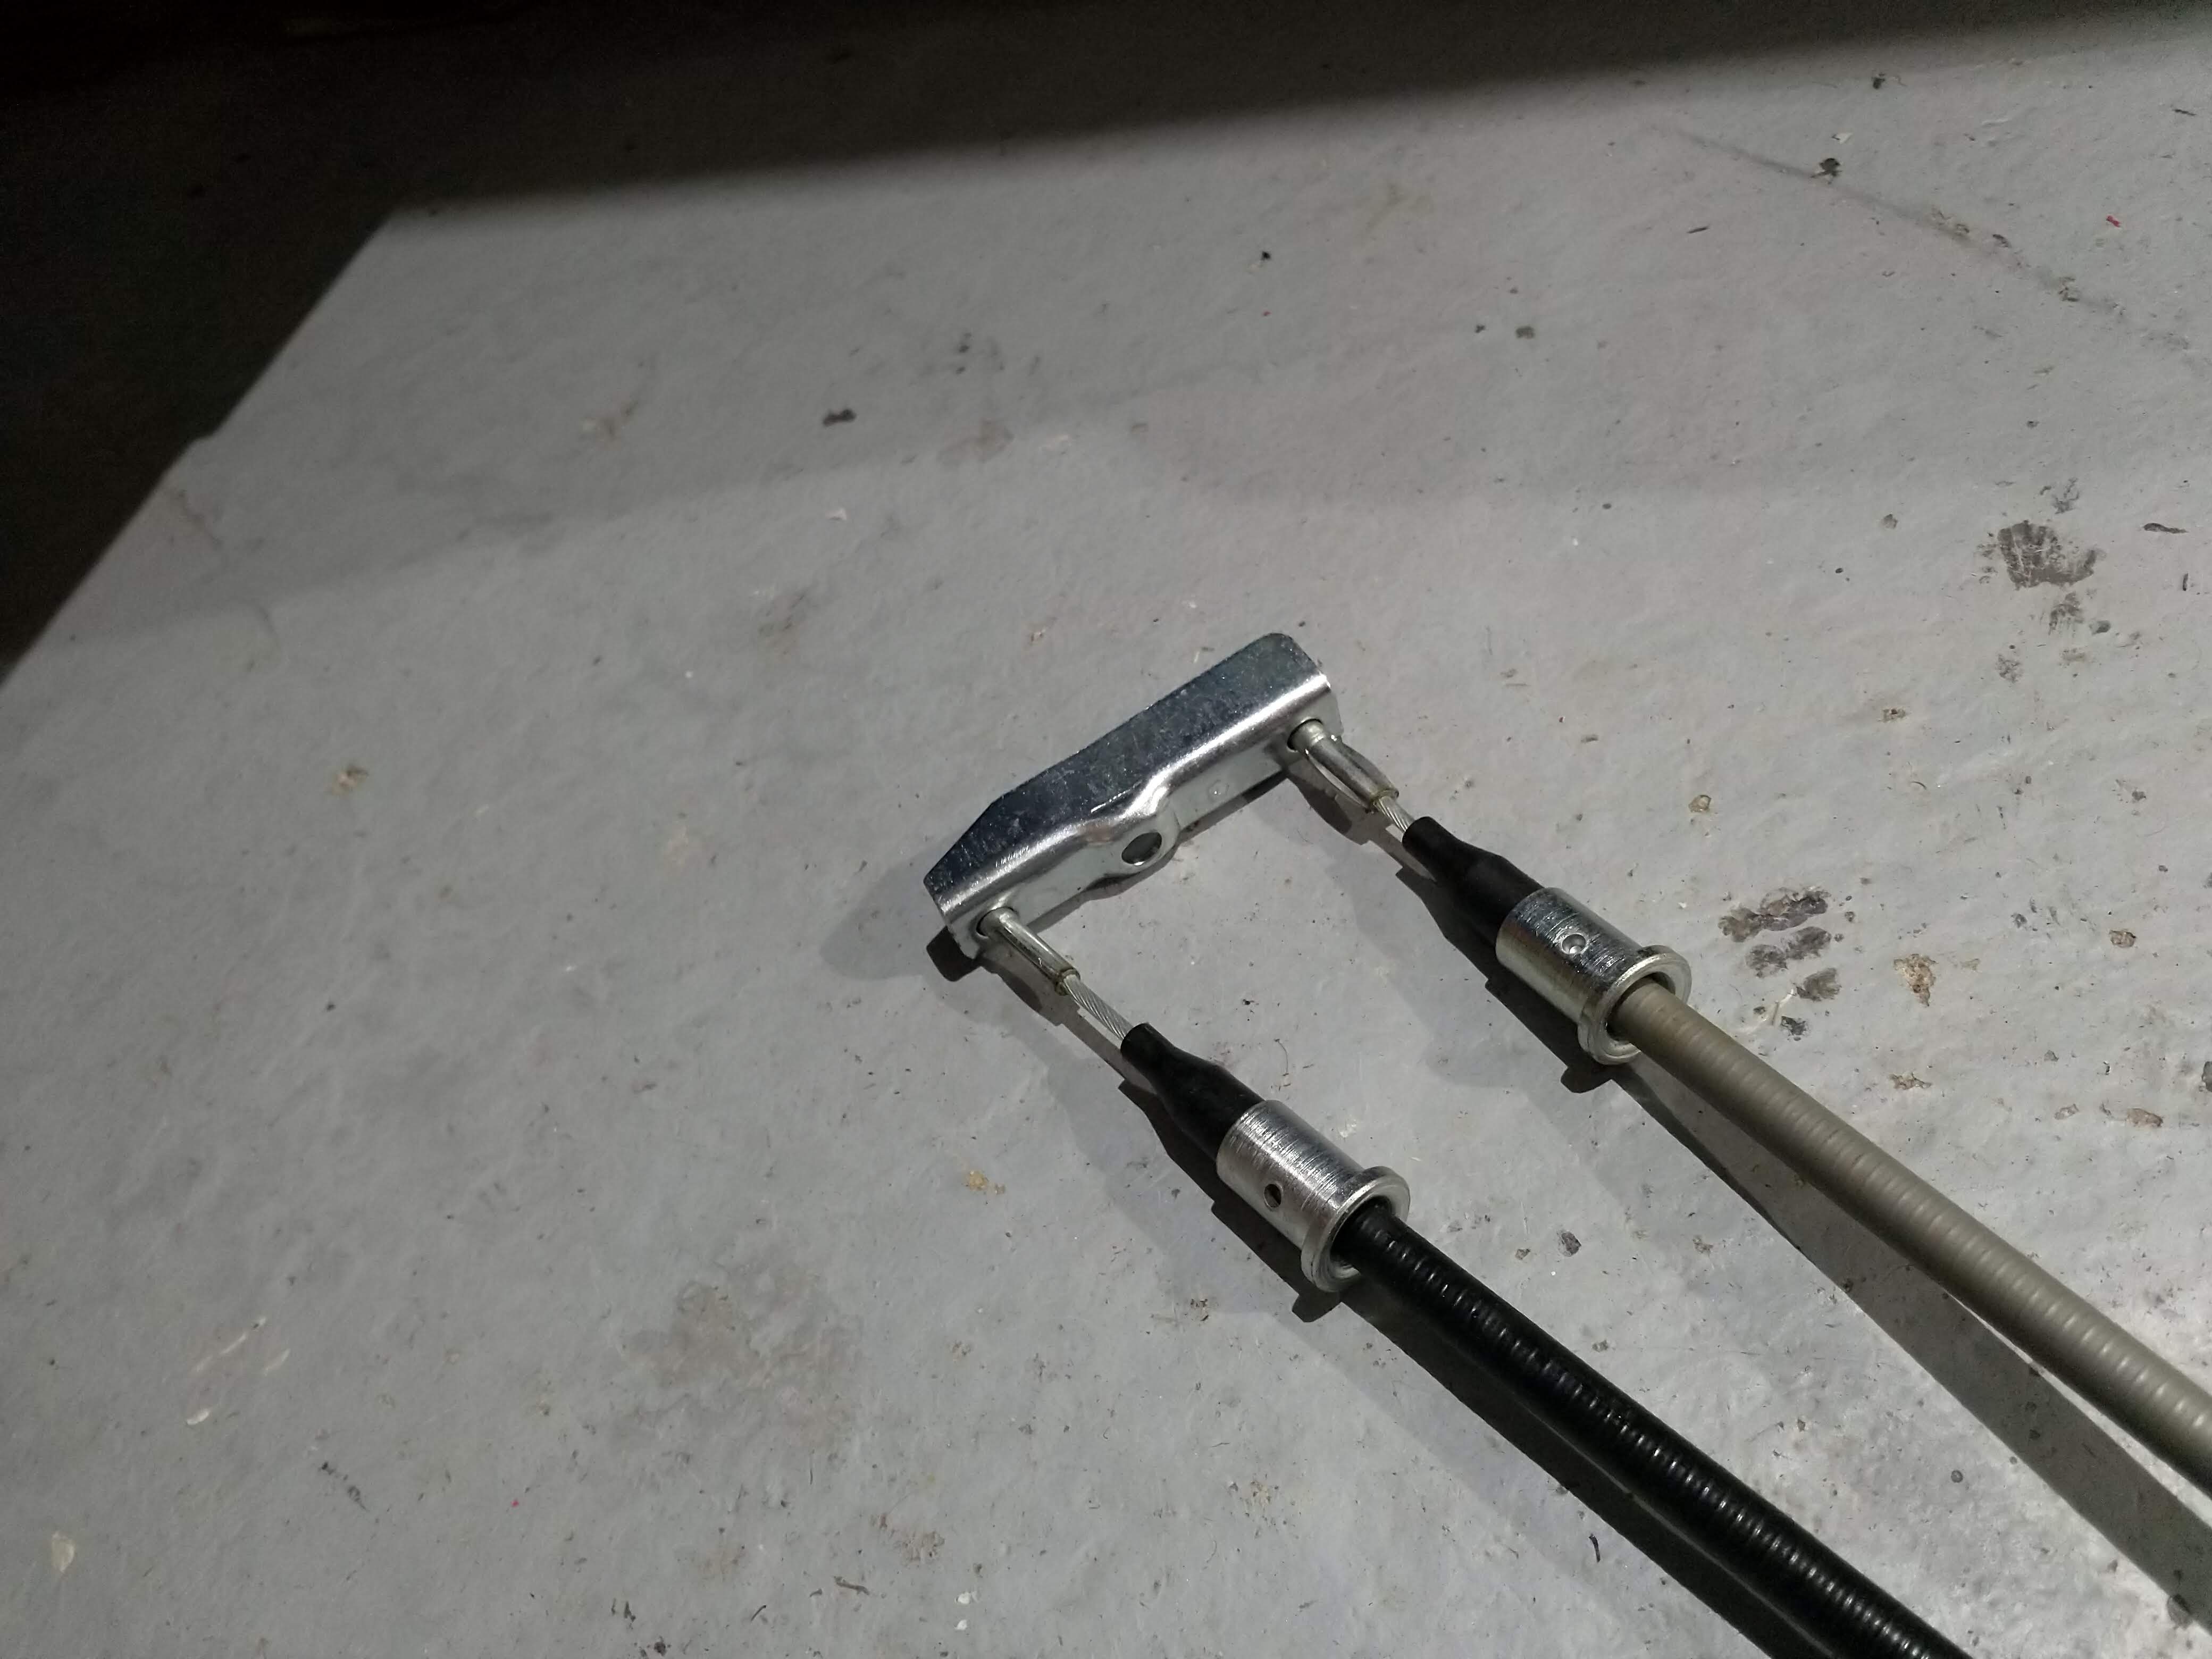
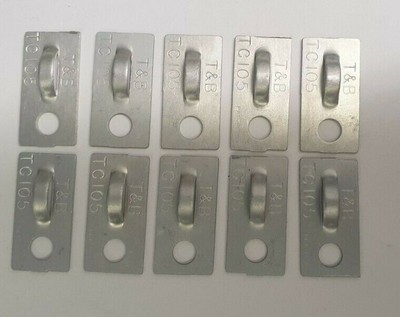
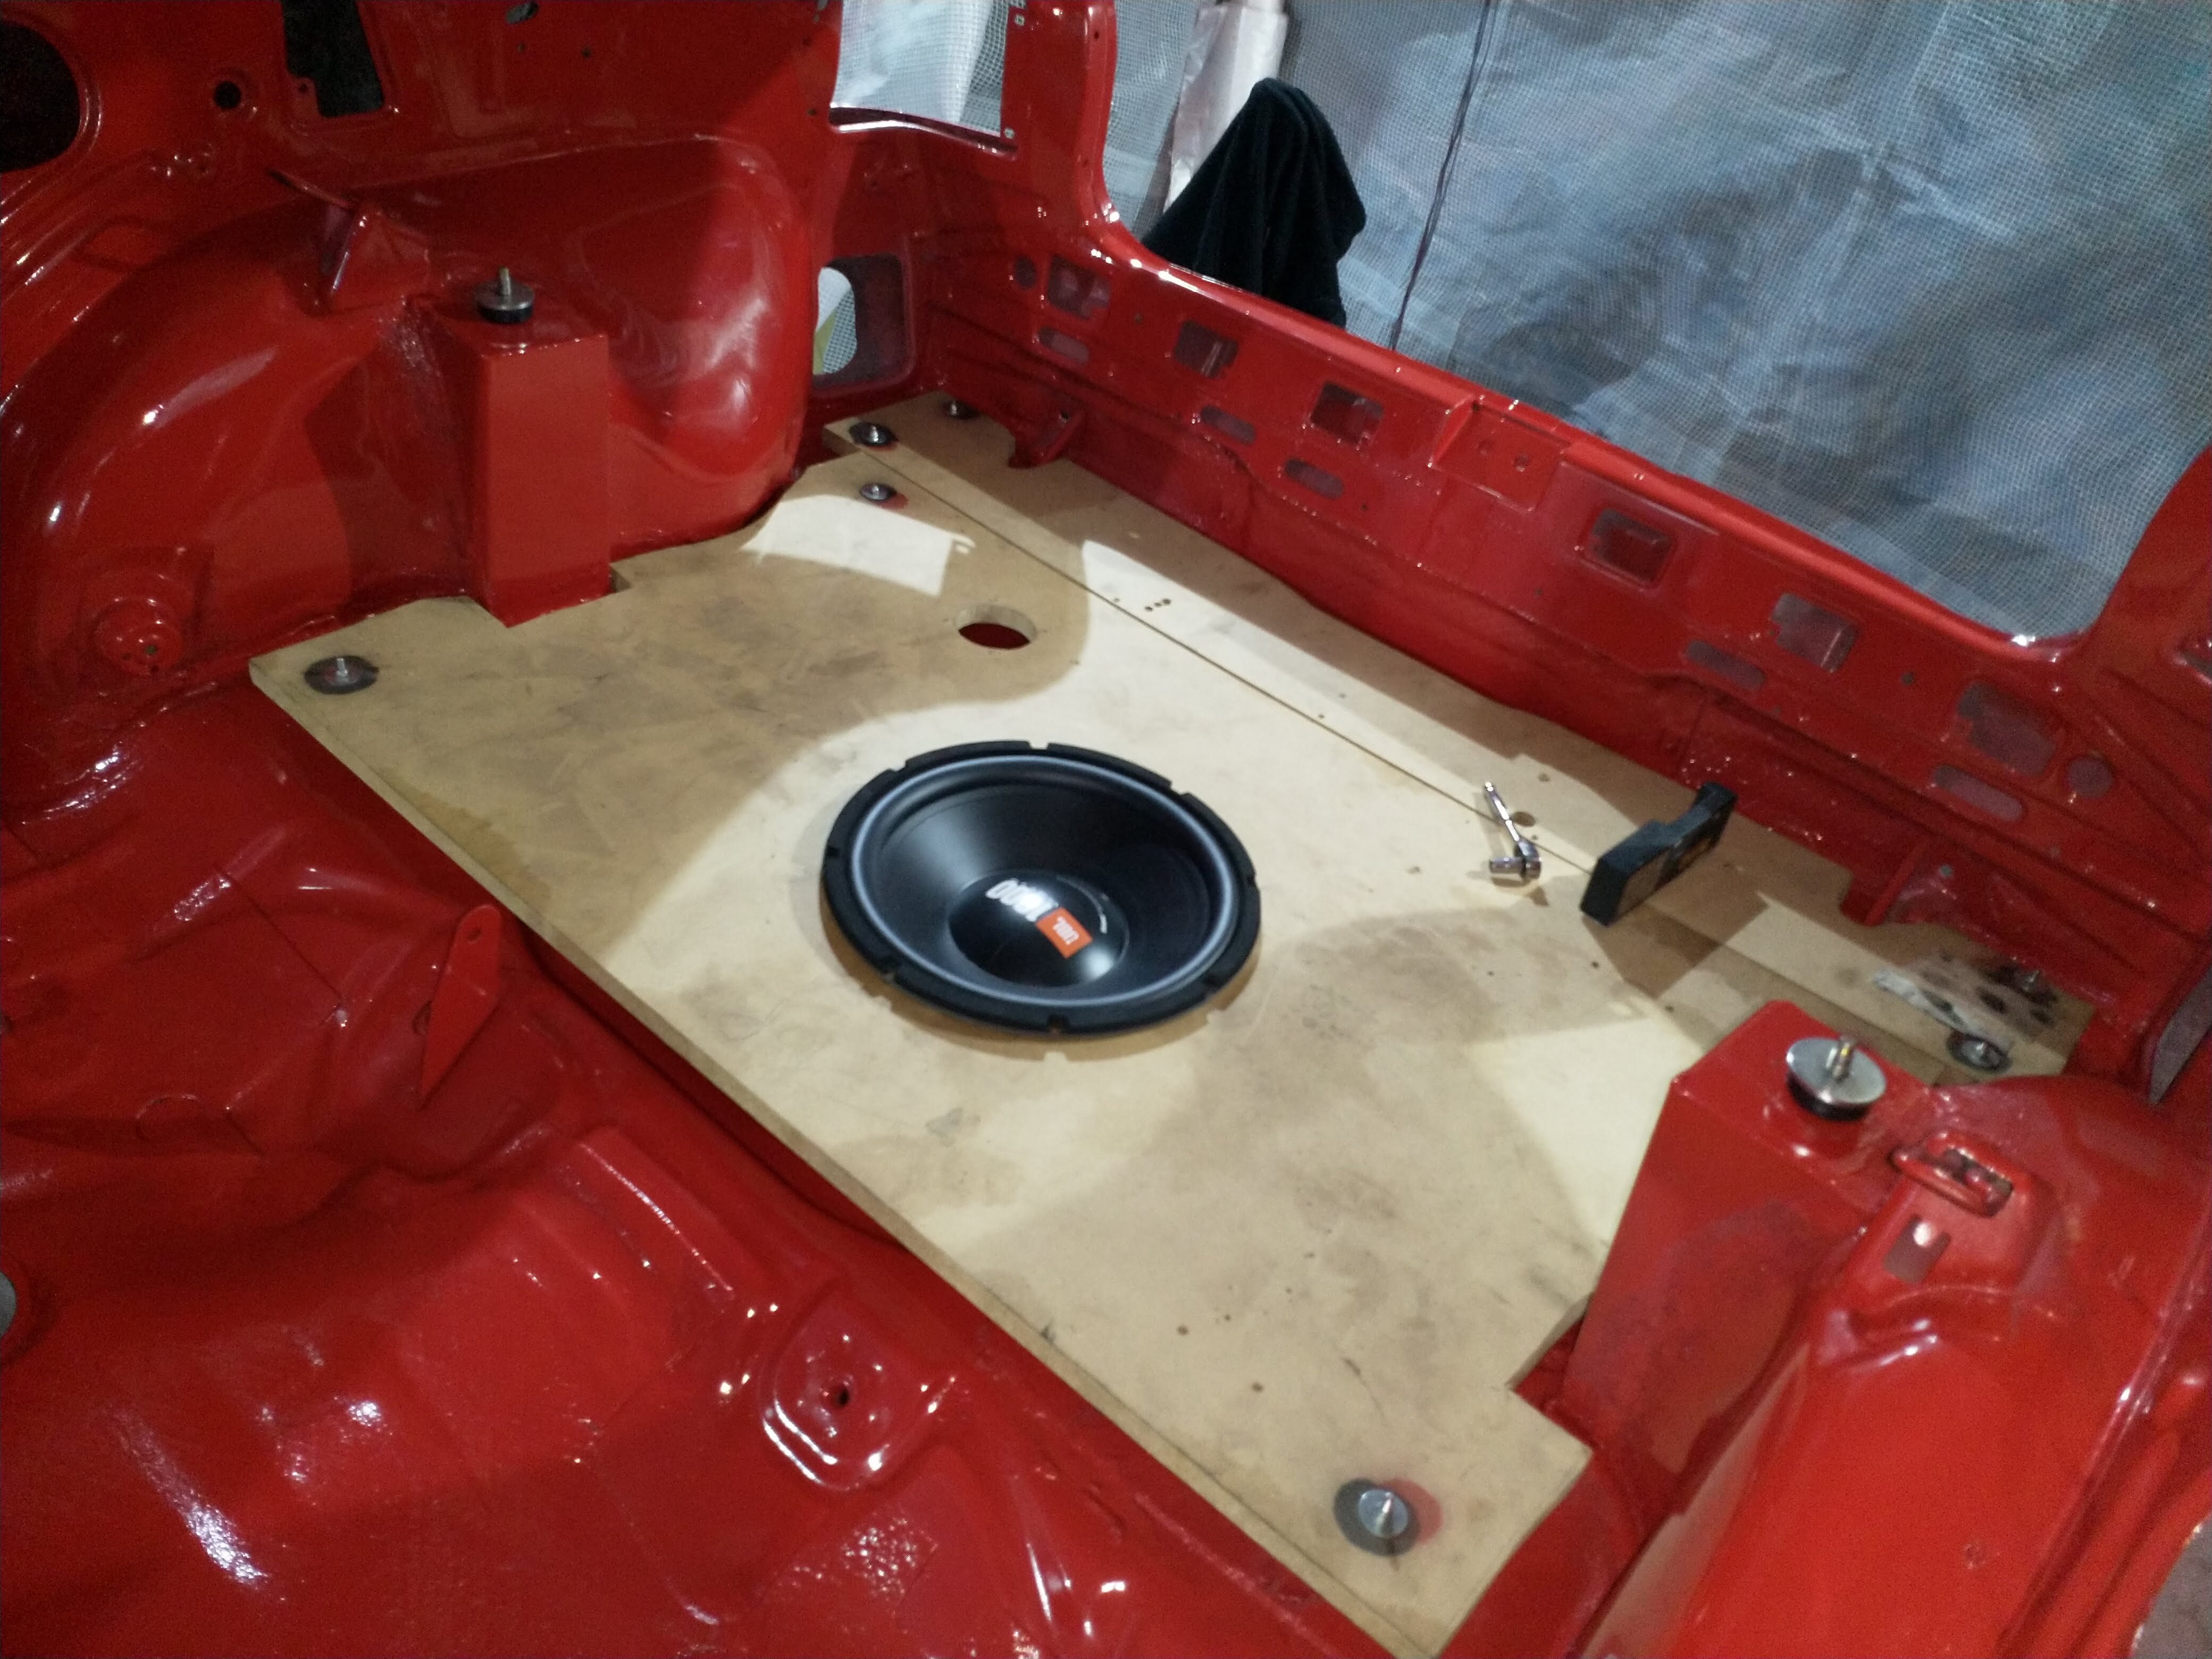
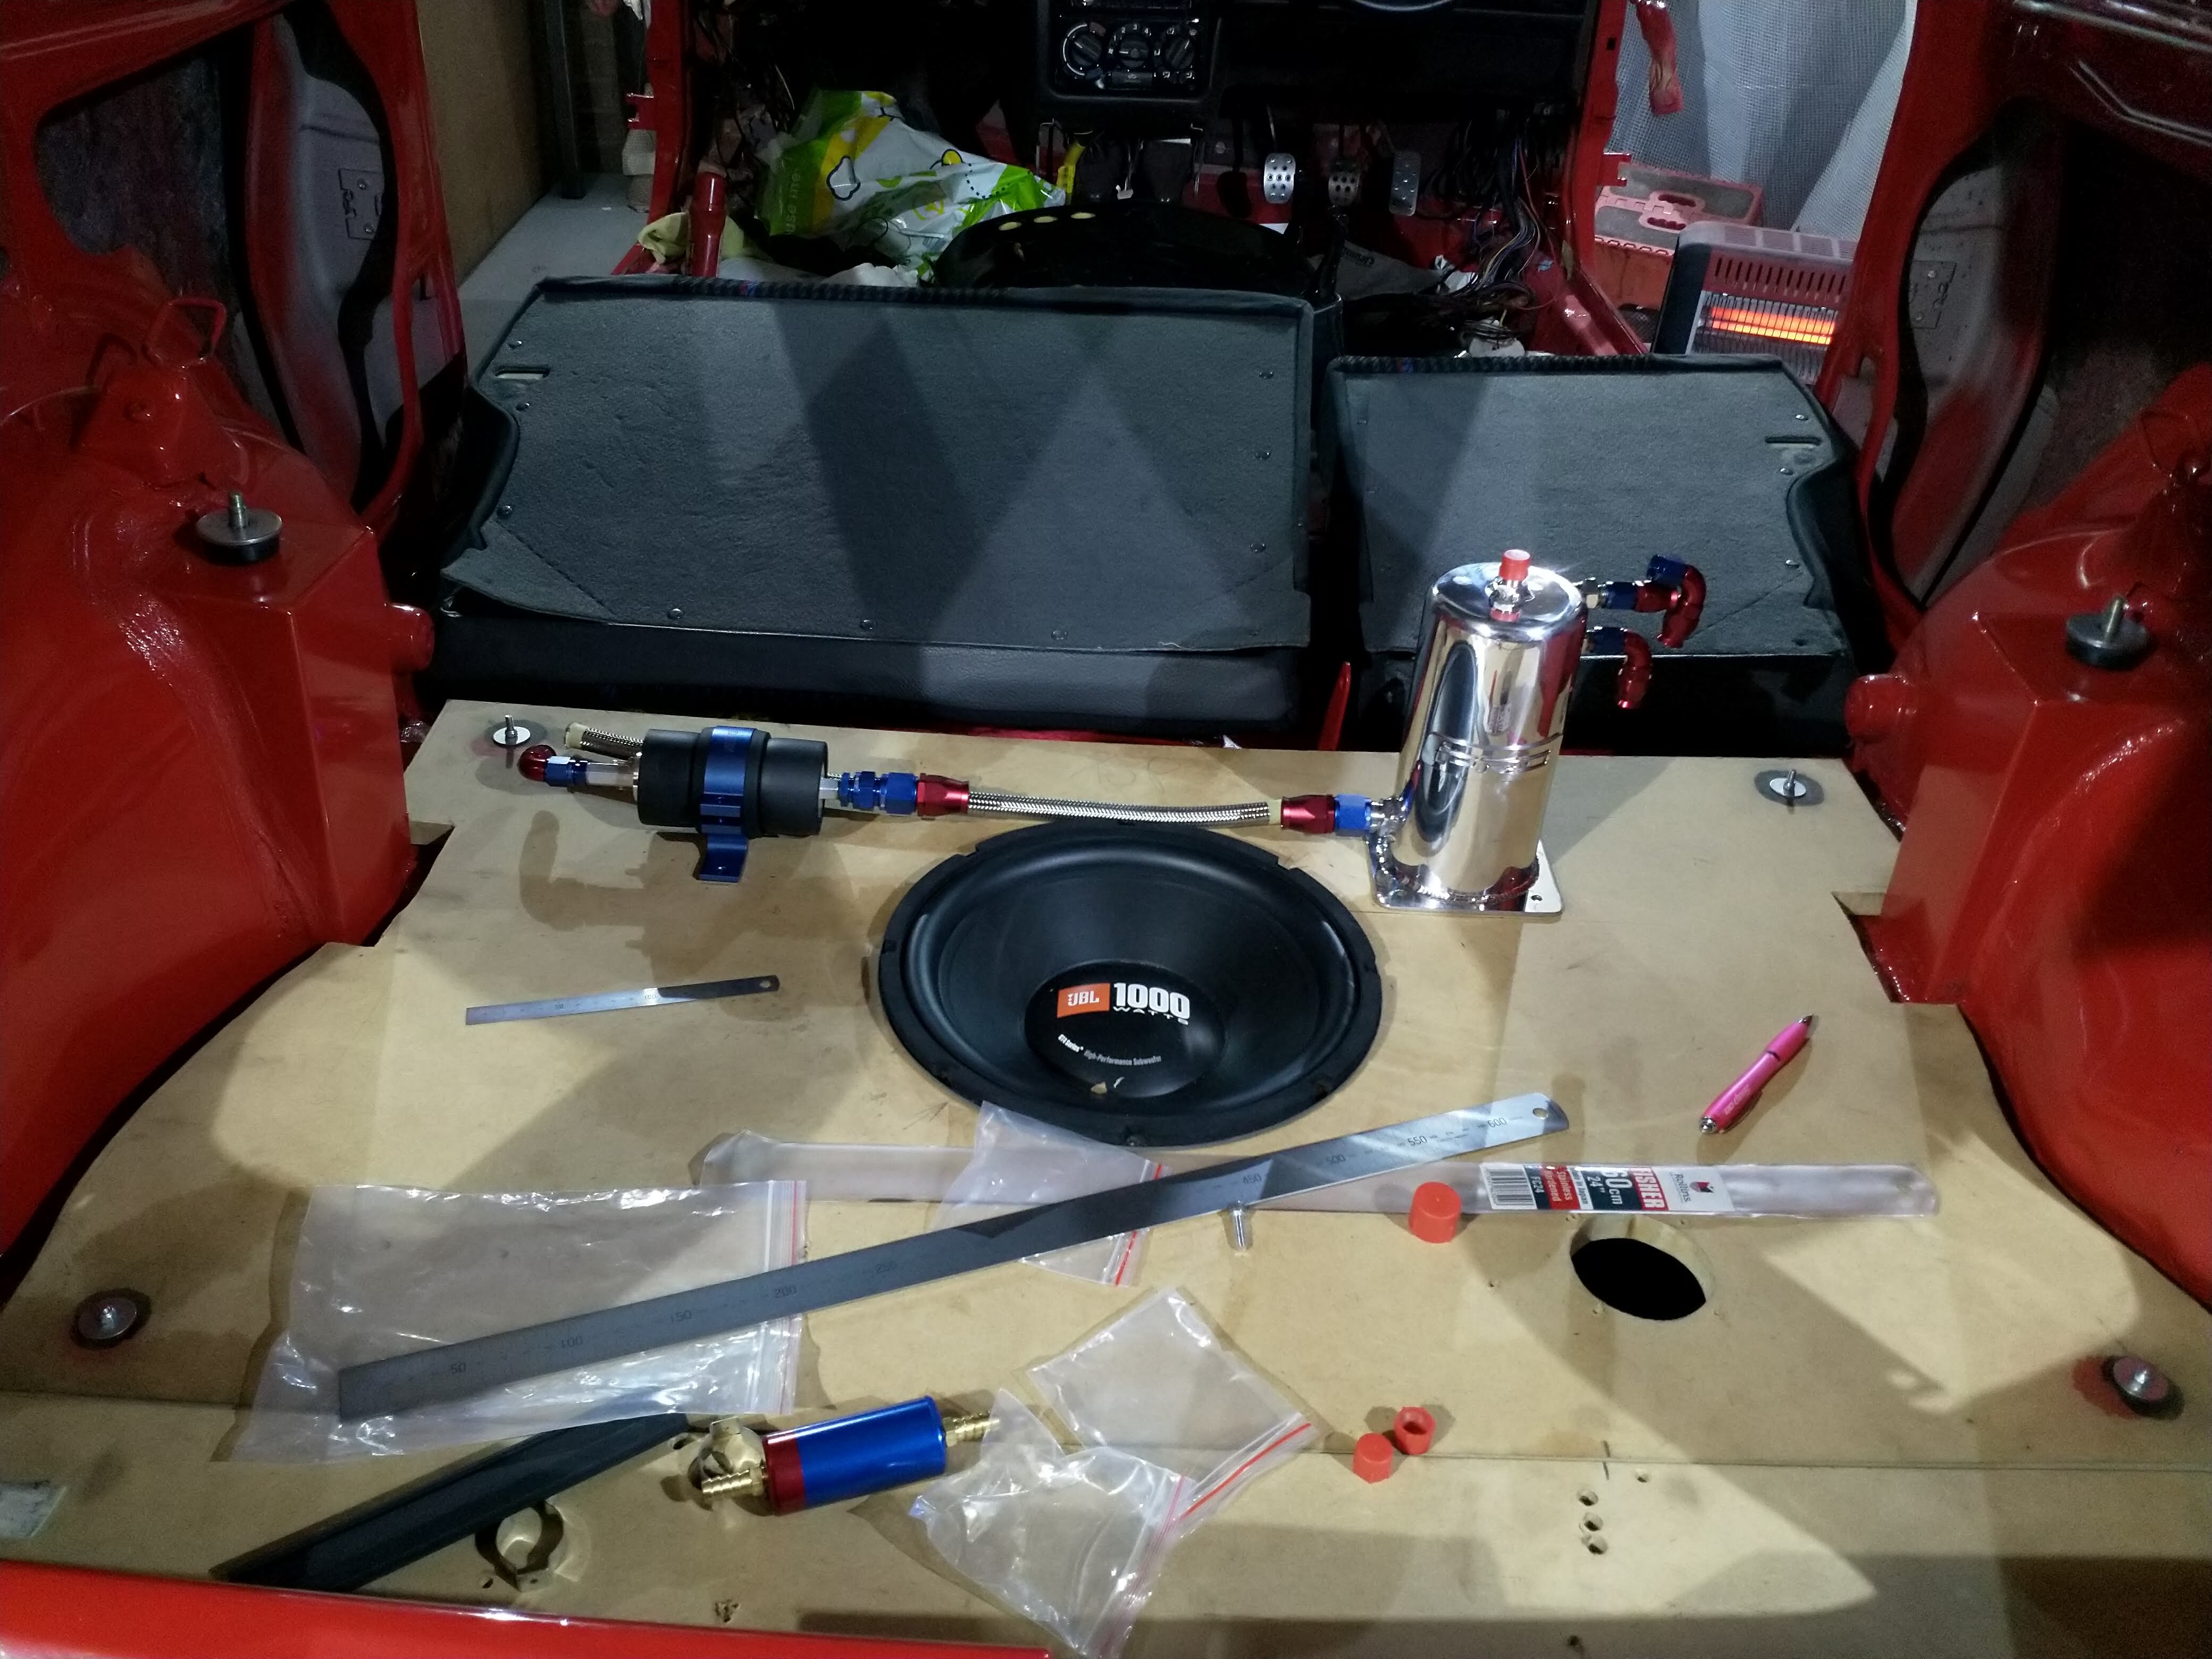
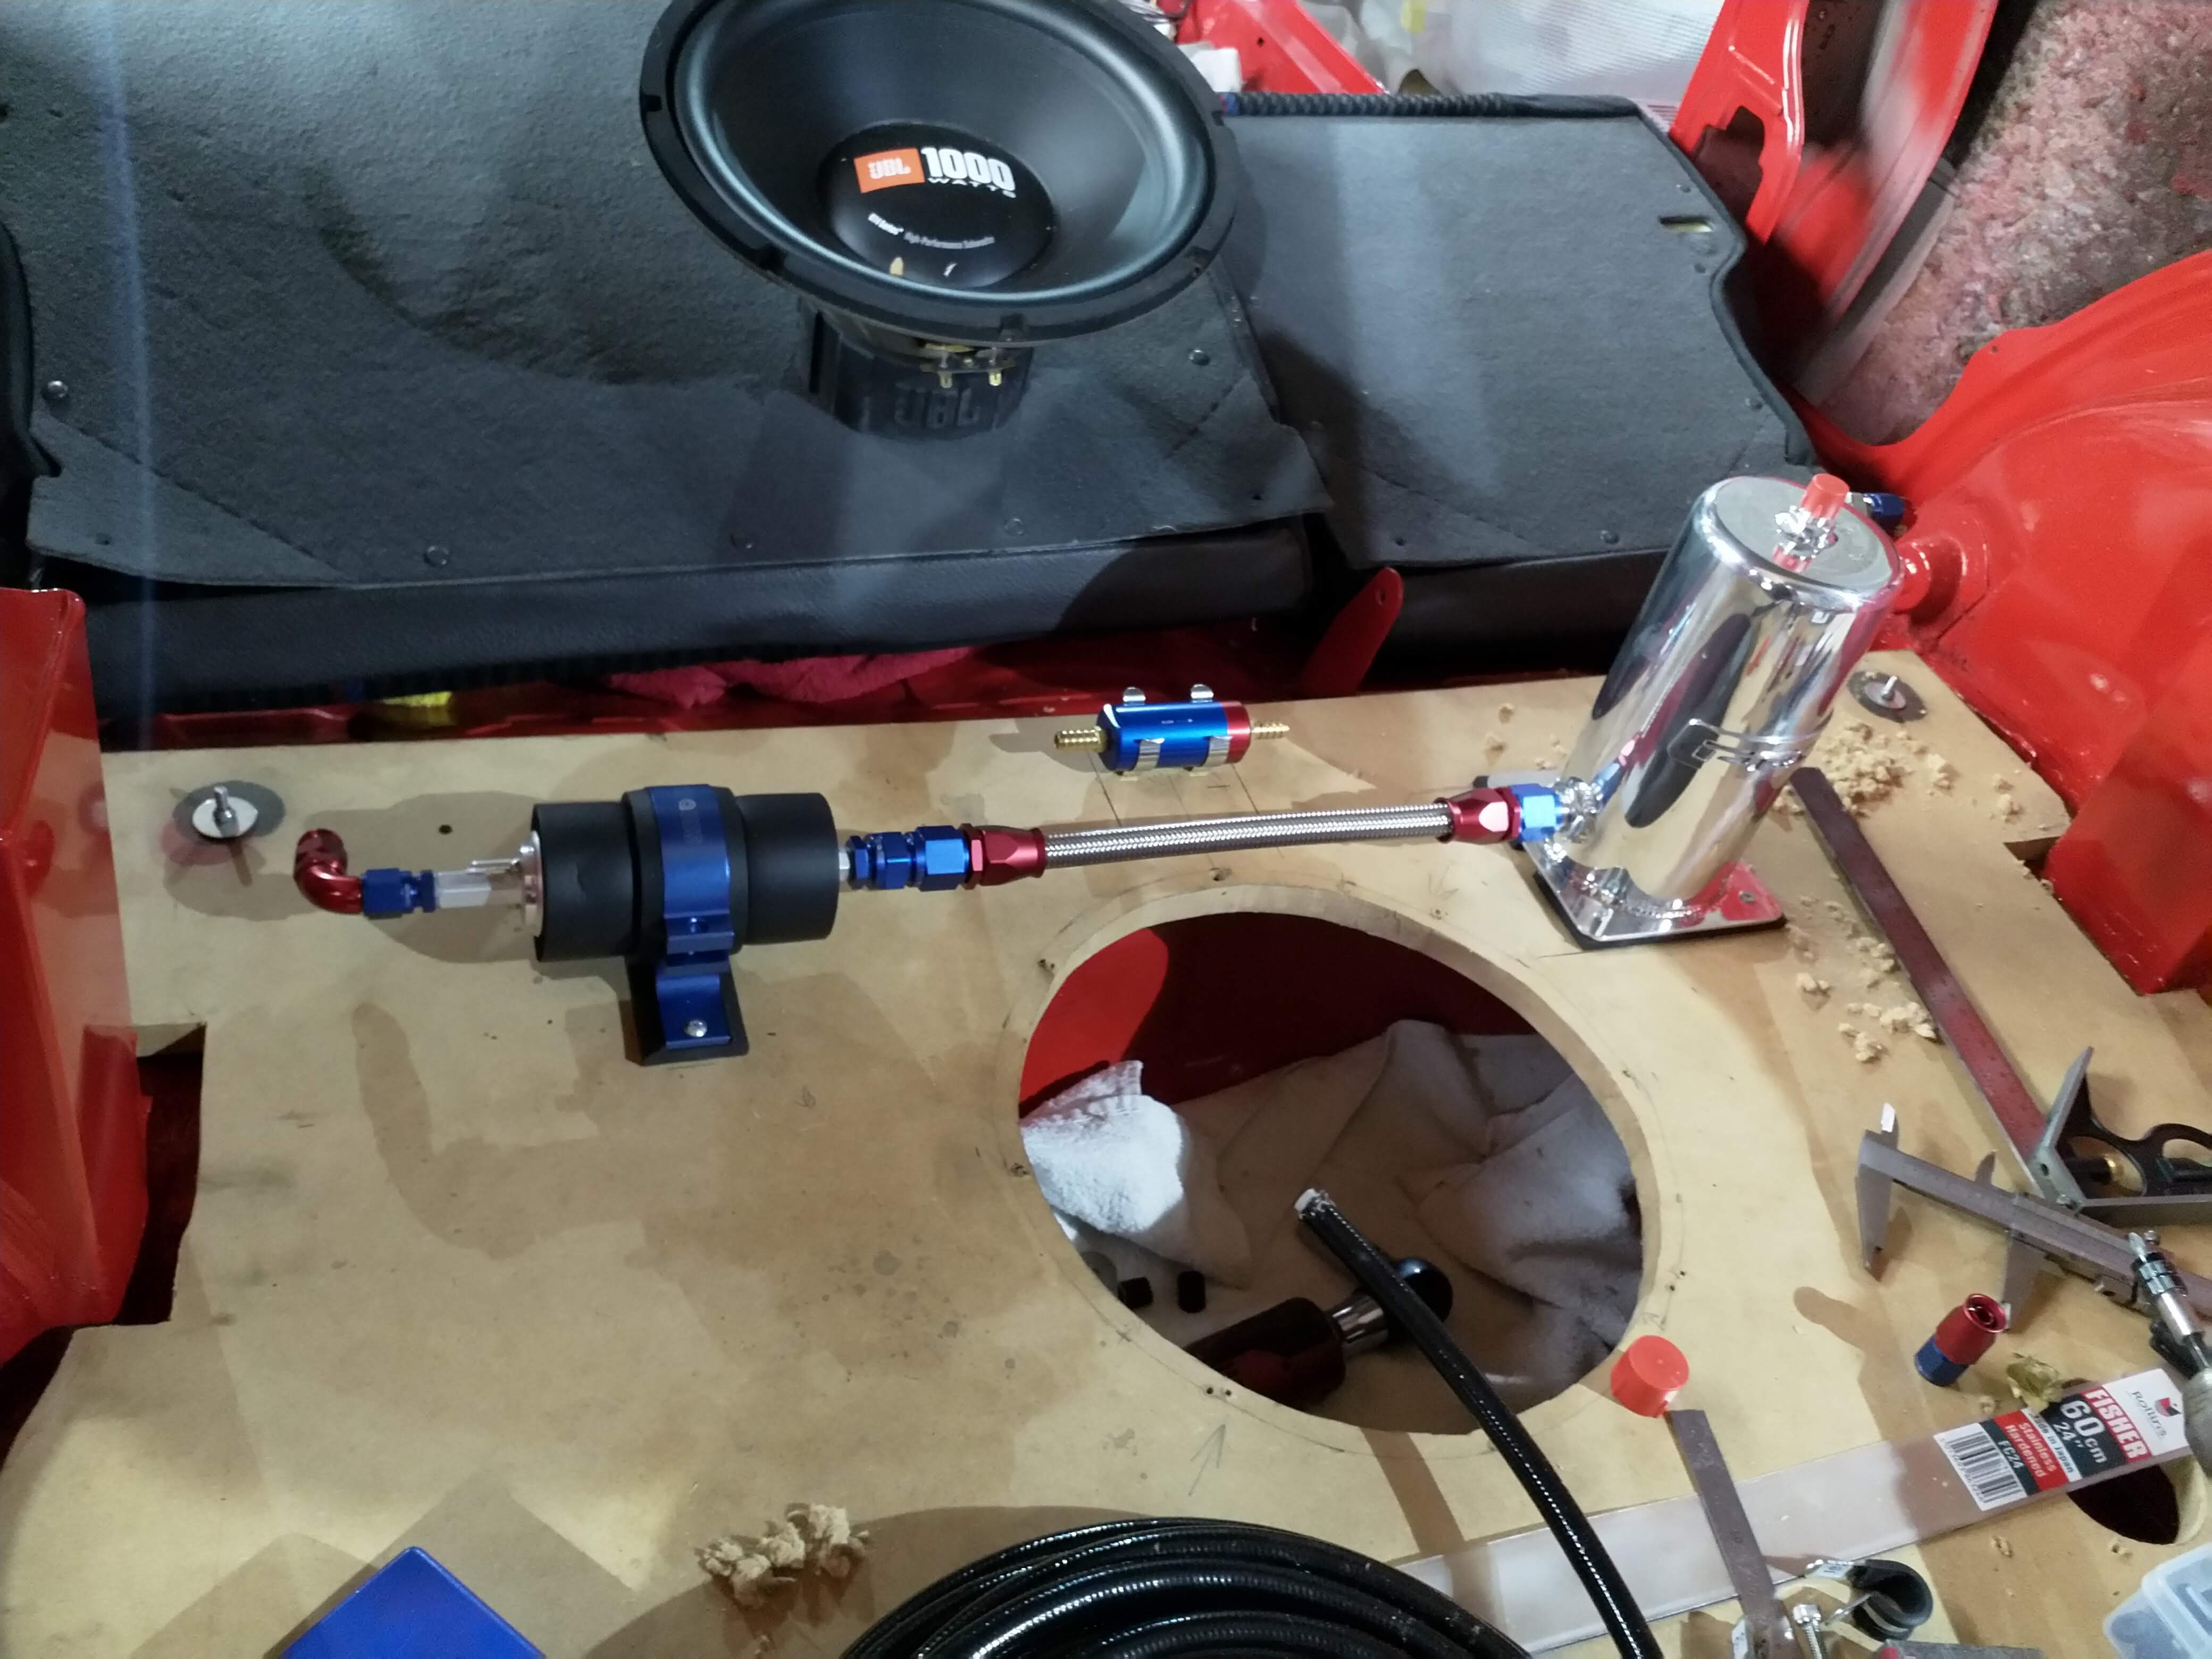
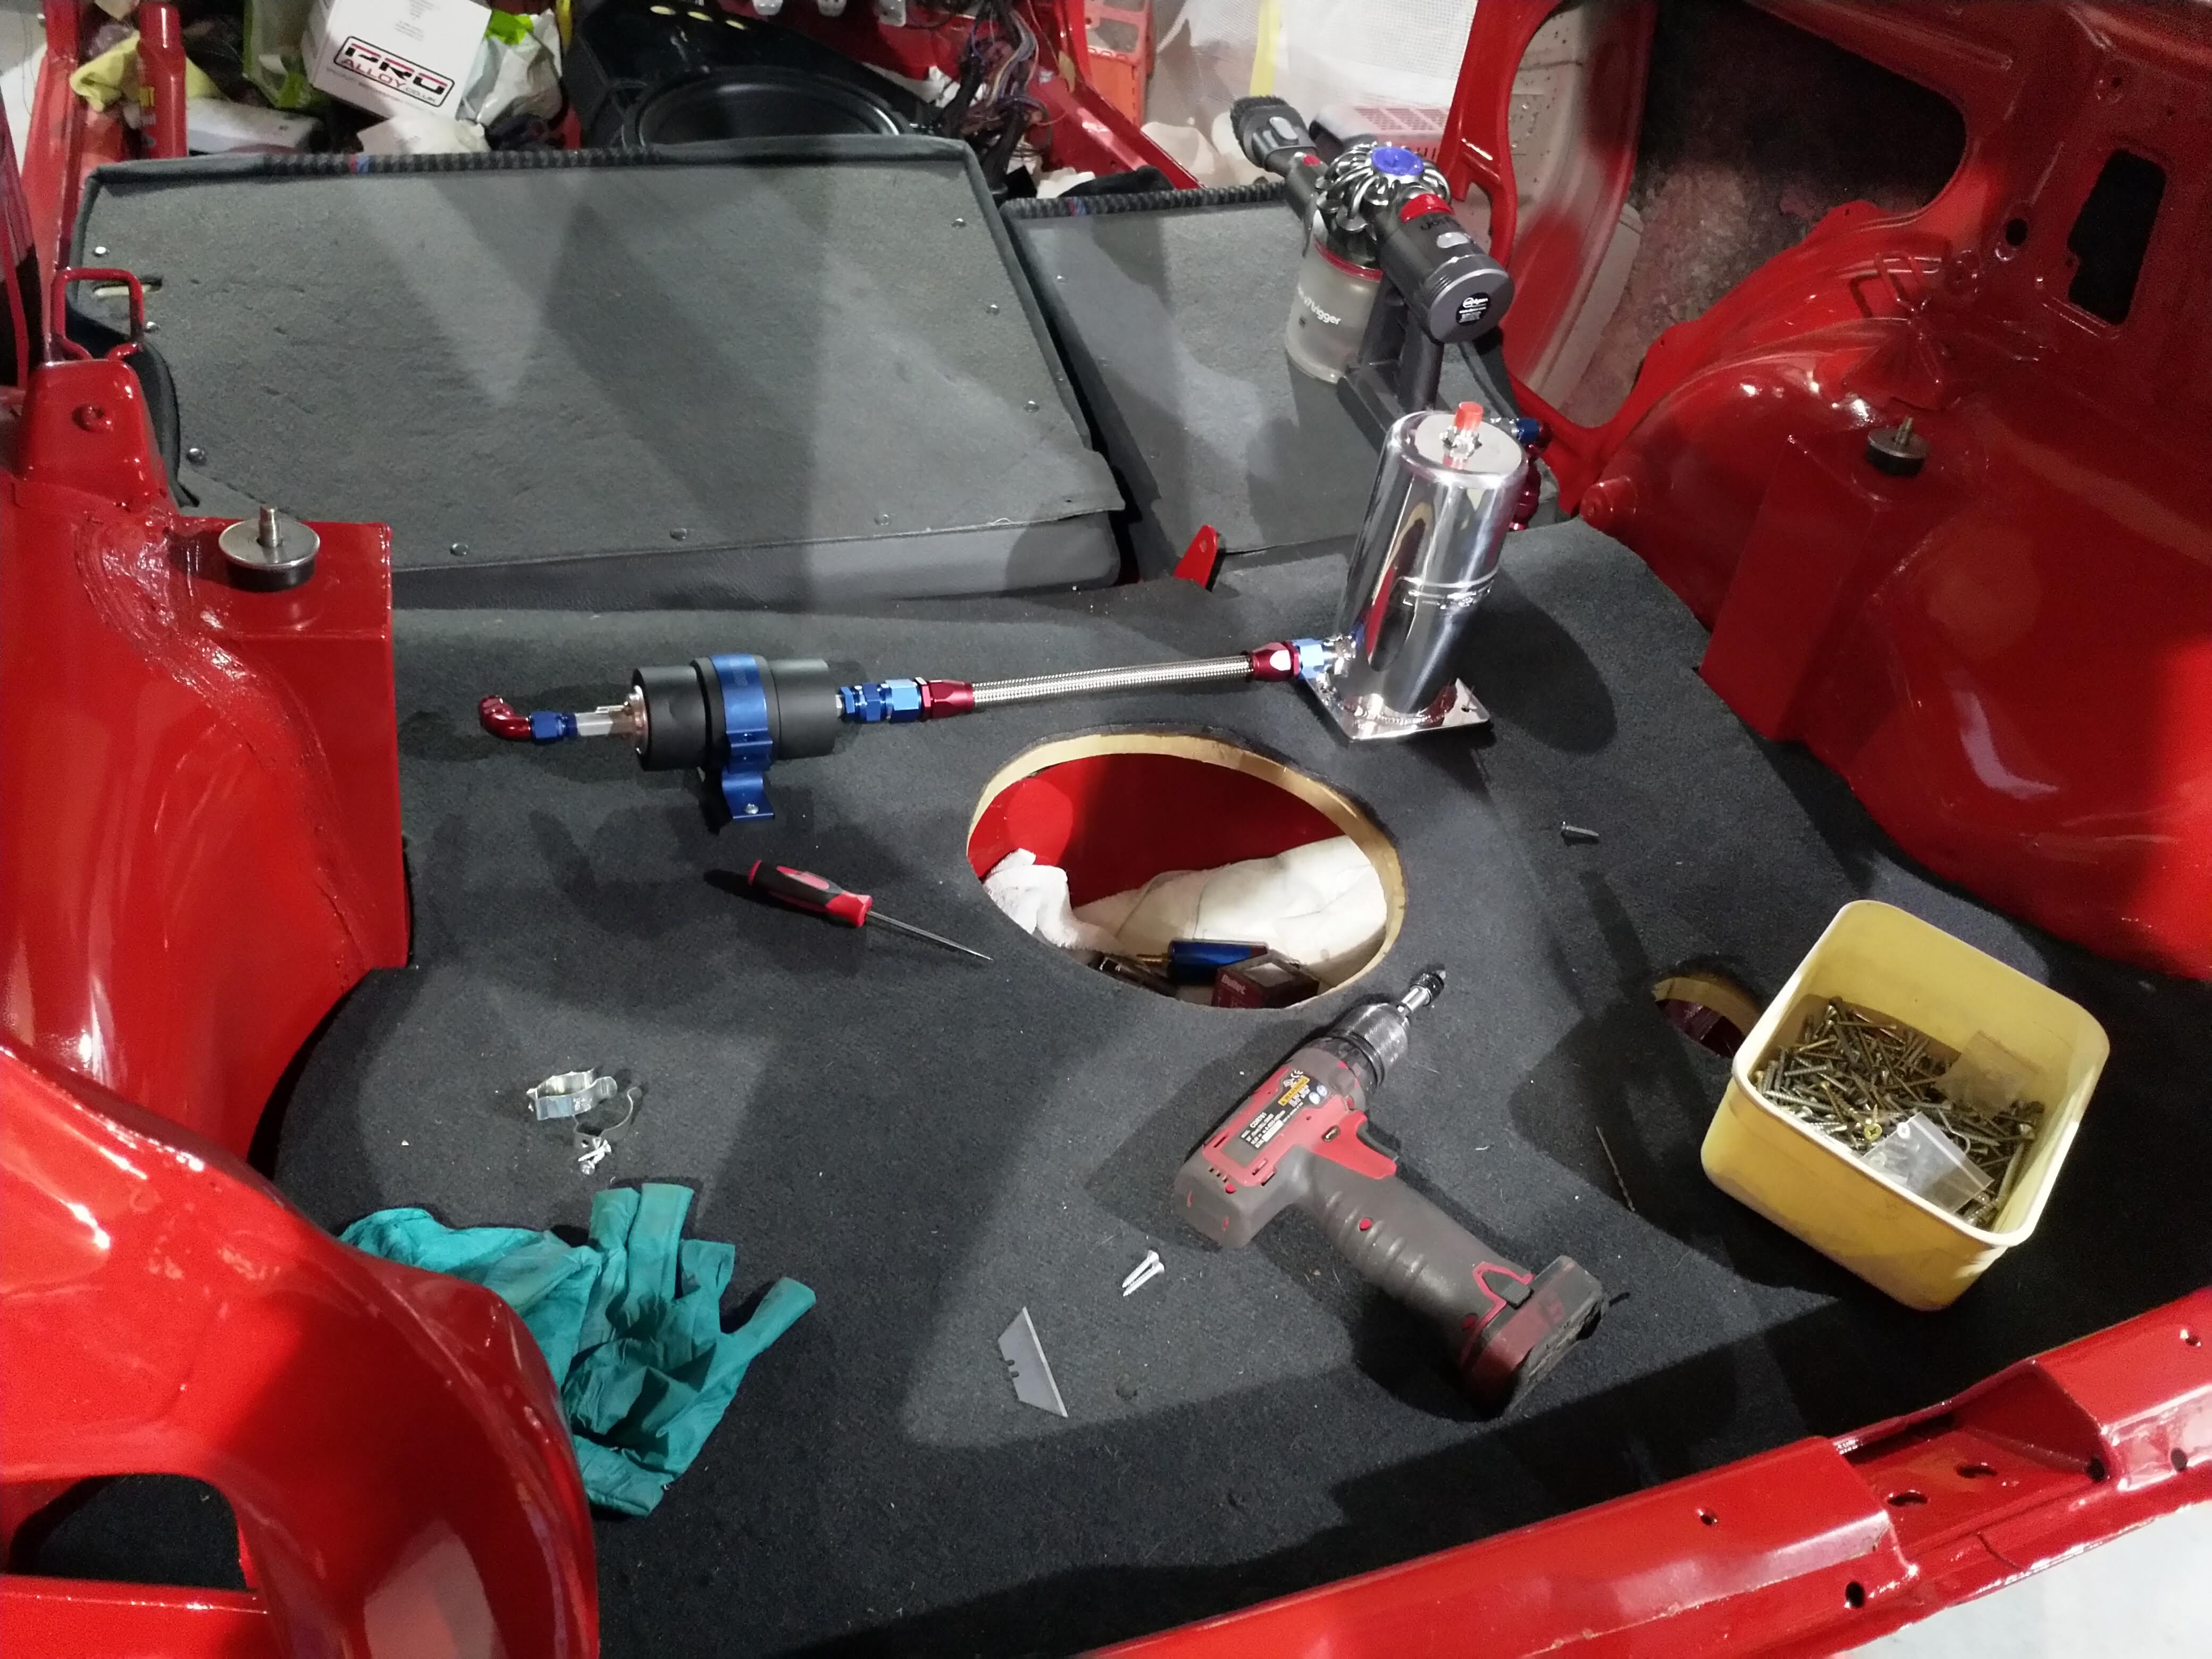
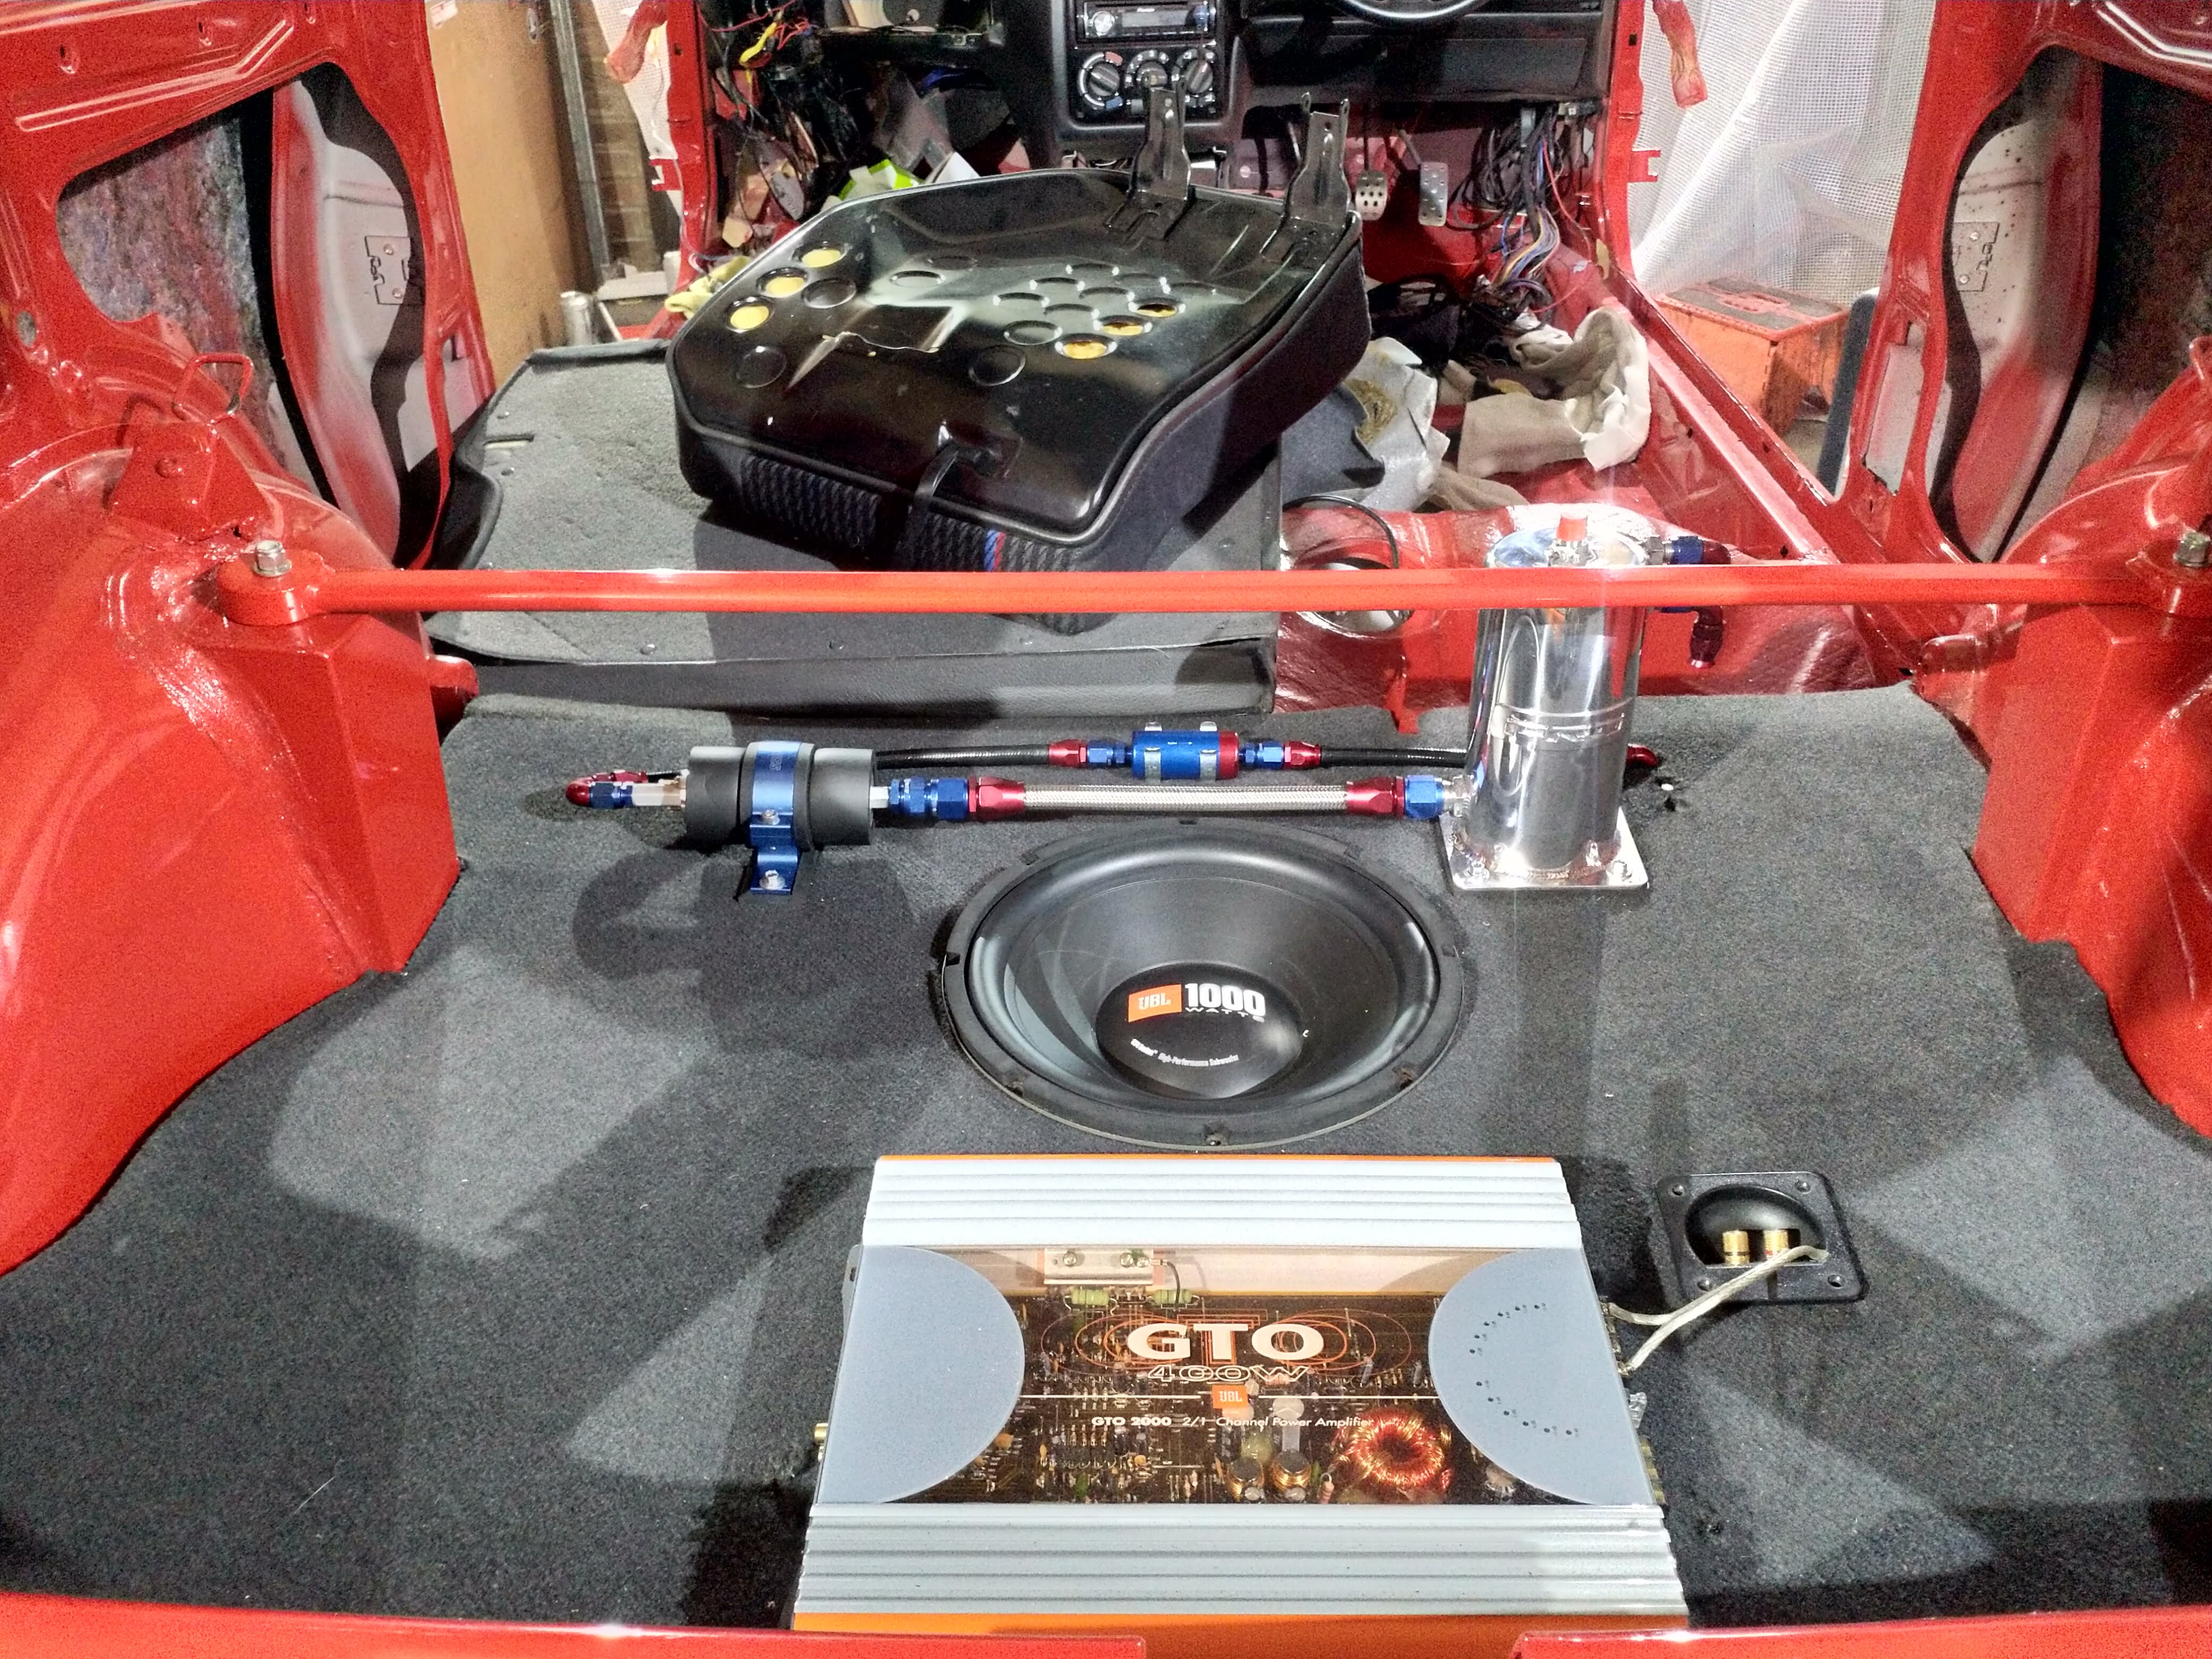
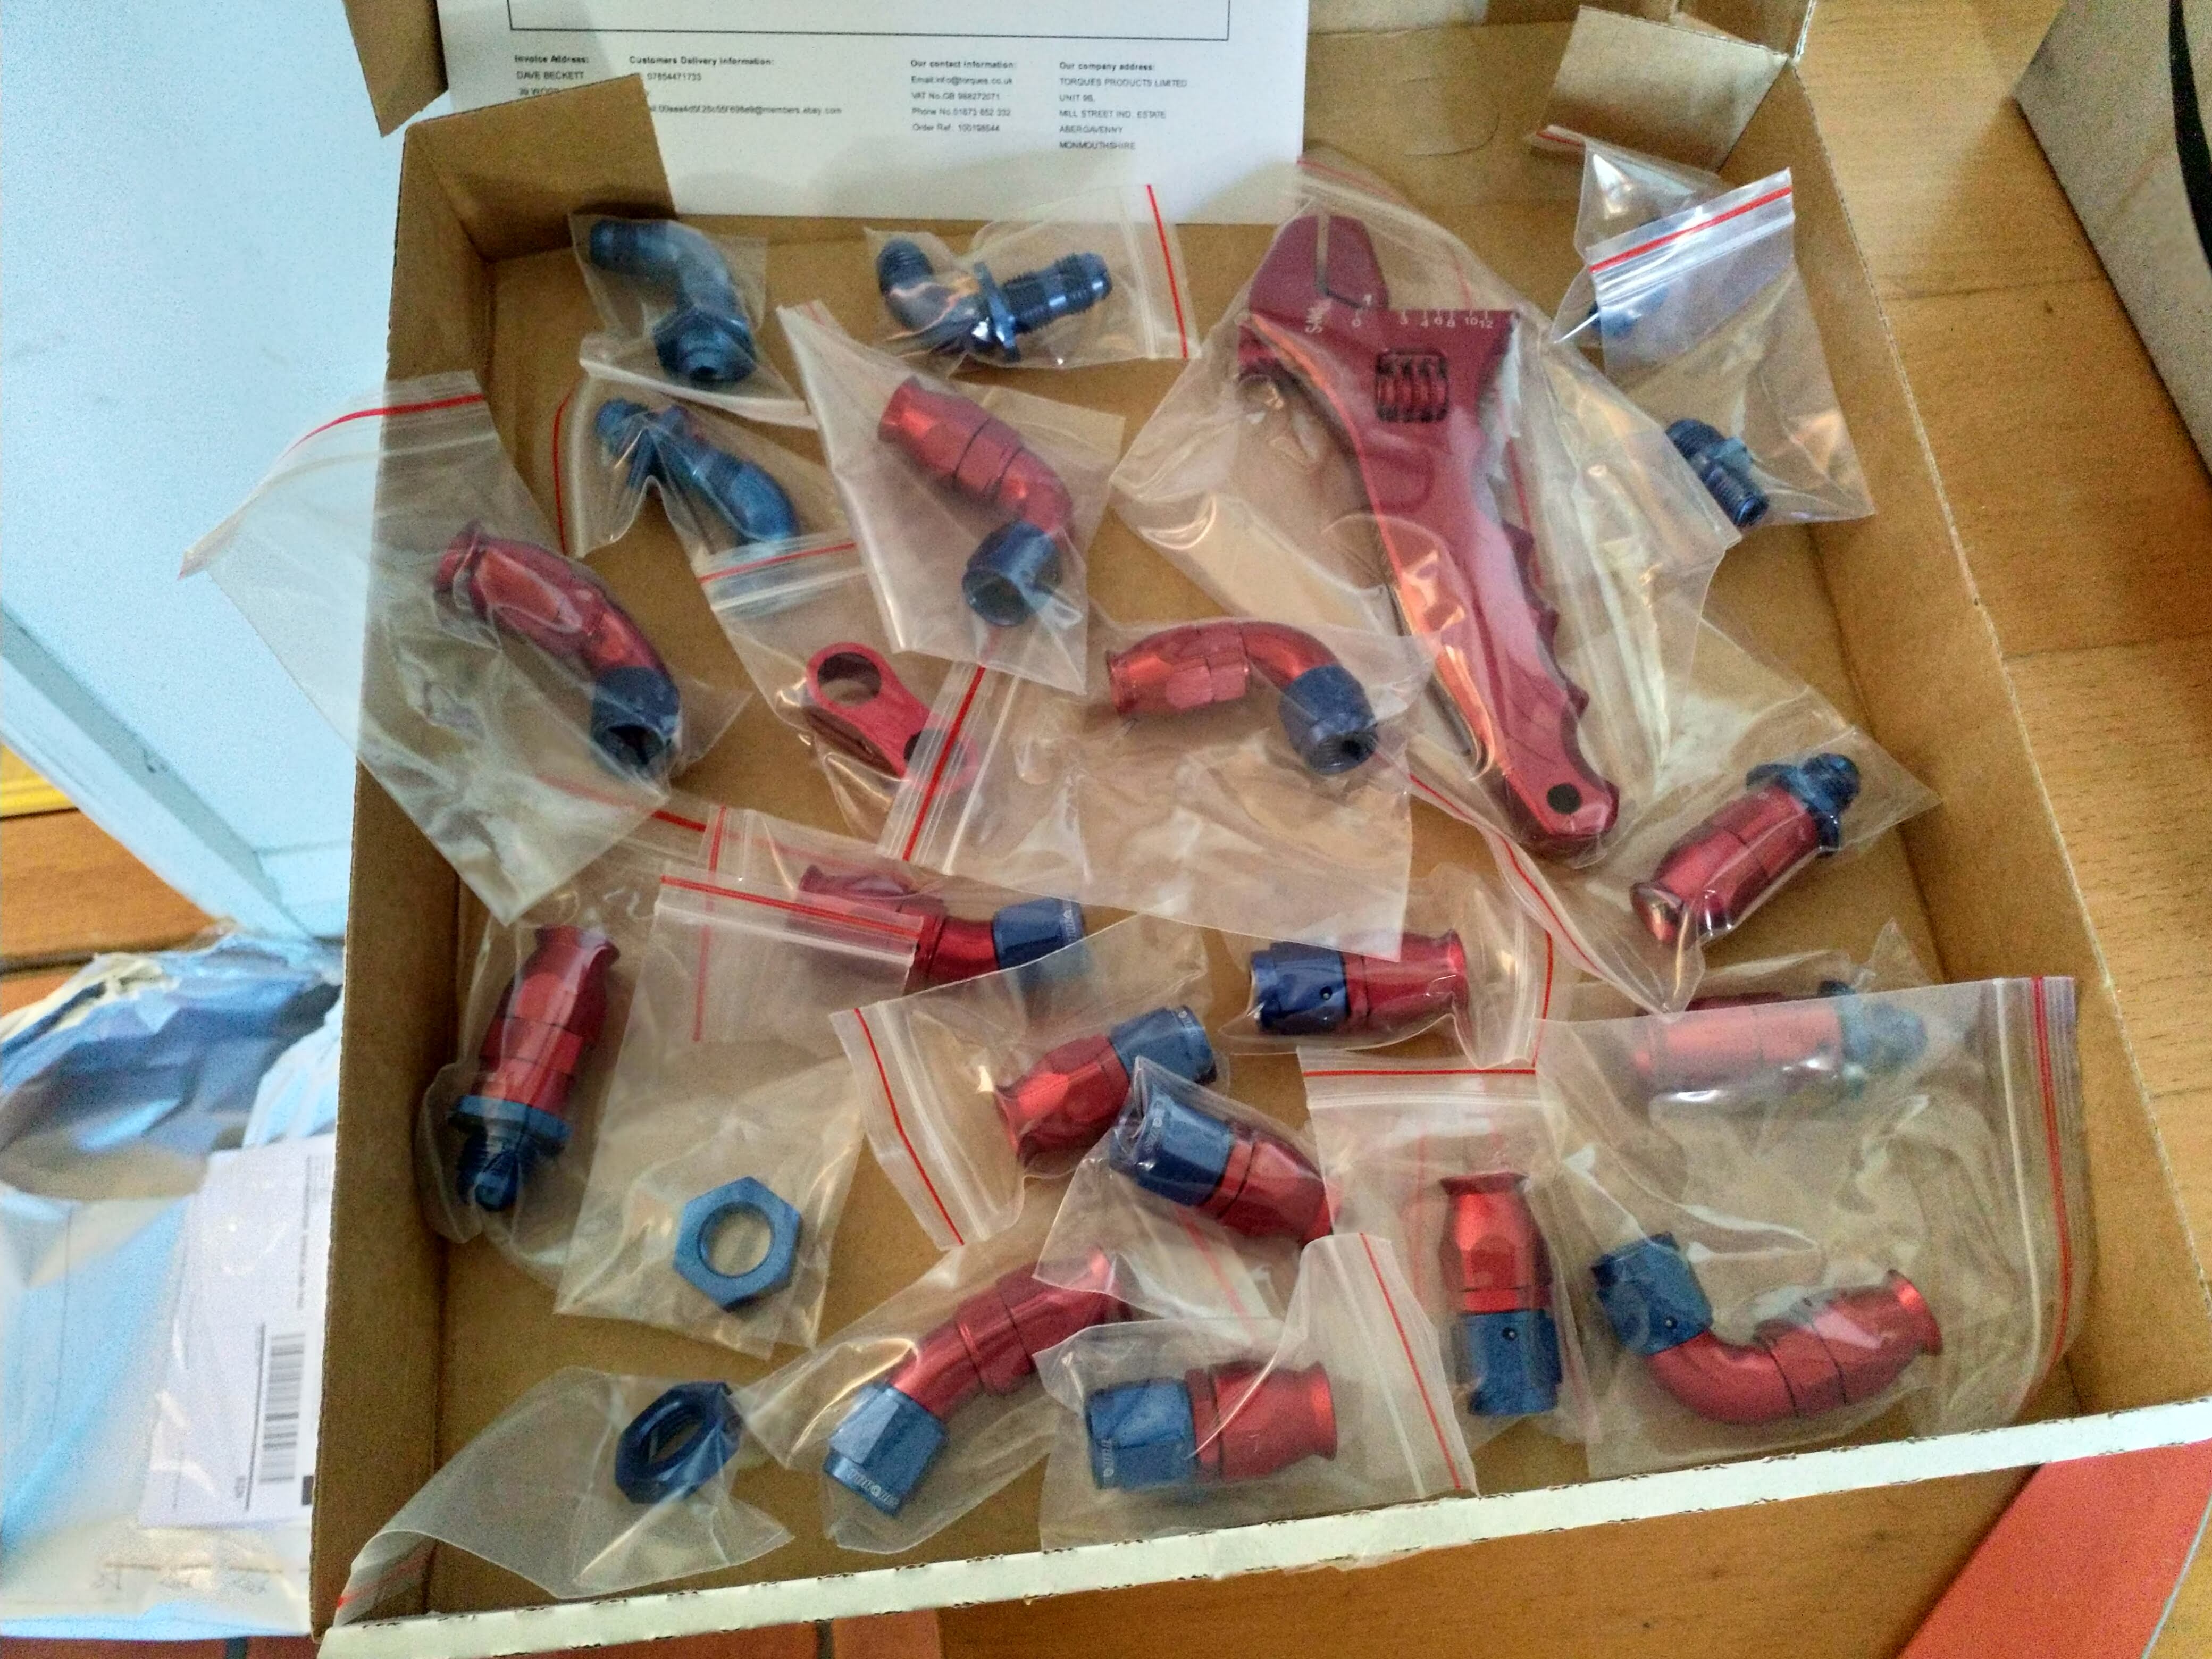
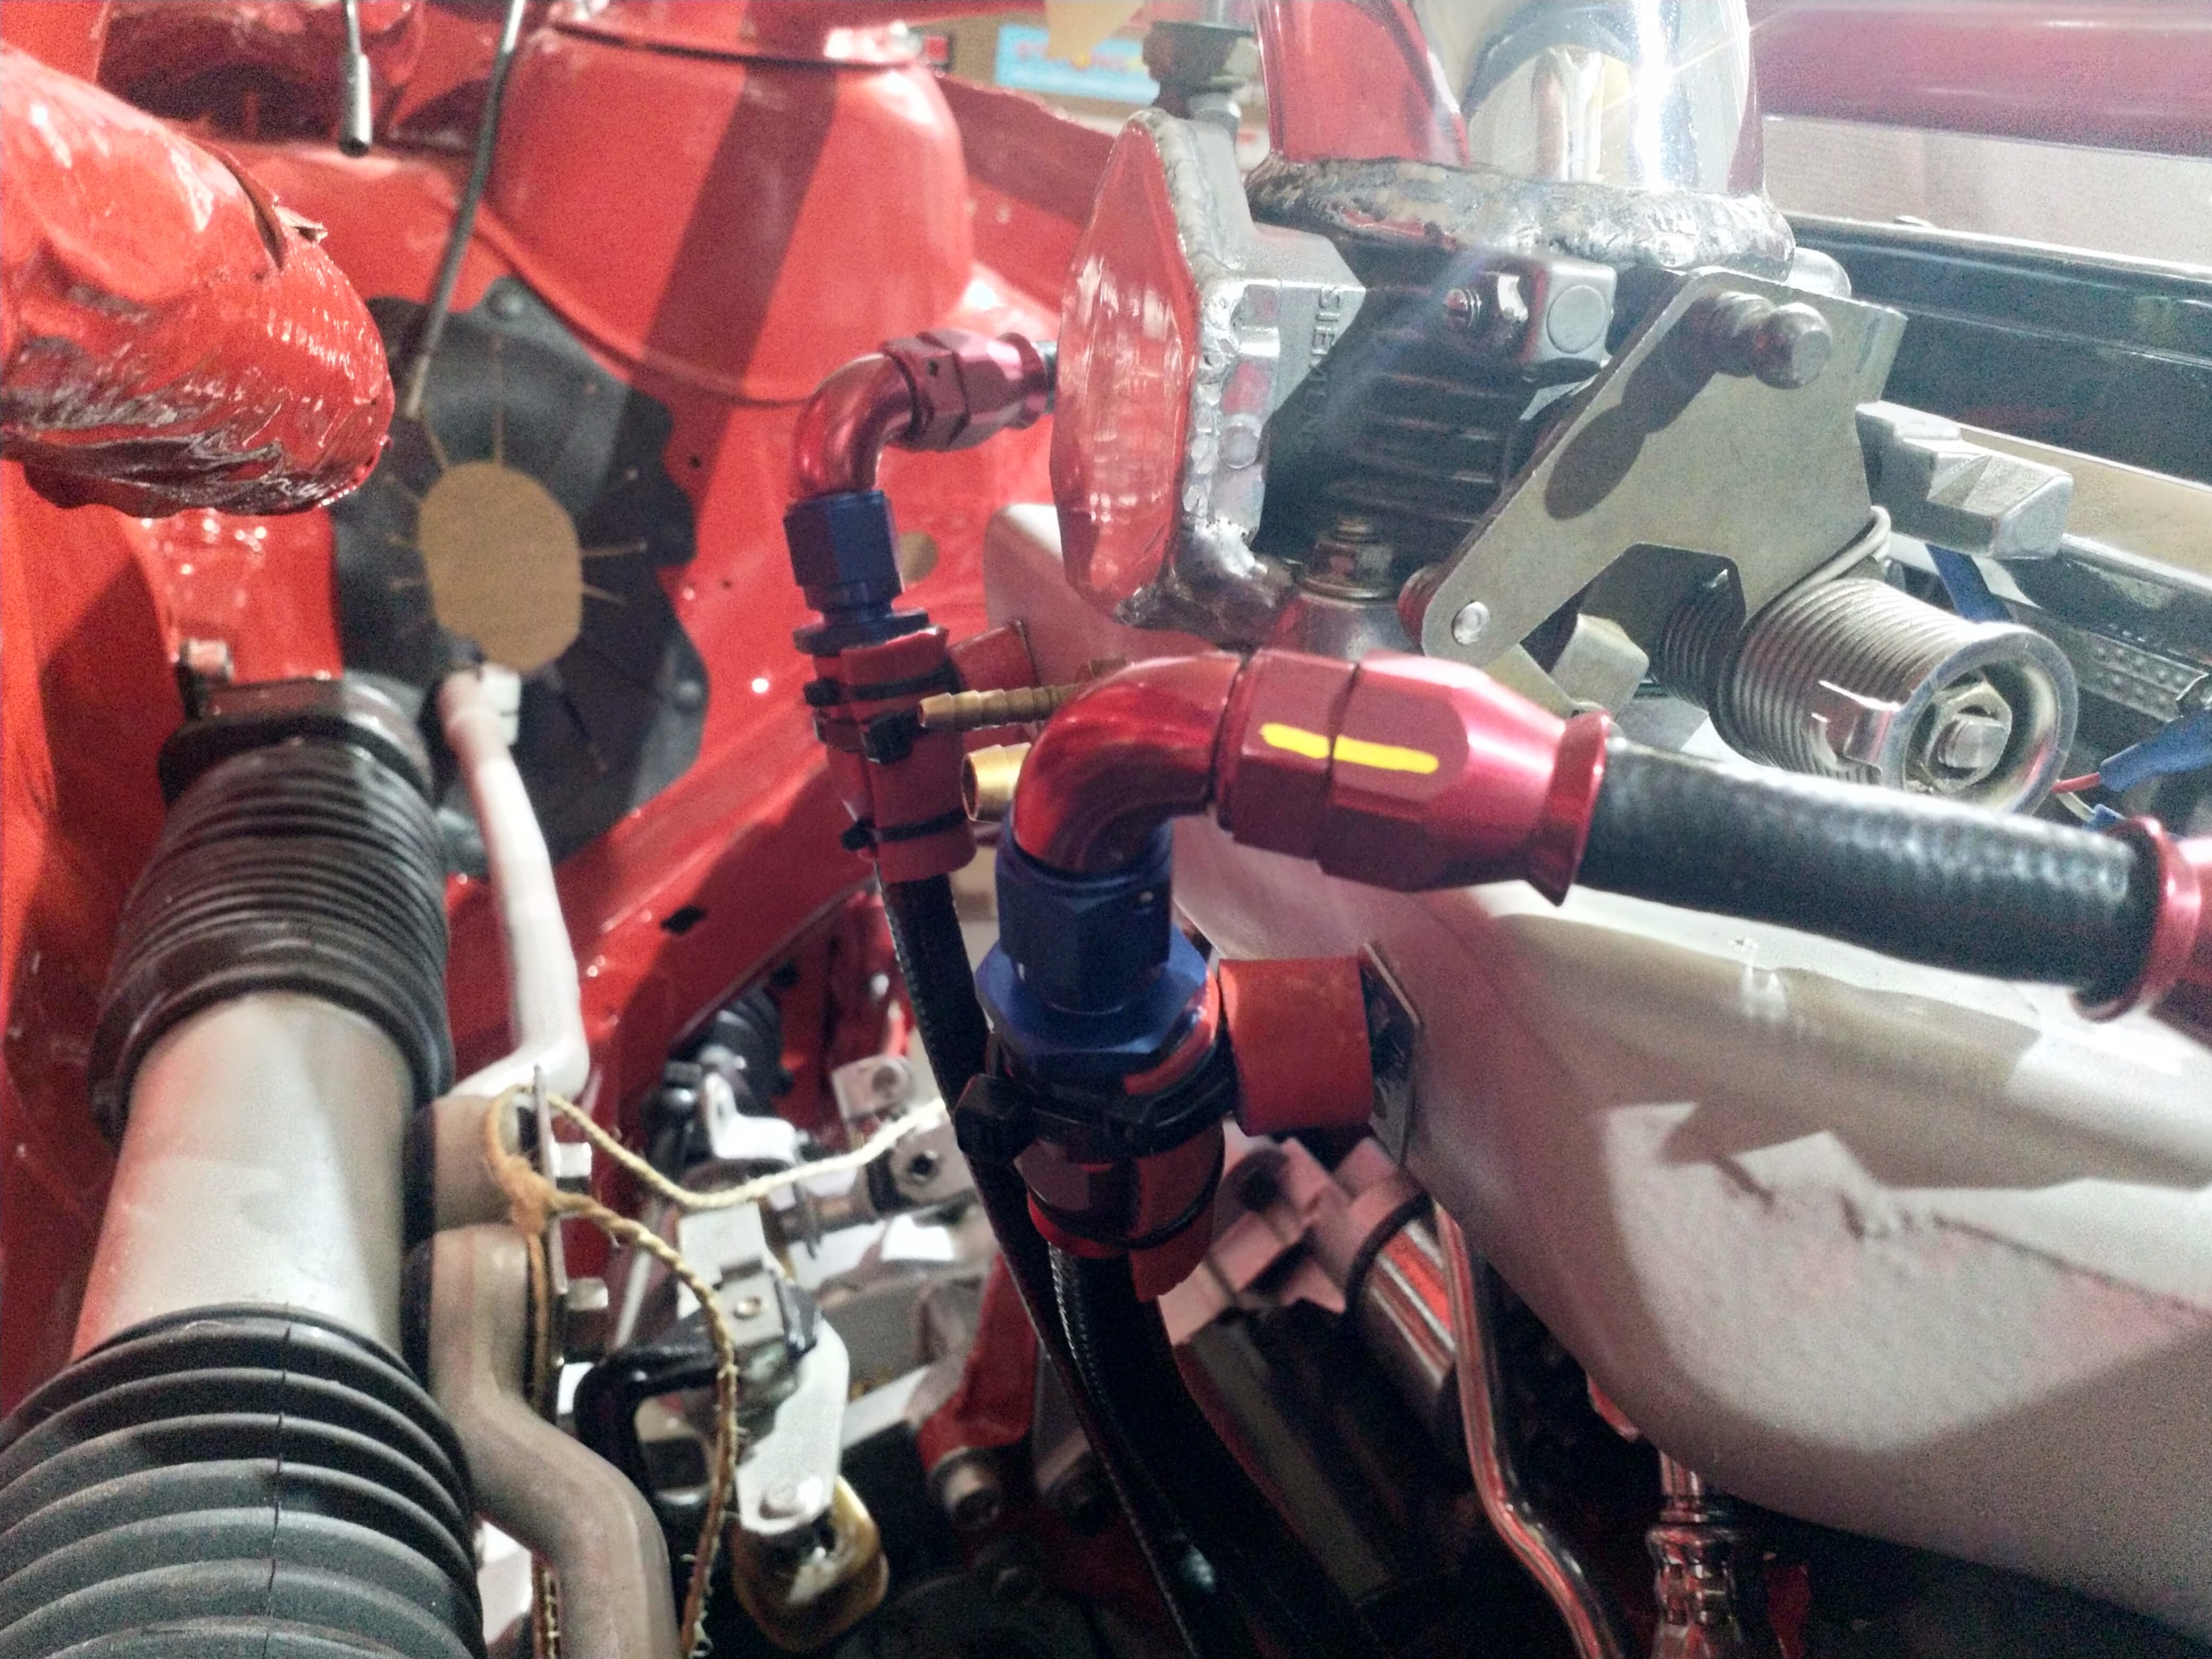
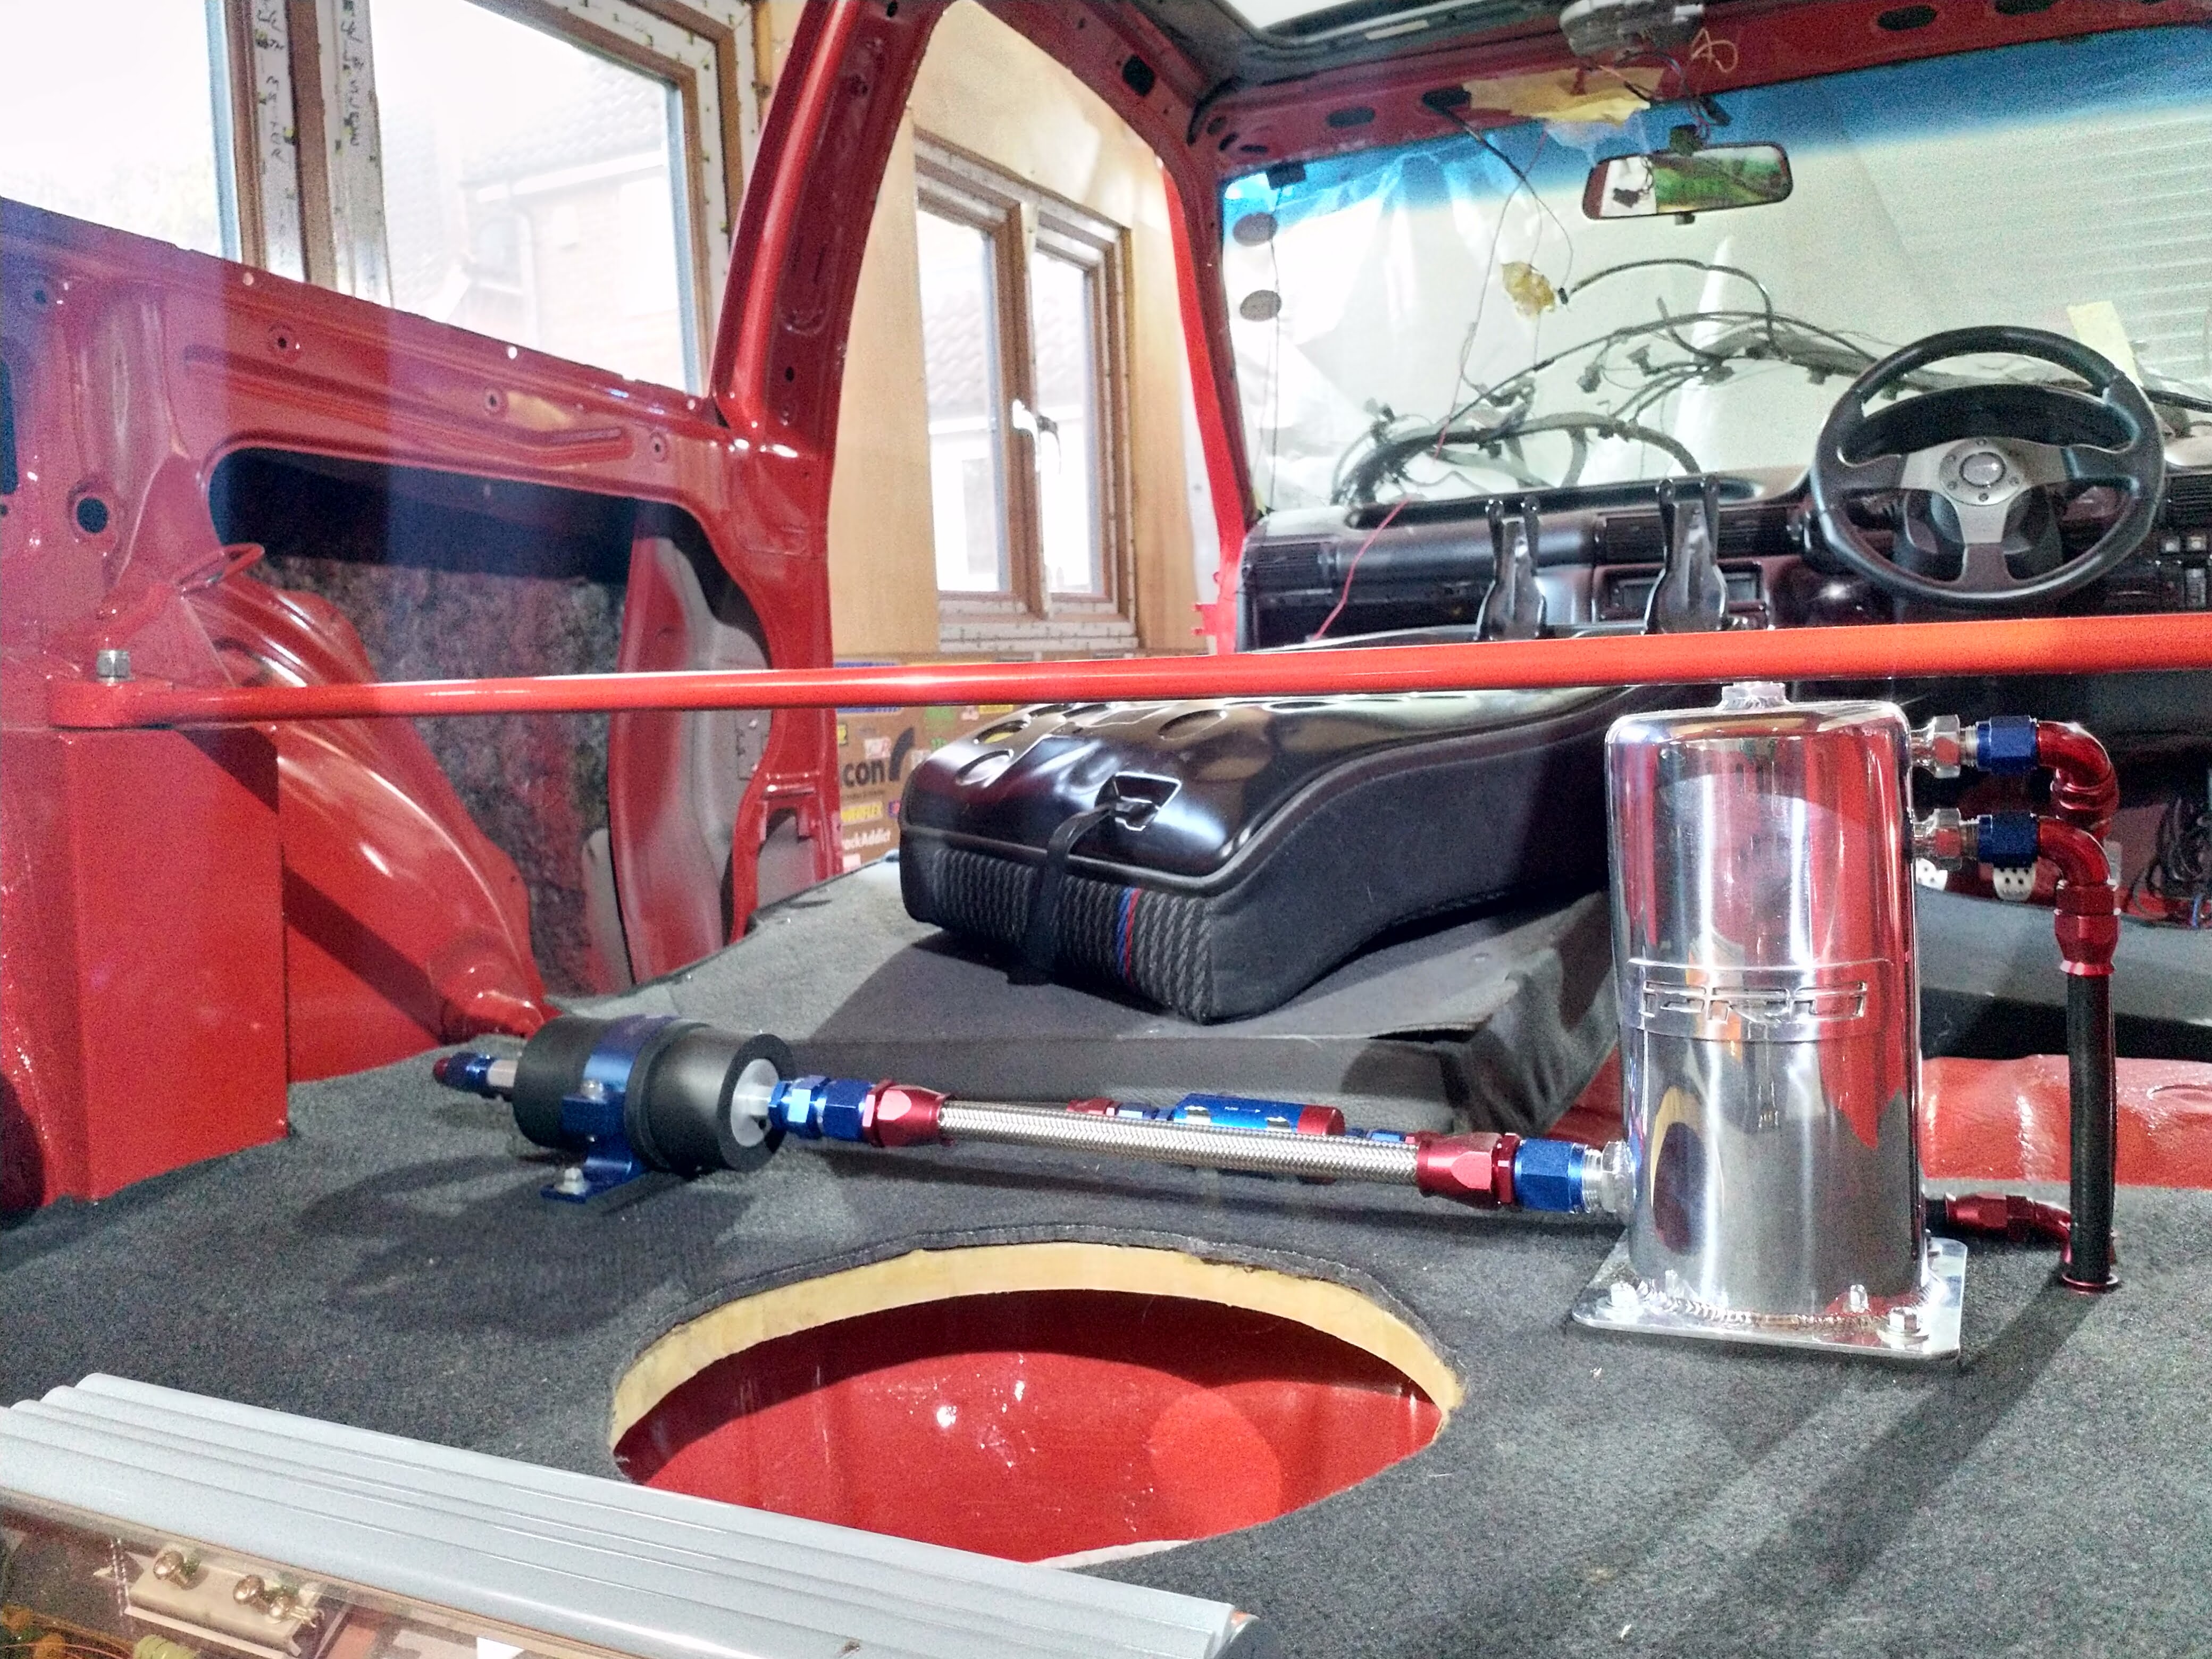
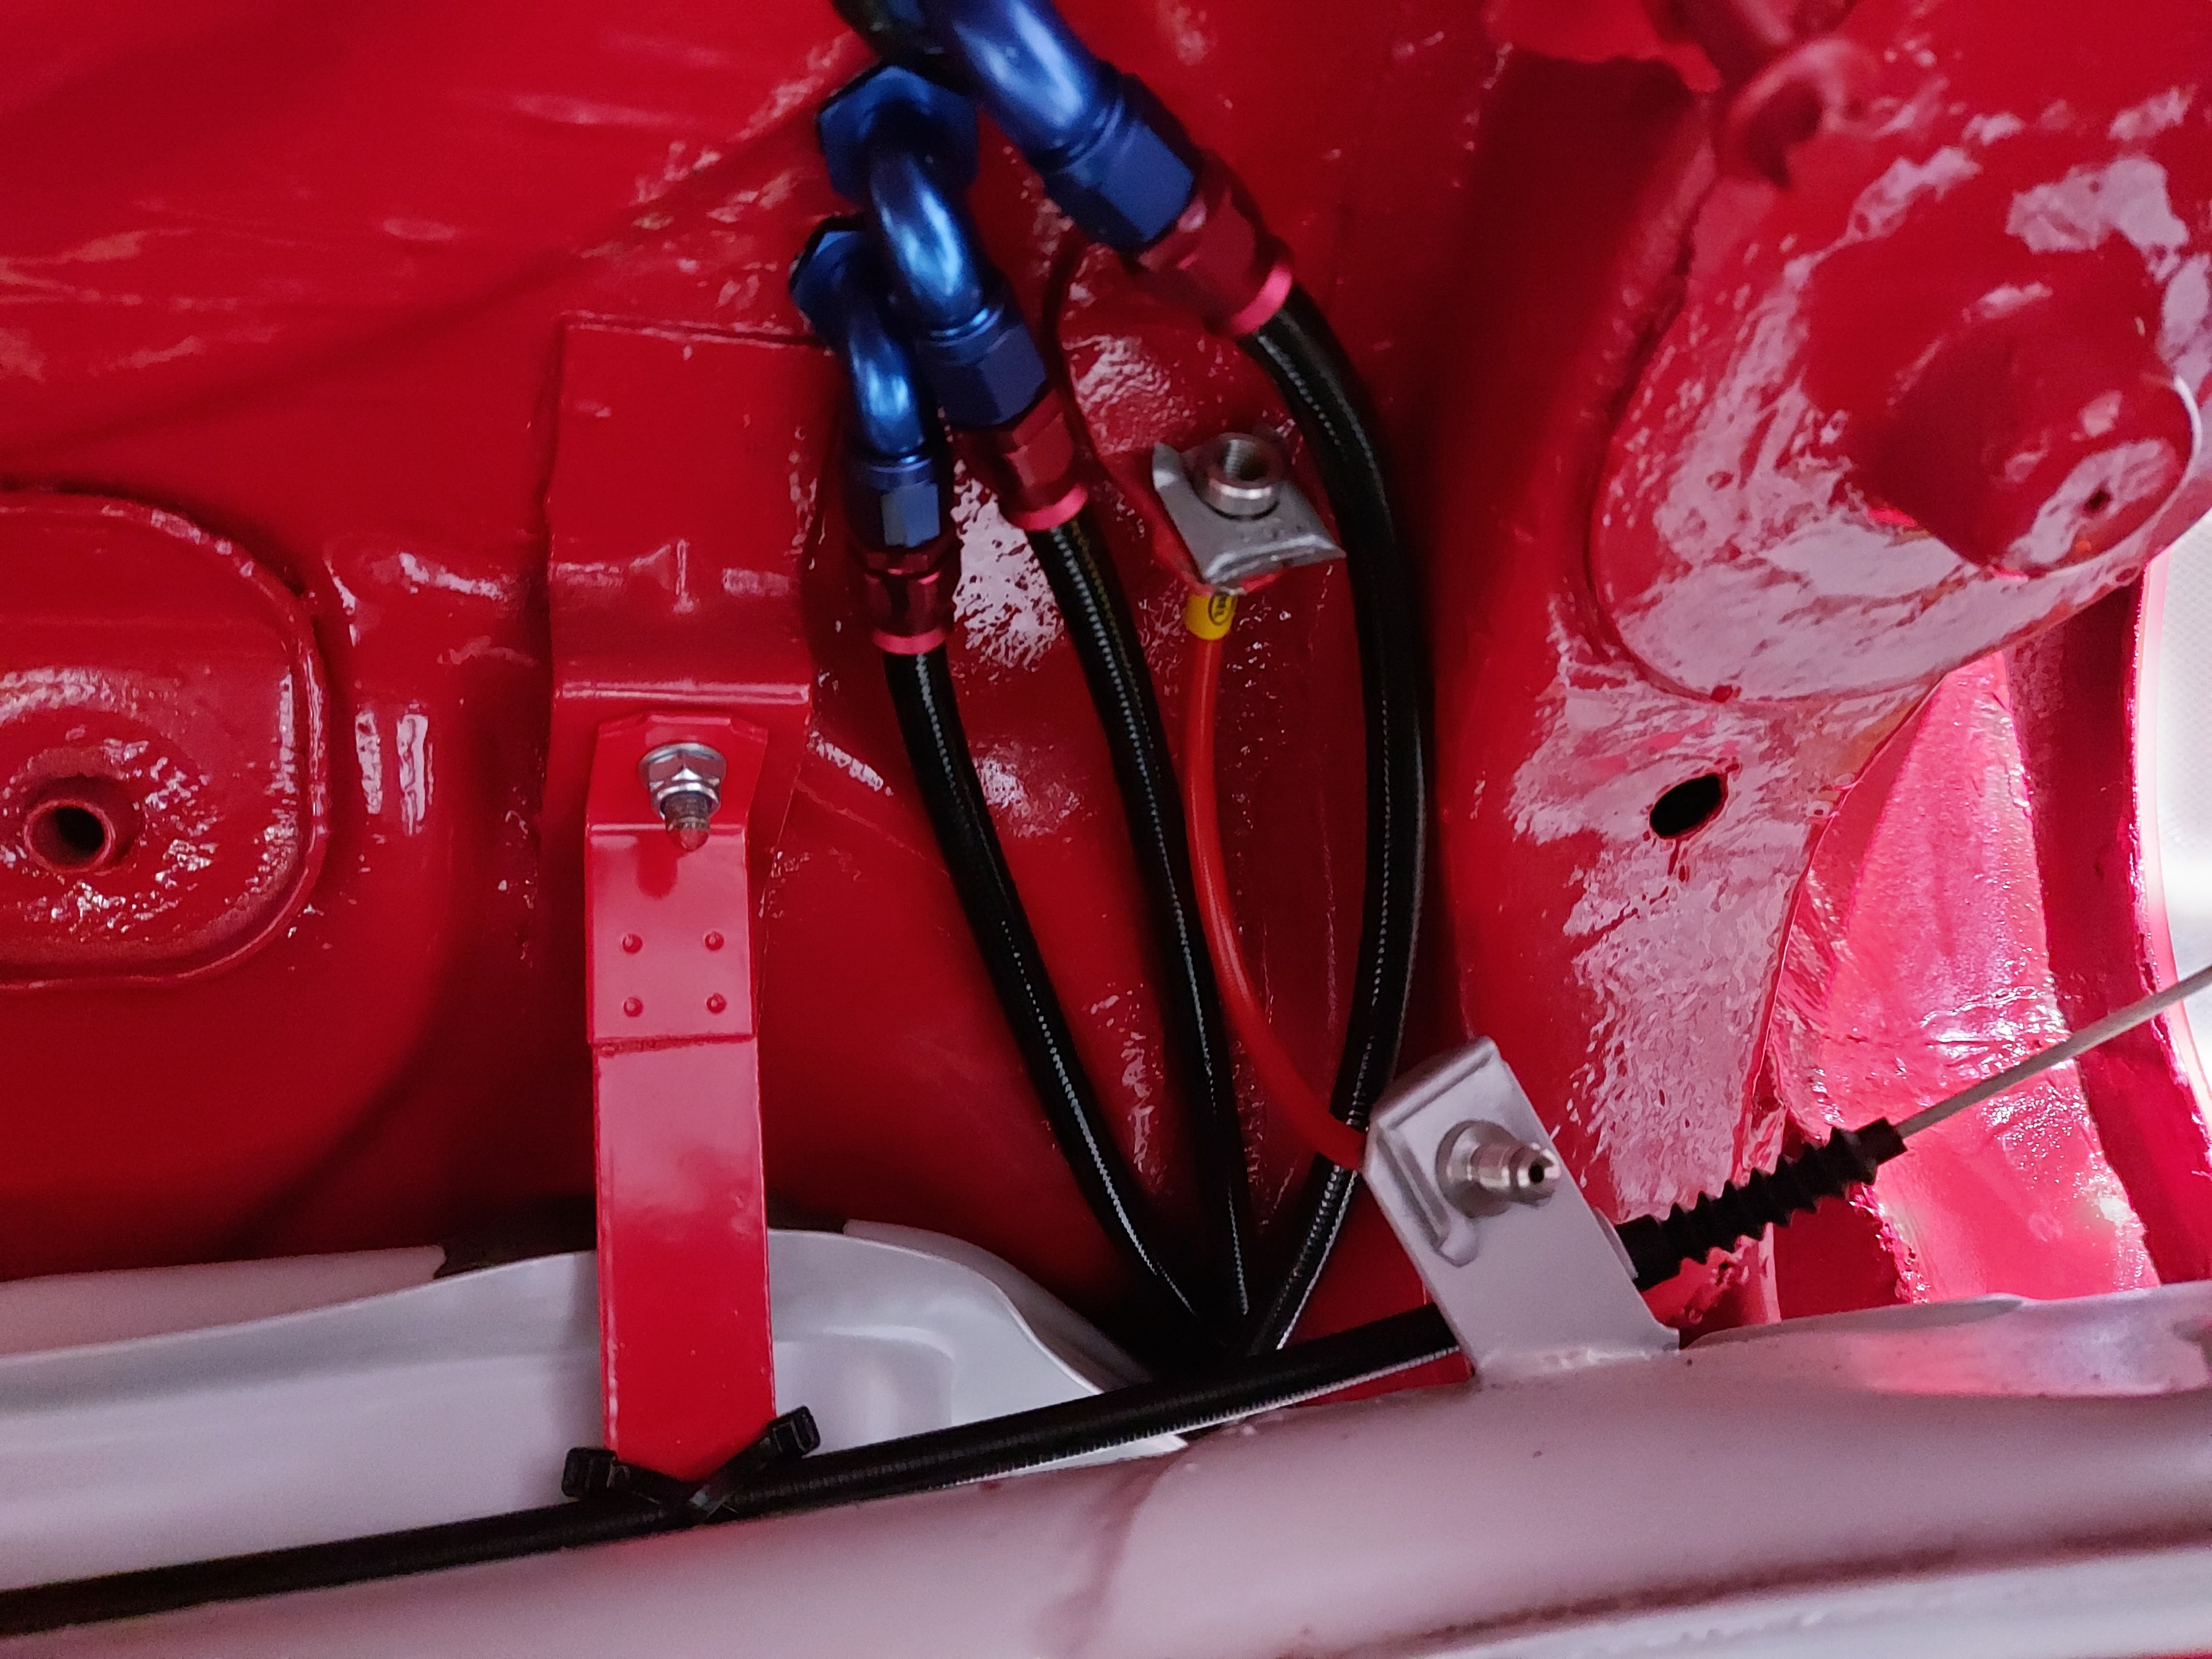
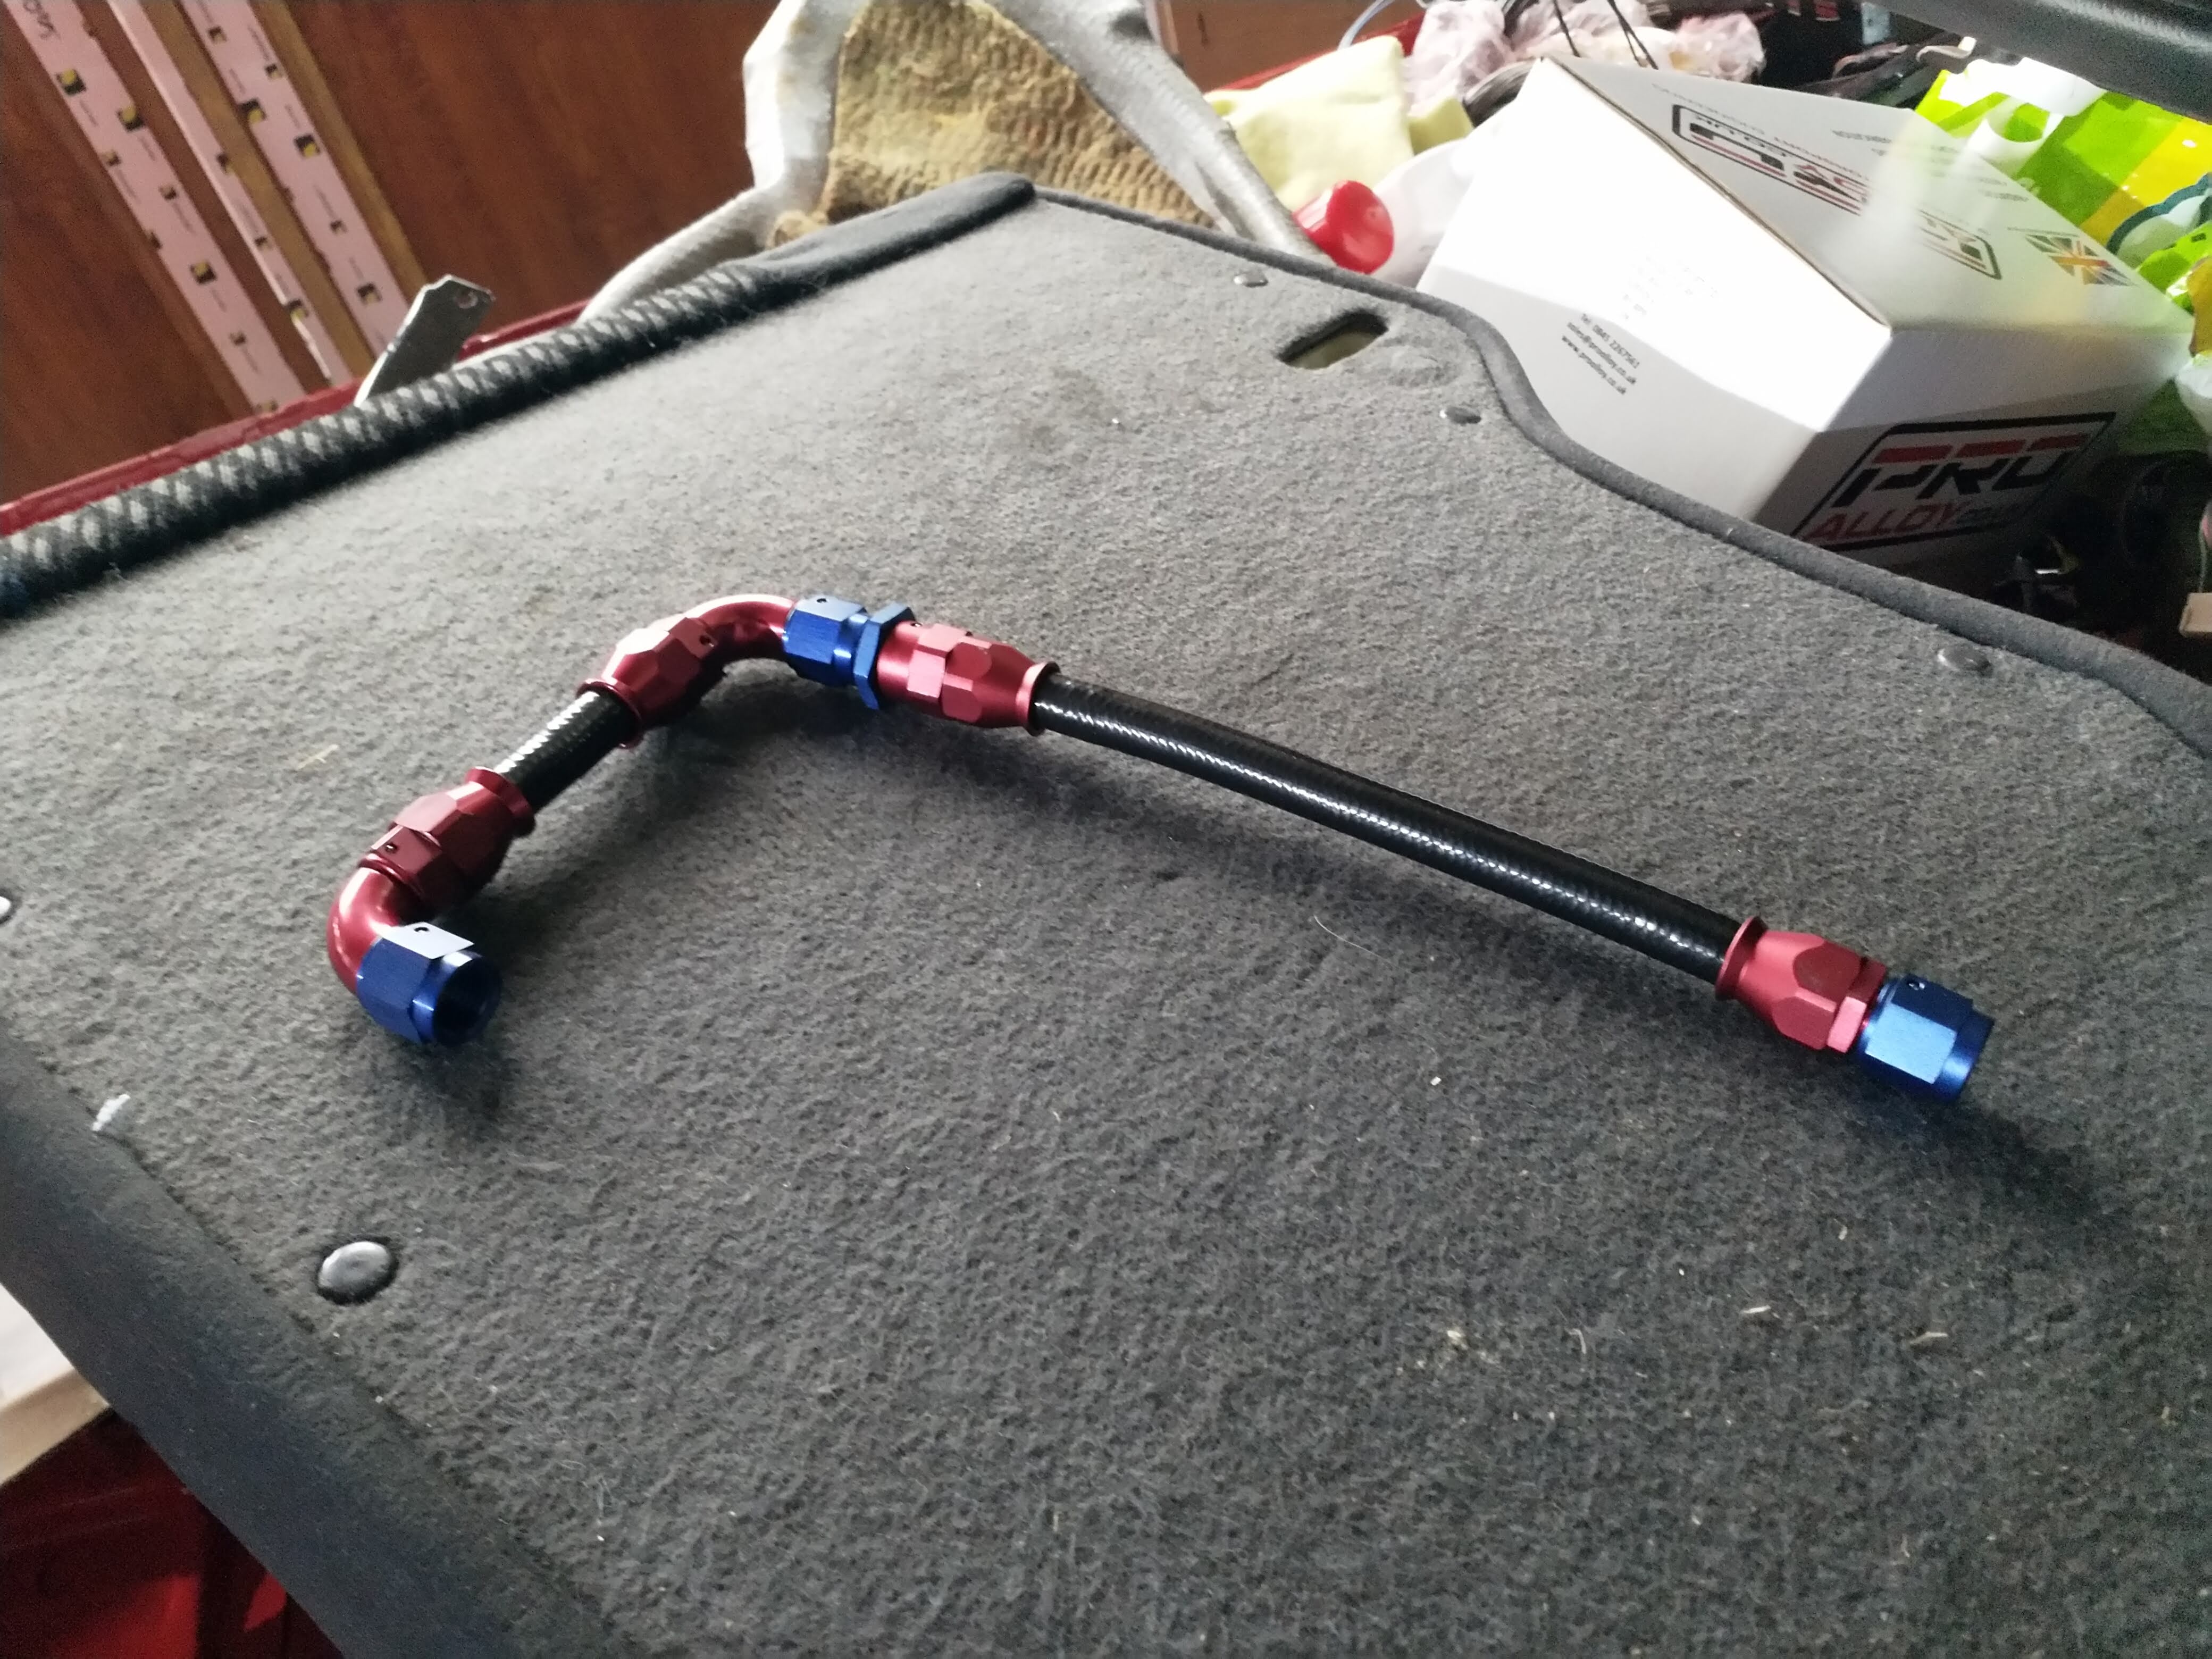
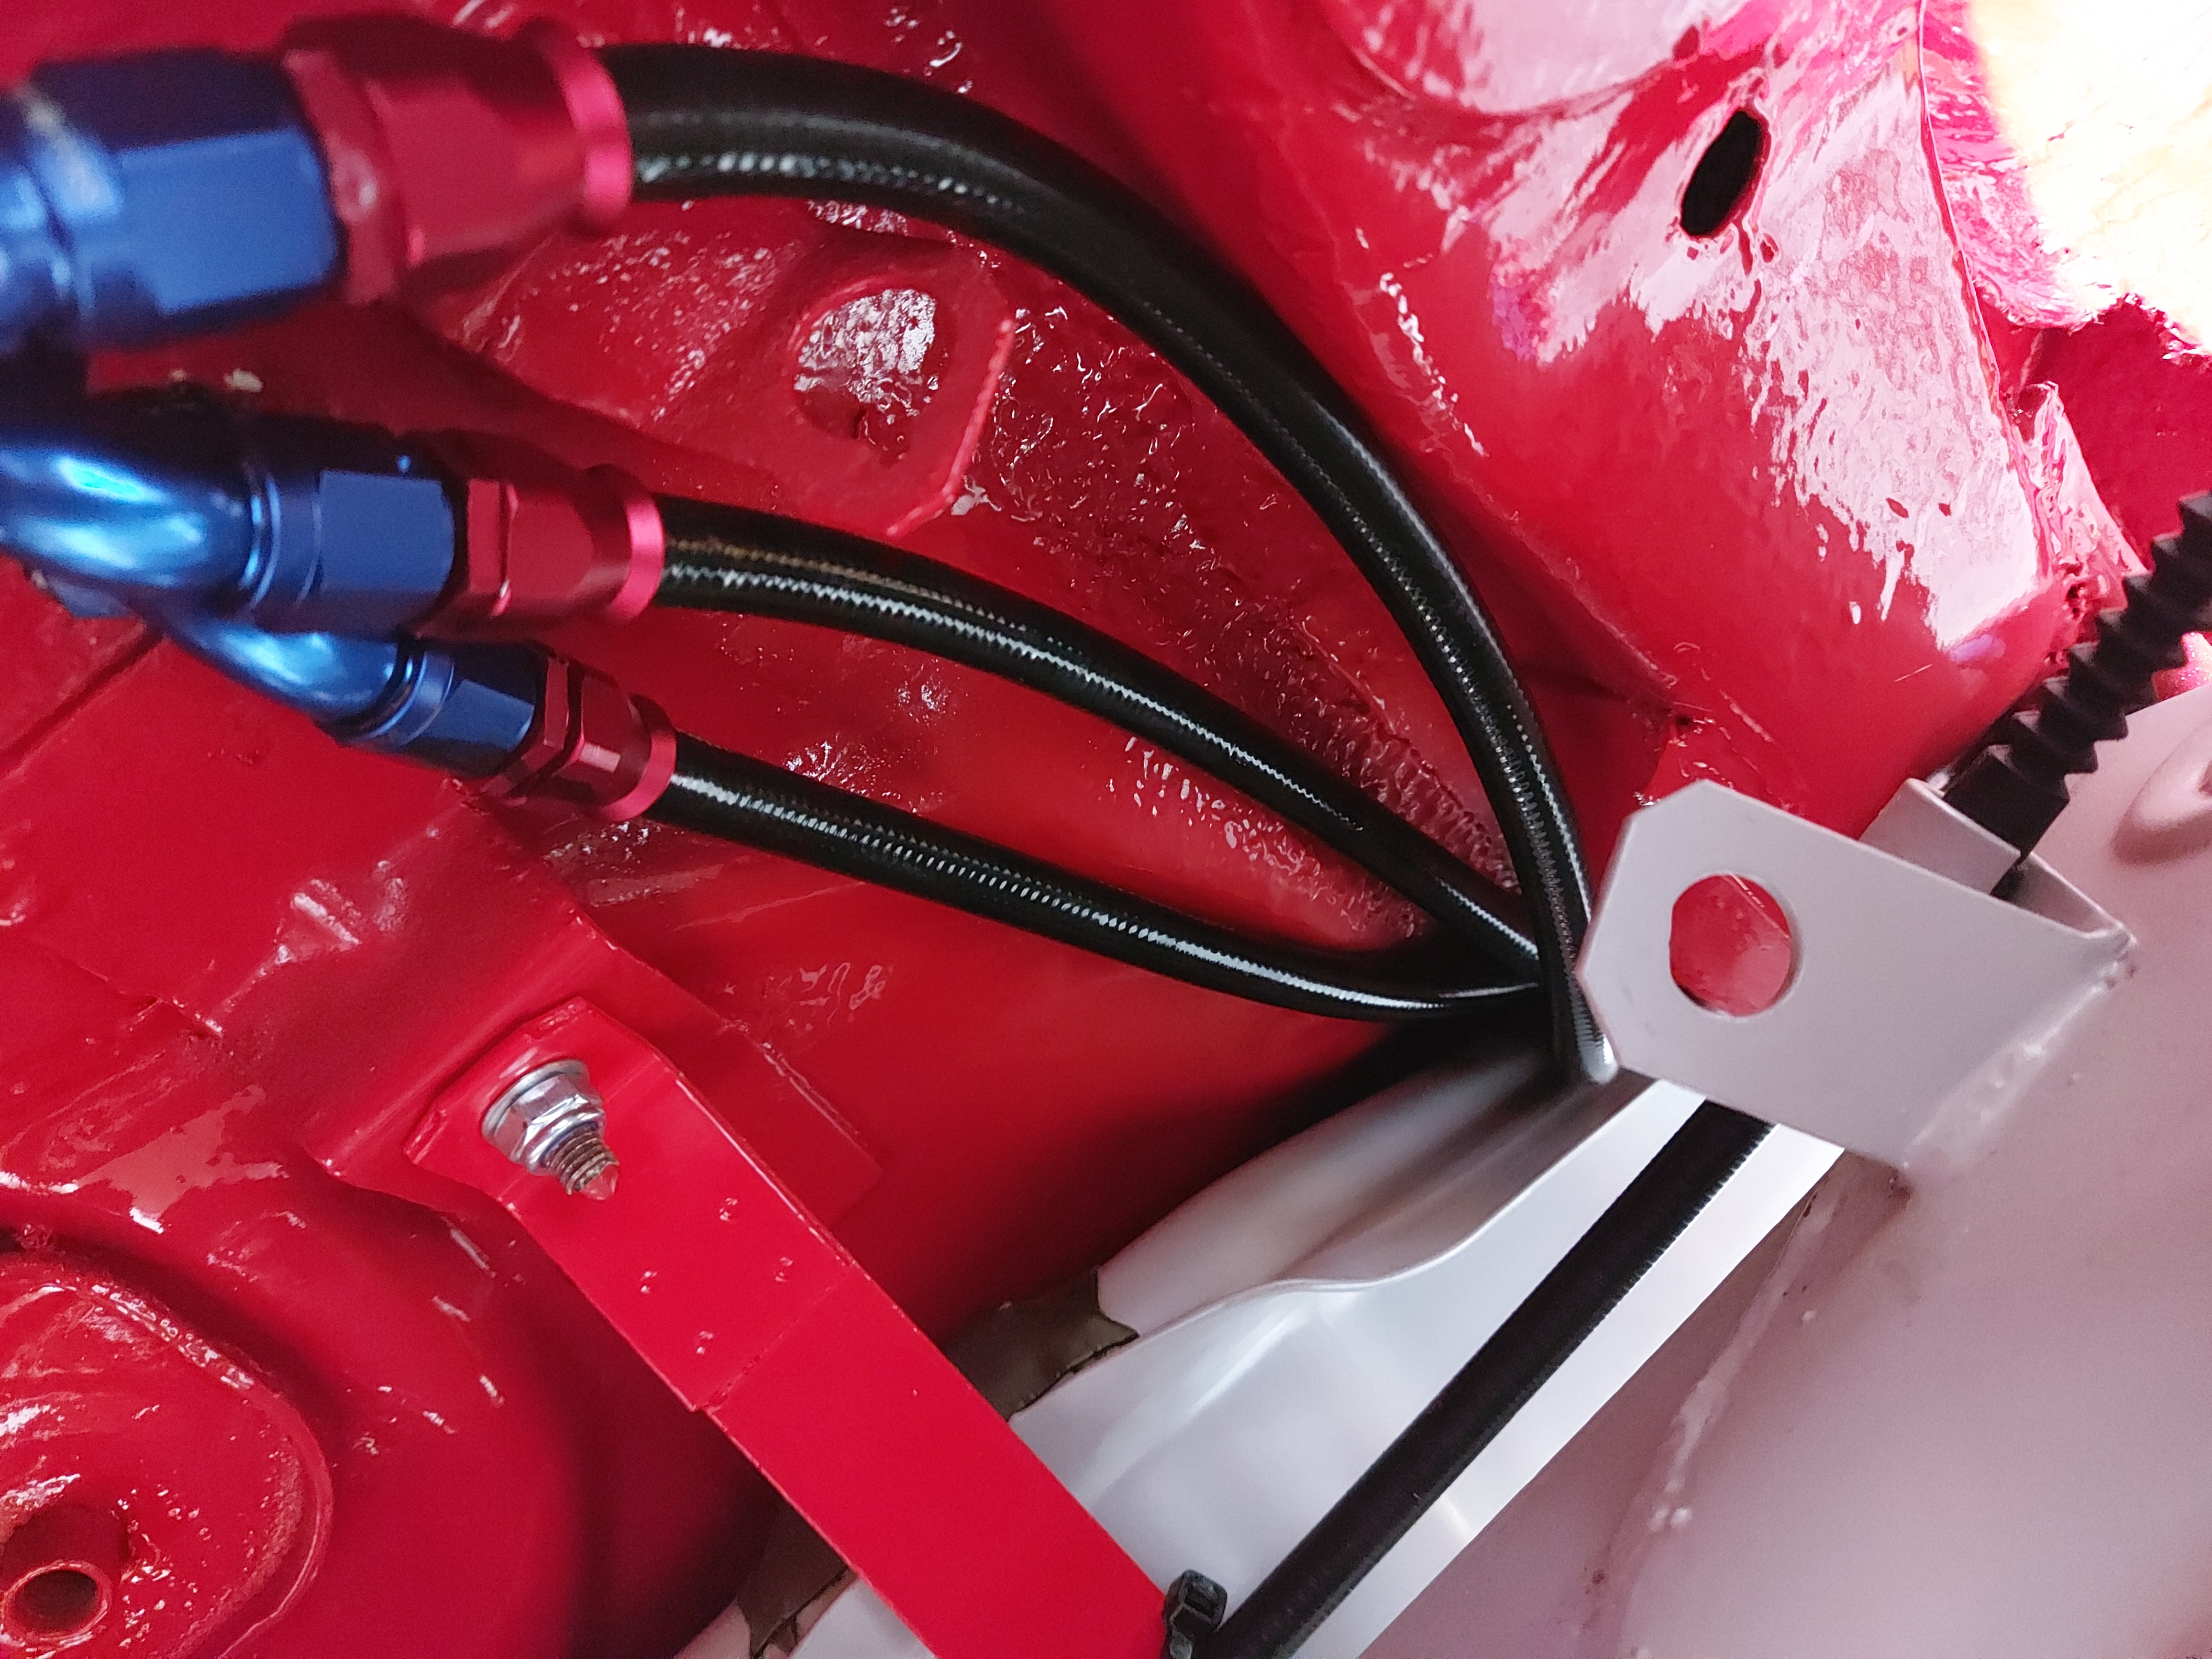
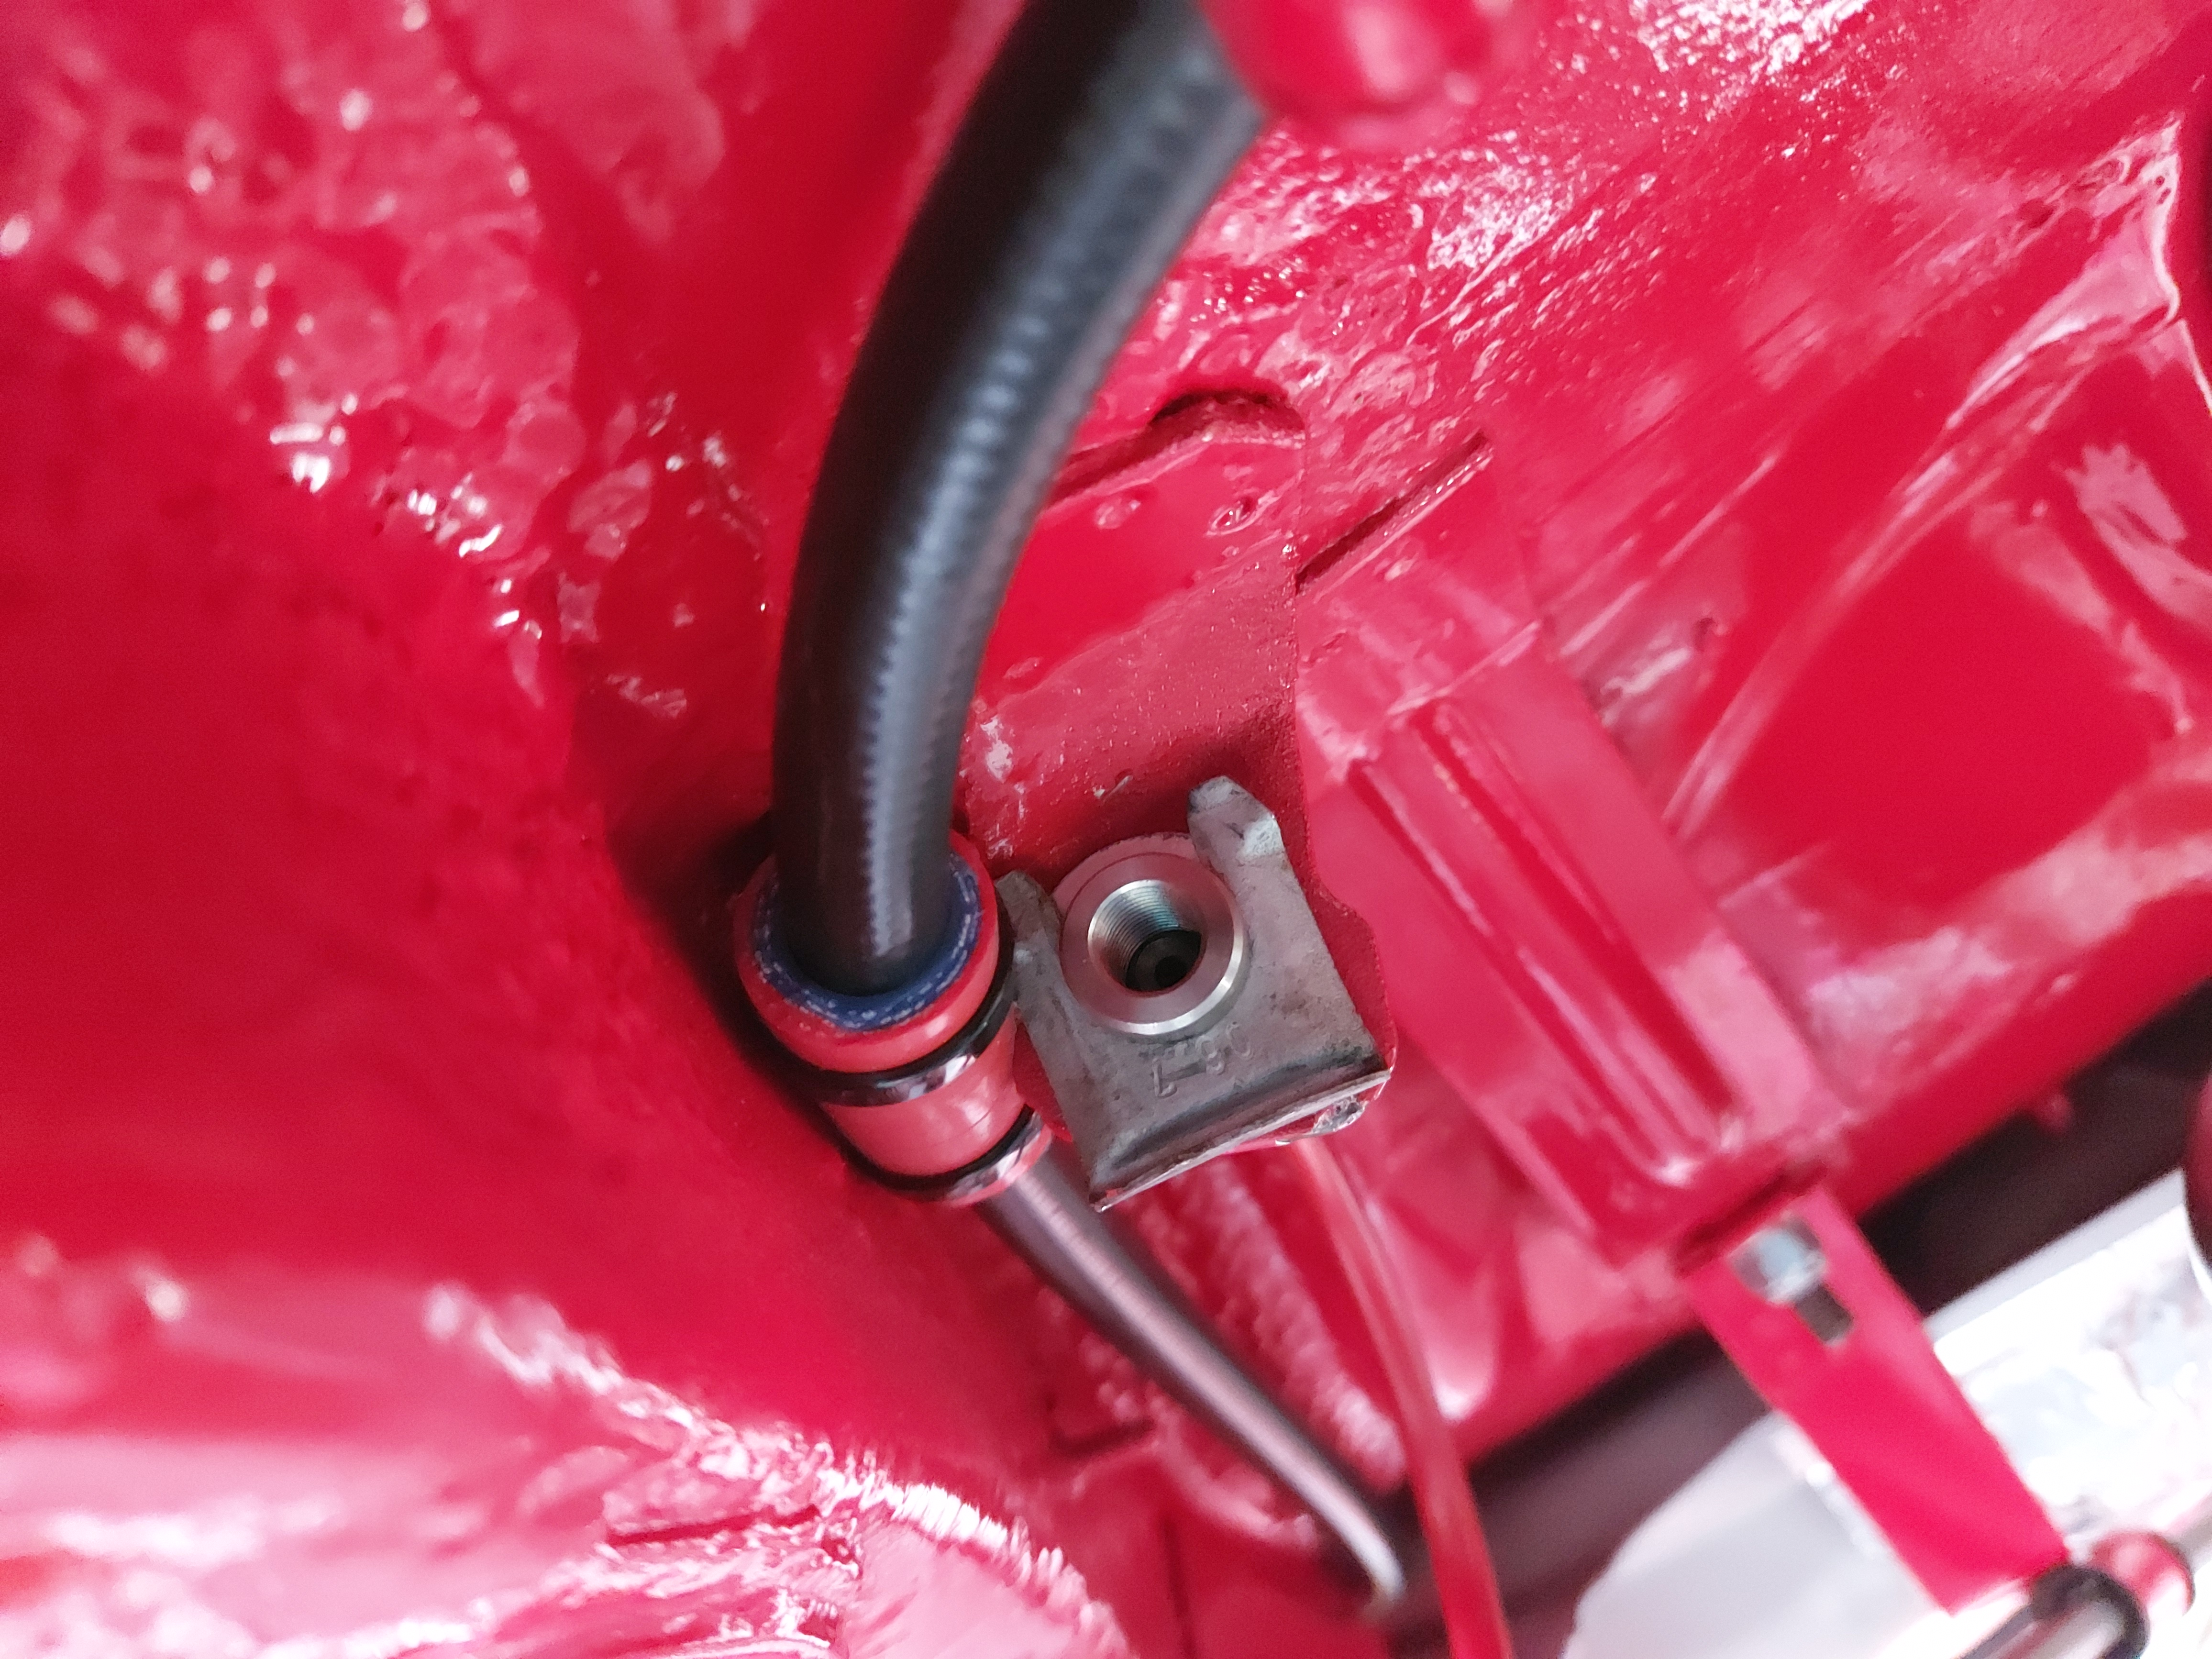
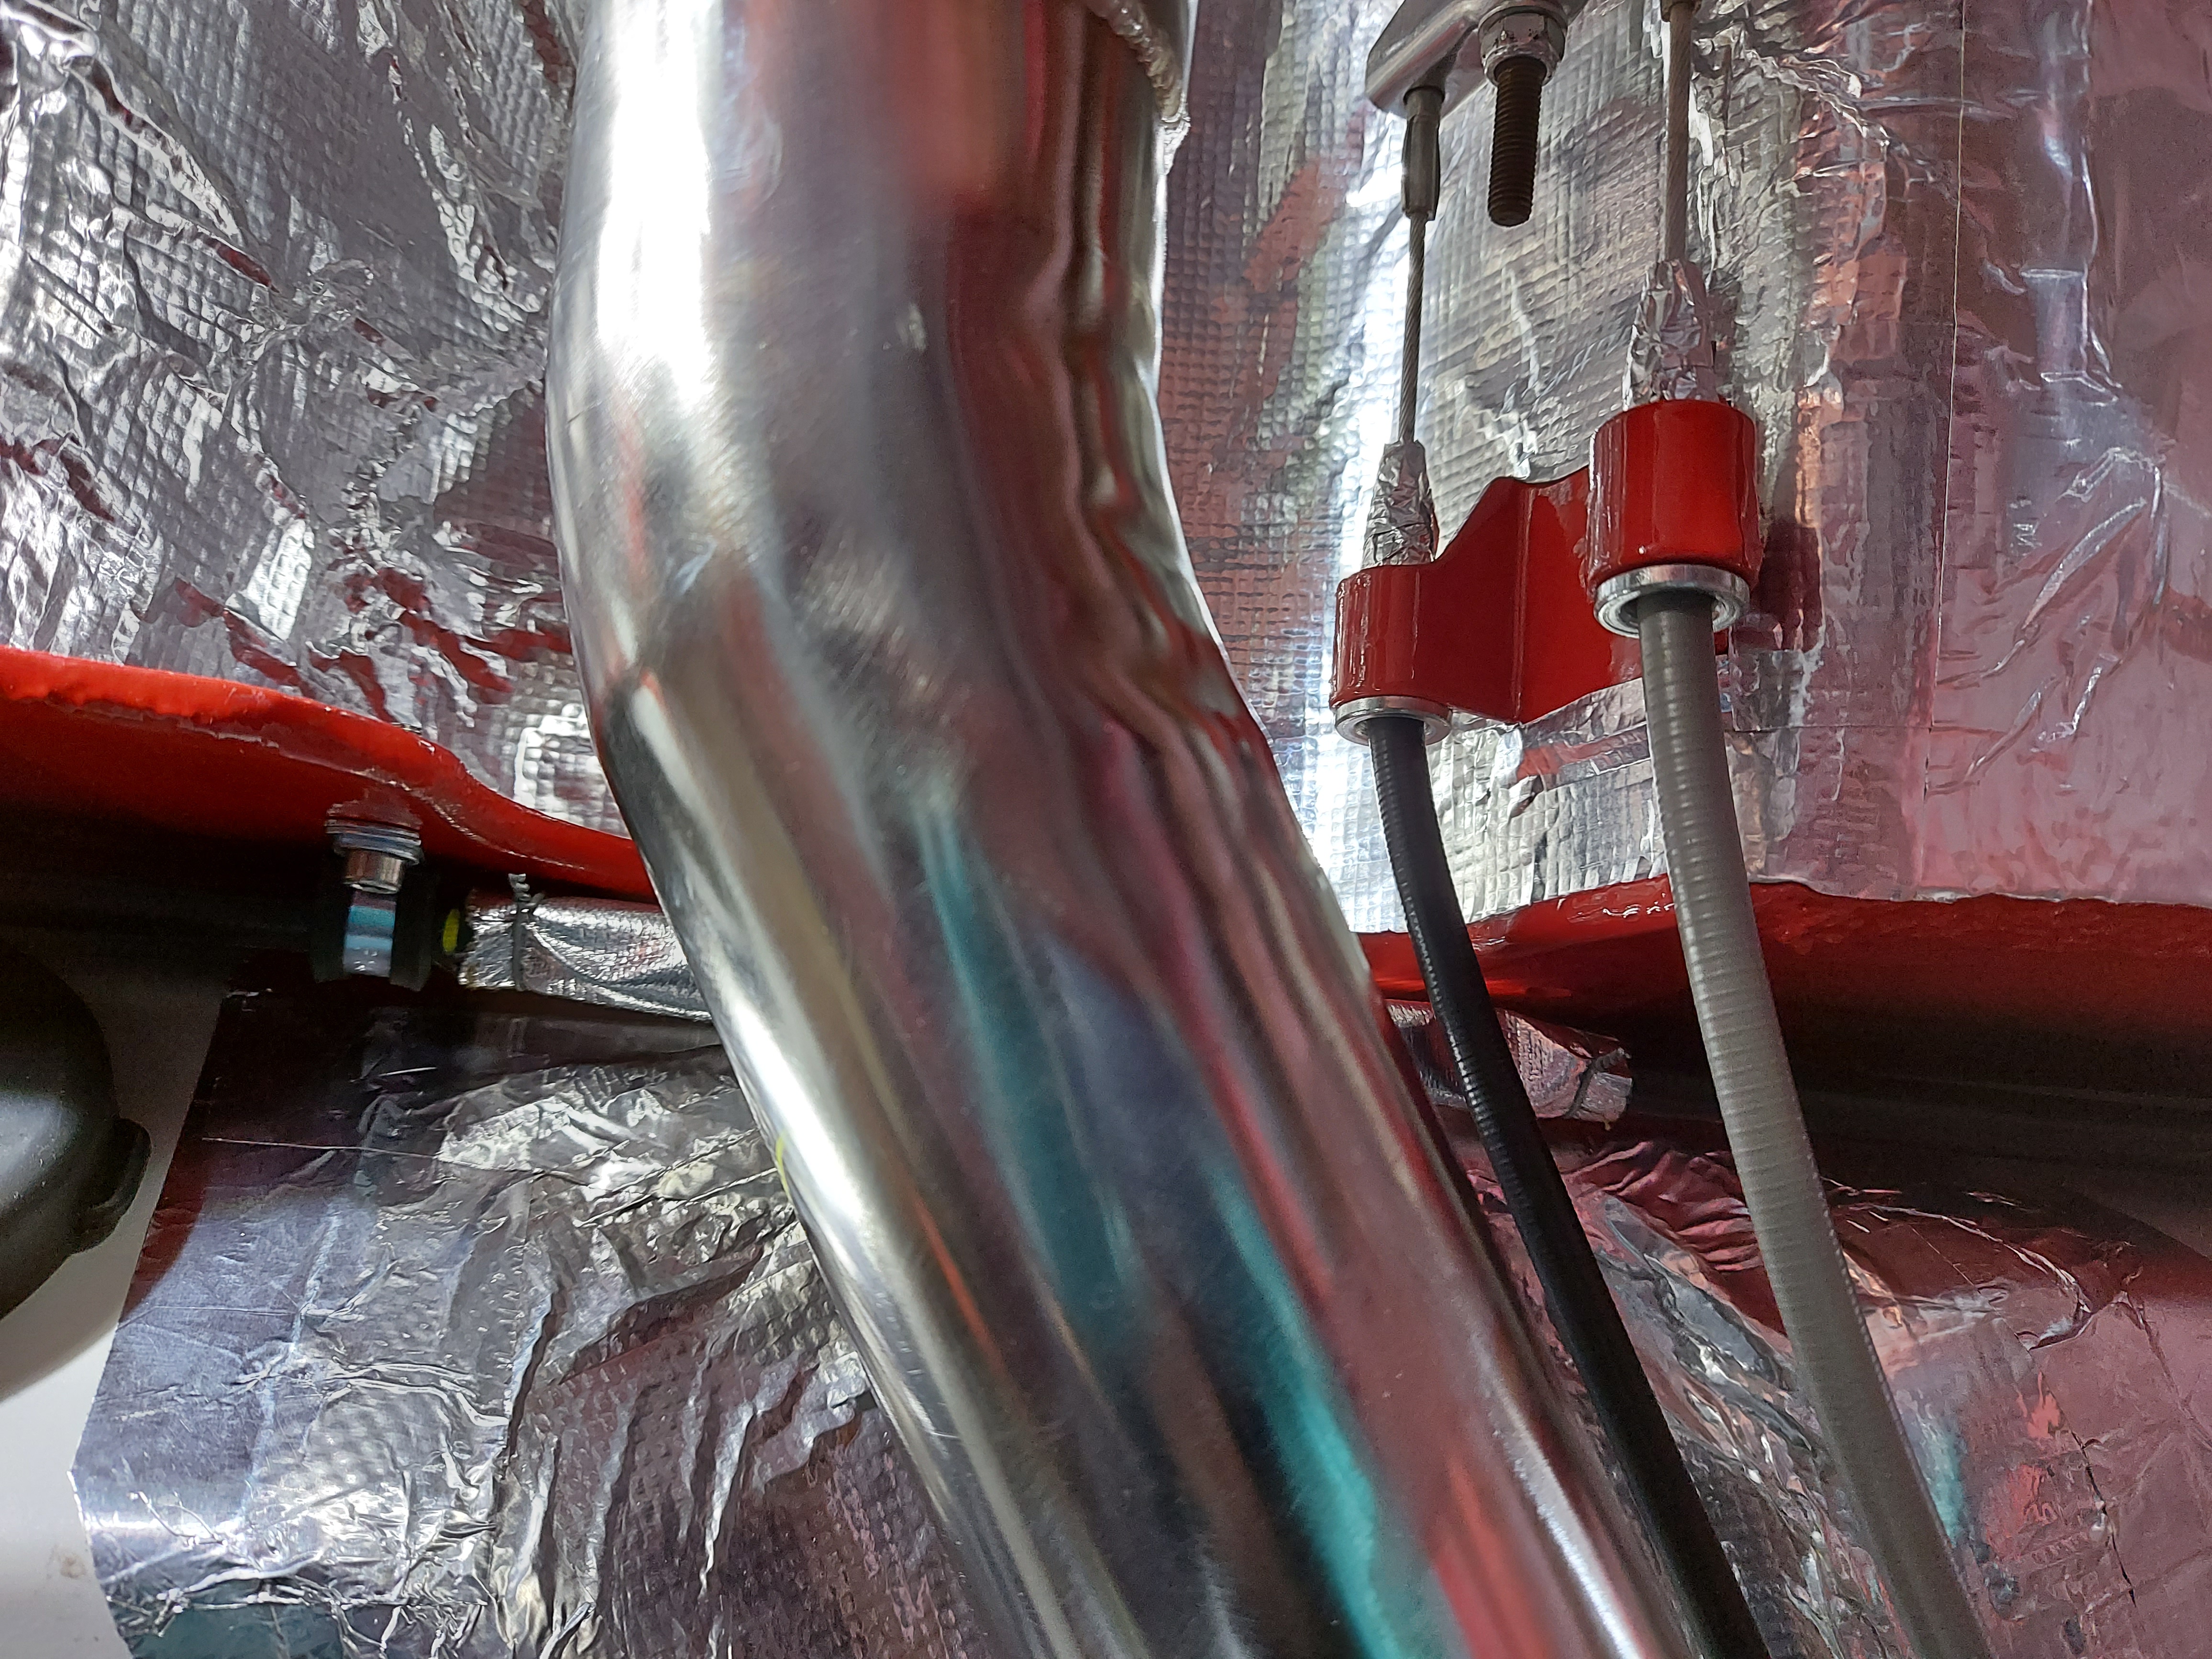
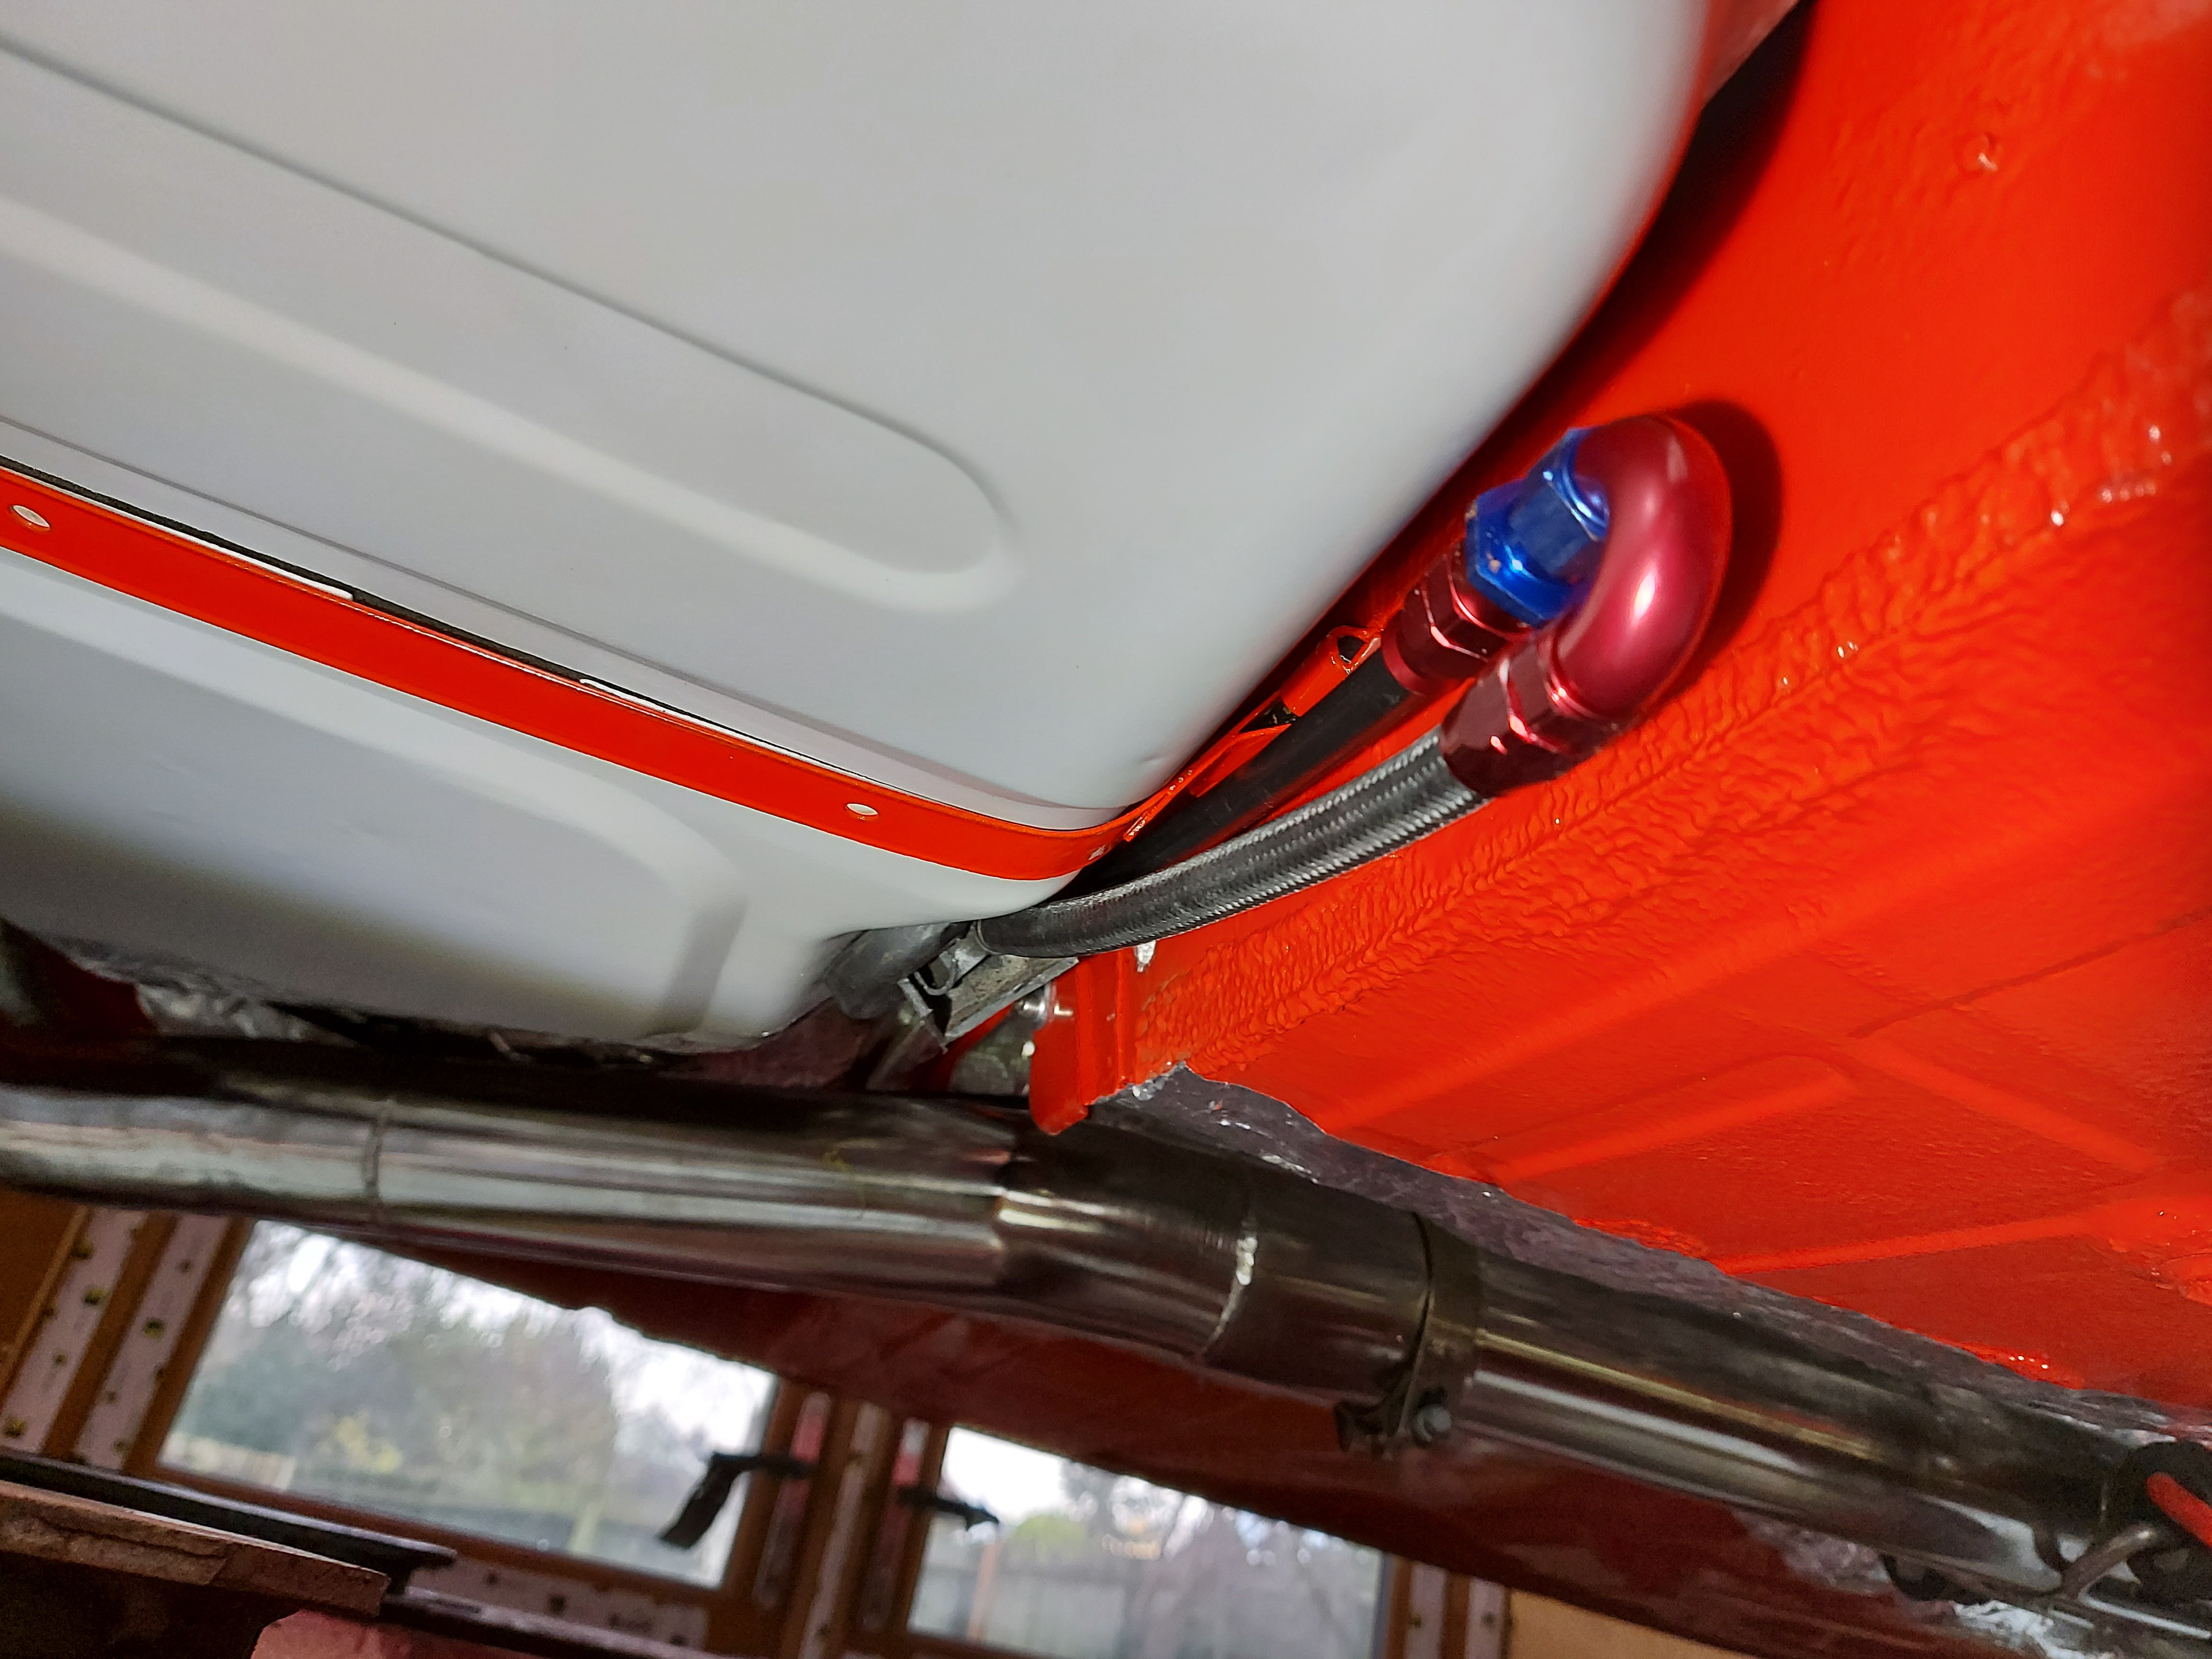
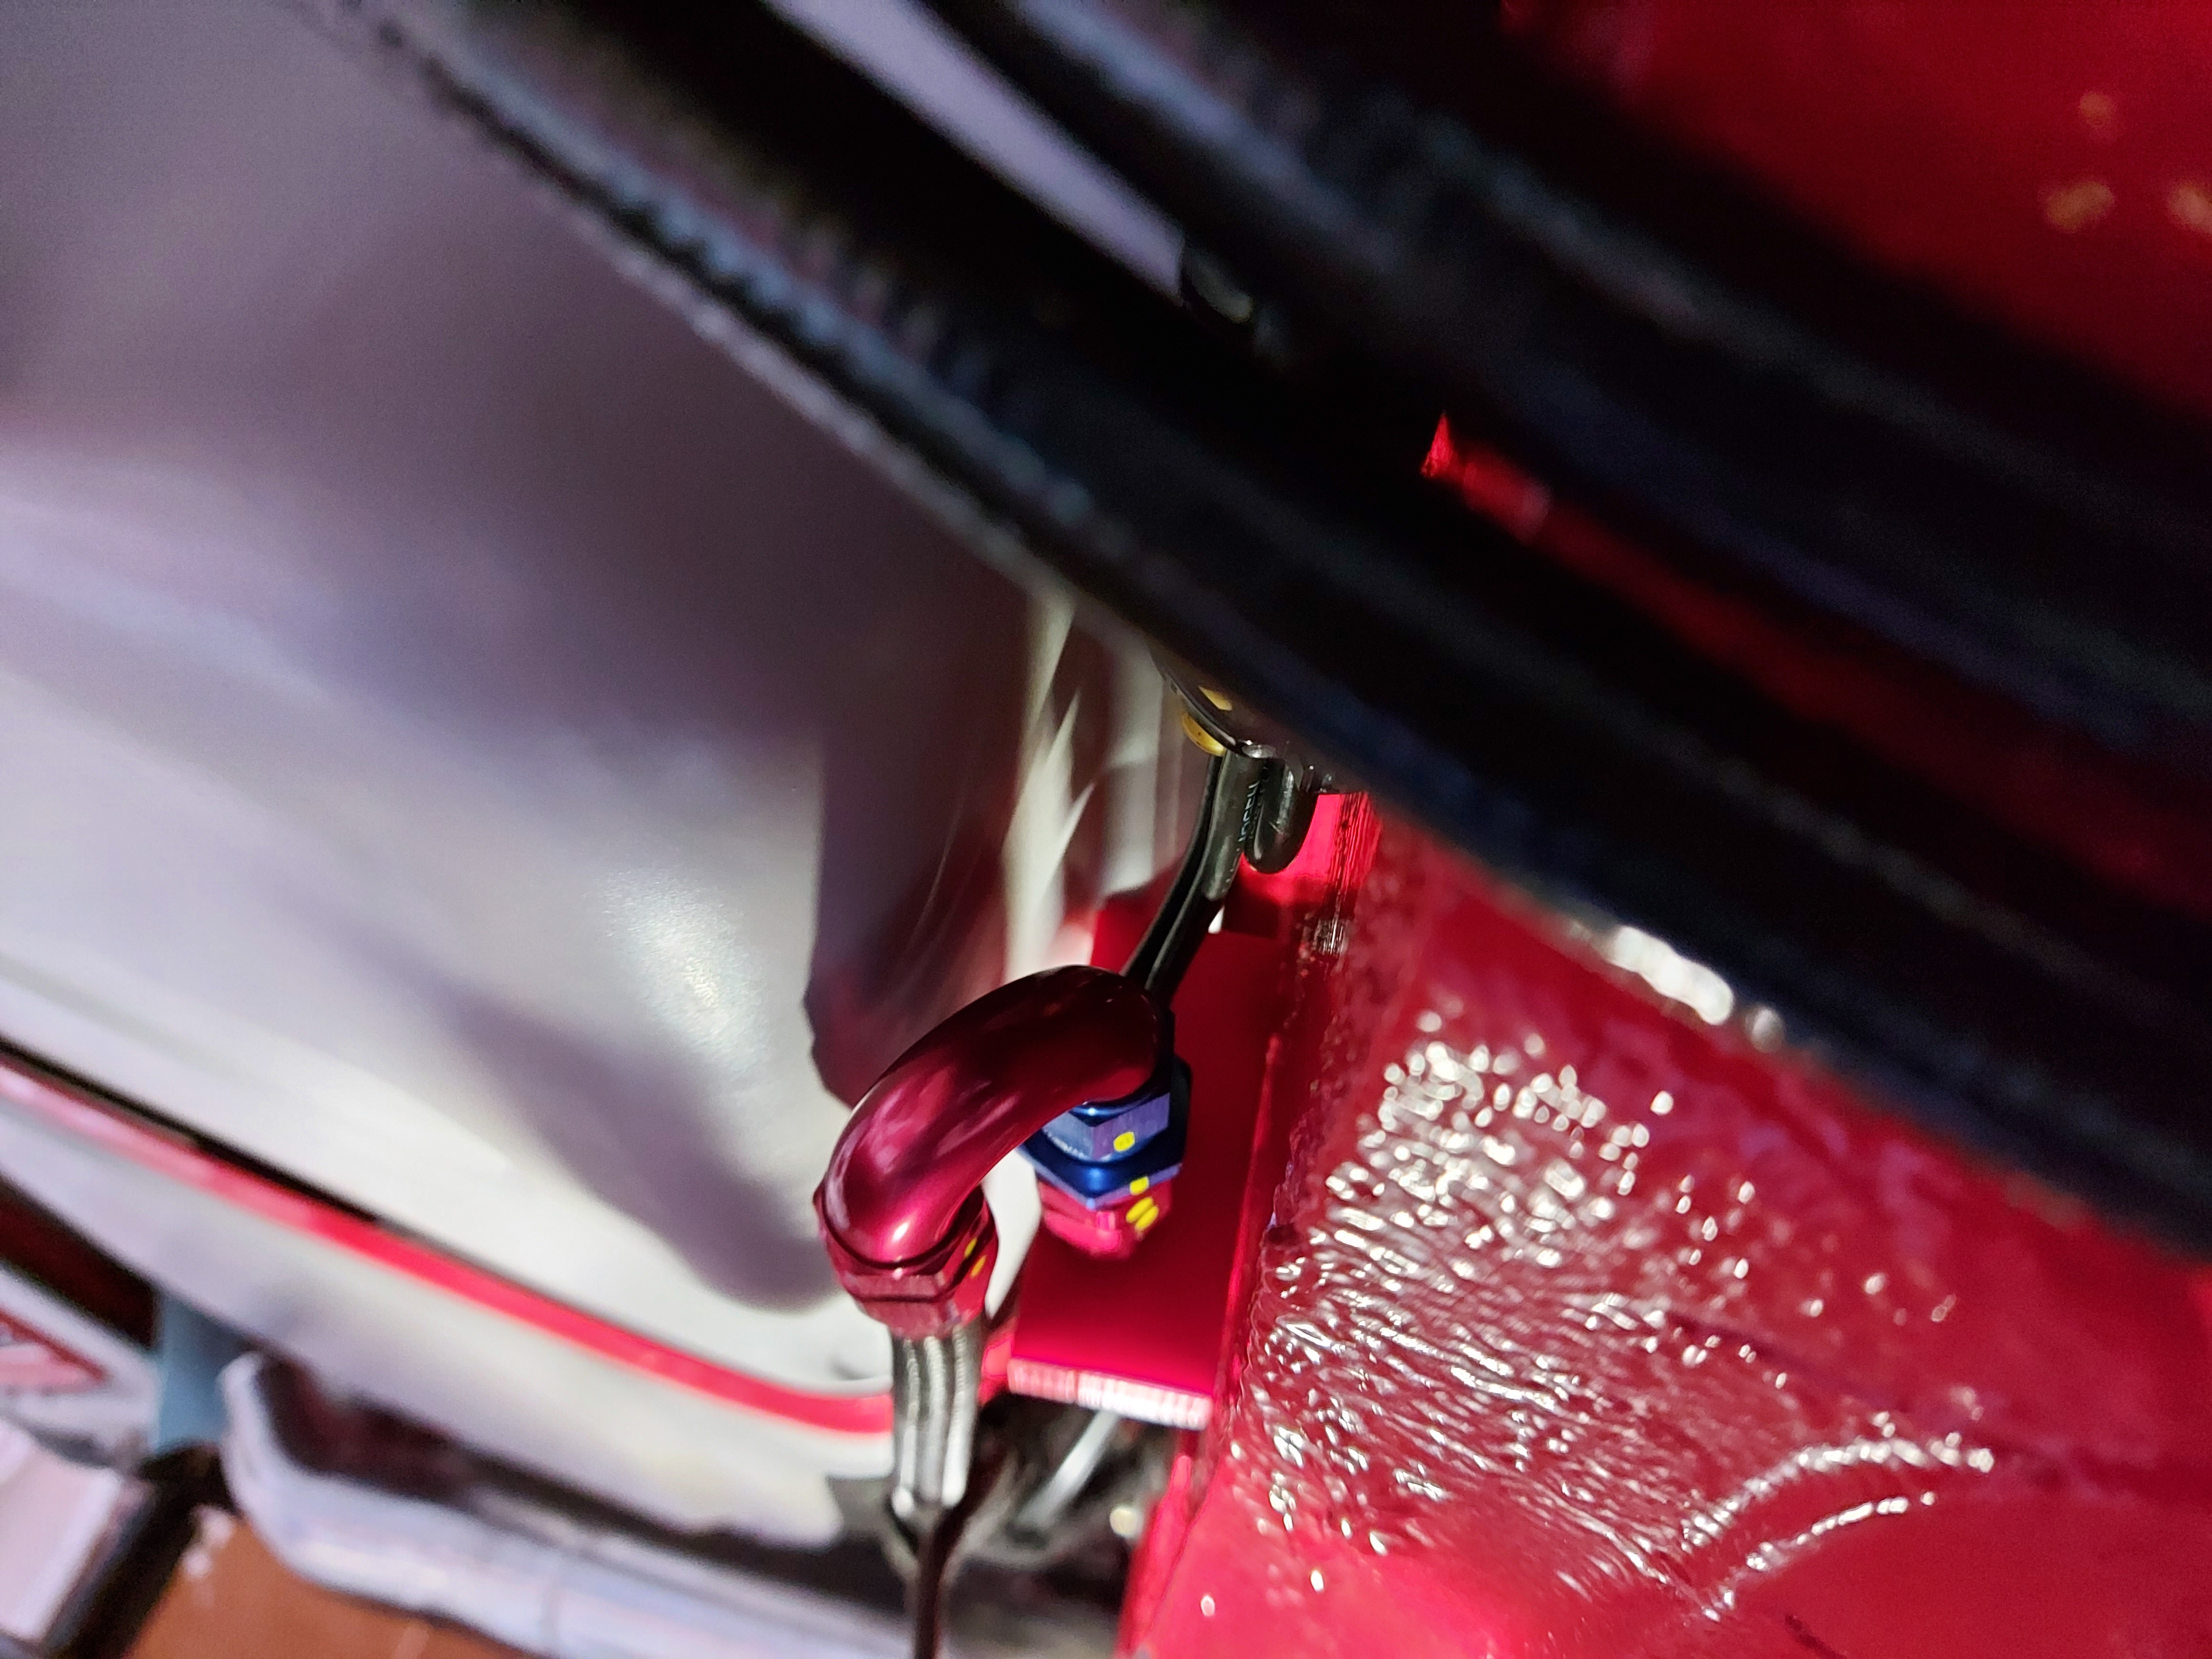
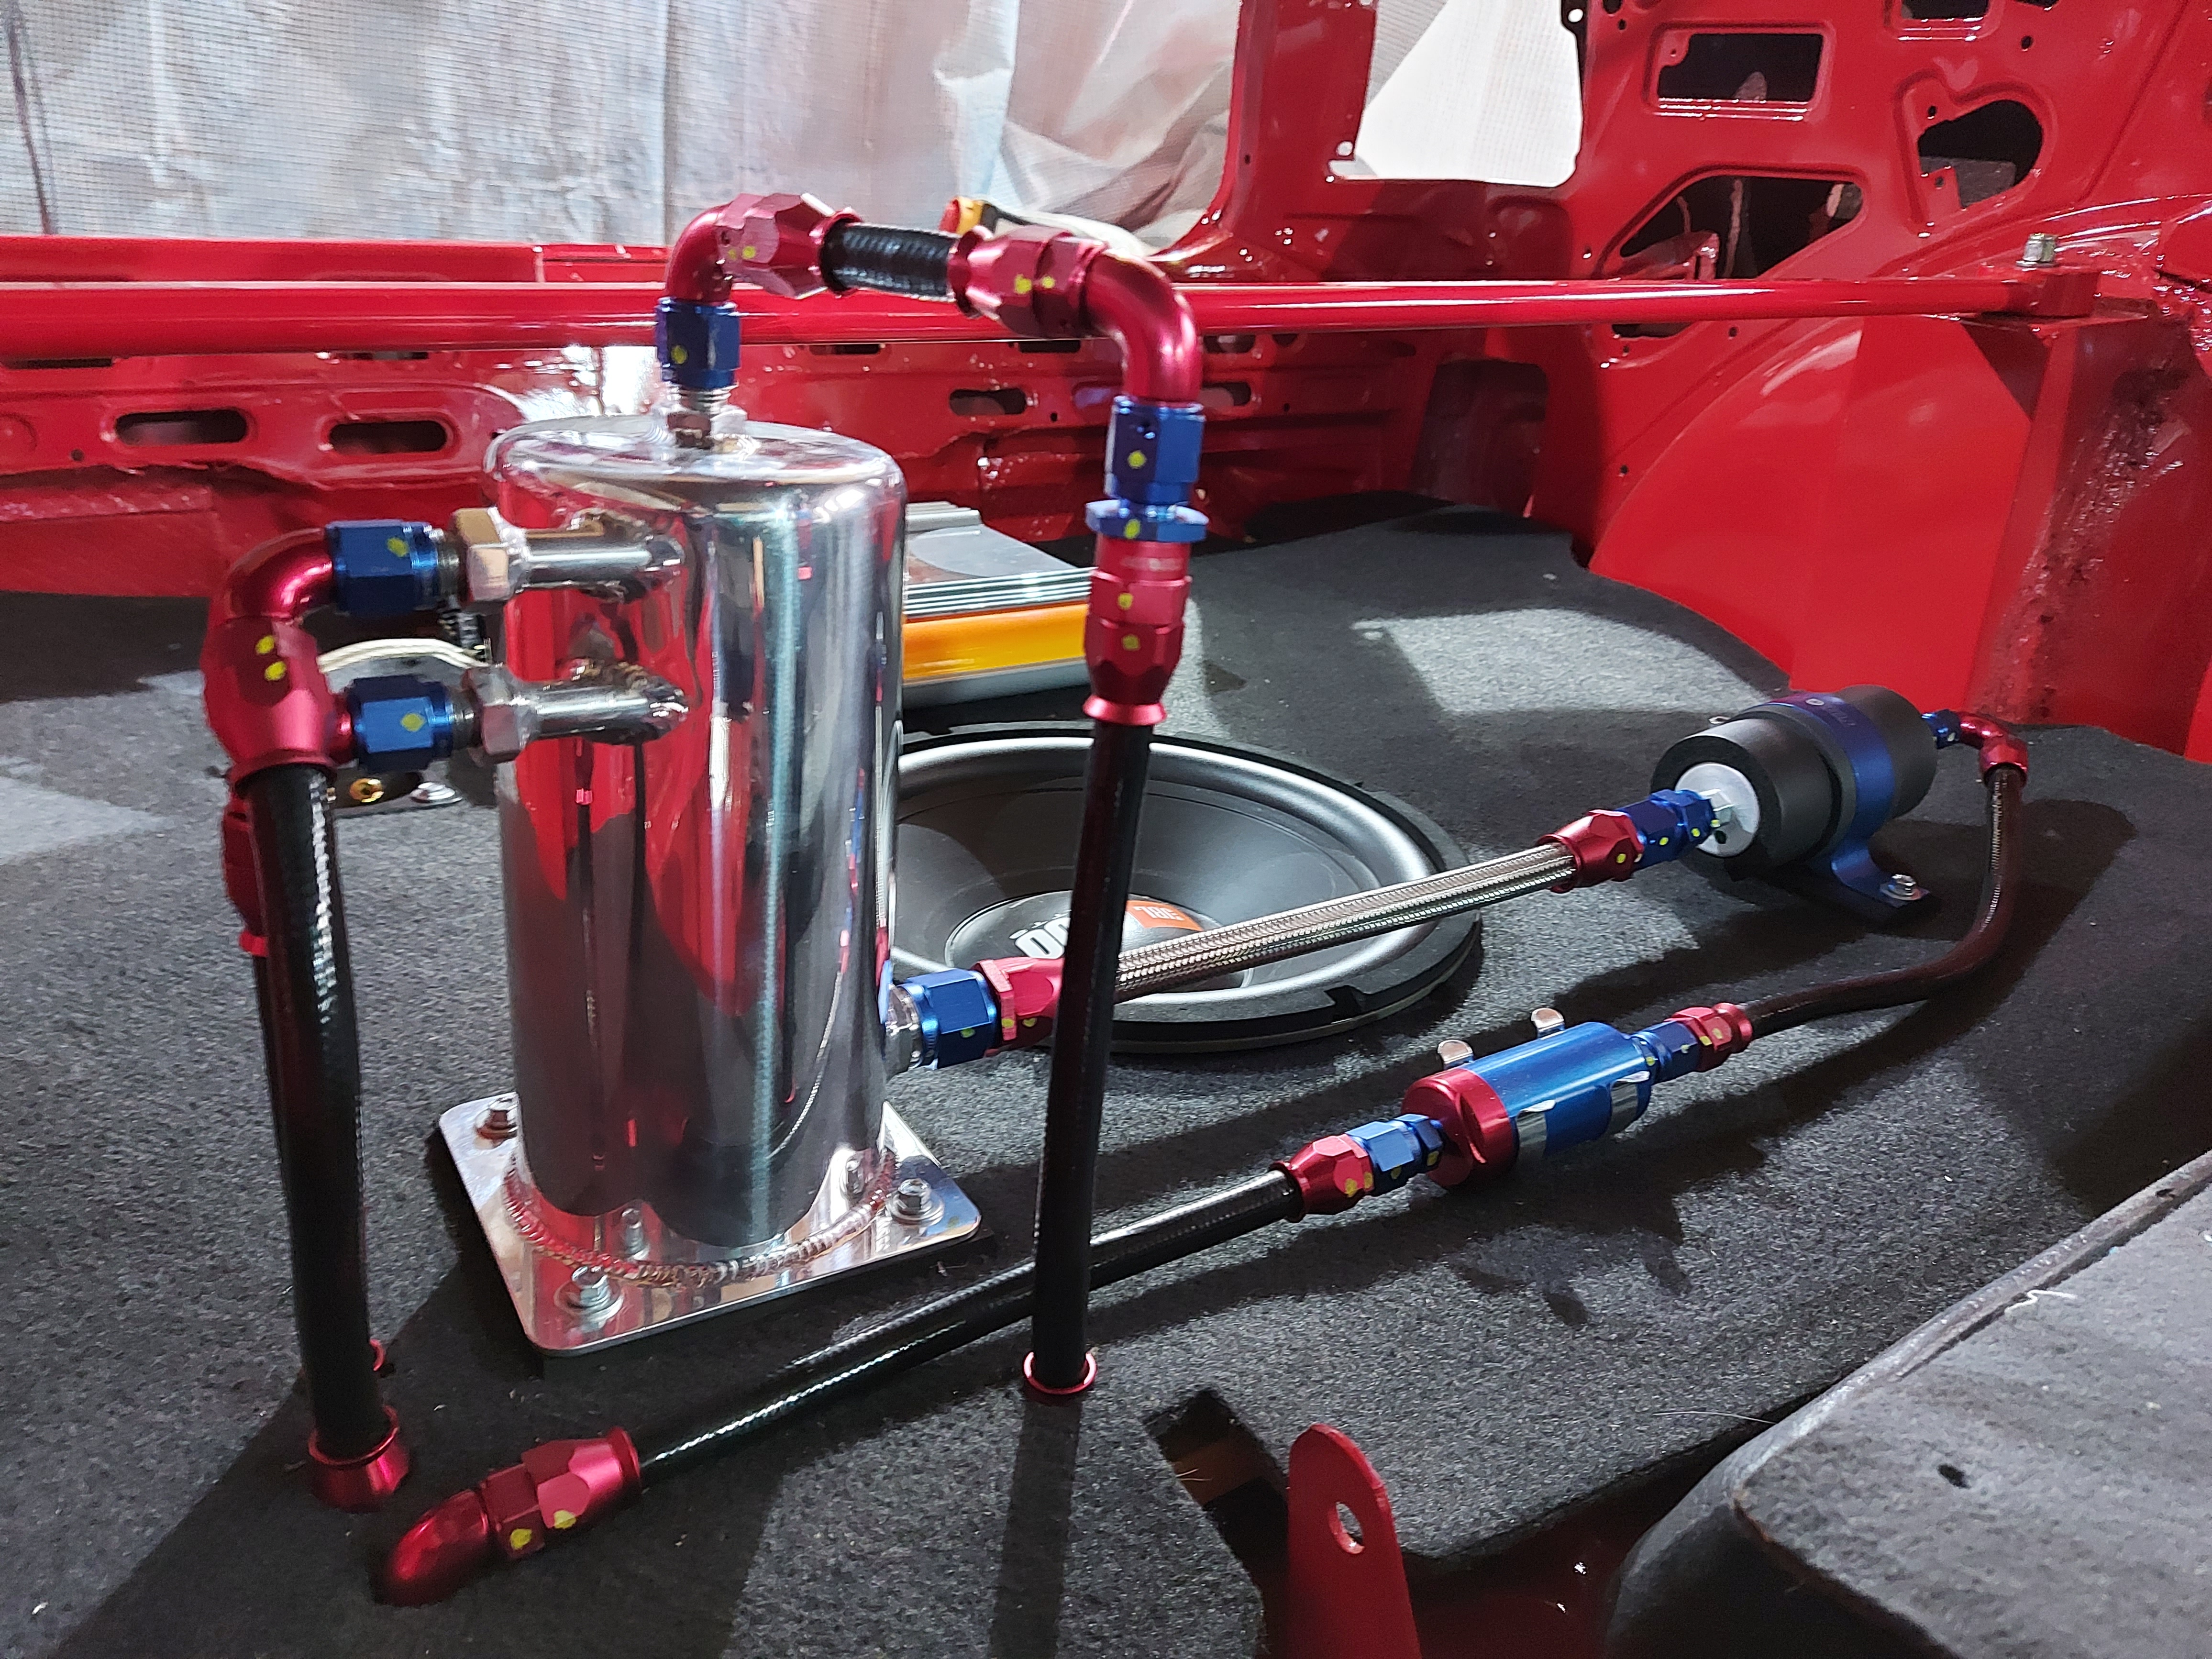
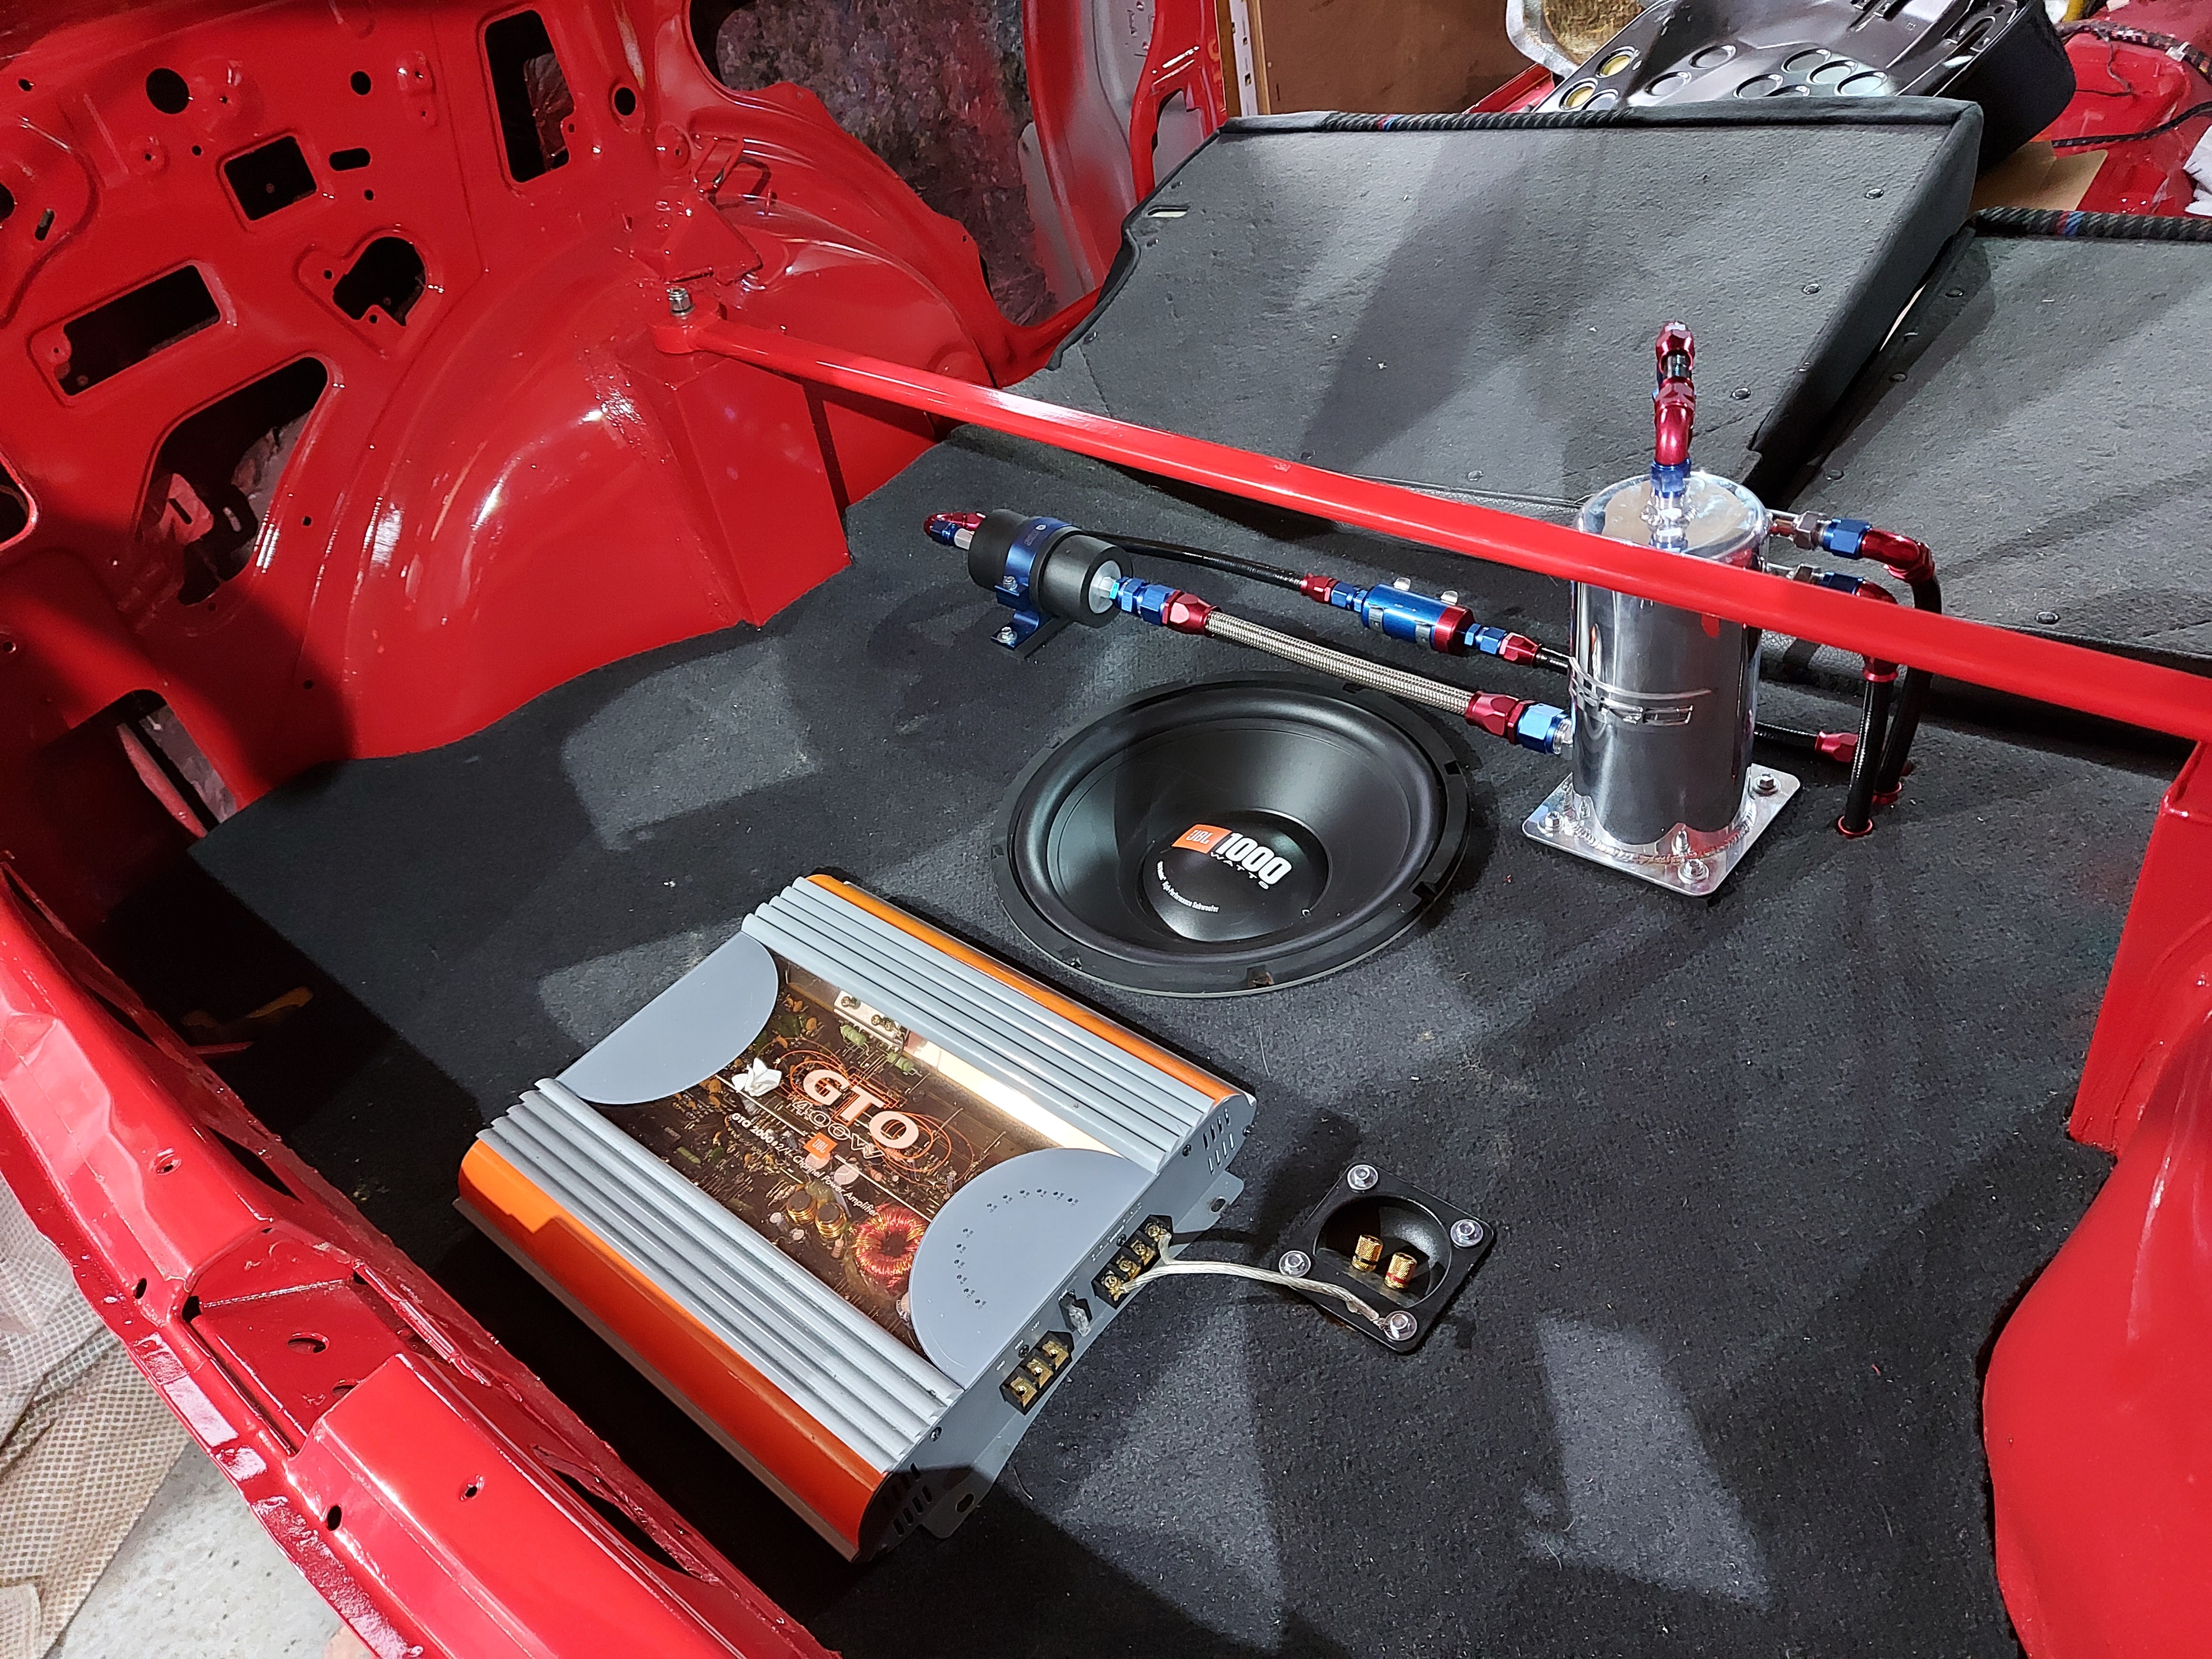
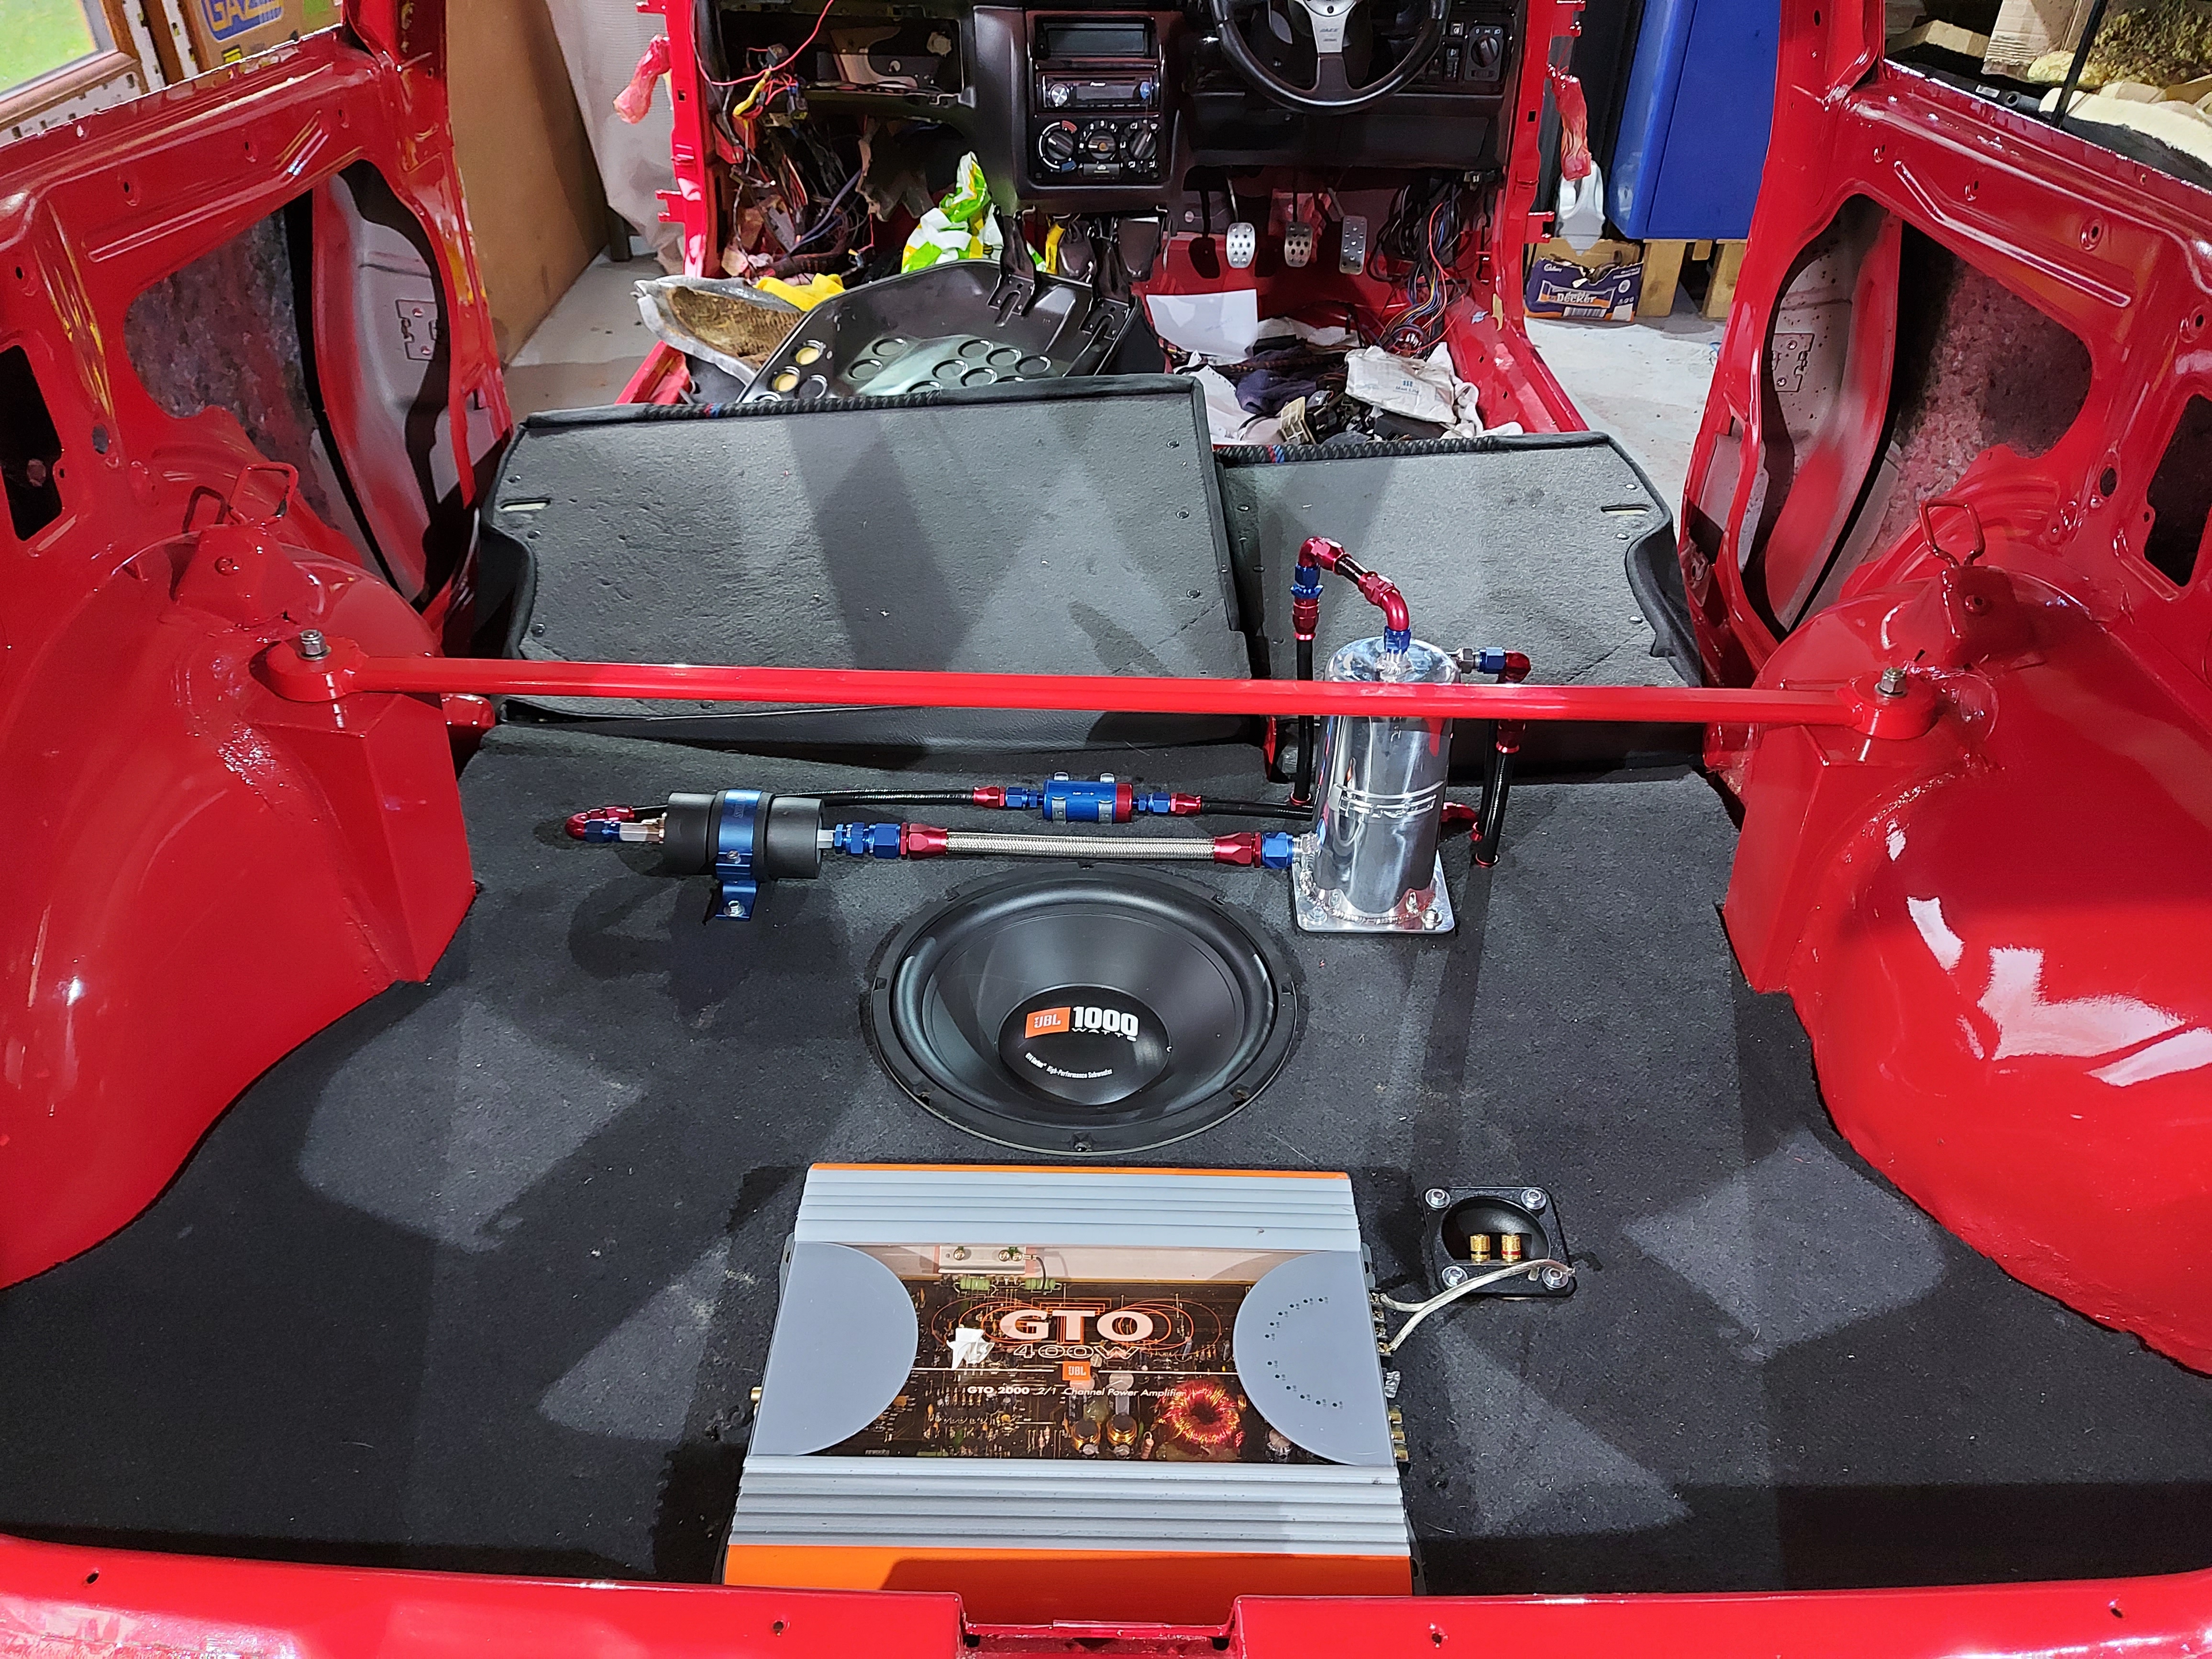
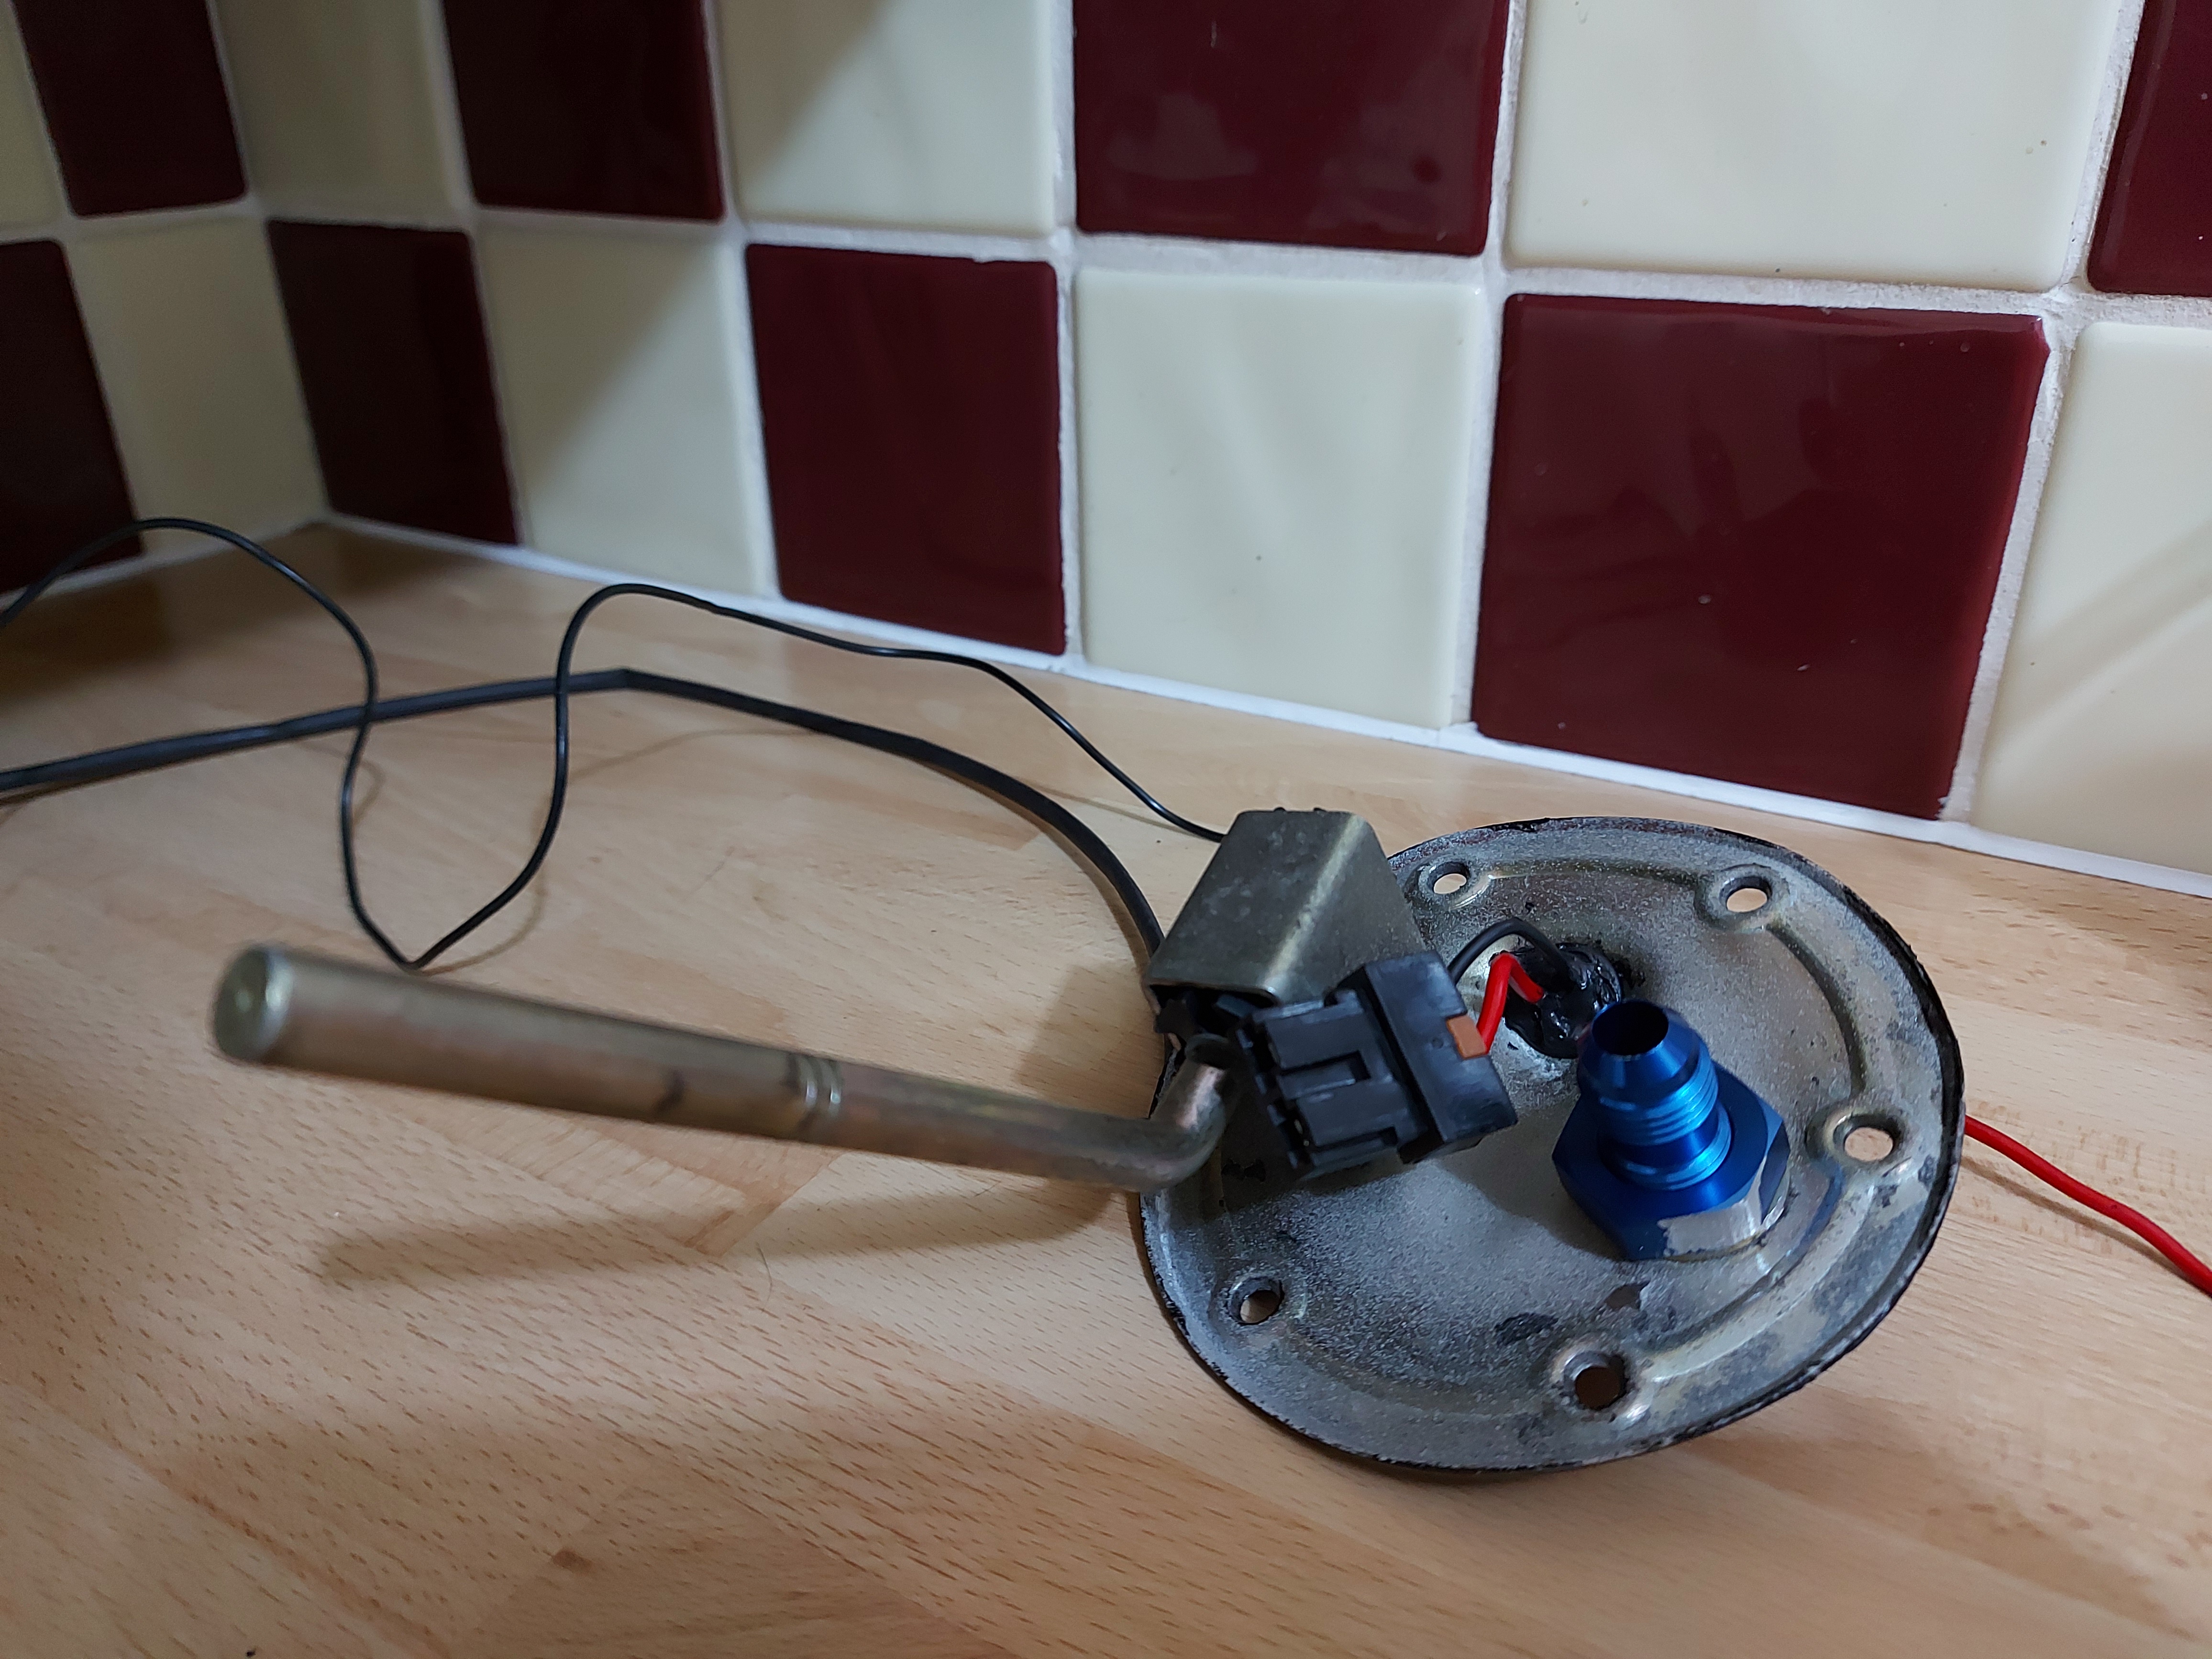
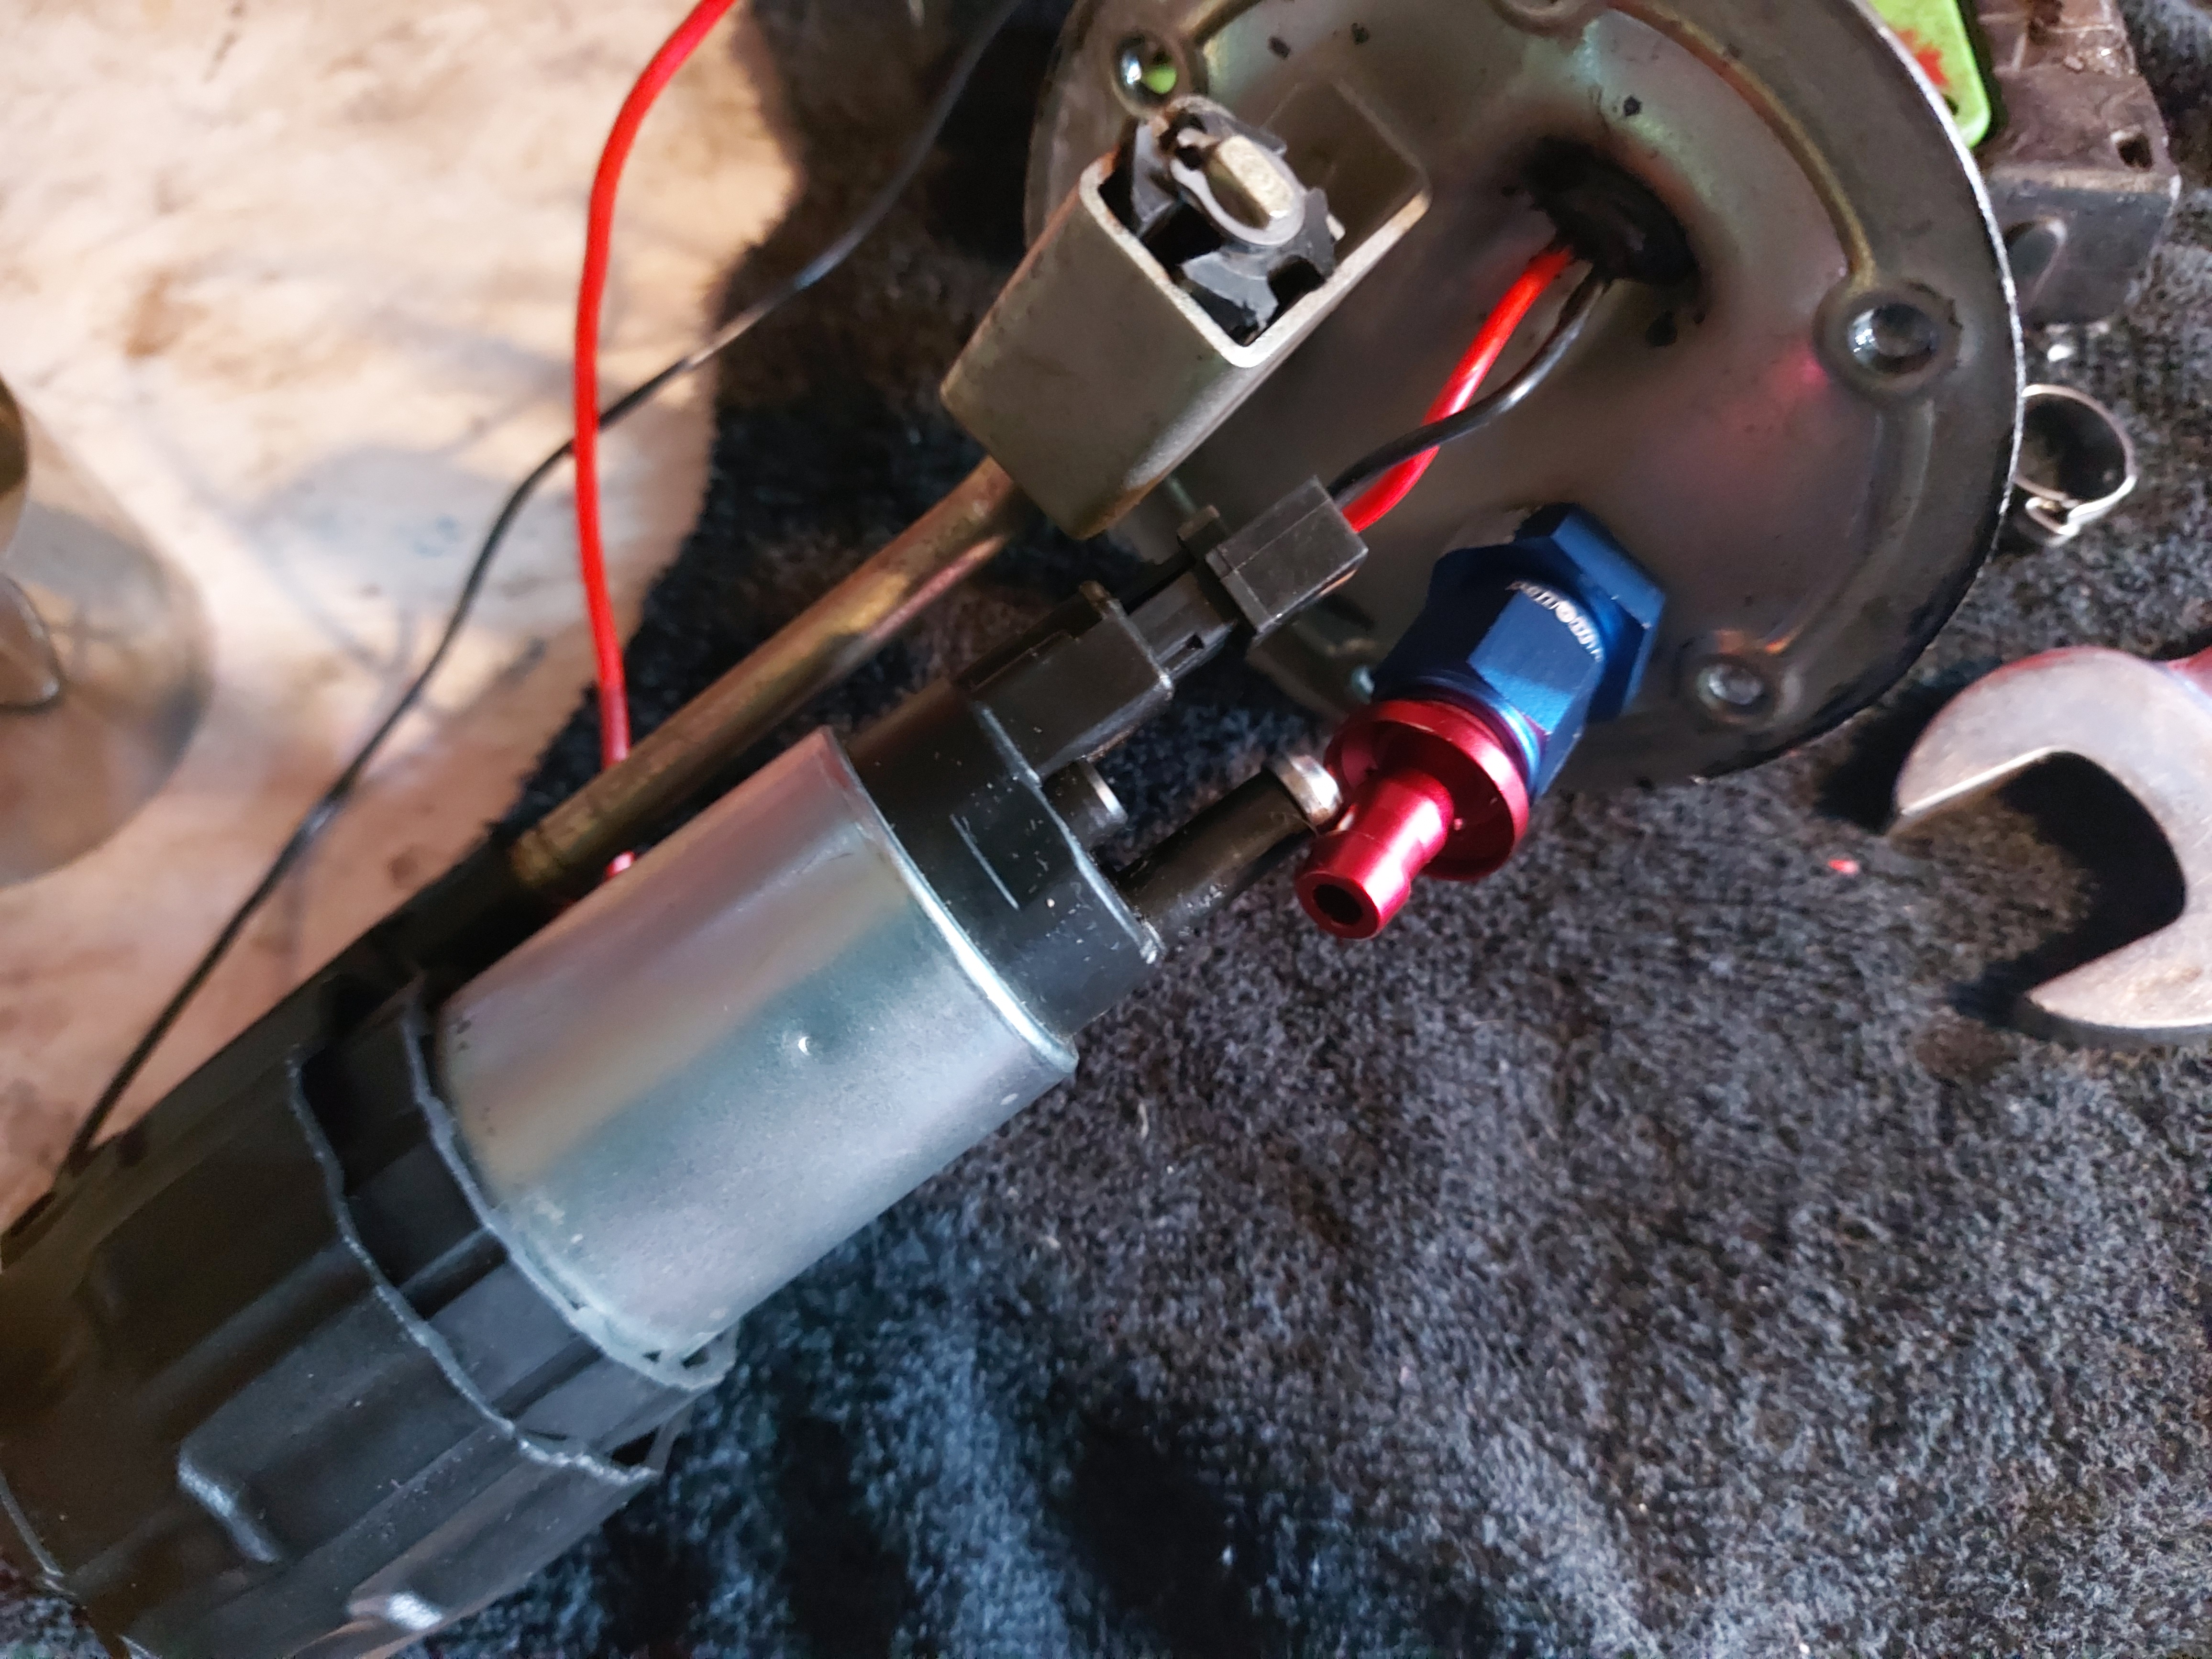
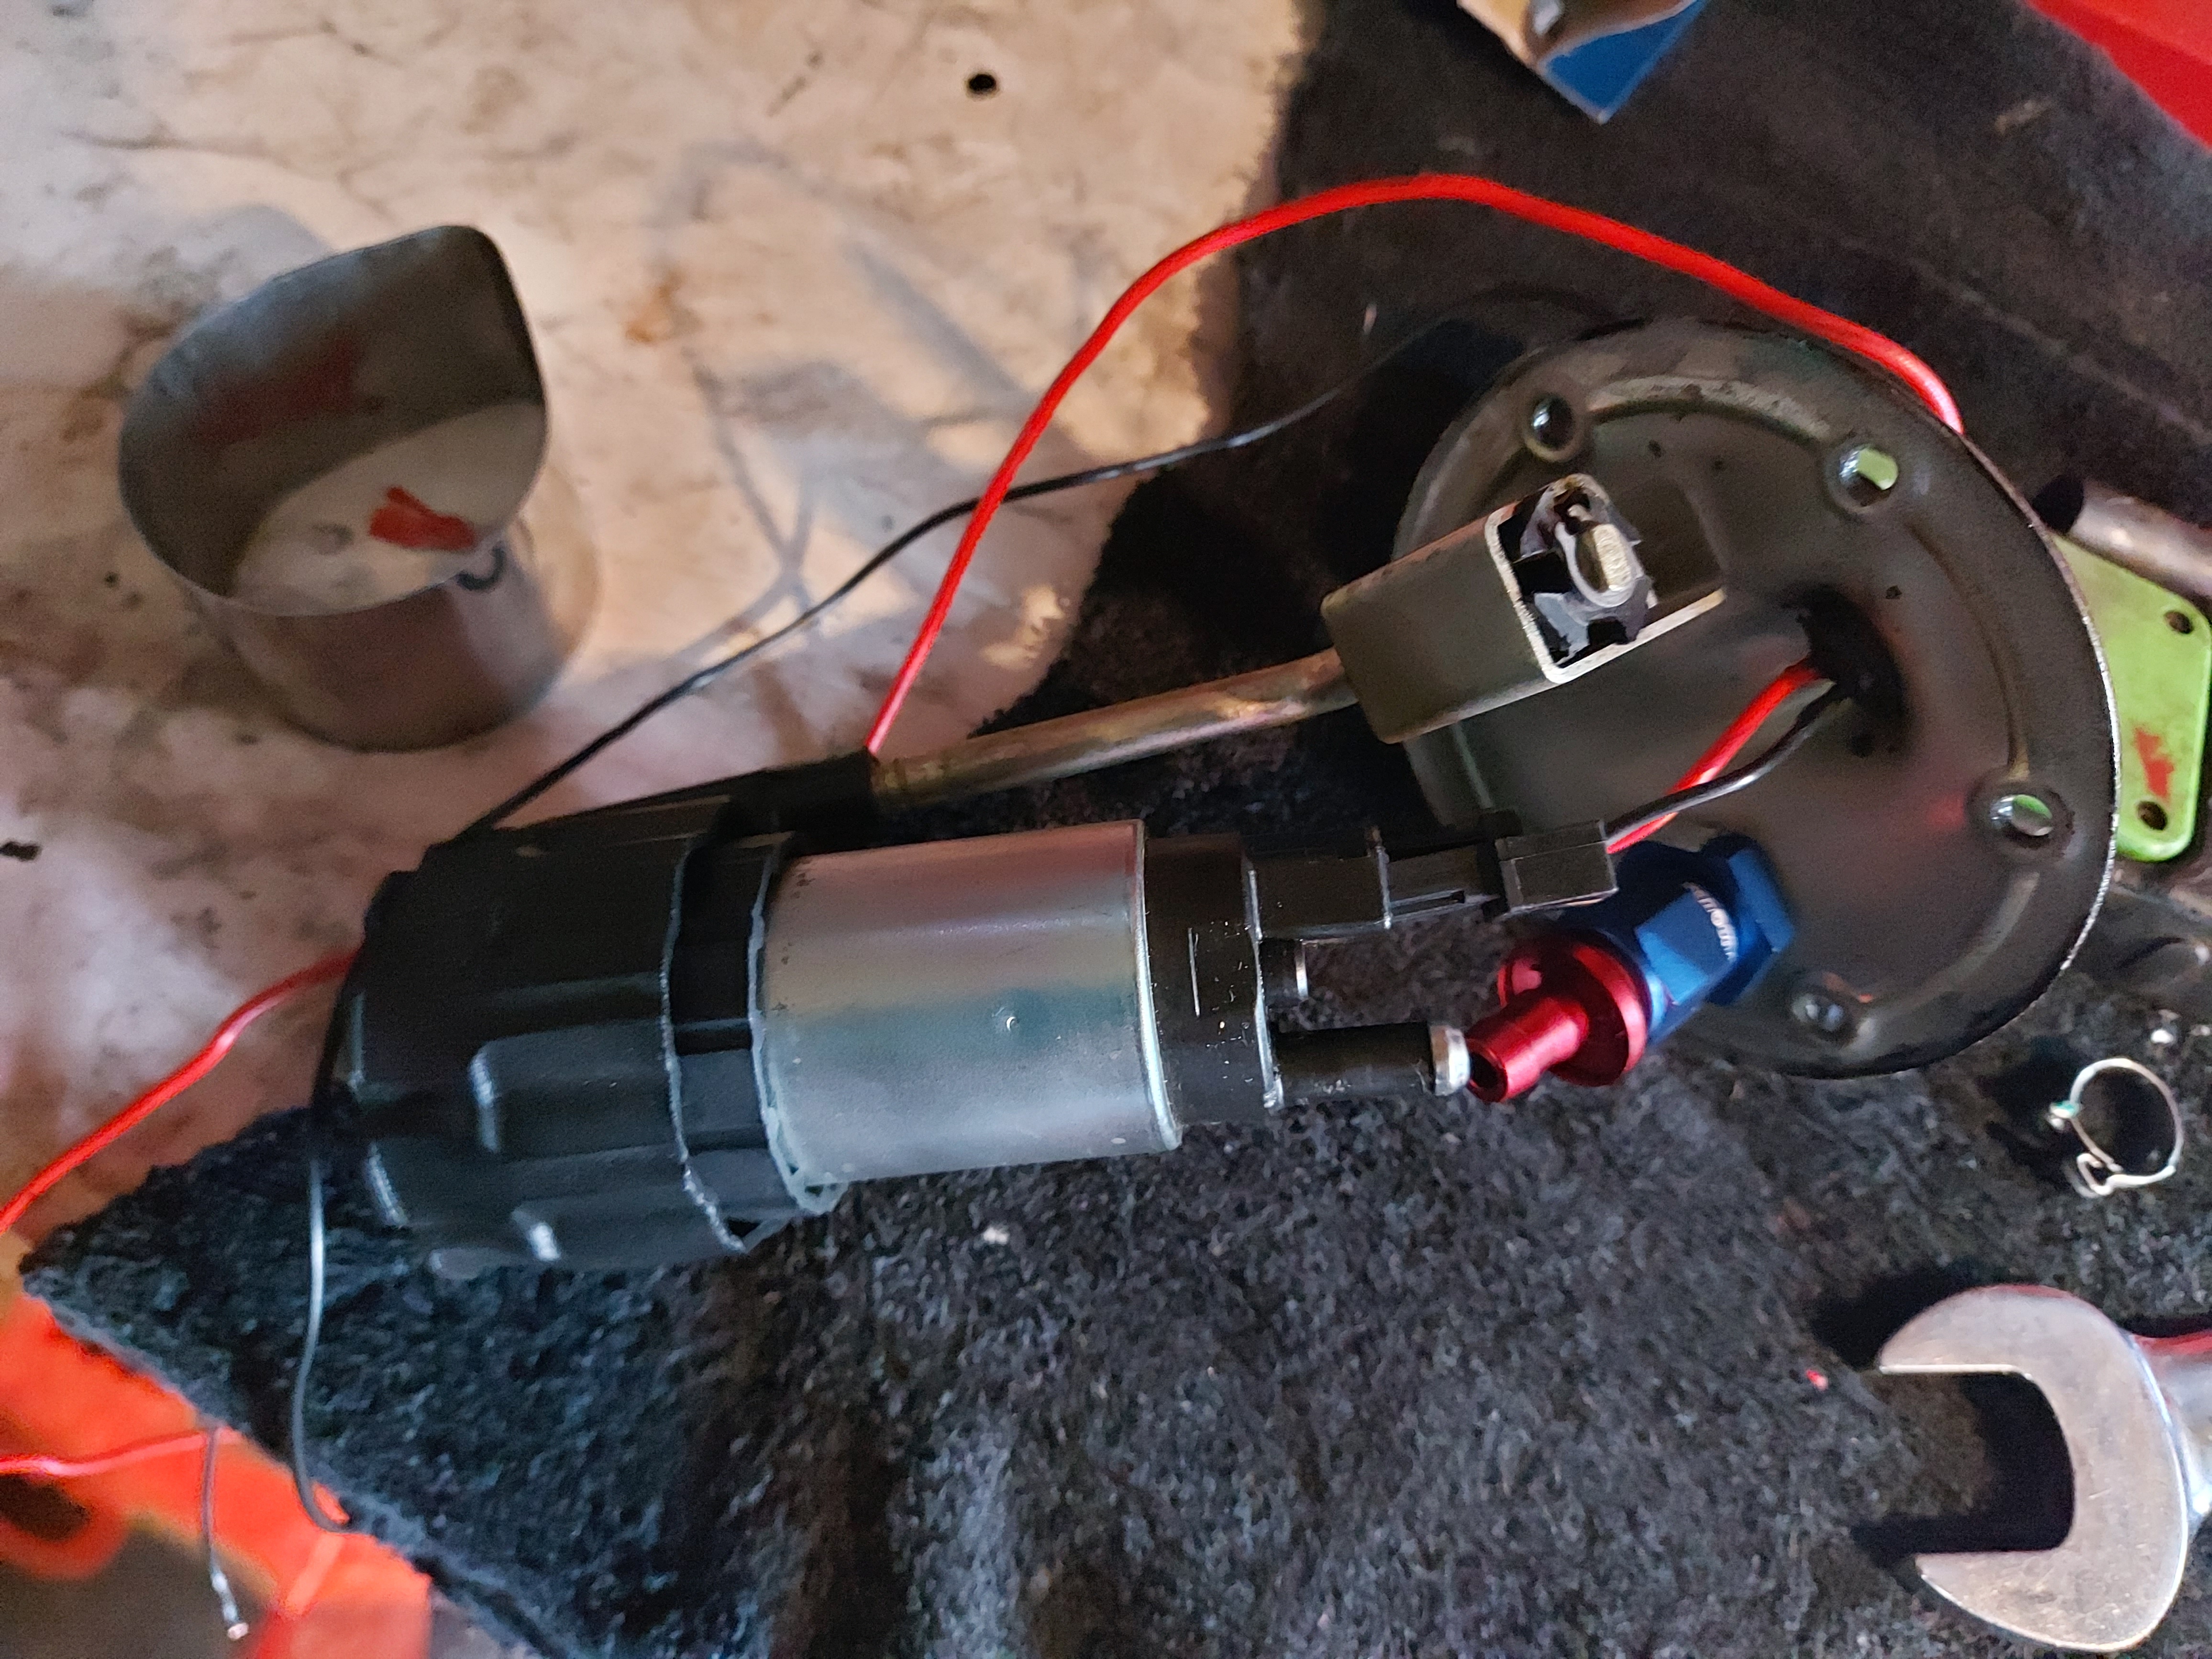
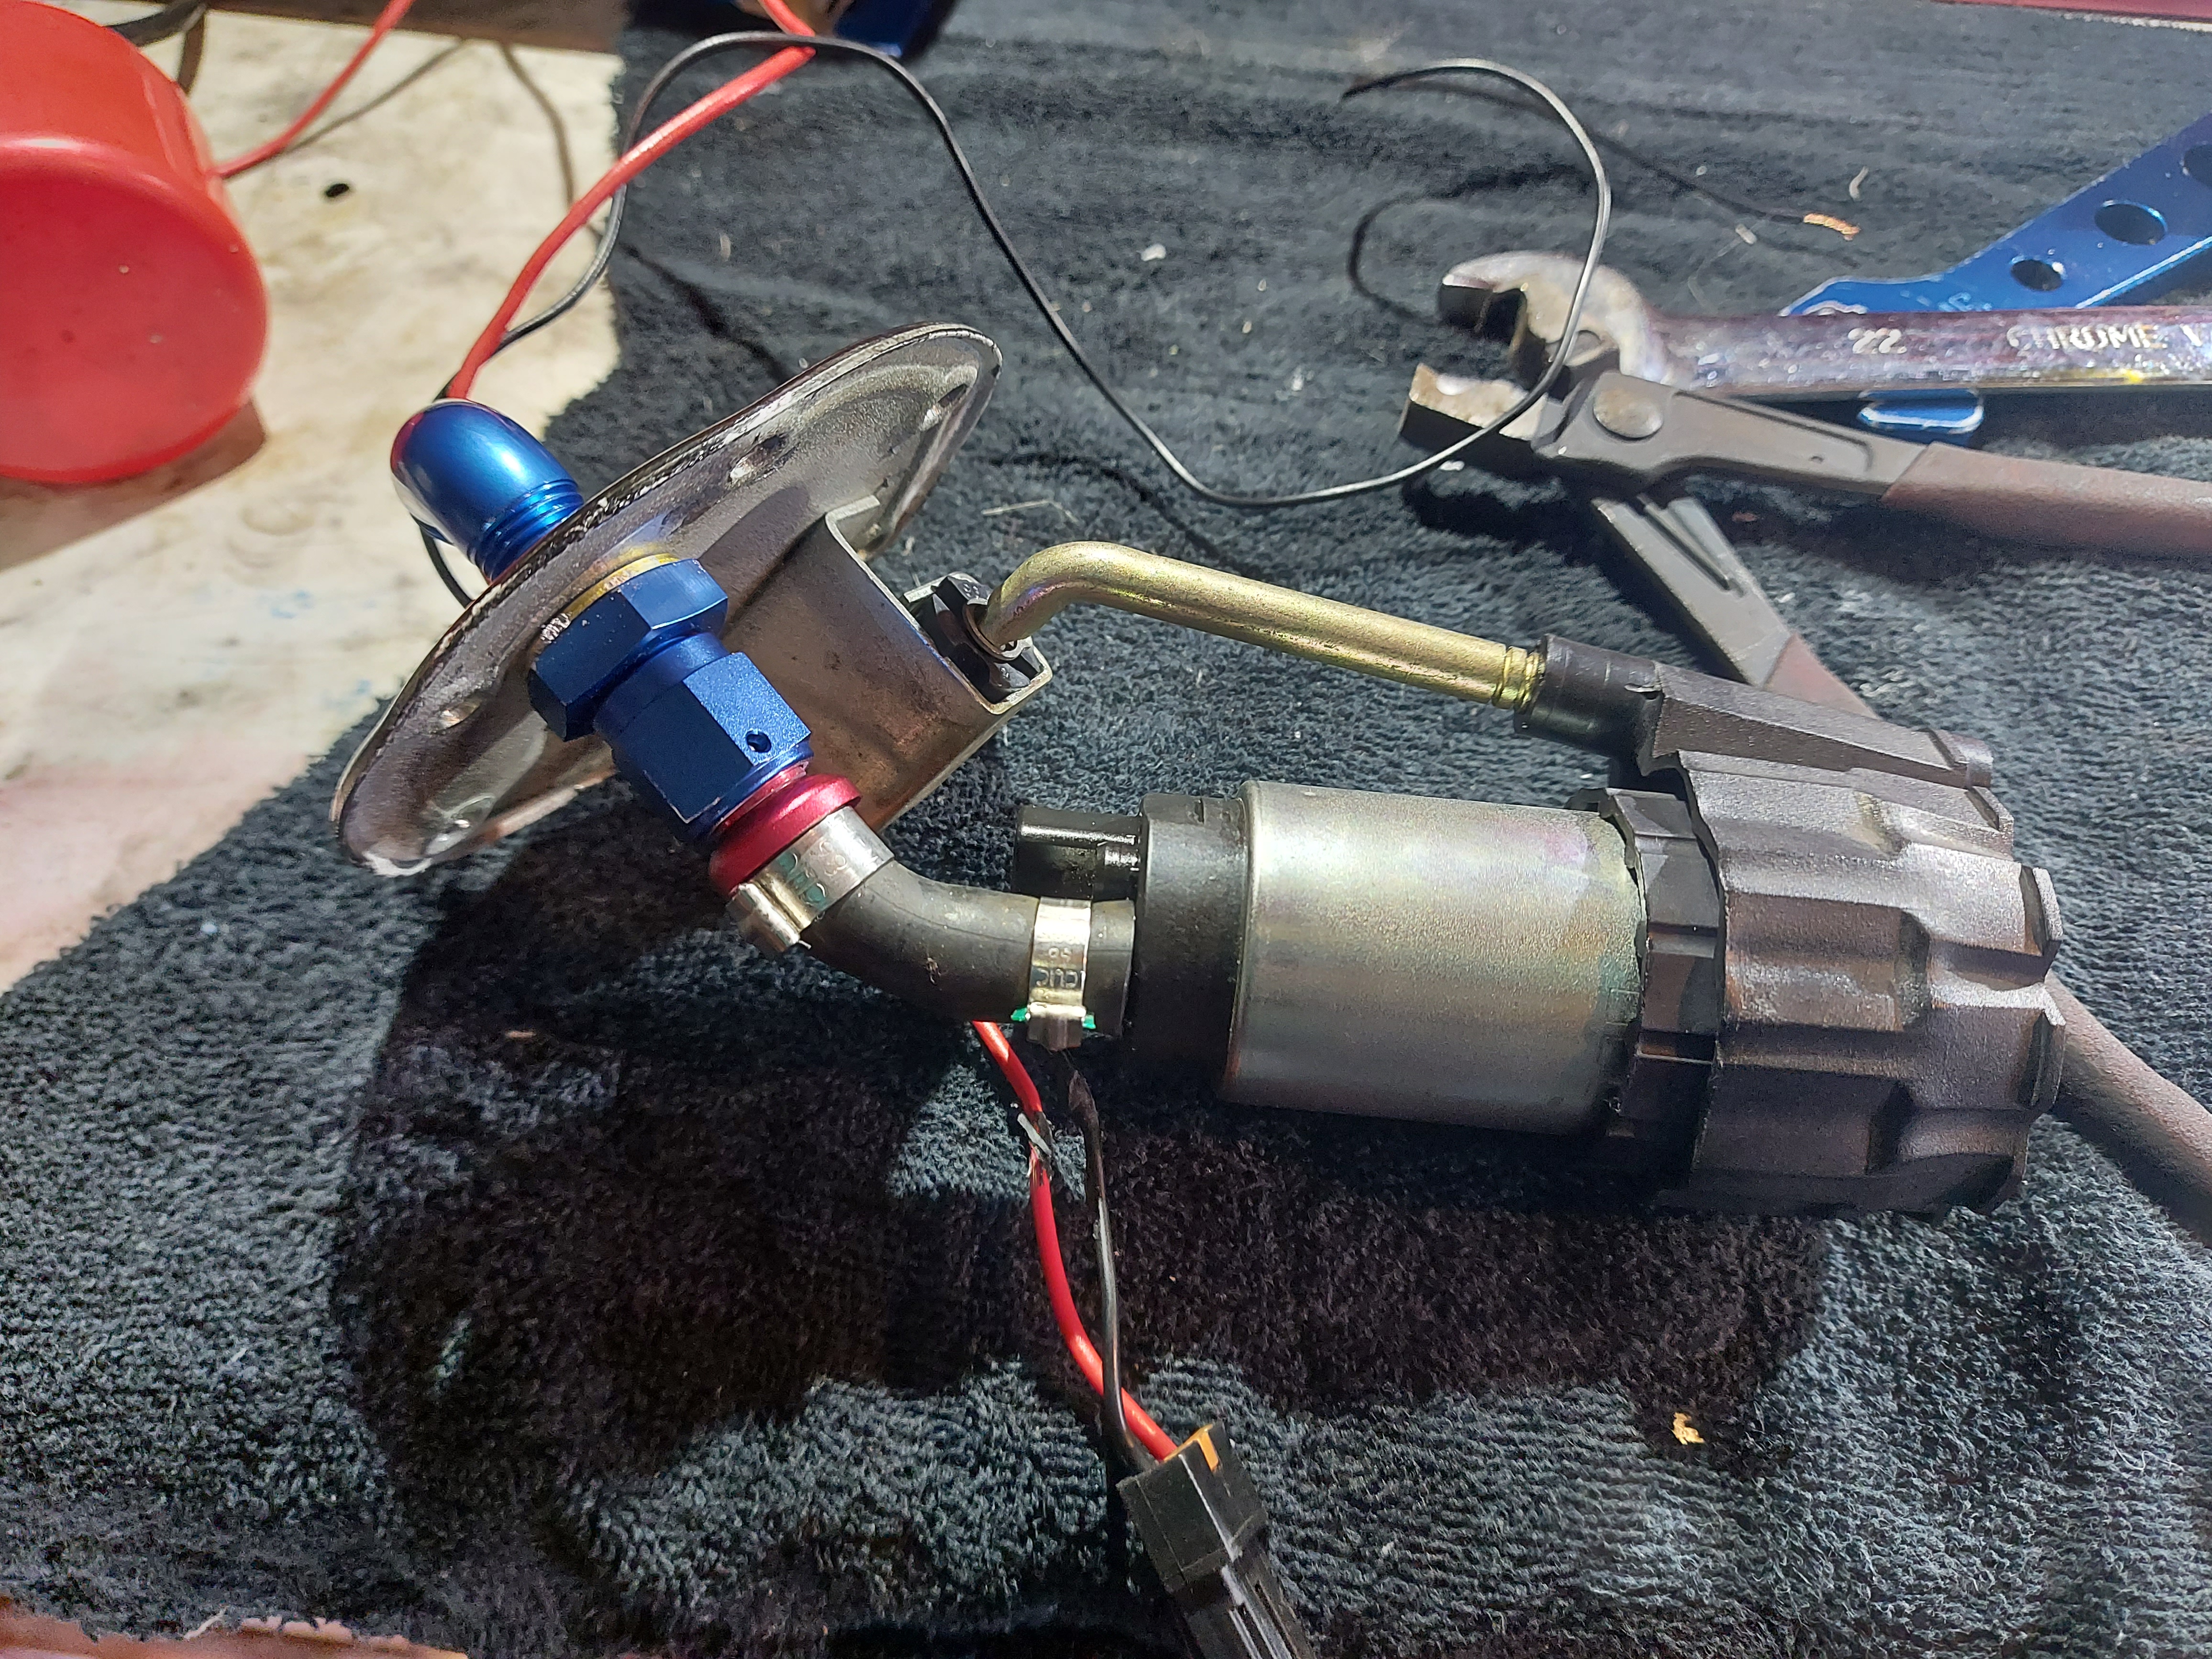
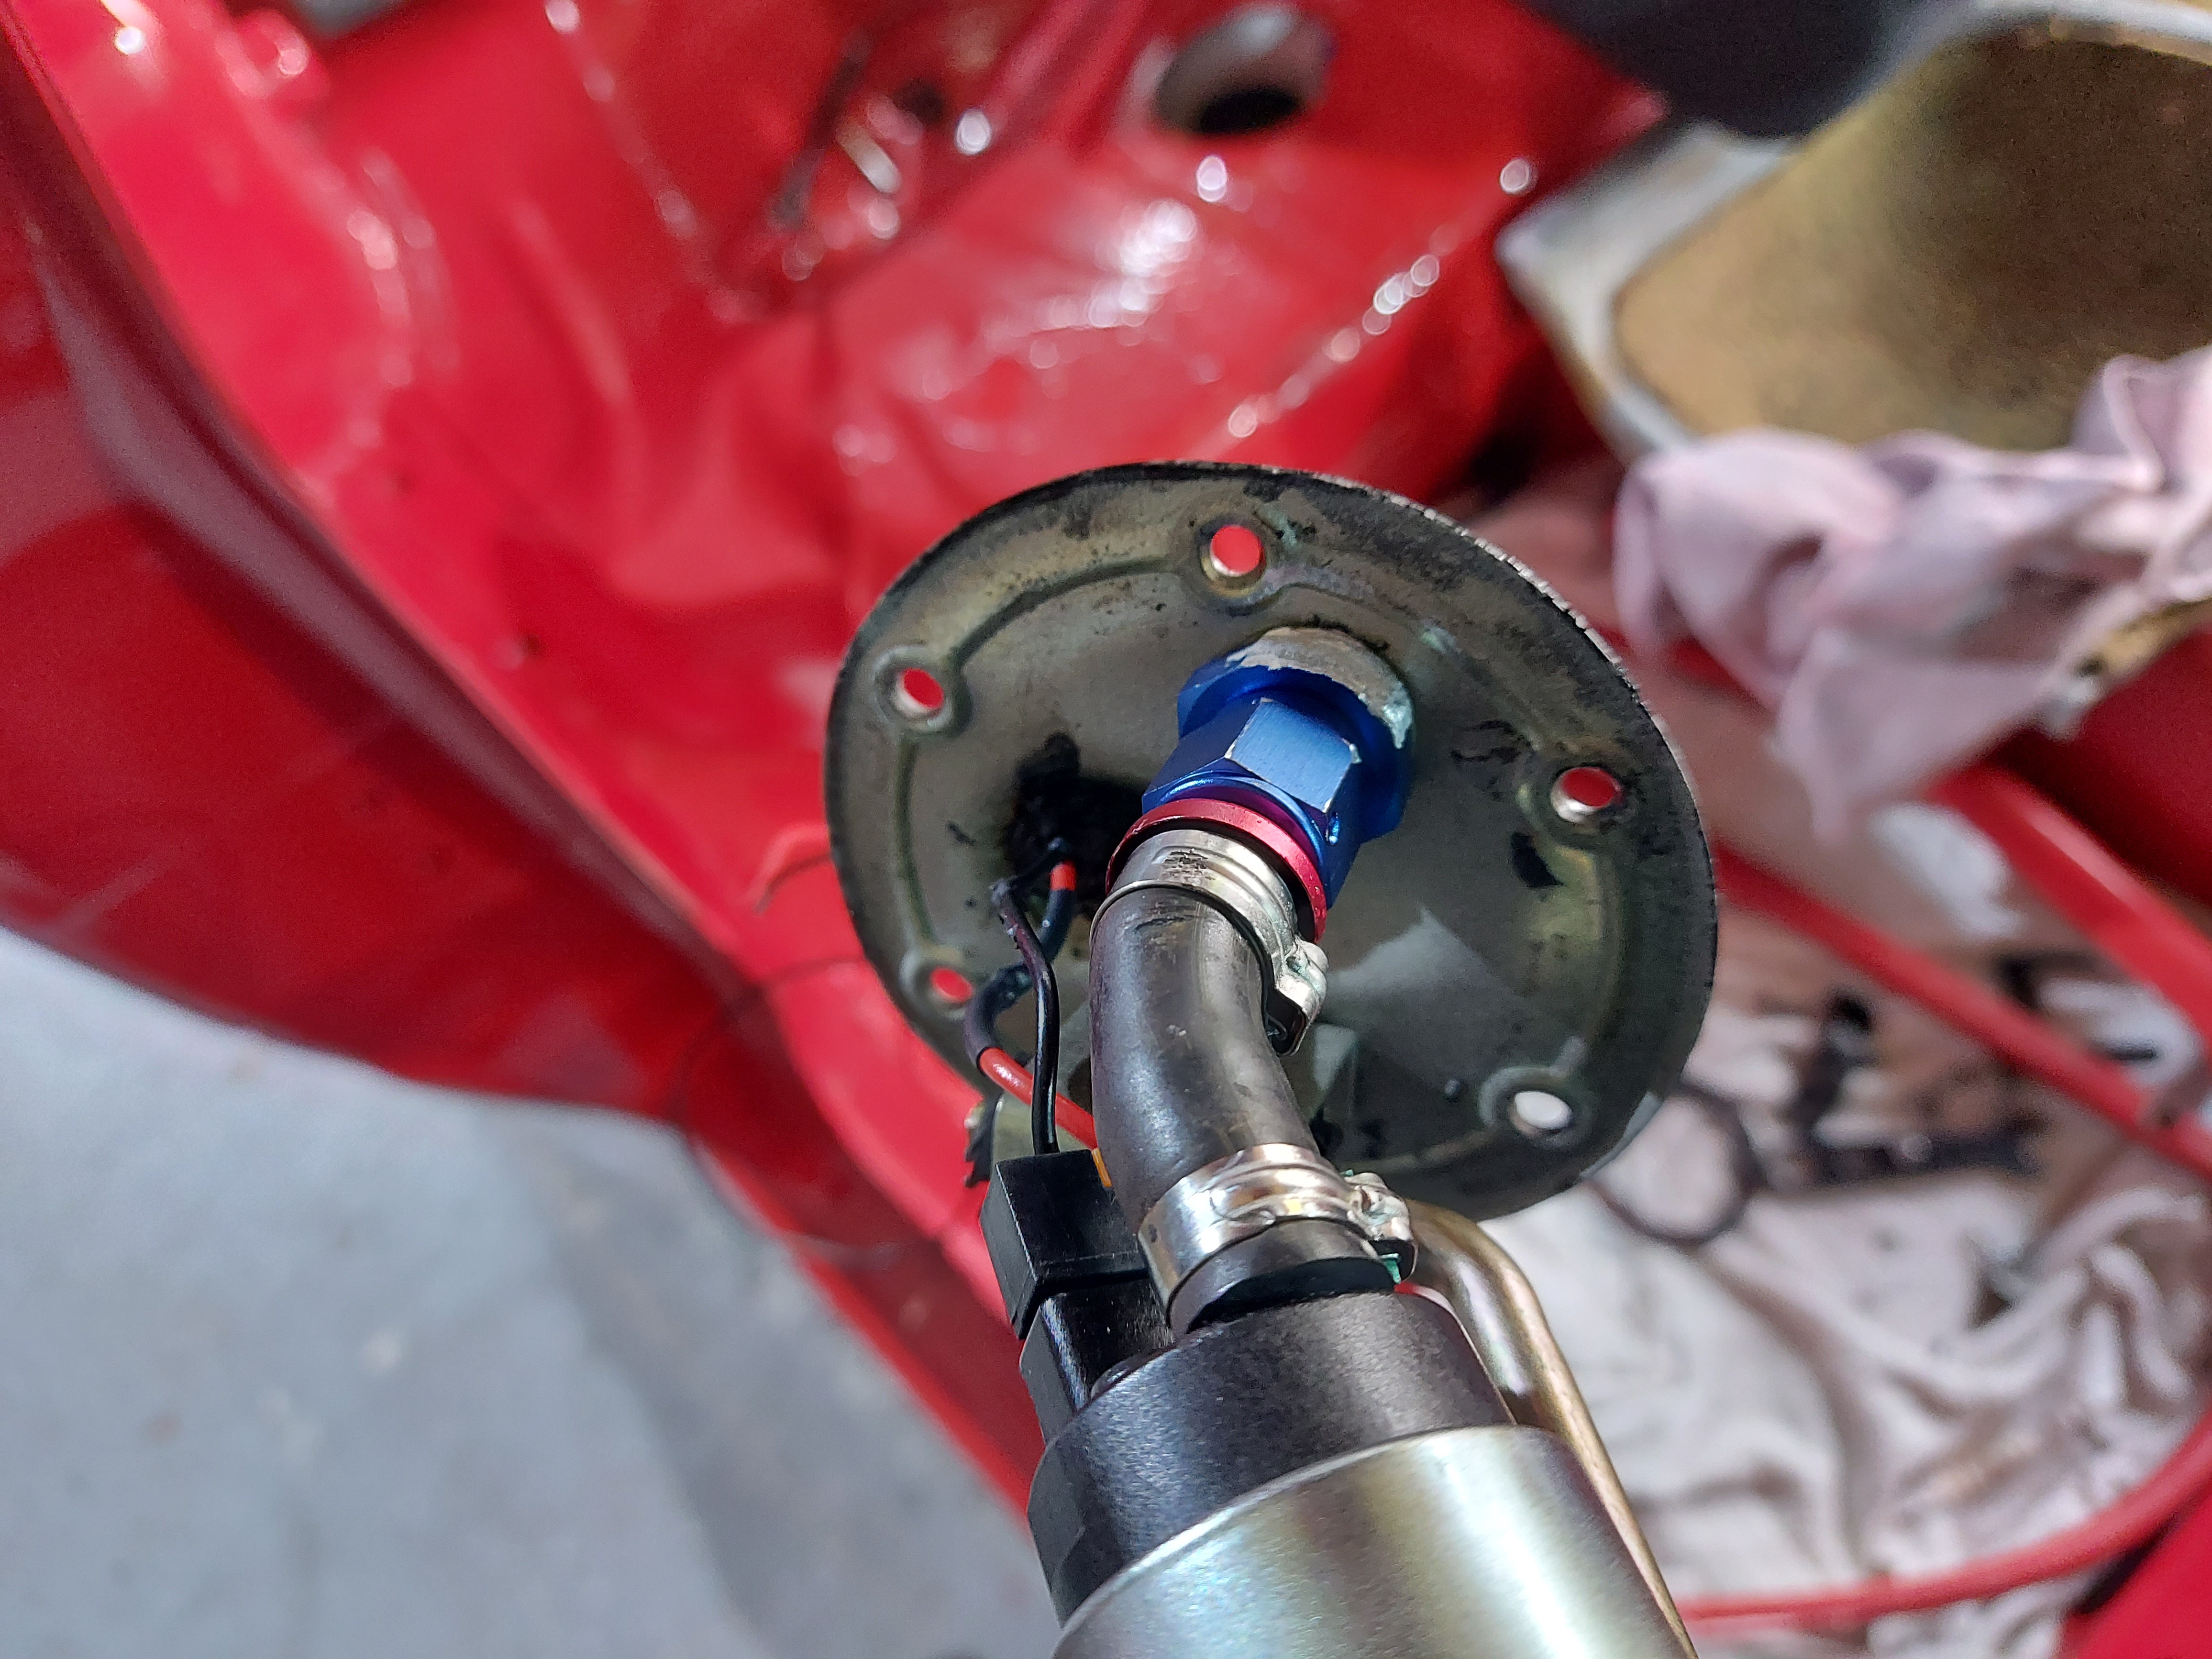
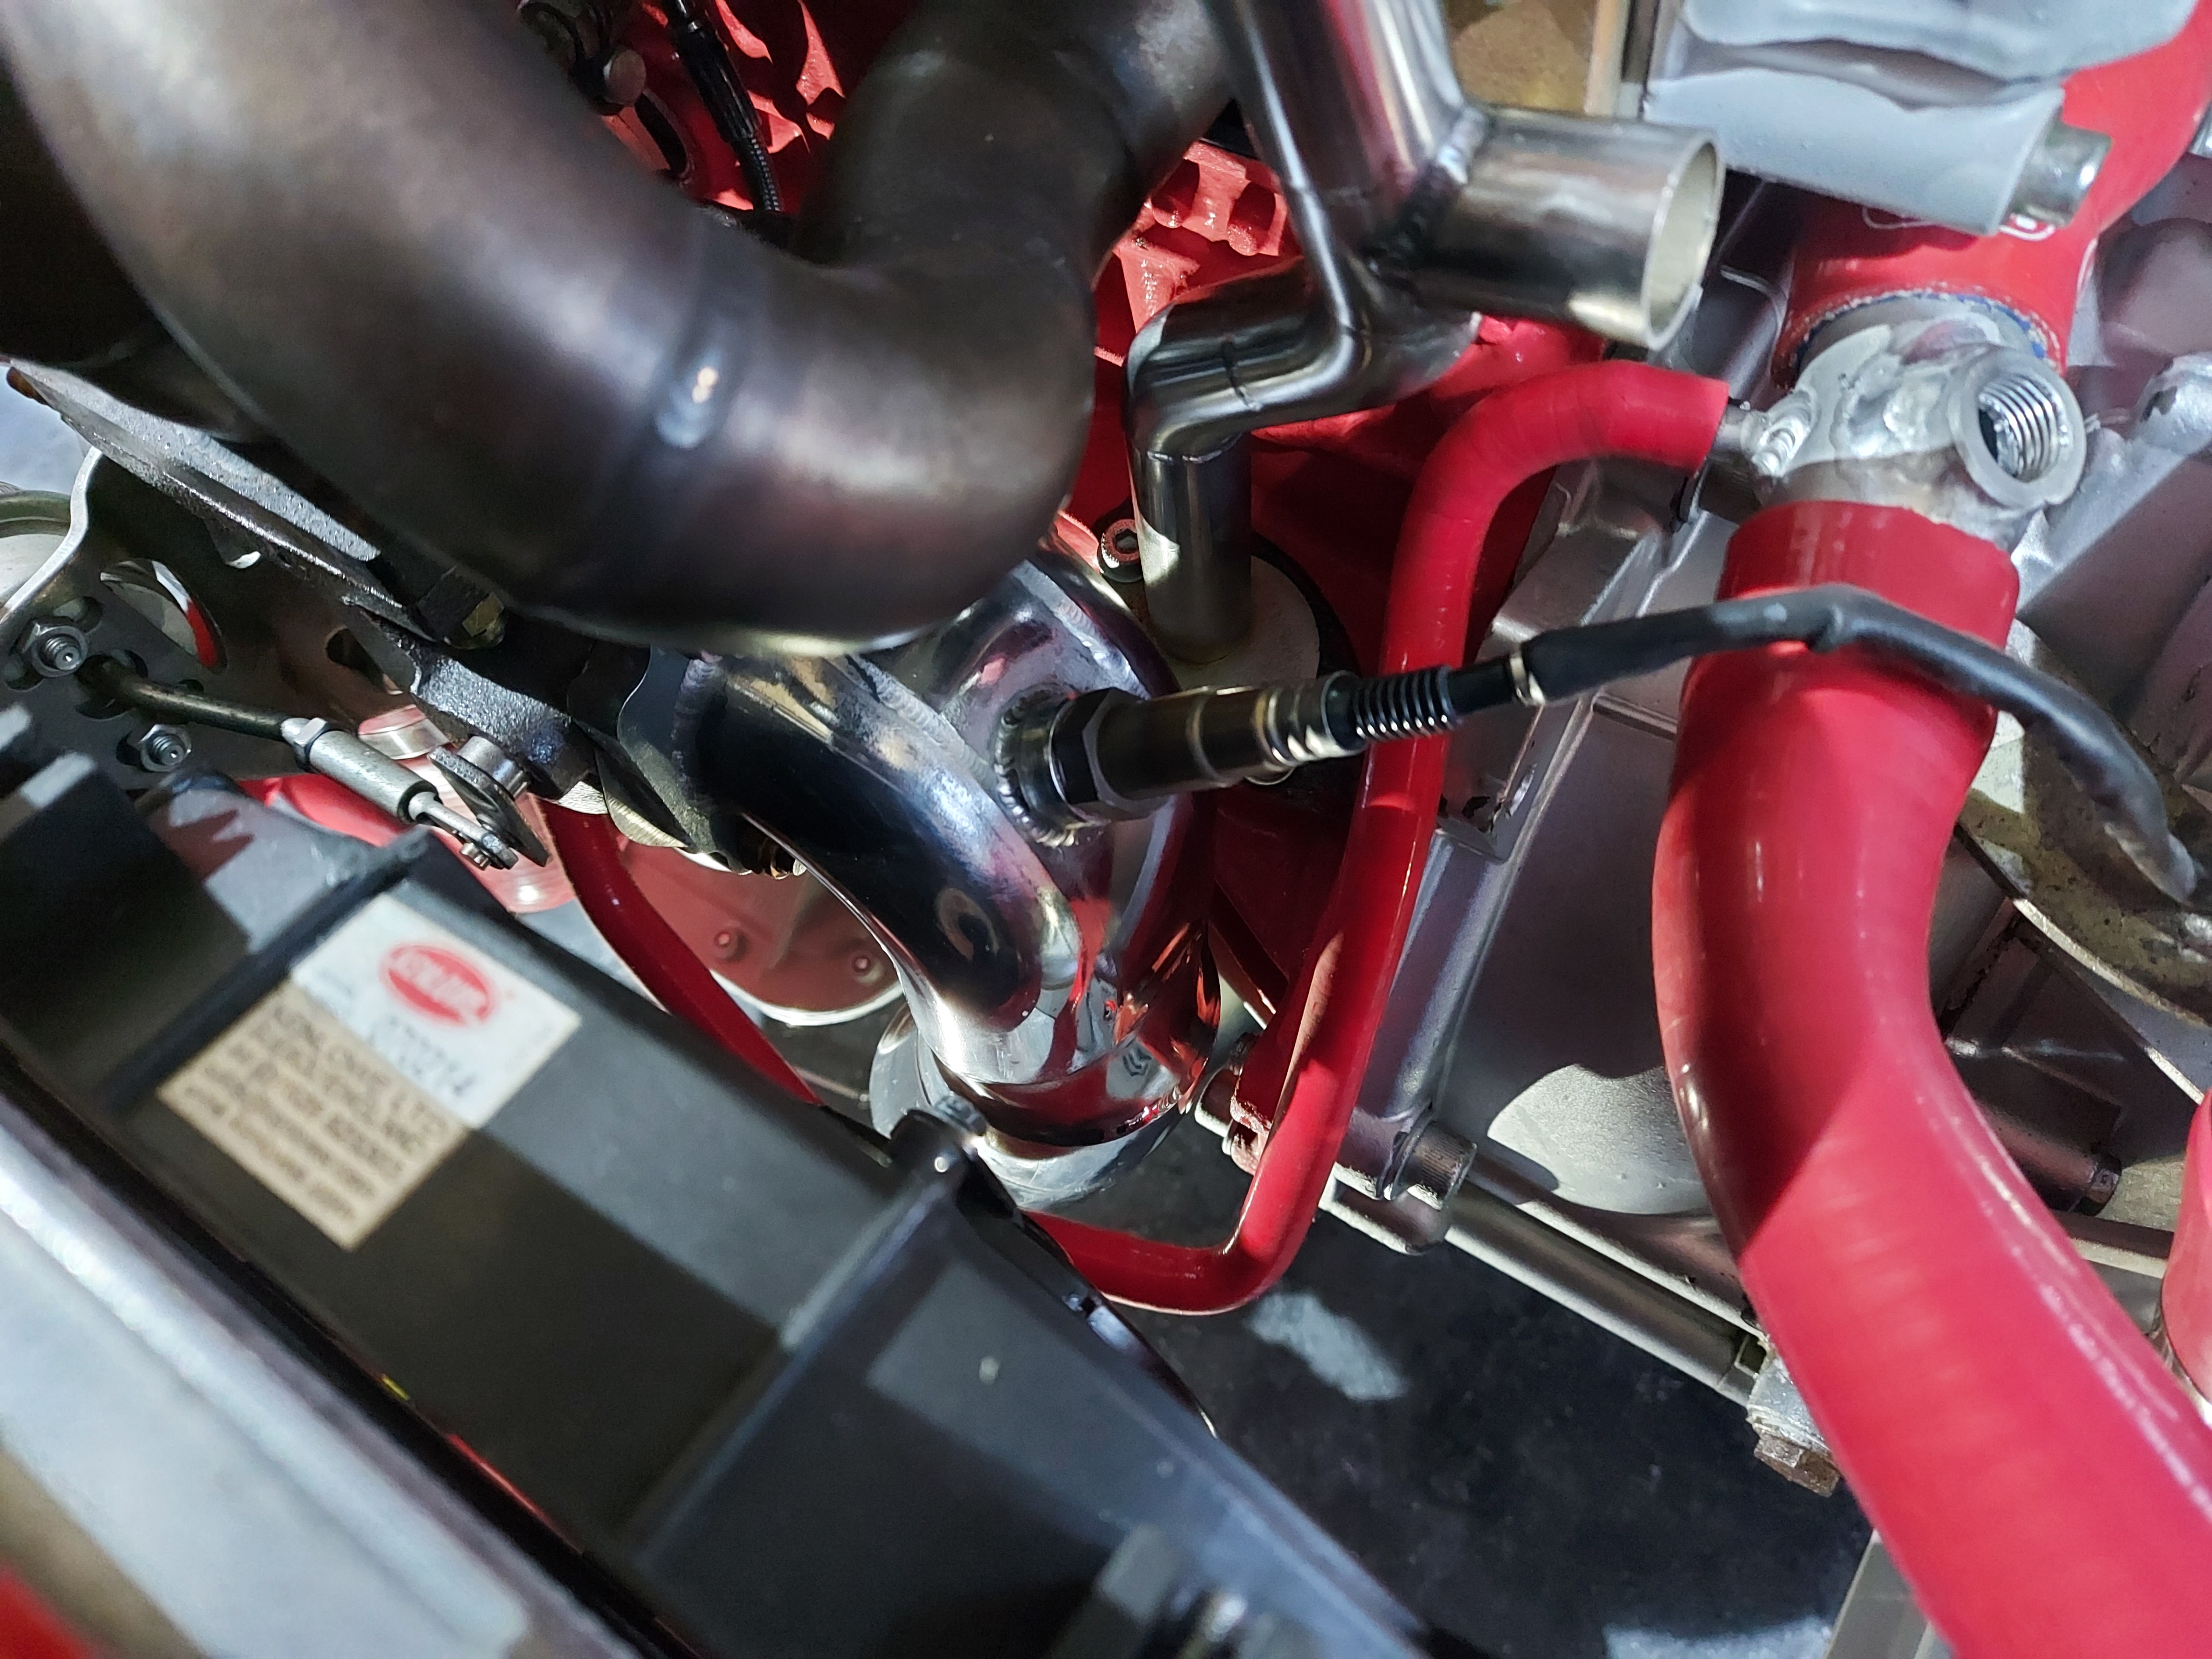
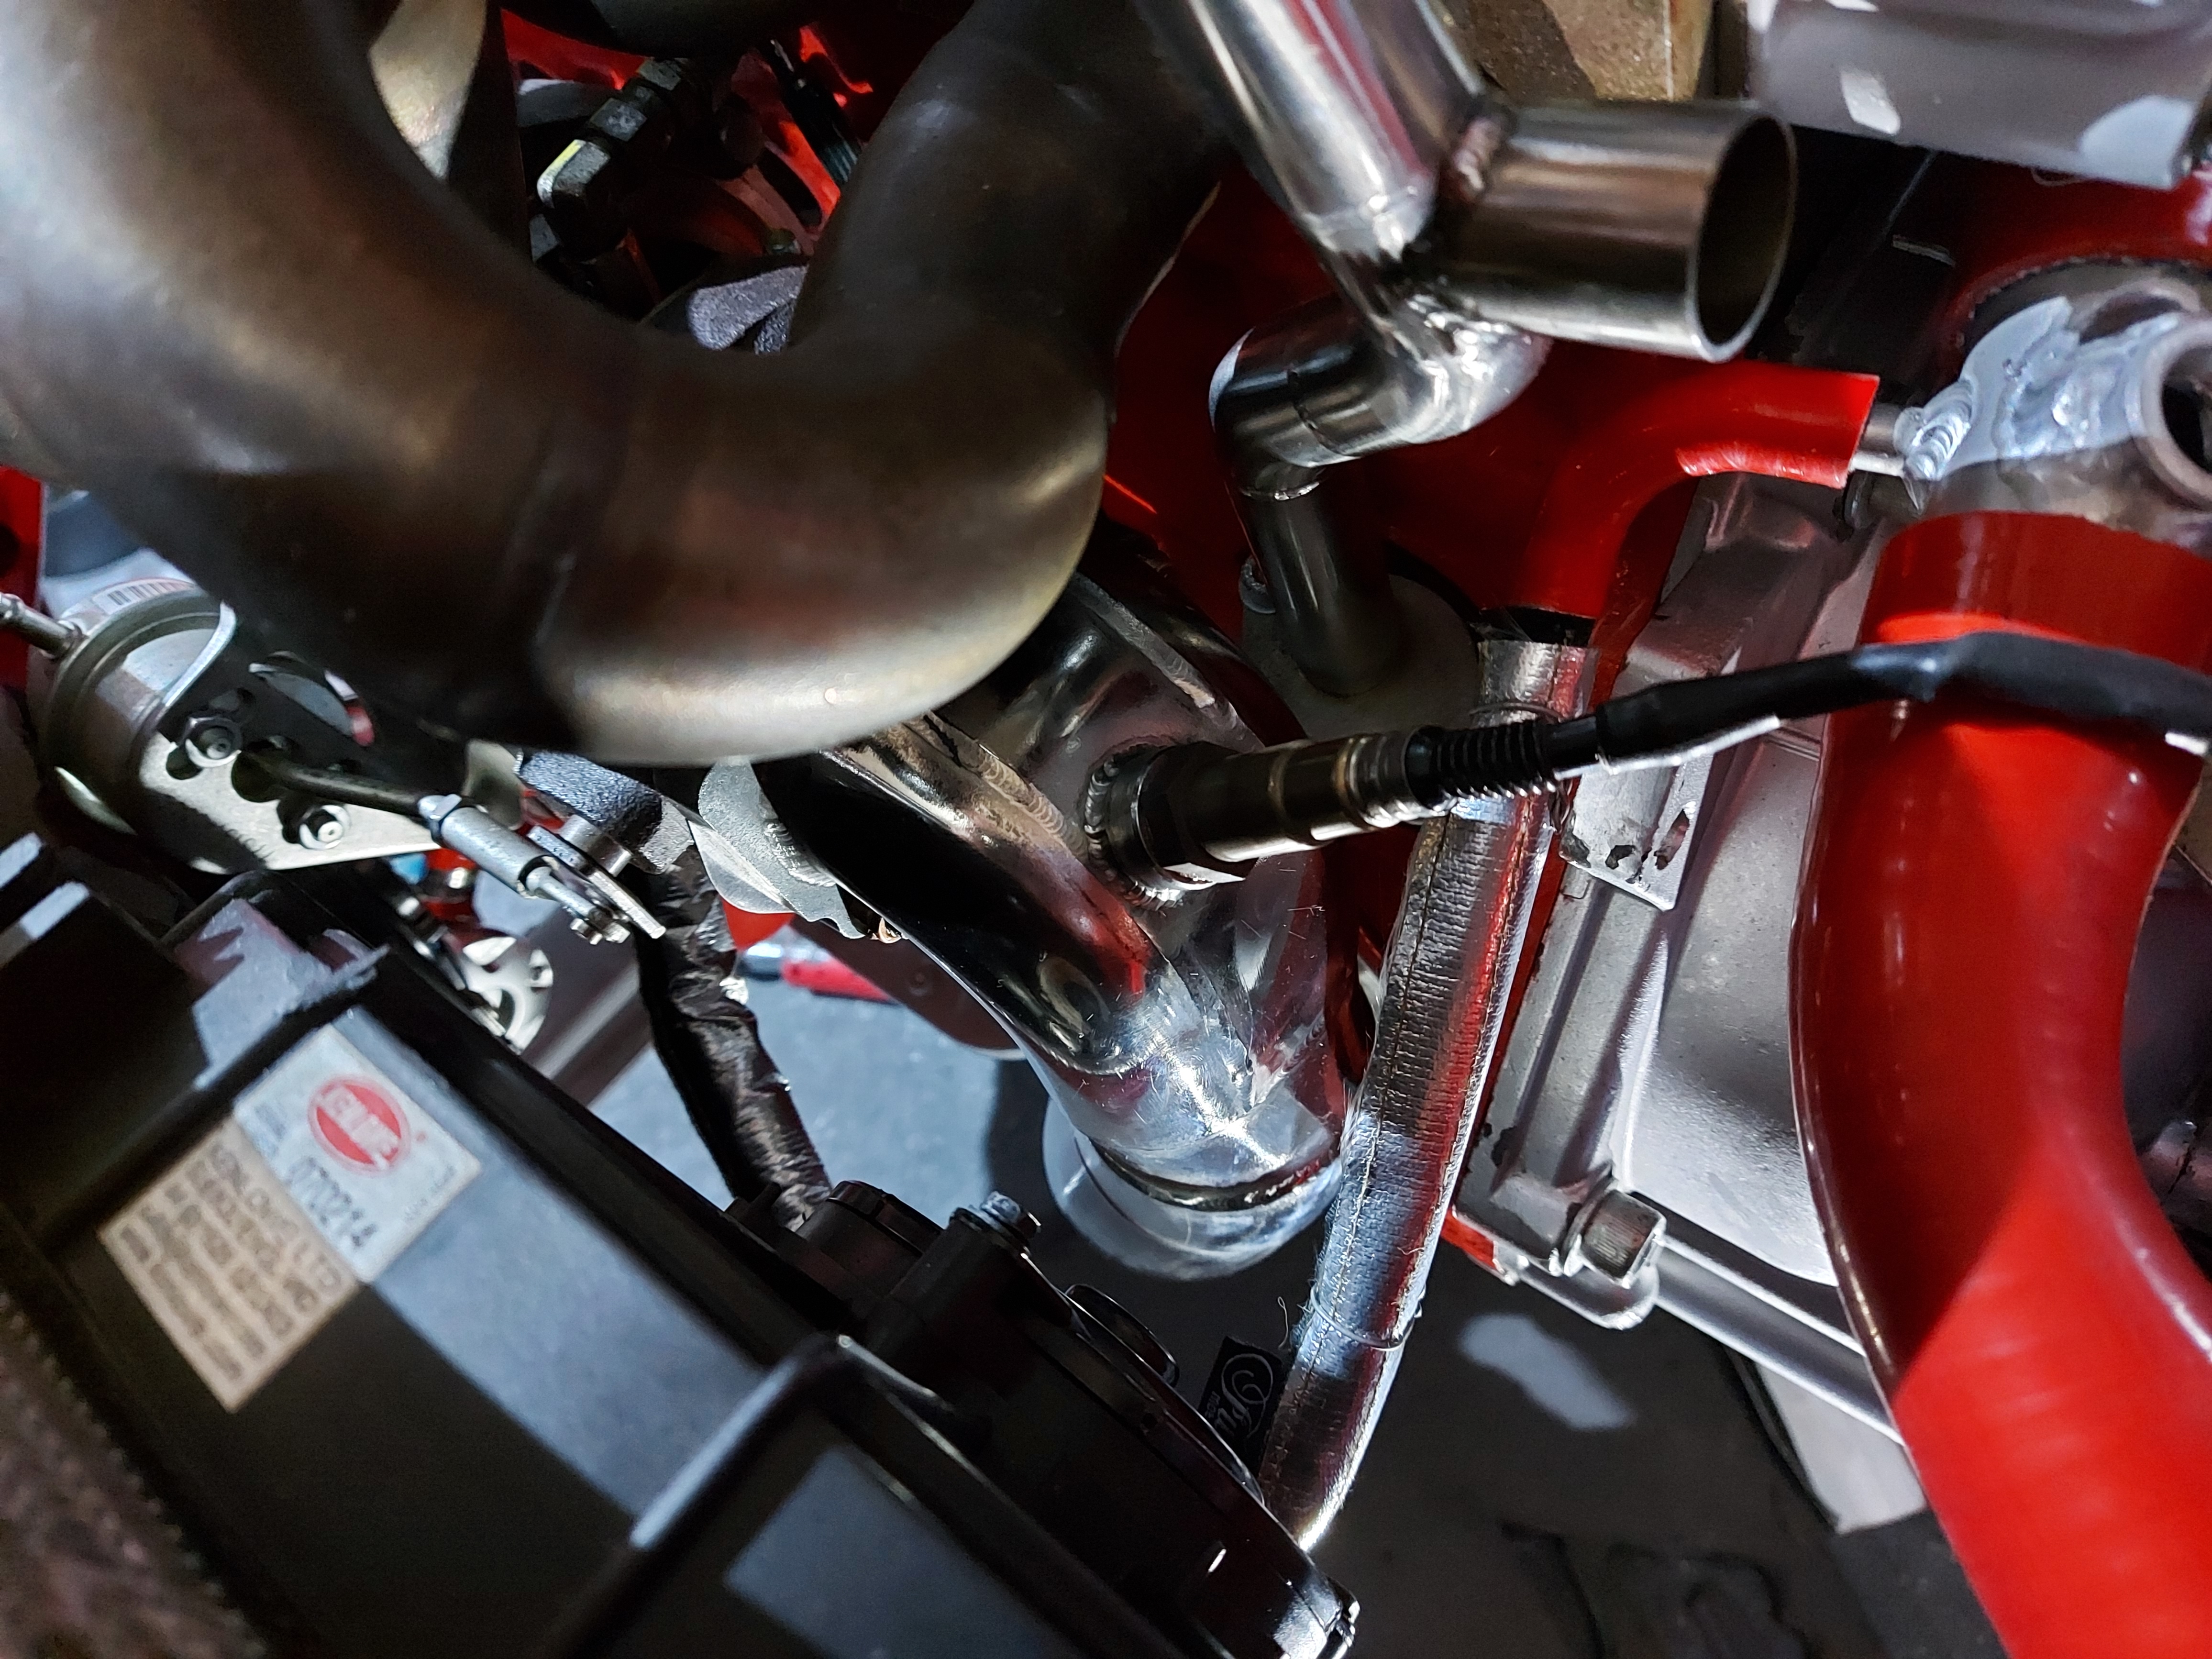
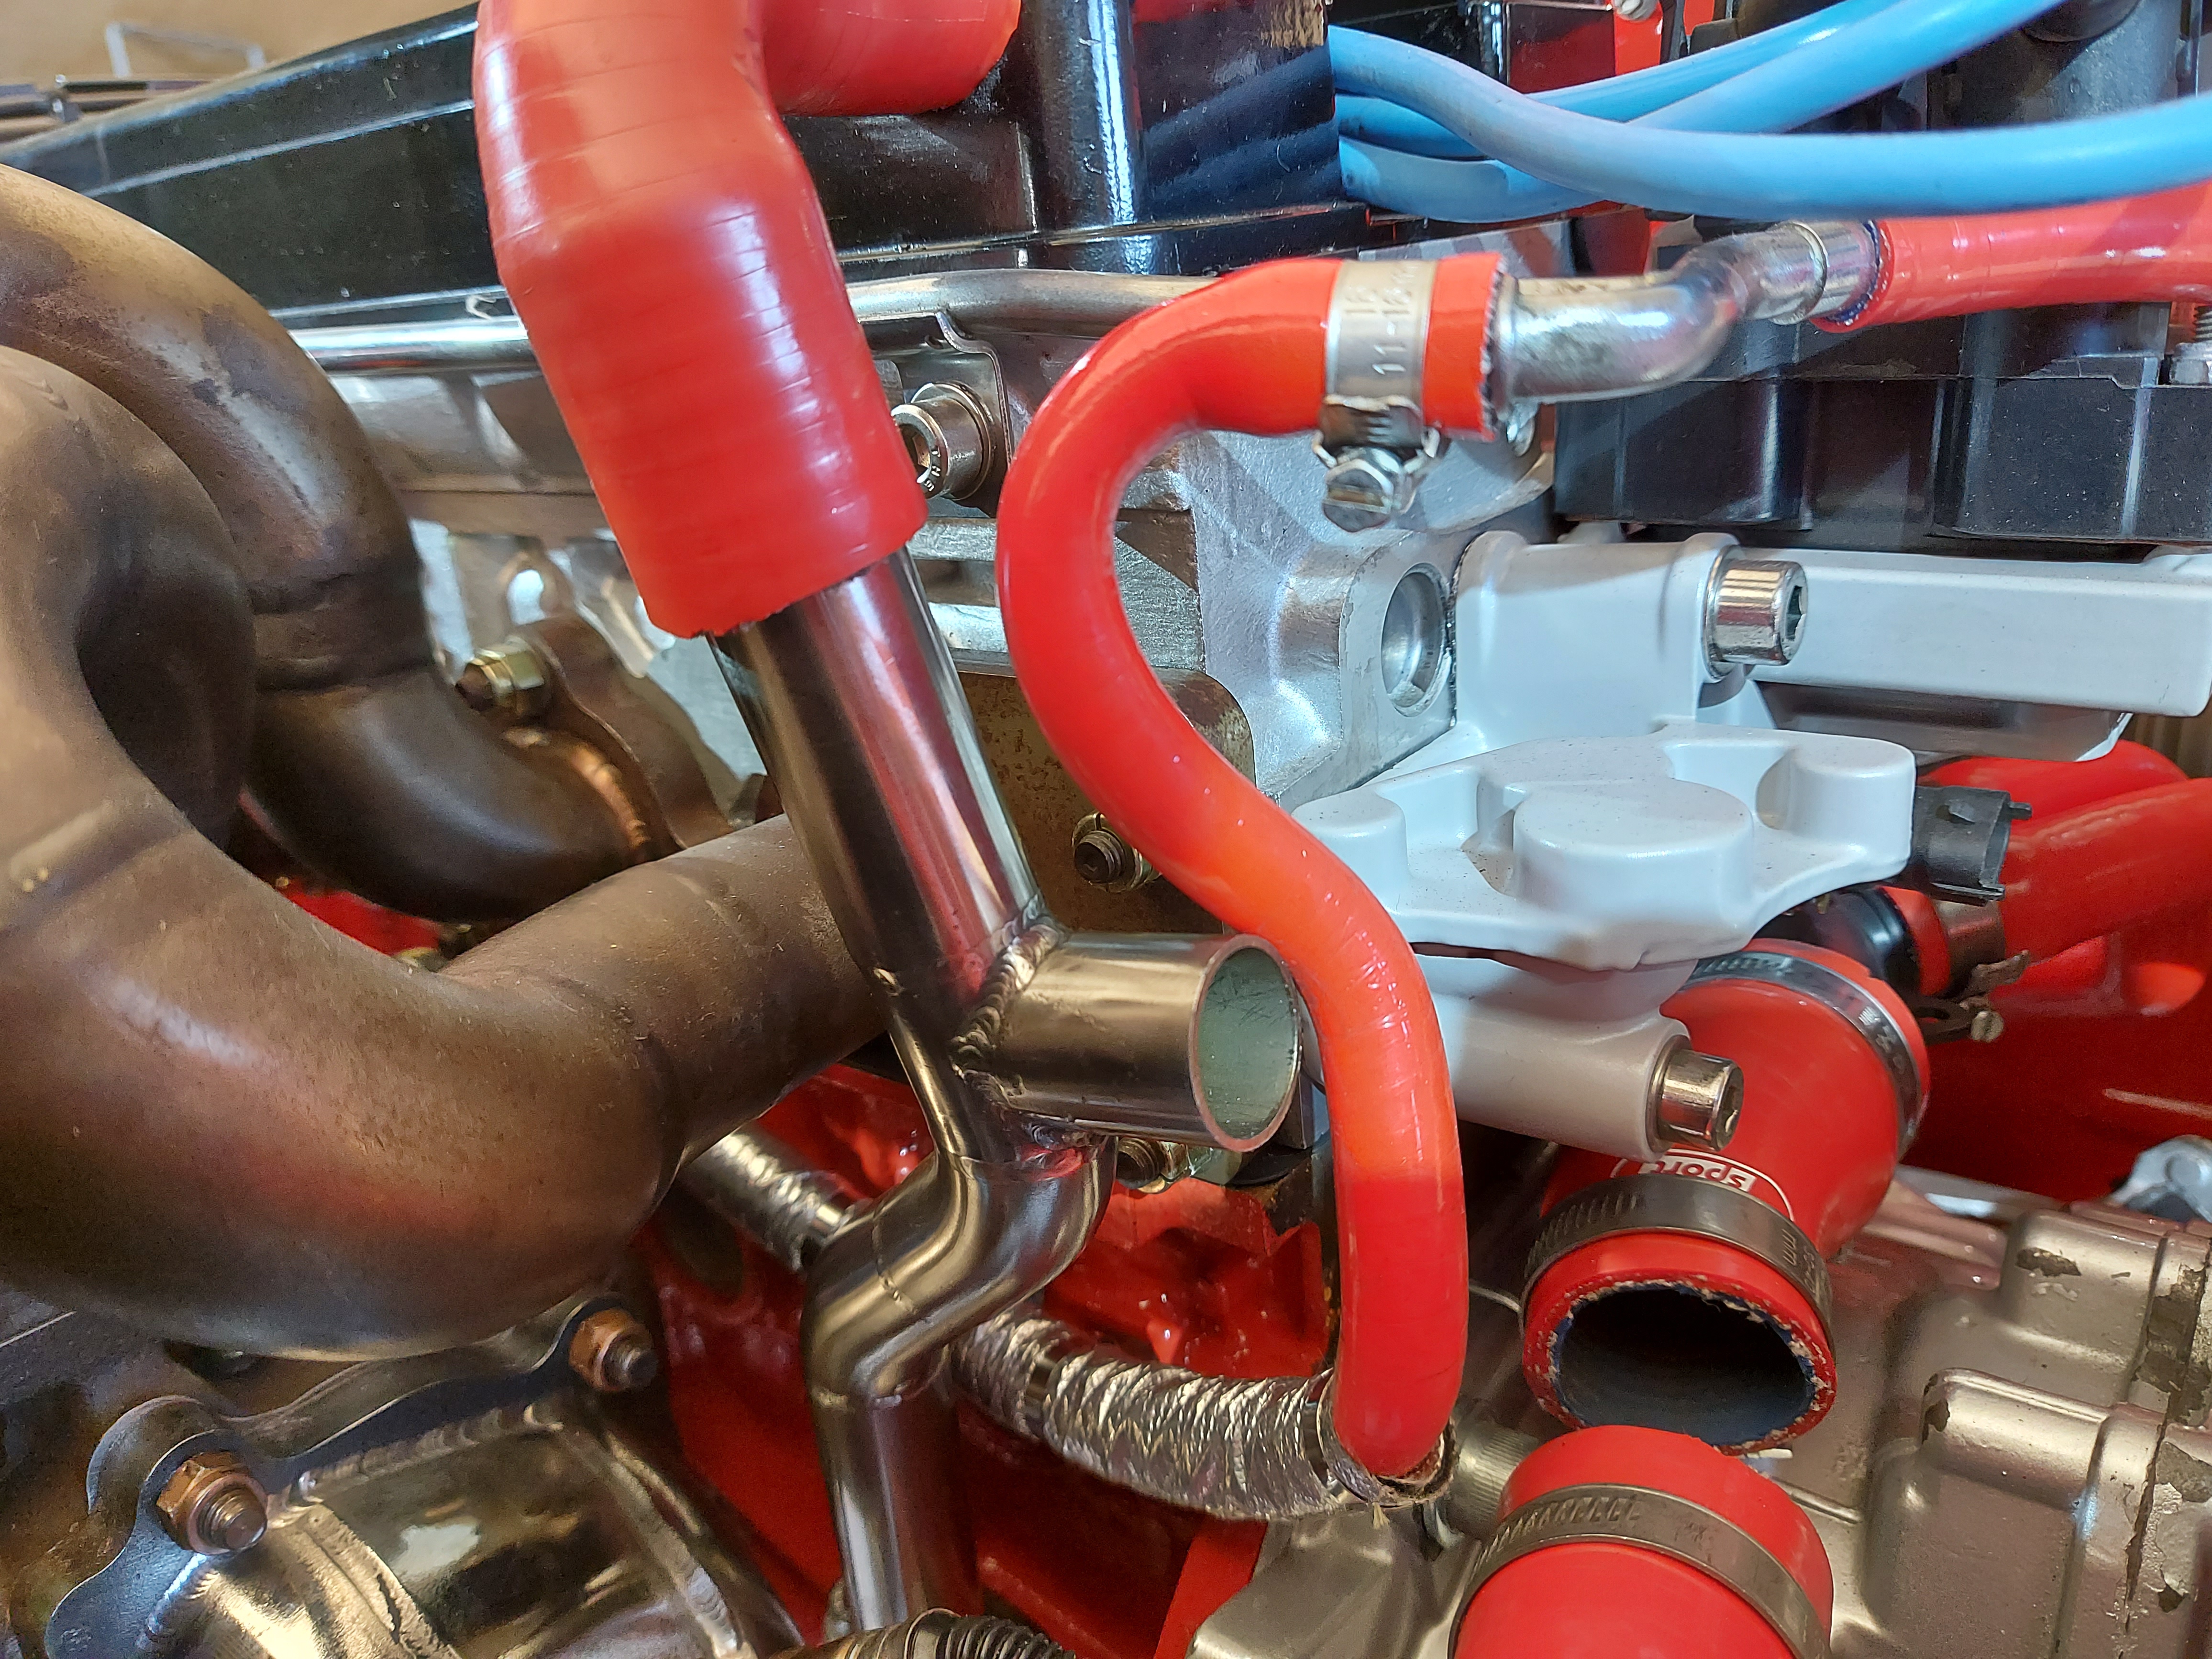
...... this might be a surprise to you aswell haha. It was pretty easy after that. The fittings from torques on ebay are really well made
 
Yeah put the nut on, then cut the coating back by about 10mm I think it was, I found a video online of someone making a line with the same stuff
 
Yeah put the nut on, then cut the coating back by about 10mm I think it was, I found a video online of someone making a line with the same stuff


ah ok, yea i started off doing the first few lines keep the black coating on, but it was mega hard to do! i thought this can't be right! so went back on the forsale advert and it mentions u have to cut the black off! was alot easier after that!
 
Made a nice job of that, Love the Carpet on the subwoofer too. All starting to come together, Really hope there is a VBOA this year :)
 
Made a nice job of that, Love the Carpet on the subwoofer too. All starting to come together, Really hope there is a VBOA this year :)
Thanks clegg, Yea I'm really hoping for VBOA aswell this year. In a way I am glad I'm doing this in lock down otherwise I would be missing shows lol
 
Looks amazing Dave! All the little motorsport touches are awesome haha. Keep it up mate it's absolutely fantastic.
Cheers Andy, Yea working in motorsport has really opened my eyes up to a new level of OCD and tbh, has improved my workmanship aswell so I can bring that to the car! I'm glad I can bring the influence to my car too!
 
Small update today!

I wasn't happy with the turbo water feed and return pipes, they were a mash up of joiners, bit of metal pipe and all sorts, not up to the standard of the build which I am trying to achieve now.
So i spent a night shift at work, scrolling through roose motorsports website, looking at all their kits trying to find a hose which was the correct shape for what I wanted! I found the answer pretty close to home.

Corsa 1.4 16valve header tank return hose. So I contacted Roose and they told me the I.D was 8mm. Perfect! A week later they arrived...

full


So Fitted one

full

full


Perfect! Couldn't of been better. You can see how close this runs to the down pipe so the shape was very important.
So It got the heat proofing treatment after I cut the end off it.


full

full

full


Then I fitted it, but used lockwire to tie the hose to the rad fan, well away from the downpipe. I also put lockwire the length of it as although this stuff is secure when velcro'd, I don't want to take any chances of it falling off and with the kinks in the pipe, the velcro is kinda pushed to its limit in places.

full

full


That was the turbo feed done, Then the top hose, the coolant return got the same treatment. This time I used the whole hose as the end was perfect for dropping down onto the top of the turbo

full

full

full

full


The use of metal cable ties was alot nice so I swapped the lockwire on the first hose for the metal cable ties, although it is no where near as visible as the top hose. I still used lockwire to tie it to the rad fan though.

Another job done!
 

Users who are viewing this thread

Back
Top