Want to remove ads? Become a MK3OC Club Member today!

Dave b's VXR Powered Gsi Diary

So a few other odds and jobs sorted, I was looking for something else the other day and I found an old samco powersteering hose which was a brilliant shape to make a turbo oil return and flurolined. The hose that came with the turbo kit was starting to swell, so I fitted this. much better! The shape is literally perfect around the turbo support bracket!

full


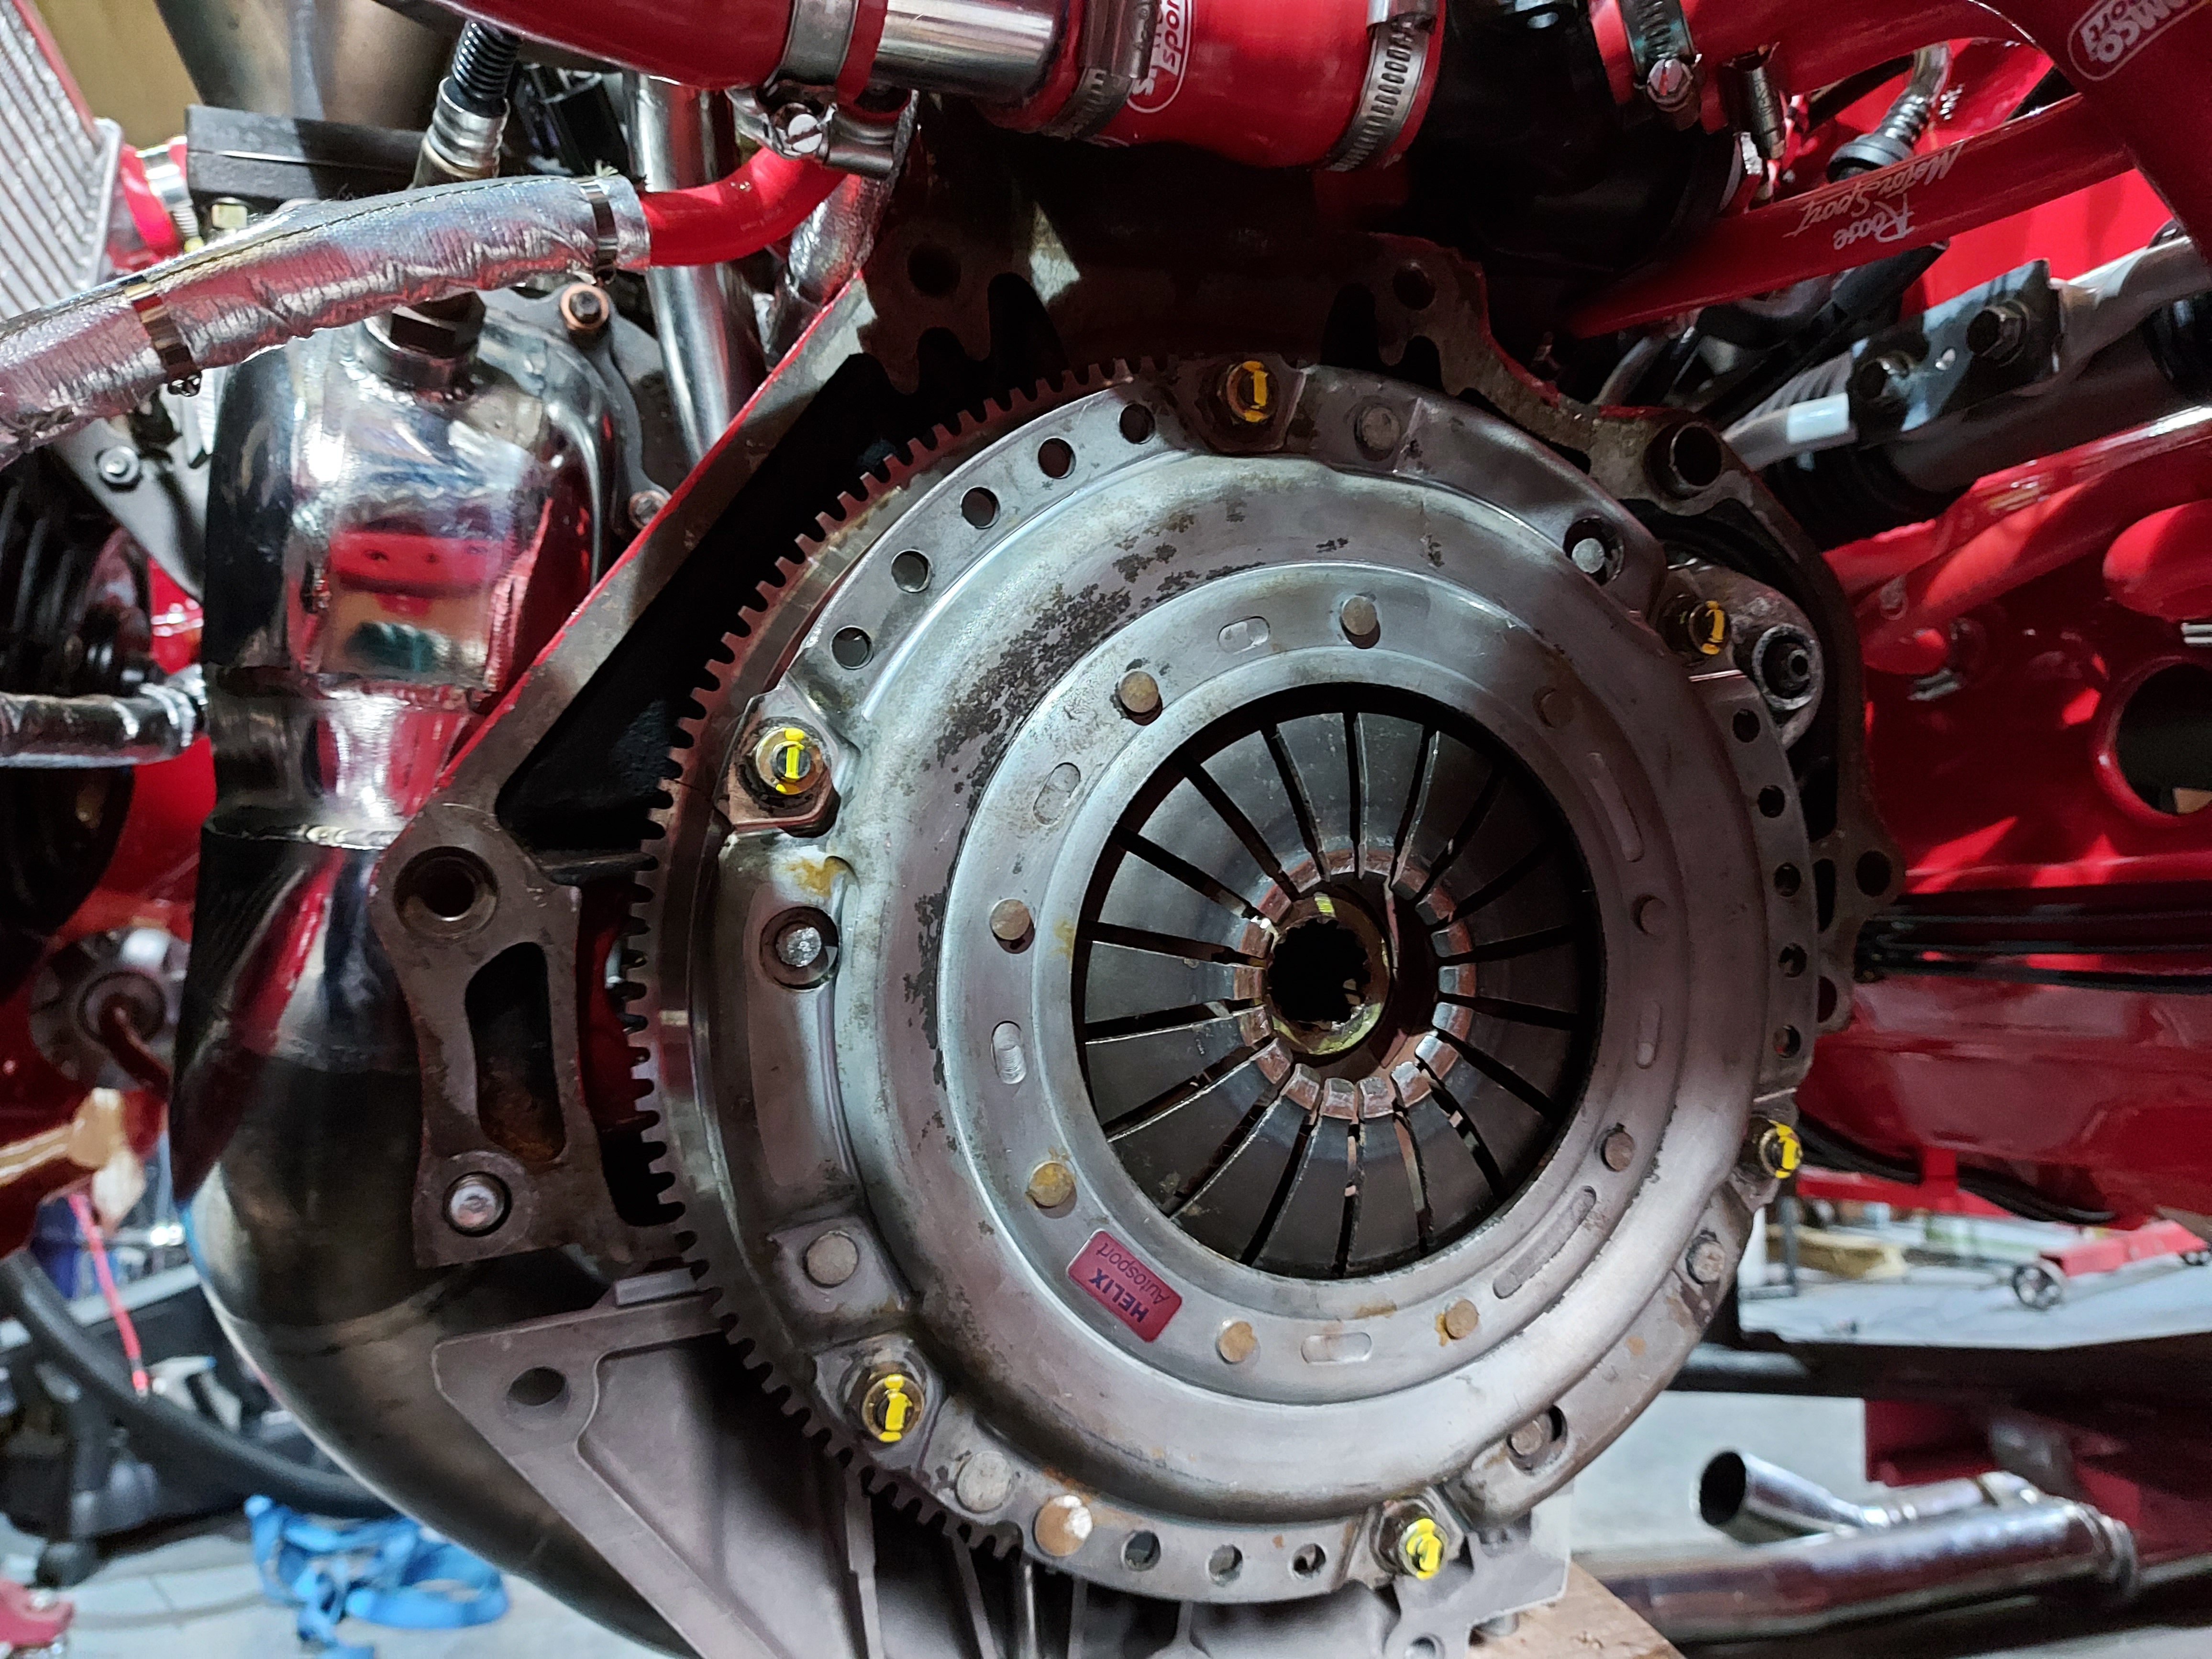
Next up, I was laying under the car and decided the fact that I didn't paint the gearbox and just refitted it was pretty poor, I only didn't do it cause when the engine was finished I got excited and fitted it all, but the paint was flaking off etc. So I ripped the box out, got the flakey paint off, rubbed it back with some emmery cloth, degreased and sprayed and refitted!

full

full

full

full

full

full


Next up, and I hope people appreciate this one! It always annoyed me that the coolant bottle on a mk3 never sits level cause of the stupid self tapping nuts which never go tight :mad:

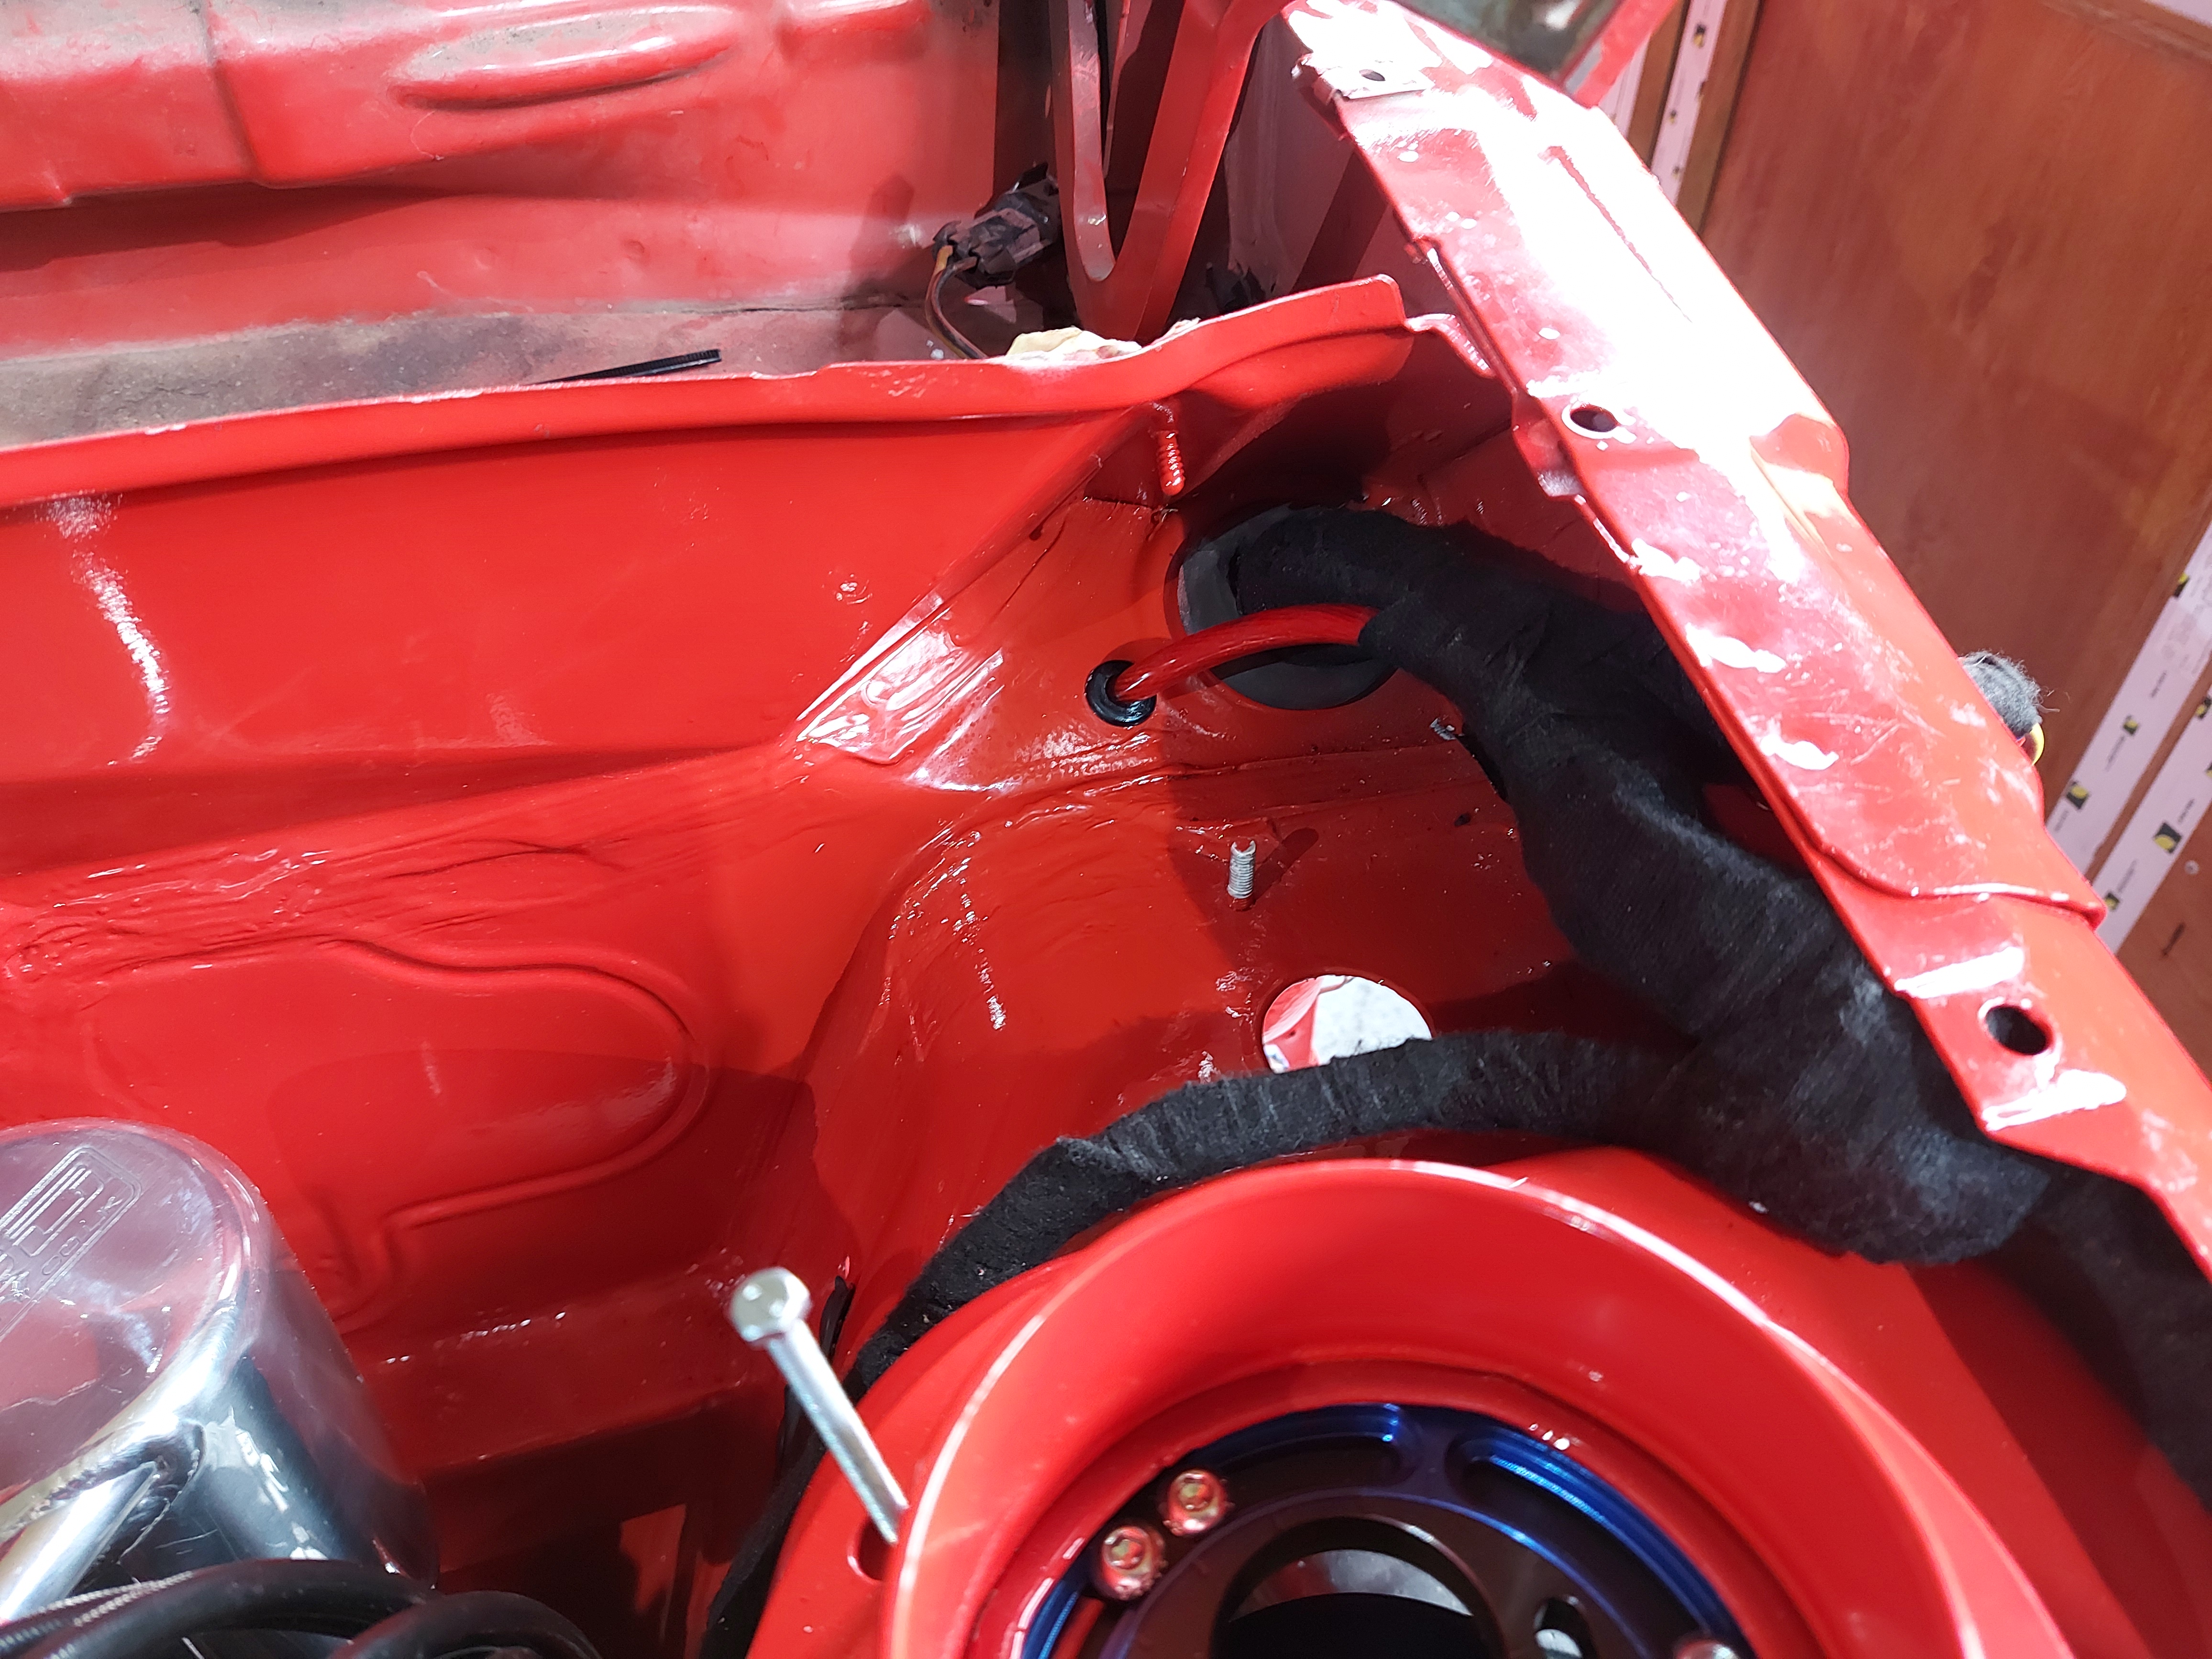
So when I paint the engine bay, I welded a stud where the wiring grommit is. But the top mount stud wasn't so east because of the top mount mounts under there. In the end, I decided drill it out, grind the strut brace out and tap the brand new ally top mount. A bit scary, but worked nicely. With alot of measuring, I didn't even have to drill all the way through, just drilled and tapped!

full

full

full


Glad my original measurement were spot on!

full


Close! lol

With the gearbox back in, I looked at the gear linkage which was previously hammerited.

full


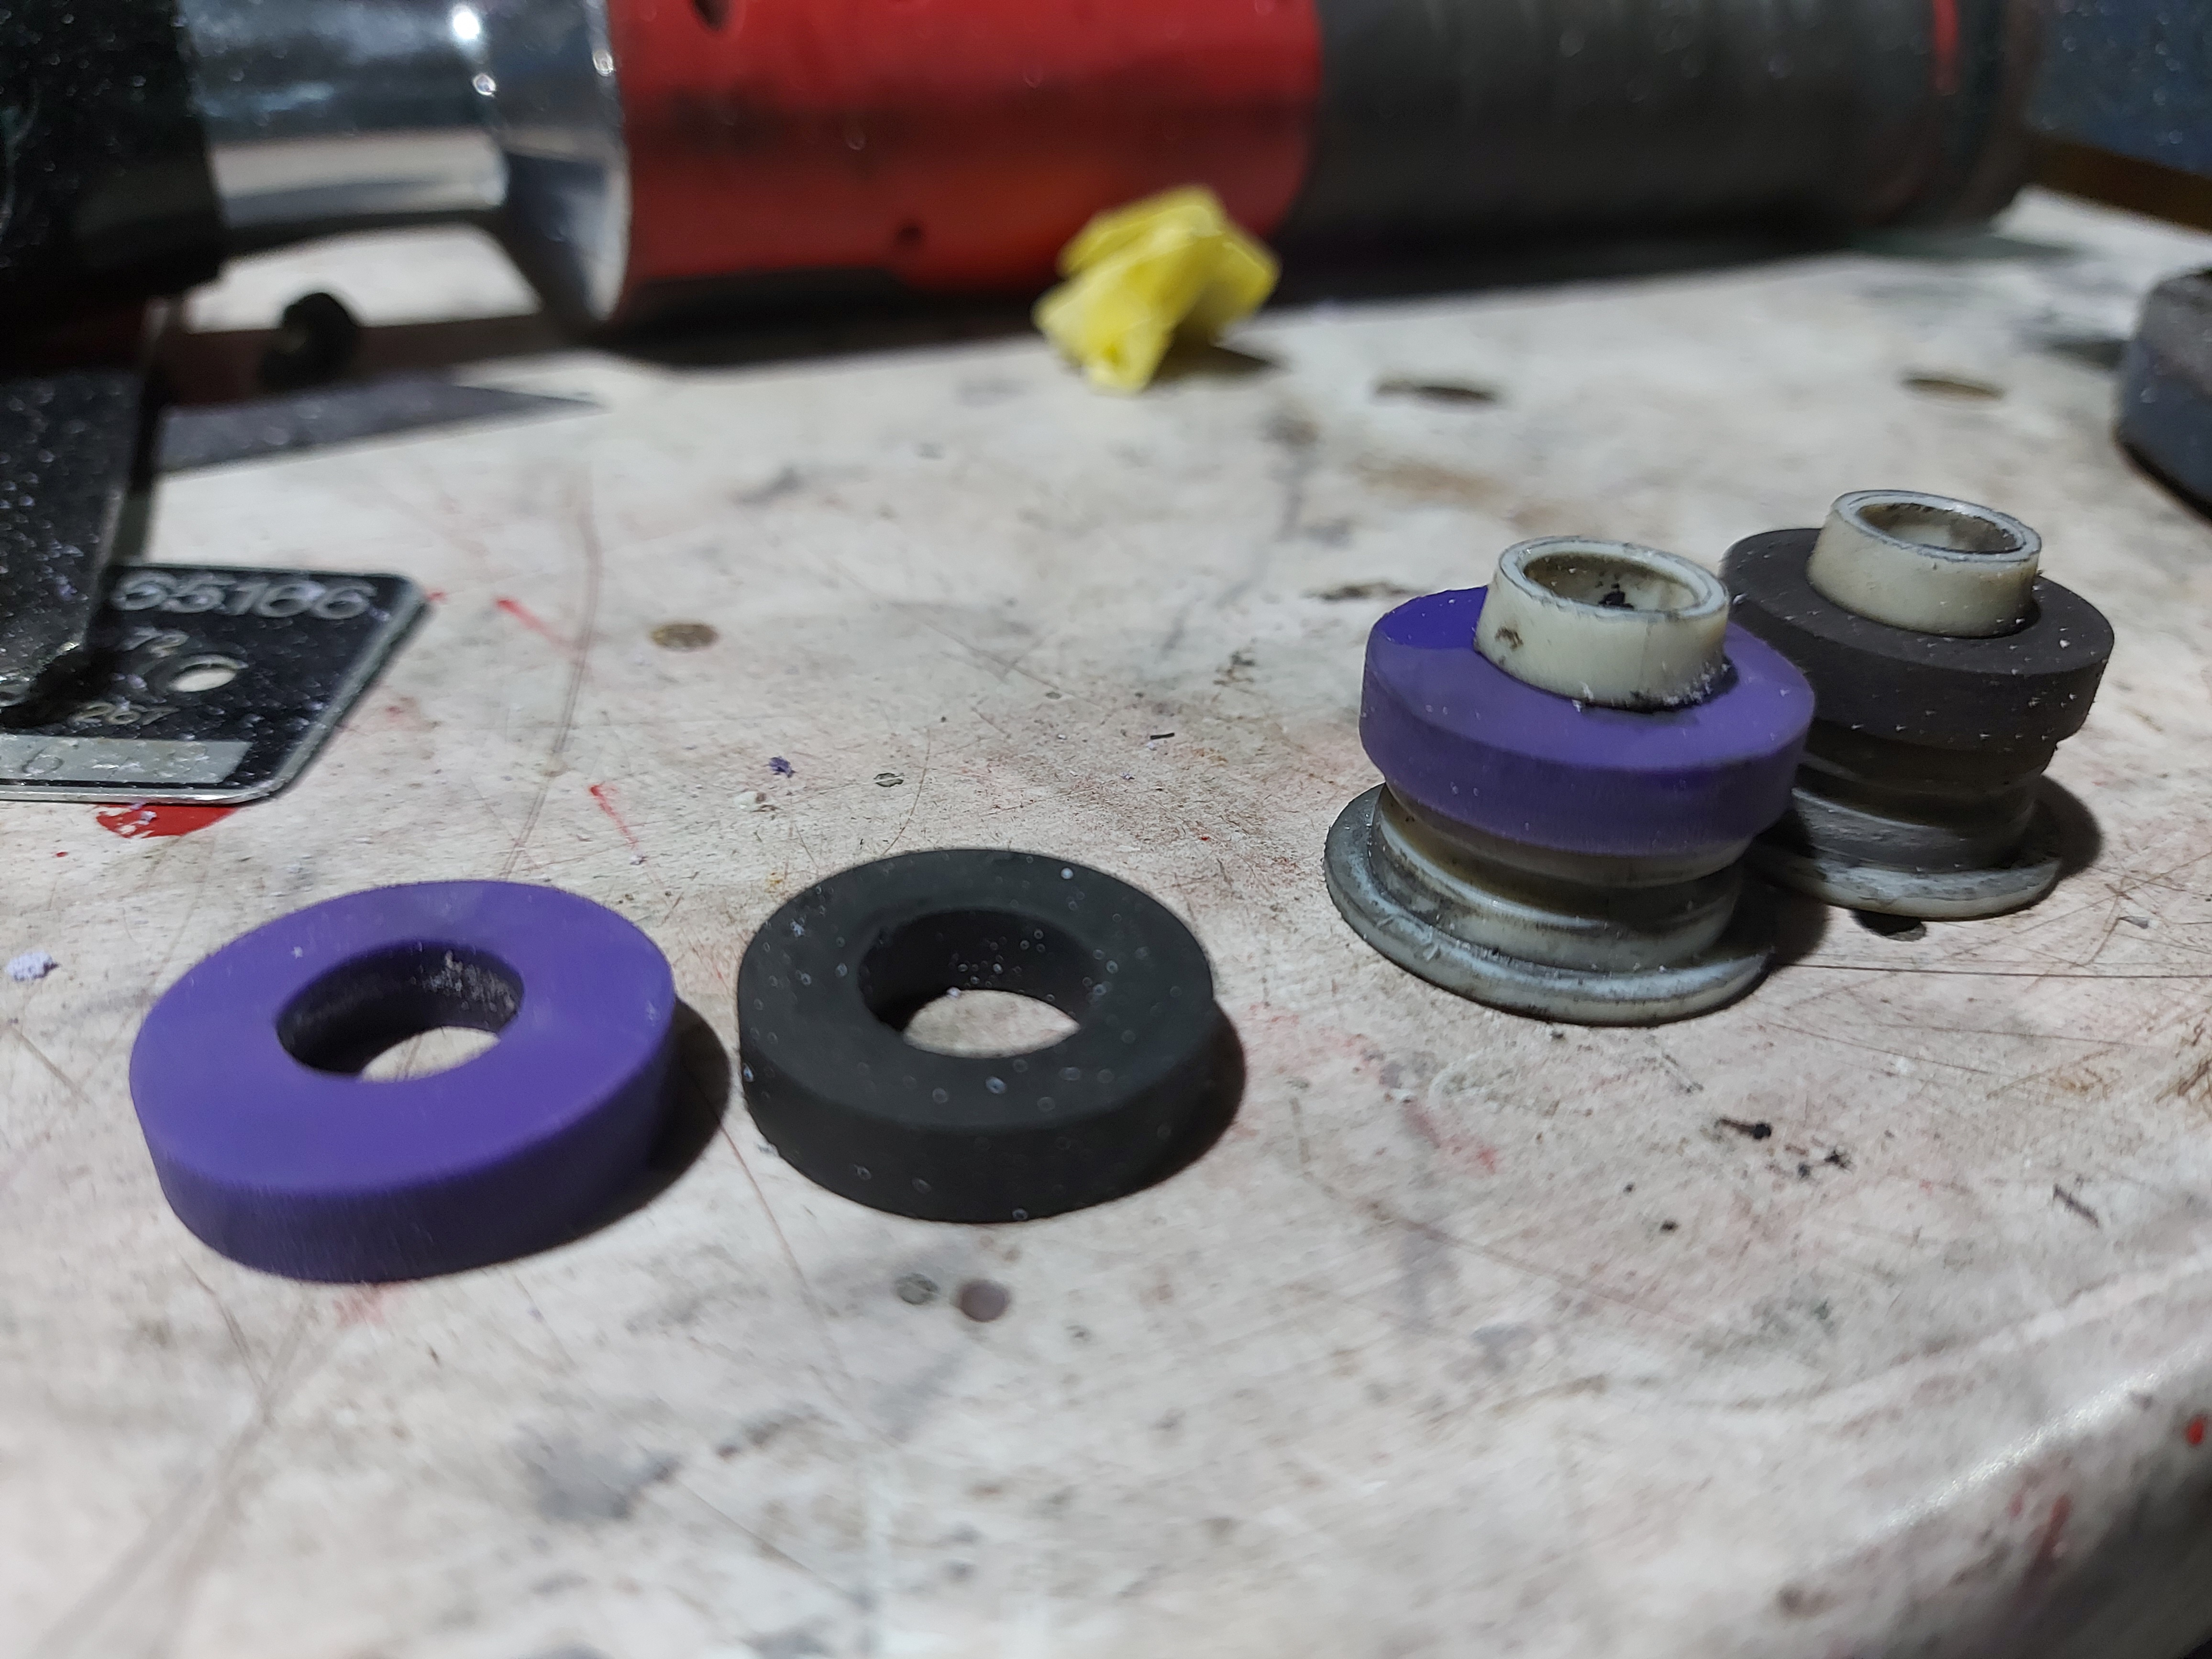
Deffo needed a lick of paint, and all the rubber bushes had gone REALLY soft from years of oil covering etc!
So I decided to make my own poly bushes for it, as well as repack the rubber gearbox connection which although there was rubber still in there, was barely even attached or even rubber anymore!

full

full

full

full

full

full


Packed with poly bushes and tiger seal, that should do the job! Really looking forward to feeling the difference with this mod. I forgot to take a photo, but the linkage is usually held to the gearbox selector with a pin and is a loose fit, it is now nut and bolted tight. Ill get some pictures tomorrow if I remember.
 
SO i'm now onto the wiring, this update is going to make it look simple but in real life, there was hour and hour of planning, trial and error. Alot of it would come to me at random points during the day etc, it really has taken over my life for the last month or so lol

So I started simple, took the boost solenoid and fitted a deutsch plug to it! We use these at work... i'll leave that story there, safe to say, they make a large appearance on my car now thanks to the fact motorsport are obsessed by them and their awesome. But the main things I have learnt through wiring this up and in life generally with my jobs in engineering and the motortrade. Its amazing what cleaning a plug, fitting a new plug, putting fresh wire in can do to a car! So all of this should be worth it and make everything work a bit better and future proof, aswell as things running how I want now!...

full

full

full


Next, I de-pinned all the plugs and bought brand new pins for everything, this way there would be no solder or joins, it will be loom, cut to length, new pin, put in plug

full


Stripped the whole car loom ( not engine loom) down, worked out what every wire did

full


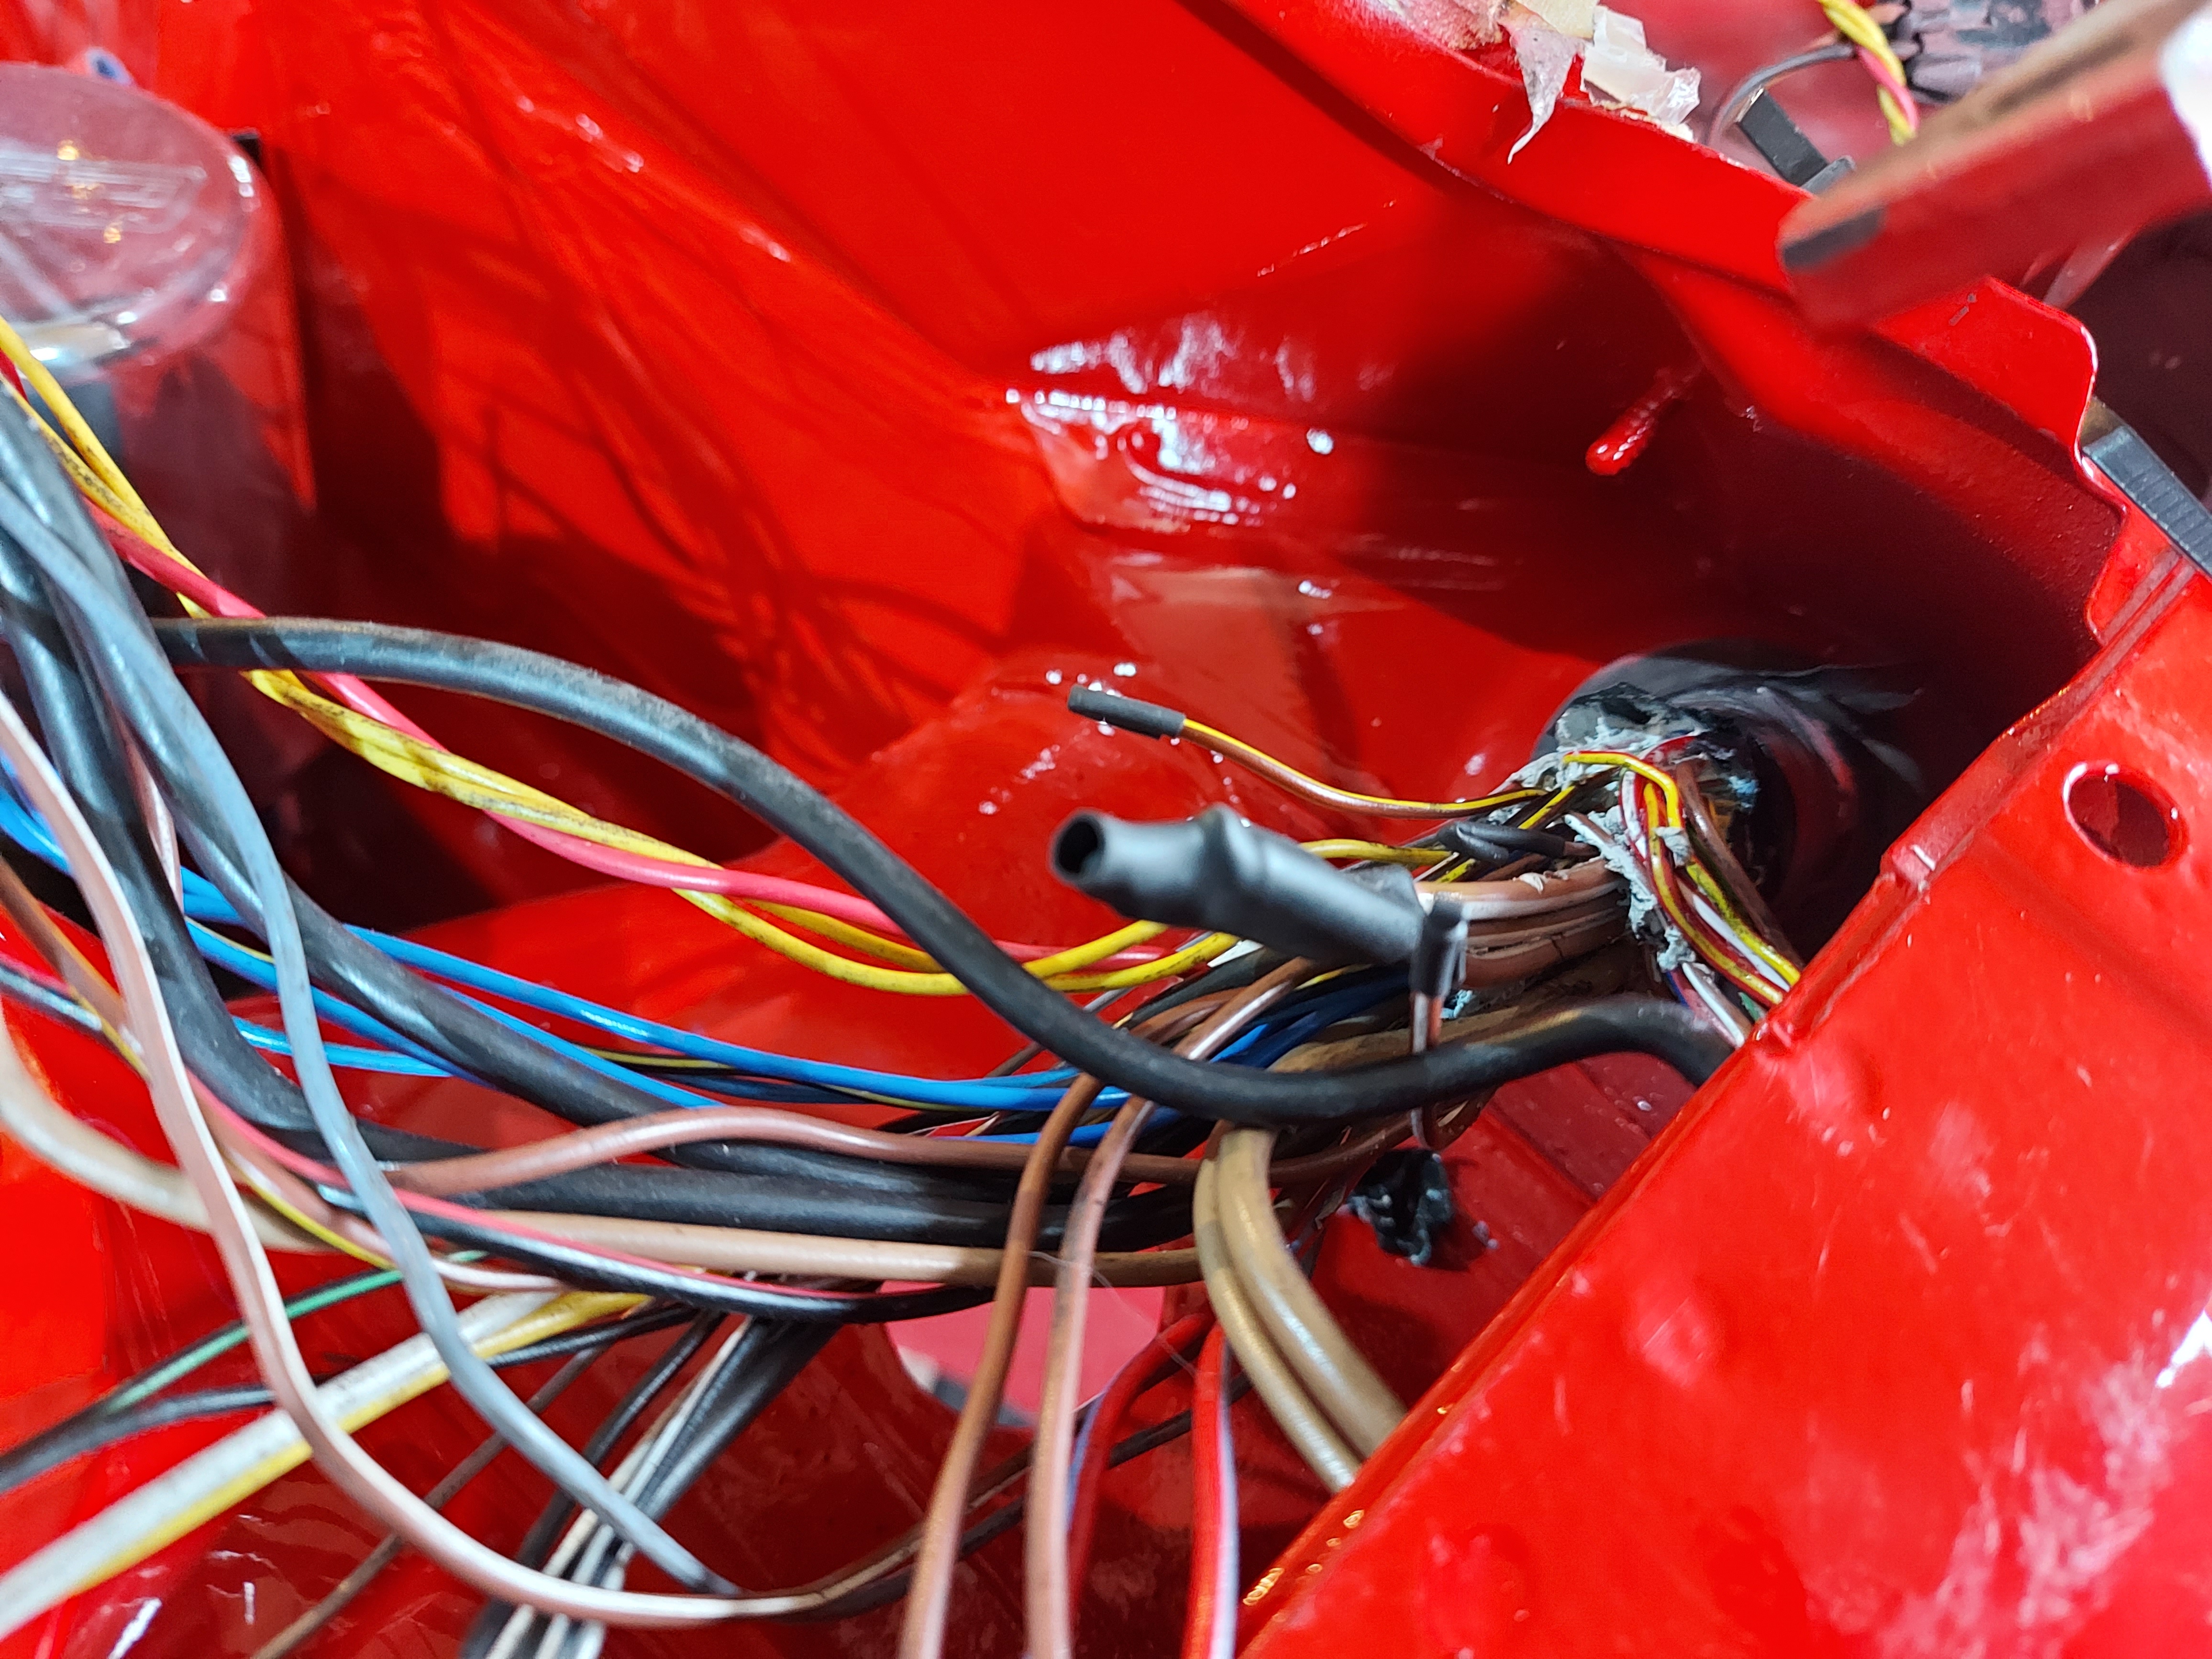
Everything is isn't used by me, or this model was cut all the way back to the bulkhead connector, I couldn't go any futher than that because the rubber gromit is full of chewing gum basically, water proofing in the 90's hey!

full


Changing these H4 connectors for new ones, I had already changed these once as u can see by the solder and shrink!

full


So I made a start, a while back I showed the fan wiring and the types of plugs I bought, well this is the car side now and how all wiring will be done in the engine bay. Braid, heat shring where it splits, more braid, more heat shrink. The braid is a really neat option and it is super easy to route afterwards aswell

full


So I decided to go as far as the passenger inner wing, and then tape the rest of the loom up using cloth tap for that OE look. after that is the ABS wiring and there is no way I am taking the ABS wiring plug apart. The thing with the braid is it can only really be fitted with the plug removed as you want it nice and tight on your wires. It will slide over pins, but not plugs. Luckily for me, everything was gettin new connnectors.

full


This is how the headlight area of the loom looks before final heat shrink. Everything is run in one loom along the front, but then at the headlight it has to split into

Headlight
indicator
foglight
side light

Alot of thought goes into it all, and planning!

Then you end up with something like this!!!

full


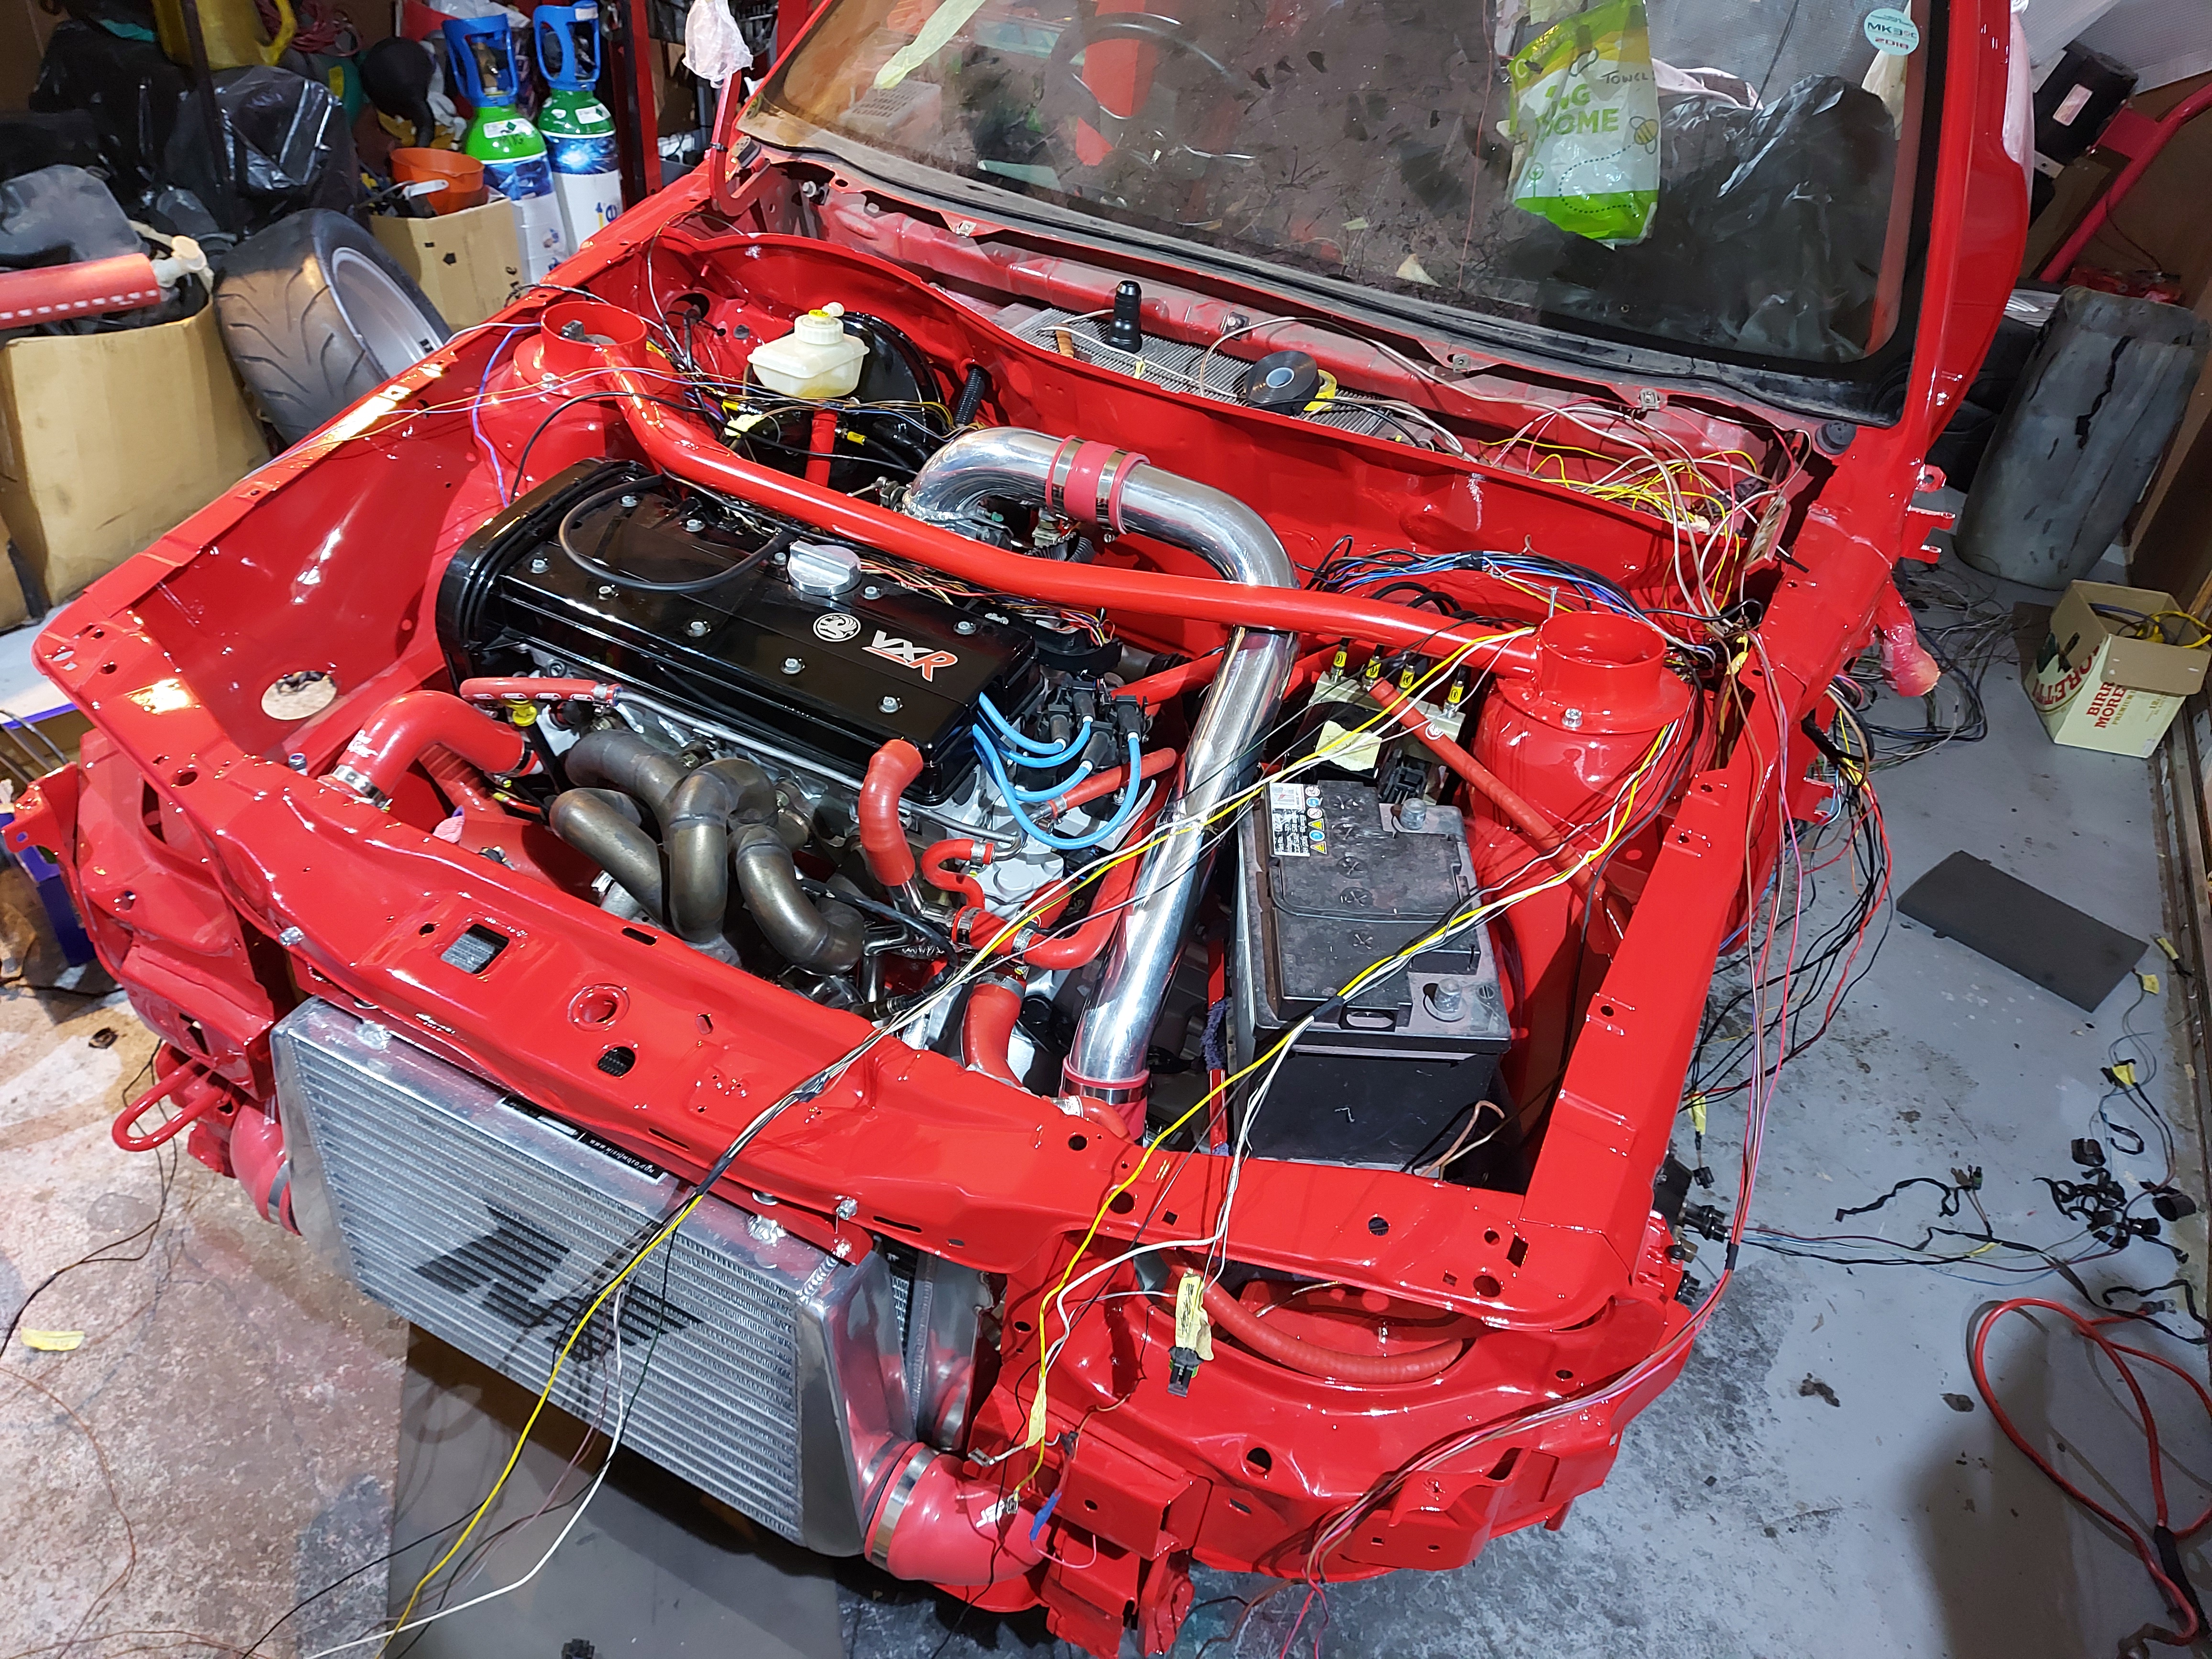
yummy, Now I don't ever want the engine to come out of this.... but i am unlucky and going to keep it forever. So my dream is to have an engine that can be removed with the wiring still on. Everything is so squeezed in the bay, and buried that fitting the loom to the engine out the car is a dream. So thats the plan!

New starting and charging loom. The battery goes straight to the alternator and starter, so this loom is alternator light, starter exciter and oil pressure switch.

full

full

full
 
Last edited:
I've only recently discovered the deutsche connectors when I bought some additional lights for the yeti... are they easy to make with the right tools and are the tools reasonable?

Very neat wiring Job there, love the braids.
 
Love it mate! It's definitely one thing I would I would like to do (redo) on mine as there's wires everywhere still :( would love to run stand alone and simplify, how easy was it to find new oem connectors for sensors, lights etc?
 
Love it mate! It's definitely one thing I would I would like to do (redo) on mine as there's wires everywhere still :( would love to run stand alone and simplify, how easy was it to find new oem connectors for sensors, lights etc?
Thanks mate, it was super easy to find the connectors actually! Most of the connectors, u can Google the connectors name, or what it does etc.
The picture of the pin above is fitted to nearly everything.
Crank,coil,injectors,map,

My other advantage I had on the engine loom was the bulkhead connector, it actually ment I could slide alot of braid on from the other end, but I left the injector plugs unbraided because they sit in that trunking.

As for the car, everything uses the same generic 2 pin connectors which the fogs, temp sensor, side lights etc use. The black and yellow plugs I used for fan etc, so they can be bought on ebay, and I bought a kit, which is brilliant, off ebay and it had crimp and wire strippers. I'll put the link onto here if u want!
 
I've only recently discovered the deutsche connectors when I bought some additional lights for the yeti... are they easy to make with the right tools and are the tools reasonable?

Very neat wiring Job there, love the braid

Cheers buddy, the deutsch connectors are awesome mate, their so well made I cant explain. Very very easy to pin and depin. I think there are copies out there aswell now so I will use them for everything from now often.

The official crimp too is 300quid..... no way I was ever going to pay that, but the reason it's so expensive is it is adjustable for different wire thickness.

Instead, I bought a 30quid tool off ebay, and if the wire was very skinny, like the gauge sensor wiring, I stripped it twice as long and folded it back on itself, gives it a nice thick wire to crimp onto
 
Thanks mate, it was super easy to find the connectors actually! Most of the connectors, u can Google the connectors name, or what it does etc.
The picture of the pin above is fitted to nearly everything.
Crank,coil,injectors,map,

My other advantage I had on the engine loom was the bulkhead connector, it actually ment I could slide alot of braid on from the other end, but I left the injector plugs unbraided because they sit in that trunking.

As for the car, everything uses the same generic 2 pin connectors which the fogs, temp sensor, side lights etc use. The black and yellow plugs I used for fan etc, so they can be bought on ebay, and I bought a kit, which is brilliant, off ebay and it had crimp and wire strippers. I'll put the link onto here if u want!

Cheers buddy, the deutsch connectors are awesome mate, their so well made I cant explain. Very very easy to pin and depin. I think there are copies out there aswell now so I will use them for everything from now often.

The official crimp too is 300quid..... no way I was ever going to pay that, but the reason it's so expensive is it is adjustable for different wire thickness.

Instead, I bought a 30quid tool off ebay, and if the wire was very skinny, like the gauge sensor wiring, I stripped it twice as long and folded it back on itself, gives it a nice thick wire to crimp onto
Yeah if you could link the connector kit you got that would be great, I know some of mine is really scabby, a link to the deutsch tool too would be good please mate
 
Wiring pins which fit injectors/coil/crank etc


Crimps for joining multiple wires, bridging off wires etc


Tool for crimping the above, and also pins for connector, insulated ring and spade terminals etc. It comes with interchangable jaws, and the wire strippers are mega


Tool for crimping deutsch pins

 
Cheers mate, did you say you found connectors to suit the side lights, indicators etc?
 
Top work Dave, loving the updates!

What camera do you use? All your pics are so clear !
 
Top work Dave, loving the updates!

What camera do you use? All your pics are so clear !

Thanks tom! its just my phone! Its a samsung galaxy a71, has like 5 cameras though, one of them is a macro camera which I think is awesome, those mega close ups of connectors are awesome! really comes into its down then but the focus is seriously good on it. I'm mega impressed with it! Its around a 500quid handset which means the contract was pretty cheap
 
Tiny little update, had to swap the cars around cause the Megan RS needs a clutch and alternator before my track day next thursday! So astra had to come out. Before it did, one of my rear calipers has been leaking dispite new seals and everything! So i bought another seal kit for it.
Took it apart and found a cat hair down the side of the piston and over the seal :lol:

Replaced the seals for good measure all good now though.

full


So astra on its wheels, car swap, rolled the car out at 7am after a night shift. While it was on my steep drive, i tried out the clutch and brakes which I am pleased to say, both work! I was worried about the clutch but i feels ok, I think it just needed a few rotations with on/off being done to it.
I didn't drive, just rolled it as the next time i start it up, ill be off down the road!

Always a chance for a cheeky picture though, car looks mega :love::love:


full

full


Hell yea
 
ok so part 1 lol, last time we left off we had just finished the starting and charging loom

full


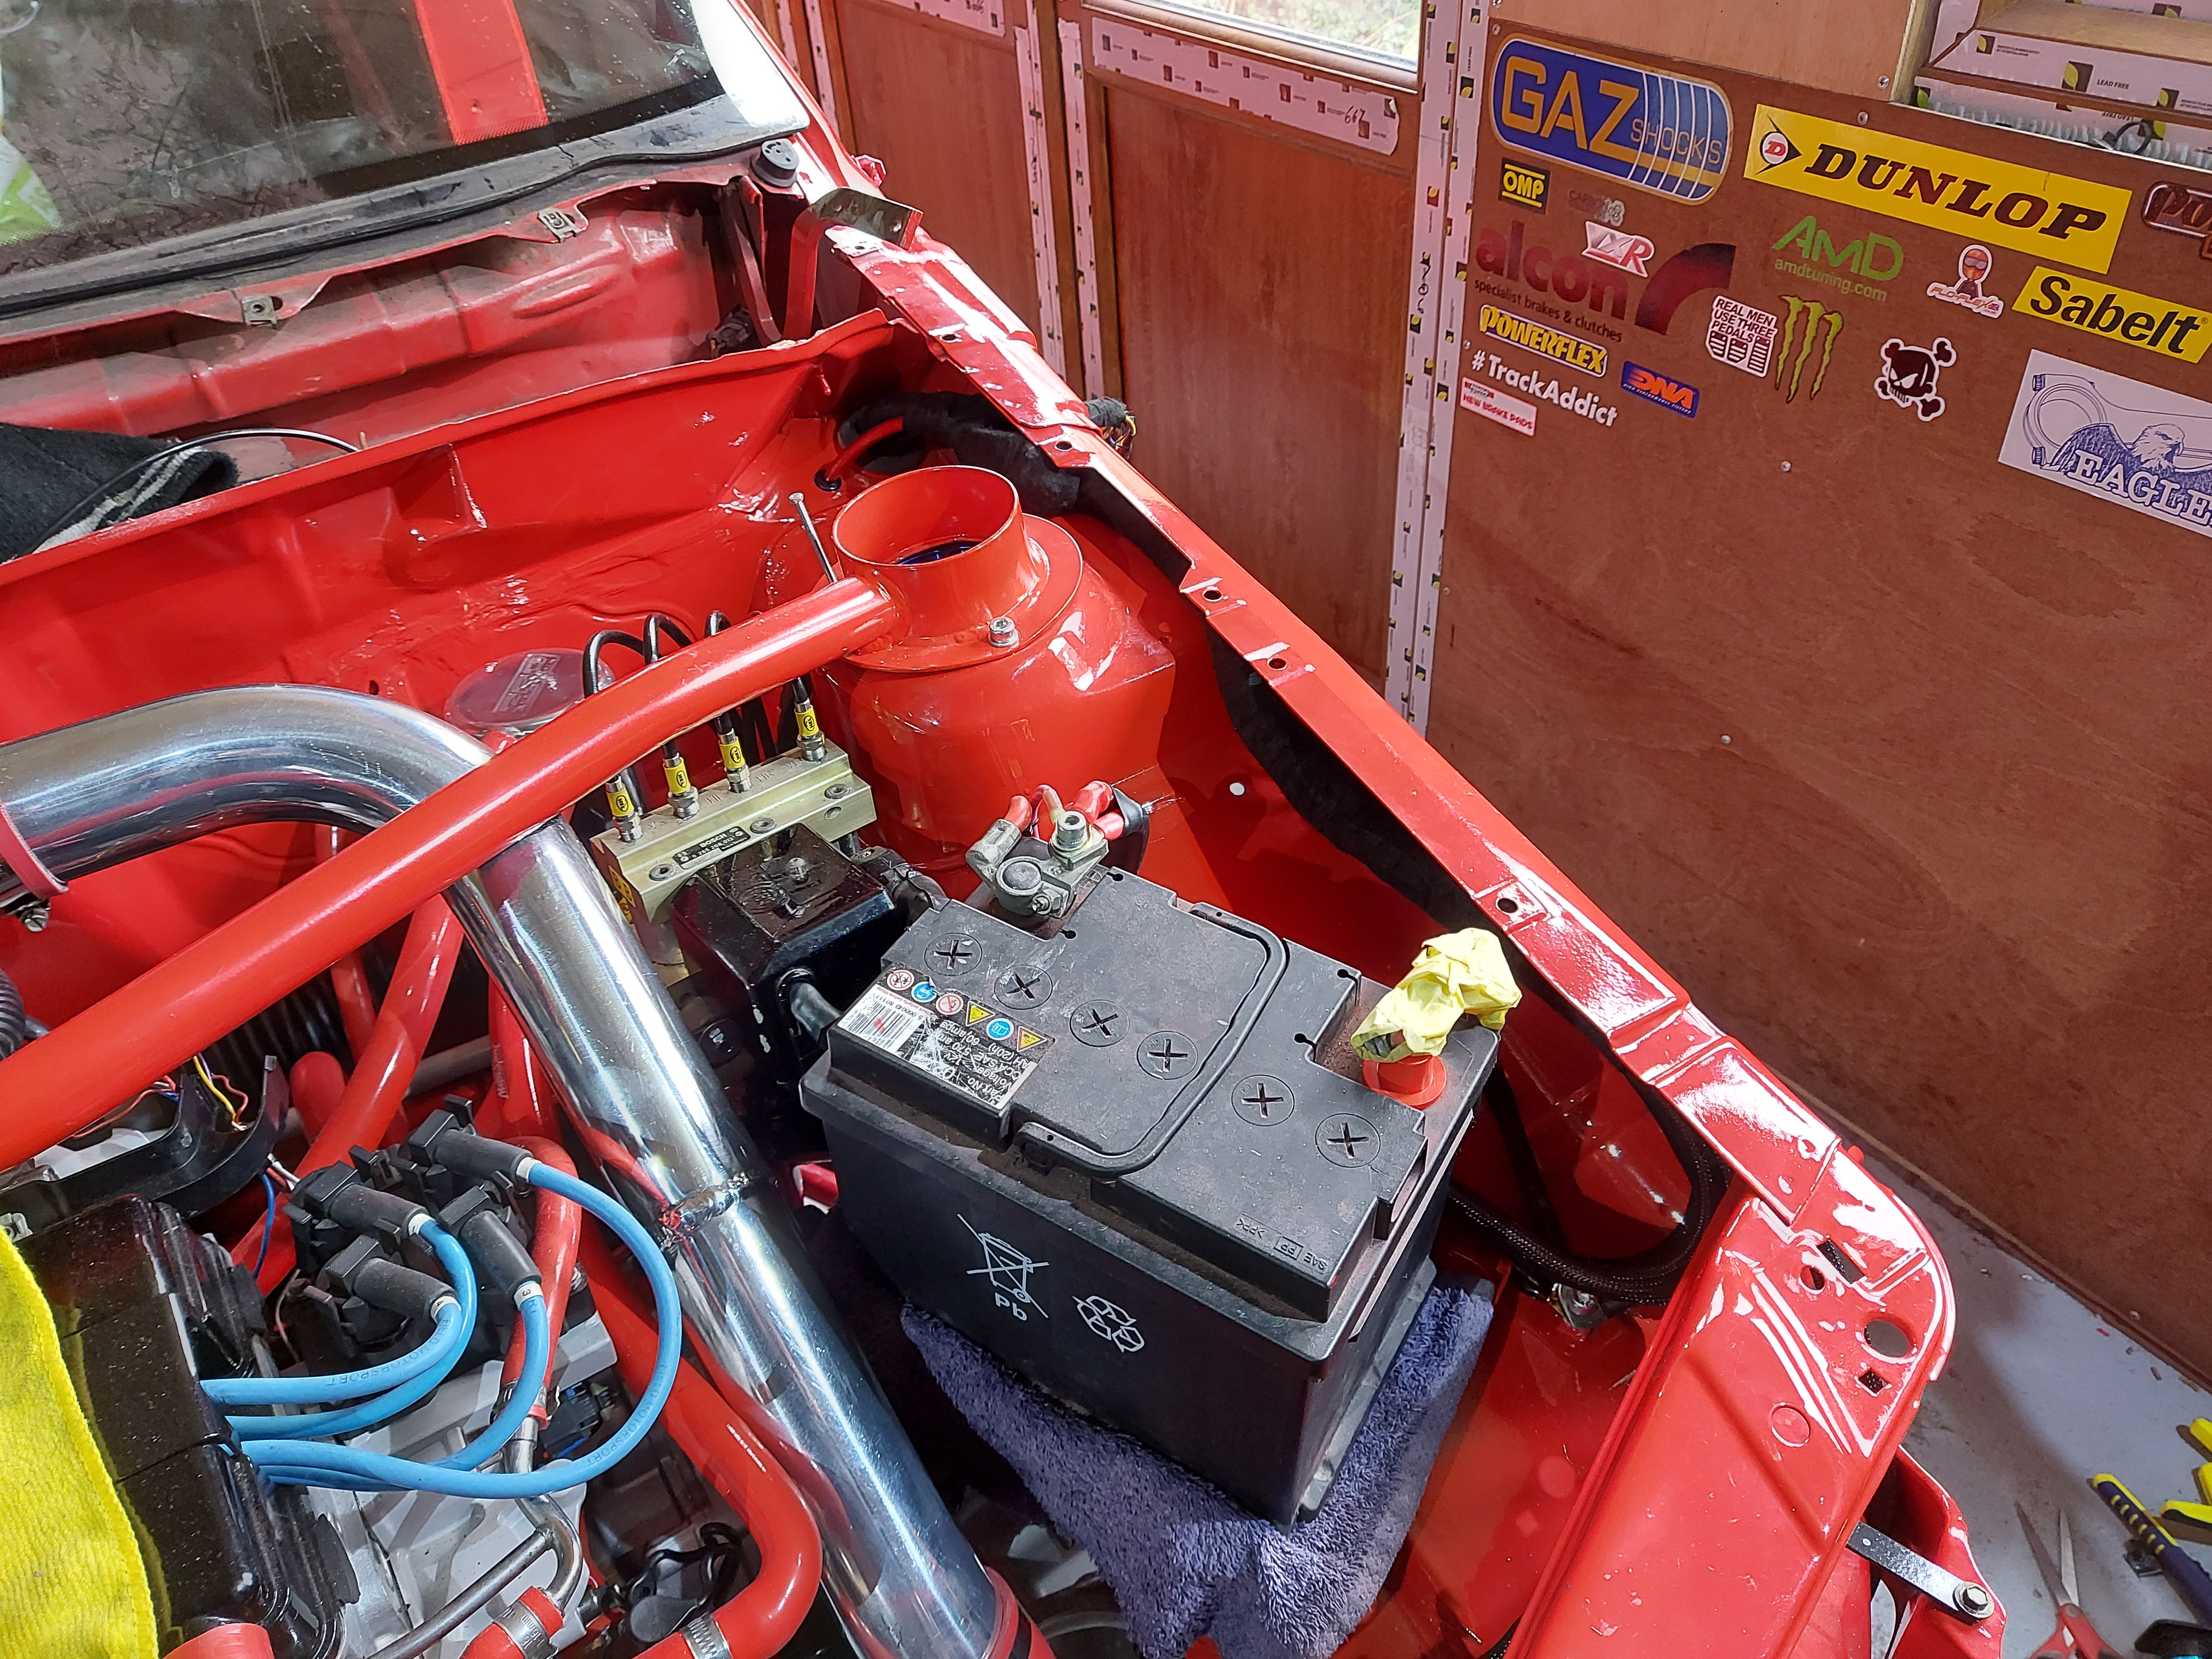
Next thing is to finish the loom round by the battery. I sheethed everything else, all the power cables and earths etc and joined all the earths in the corner to the OE point where the bolt passes the body and goes to the horn :)

full

full

full

full

full


Had to run to sub woofer cable through a seperate bulhead connector as it would be impossible to get it through the chewing gum in the bulkhead gromit!

full


full


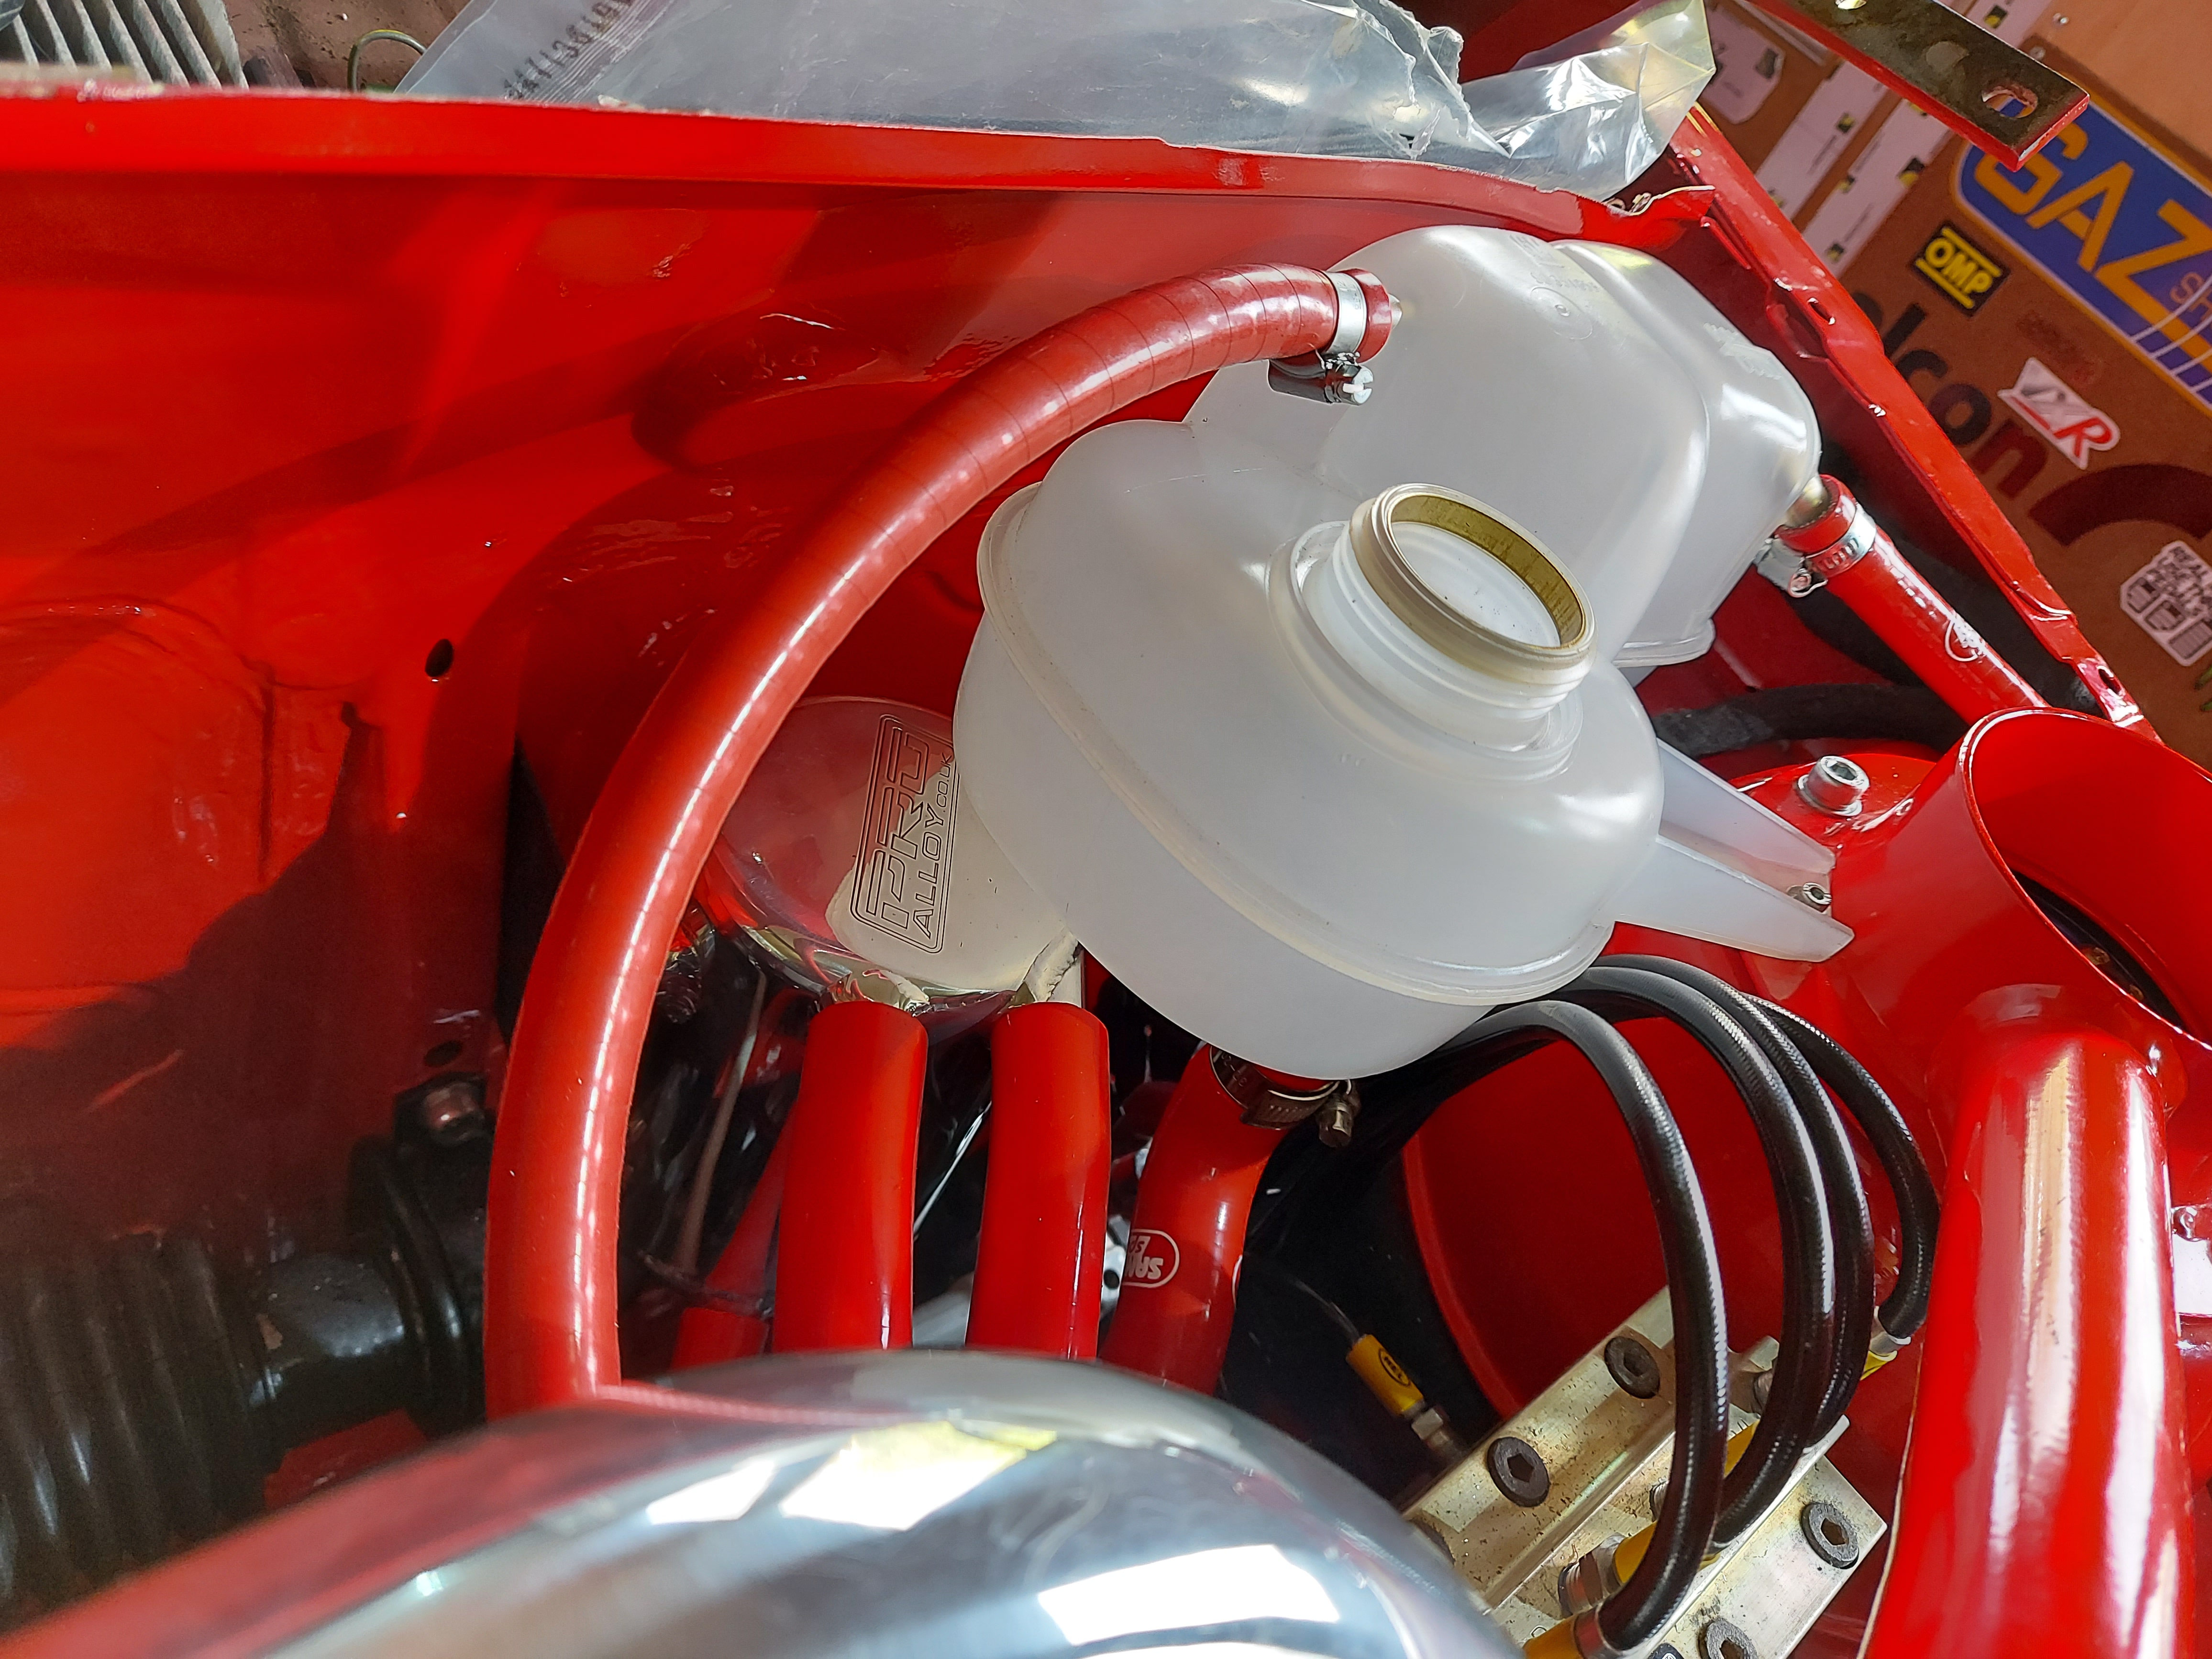
All hidden nicely behind the battery, I will probably go with a smaller battery in the end, but i'm happy with this for now! With the bottle and header tank hose in, basically hidden :)

full


Close call on the header tank to breather tank clearance!!

full

full


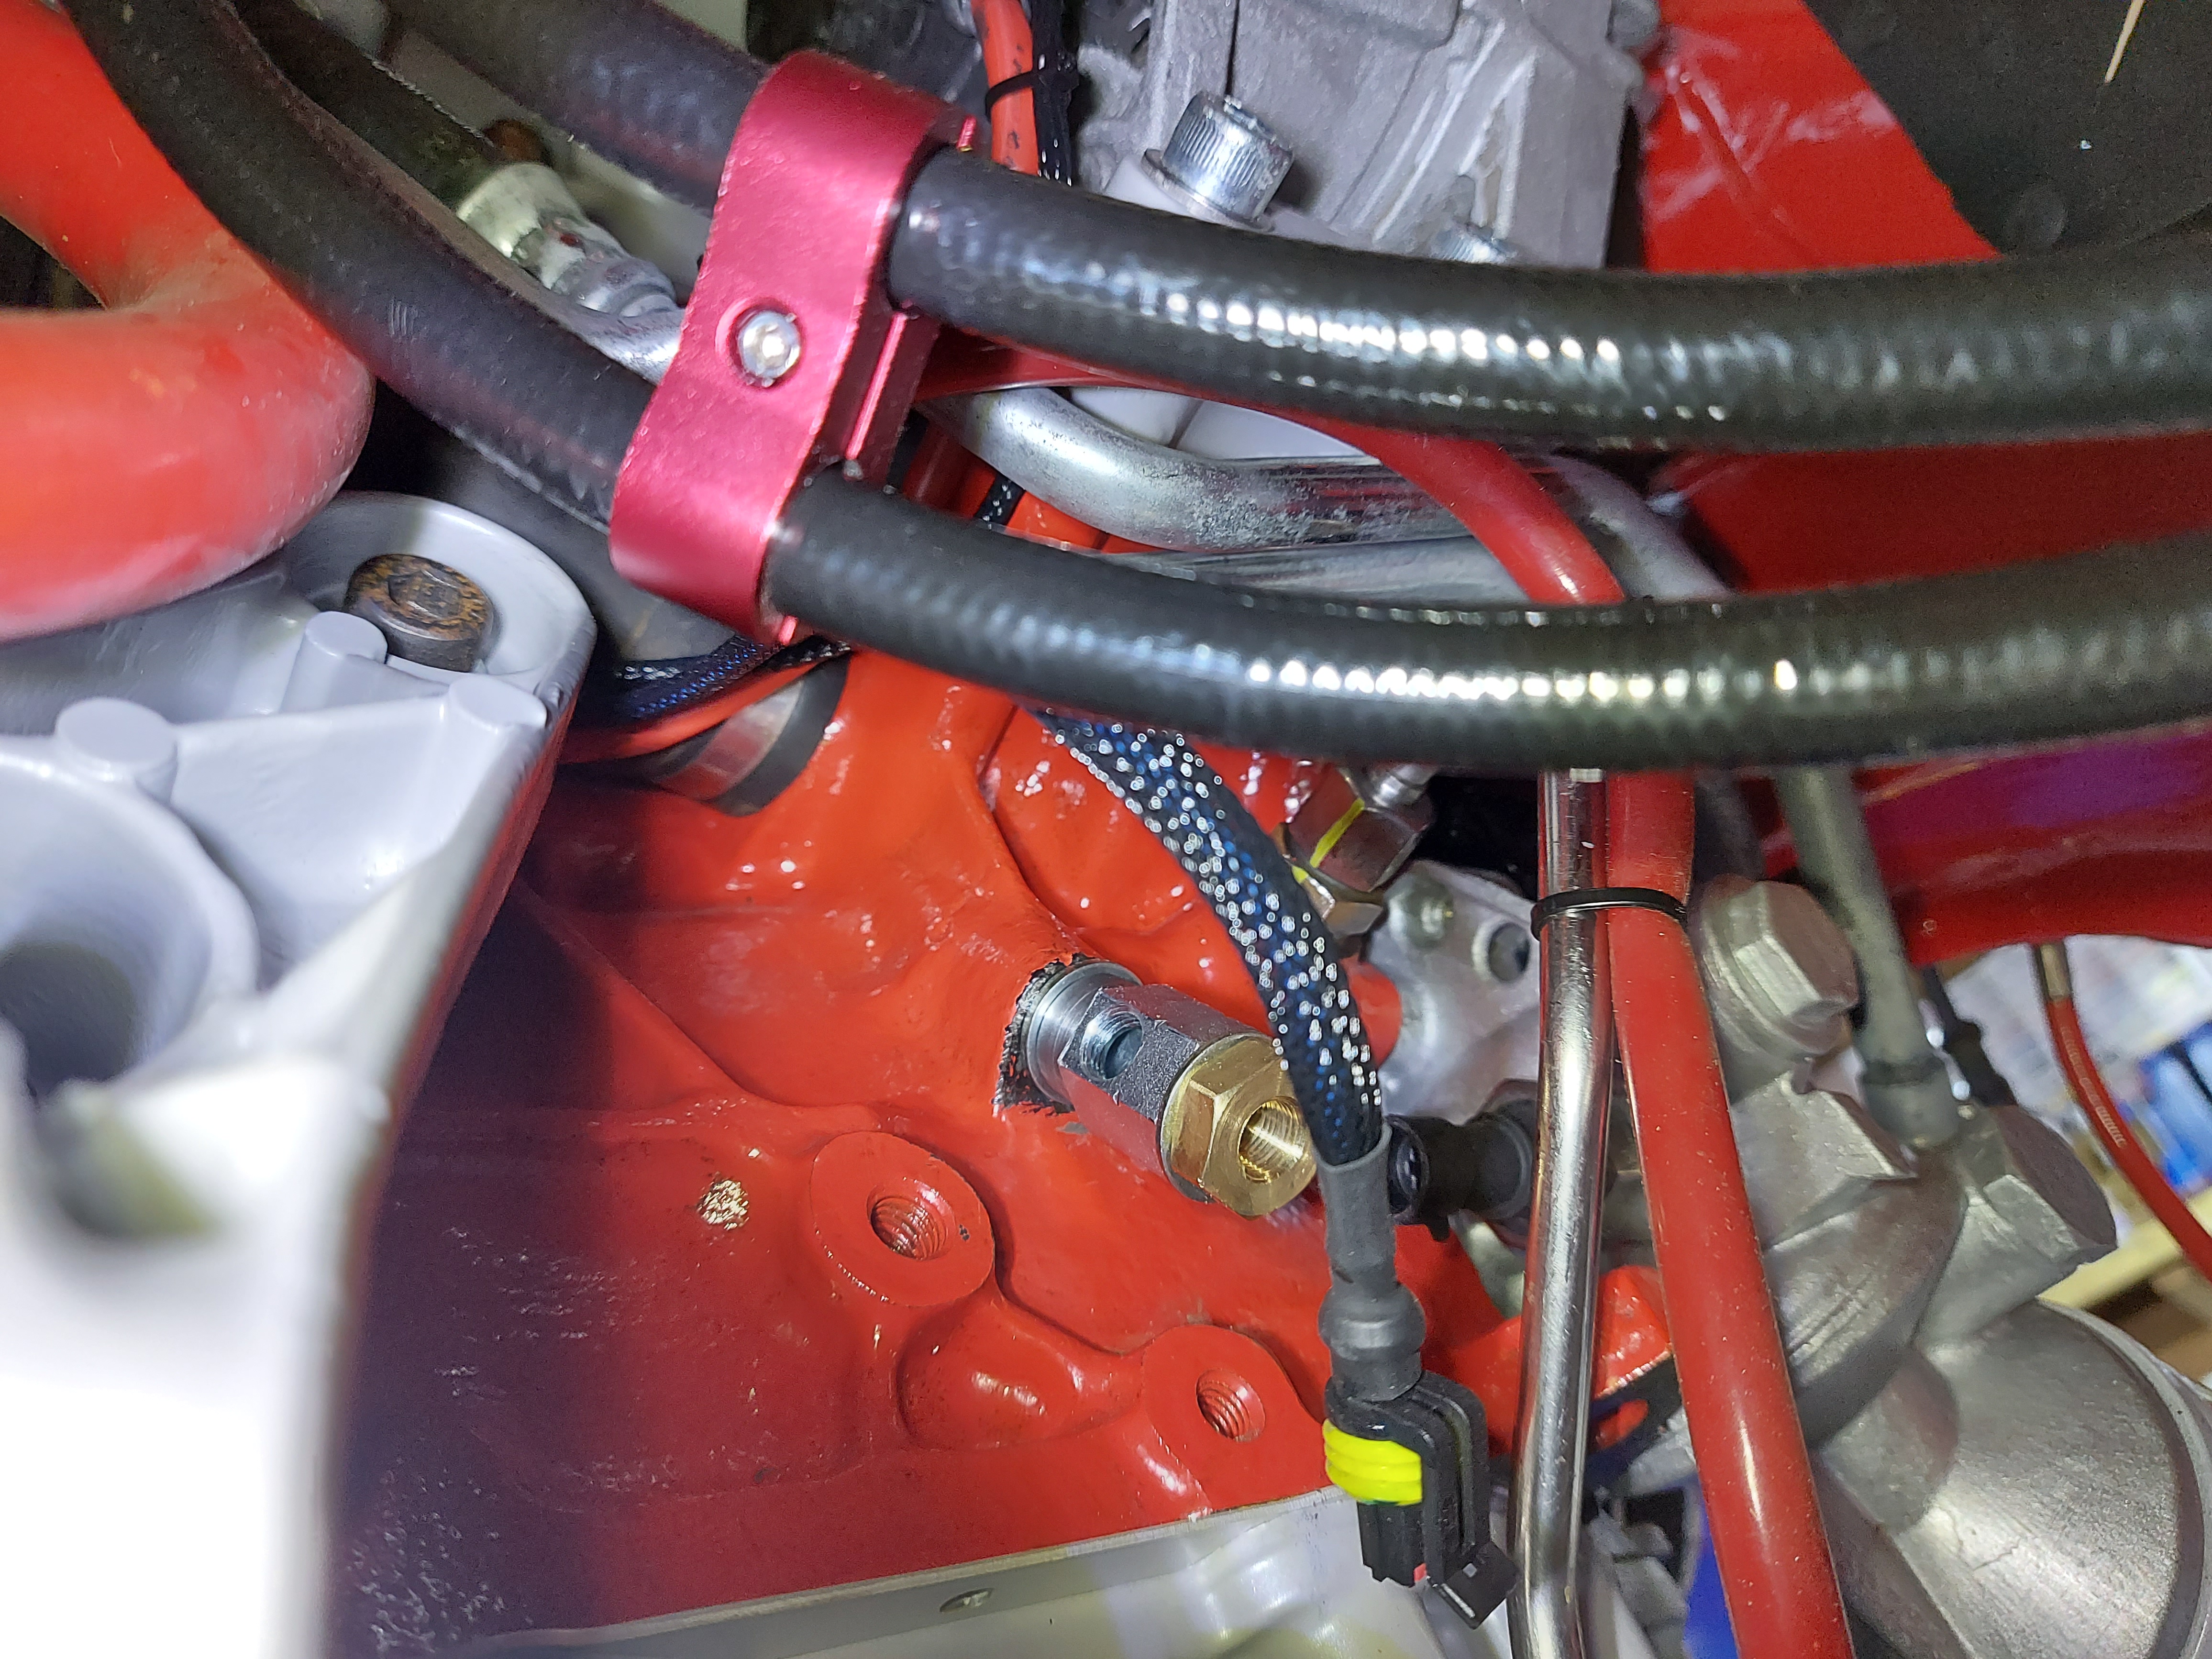
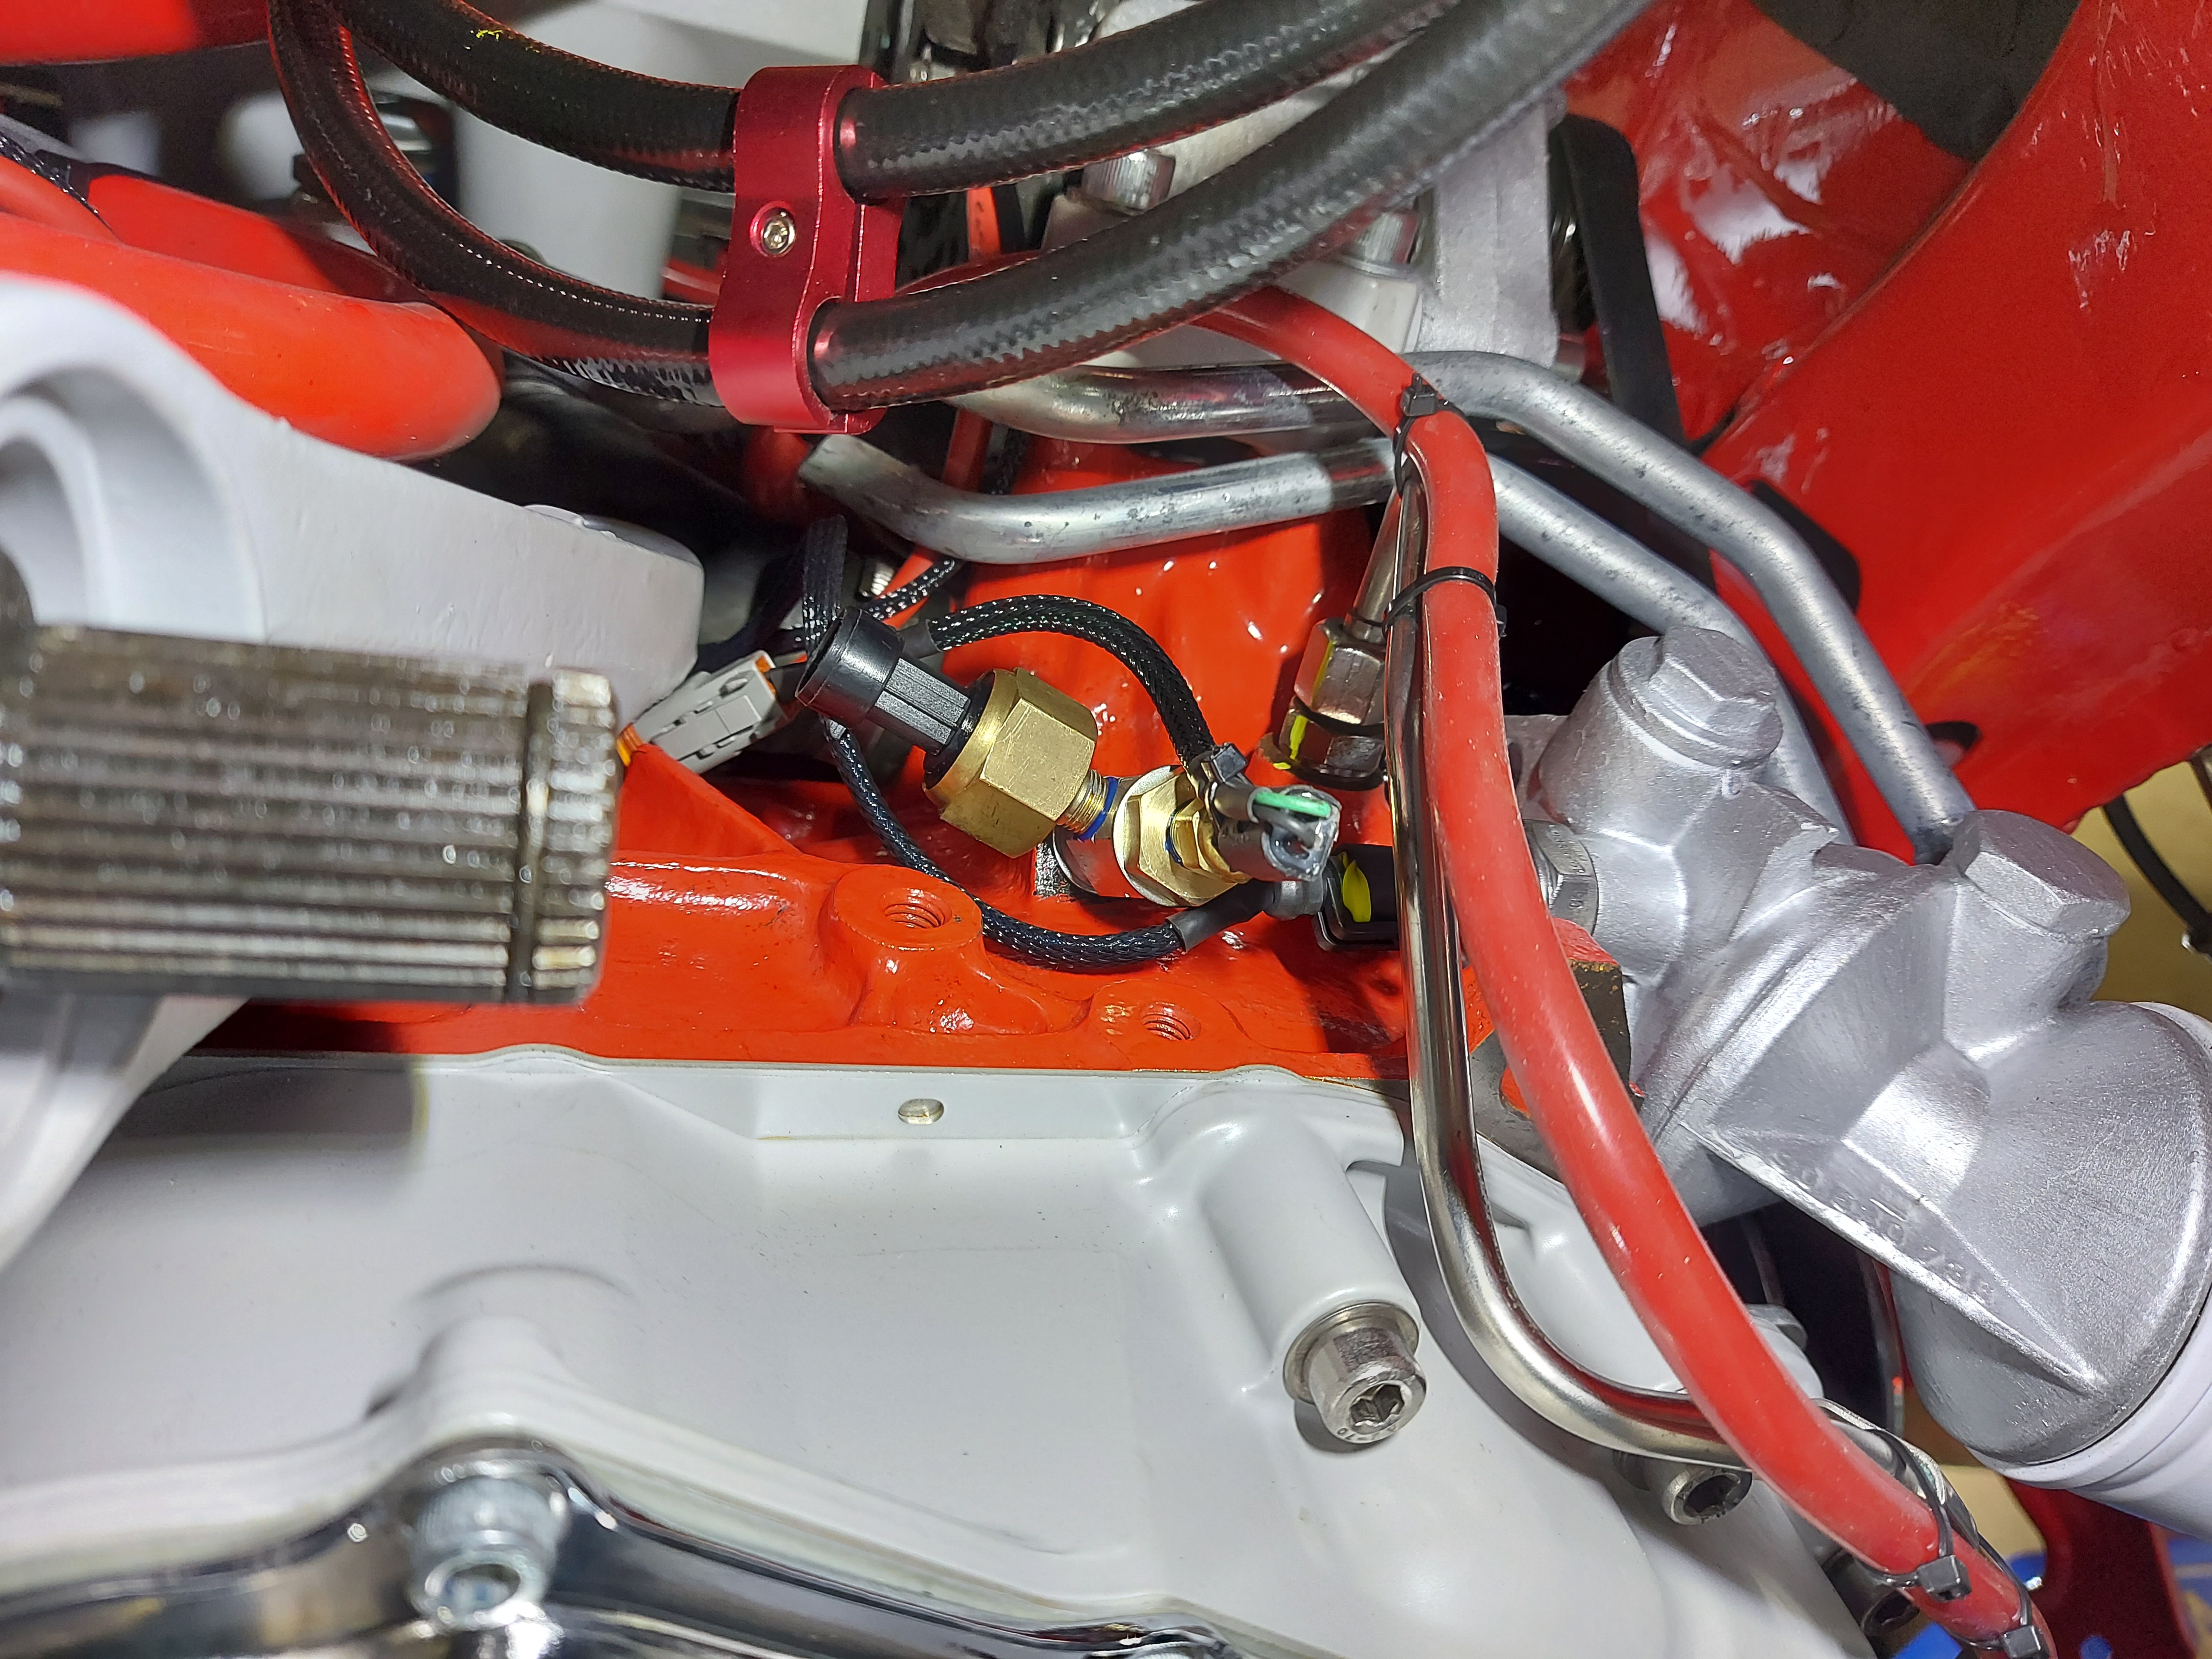
Next up, had to get the oil pressure and oil temp senders fitted. This adaptor took me 3 attempts to get right lol. I had to put in the lathe and make it shorter, then cut the shoulder of the adapter down untill it finally fitted in a very specific orientation....

full


you can see why....

full


The temp sensor has bare terminals cut down to as short as possible
full


Then araldite poured into the connector to hold the wires in place and bent over as tight as possible!

full


and this manages to achieve this.....

full

full

full


A spanners width haha
 

Users who are viewing this thread

Back
Top